I realize it might be a bit late for me to convince you, at this point, to make significant changes to your Thanksgiving menu. If you are anything like me, you’ve had the whole meal planned out for several weeks now, including possibly which serving dishes you’ll be using for which dish (speaking of which, have you seen this?).
But if you are undecided, or if you still aren’t sure what you are doing with sweet potatoes, may I make a humble suggestion? Put down the marshmallows. Okay, give them one final squeeze and then put them down. You don’t need that stuff. Instead, may I offer you the promise of spiced velvet? Puffy, smooth, decadent-but-light velvet, spicy and sweet, rising up from its dish like some gravity-defying magic trick.
 Yes, I’m talking about soufflé
 I know, I know. Just want you want to worry about on one of the biggest food days of the year is the notoriously fussy, egg white driven glorious strangeness that is soufflé. You don’t want to worry about whisking, or folding, or, heaven forbid, fallen puffs that are competing with the turkey for oven space anyway.
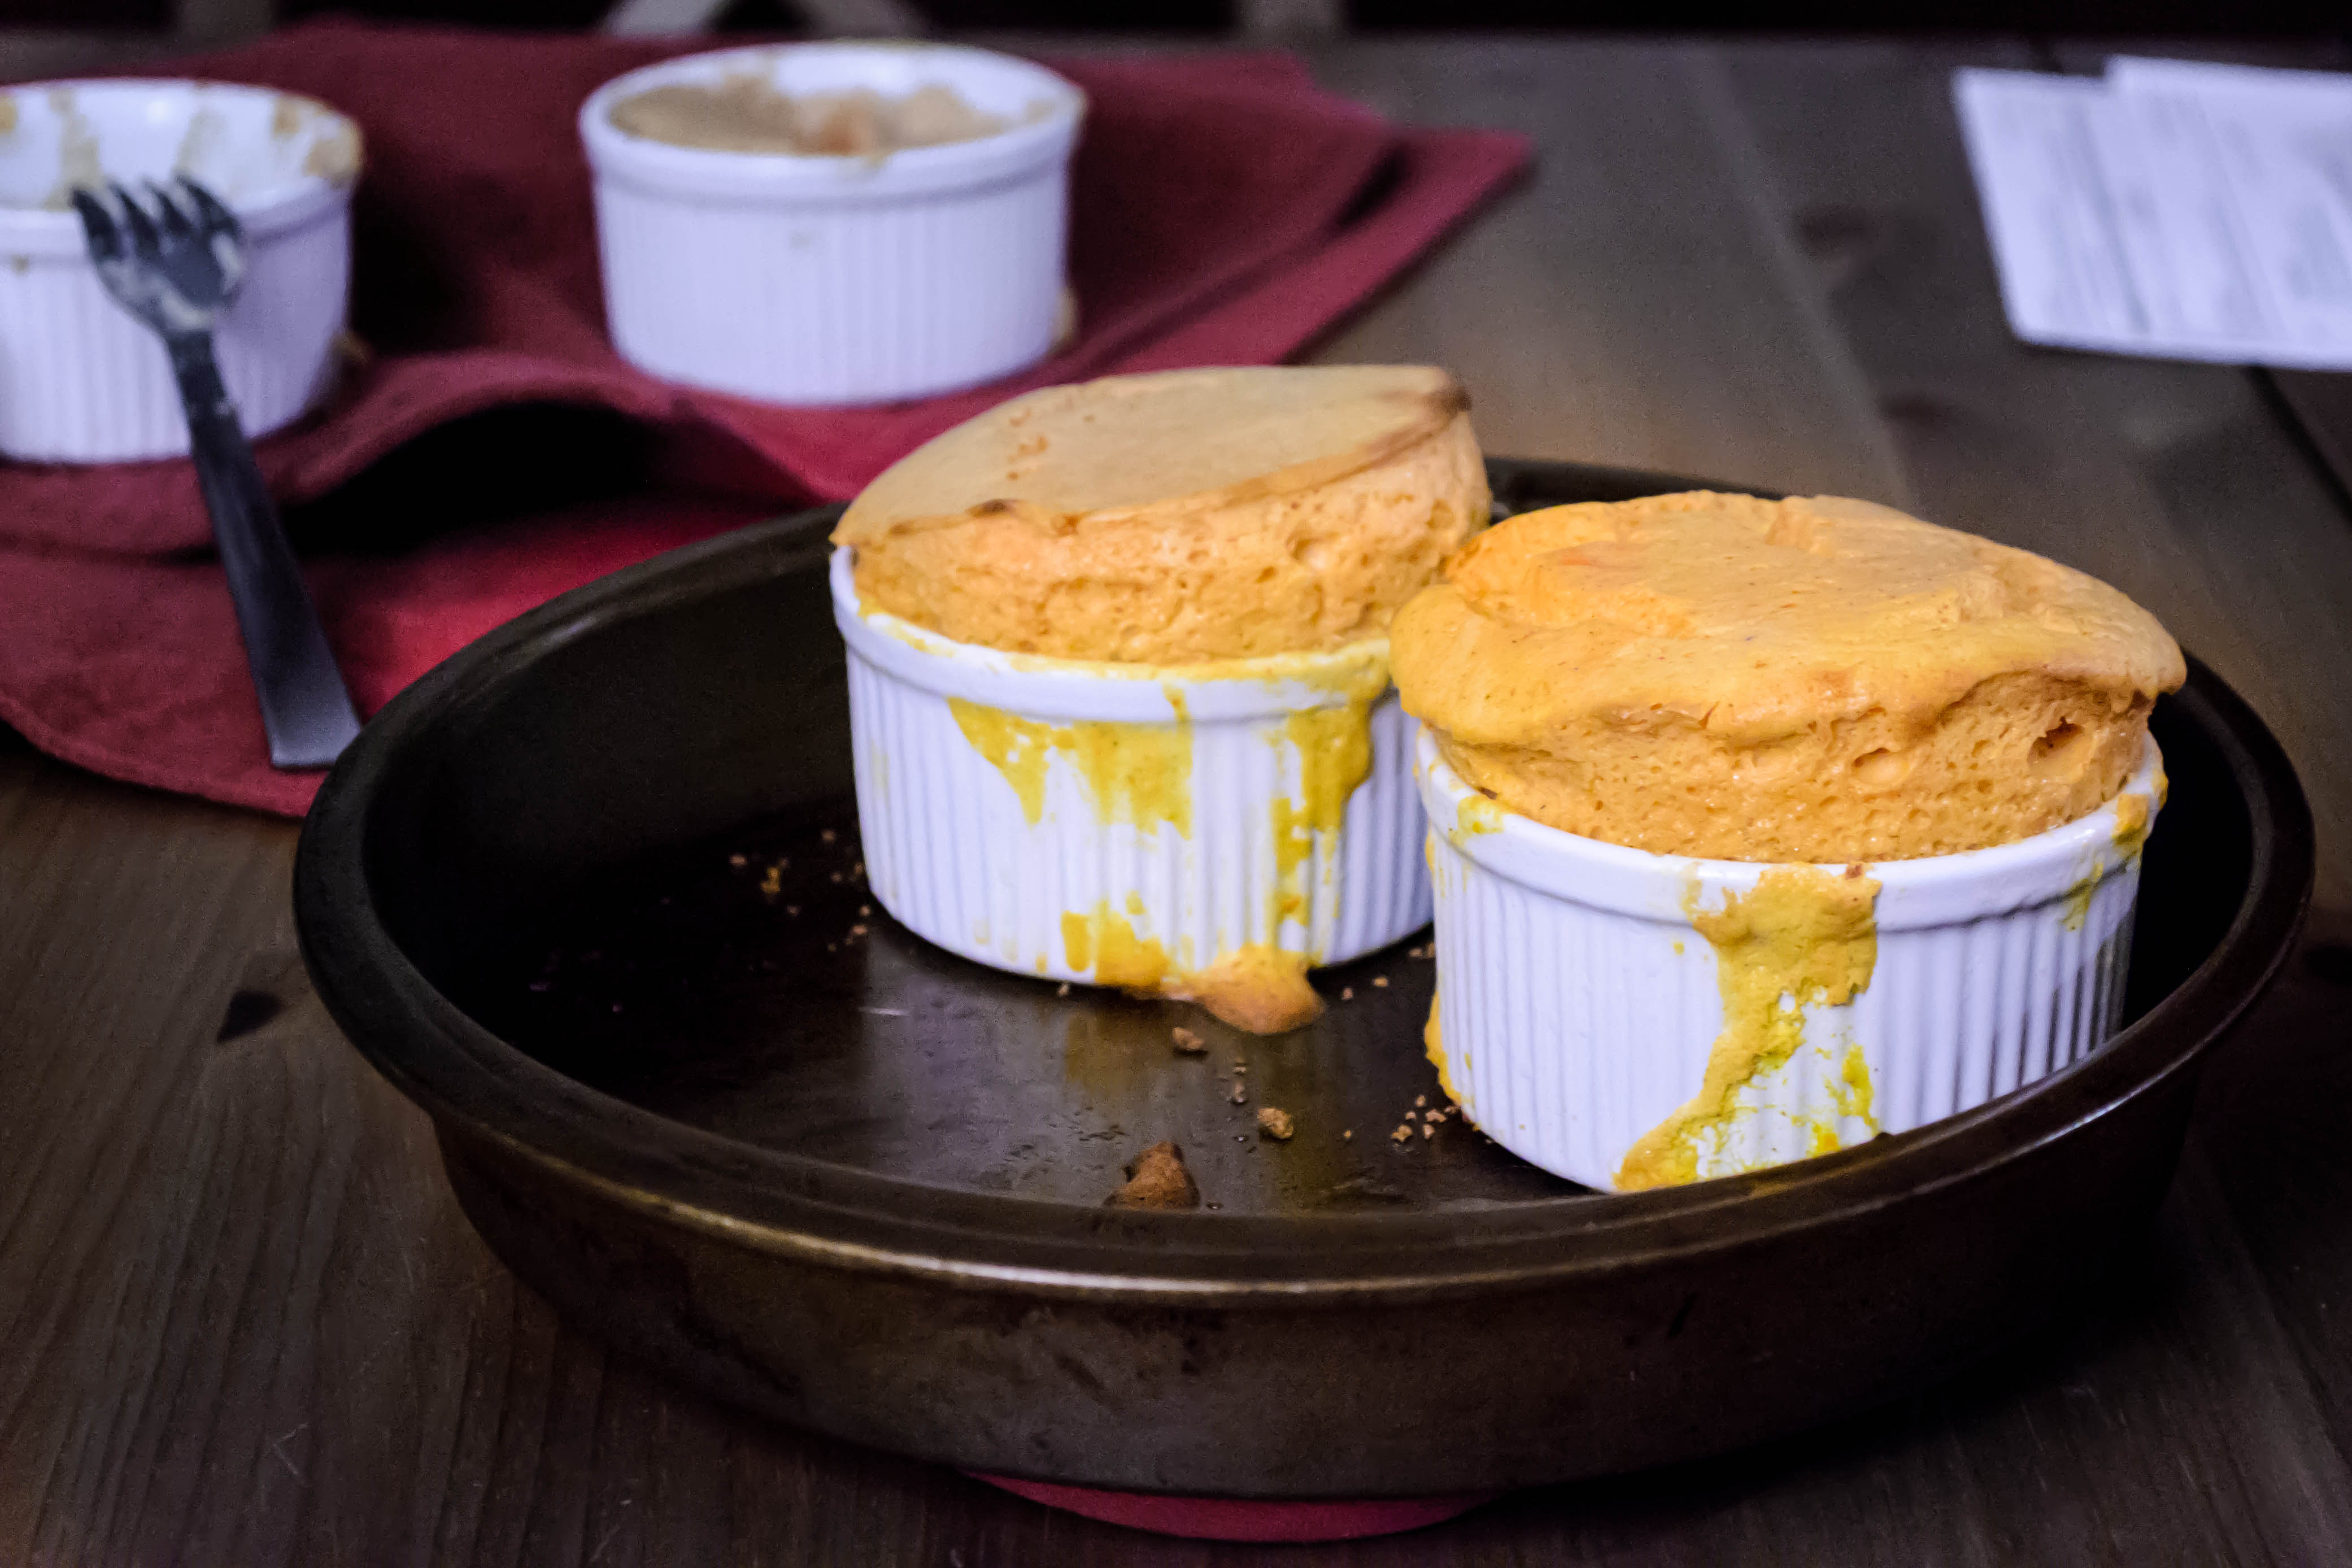
 But as it turns out, at least in my experience, soufflé isn’t really that hard if you are a tiny bit patient and a tiny bit brave. And this one, with the beautiful pumpkin color of the sweet potatoes mellowed and enriched with heavy cream, brown sugar, and cinnamon, and lent a bit of extra pizzazz from a sparing dose of chipotle pepper and a fizz of lime juice, is a delightful choice. The base, lightened with three egg whites, climbs determinedly into large mushrooming domes, and the mixture conveniently uses three egg yolks as well, so you aren’t left with any extra yolks hanging around (though if you are, this is a great resource).

 The thing about soufflés is, they depend on the expansion power of aerated egg whites. That’s what you are doing when you beat them to soft or even medium peaks: filling them with air. Bubbles form and stabilize, and so long as you aren’t too rough with them, they continue to expand in the oven, creating that otherwordly dome of perfect, velvety lightness. This is why soufflé recipes are so fussy about being sure you fold the whites into the flavor base: you don’t want to deflate them. This tutorial gives some helpful suggestions about this process, if you need a refresher or you’ve never been sure. And even that thing about not opening the oven door lest they collapse mid-bake is an exaggeration; though you don’t want to be swinging open and slamming shut the door every five minutes, I tentatively peeked inside once during my baking process, and no holiday-destroying collapse resulted.
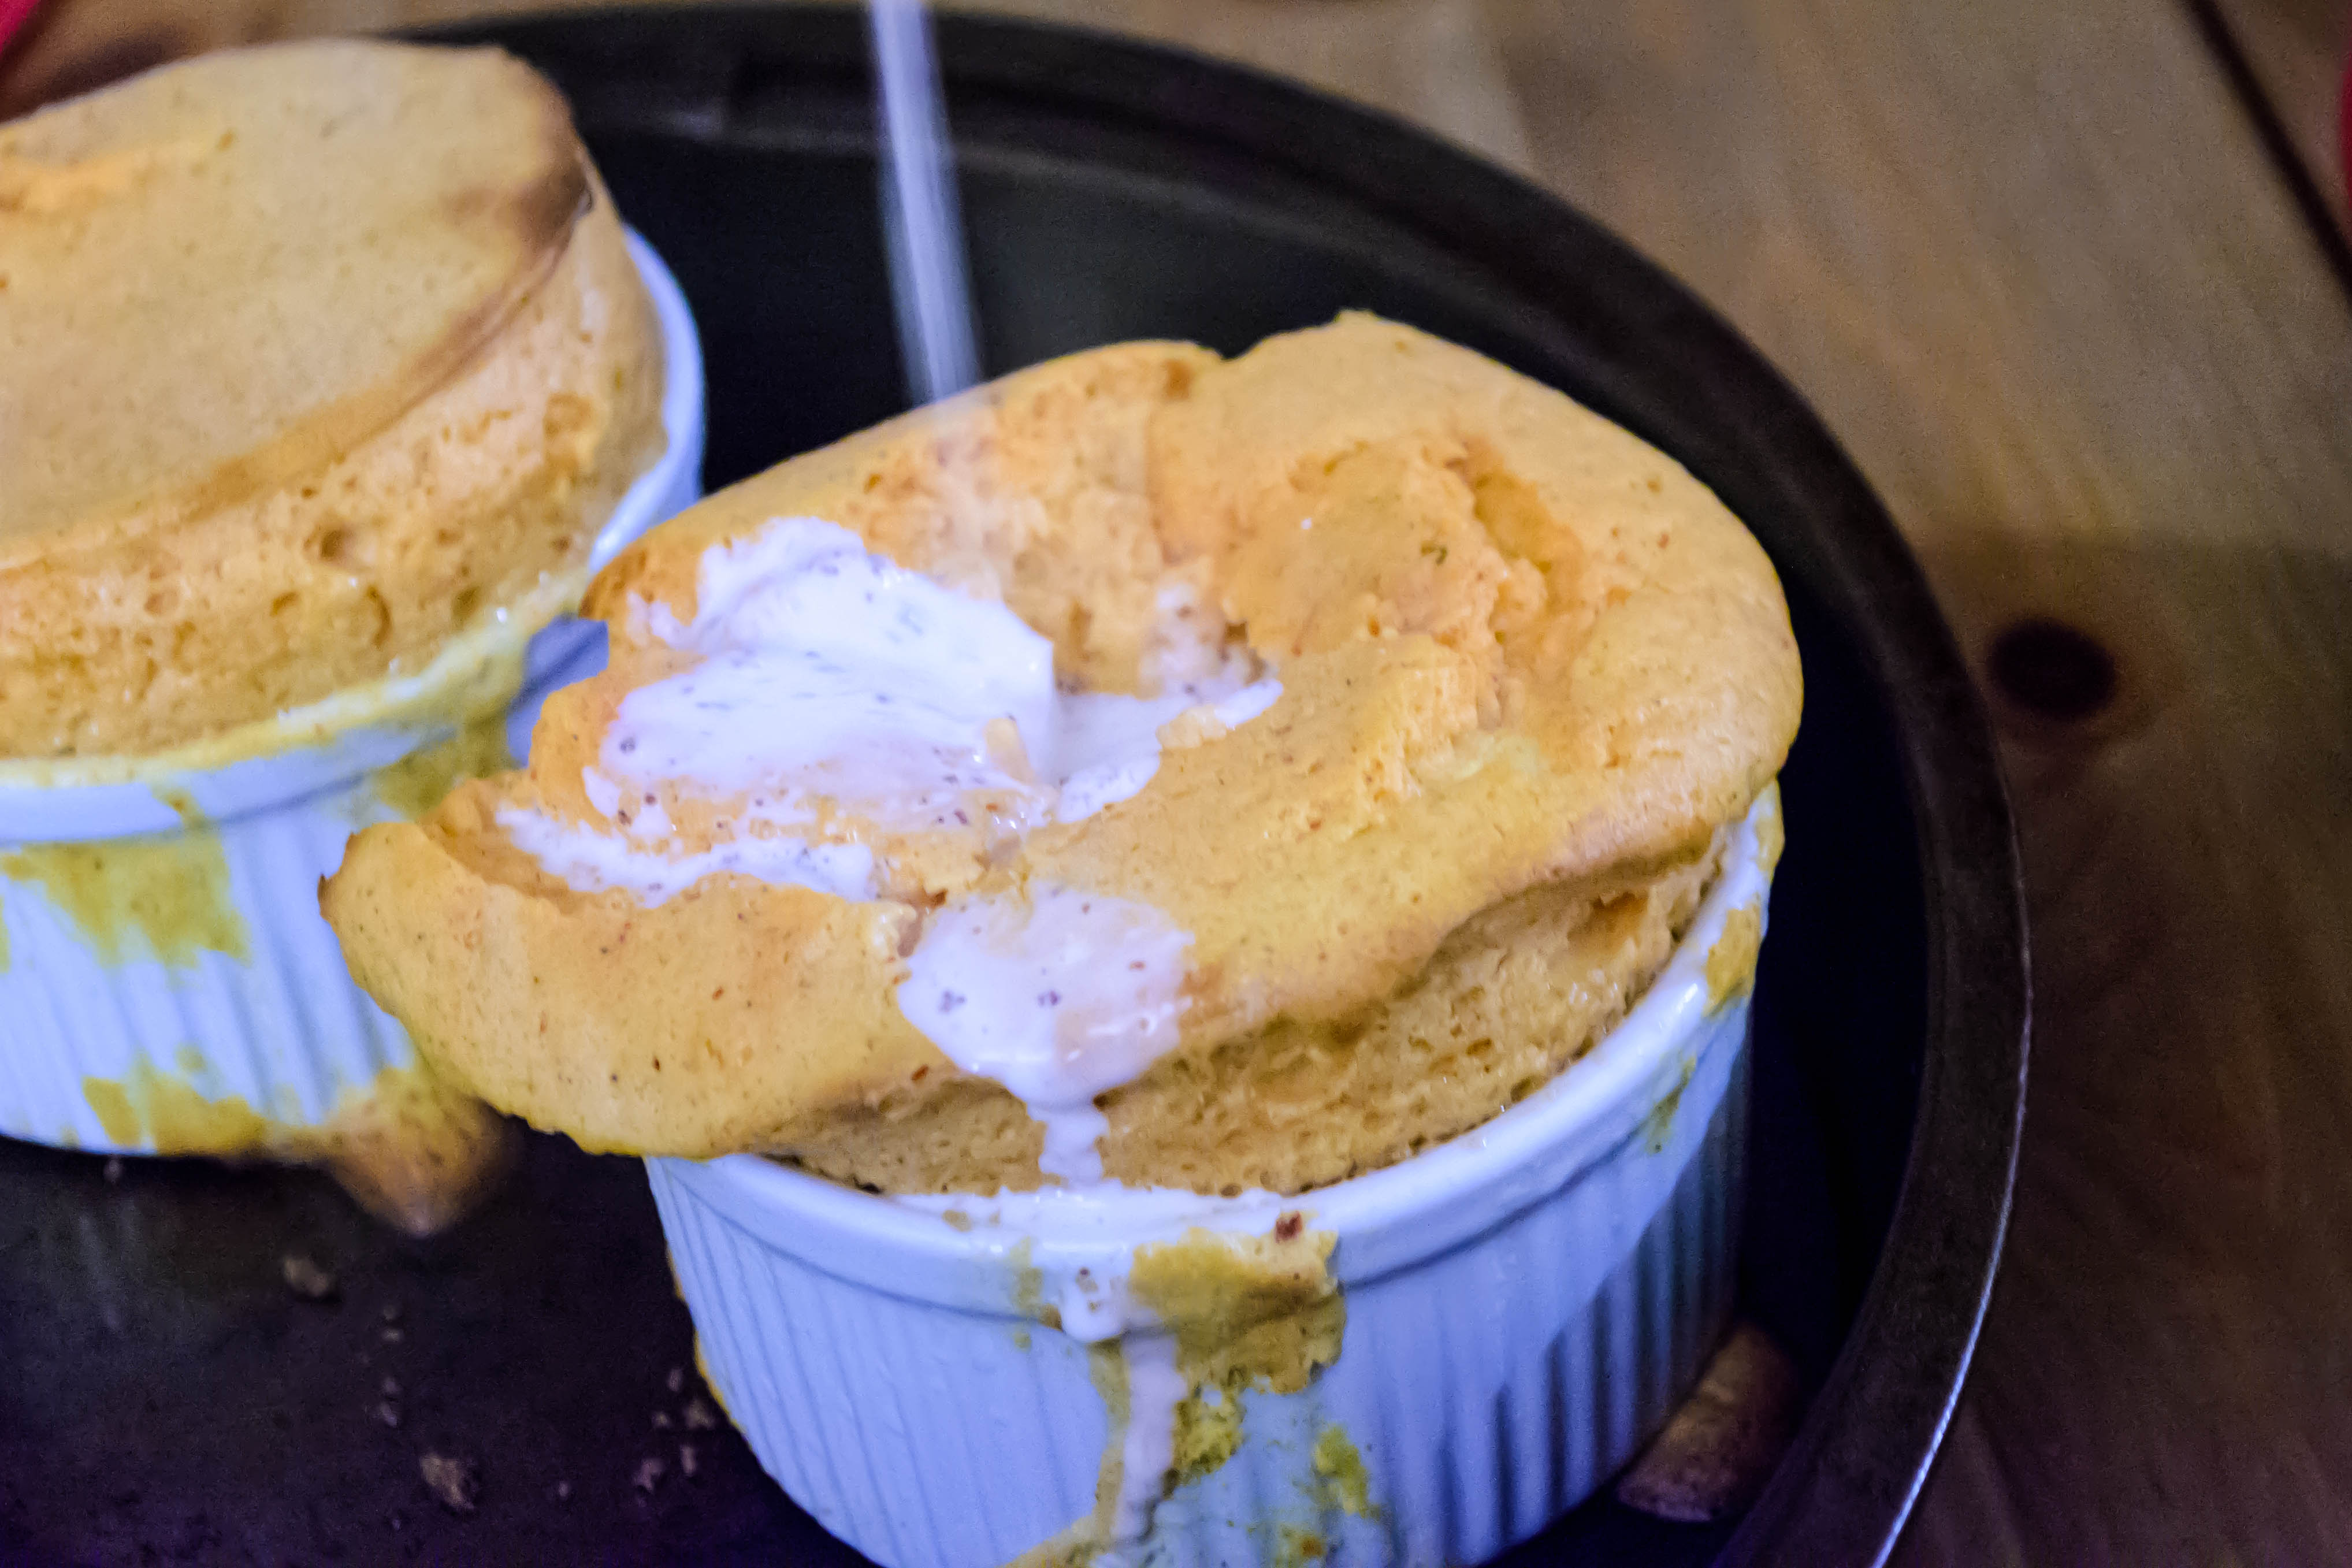
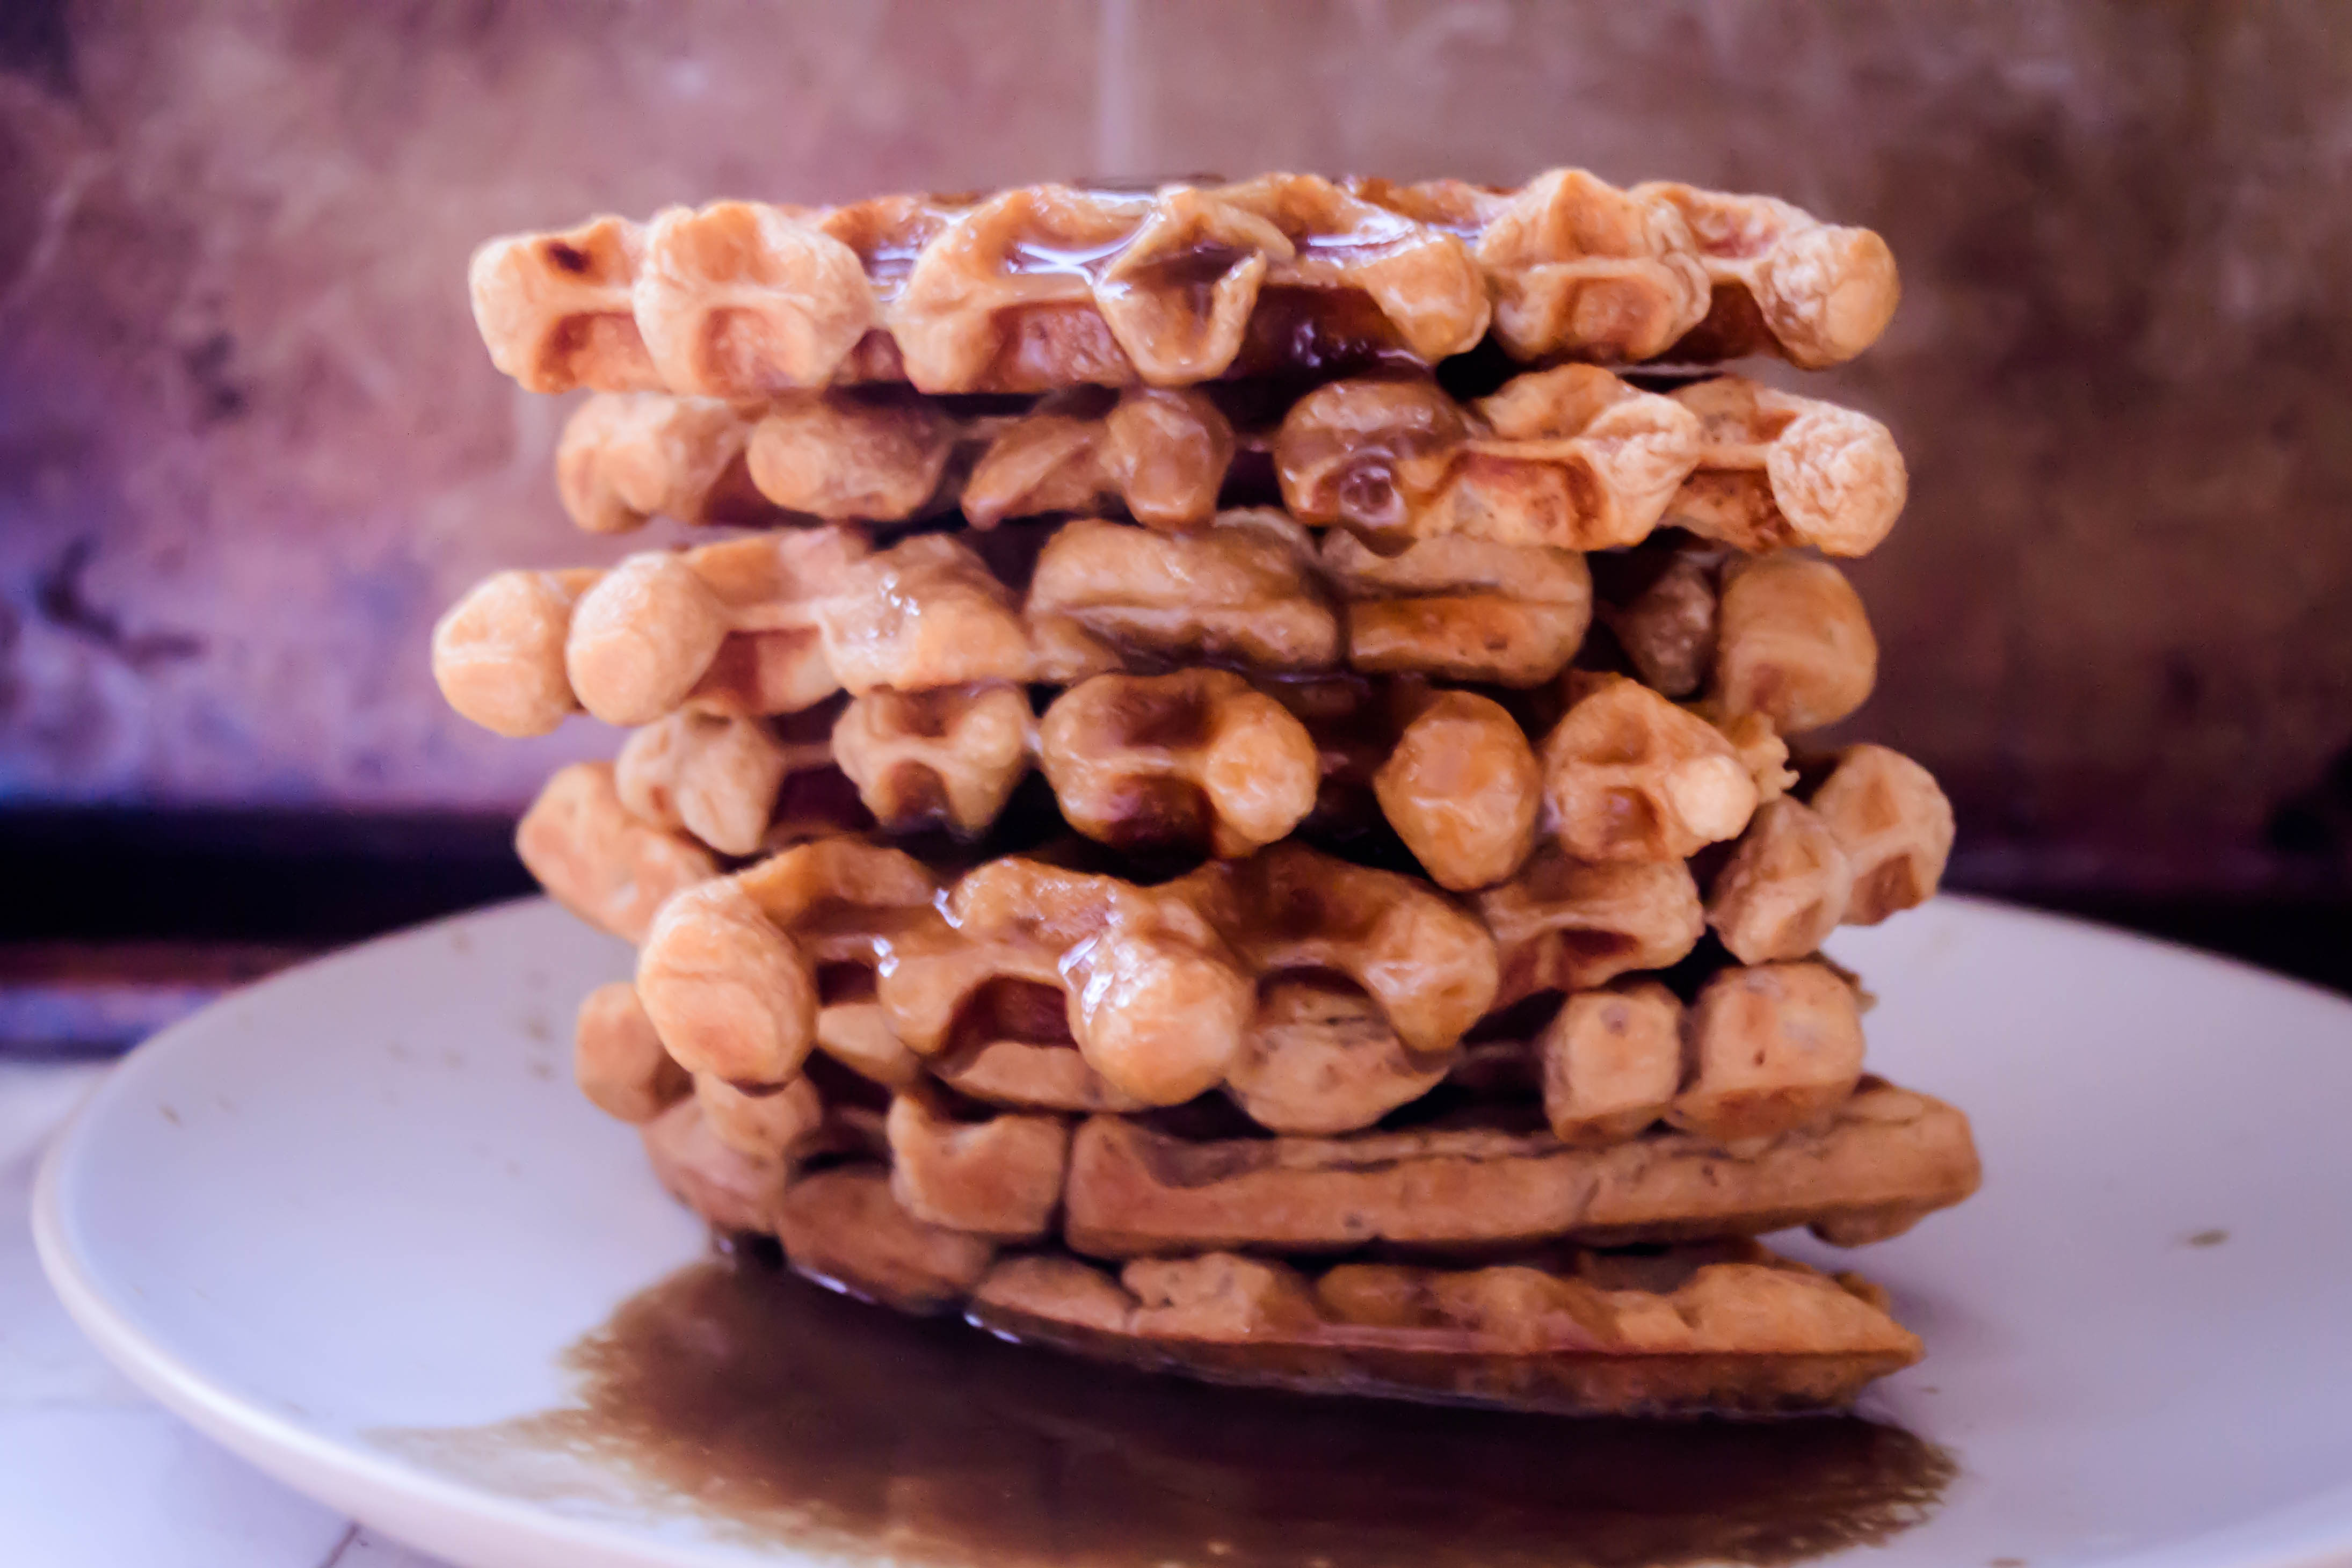
 When you dig tentatively into these delicate, reality-bending puffs, they sigh and fold inward just a touch, the dry, slightly meringue toasted tops crease slightly, and you are free to dig out piping hot, fluffy forkfuls and jam them into your mouth with no further ceremony. Or, if you feel fancy (or if you have more than one gravy boat and you’re dying to take multiples for a spin), make some cinnamon cream to drizzle over the top: whisk about ½ teaspoon of cinnamon into a ½ cup or so of heavy cream (estimate 2 tablespoons of cream per diner), and you’ve got a simple and luscious sauce to add to your fluffy masterpieces. This also cools the heat, if you have diners with delicate tongues or you’ve gone a little heavy on the chipotle.
 Soufflés may sound scary, and you may think Thanksgiving is no time to experiment, but I’ve got faith. I think you can do it. And when your mother-in-law, or your best friend, or your fussy aunt looks impressed, you can lie and say it was really hard but you’re so glad it came together as beautifully as it did. I won’t tell a soul. You can save the marshmallows for some hot cocoa, where they belong.
 * Alternatives: if you don’t like spicy, take out the chipotle and add a few generous grinds of black pepper instead. If you want this for dessert, add an extra 2 tablespoons of sugar to the souffle base itself, and maybe a teaspoon of vanilla, and top the baked soufflés with a sweeter version of the cinnamon cream referenced above: 1/2 cup heavy cream (estimate about 2 tablespoons per person), 1/2 tsp cinnamon, 2 teaspoons sugar, lightly, lightly whipped until only just barely thickened. If you want to booze it up, add a tablespoon or two of rum or bourbon.
If soufflé is just not going to happen but you still want marshmallow-free sweet potatoes, may I humbly suggest this as another option?

Cinnamon and Chipotle Sweet Potato Soufflé
Hugely adapted from Cooking Light
Makes 6 servings
2 tablespoons butter, for ramekins
2 tablespoons brown sugar, for ramekins
2 cups sweet potato cubes, from 1 large peeled, orange-fleshed sweet potato
½ cup heavy cream
¼ cup brown sugar
2 teaspoons lime juice
½ a chipotle pepper from a can of chipotles in adobo (or more, if you like it spicy)
½ teaspoon salt
½ teaspoon cinnamon
3 egg yolks
3 egg whites
¼ teaspoon cream of tartar
- Preheat the oven to 375F.
- Butter and sugar six single-serving ramekins (mine fit a little more than ½ a cup), then stow in the freezer. The sugar sanding creates texture to help the soufflé climb the walls of the container, and freezing it makes it take longer to dissolve in the heat of the oven, so you’re giving your puff a head start.
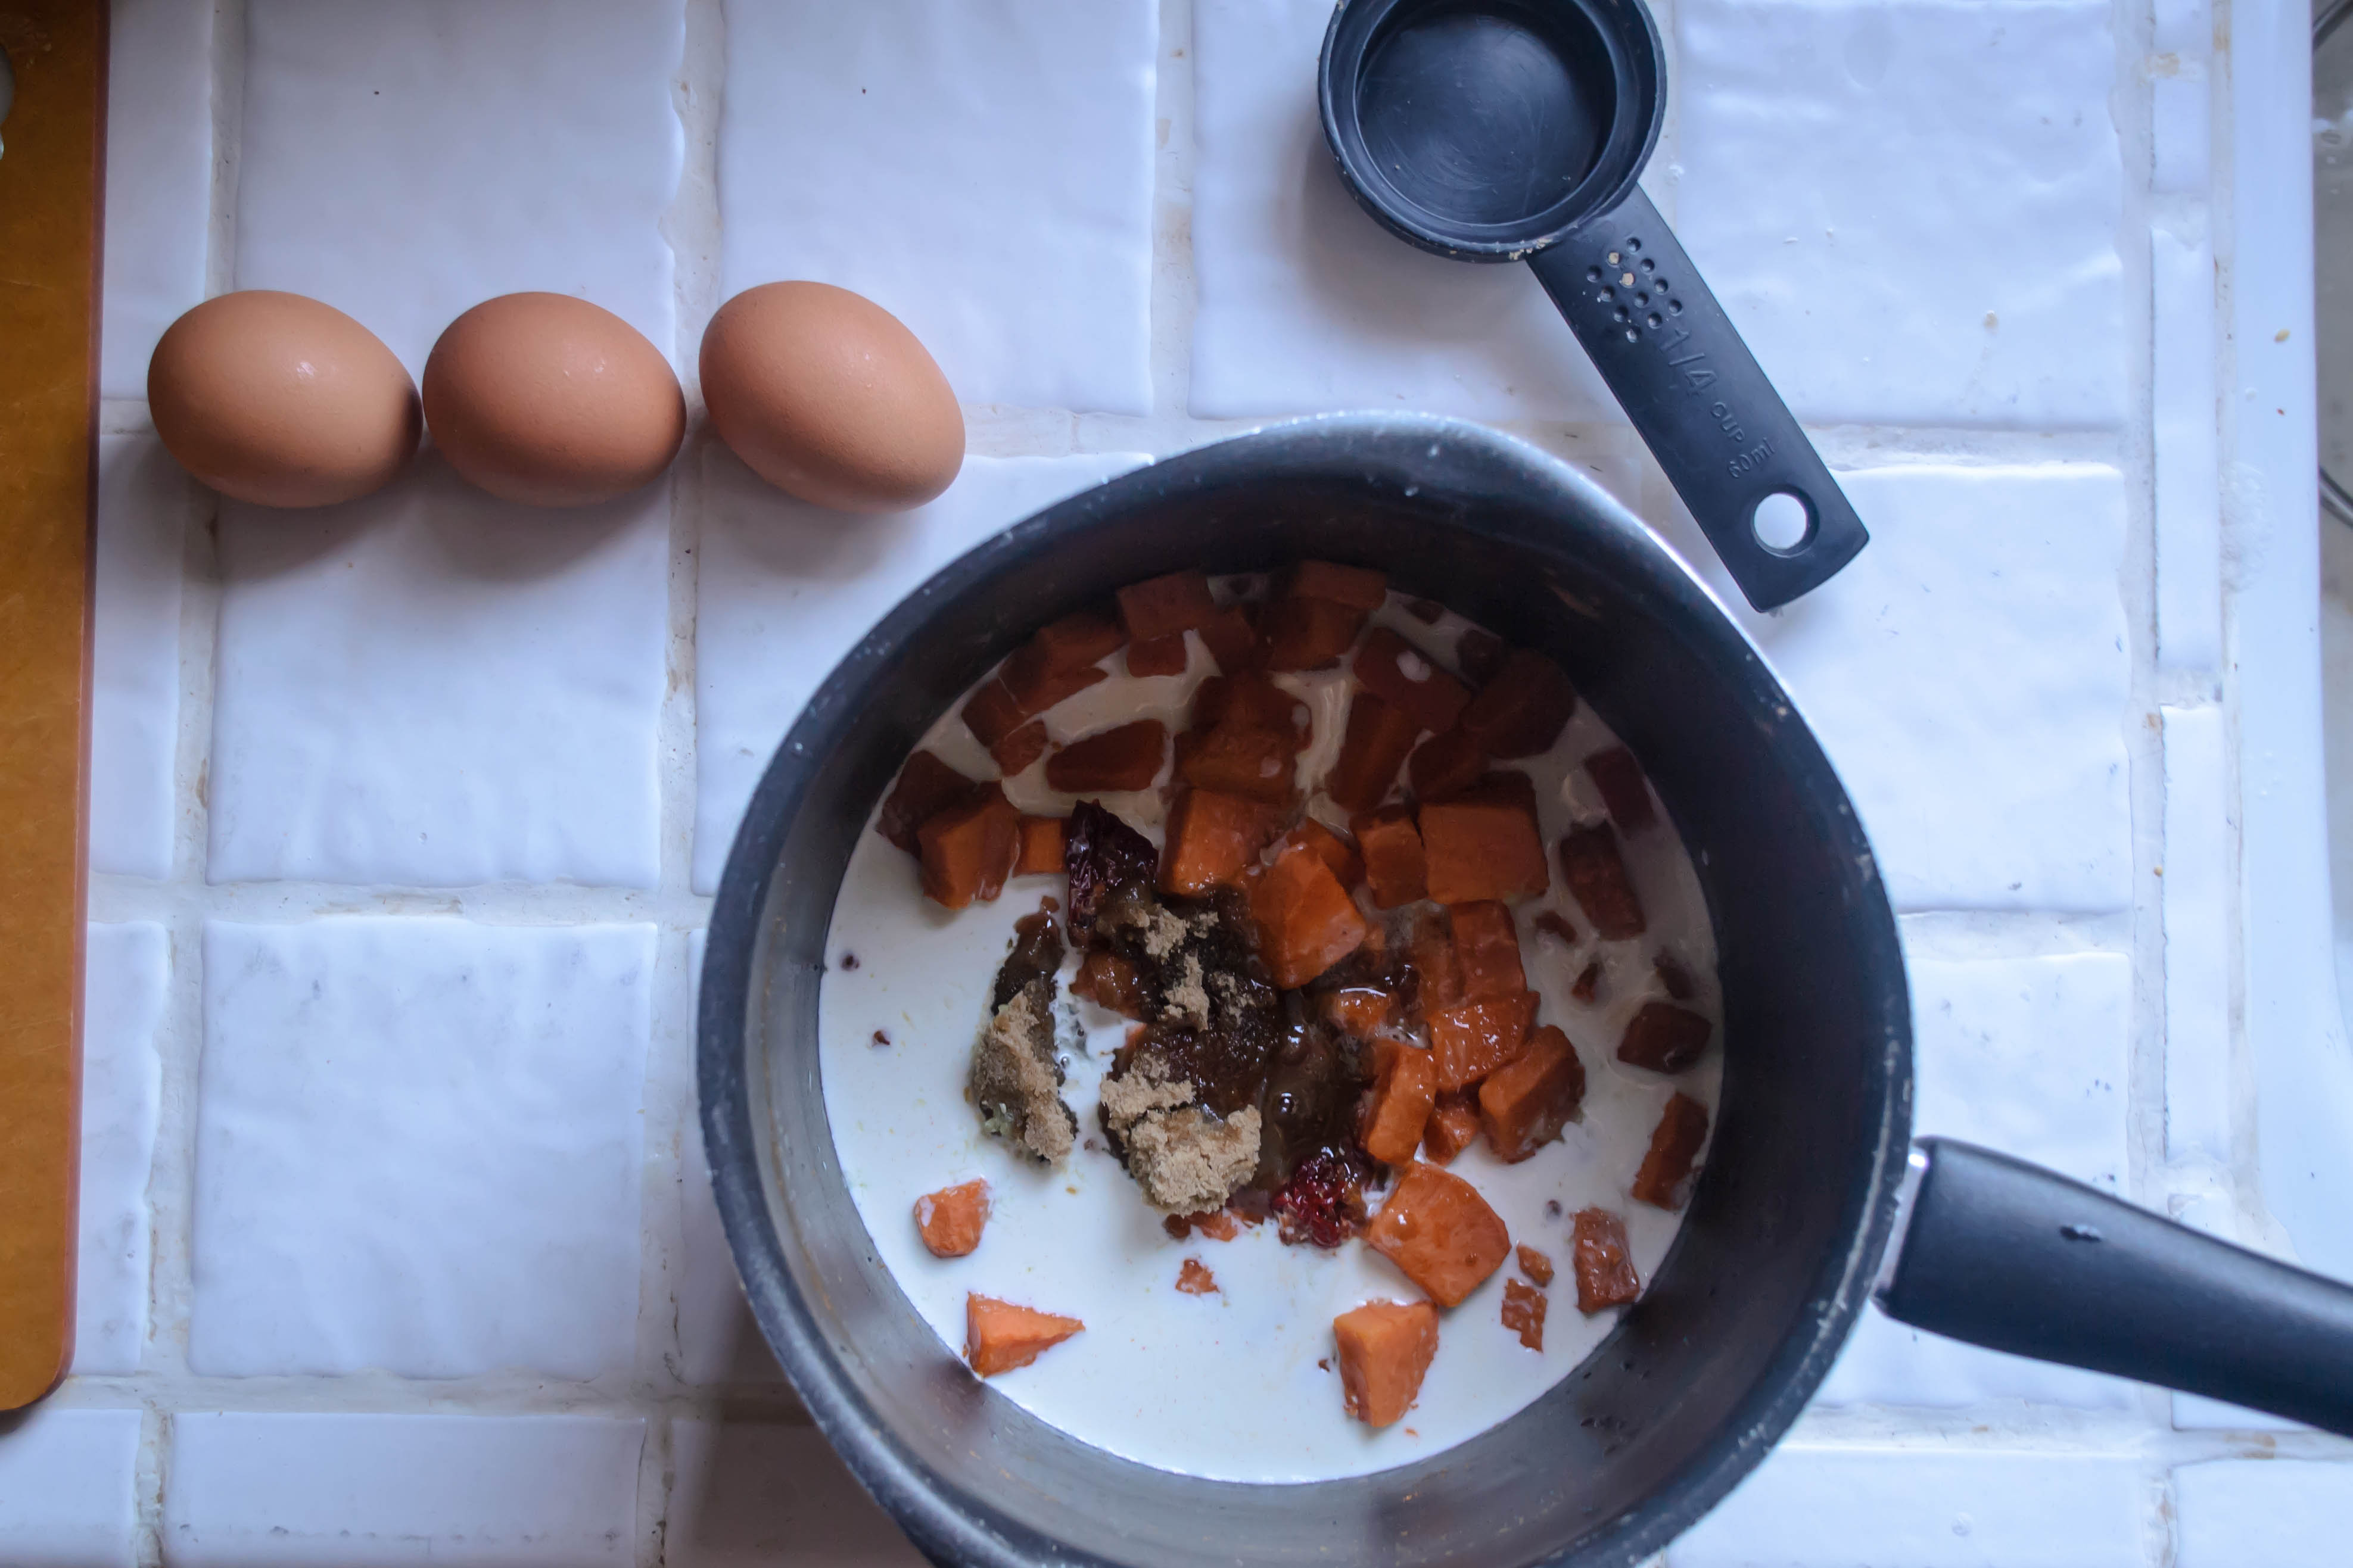
- Drop your peeled sweet potato cubes in boiling salted water and cook until they are very tender but not yet falling apart. Drain and set aside to cool.
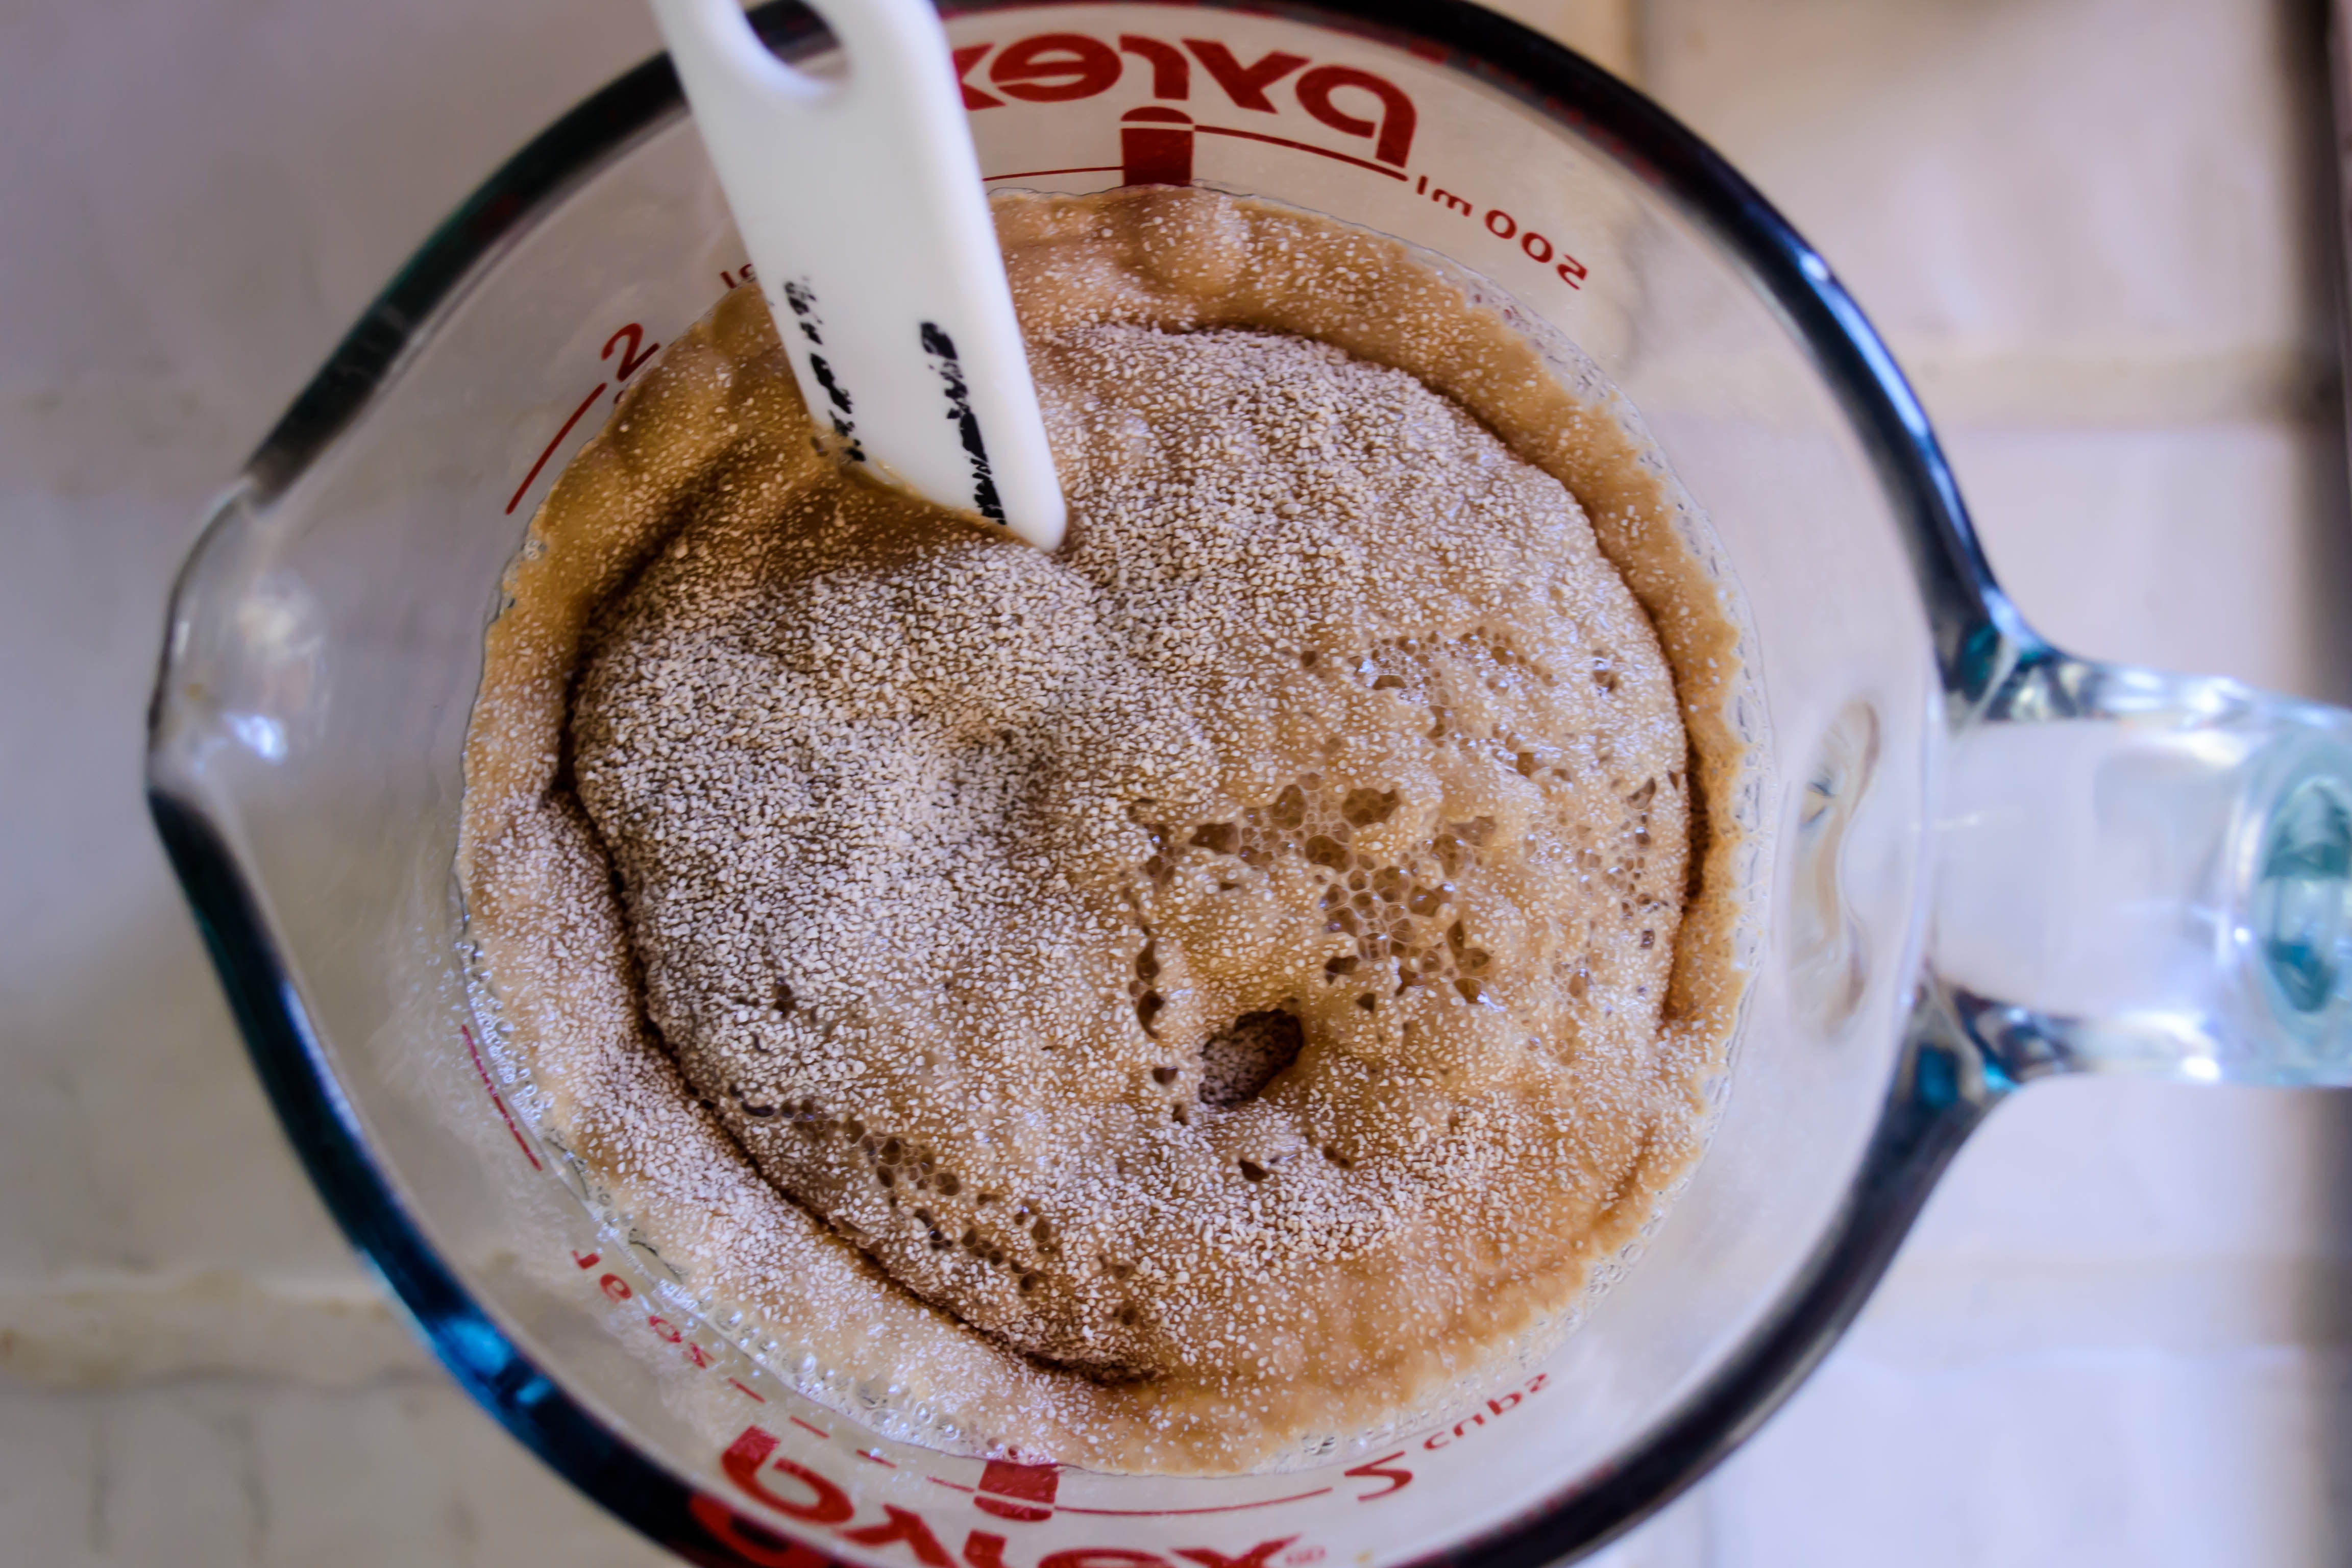
- In a large bowl (or the same pot you used to cook the sweet potatoes), combine the heavy cream, ¼ cup brown sugar, lime juice, chipotle pepper, salt, and cinnamon. Add the sweet potato cubes and mash, whisk, or otherwise blend into a smooth, thick soup. I used my immersion blender, which worked very well. You could also use a regular blender or a food processor. The key here is that you want a scrupulously smooth mixture.
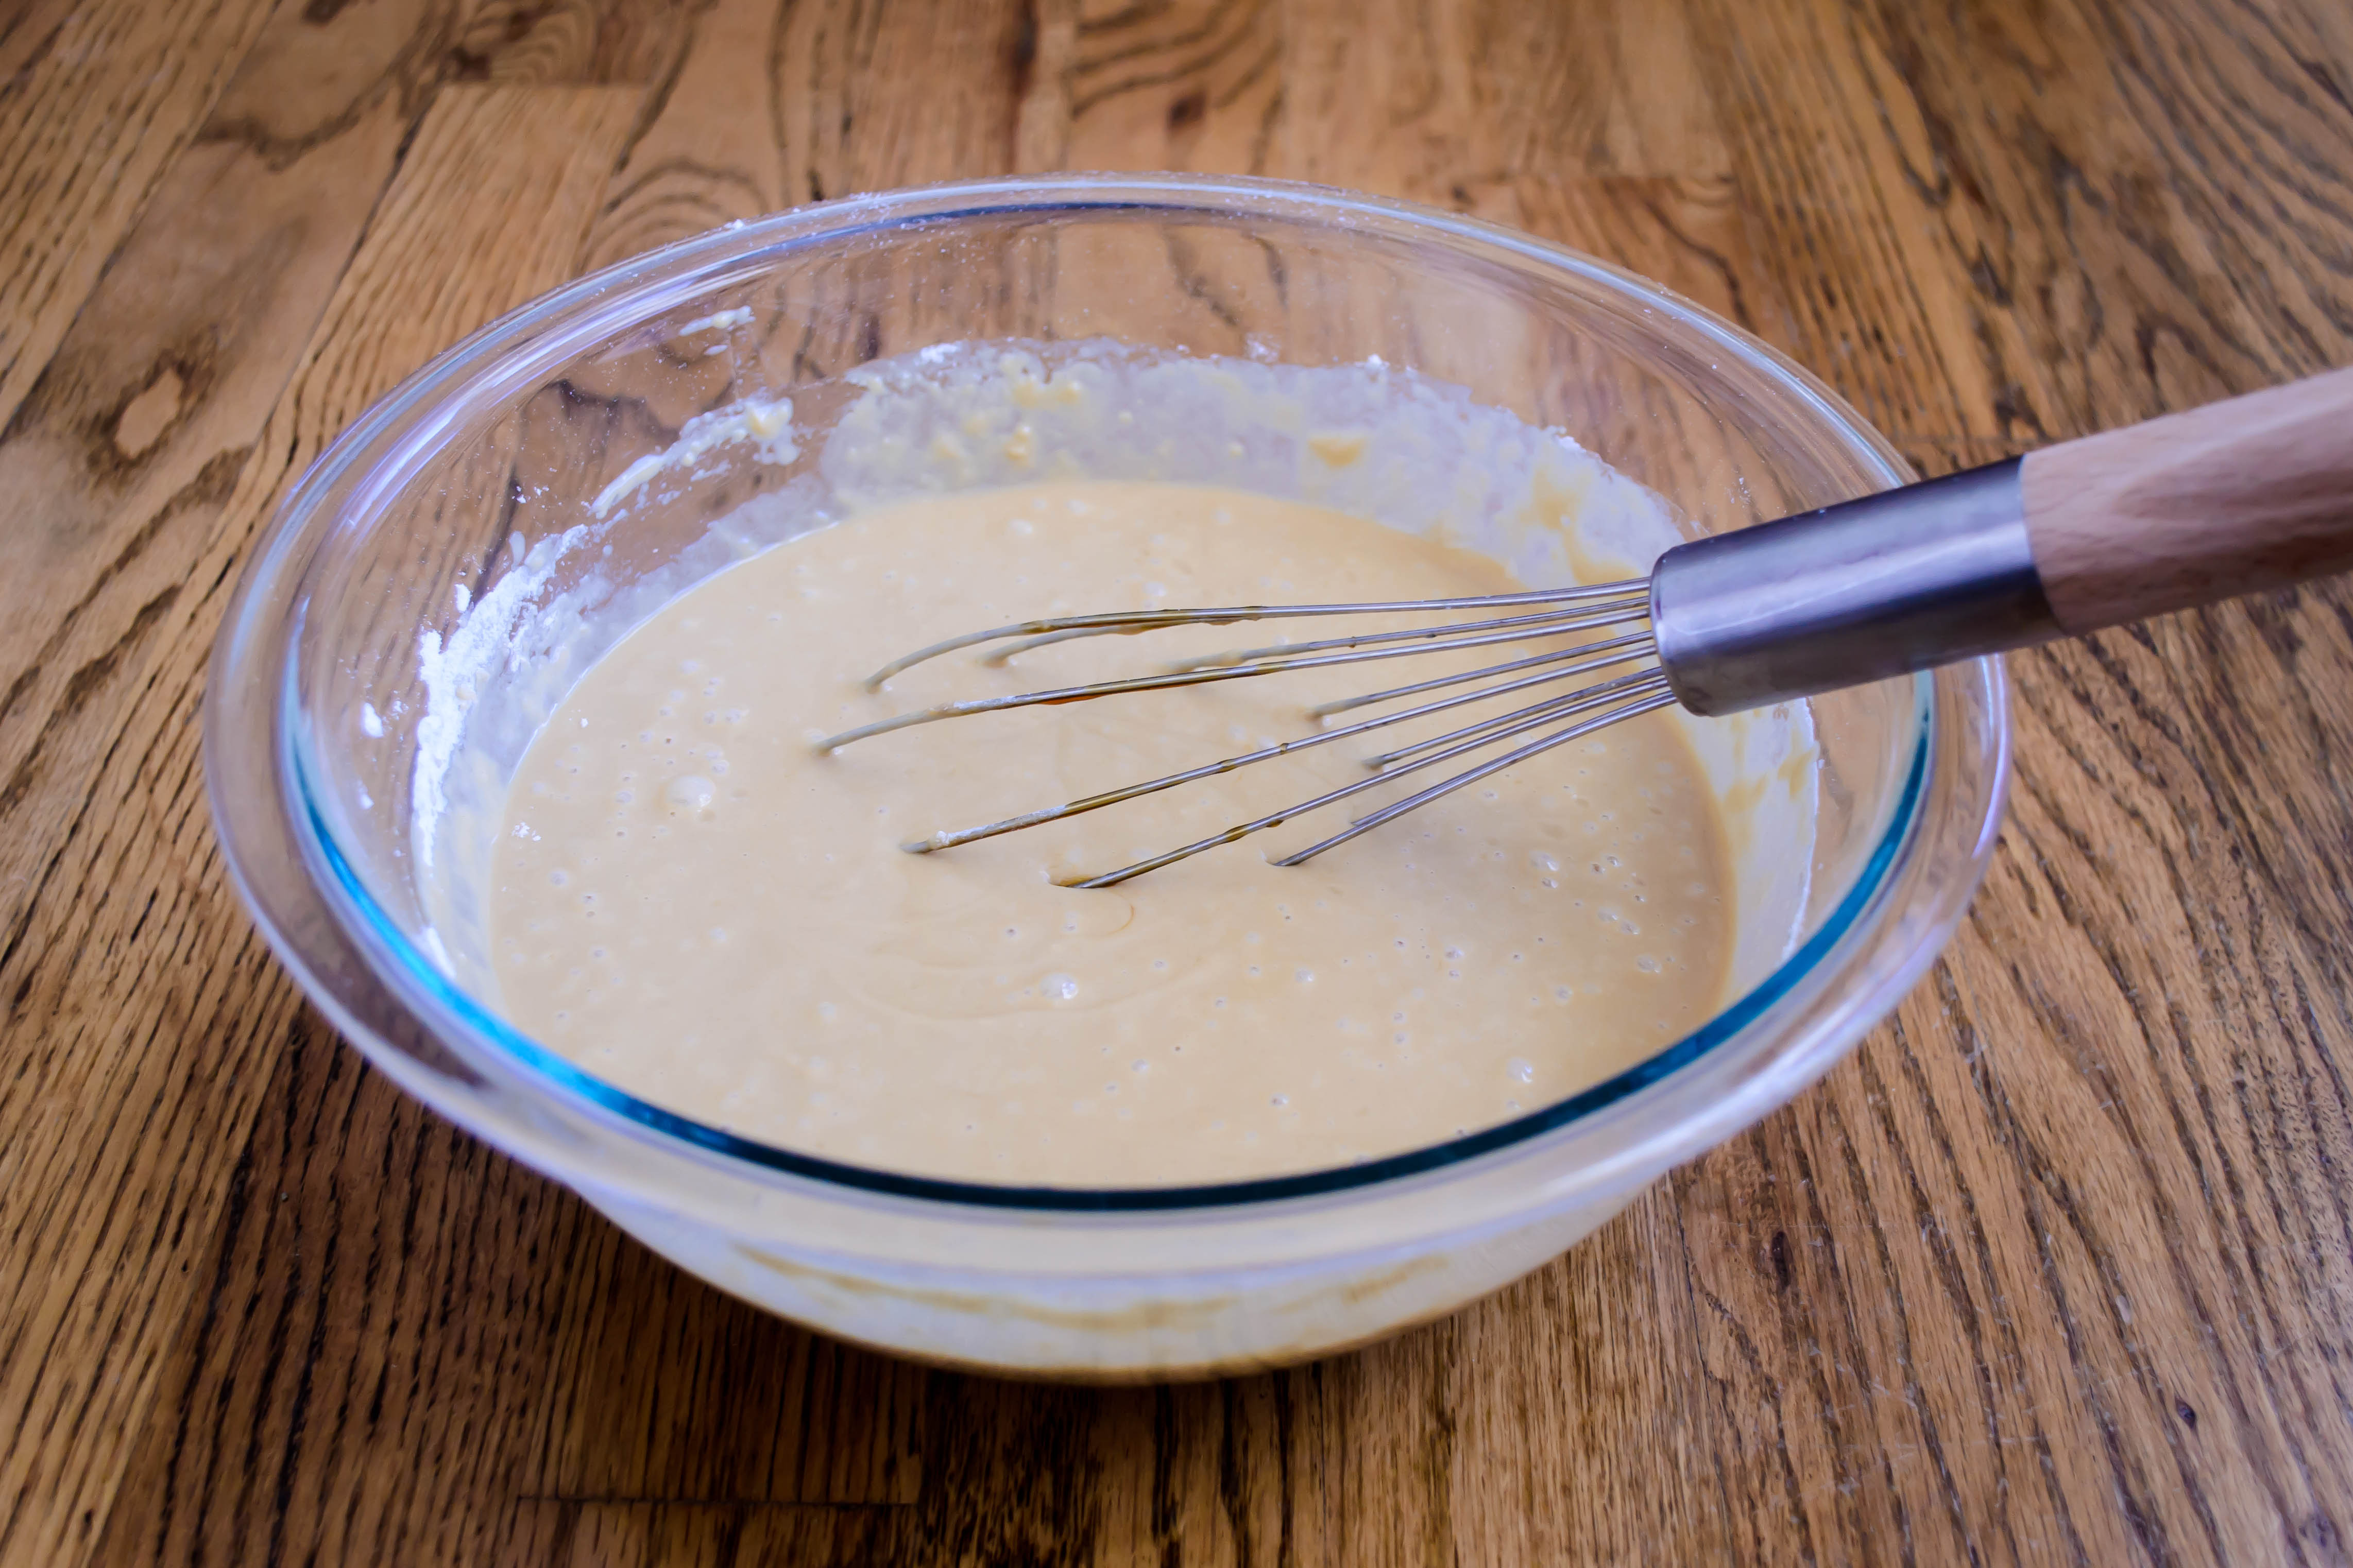
- Separate the three eggs, dropping the whites into a clean, dry, medium mixing bowl and the yolks into the sweet potato mixture. Take care not to get even a trace of yolk into the whites, or they will not whip into peaks. Whisk or blend the yolks into the sweet potato mixture until no streaks of yellow remain.
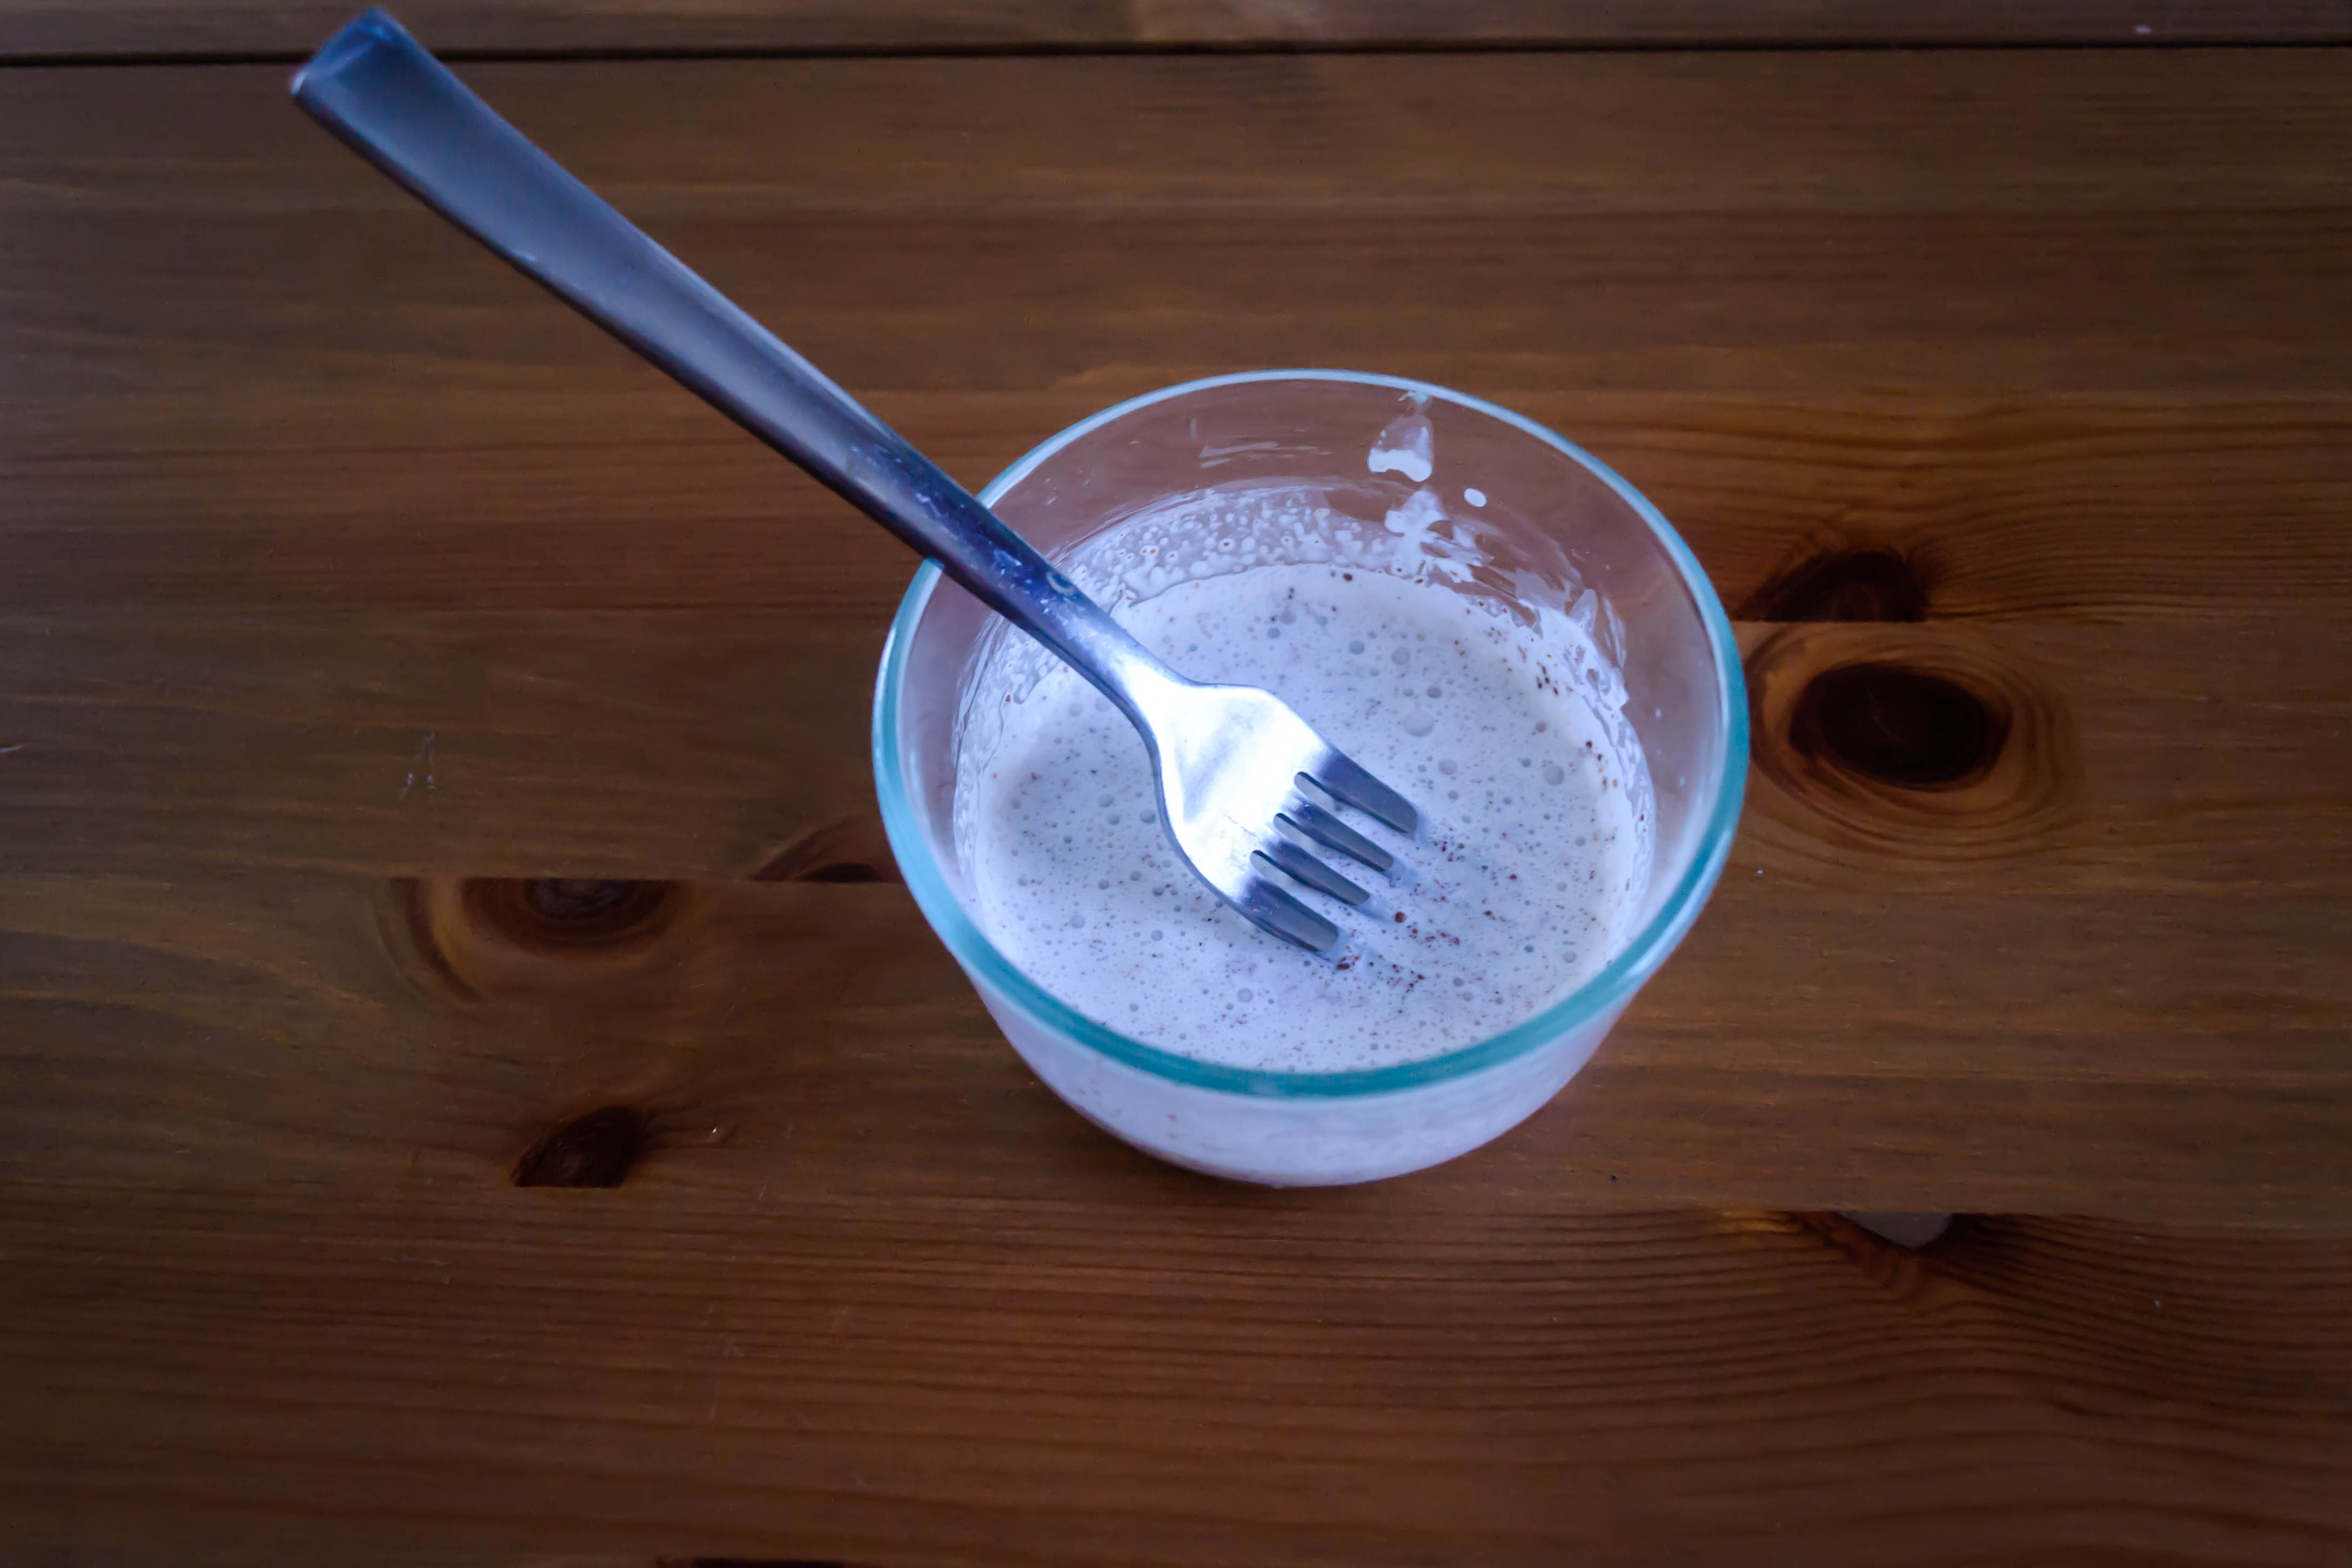
- Add the cream of tartar to the egg whites. Using a handheld electric mixture (or a whisk, if you need to work on your arms), beat the whites at first over medium, then high speed until medium peaks form. The whites will foam, and then become pure white, and finally begin to stiffen like a good whipped cream. To determine the stiffness of your peaks, turn off the beaters and lift them straight out of the whites. If you get little hills that collapse back into the mixture, you have soft peaks. If you get little tips that fold over just a bit when you pull the beaters away, you are looking at medium to stiff peaks, which is what we want.
- Using a rubber spatula, deposit ⅓ of your whites into the sweet potato and egg yolk mixture and stir until no white streaks remain. No need to be careful with this part – full integration is just fine.
- Now, slide the other 2/3 of the whites into the sweet potato mixture and fold in gently until just combined – some white streaks may remain and that’s fine. I like to fold by drawing my spatula around the edge of the bowl in a horseshoe shape, then pulling it back toward me in a straight line.
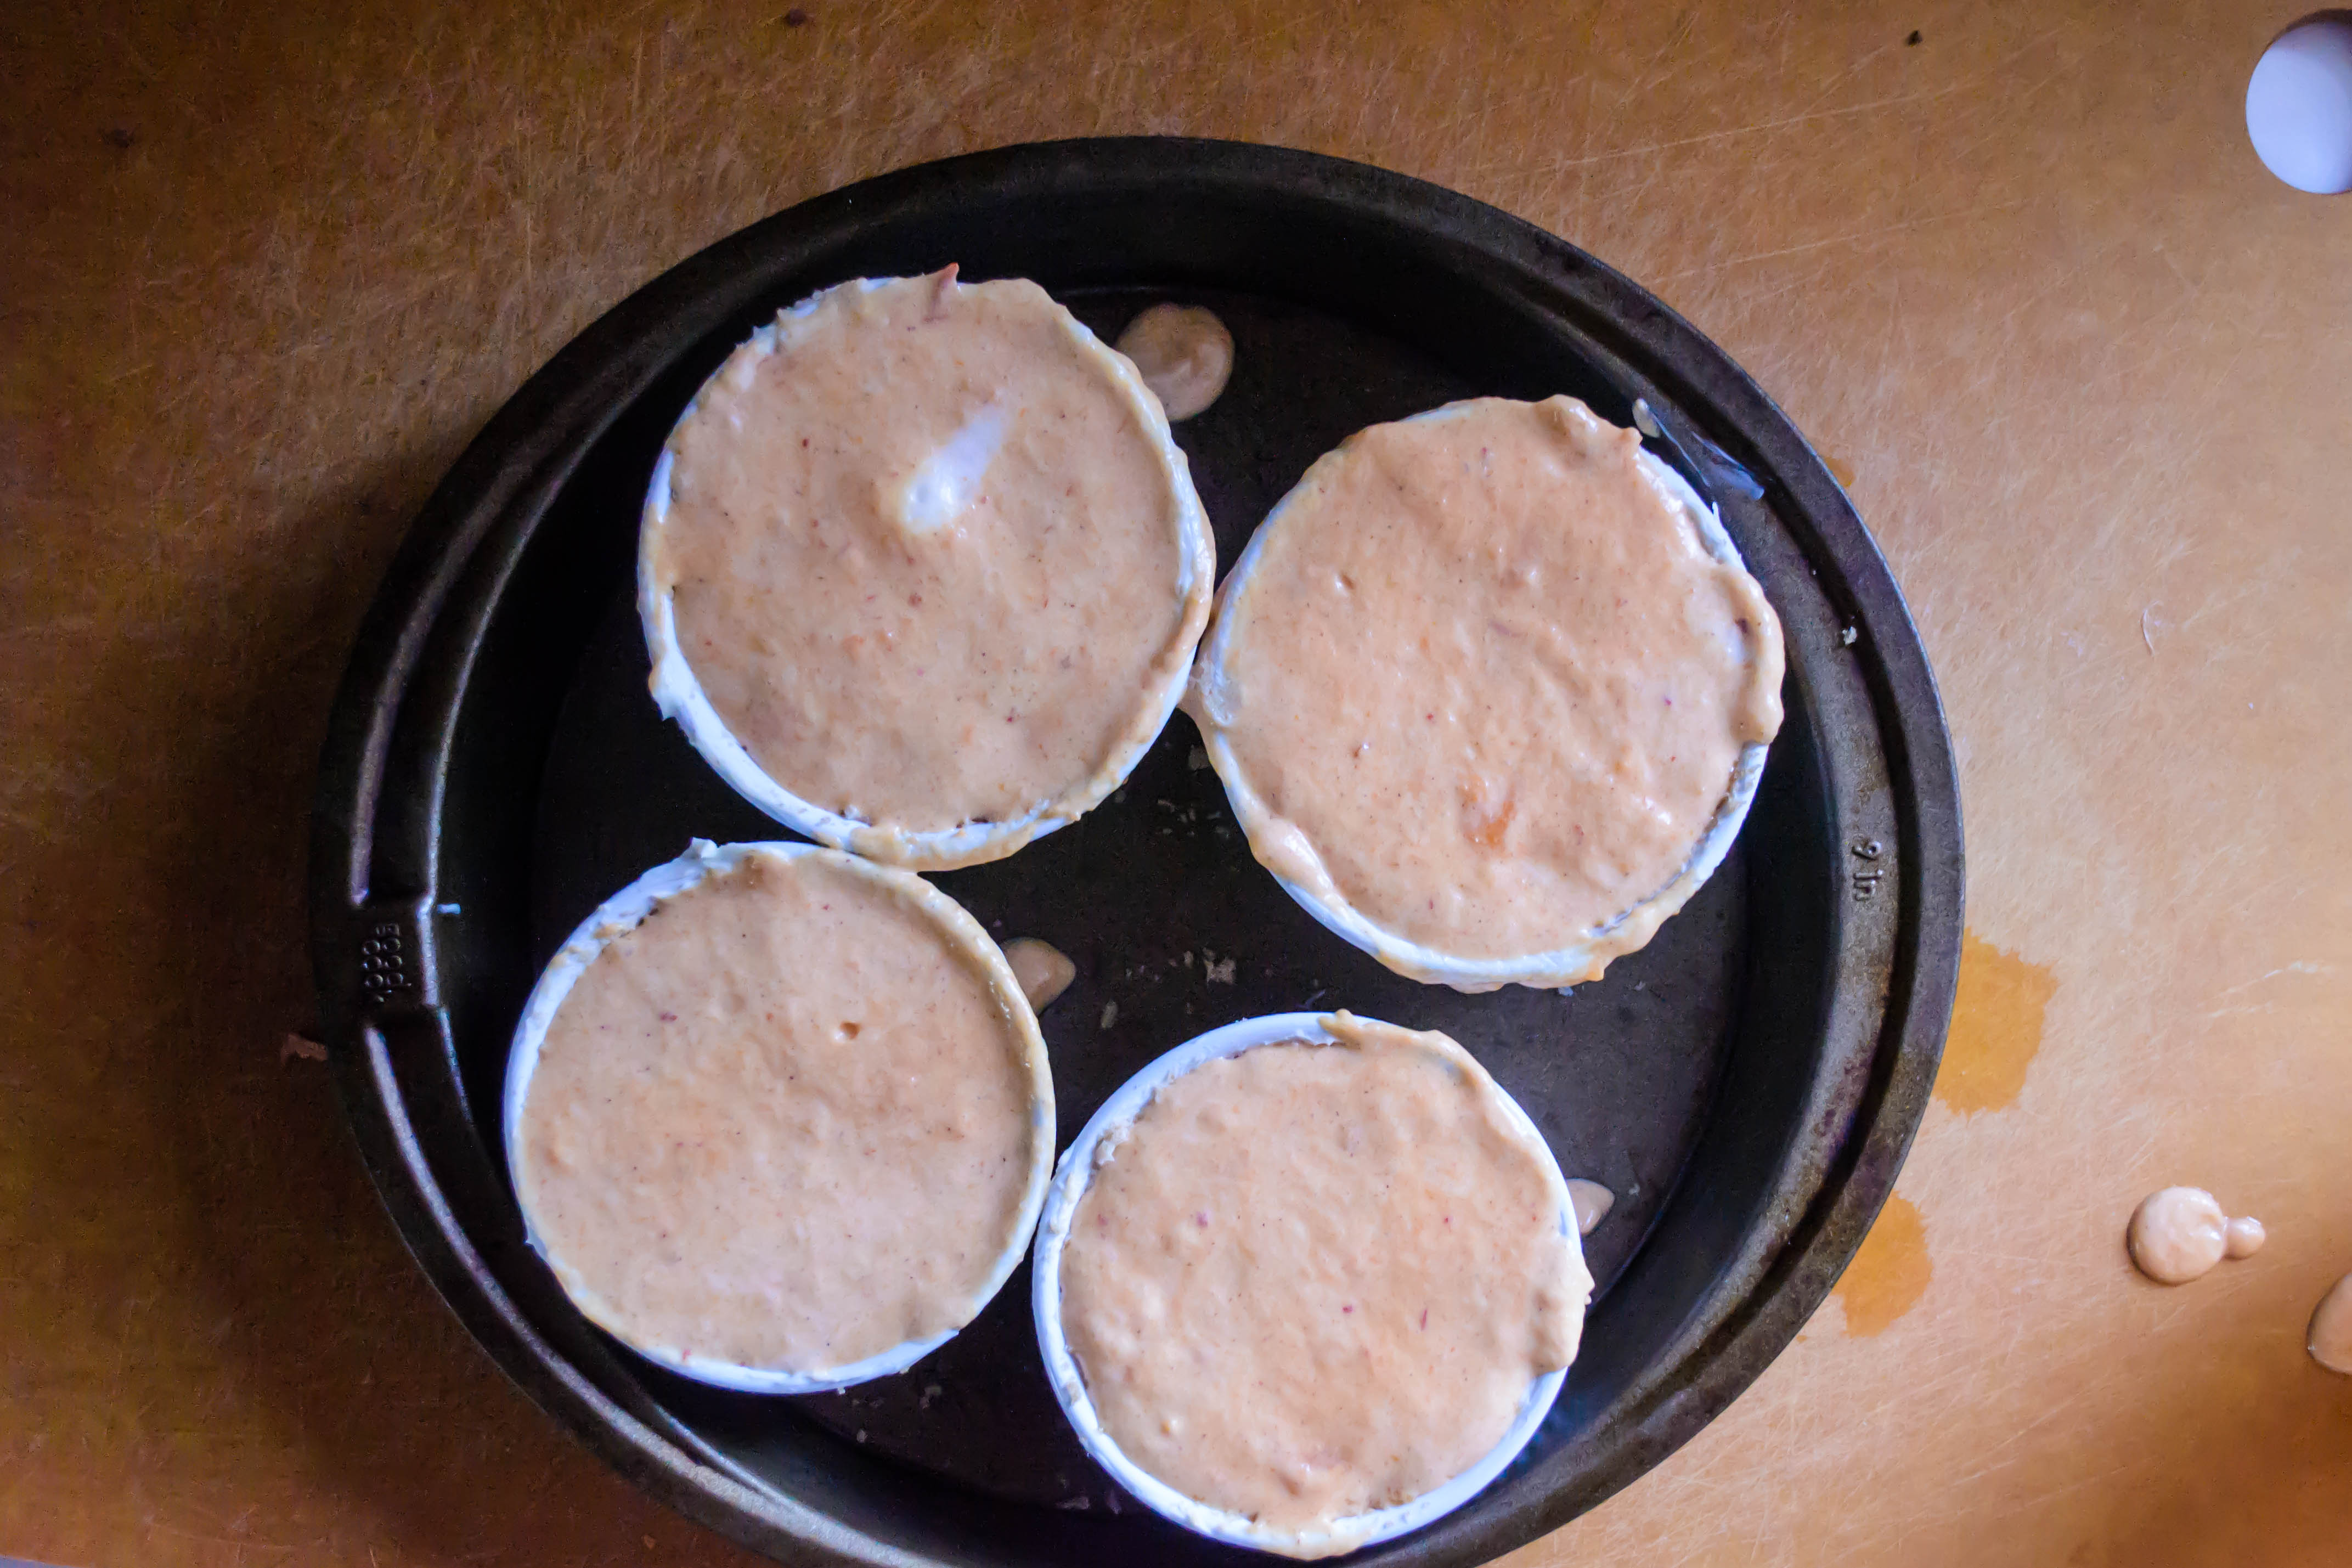
- Retrieve your frozen ramekins and fill each with the soufflé mixture, being careful not to let it plop from too high (in case of deflation). When each cup is full, smooth off the top – this seems fussy, but it will aid in even rising.
- Bake in a preheated 375F oven for 25-30 minutes, until the soufflés have puffed up at least an inch or two above the top rim of the ramekins. Nearly half an hour seems like a long time, and indeed, I was worried mine were overcooked because some of the edges took on a toasty golden color, but I found this contributed a delightful flavor, and was reminiscent of a perfect campfire marshmallow.
- Serve immediately, plain or topped with cinnamon cream.

 As I lounged on the couch Friday evening, halfheartedly sketching out a grocery list even as Thanksgiving dinner still occupied two thirds of my fridge and three quarters of my brain (let’s not even mention my stomach), I asked N. what he wanted to eat this week. “Heavy on the veg,” he said, and that was that. Into the cart, and then into a pan, went all the greens I could fit, with some salt, some pepper, and some sesame oil. On a whim, thin slices of garlic and a cautious tablespoon of orange marmalade followed, and the gluttony that resulted could more kindly be called love.
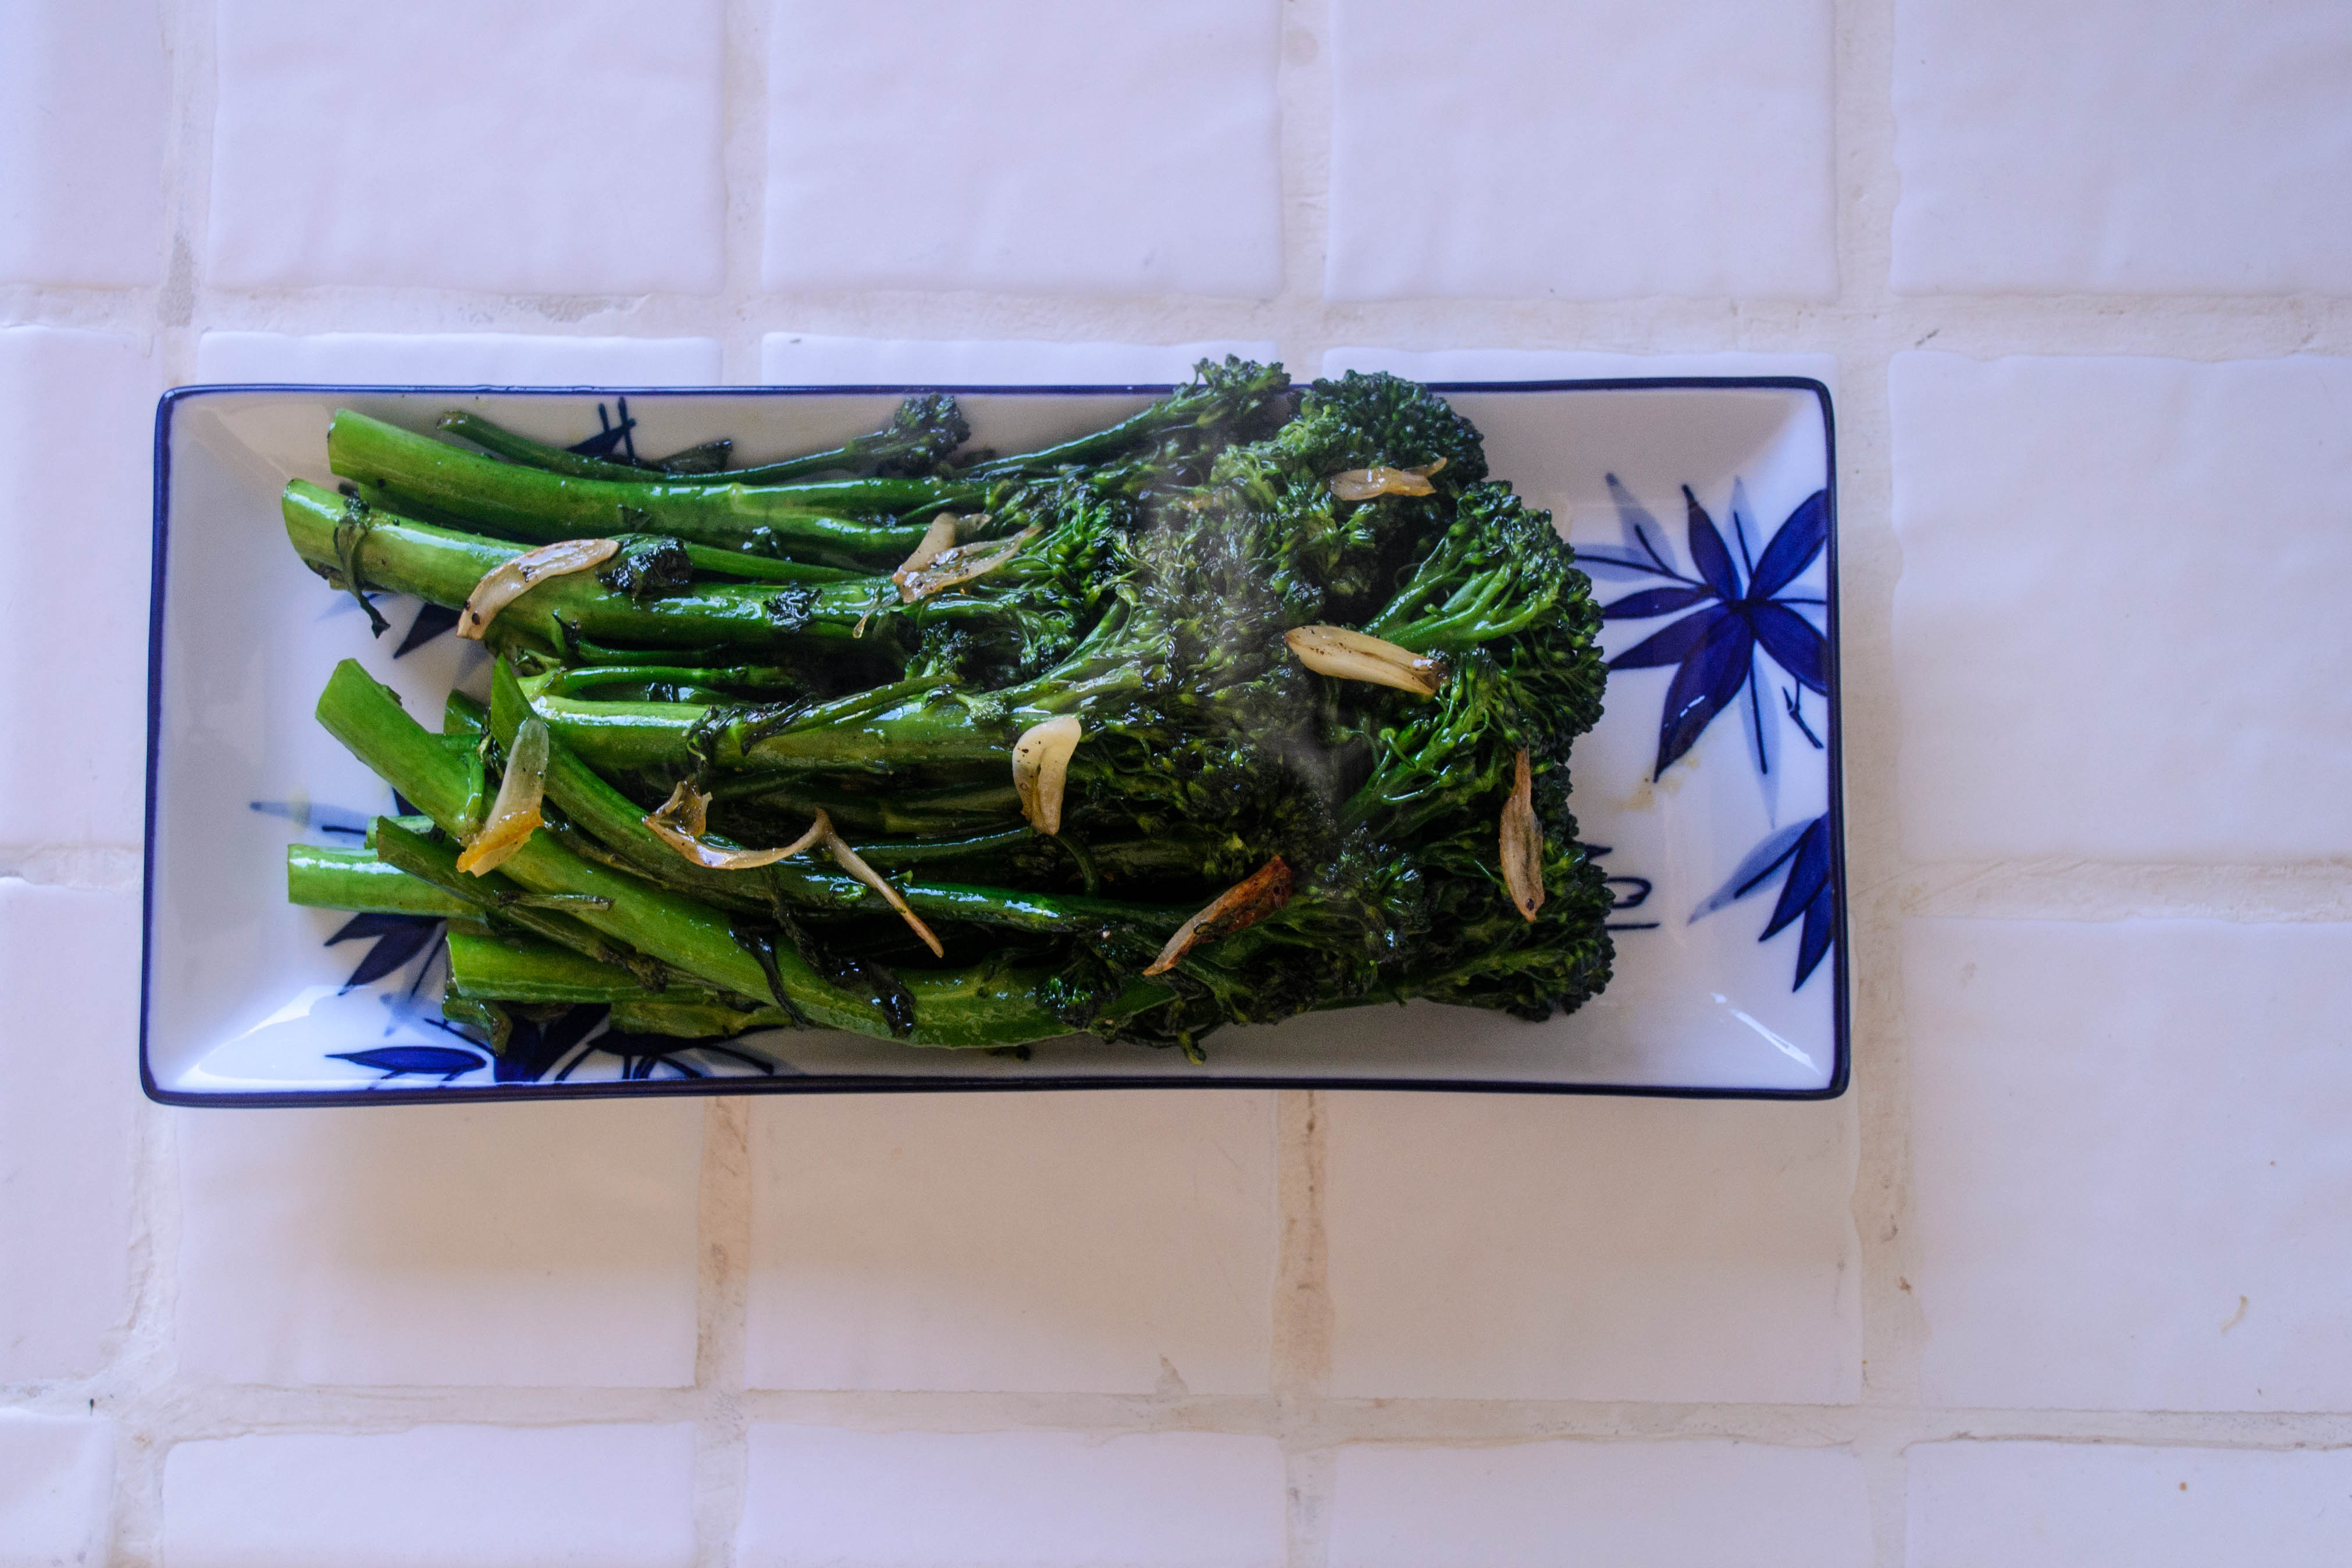
 This recipe was originally conceived for broccoli rabe (also called rapini), that assertive, bitter collection of leaves with stubby little florets dotted between them. But this week my produce department didn’t have any, so I settled for broccolini instead. If we’re honest, though, it would probably also be fantastic with kale, or mustard greens, or regular old broccoli. Why leave him out?
 The point is, the bitterness of the vegetable plays incredibly well with the marmalade which, with its bits of orange rind, at once offsets but also complements the bitterness of the greens. The greens are lightly blanched which, for me, just means throwing them into a pot of heavily salted boiling water for something like 90 seconds, then draining, administering a stern flick to bounce extra water out of the florets, and tumbling into a skillet shimmering with a film of olive and sesame oil. The greens sauté for another minute or two, the garlic, tossed in with abandon, crisps into little chips, and the orange marmalade melts down over the whole thing in a jammy glaze studded with bits of rind, and you’re done. Once you start cooking, the whole thing takes maybe six minutes, and then you can eat the entire pan and call it lunch. Or, you know, share it with your family, because I would never do something like eating a whole skillet of barely sweet, crisp and garlicky vegetables without telling anyone…
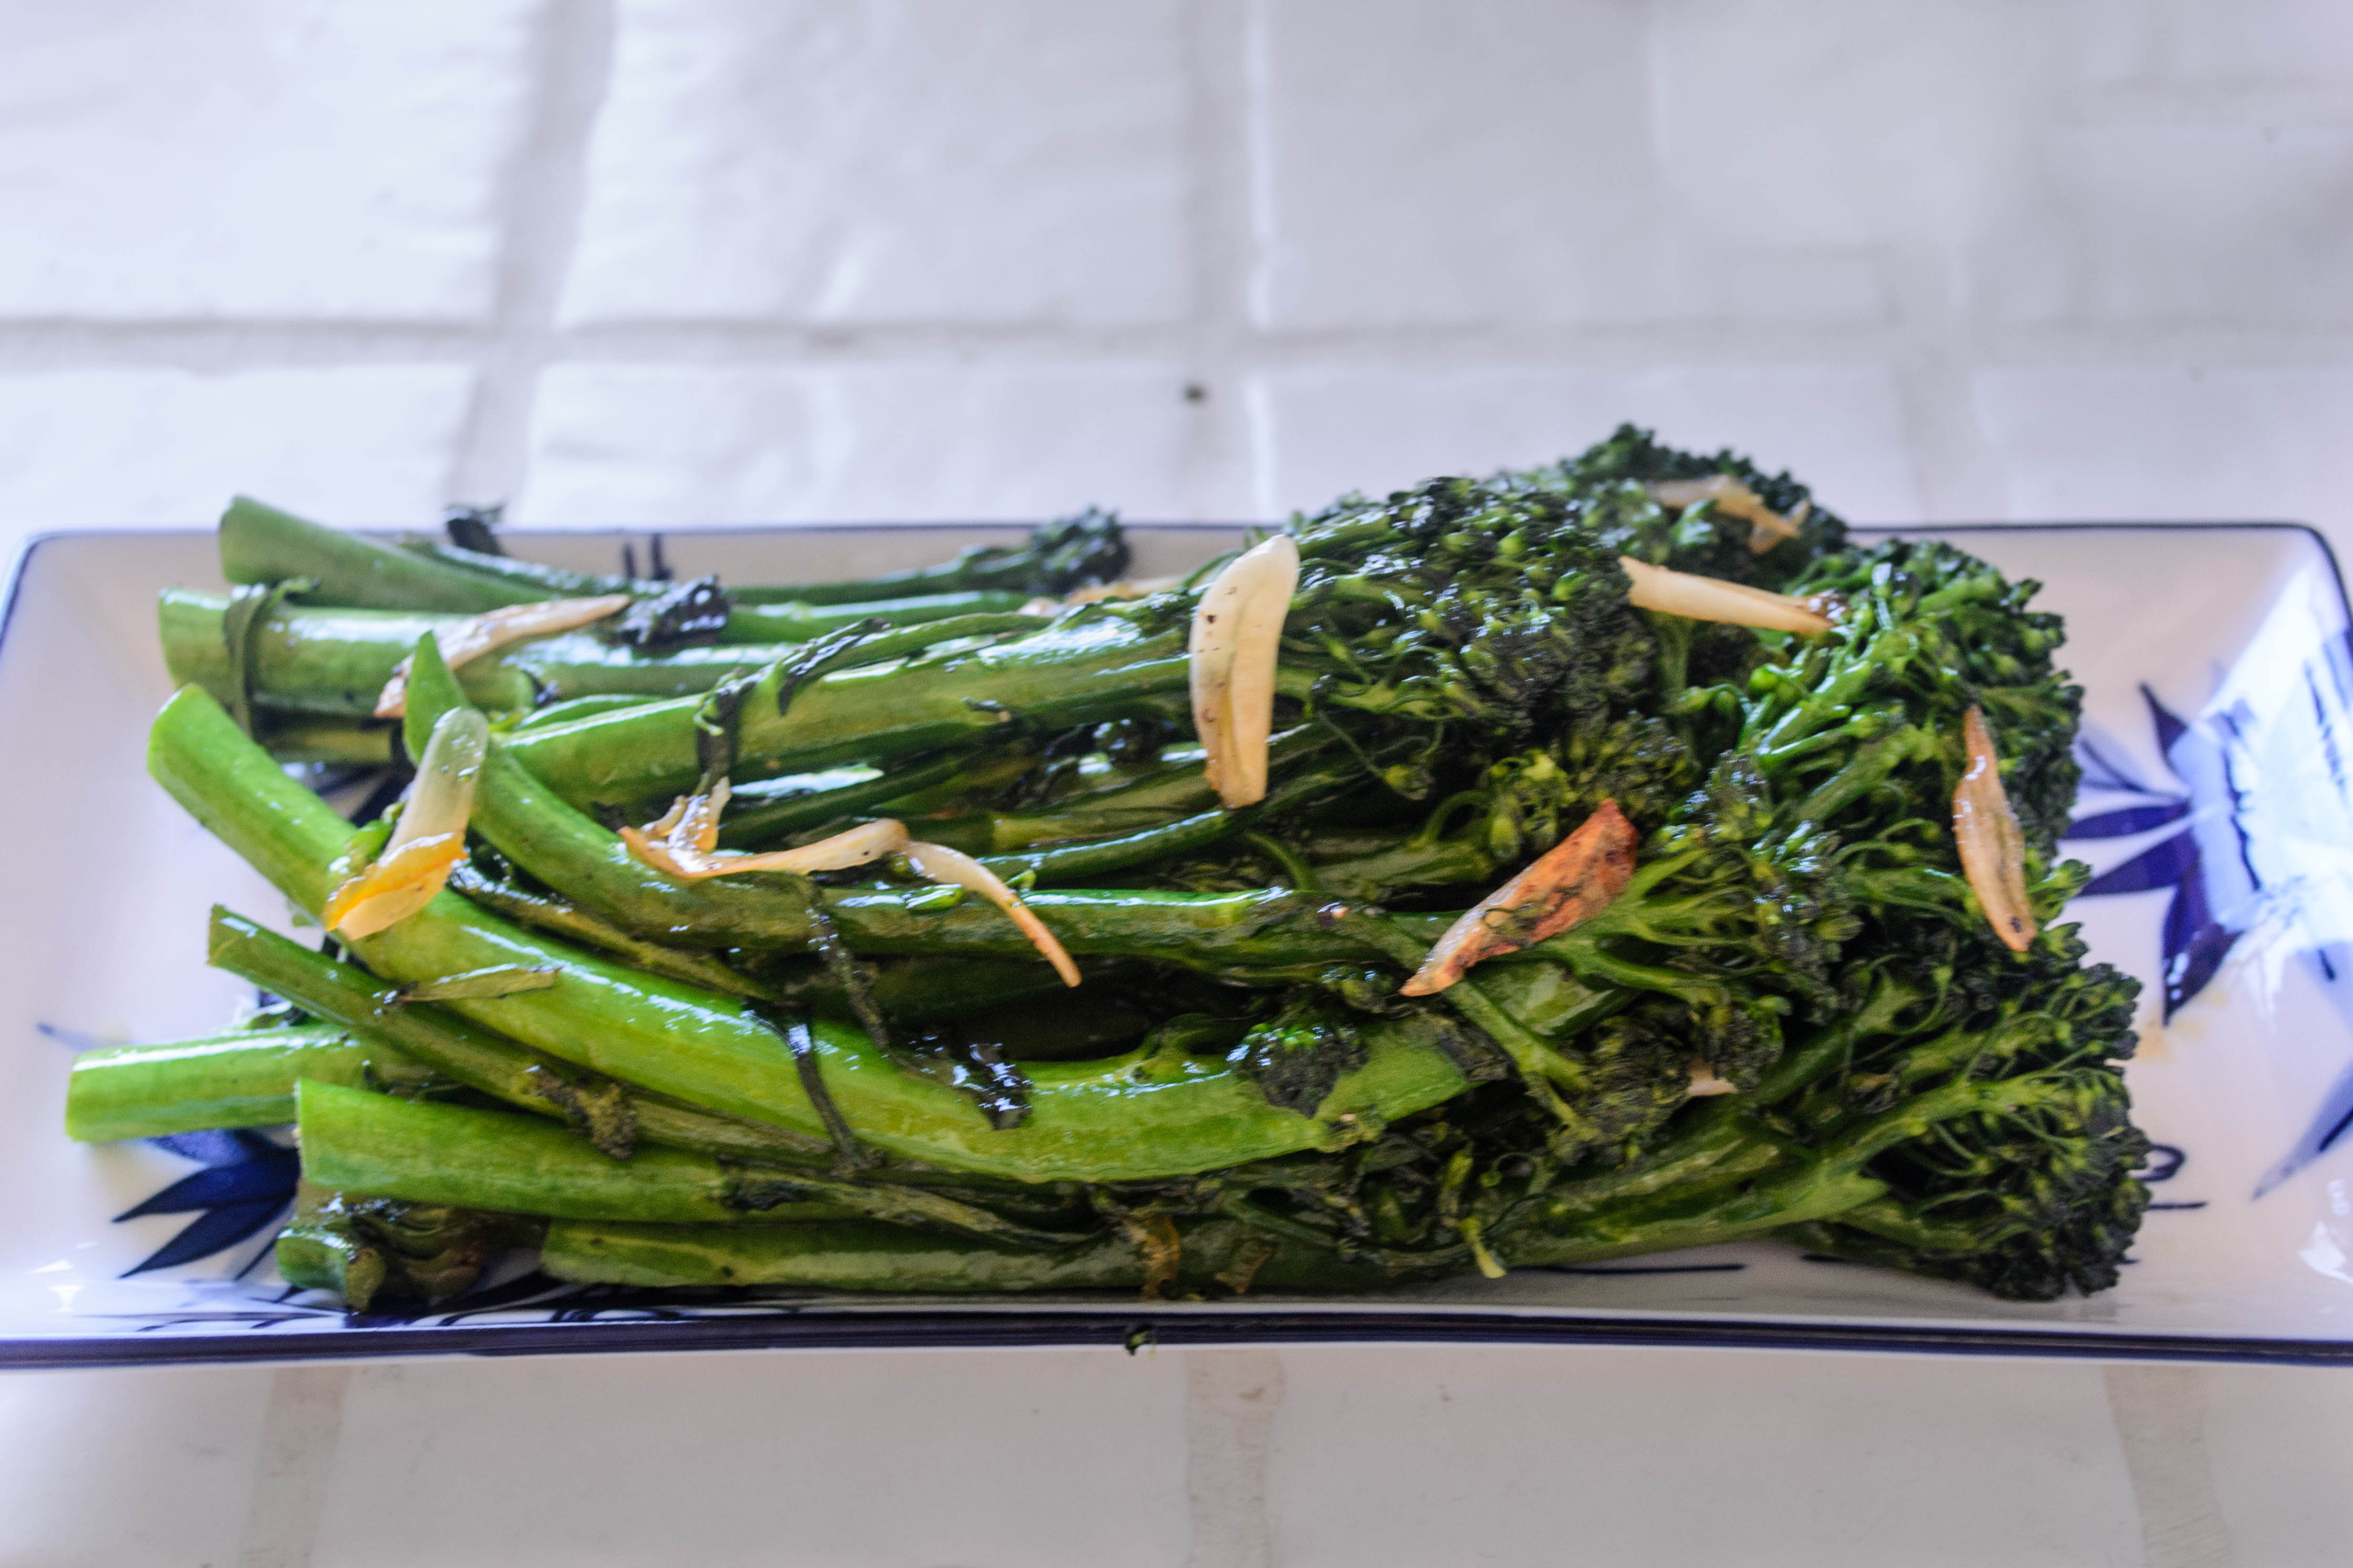 Variations: you could certainly adjust this dish to suit your whims. The marmalade could be lemon instead of orange, and red pepper flakes or even a dash of soy sauce would not feel out of place here. A scattering of lightly toasted sesame seeds over the finished dish would be lovely as well.