reading for roasting…

reading for roasting…
Things are getting busy around here. I’m coursing toward midterms, which means piles upon piles of grading, as the students need to know where they stand at the halfway mark. Spring break approaches, and papers must be returned, research topics and methods must be interrogated, and evaluation work must be completed. There’s little time for a mellow afternoon at home, punctuated by soft cheese oozed onto crackers at an impromptu happy hour, rather than the locomotive “just-one-more, just-one-more” echoing in my head as I face thirty-five opinions about whether Beowulf’s choice to take on a dragon single-handed was admirable or foolhardy.*
 So I’m thinking back to my winter break, when I cracked the spines of two new cookbooks (does that make you cringe? It makes N. just ache inside, but dammit, I want them to lie flat!) to devour their offerings. One, Yotam Ottolenghi’s Jerusalem, has convinced me our refrigerator should never be devoid of homemade hummus again. The other, Suvir Saran and Stephanie Lyness’s Indian Home Cooking, is a beautiful and fairly accessible interpretation of some classic and some entirely original Indian and Indian-inspired dishes that leave me alternately drooling and scribbling feverish grocery lists to take to my nearest Indian market.
 In the vegetable section, Saran and Lyness take on green beans in several ways, almost always doctoring them with chilies and deeply toasted spices. In one, the addition of coconut stopped me in my proverbial tracks. In fact, I’ve now made this recipe three times, as though it’s not possible to turn the page anymore because this one was just too good.
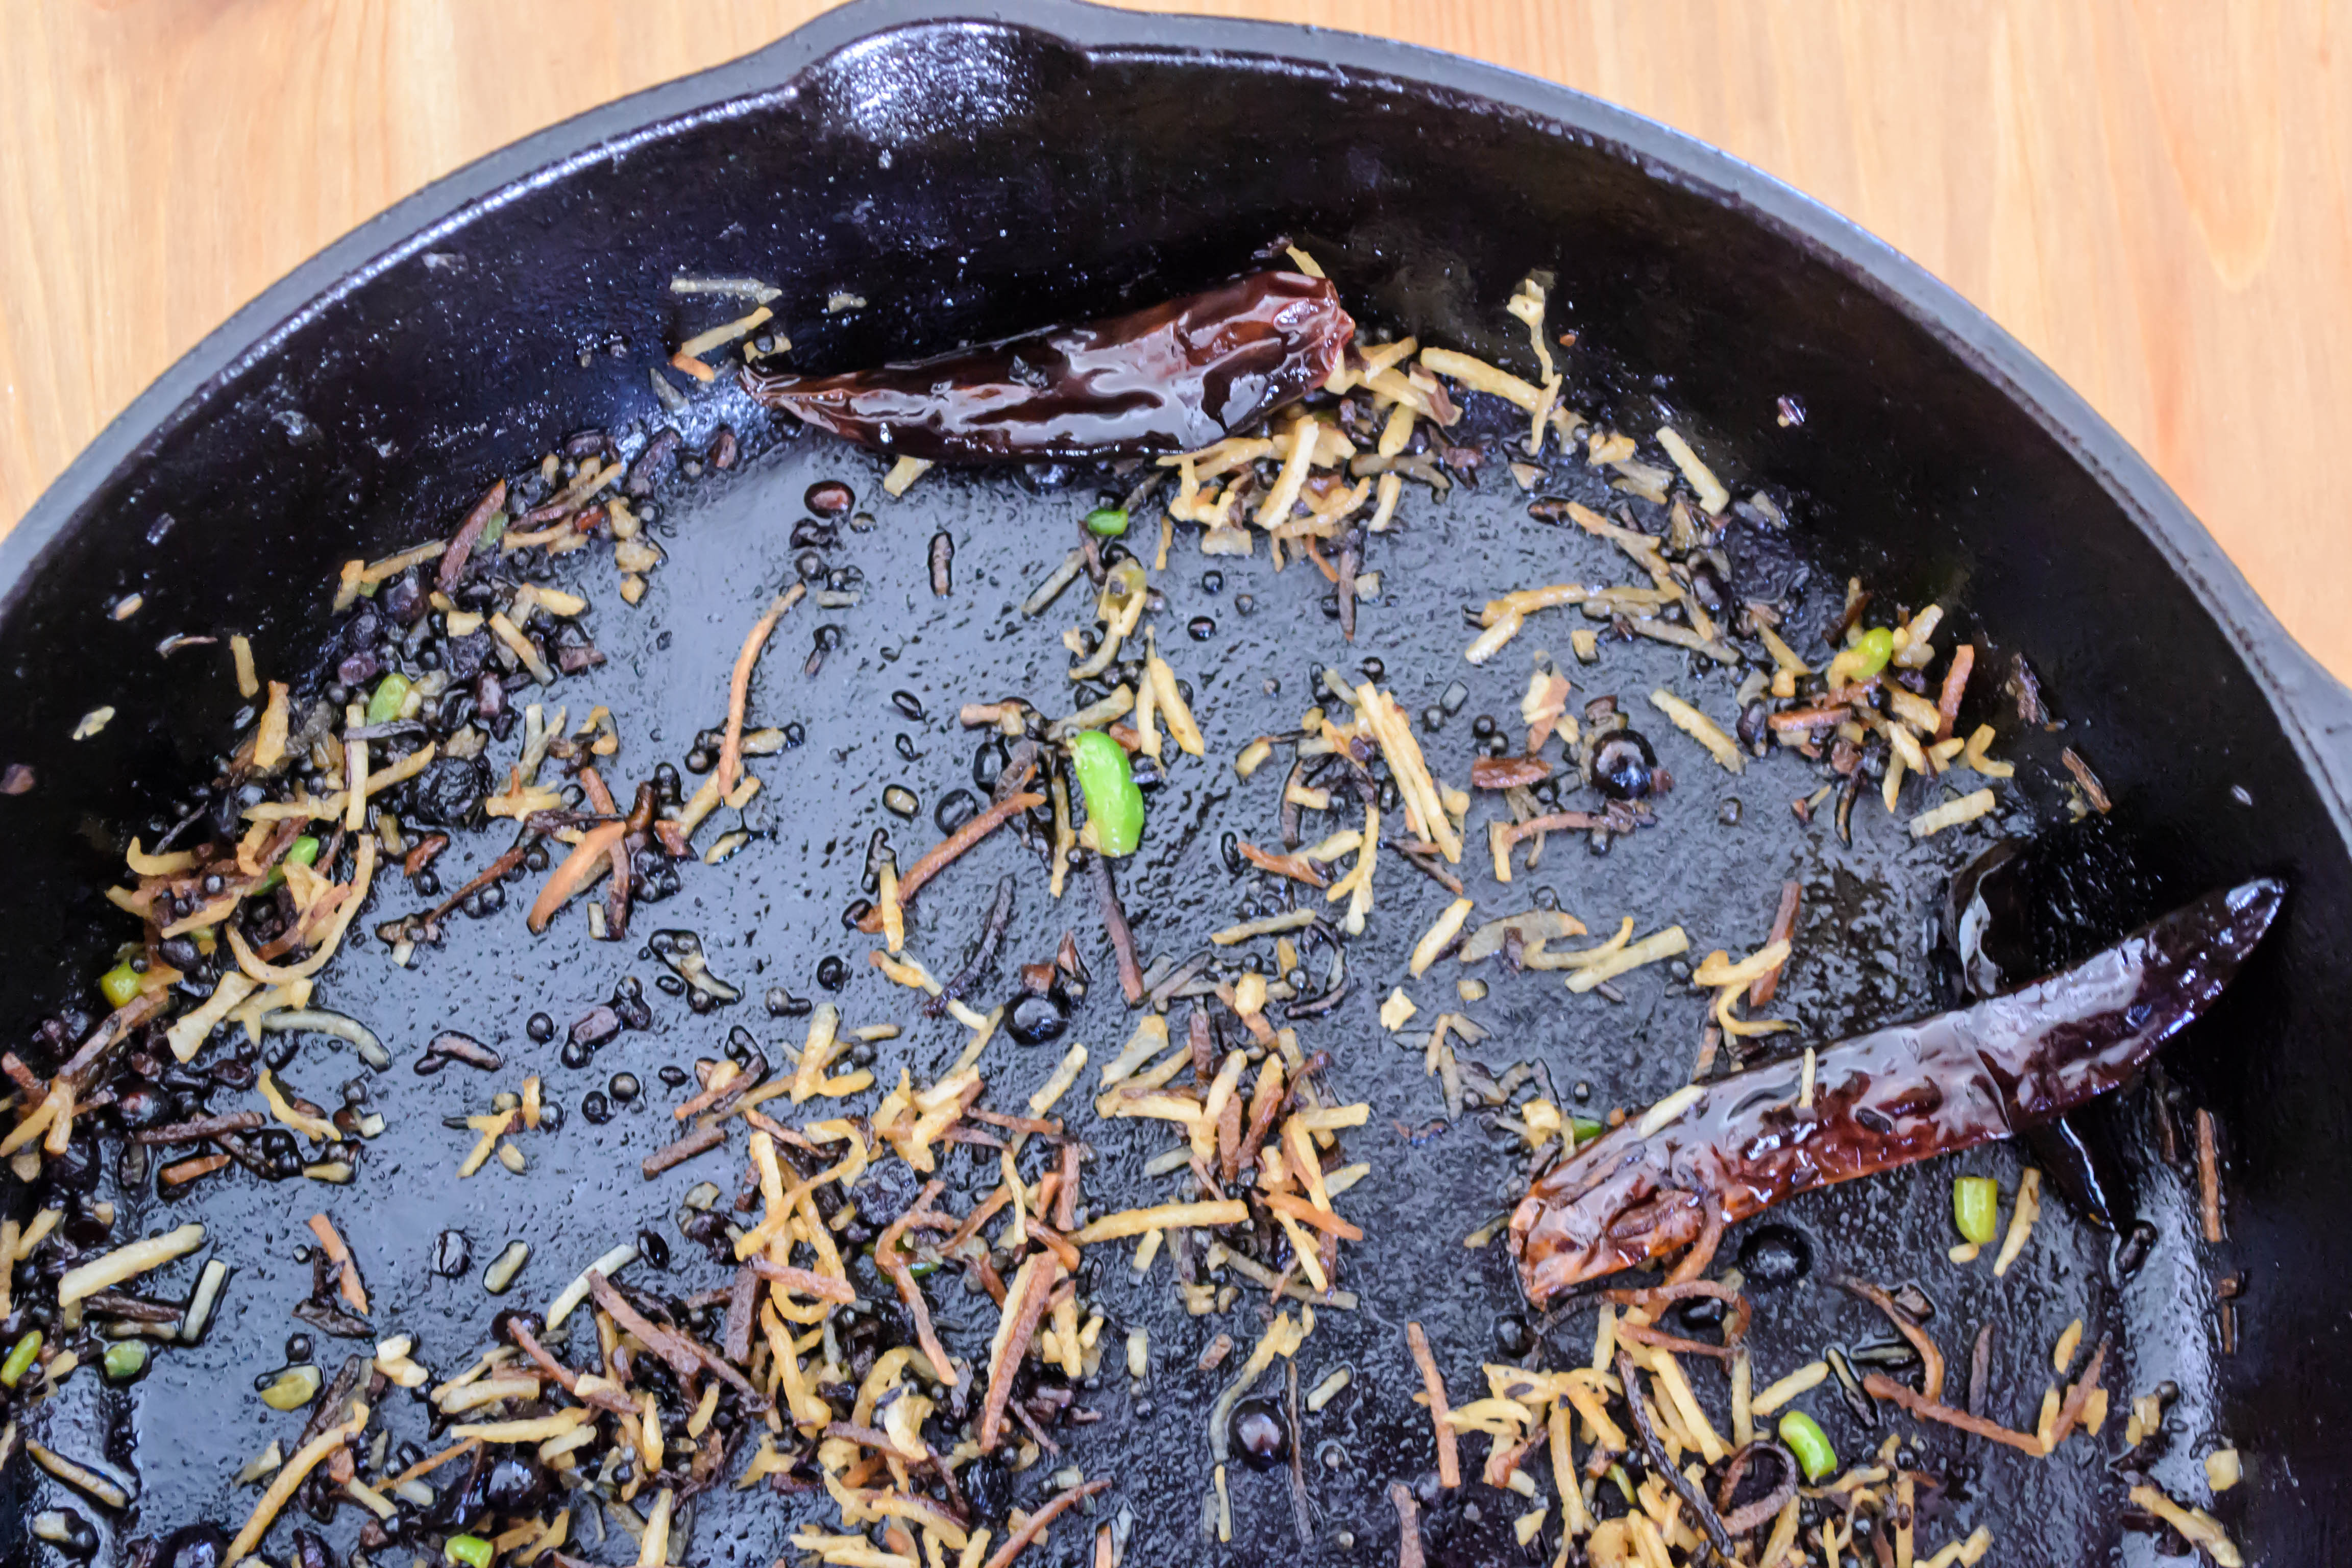
 Despite this overwhelmingly positive review, I had my qualms when I first approached the recipe. This dish is called a poriyal in the Tamil language, and as I understand it, this means a stir fry or sauté of vegetables. This one happens to have coconut, split peas, urad dal (black gram beans) and numerous warm, earthy spices along with some dried chilies competing together in a beguilingly spicy umami flavor bath. But the original directions in the recipe call for sautéing the beans for five minutes, then simmering them for ten, and then evaporating the water and stir-frying again for another five – twenty minutes of cook time for green beans! I was horrified by the potential for overcooked, mushy limpness.
 But I tried, I really did, to follow the directions, at least as much as I could stand it. I shortened up the cooking time for the green beans a tiny bit, but otherwise left the procedure essentially the same. To my surprise, I ended up with meltingly tender, sublimely flavored beans, with none of the unappealing mushiness I’d feared. They give up any sort of dental resistance, yes, but this is ultimately not a bad thing. The toasty split peas and chewy, deeply bronzed coconut provide sufficient texture, and the beans just give a kind of unctuous, vegetal goodness.
 Still, though, there’s something about green beans sautéed until just crisp-tender, and so I revisited the recipe, this time adding the beans later, simmering them a shorter time, and ending up with a just-toasted, still fresh pile of vegetables I couldn’t help but demolish. Though the ingredient list is the same, I’m giving you both sets of procedures, so you can choose how you like your beans. However you want them, though, meltingly tender or still a bit crisp, this combination is worth stopping over.

* Not really. My students have written on a number of intriguing topics, this only one among them. But sometimes, when I look at my “to be graded” tray, it feels that way.
For meltingly tender green beans:
For crisp-tender green beans:
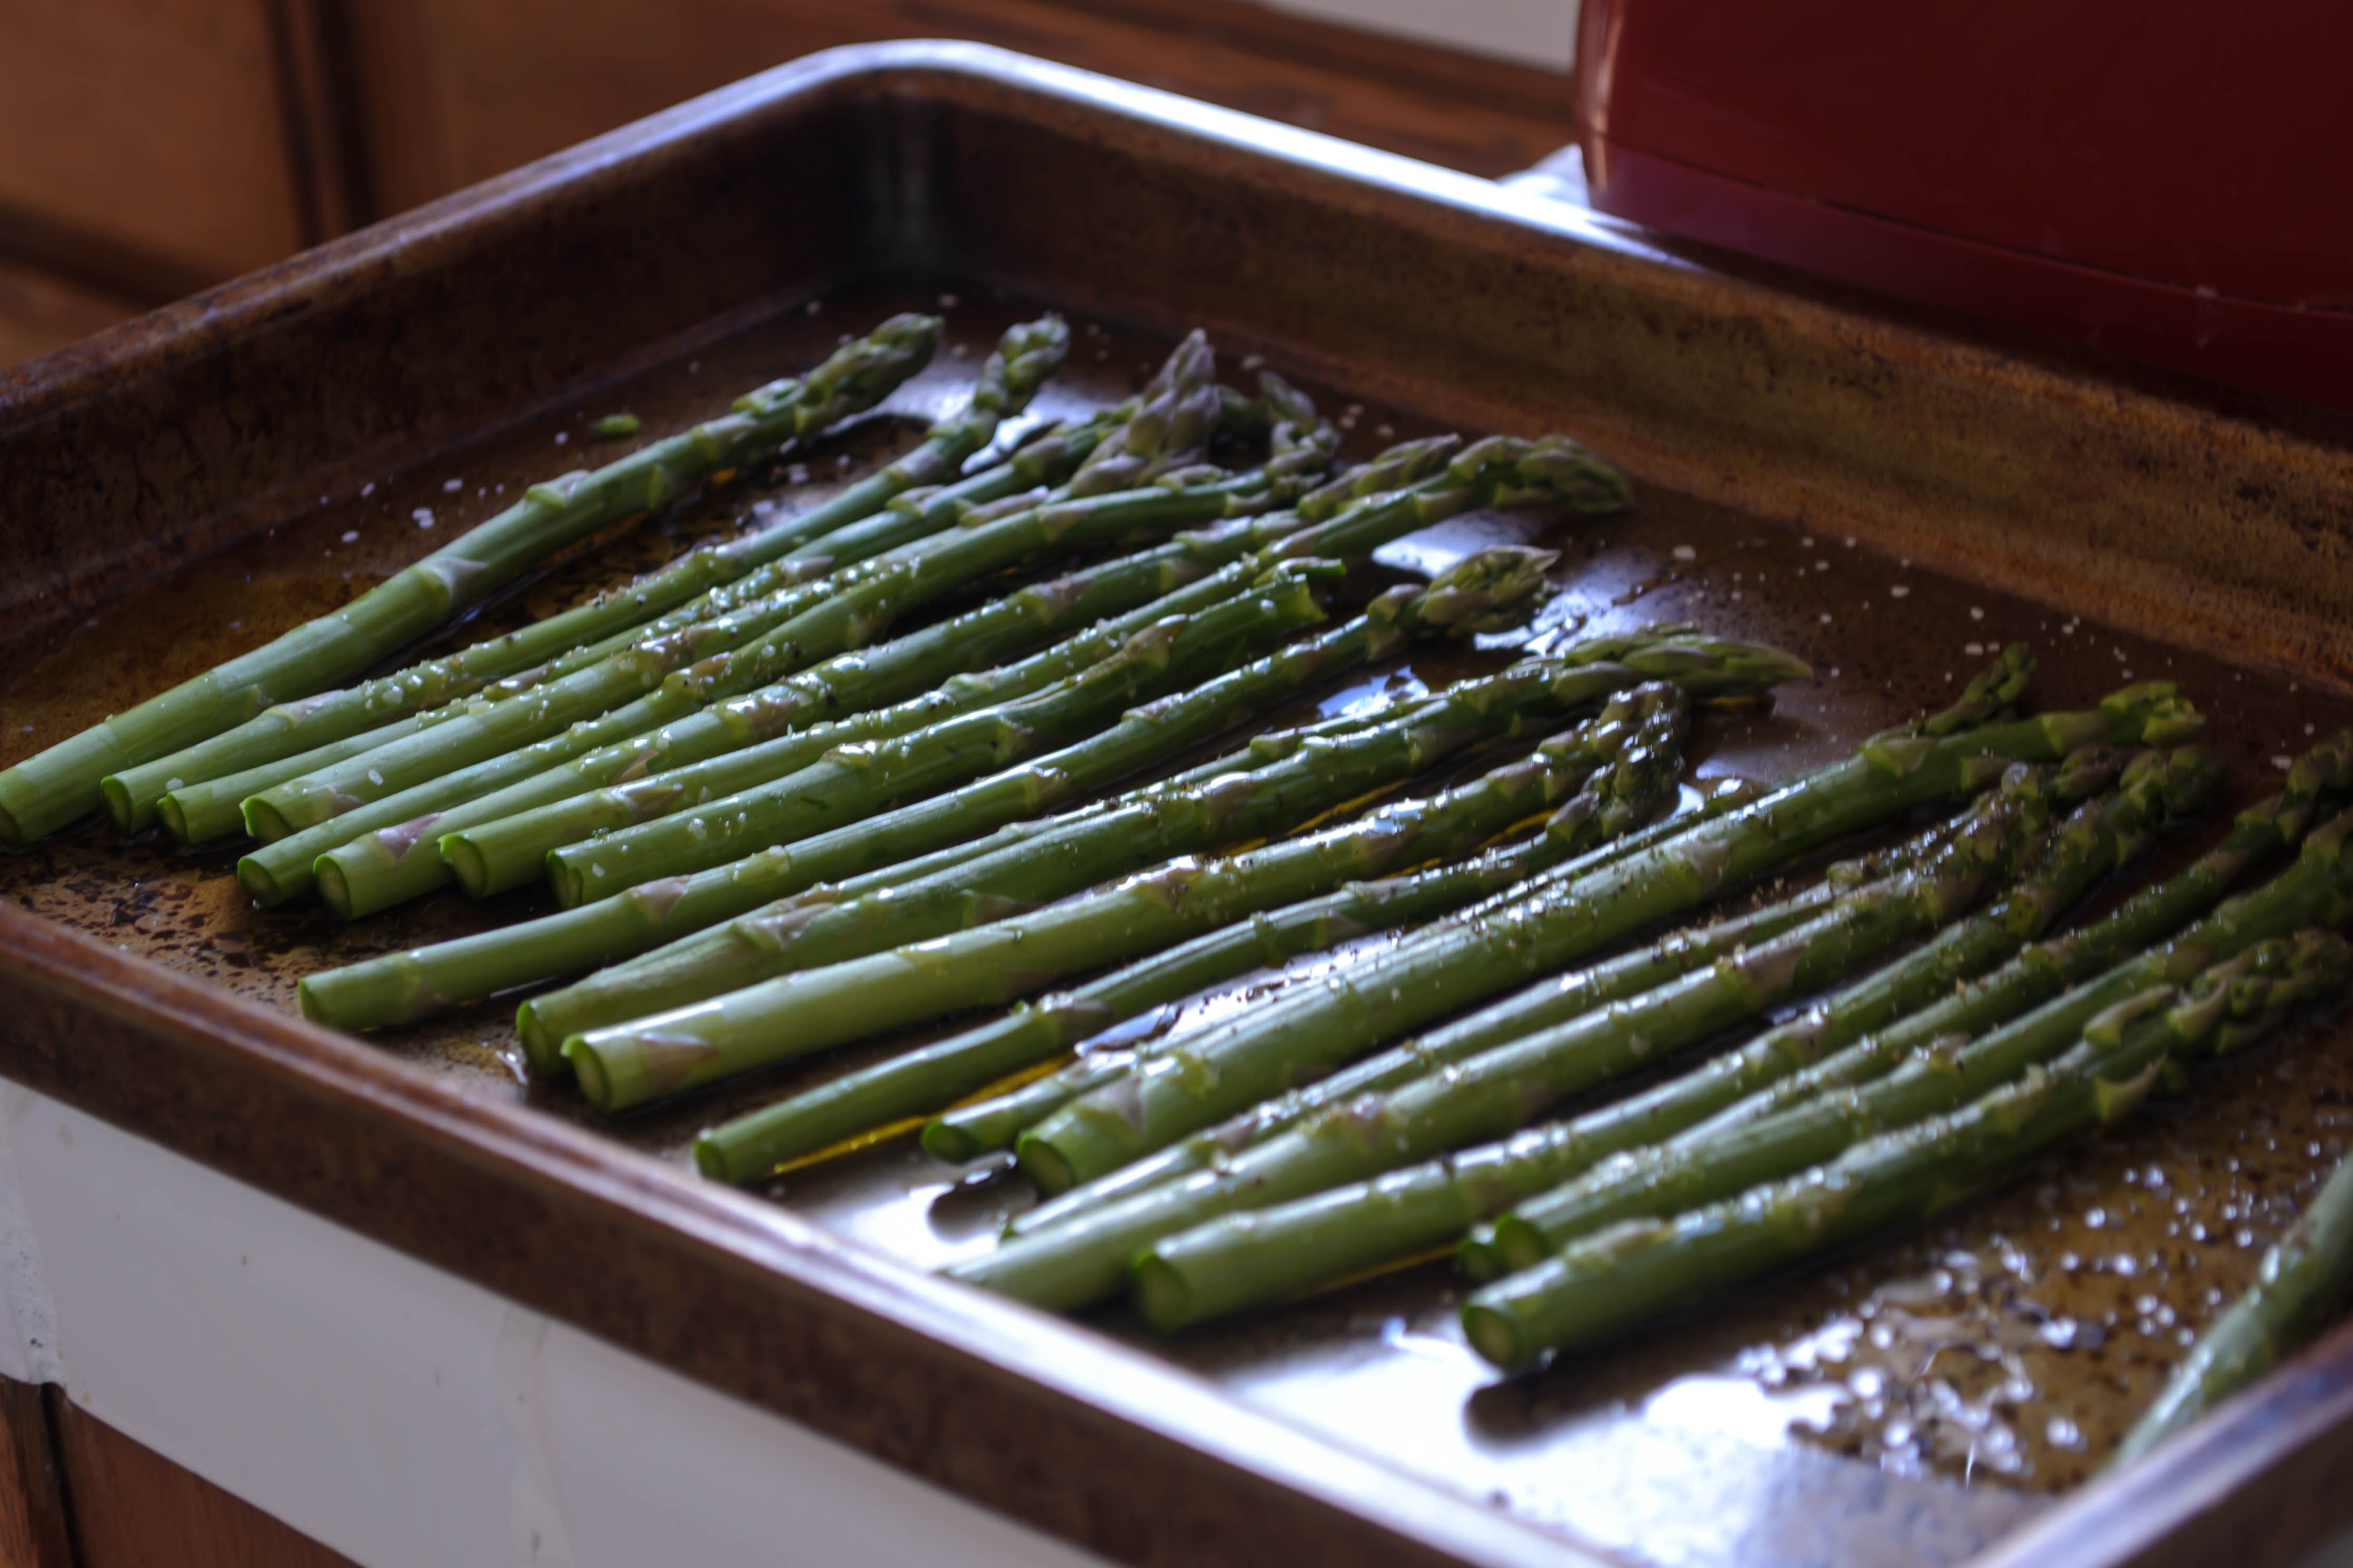
Feeling penitential?
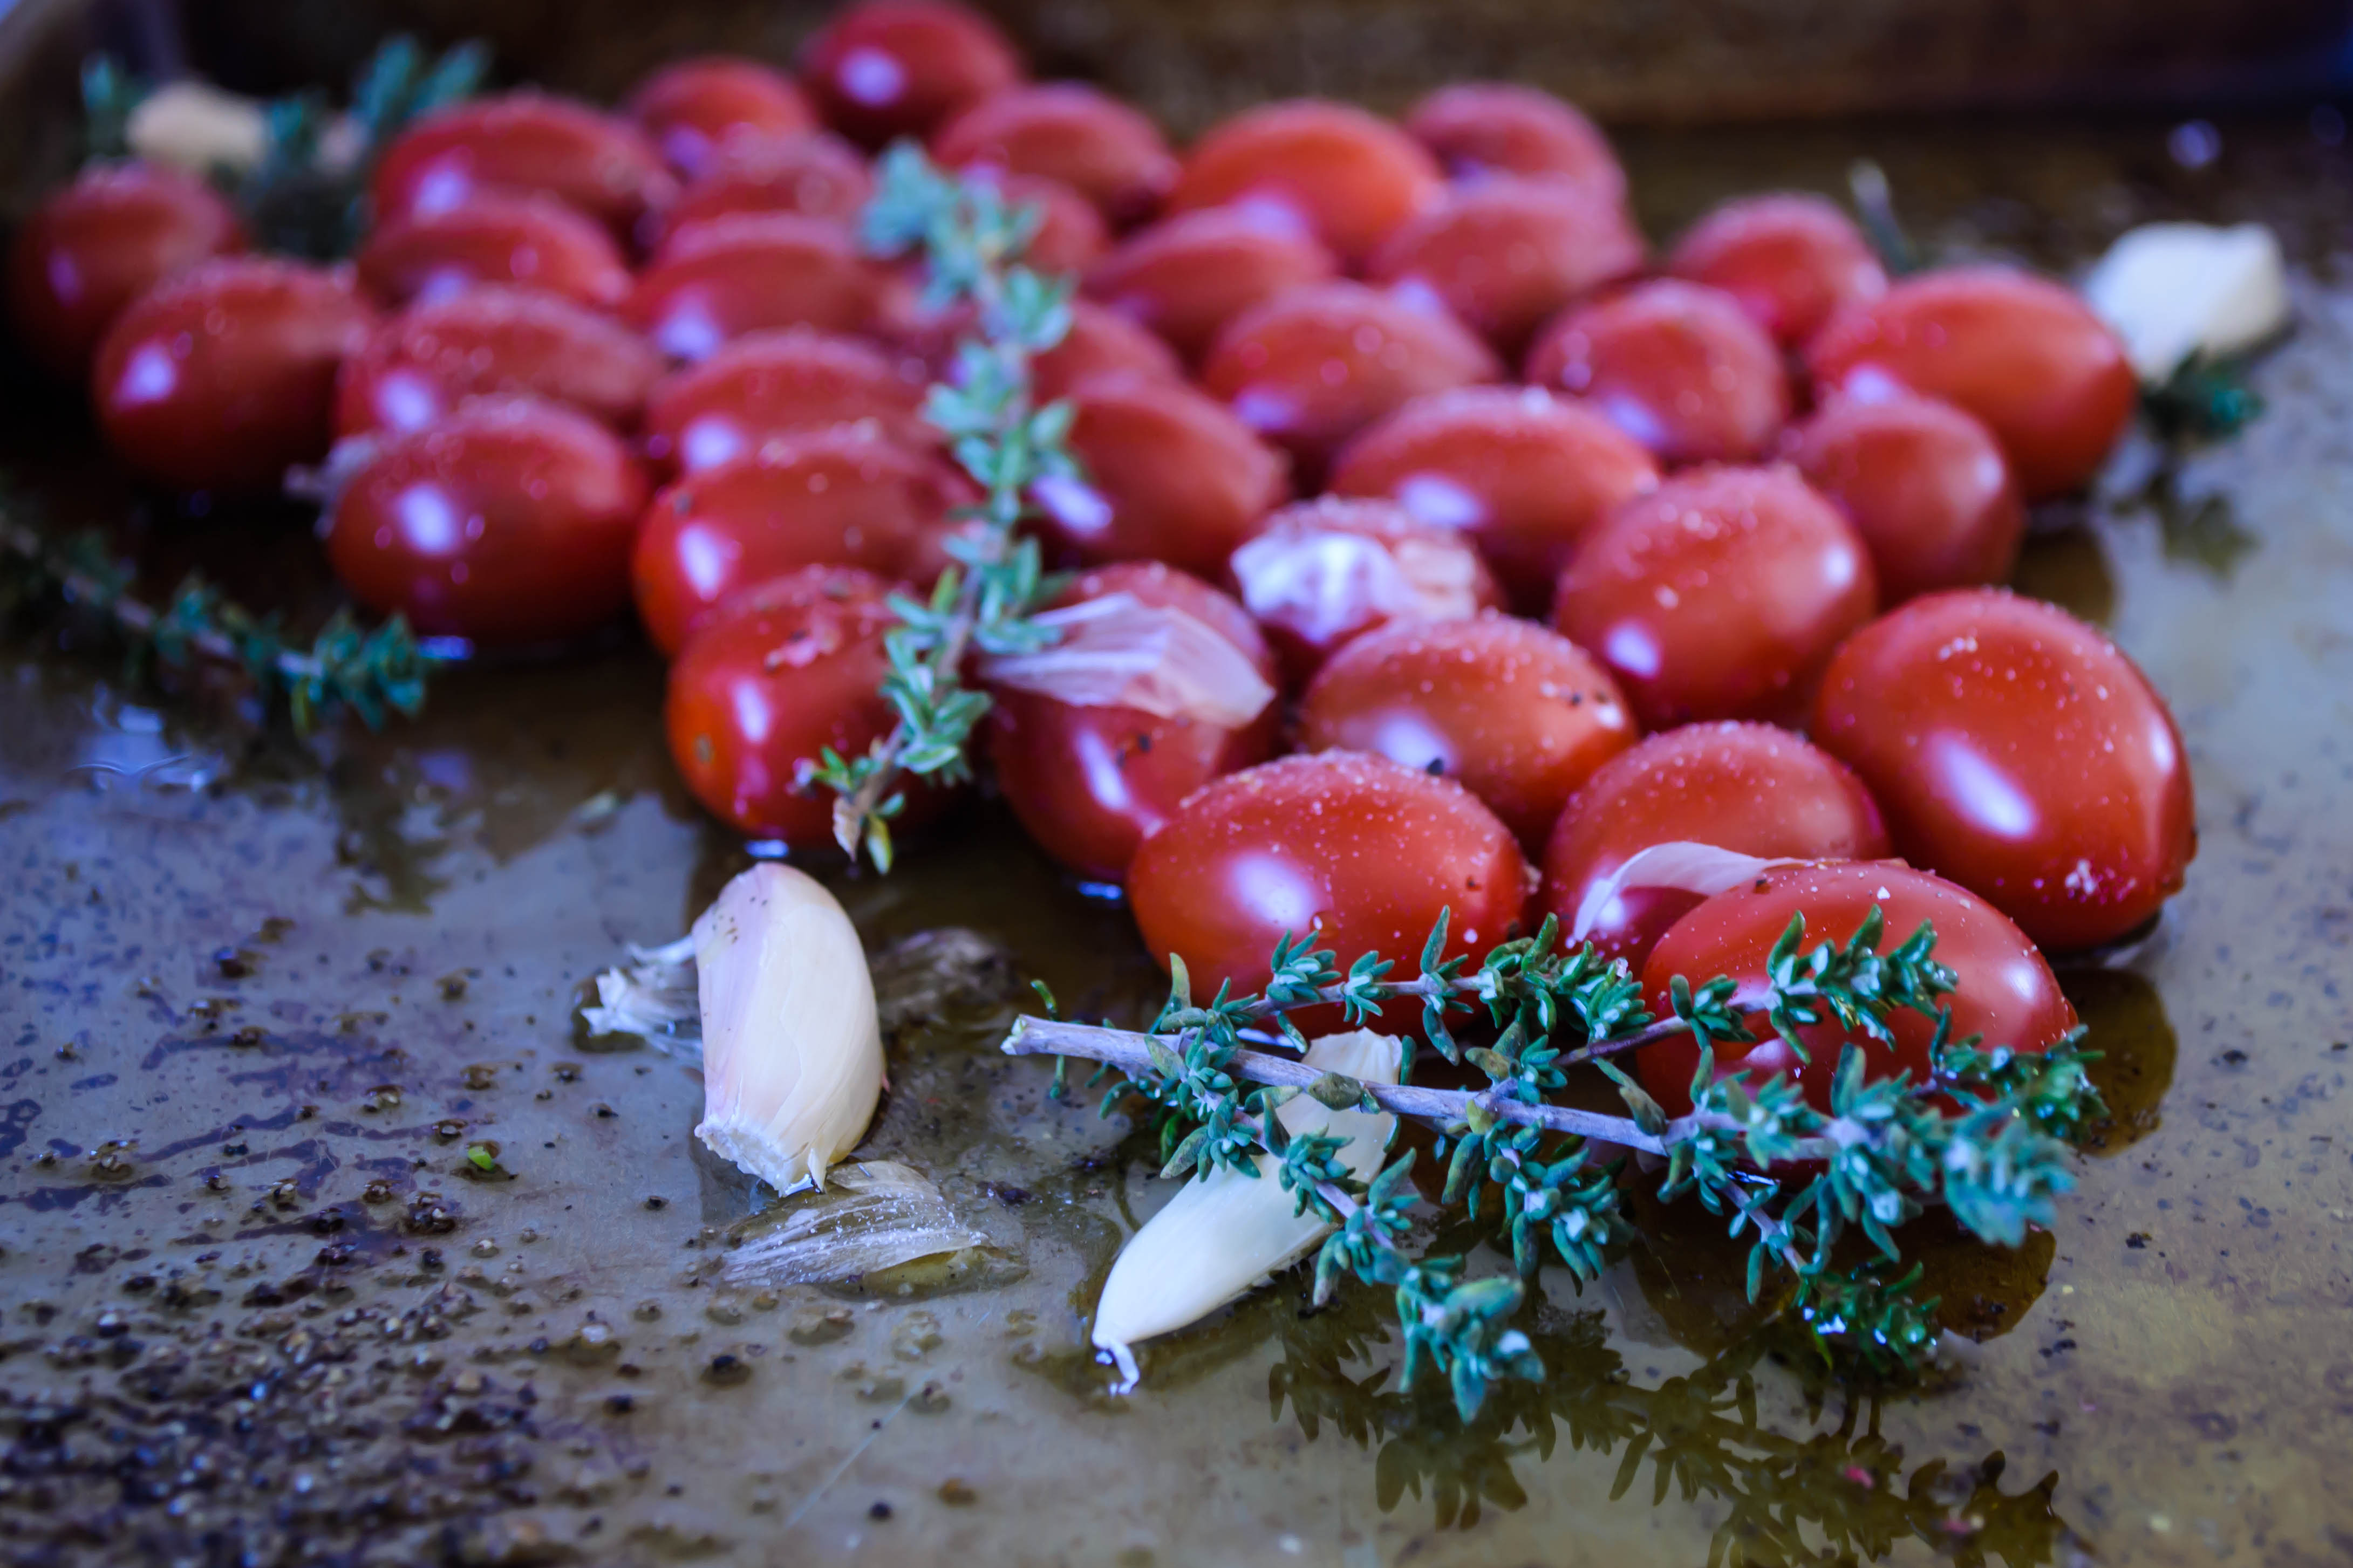
Little ruby hold-overs from summer…
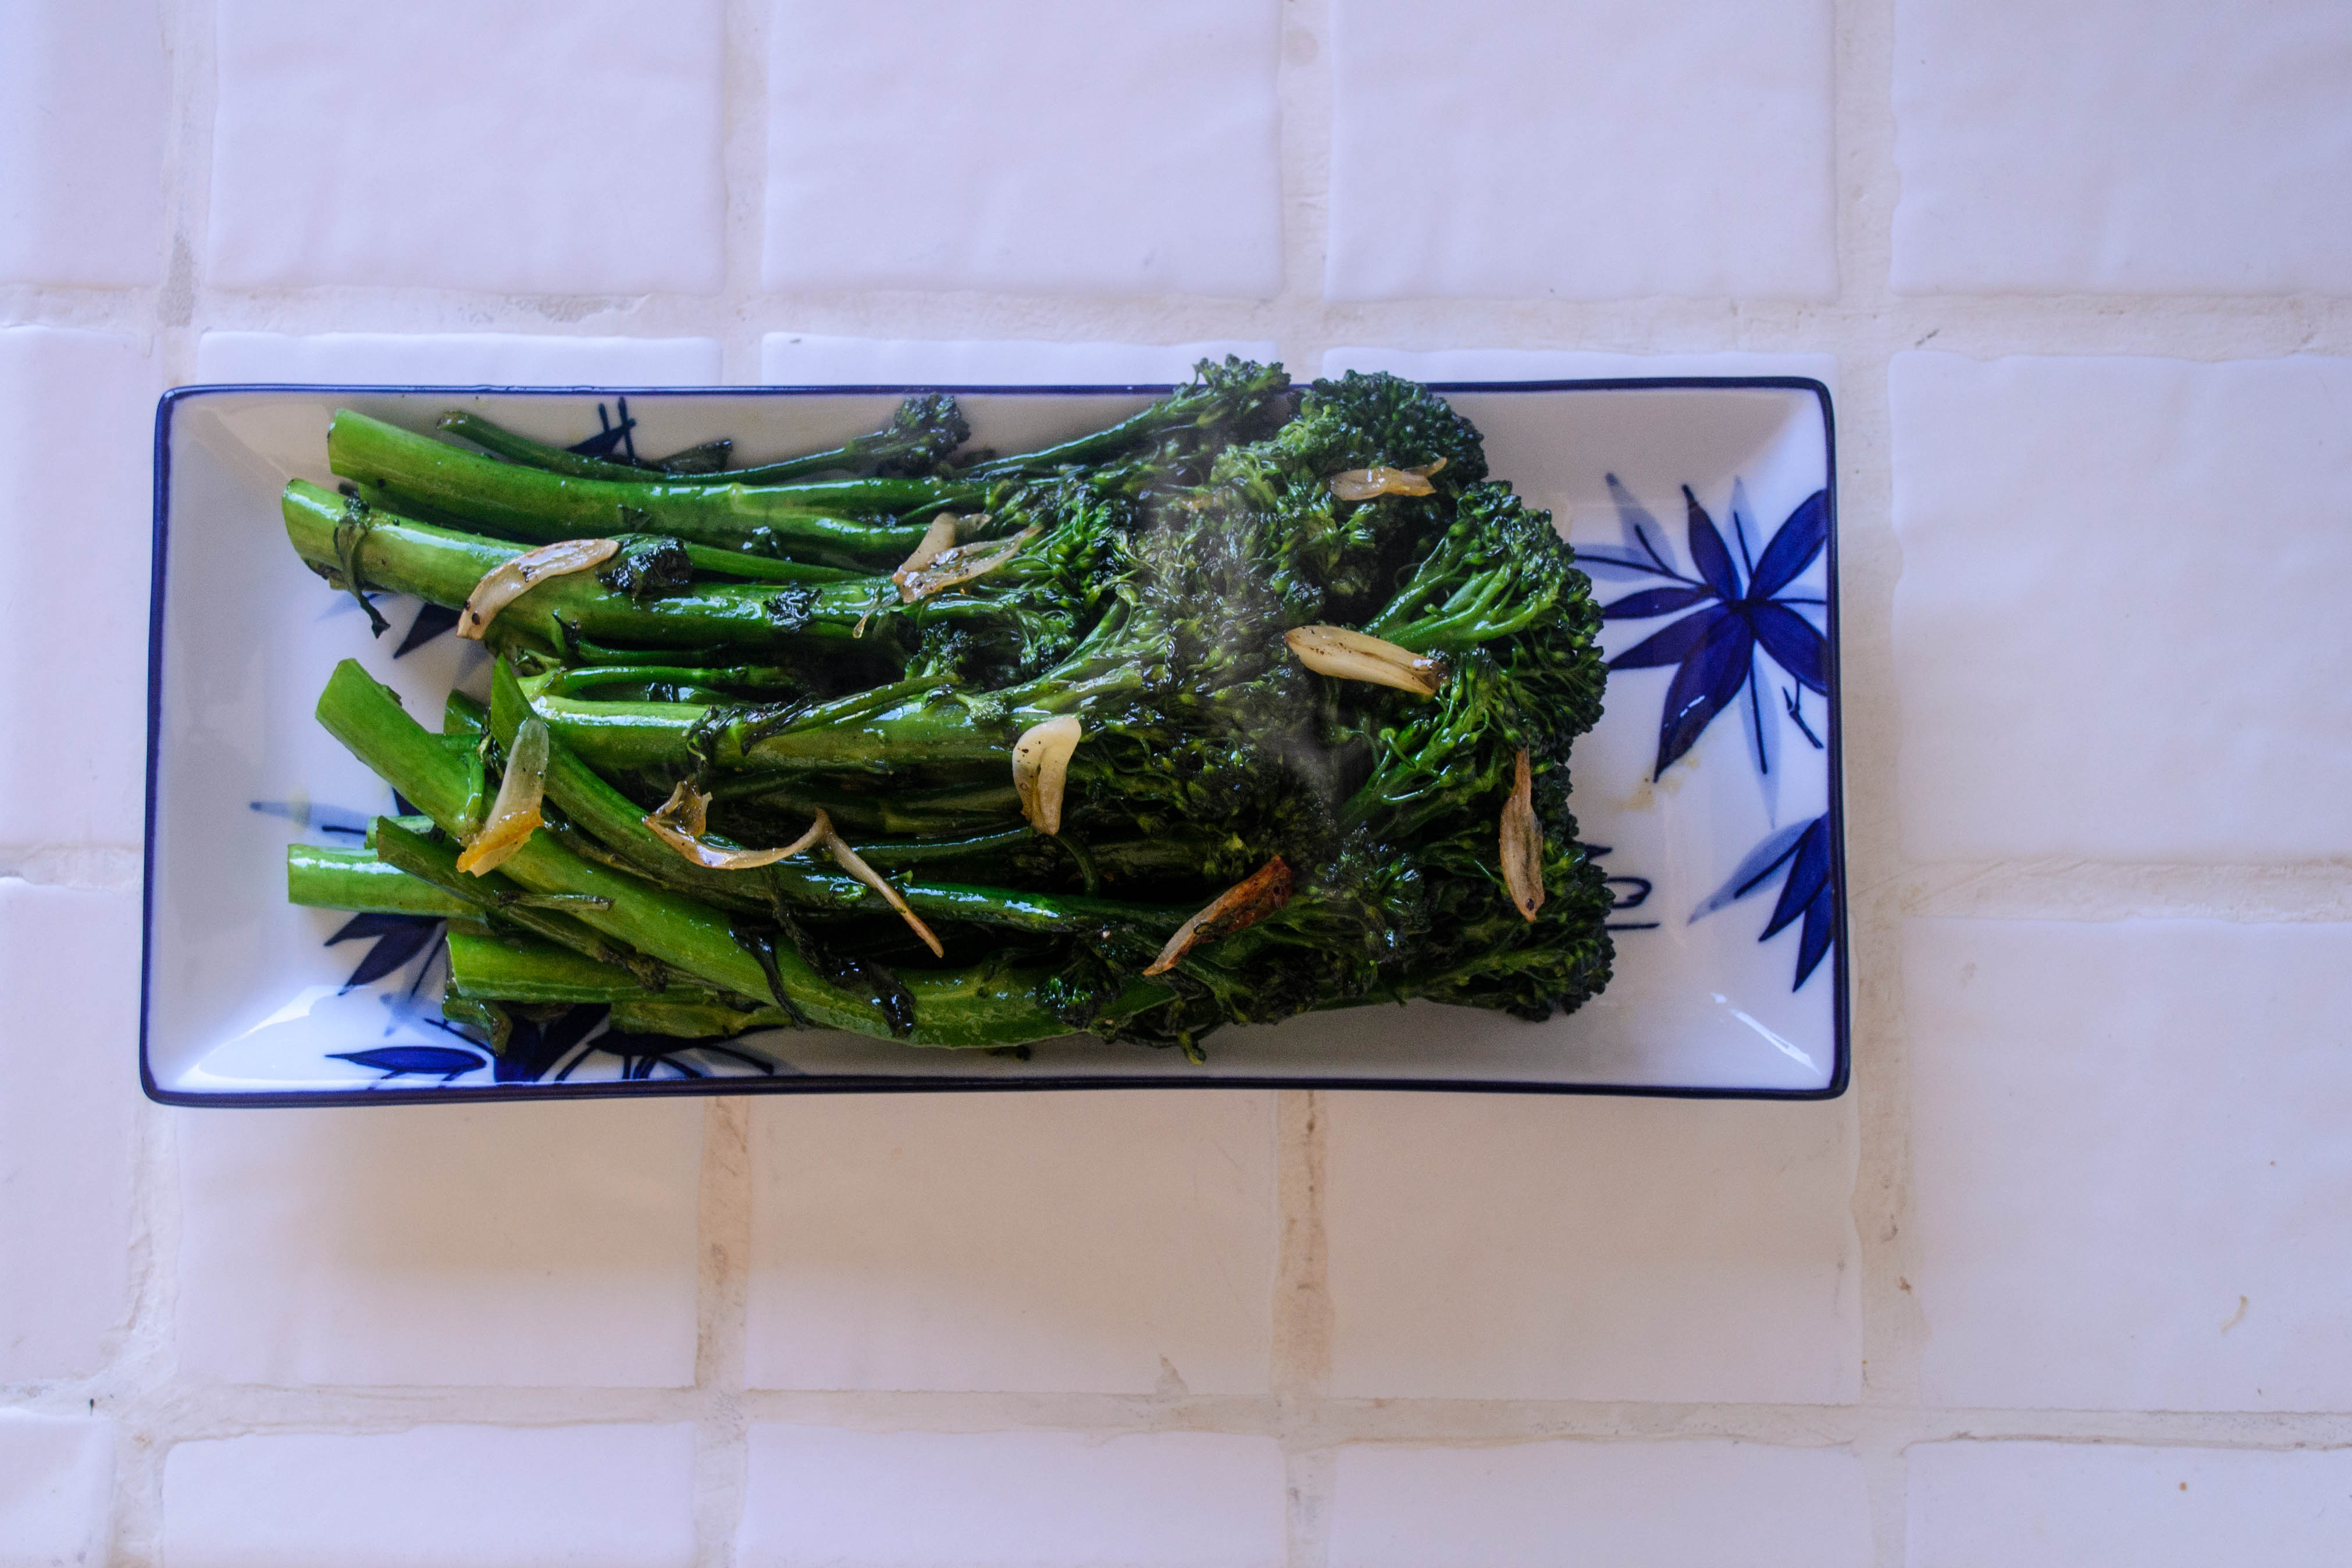 As I lounged on the couch Friday evening, halfheartedly sketching out a grocery list even as Thanksgiving dinner still occupied two thirds of my fridge and three quarters of my brain (let’s not even mention my stomach), I asked N. what he wanted to eat this week. “Heavy on the veg,” he said, and that was that. Into the cart, and then into a pan, went all the greens I could fit, with some salt, some pepper, and some sesame oil. On a whim, thin slices of garlic and a cautious tablespoon of orange marmalade followed, and the gluttony that resulted could more kindly be called love.
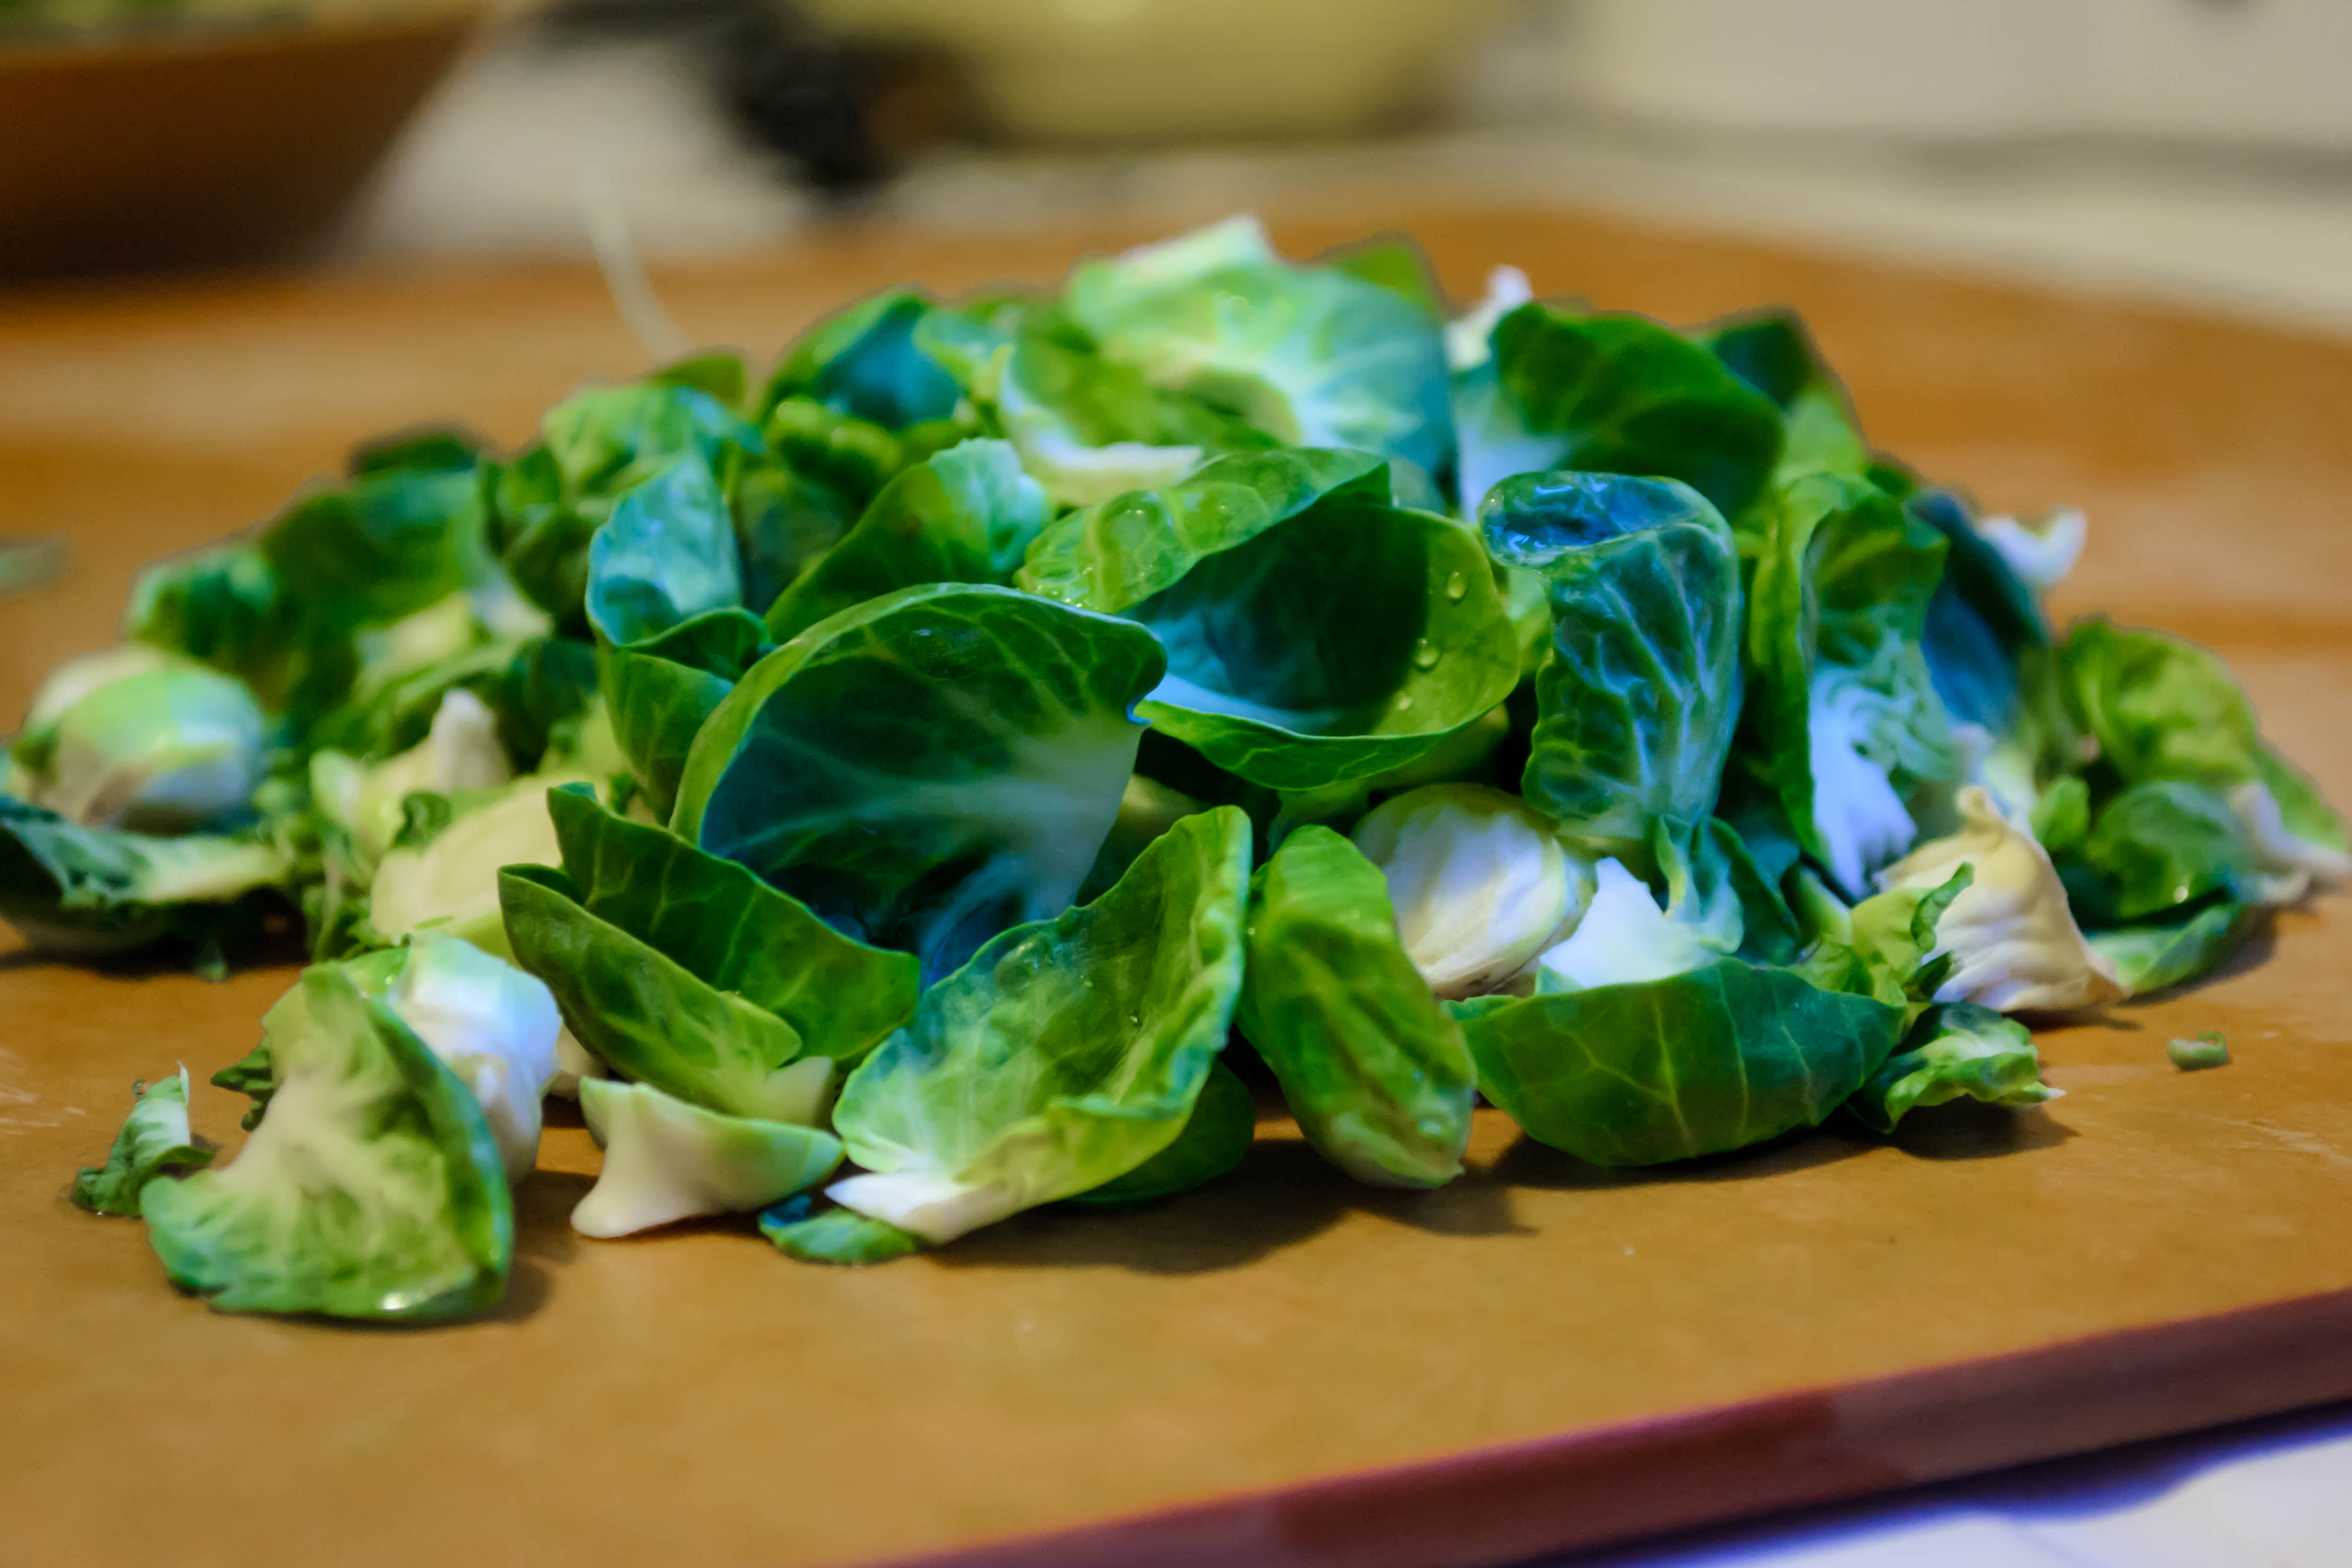
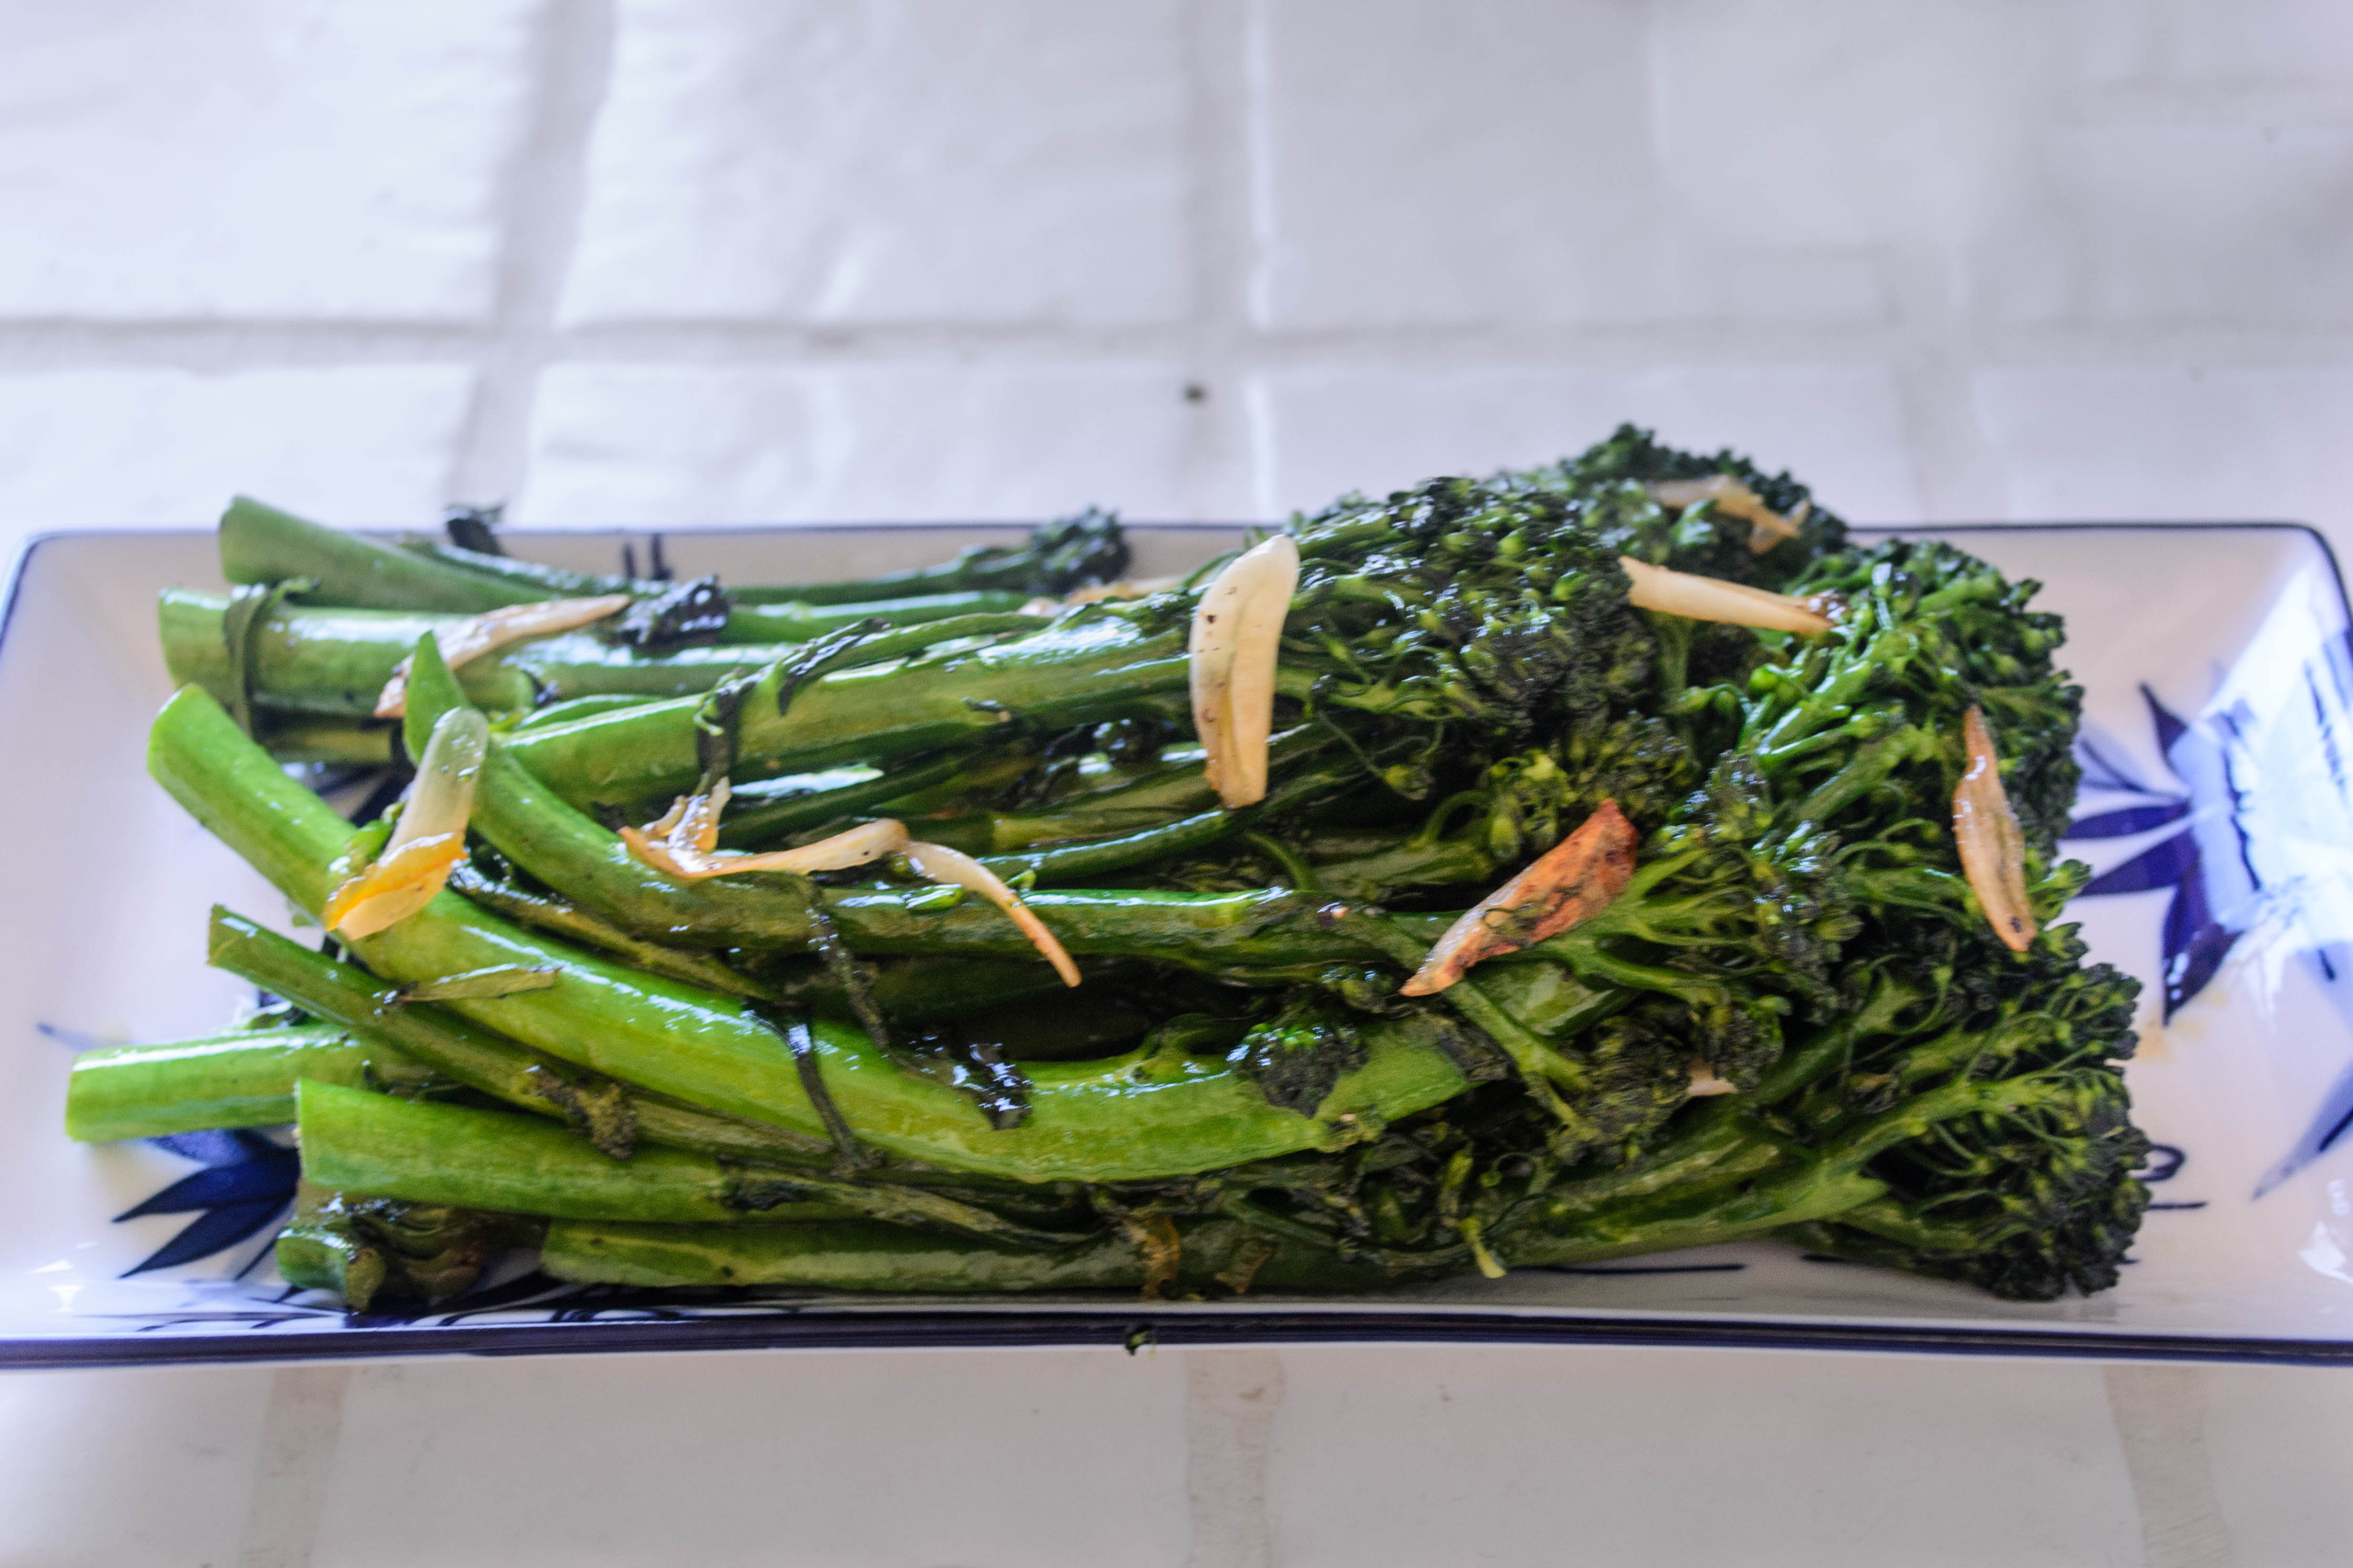
 This recipe was originally conceived for broccoli rabe (also called rapini), that assertive, bitter collection of leaves with stubby little florets dotted between them. But this week my produce department didn’t have any, so I settled for broccolini instead. If we’re honest, though, it would probably also be fantastic with kale, or mustard greens, or regular old broccoli. Why leave him out?
 The point is, the bitterness of the vegetable plays incredibly well with the marmalade which, with its bits of orange rind, at once offsets but also complements the bitterness of the greens. The greens are lightly blanched which, for me, just means throwing them into a pot of heavily salted boiling water for something like 90 seconds, then draining, administering a stern flick to bounce extra water out of the florets, and tumbling into a skillet shimmering with a film of olive and sesame oil. The greens sauté for another minute or two, the garlic, tossed in with abandon, crisps into little chips, and the orange marmalade melts down over the whole thing in a jammy glaze studded with bits of rind, and you’re done. Once you start cooking, the whole thing takes maybe six minutes, and then you can eat the entire pan and call it lunch. Or, you know, share it with your family, because I would never do something like eating a whole skillet of barely sweet, crisp and garlicky vegetables without telling anyone…
 Variations: you could certainly adjust this dish to suit your whims. The marmalade could be lemon instead of orange, and red pepper flakes or even a dash of soy sauce would not feel out of place here. A scattering of lightly toasted sesame seeds over the finished dish would be lovely as well.
I don’t like restraint. It’s the same complaint I have about being a grown-up (also, restraint, complaint? They were clearly meant to go together!): the liberties are great, but the requirements to limit and be responsible for myself sometimes seem unfair. Ice cream for dinner because I want to? Yes I can! Work still starts at 7:45 on Monday morning? Oh. Right. Responsibility.
 This tenuous relationship with restraint (and adulthood) contributes to the way I cook. Though what I try to bring here are dishes that I’ve tinkered with and scaled back or spruced up appropriately, that doesn’t reflect the me-in-the-kitchen reality most often produces. This “real” me is spattered with flour, knocking over bottled spices as she reaches for, most often, embarrassingly, the garlic powder (because honestly? Mincing up garlic on a weeknight after I’ve spent all day grading papers is sometimes beyond my capacities). I’m constantly in the line of fire of spurts of olive oil that spring out of my too-hot pan, and consistently grateful for the lovely canine I live with who willingly volunteers to “mop” the floor after dinner has been served. It’s a disaster zone, if I’m honest, which is why there are so rarely photos of me here to go along with the food.
 And when it comes to the food, I must admit to occasionally overdoing it. I’ve made salads with so much in them it was hard to find the lettuce. My stir-fry sauce has probably a dozen ingredients. My pizza crusts don’t always crisp up because there are too many toppings crammed, well, atop them. Rarely is my final choice an unadorned one, but a basic that I’ve dressed up because I can’t help myself. Even in the words I use to tell you, I’m forever prattling on.
 Sometimes, though, the minimalist in me steps in. She clears the counter with a glance. She demands simplicity, clarity, balance. She puts away the crumbled feta and the dried cherries and the dreams of fried sage. And she is usually right.
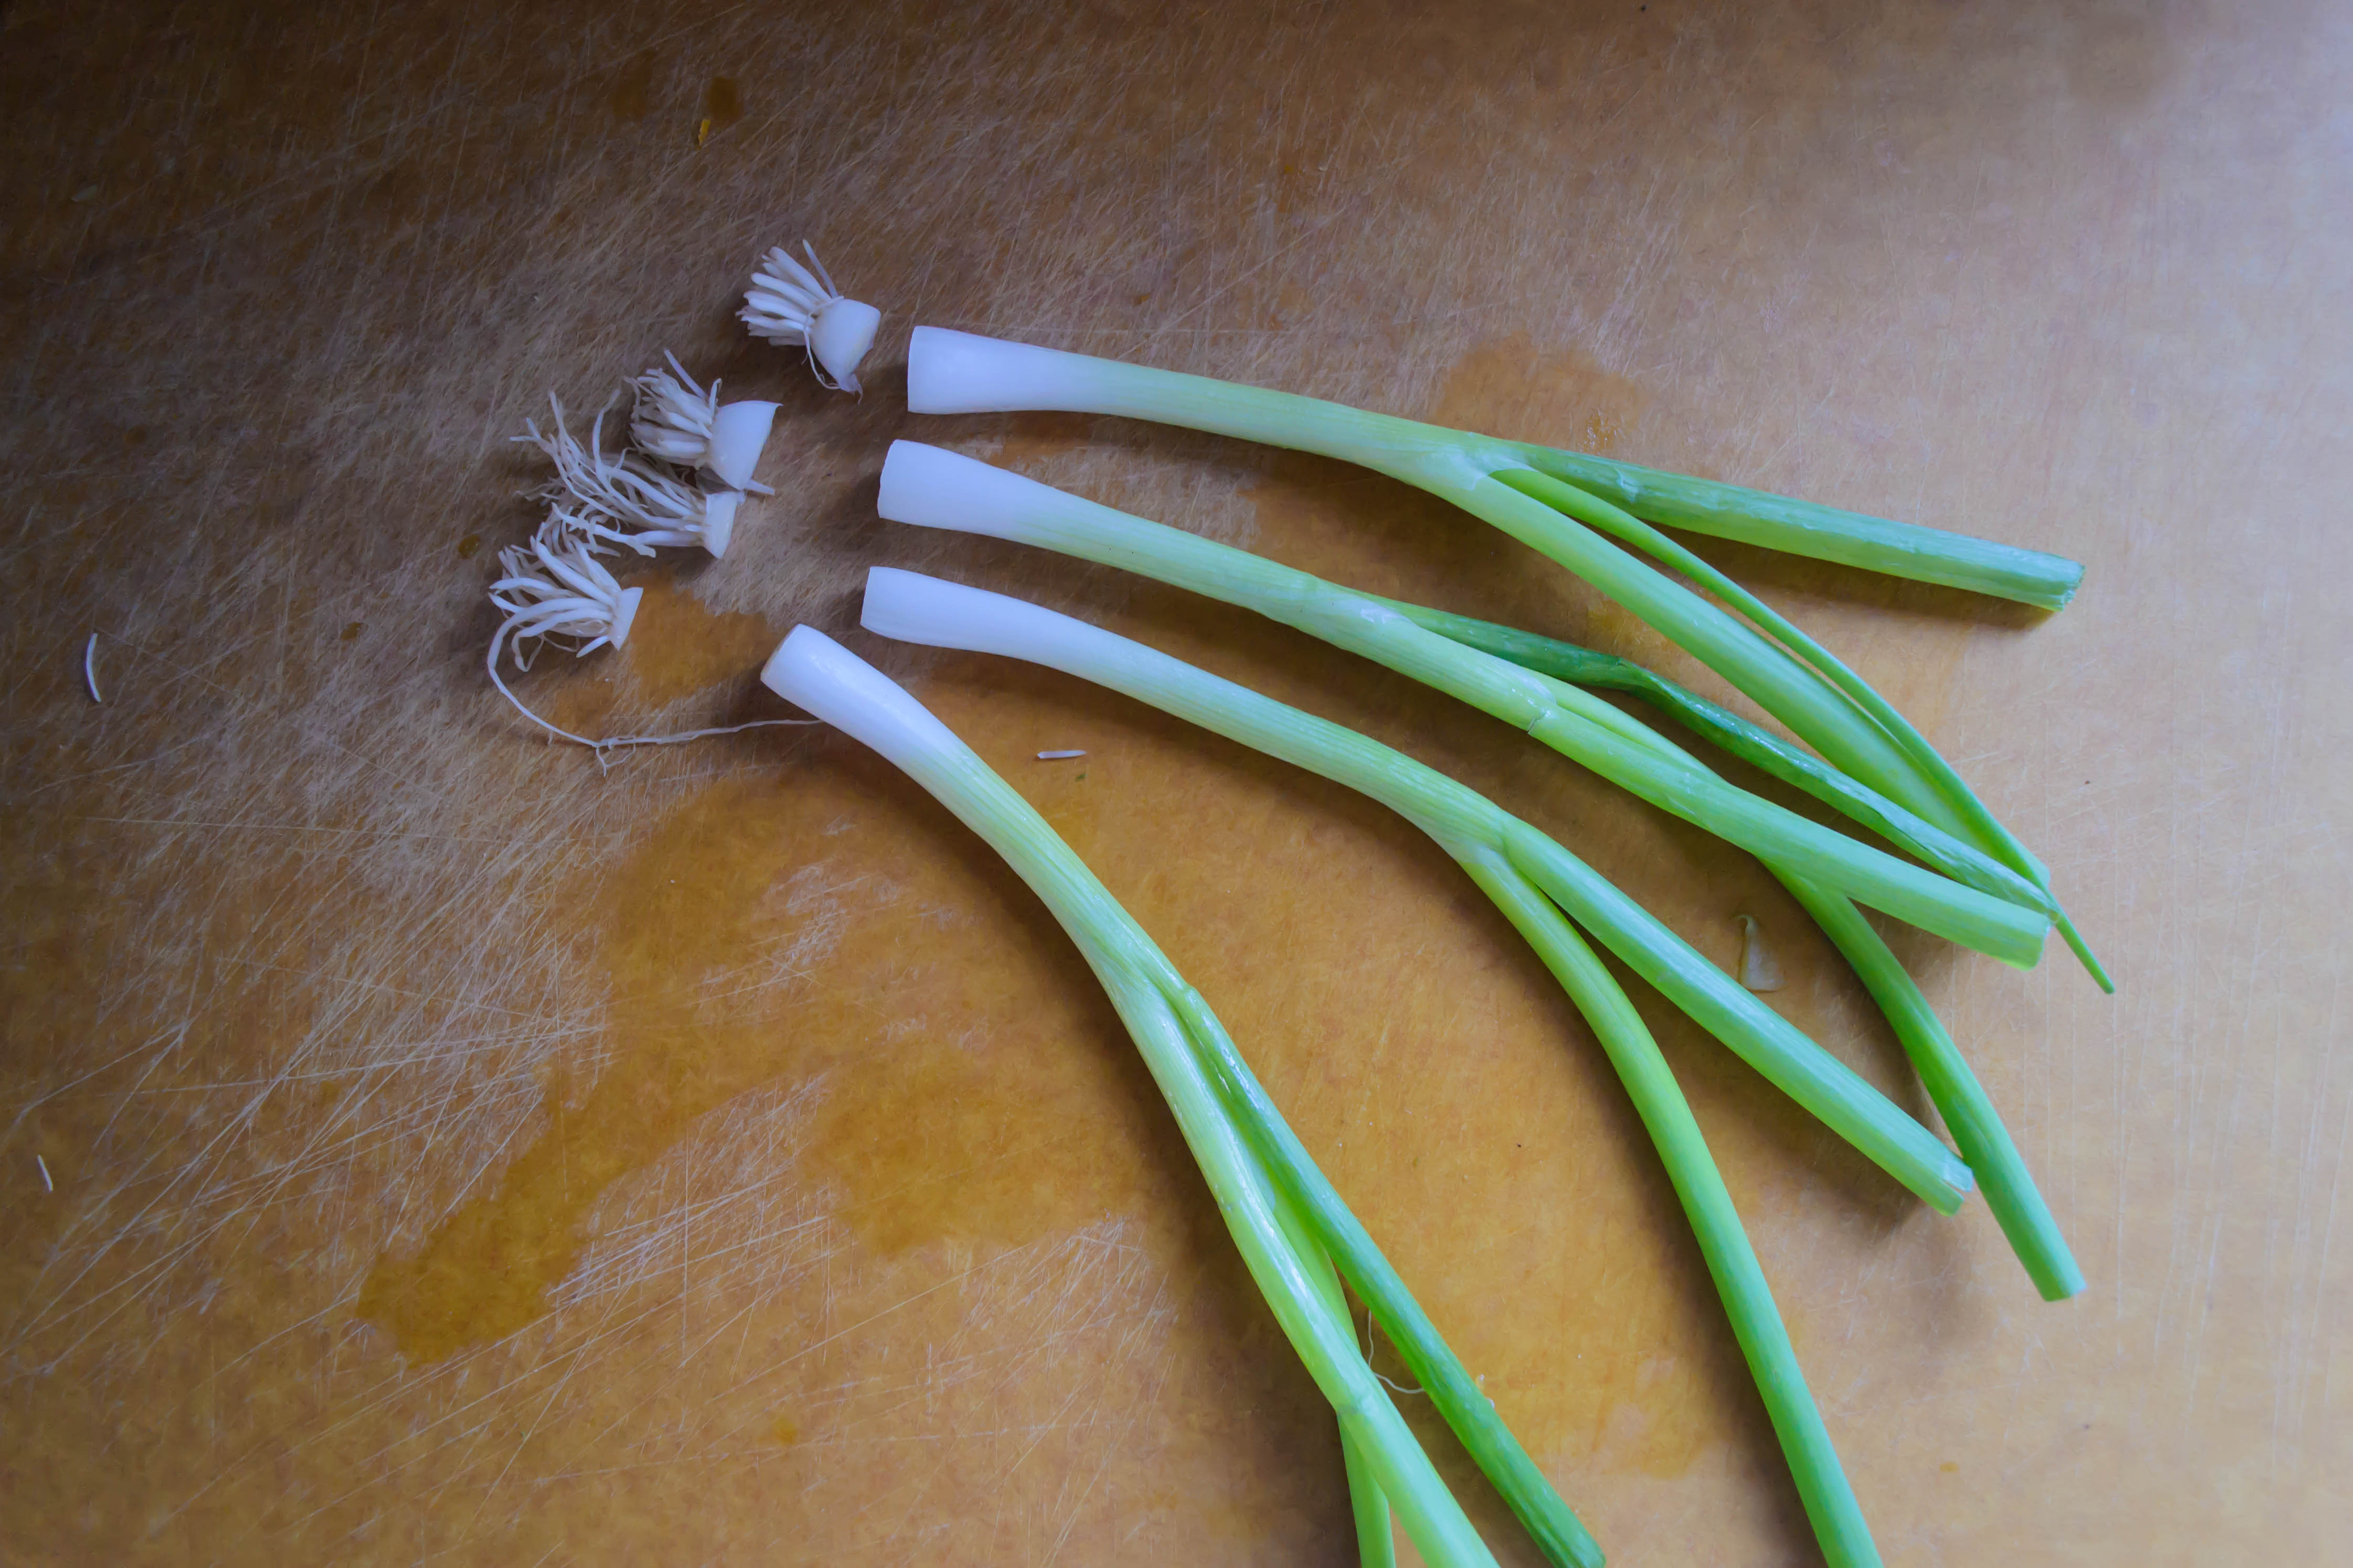
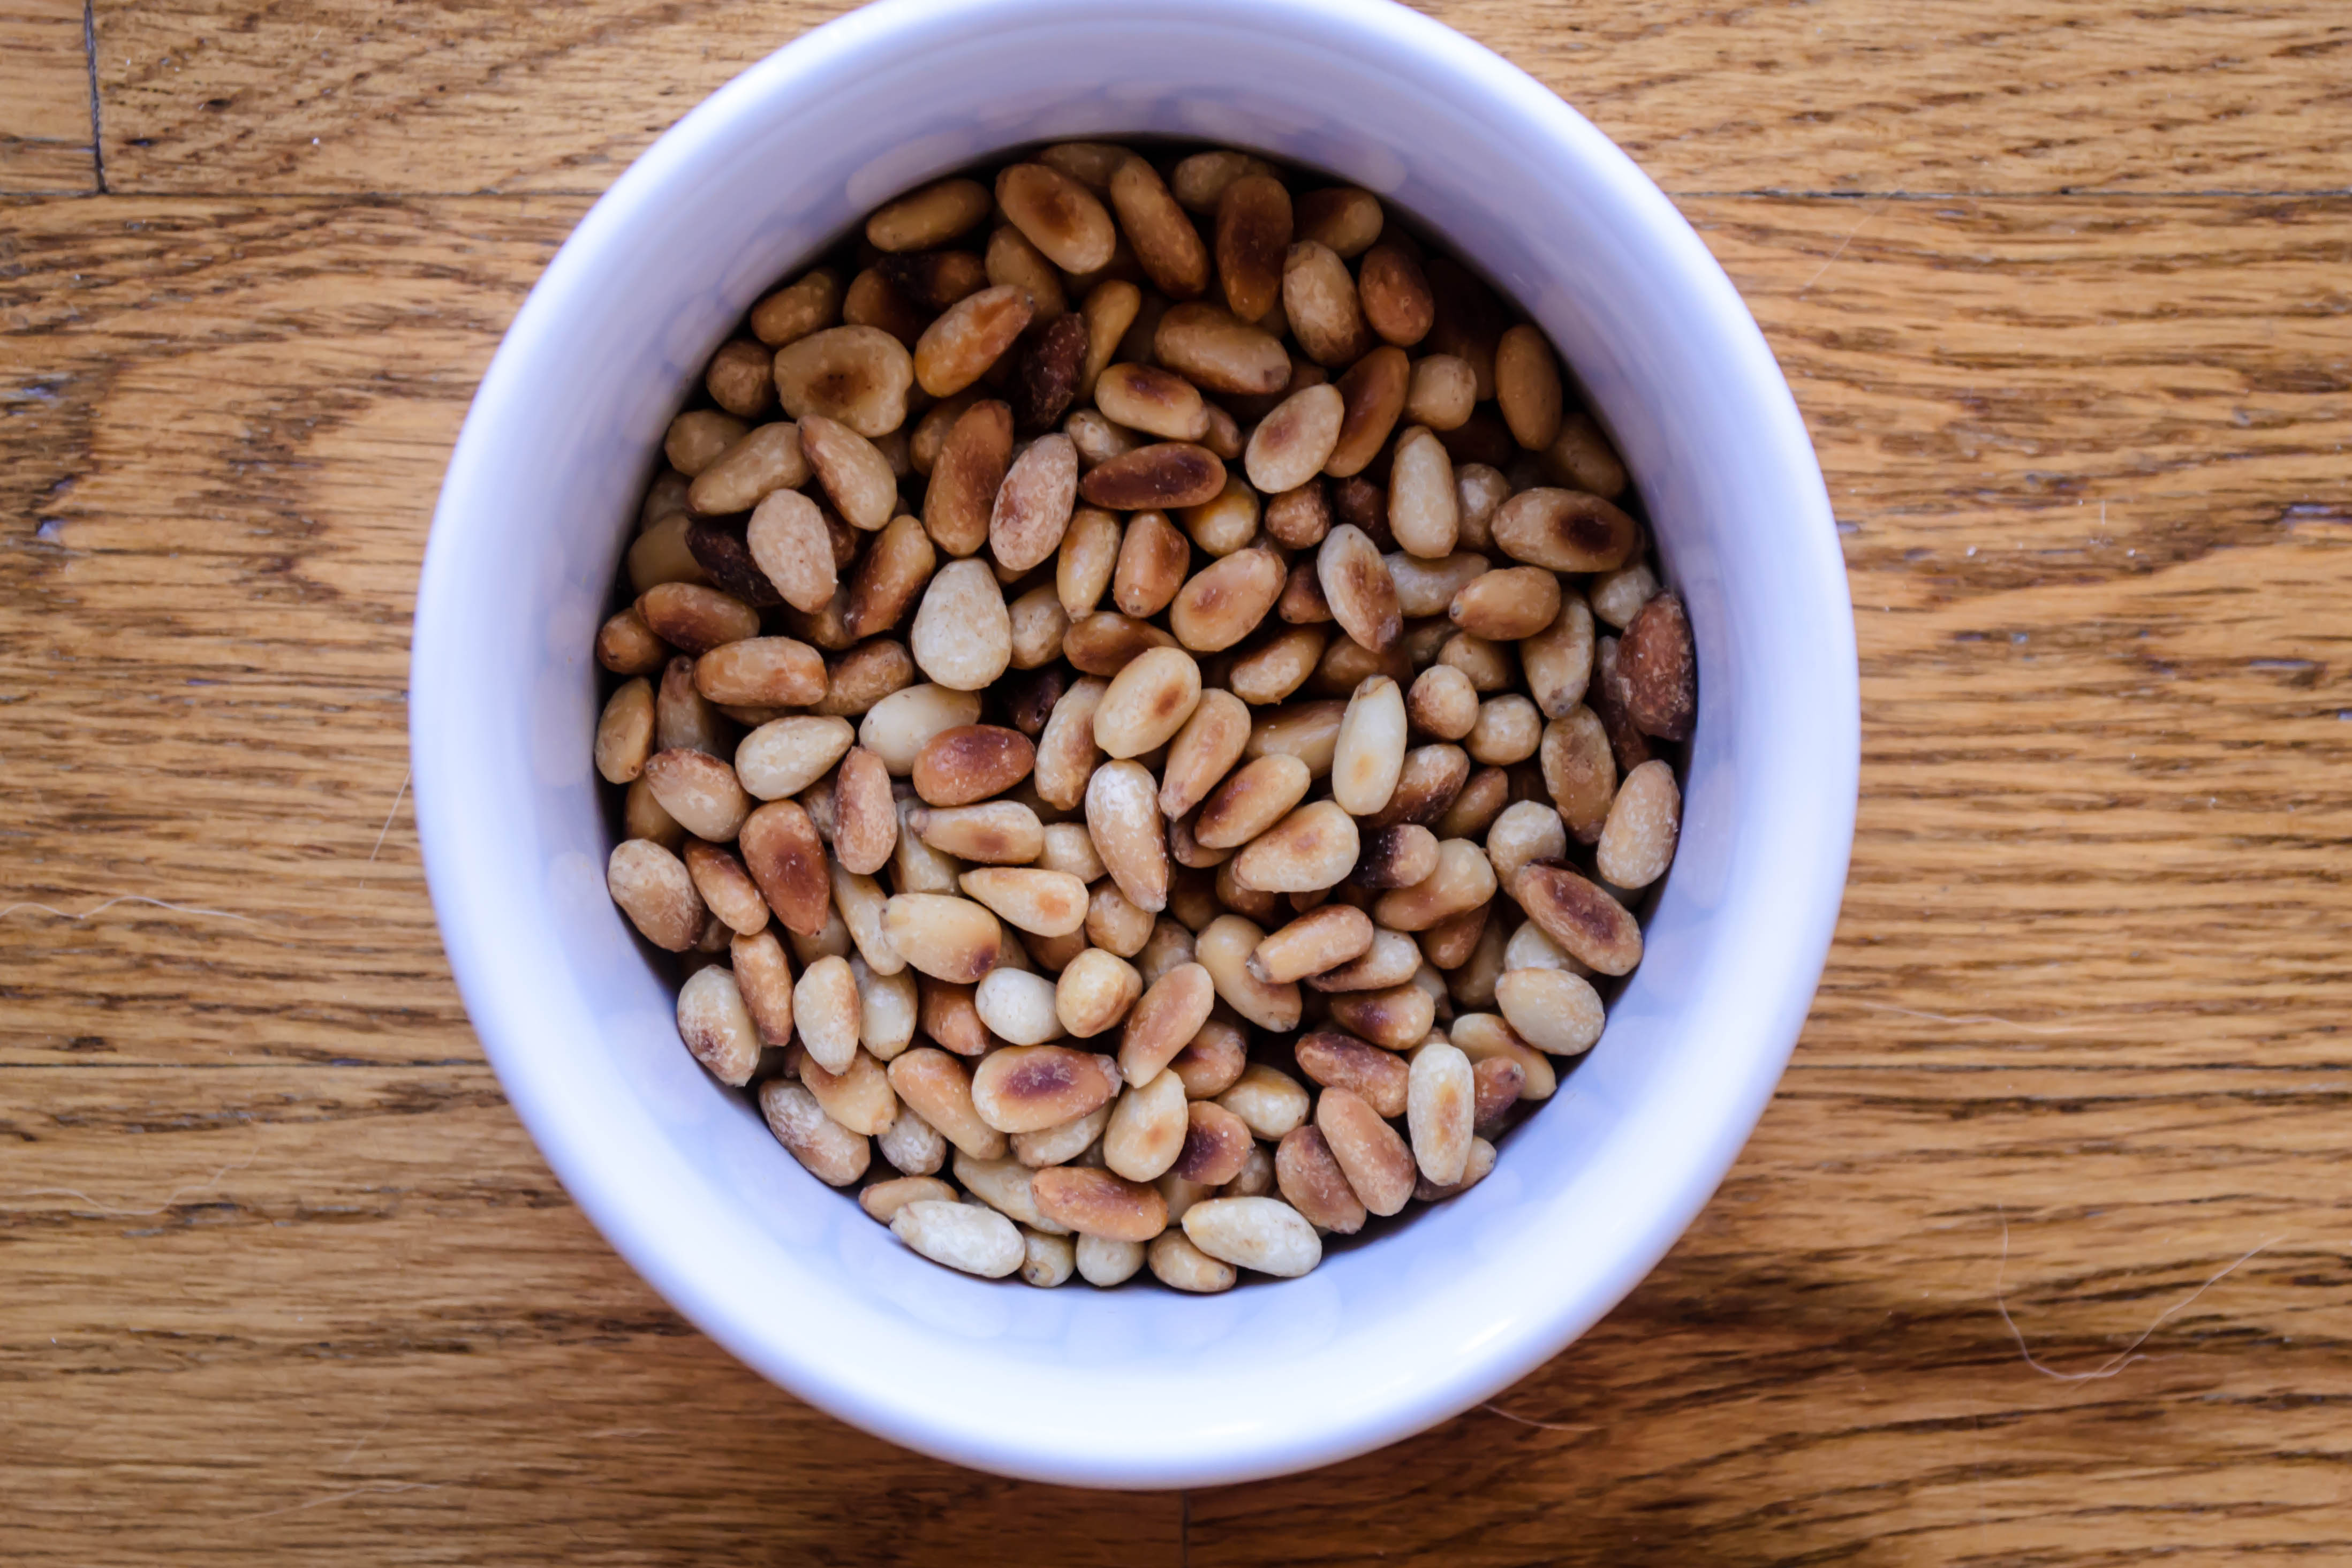
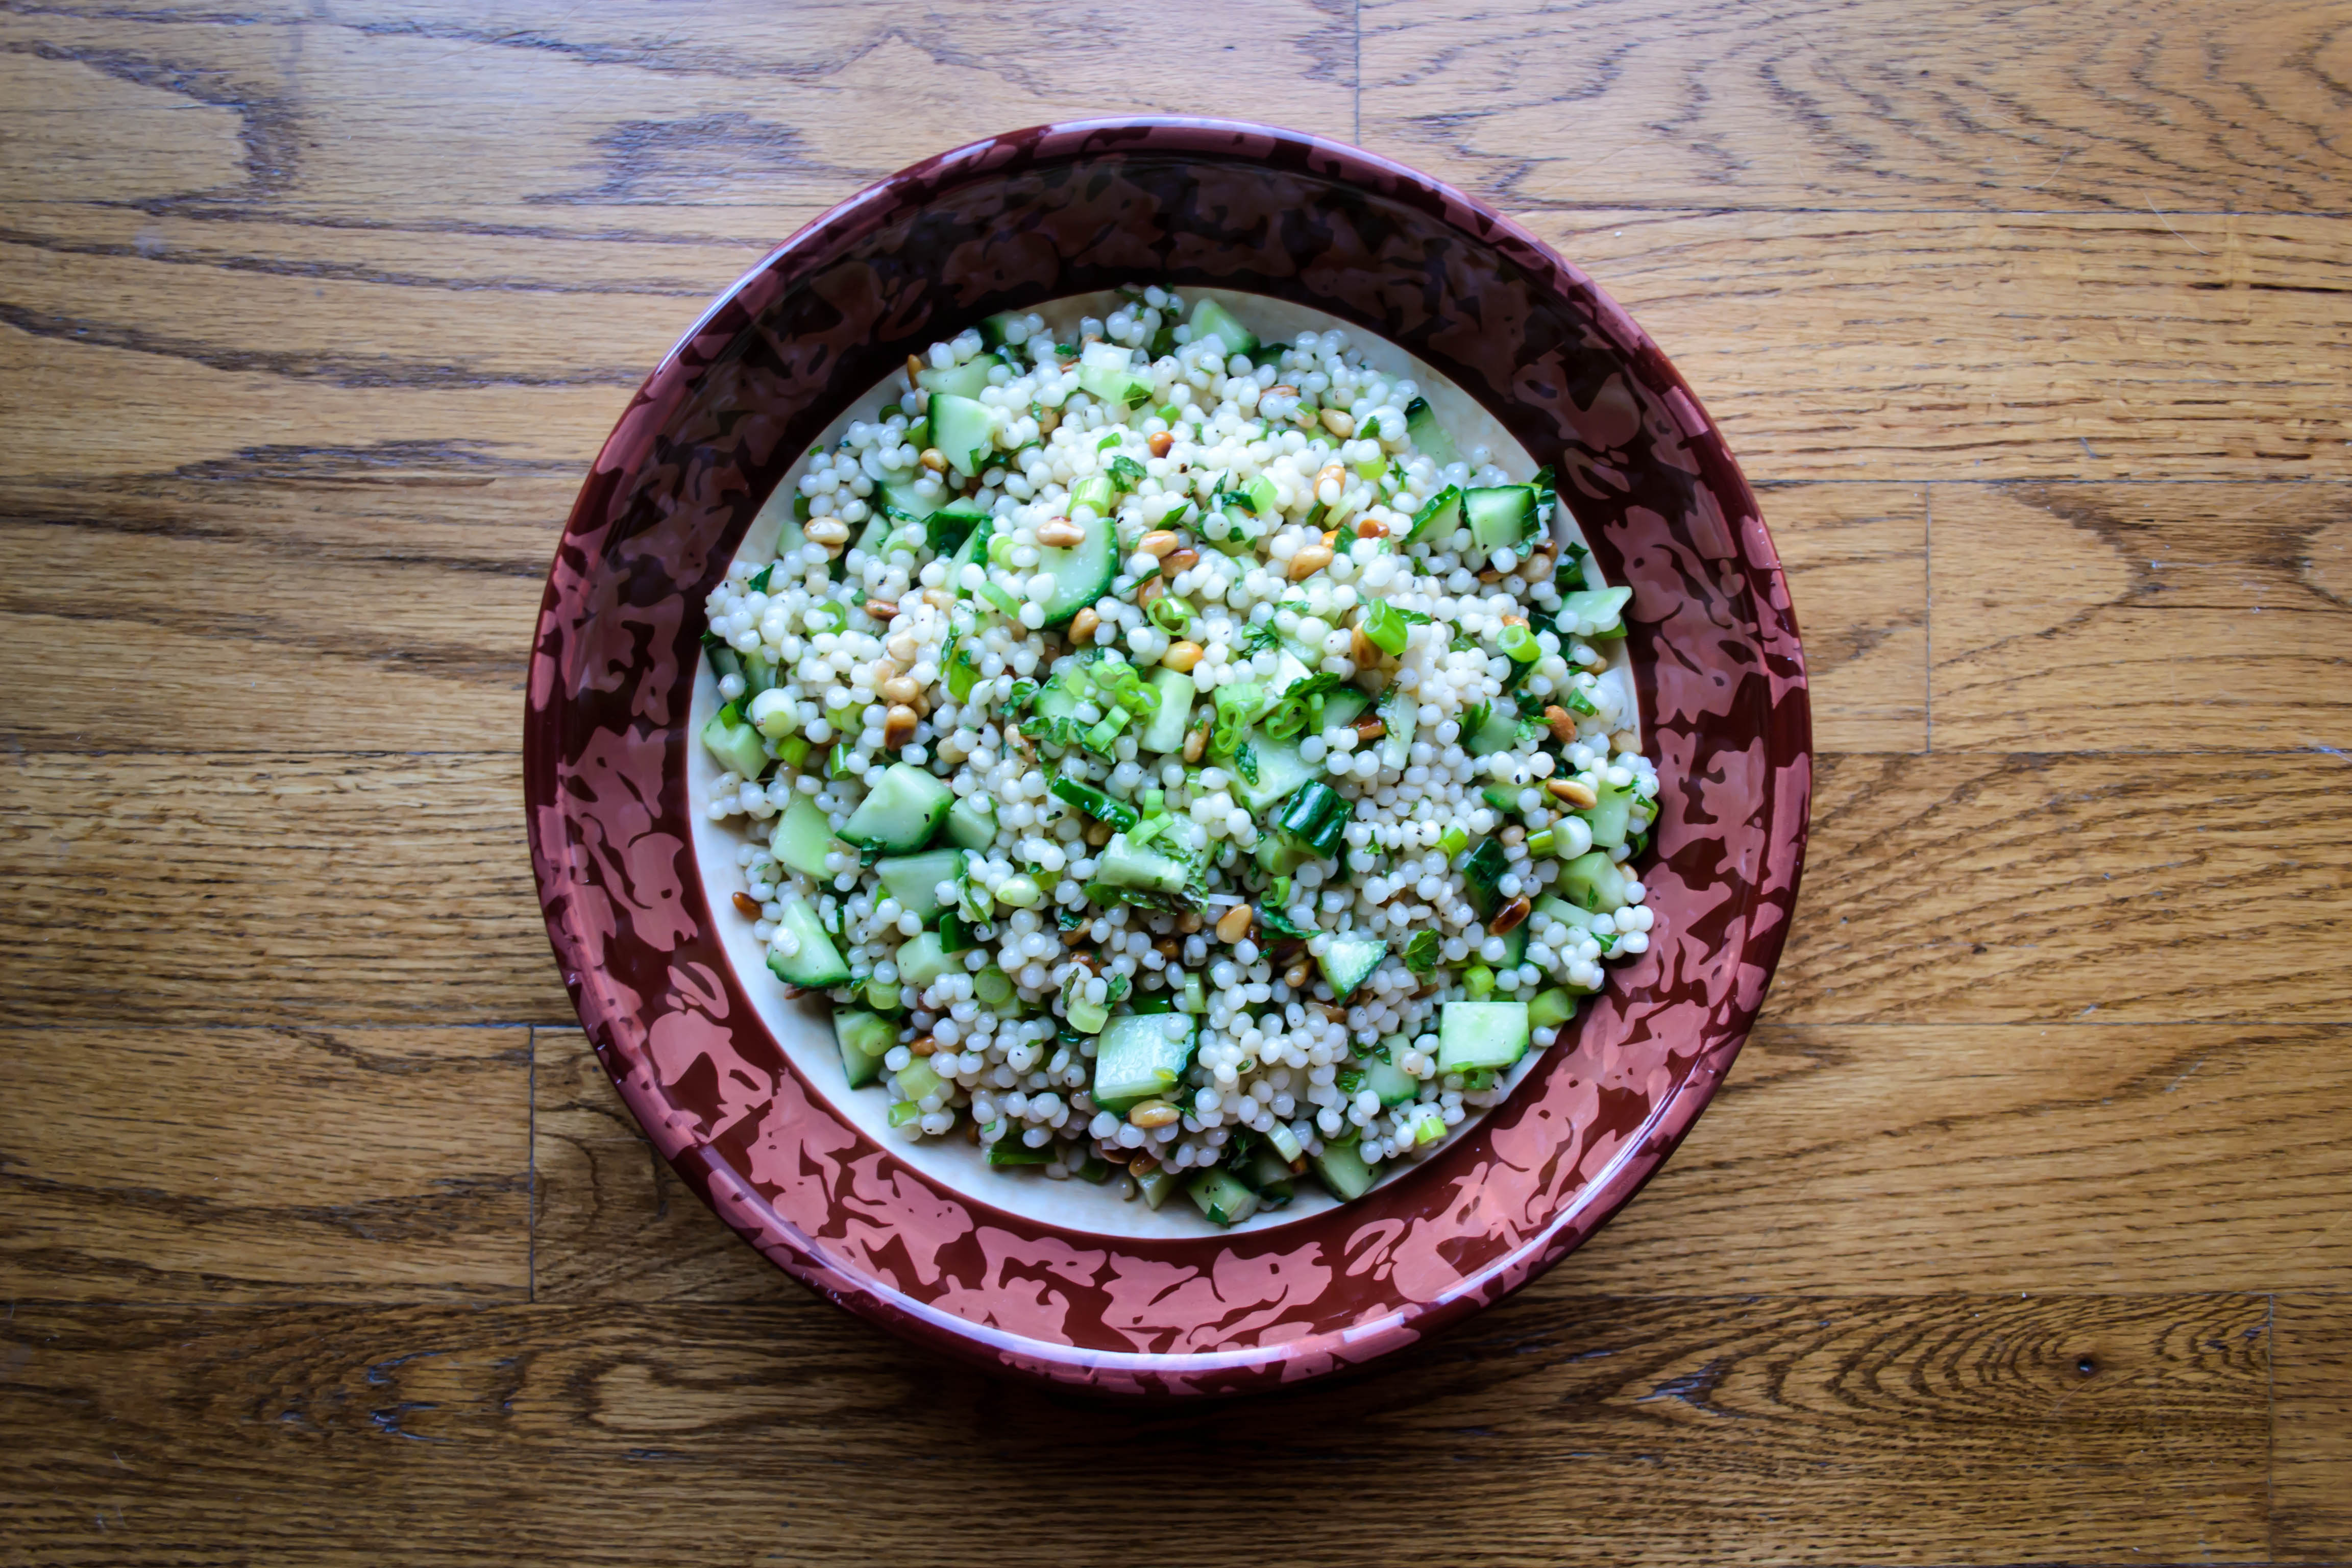
This simple Israeli couscous salad was born of a vision of combining raita and tabbouleh, though bizarrely with none of the most important ingredients for either. But that’s me. I’ve stripped away the parsley and the yogurt and the tomatoes and the bulgur wheat, and wound up with a collection of flavors and textures I’m totally in love with. And it’s so simple. Israeli couscous. Cucumber. Green onions. Mint. Pine nuts. Olive oil and lemon juice to dress. That’s it.
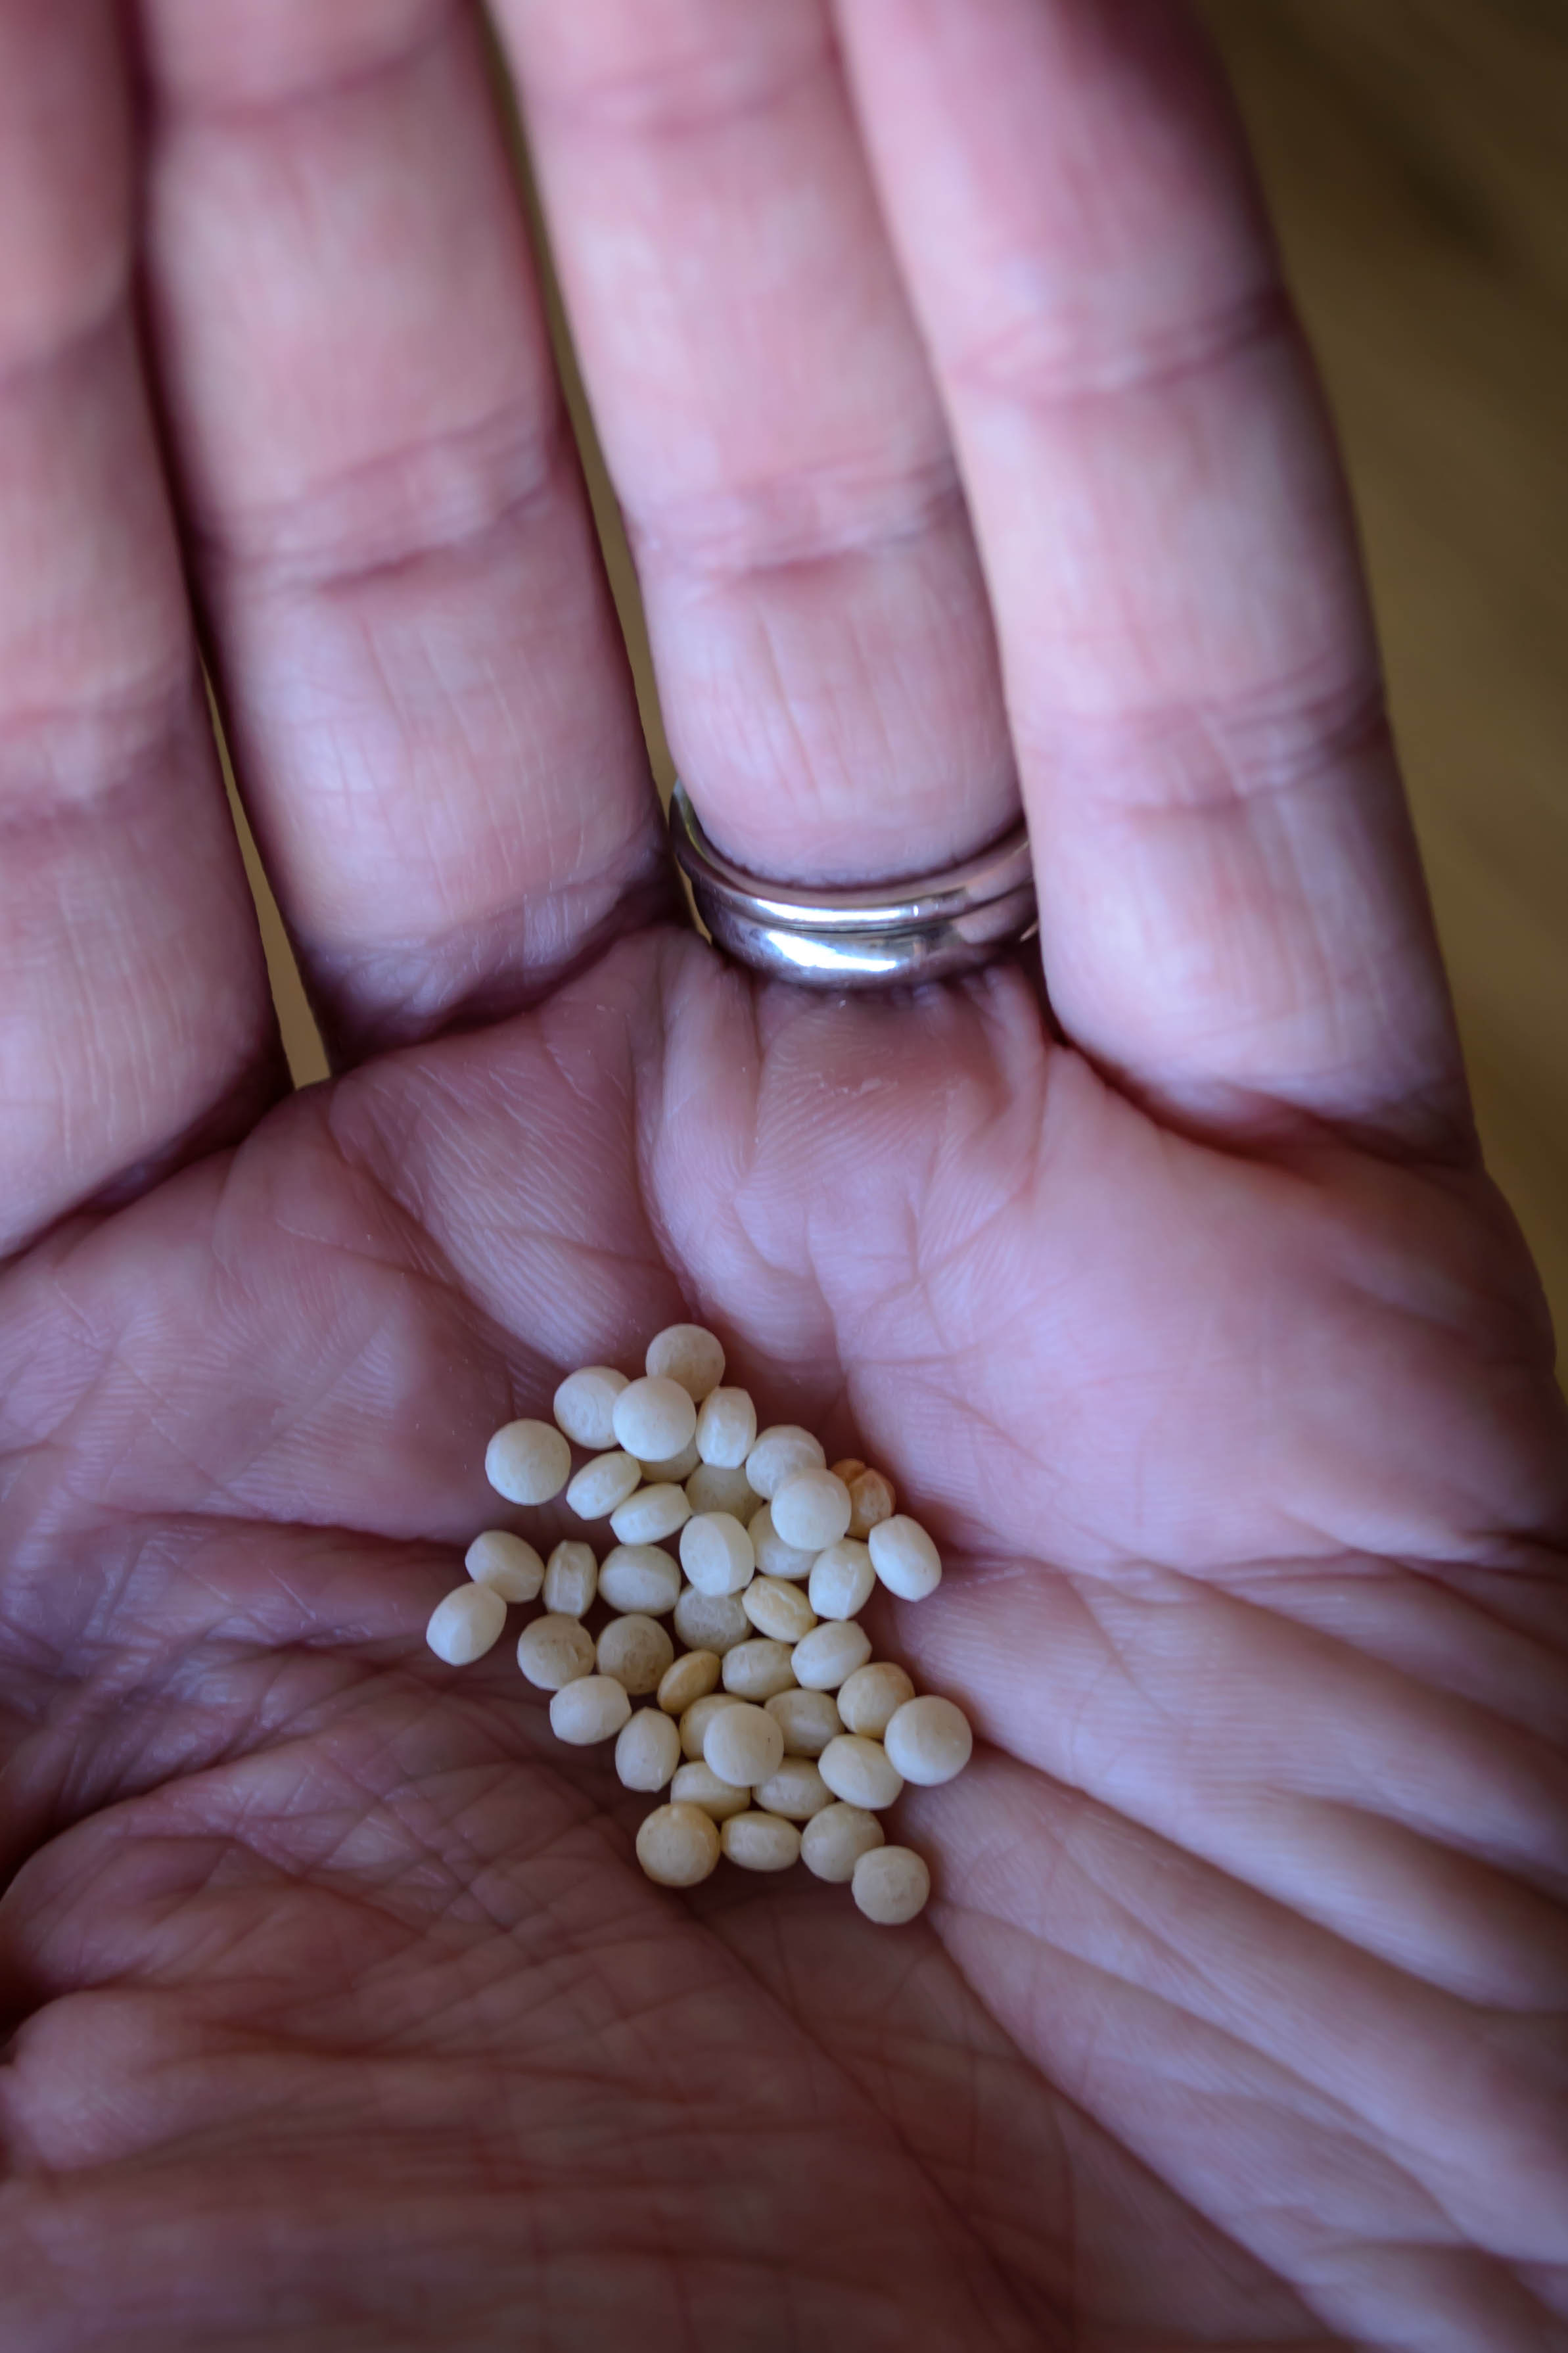 Israeli couscous, if you’ve never had it, is like a savory pile of tapioca balls, squashy and chewy and appealingly gummy. It makes a nice replacement for the bulgur wheat in tabbouleh, though it needs significantly less acid. Here, paired with the waterlogged freshness of cucumber and the creamy-crunch of pine nuts, it’s near perfect. And the mint. Guys, if you aren’t fans of mint in savory dishes, or if the last time you had it was as the leading flavor in that almost glowing green jelly spooned over a trembling haunch of lamb, you have to give it another chance. I already knew its herbal punch went well with cucumber, but I was surprised and delighted by how well it complements the pine nuts.
We ate this as a side dish for some tandoori-spiced grilled chicken and Bittman chutney one night, and then, in testament to its simple goodness, it conveniently acquiesced to be my lunch for several days in a row later that week.
You could, if you wish, add ¼ – ¼ cup halved cherry tomatoes, or shredded grilled chicken, or even a few tablespoons of yogurt for creaminess, and I think it would be stellar. But I, in an uncharacteristic display, decided not to. Restraint. For once. And I think I’m glad.
A fabled land of farmers, farm shares, fancy (and not so fancy) restaurants, family meals, food projects and more.
cooking my way through my dissertation, one egg at a time
Fearless cooking from a tiny NYC kitchen.
food, in so many words.
Recreating the famous dishes of famous writers. Part recipe blog, part historical discussion, entirely unabashed love of books.
Epicurean Adventures from Eugene, Oregon
Celebrating the Harvest
Modern Iranian aka Persian Food & Culture Blog - Cuisine, Recipes, Stories , Photos, Pictures, DIY tutorials
Exploring Culinary Traditions of Africa, African America and the African Diaspora
food, in so many words.
food, in so many words.
food, in so many words.
Food-Stories-Recipes-Love
WordPress.com is the best place for your personal blog or business site.
