…and then it was a week later, not just a few days. That’s the way summer is sometimes, isn’t it? And there’s about to be another hiatus as I travel to Oregon for our annual visitation.
 We are now officially half a year through this meatball exploration. I like assigning myself these year-long projects because they give me plenty of opportunities to experiment, and when I emerge, breathless, come December, I feel I’ve attained (sometimes tenuous) mastery over the subject at hand.
 A year-long food project can present challenges, though. The chief difficulty, it seems to me, is the bald truth that single food types don’t often translate well through the seasons. A sweet potato project, as delicious as that might sound, would not be as welcome in July as it would in November. Meatballs, similarly, seem most suited for cooler months: draped with sauce, topped or wedged beside or squashed between bread and cheese, they are a heavy prospect.
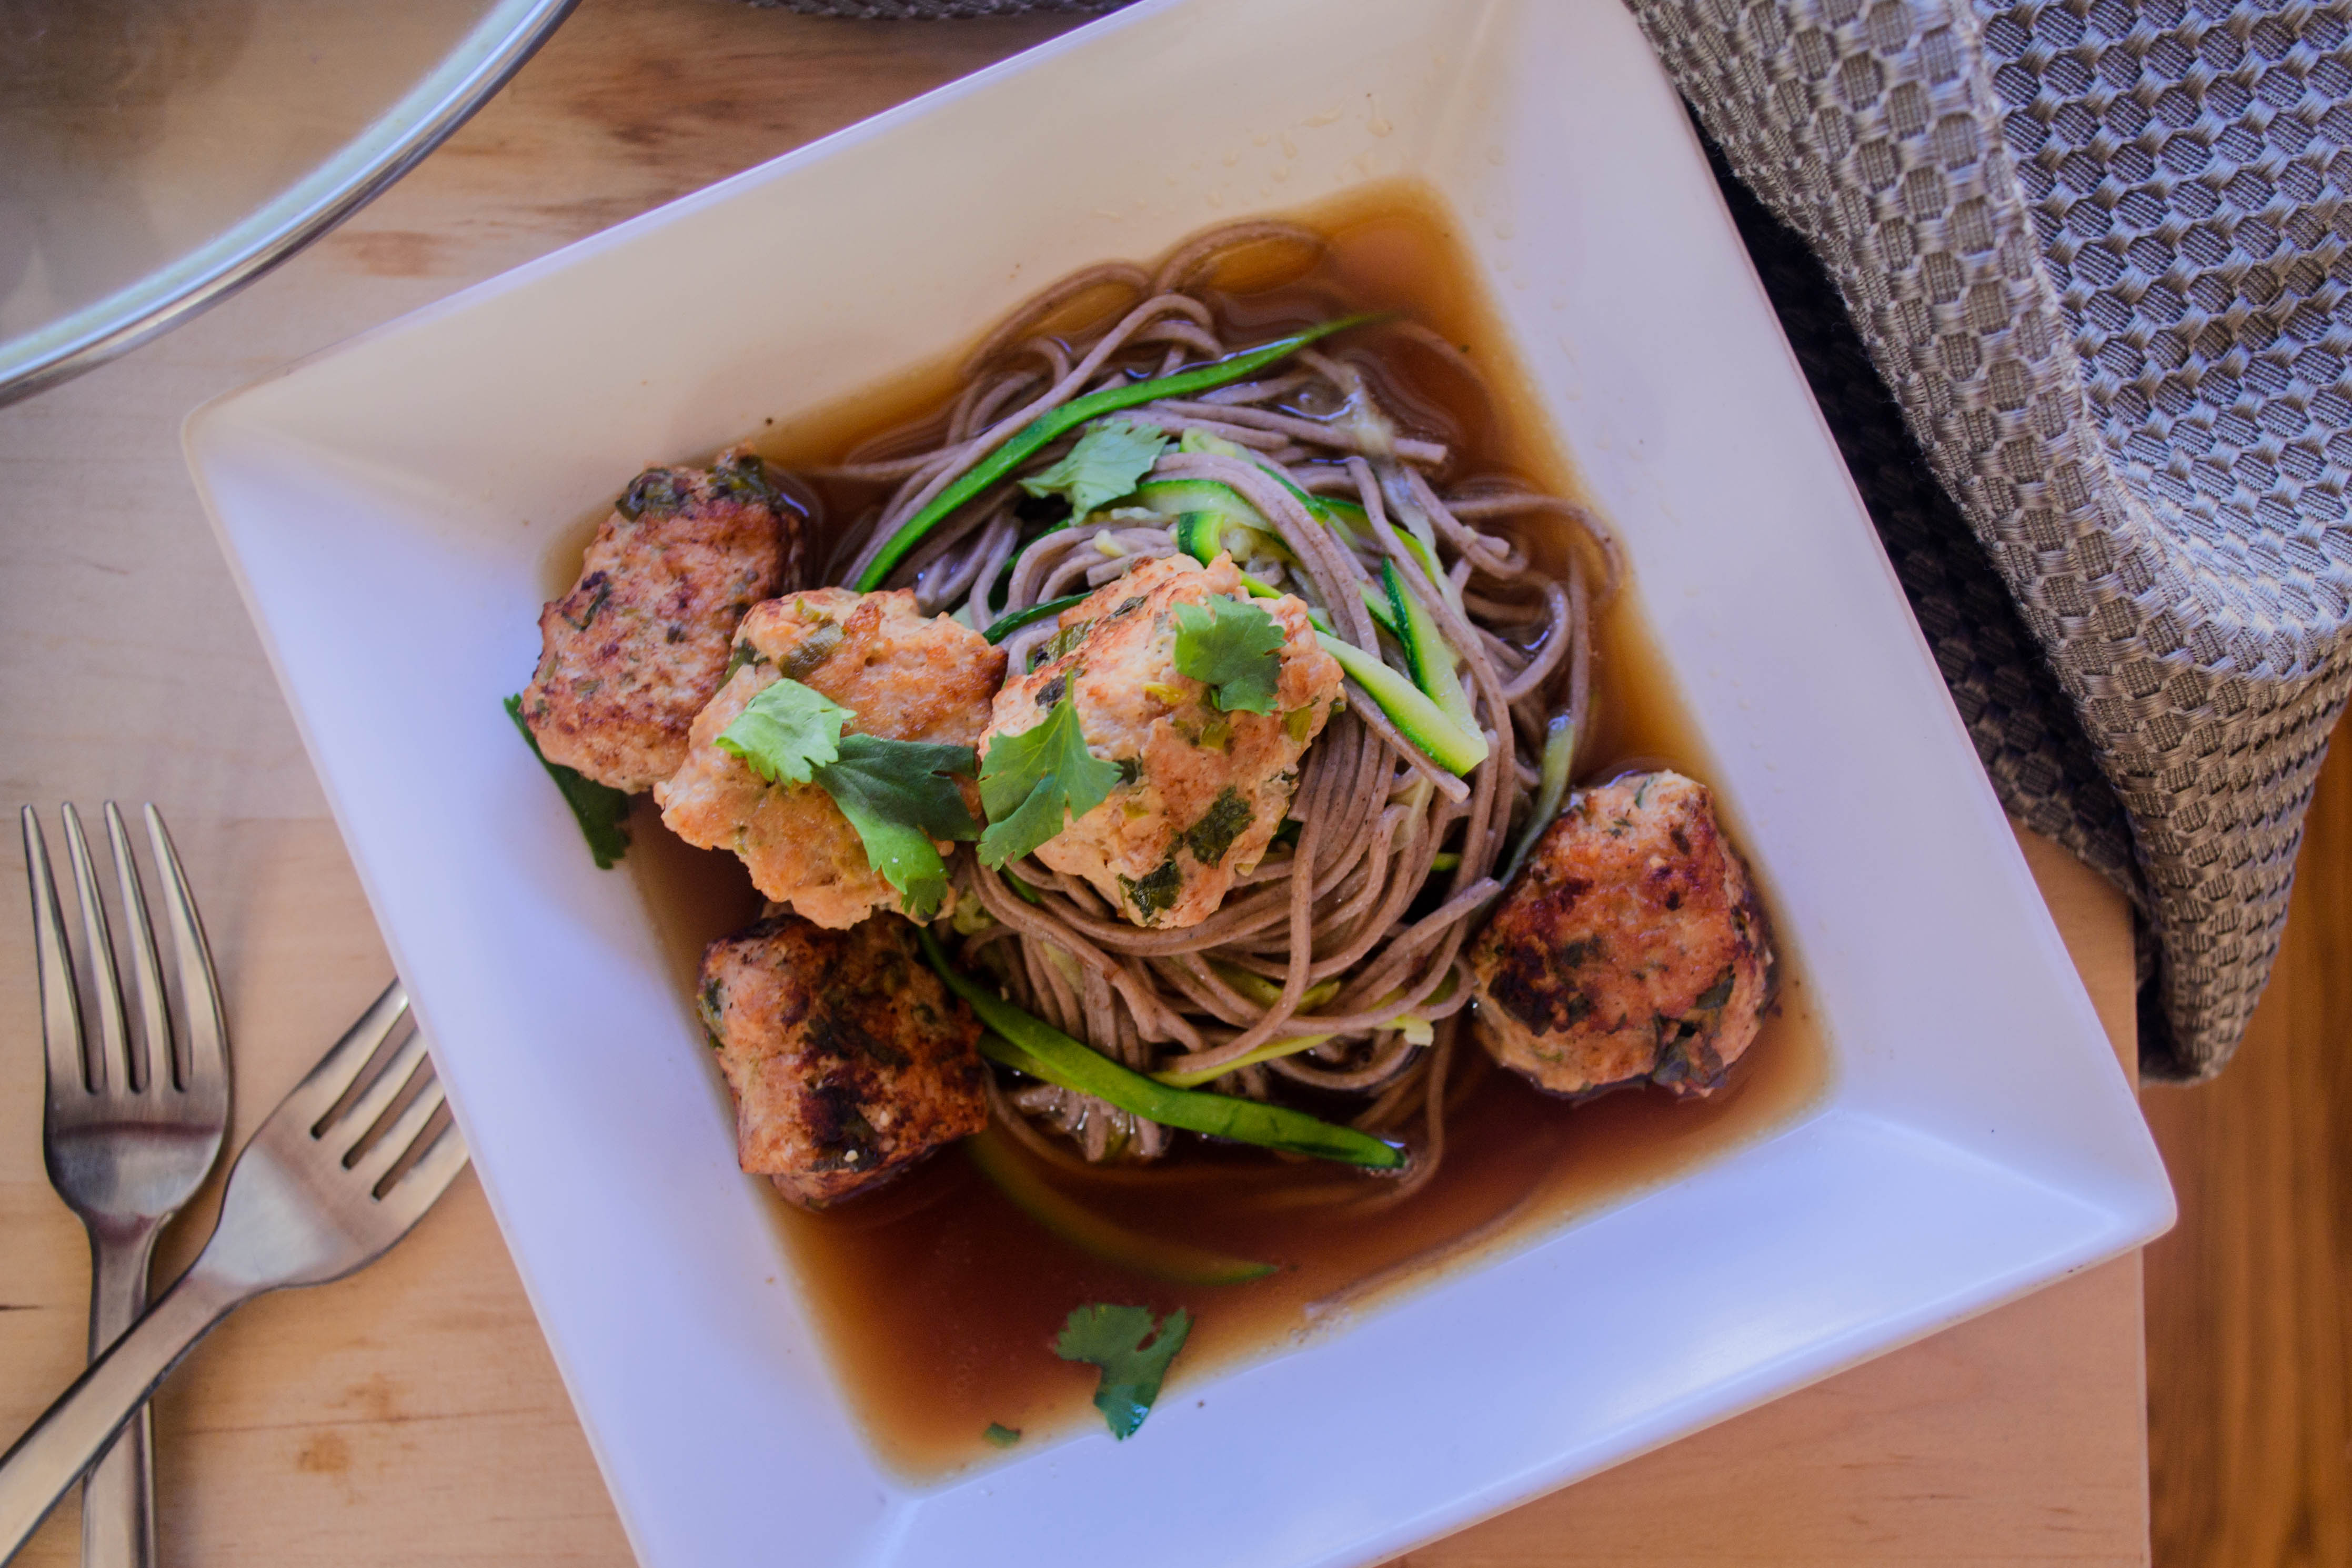
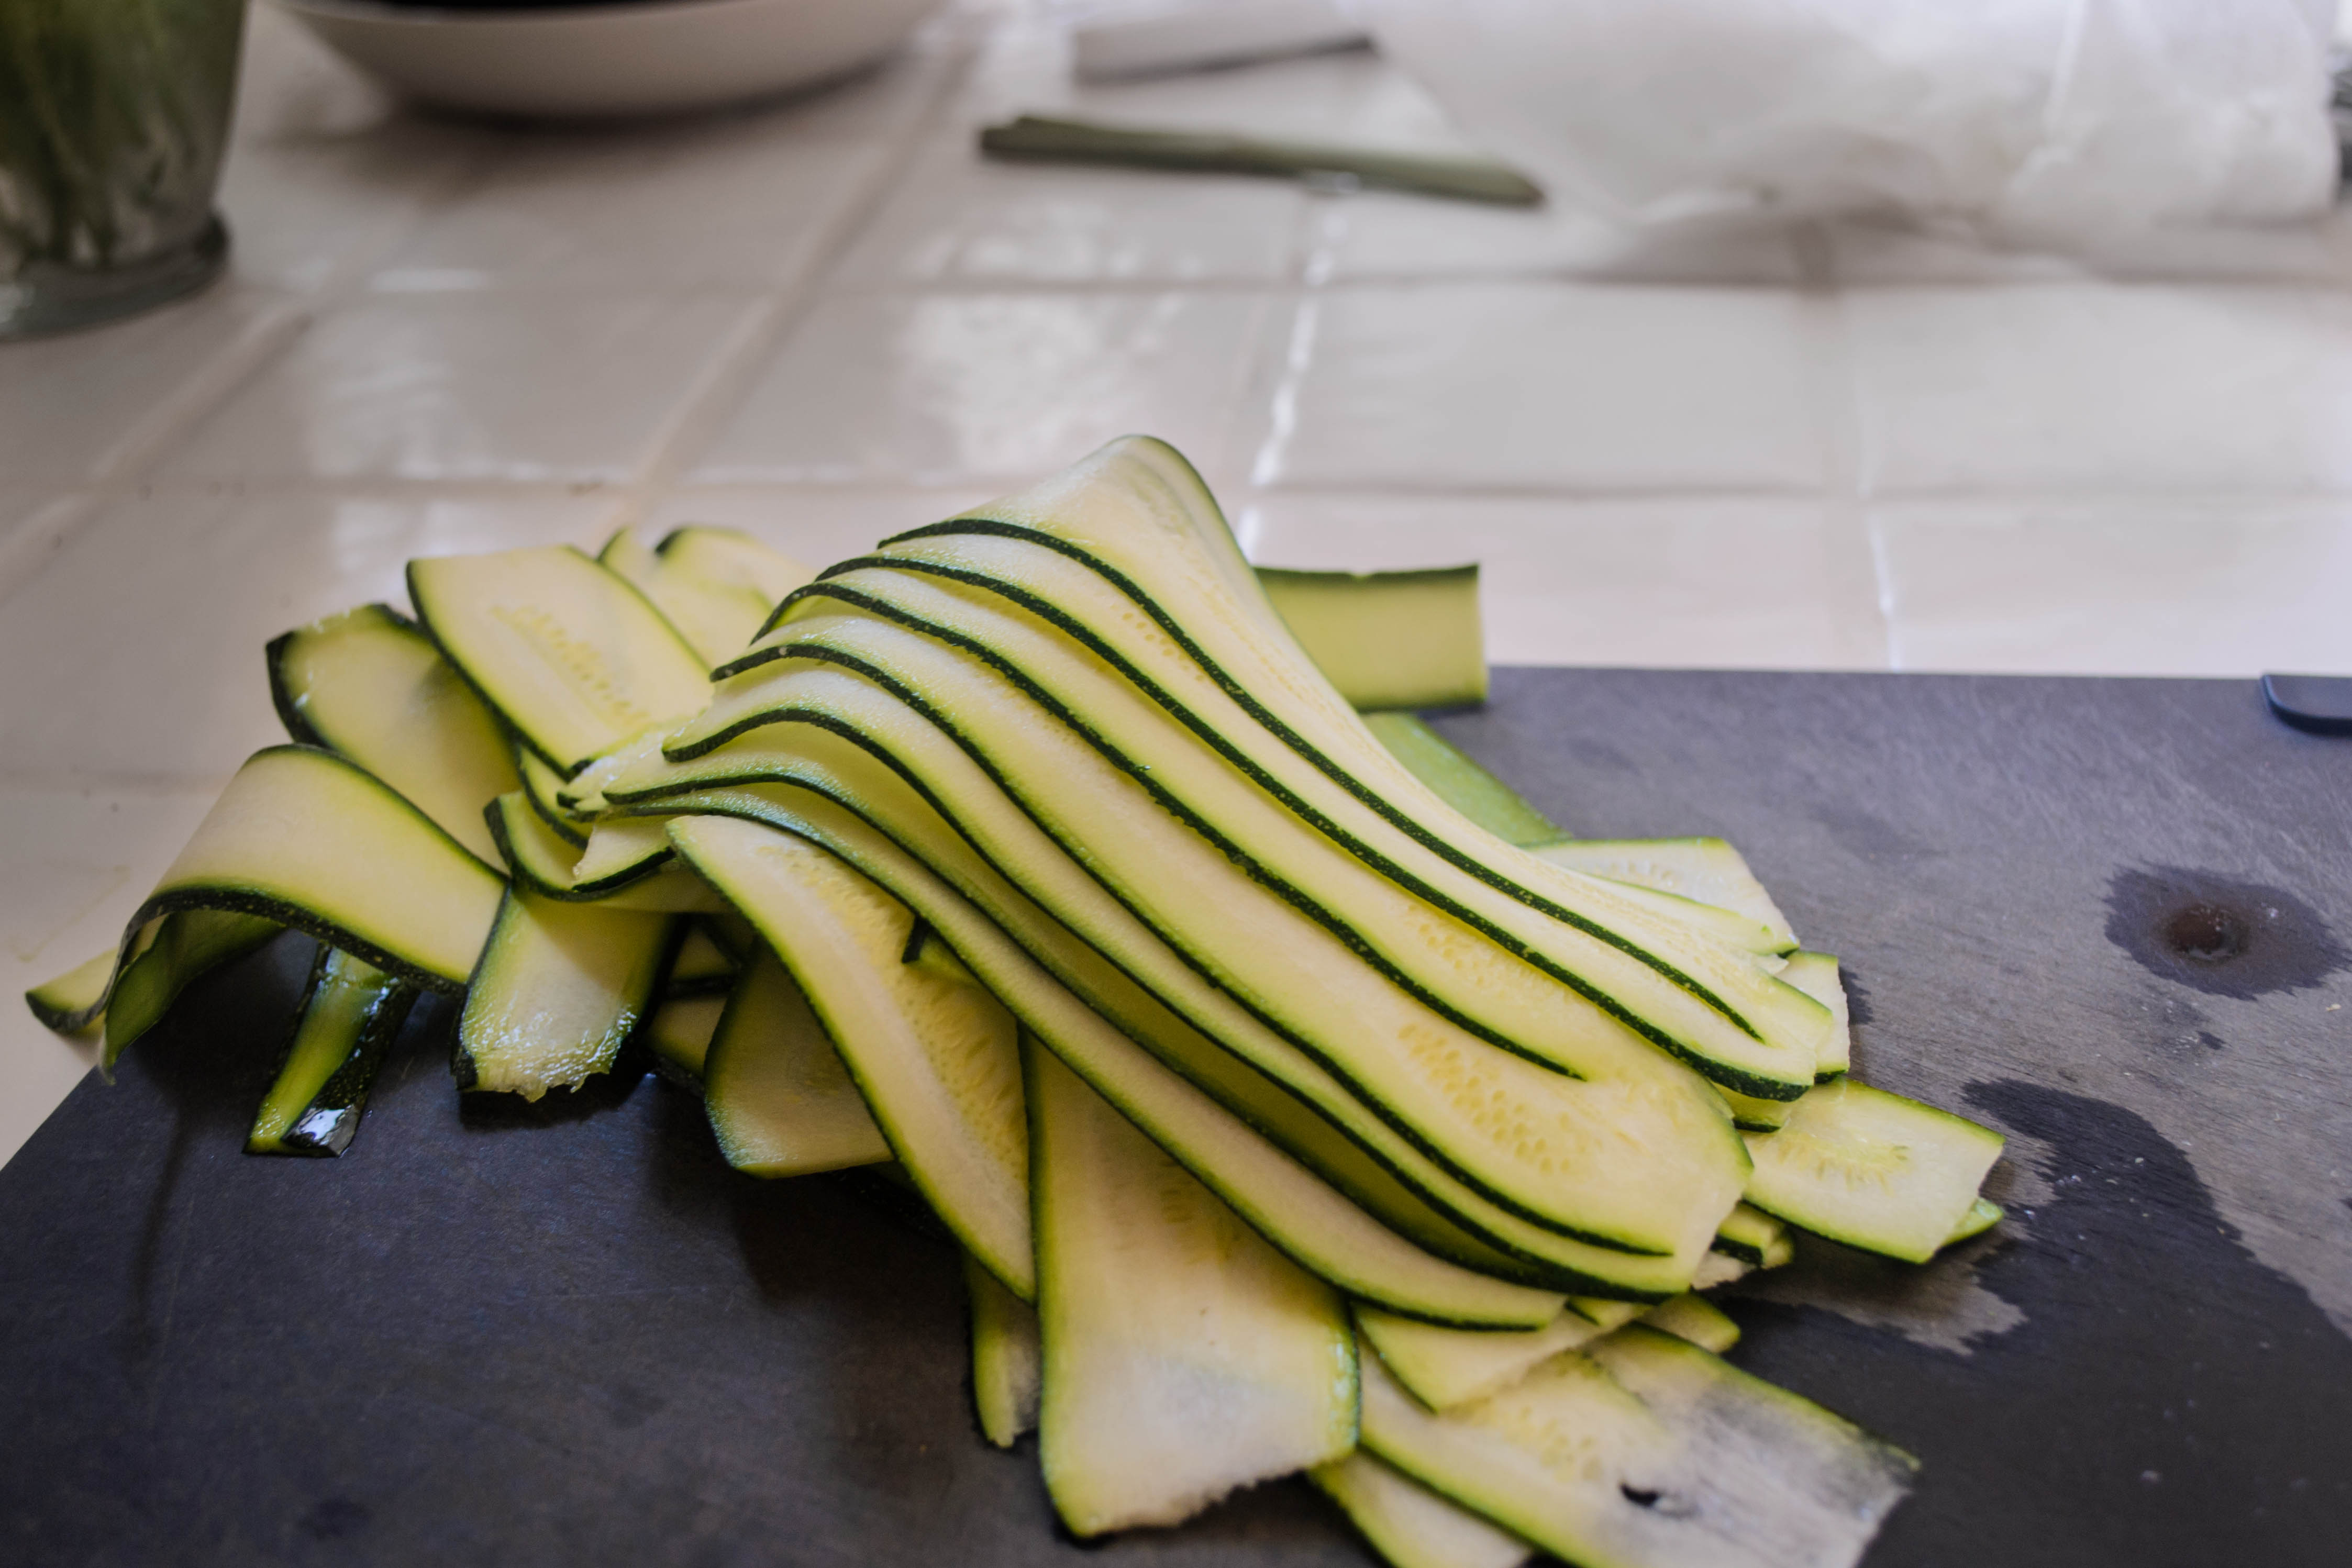
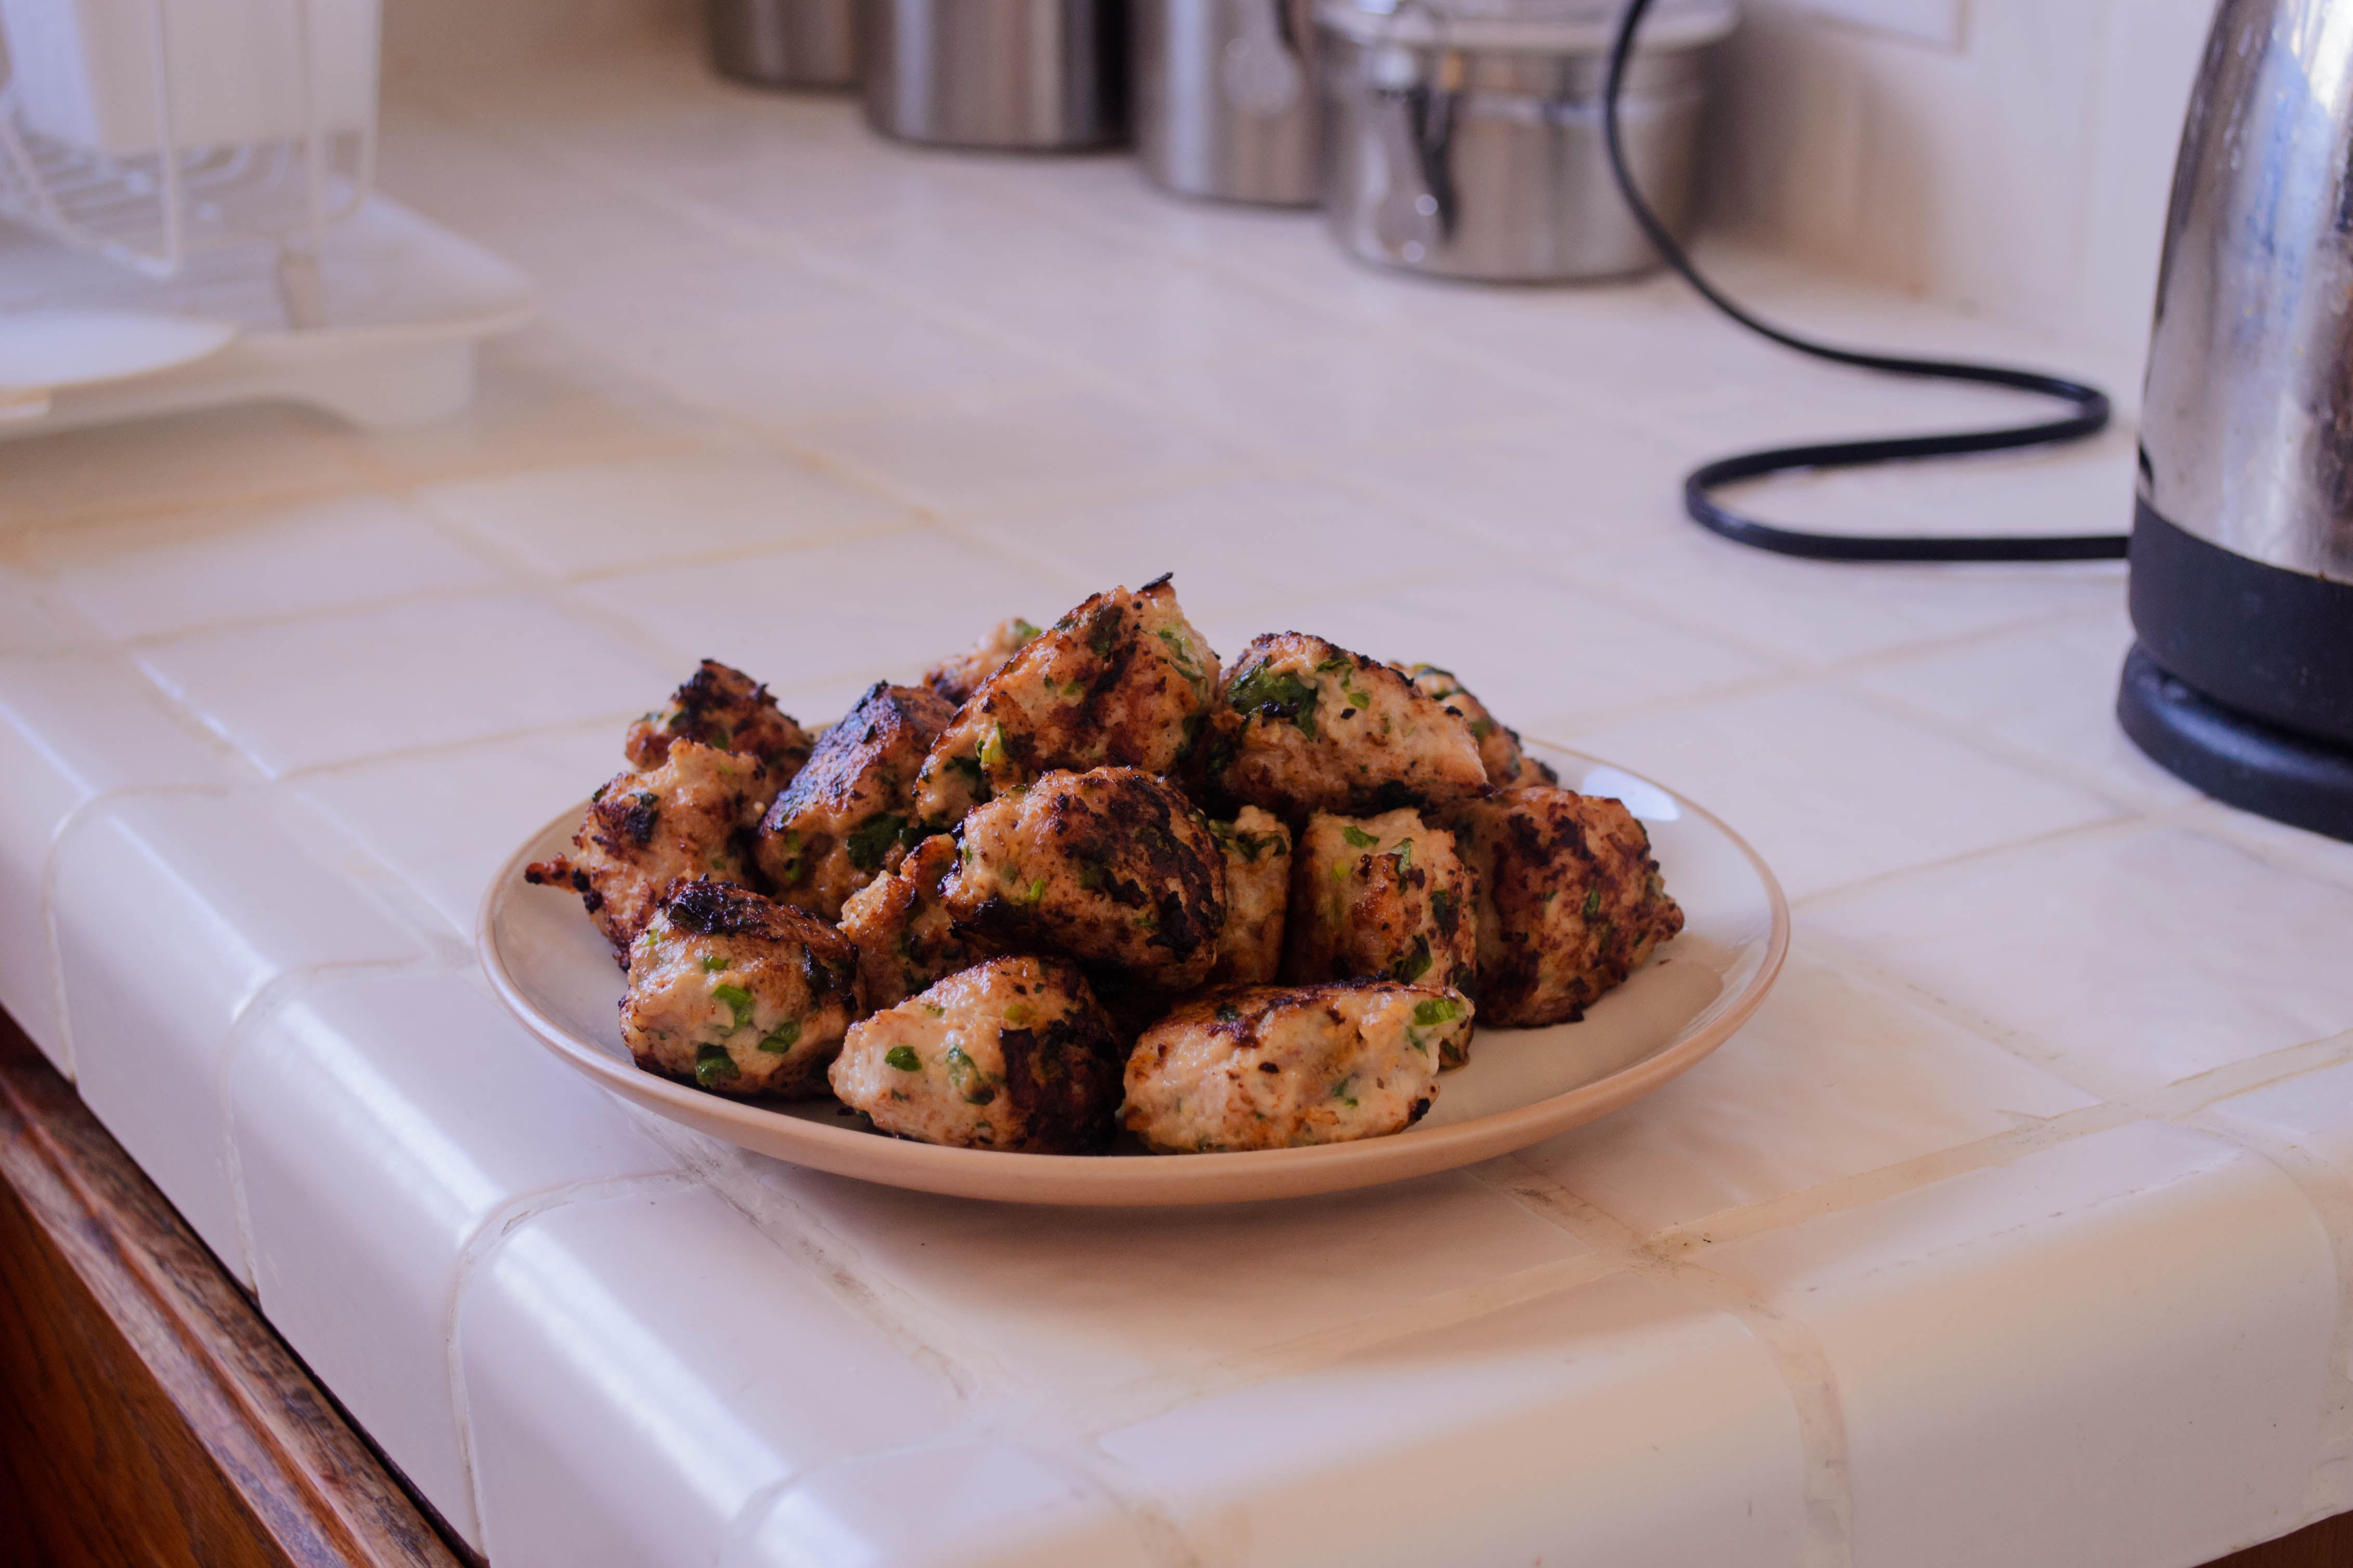
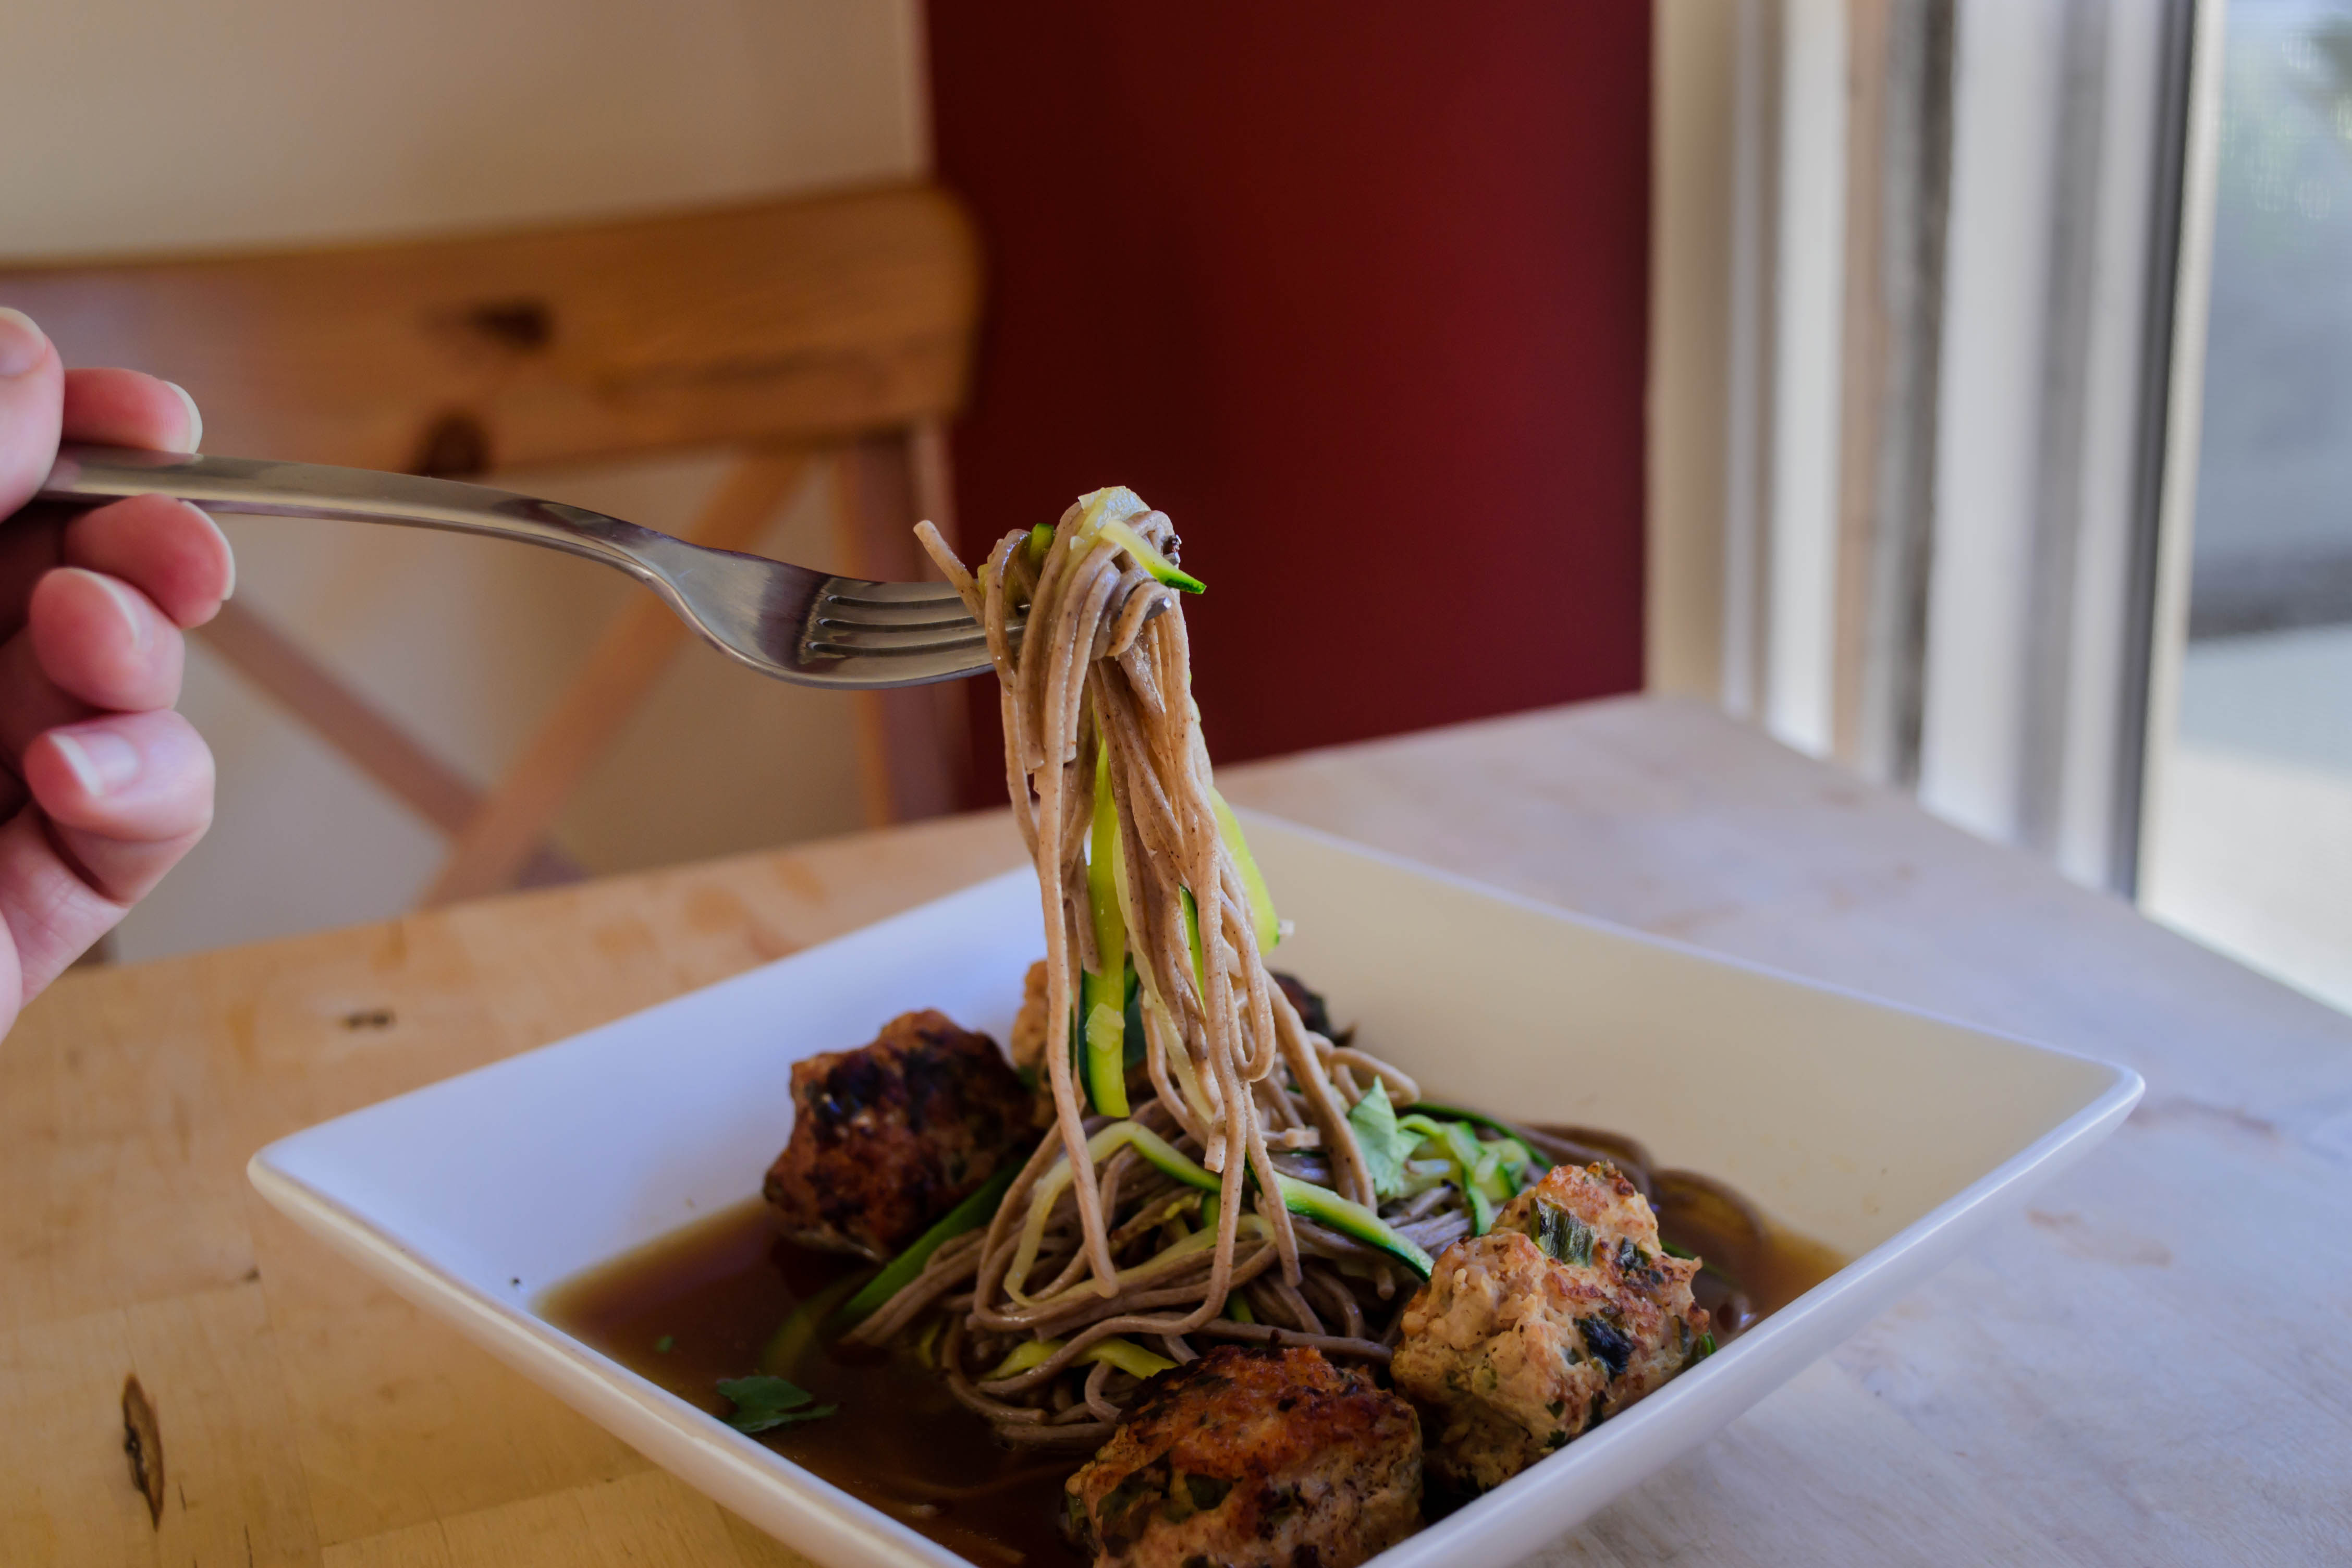
 What is needed, then, as this month grows more and more sultry, is a summer-soaked meatball: light on the stomach, feathery in texture, heavy only in flavor. Conveniently, this meatball dish delivers not just on flavorful meatballs that didn’t leave us feeling meatball-shaped, but it takes into account and makes gratuitous use of that most prolific and dreaded of summer vegetables: zucchini. If you have a garden, chances are you’re growing zucchini. And as you know, it’s getting to be the season when you’ve given loaves of zucchini bread to everyone you can think of, jammed a few in your freezer for good measure, stuffed and baked a few of the baseball bat sized specimens that escaped your notice for a few weeks, and the thing just keeps spitting out squashes. This dinner takes at least two more off your hands by offering them sliced into thin strands, barely cooked, and woven into a tangle of soba noodles.


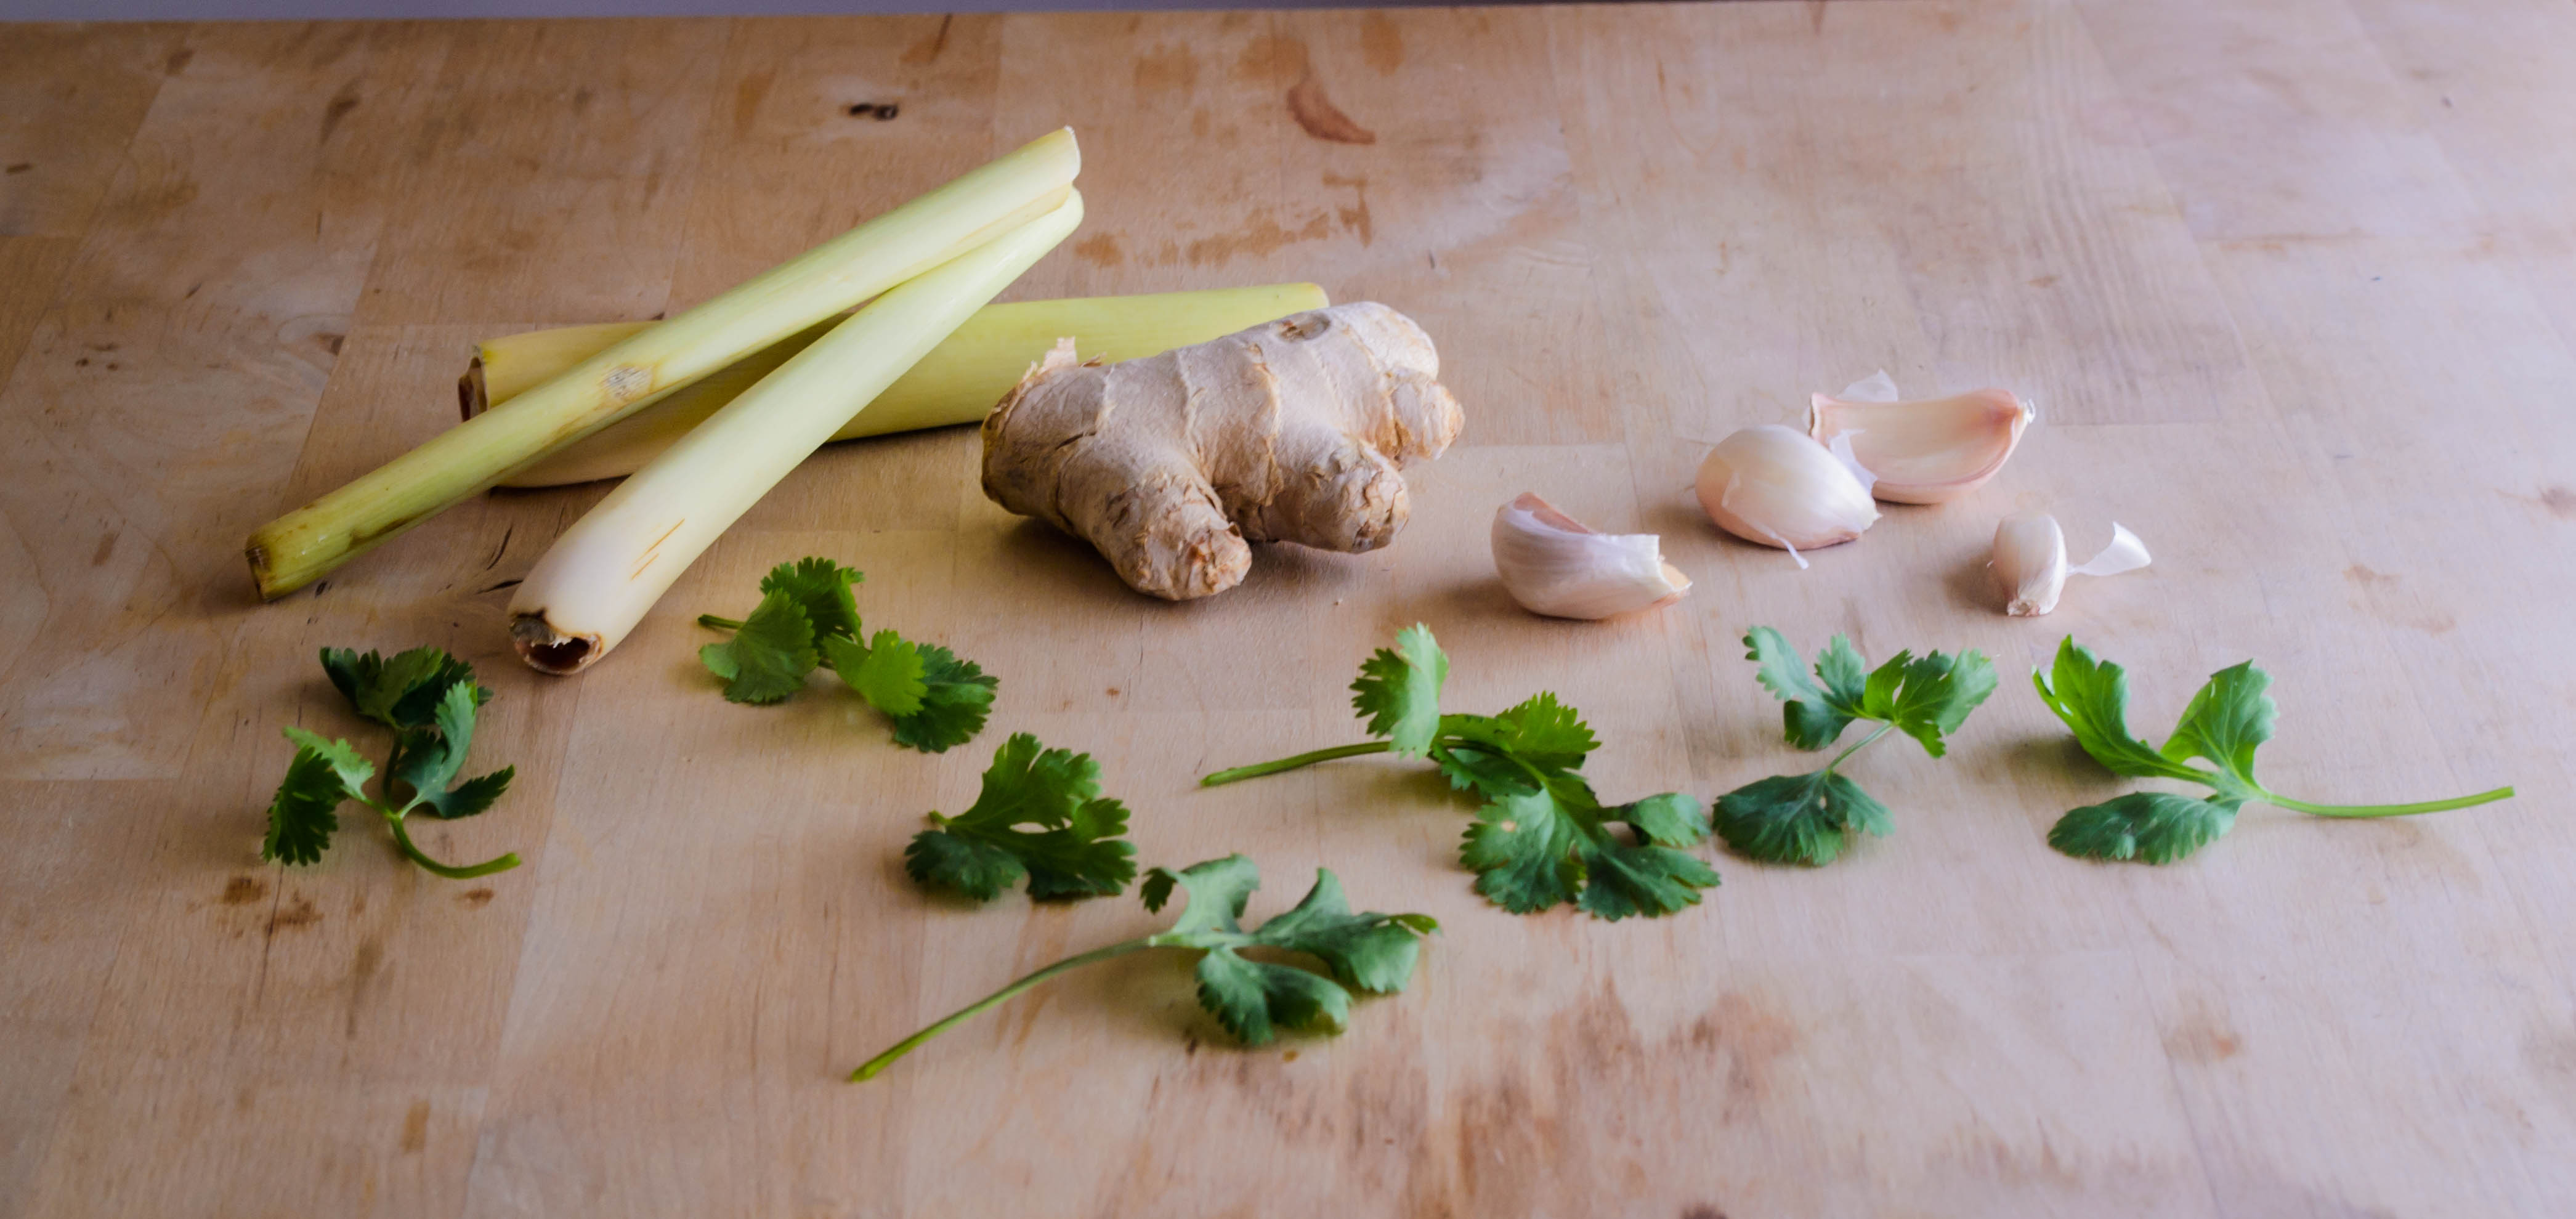
 For the meatballs themselves I went in an Asian direction, inspired mostly by pot stickers, one of my favorite indulgent snack foods, but in part by the container of miso paste hanging out in the back of my refrigerator. The aggressive saltiness of the paste means you don’t have to add a tremendous amount of additional seasoning to the meatballs, but as long as you are judicious, it doesn’t overwhelm the classic, welcome pairing of ginger and garlic. There’s lemongrass here too, for some fragrance and brightness, its persistent woody fibers tamed and made entirely edible after a run-in with a microplane.

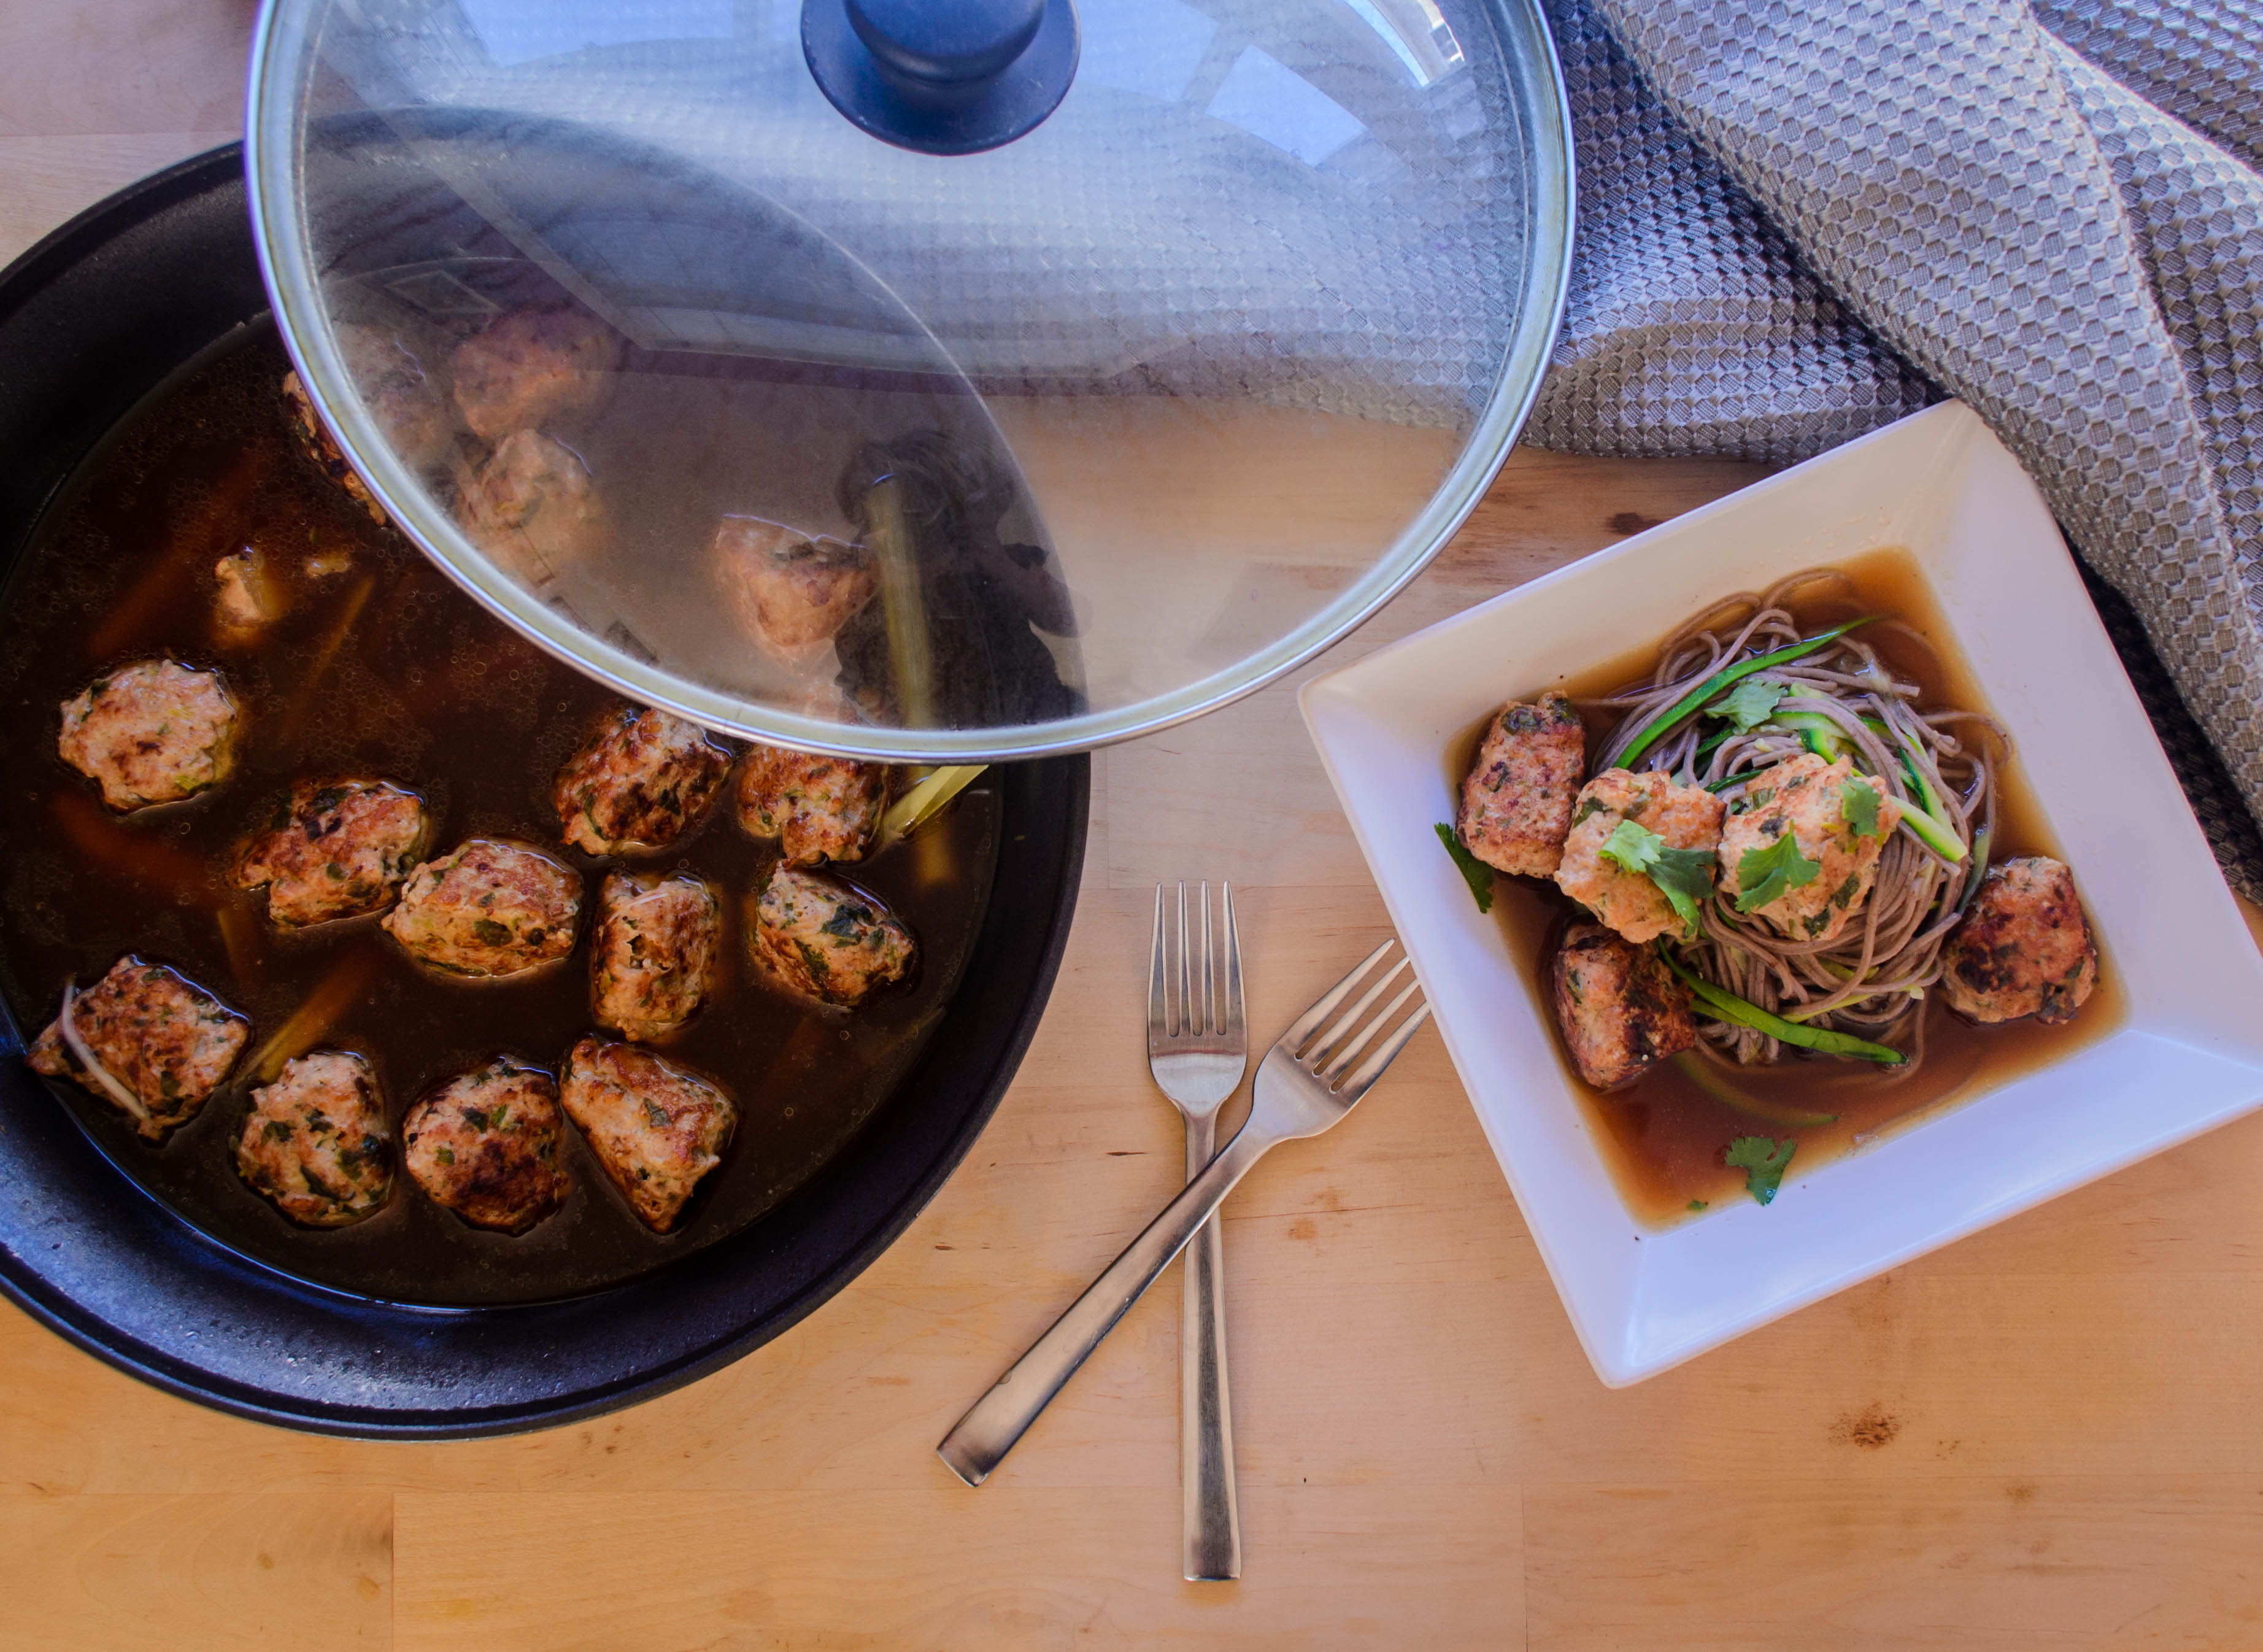
 The meatballs cook in a simple broth flavored with more ginger and lemongrass – which conveniently helps you use up those stalks after you’ve grated down the bulb end – and means you can serve this like a pasta, with just a bit of flavorful sauce to moisten the noodles, or, my preference, enough broth to make it almost like a soup, with the meatballs all but bobbing. Beautifully, the meatballs, the noodles, and the broth taste just as good at room temperature as they do just off the stove, in case you, in the midst of summer, are boiling quite enough on your own.

Chicken Miso Meatballs with Soba and Zucchini Noodles
Serves 3-4
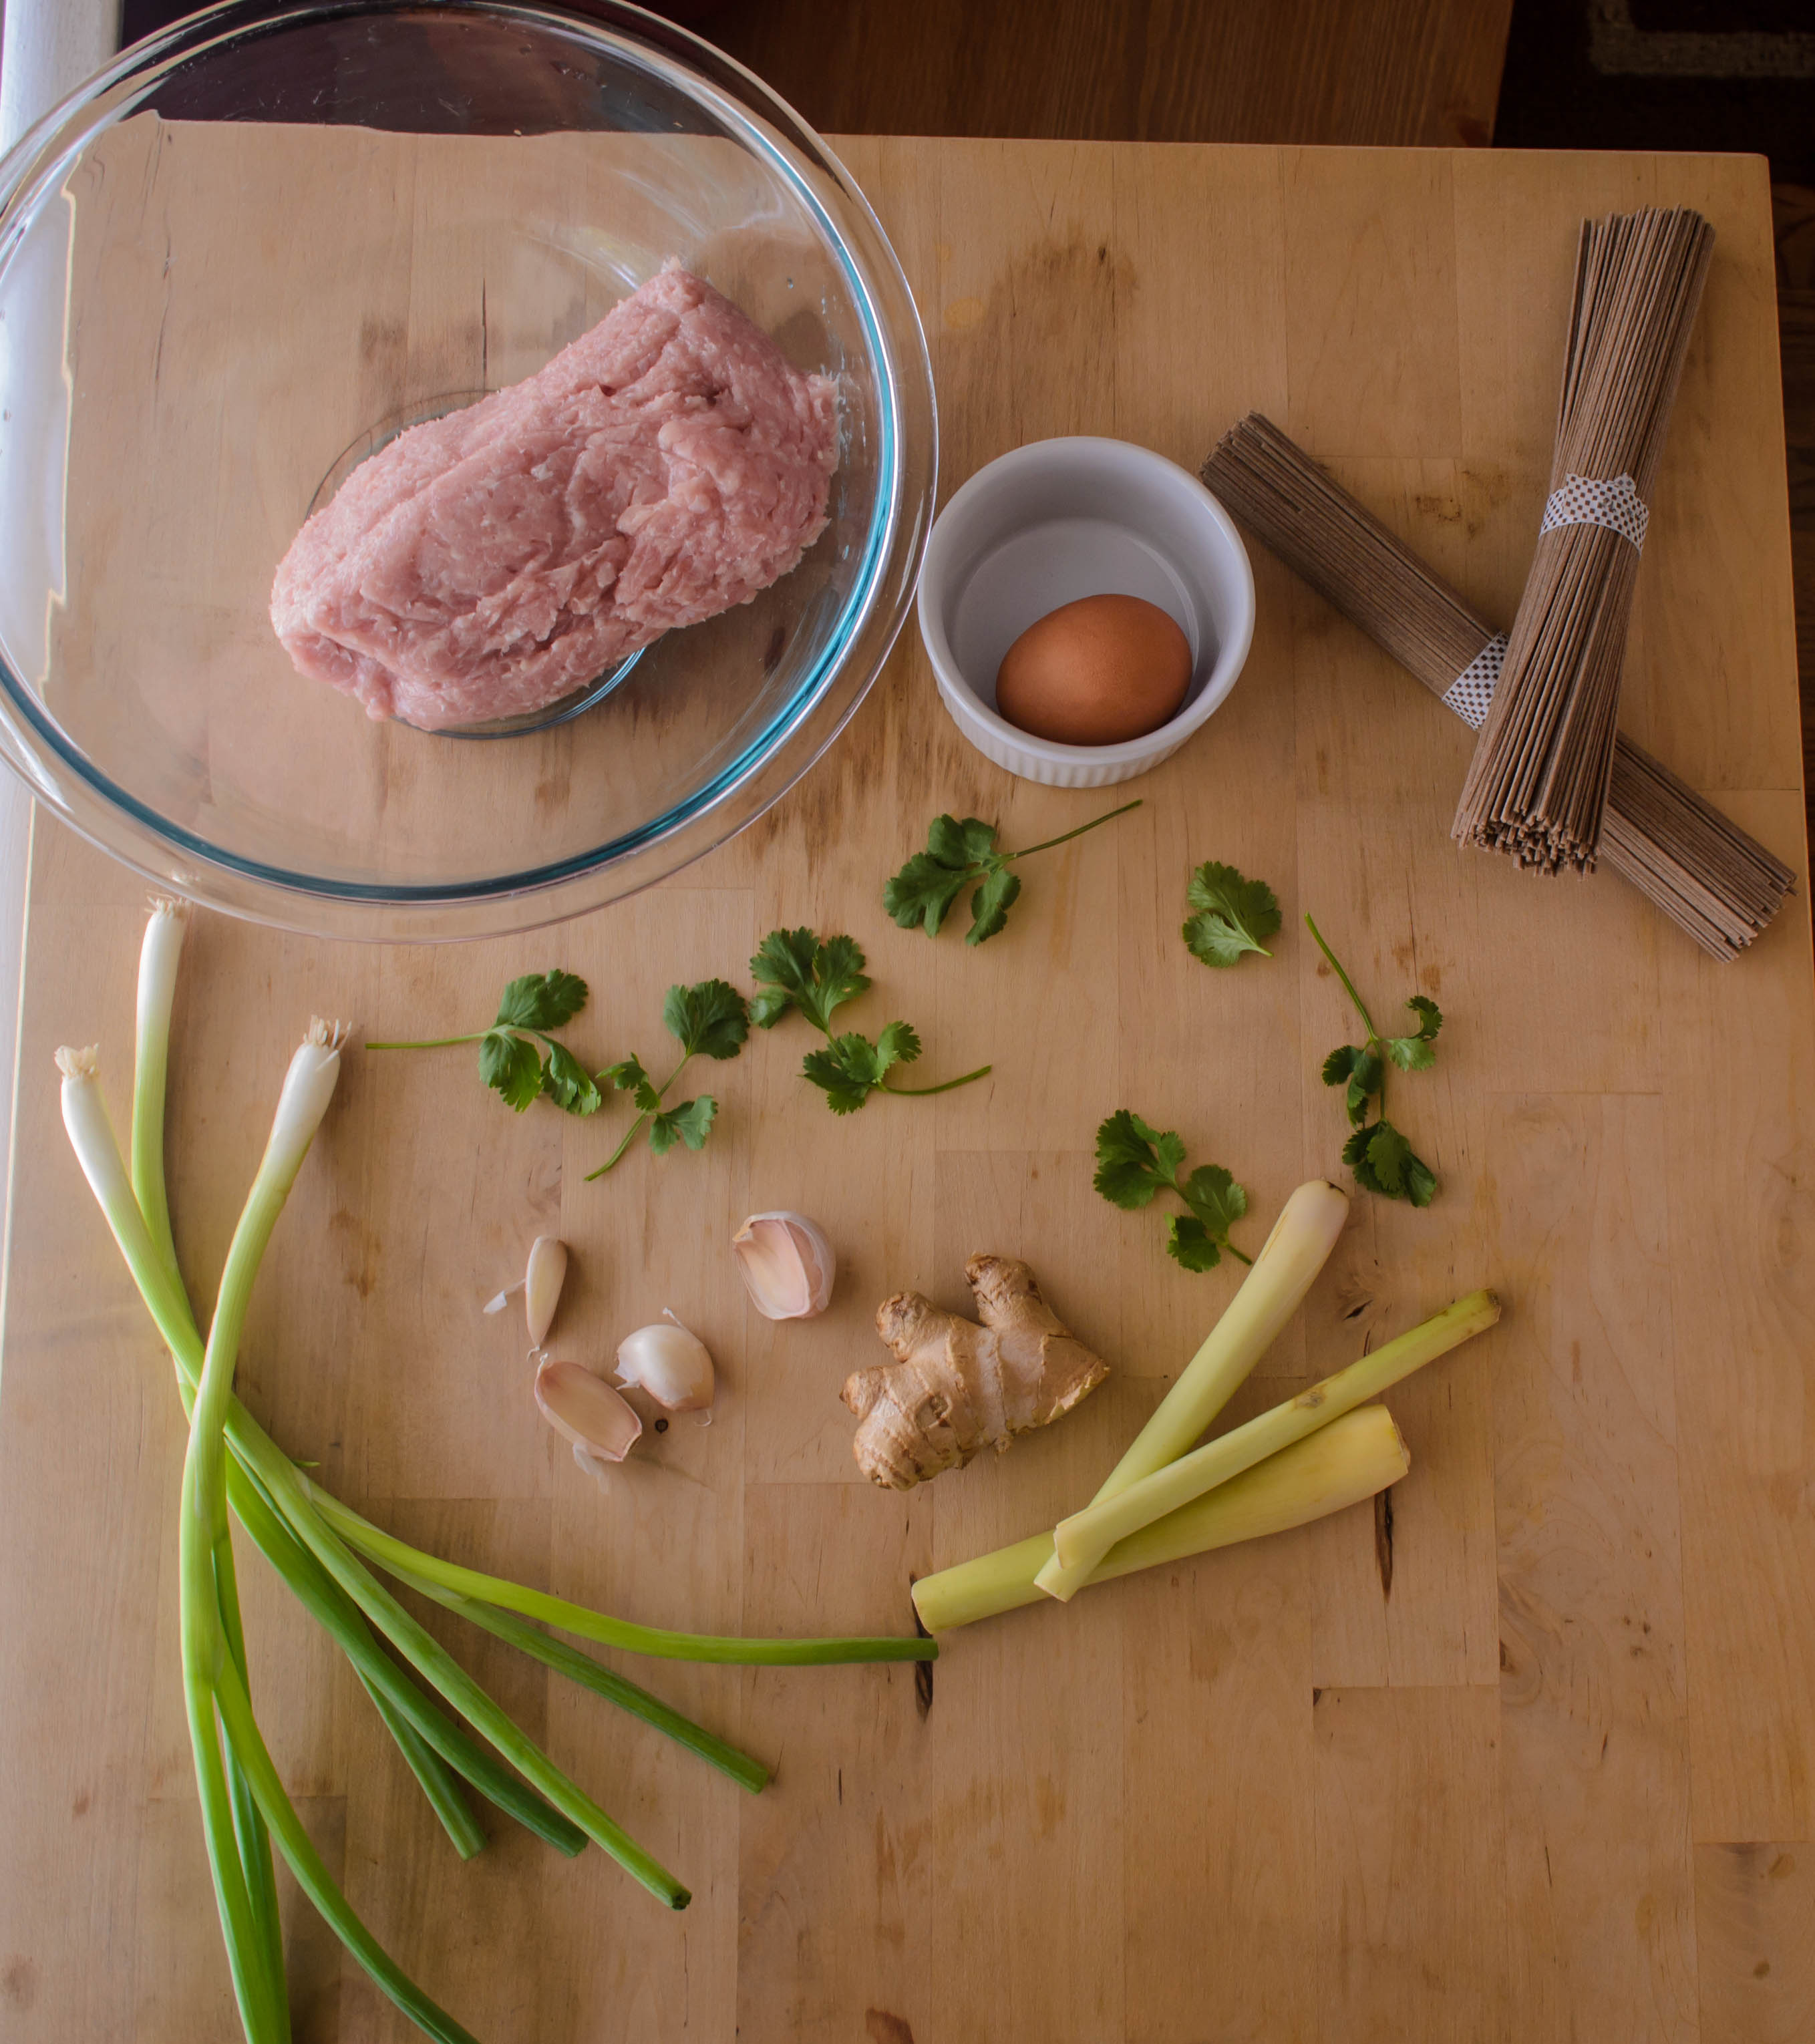
For meatballs:
2 tablespoons red miso paste
1 egg
1 lb. ground chicken (dark meat preferred)
1 tablespoon grated lemongrass bulb (remove the outermost layer first, then use a microplane or a zester)
1 tablespoon grated fresh garlic (about 4 cloves)
1 tablespoon grated fresh ginger (easiest if frozen first)
¼ cup finely chopped fresh cilantro
3 tablespoons finely chopped green onion, dark and light green parts only
¼ teaspoon black pepper
½ tablespoon fish sauce
3 tablespoons olive or vegetable oil
For sauce:
3 cups low sodium chicken broth
3 lemongrass bulbs, smashed with the back of a knife (you can certainly use the one you grated from earlier)
knuckle of fresh ginger (about 2 tablespoons)
1-2 tablespoons tamari or soy sauce (if you are gluten-free, be sure to check the label – most soy sauce contains wheat)
For noodles:
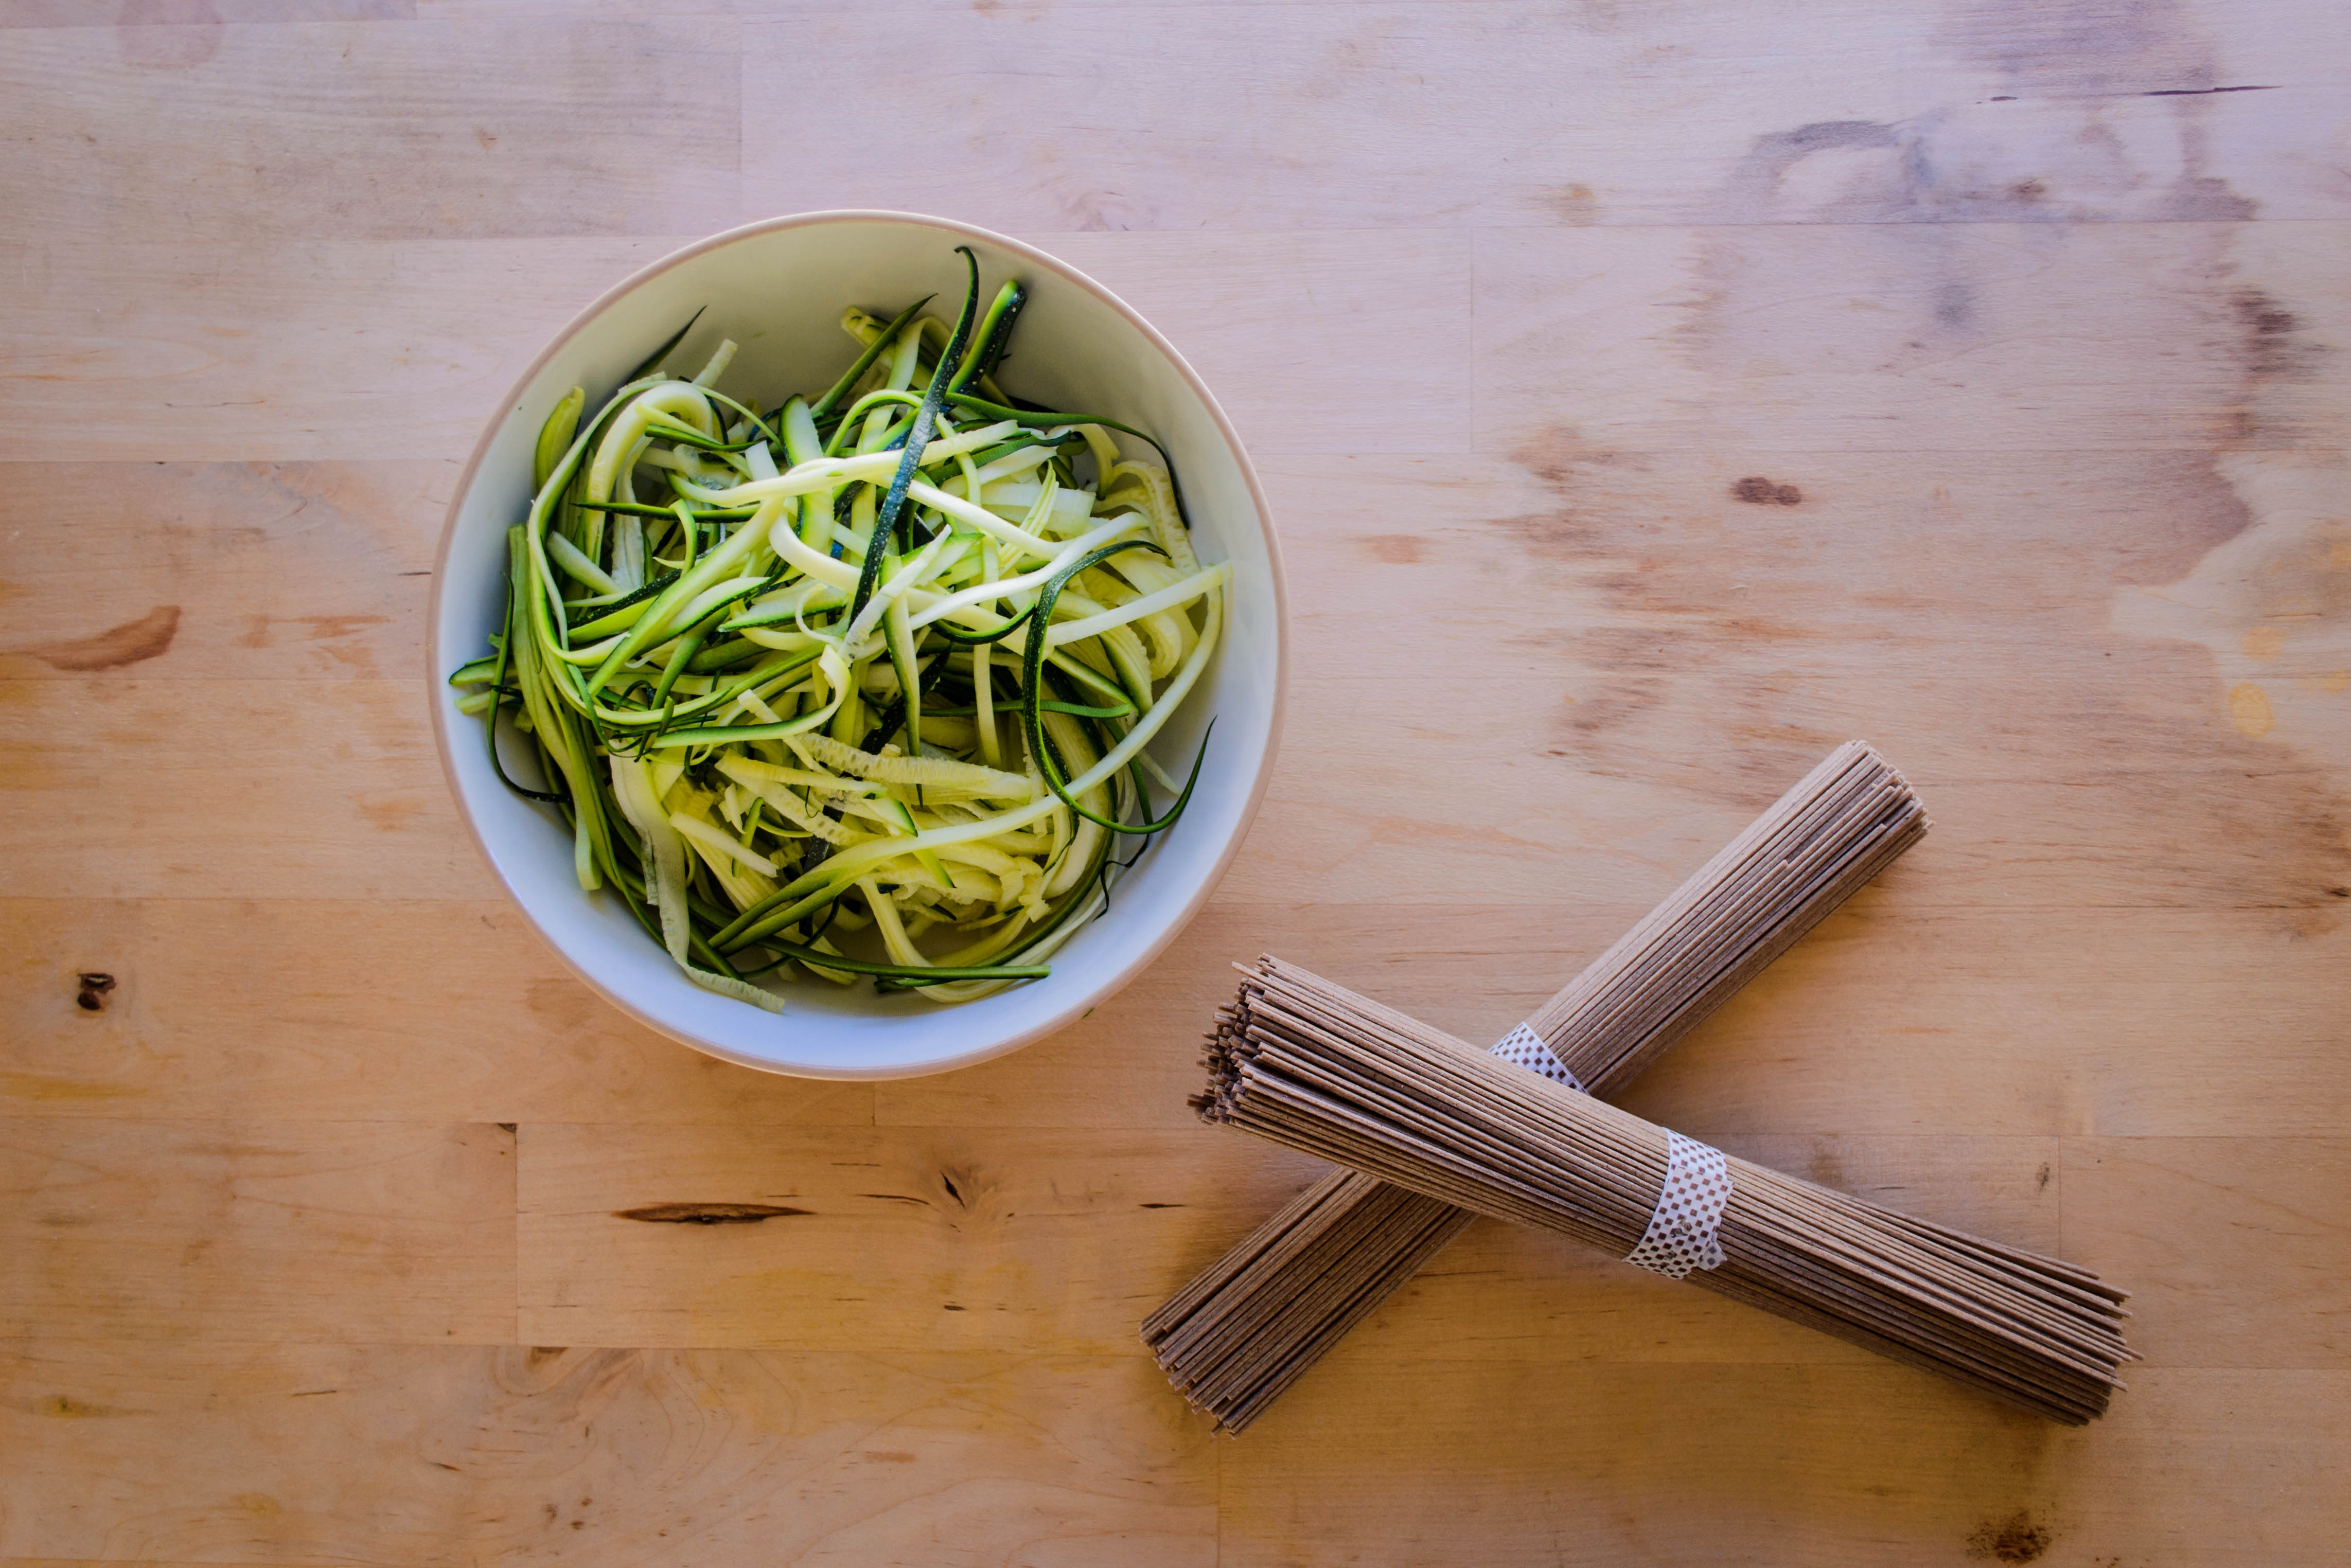
2 bundles soba noodles (200 grams or about 7 ounces)
2 medium zucchini
2 teaspoons sesame oil
Toasted sesame seeds and sprigs of cilantro, optional
- In a large bowl, whisk together the egg and miso paste. The goal here is to break up the miso a bit for easier integration with the chicken.
- Add the ground chicken, lemongrass, garlic, ginger, cilantro, green onion, black pepper, and fish sauce to the egg and miso. Using your fingertips, lightly mix and work the seasonings into the ground chicken until evenly distributed.
- Heat a teaspoon of the olive or vegetable oil in a large, deep skillet over medium high heat. Scoop up about a teaspoon of the meatball mixture, press it into a small patty, and fry it about a minute on each side until cooked through, then taste for seasoning and adjust for the rest of the mixture if needed.
- Heat the remaining olive or vegetable oil in the skillet over medium high heat. While it warms, use a tablespoon and moist hands to make small meatballs. They will be very soft – don’t worry about making them perfectly round. As you make each tablespoon-sized meatball, set it aside on a clean plate. You should have enough mixture for 18-20 meatballs.
- Carefully place meatballs in the skillet, taking care they do not touch. You will likely need to fry them in batches. Brown them on all sides (about 2 minutes per side), then remove to a clean plate. Repeat with a new batch of meatballs until all are browned.
- Your skillet should now have a layer of deeply browned bits and drippings stuck to the bottom. This is called fond and it is lush with flavor. Add the 3 cups of chicken broth directly to this residue in the pan and use a whisk to scrape up and incorporate the fond into the liquid. Toss in the smashed lemongrass bulbs and the knob of fresh ginger, then bring to a simmer.
- When the liquid reaches a simmer, taste for seasoning. If it needs salt, add the 1-2 tablespoons of soy sauce. Keep in mind the flavors will concentrate a bit as cooking continues. Add all of the meatballs back into the broth mixture. Try to keep them in a single layer, but it’s okay if they bump up against each other now. Clap on the lid, reduce the heat to medium, and simmer for 15-20 minutes, basting and turning the meatballs occasionally.
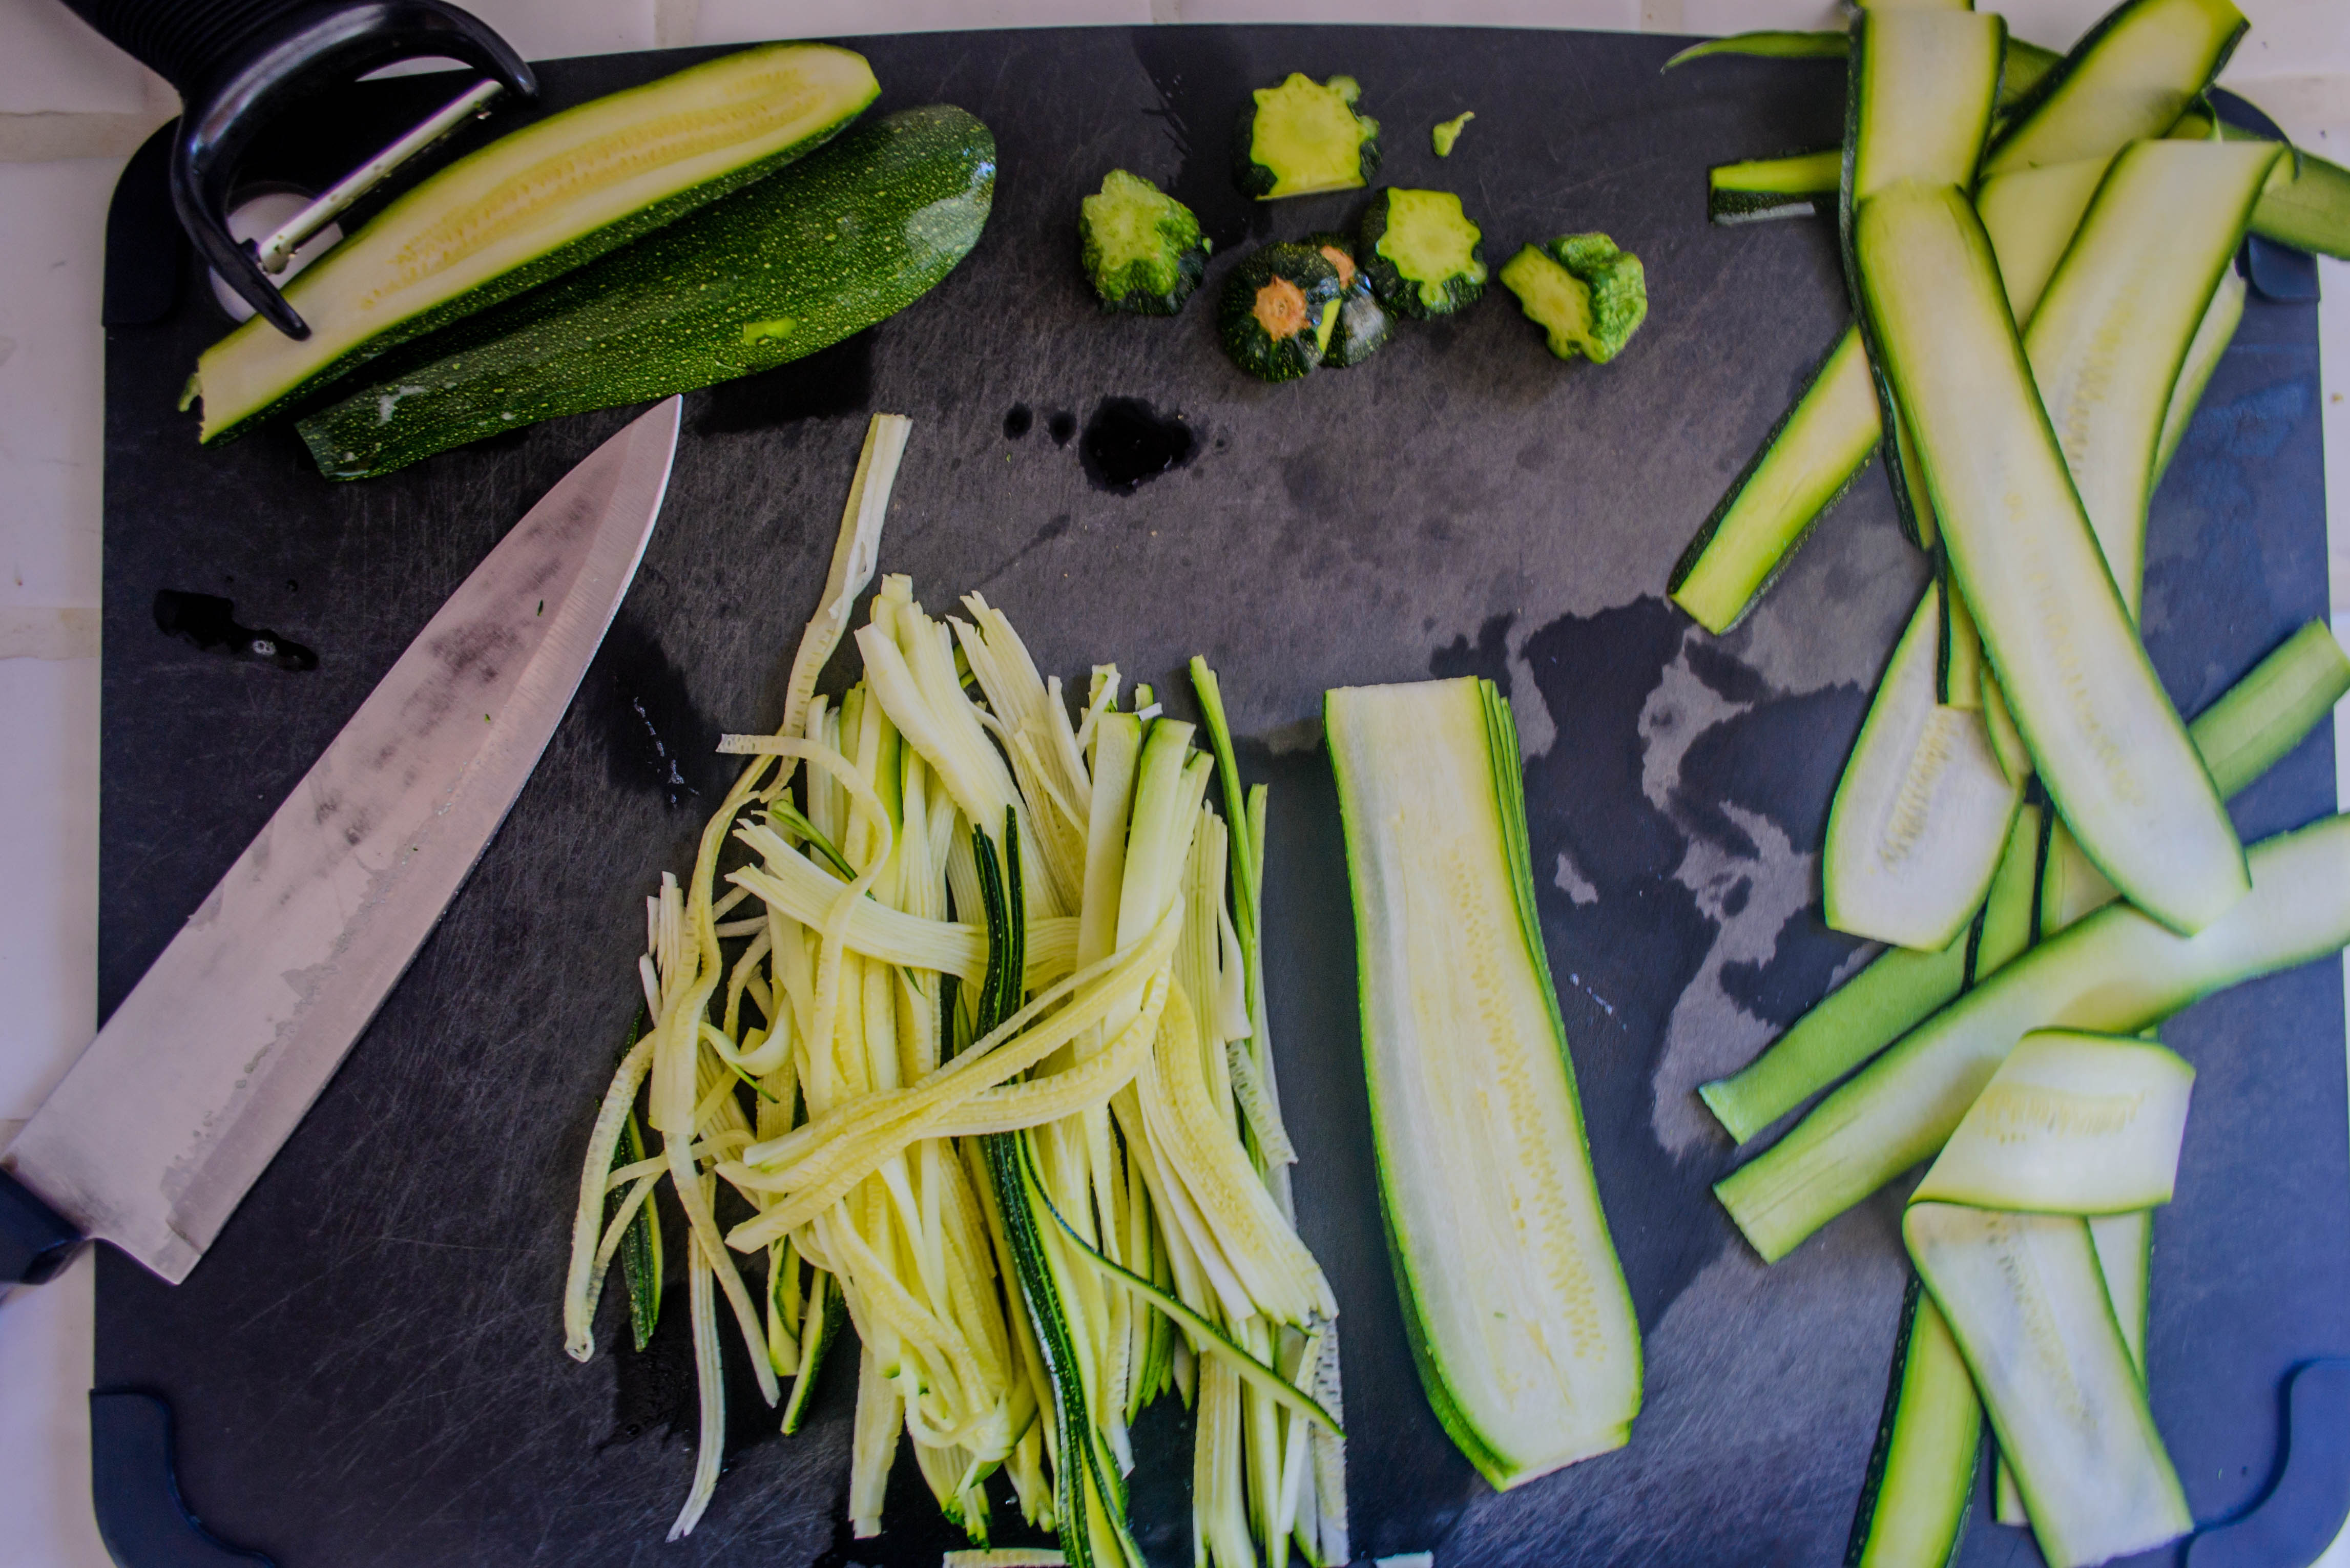
- While the meatballs simmer, make the noodles. Draw a y-shaped peeler along the zucchini lengthwise repeatedly to cut it into long, thin strips. Stack up 5 or 6 of these strips at a time and, very carefully, cut them into thin “noodles” with a sharp knife (see photos above for reference). Set aside.
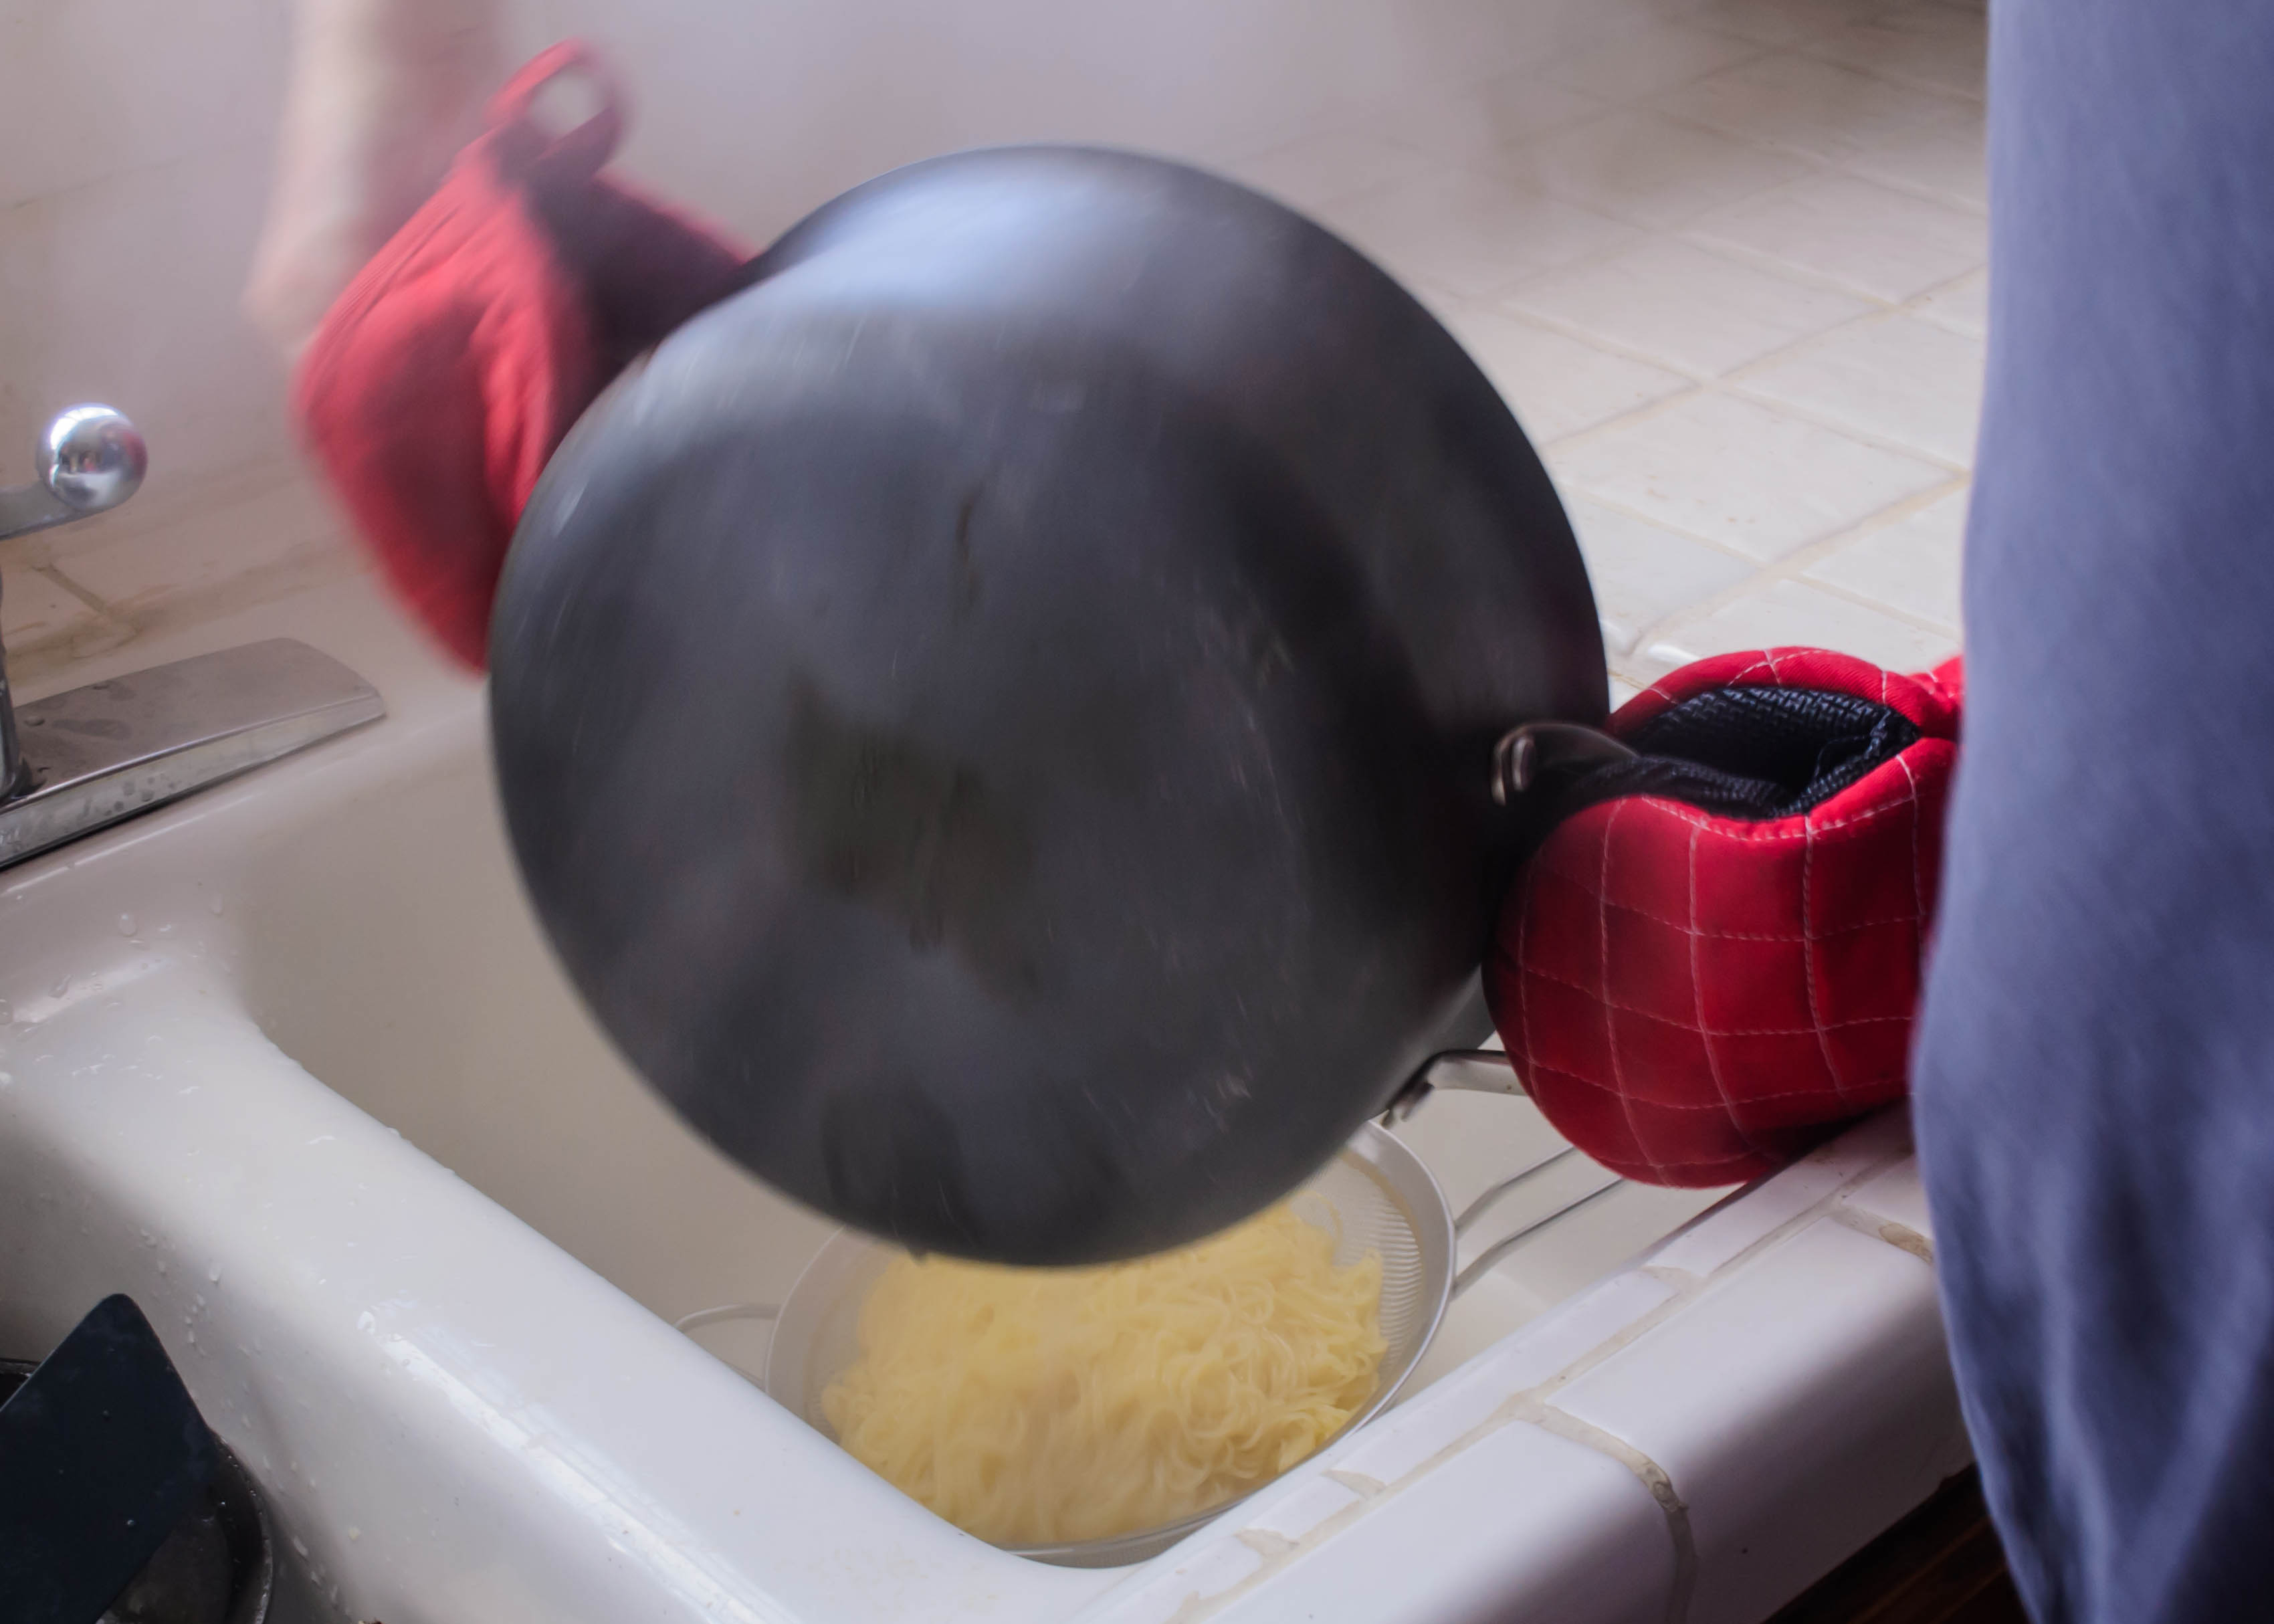
- Cook the soba noodles in boiling salted water according to package directions. About 30 seconds before you are ready to drain them, toss in the zucchini noodles and stir gently. Drain and rinse as instructed.
- In the same pot you used for the noodles, heat the 2 teaspoons of sesame oil over medium-low heat. Add the drained noodles back in and toss gently to evenly coat them with the oil and to be sure the zucchini is well distributed, not just clumped up by itself. Keep warm until the meatballs are ready.
- To plate, coil up a tangle of soba and zucchini noodles in a shallow bowl. Top with meatballs – 5 per person is about right – and ladle on about ½ cup of broth for a soupy presentation (my preference), or 3-4 tablespoons of broth for a more pasta-like assembly. Add a sprinkle of toasted sesame seeds or sprig of cilantro if desired, and serve hot or warm.

 As any quick forage through this site’s archives confirms, I am not devoted to quick prep, single digit ingredient lists, or other varieties of minimalistic meal construction. Rather, the idea of spending the afternoon in the kitchen stirring and whisking and kneading and puttering delights me. But sometimes, I concede, you do need something that is quick but still screaming with flavor, and when I need that in springtime, I’m almost always going to land on asparagus.
 With a pound of turgid green spears in my vegetable drawer, I was digging through the shelves in search of half a lime I knew I had stashed away for a different meal, when my fingers lit upon the miso paste – a sad little plastic container with the same few tablespoons wedged into its corner as six months ago – and I decided it needed its time in the sun (well, in the oven, anyway).
 Asparagus seem delicate, but their flavor when roasted is sufficiently pronounced that they can stand up to heavy seasoning. With its salty meaty savoriness, miso seemed an appropriate pairing on a spring day that really wasn’t. I added a few other flavors to meld things together: fish sauce and rice vinegar for a bright and sour kick and a bit of extra funkiness, and a few drops of sesame oil in with the olive oil for extra toasty sheen, but really the stars here are the asparagus and the miso.
 This is a bold partner routine. The slight bitterness of the asparagus mellows into nutty sweetness as it roasts, and the miso mixture coats and caramelizes on the thin spears. And all, if you are being very efficient with your time, in about 25 minutes, depending on how quickly your oven deigns to preheat. That is, dare I say it, right in line with how much time you often have to produce a weeknight dinner.
 Since these are so strong in flavor – grassy and woodsy from the asparagus and deeply savory from the miso coating – you need something sturdy and singular to serve with it. I think simply seasoned grilled meat would work well, or a portabella mushroom pan-roasted in thick slices, perhaps with a mound of fluffy, buttery mashed potatoes nearby.