Winter fruits salad
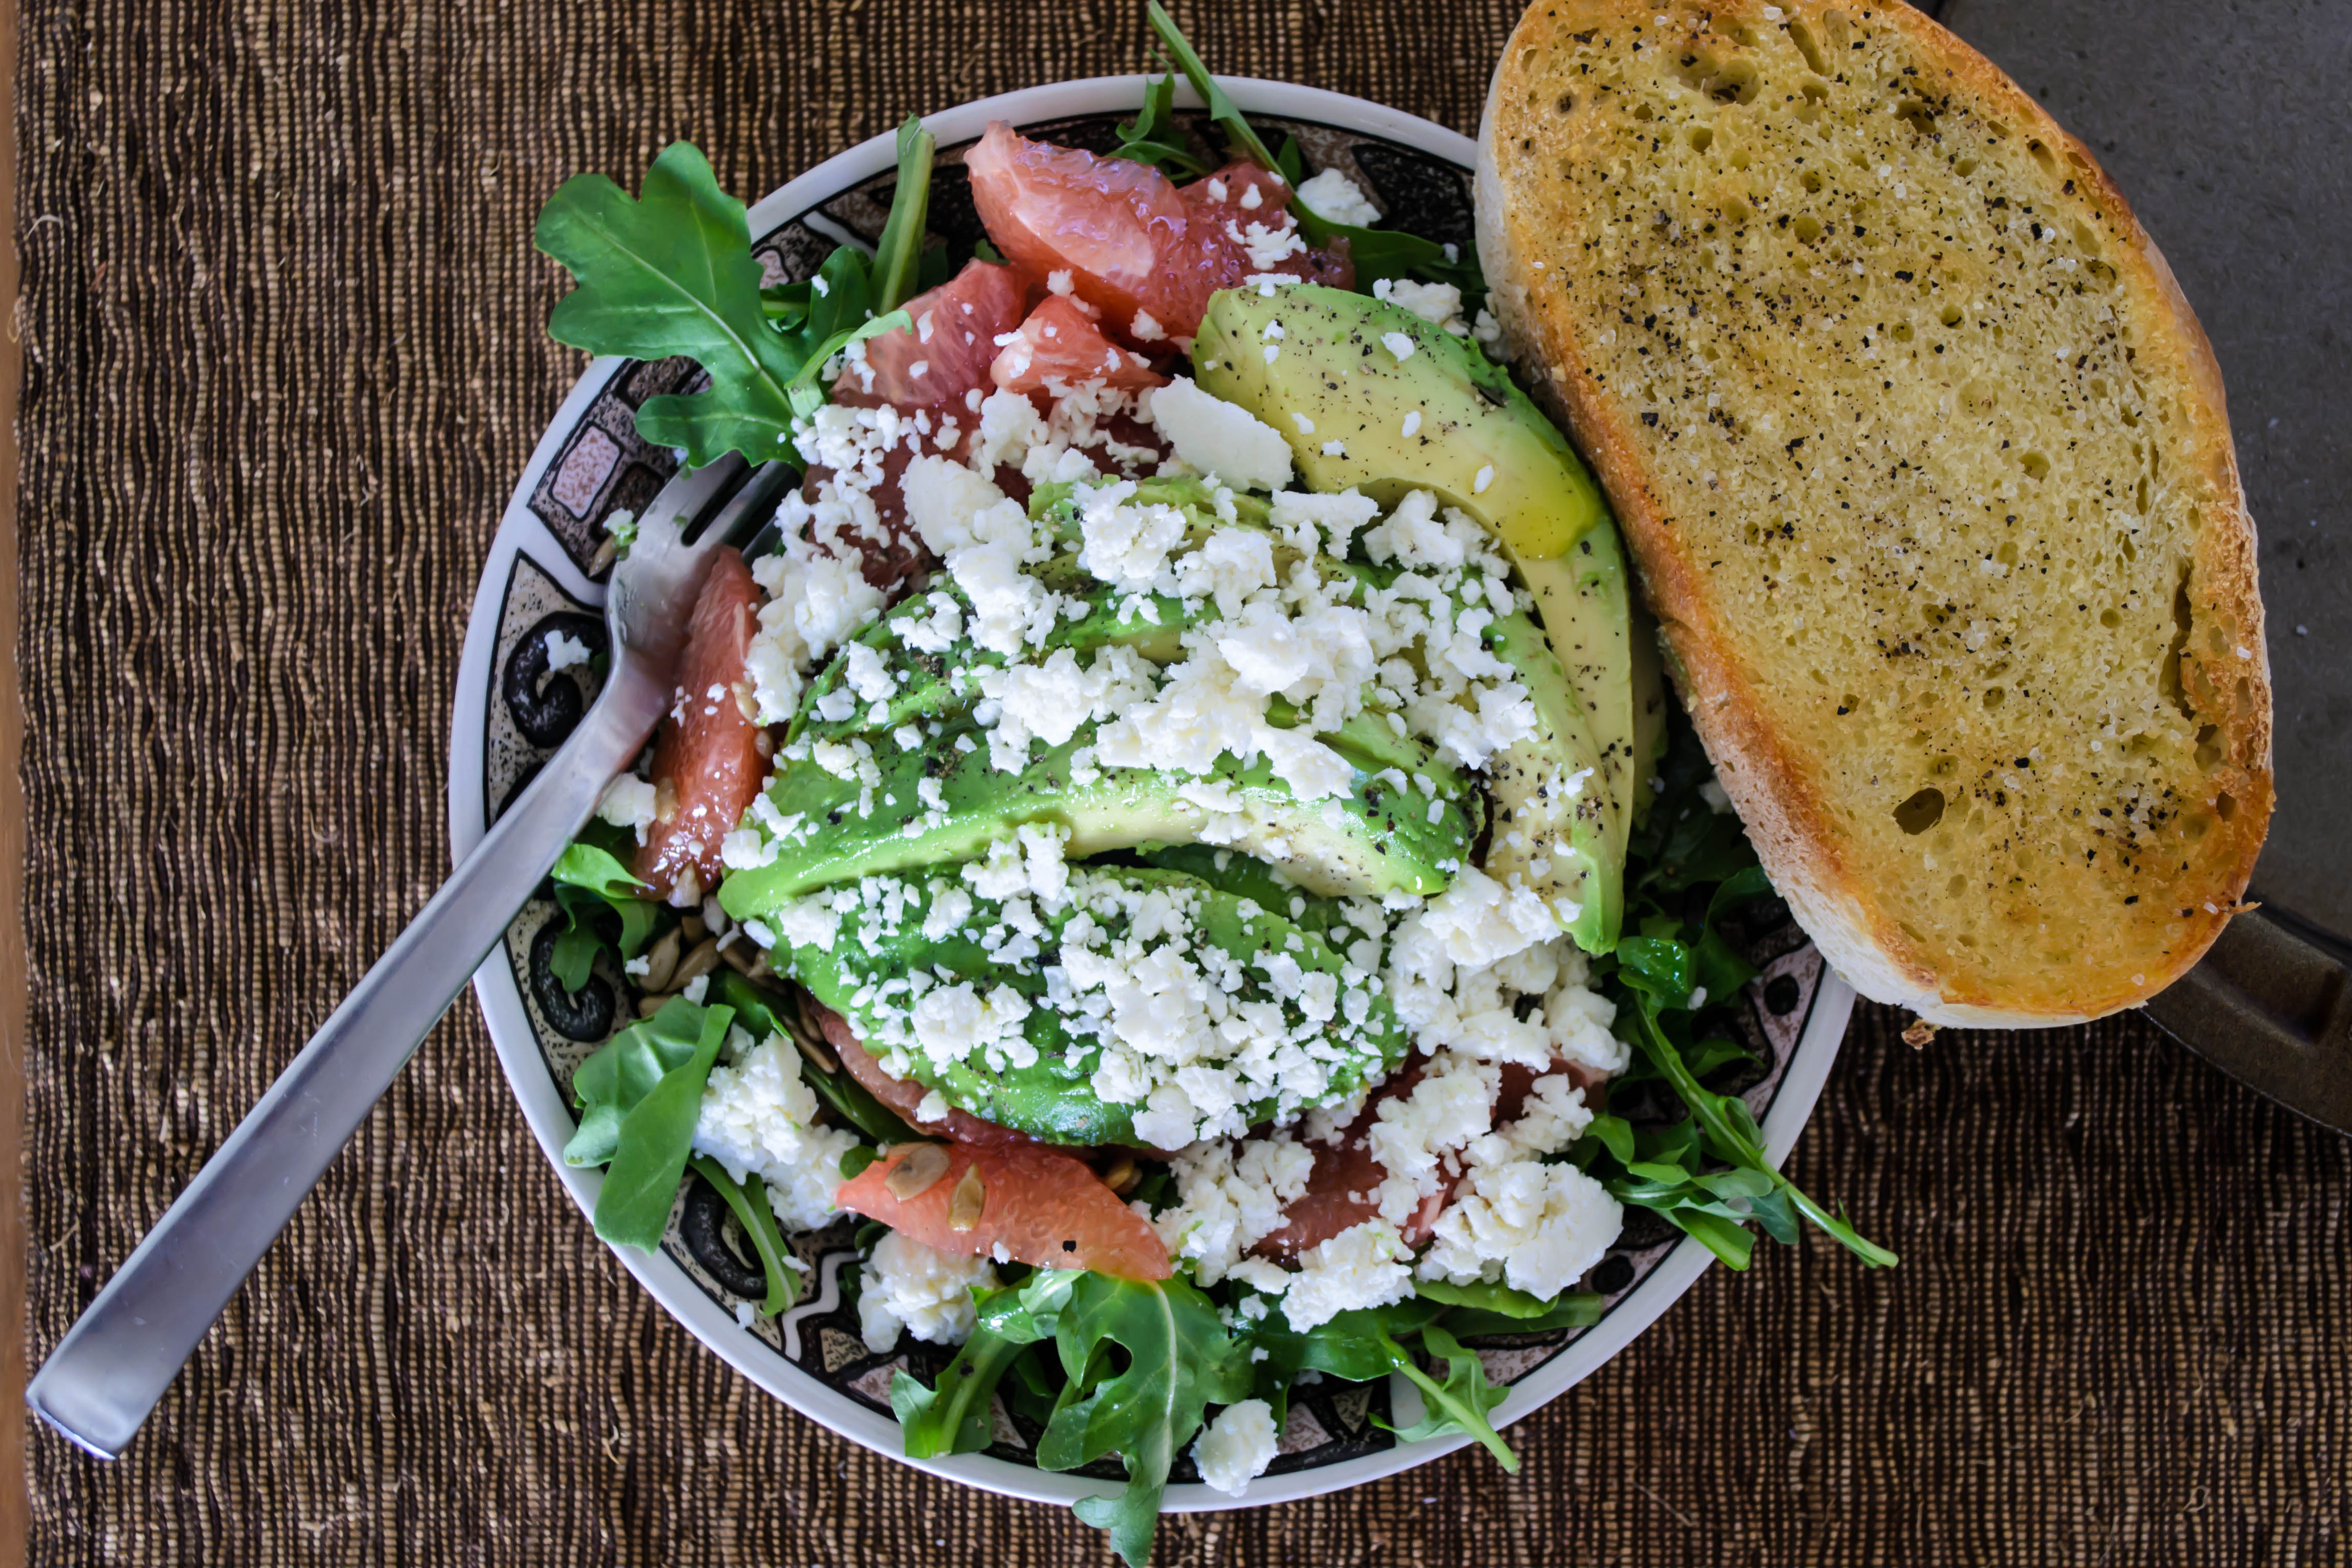

Winter fruits salad
I think it’s a good idea to start with the basics. I don’t rush my students straight into composing multi-source research papers; starting a new project here seemed to hold to the same strictures. I’m not racing right into hollandaise. I’m not drenching your January palates with demi-glace, homemade mayonnaise, or even beurre blanc (though these are coming, have no fear). No, we’re going to start with something foundational, and at least for me, something familiar: bechamel.
 Here’s the thing, though. As I’ve dipped my toe tentatively into the field of culinary history (side note: one of my new secret pretend-careers is culinary historian – fascinating!), what stands out more and more brightly to me is how rarely familiar actually is. Bechamel is an excellent example. It’s a white sauce. It’s one of the classic mother sauces. It forms a base for numerous other sauces: the luscious cheddar and beer laced concoction you drape over toast to make Welsh rarebit. The silky, creamy mess redolent of parmesan that becomes alfredo. Even the simple melting glory you toss with elbow noodles to make macaroni and cheese (can you tell we’ll be delving into cheese sauces?!). But its history is not without contradictions. Even the Medici family figure into it! According to some Catherine de Medici brought a retinue of Italian chefs with her into France when she married Henri, Duke of Orleans, and bechamel sauce flowed straight from their kitchens out into the rest of France. There are stories that it was invented by (though more likely named for) a steward called the Marquis Louise de Bechameil. The tradition of reducing cream sauces probably began in 18th century France, but the “mother sauces,” of which bechamel is one, were created in the 17th century. And boiling or simmering food items in milk, as some bechamels do, goes back to medieval cuisine.
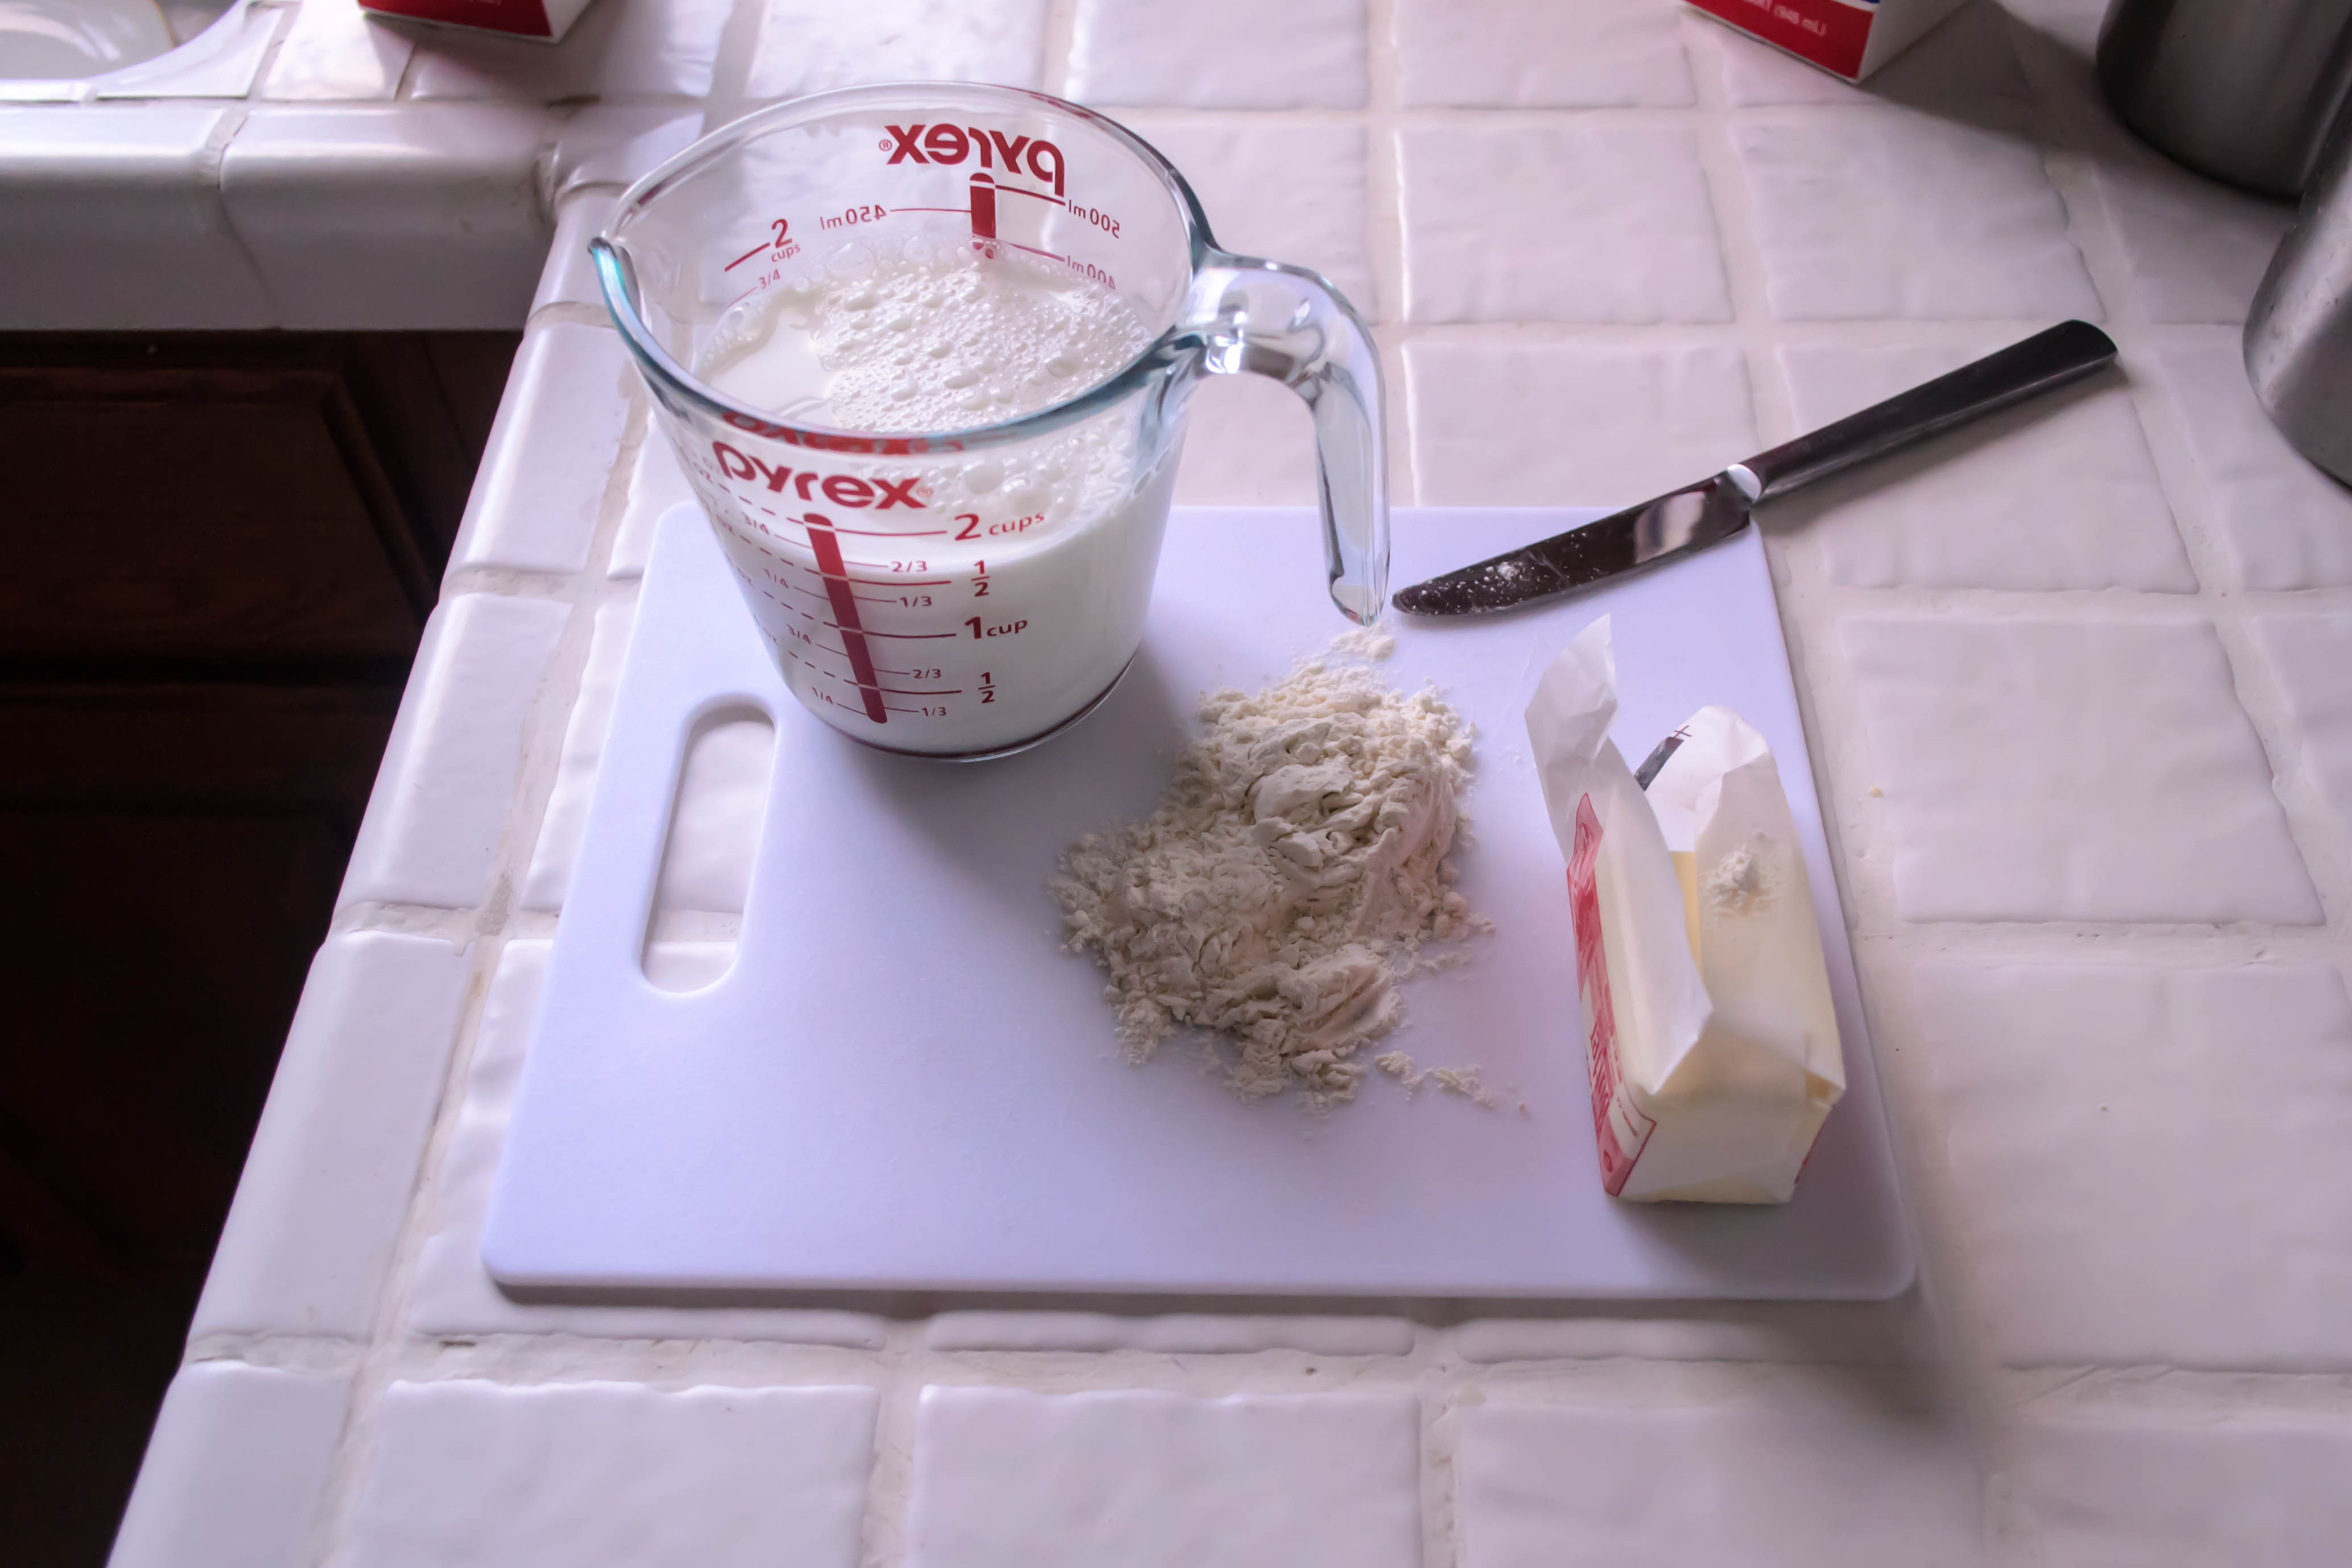
 National and temporal origins aside, there are even disputes about what goes into it. I’ve always made a bechamel sauce from three main ingredients: butter, flour, and milk. But there are thoughts about what kind of dairy should be used, and which flavoring agents are permissible, and some traditional recipes even call for sticking an onion with cloves and letting this flavor the milk as it heats.
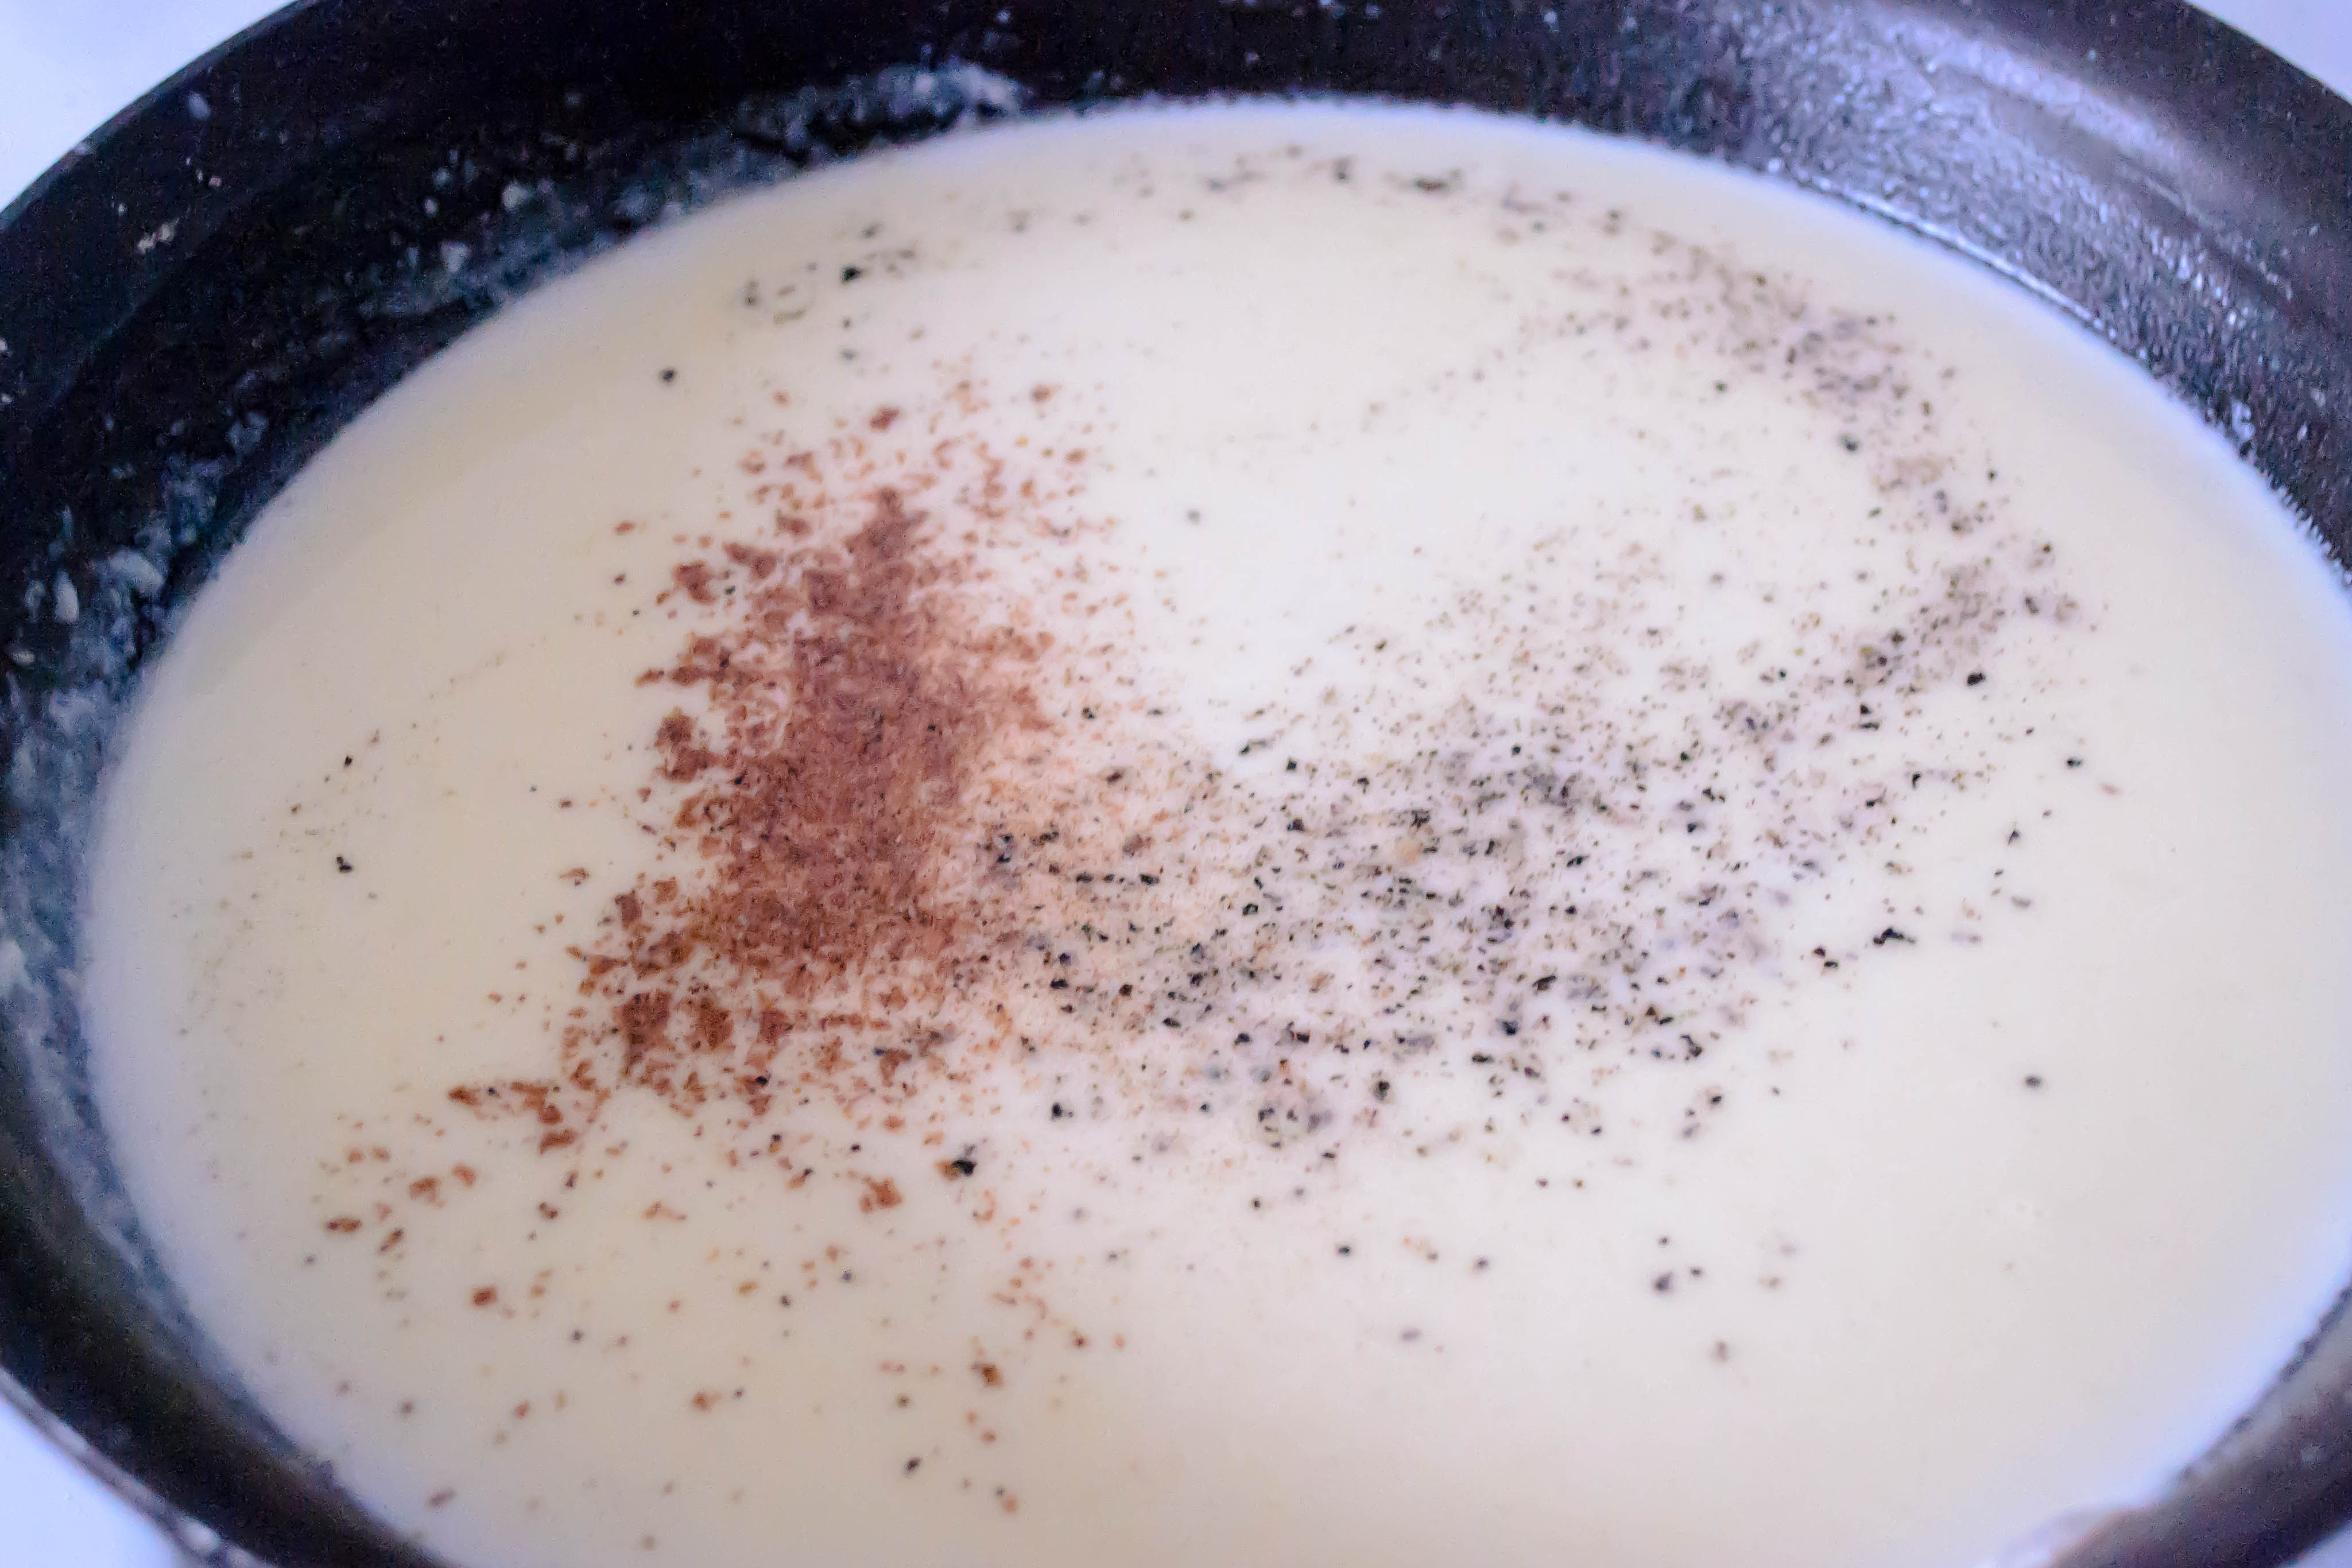
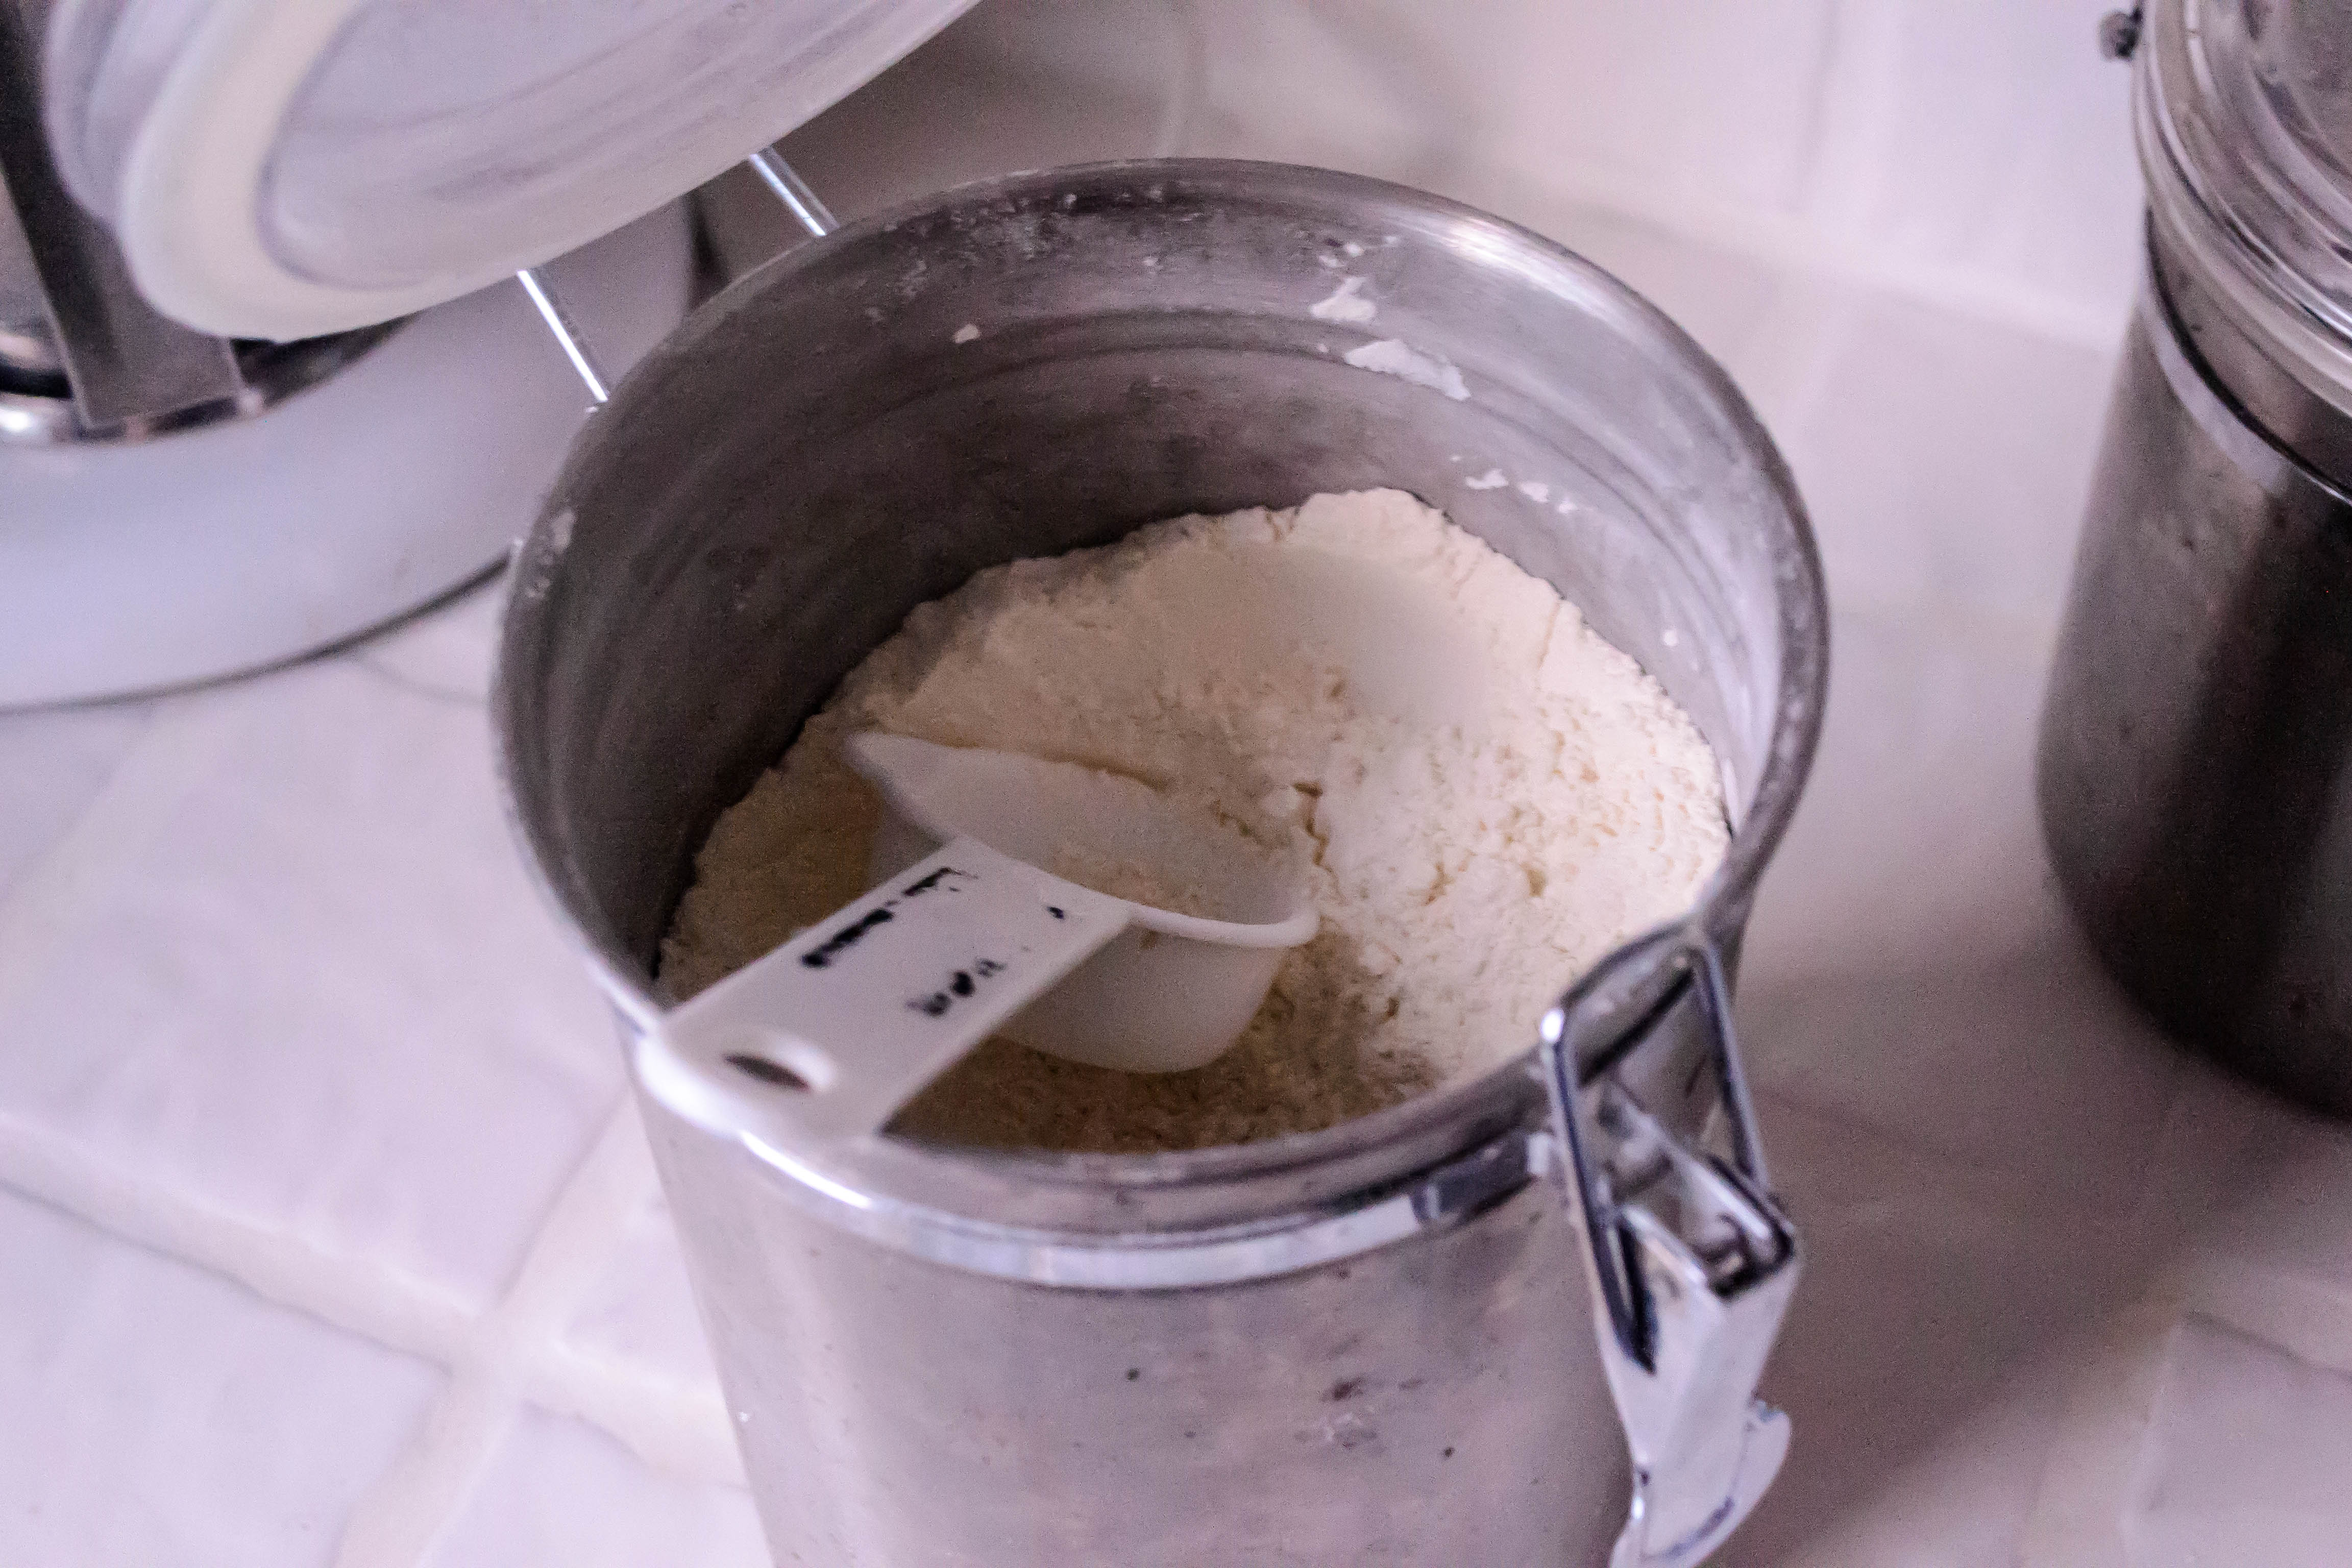 Lest we get confused right out of the gate, however, I’m going to stick with what feels familiar and comfortable. Butter, flour, milk. A pinch of salt. A grind or two of pepper. French traditionalists would have me use white pepper, since it won’t disrupt the homogenous ivory color of the sauce, but I like seeing those little specks of flavor. Not to mention, I didn’t have any white pepper in my kitchen. A sauce made of butter, flour, and milk can only taste like so much, so I’ve also adopted the Italian addition of some nutmeg, freshly ground, to amp up the flavor. Now we have a lightly speckled pool of creaminess, like the slight freckles on a fresh egg.
 Here’s how a bechamel works: you melt butter, add an equal portion of flour, and cook for a minute or two to allow the flour to dissolve and distribute. This combination – equal parts butter and flour – is called a roux, and it is the classic thickening agent. Everything from gumbo to cream gravy is thickened with roux.
 To transform the roux into a sauce, then, you have to add liquid. For bechamel, that’s milk. So we add a quantity of milk, preferably warm, a little at a time, whisking and whisking until a velvet smooth sauce forms. The quantity of milk added depends on the desired thickness of the final end product. Being sure the milk is warm, and adding it slowly, guards against lumps. This sauce is about luscious smoothness and creamy thickness. Lumps won’t do.
 The magic of bechamel is that you won’t know how thick it is going to be until it starts to simmer. It takes a bit of time for the flour granules to hydrate, and only once they are fully incorporated and warm enough to bubble will the true viscosity of the sauce reveal itself. The one we are going to produce here gets just a touch thicker than a pool of melted ice cream. It’s easily pourable, but it will also coat the back of a spoon, clinging in a smooth layer until you, say, run a finger through it to have a taste.
 You can do a lot with a bechamel. As I noted earlier, it is the foundational component of a good cheese sauce. It’s also the classic white sauce component in a traditional lasagna. It can be draped over steamed vegetables, or make the base for a chowder or other cream soup, or even rest gently over a pounded, breaded, pan-fried chicken cutlet. But since I am working with classic and simple here, I wanted to go with a dish that really lets you experience the creamy loveliness of a bechamel: croque monsieur.
 Now you’re raising your eyebrows. I know; croque monsieur is essentially a grilled ham and cheese sandwich. Ham and swiss, to be specific. It’s a name taken from the French verb croquer, which means “to crunch” or “to munch.” Thus the sandwich is, if I dare, a Mister Crunch. N. loved this. He’s been calling the sauce in question a “bleckmel” to make me laugh; he knows full well how to pronounce it (he did take French, after all), and he was so delighted by the literal translation of our dinner that he started to call it a “Crunchy Human” sandwich, eliminating the gendered title: a sandwich for everyone! (I should note, however, that there is a “female” version of this sandwich: a croque madame is the same grilled ham and swiss, with the addition of a gently fried egg on top.)
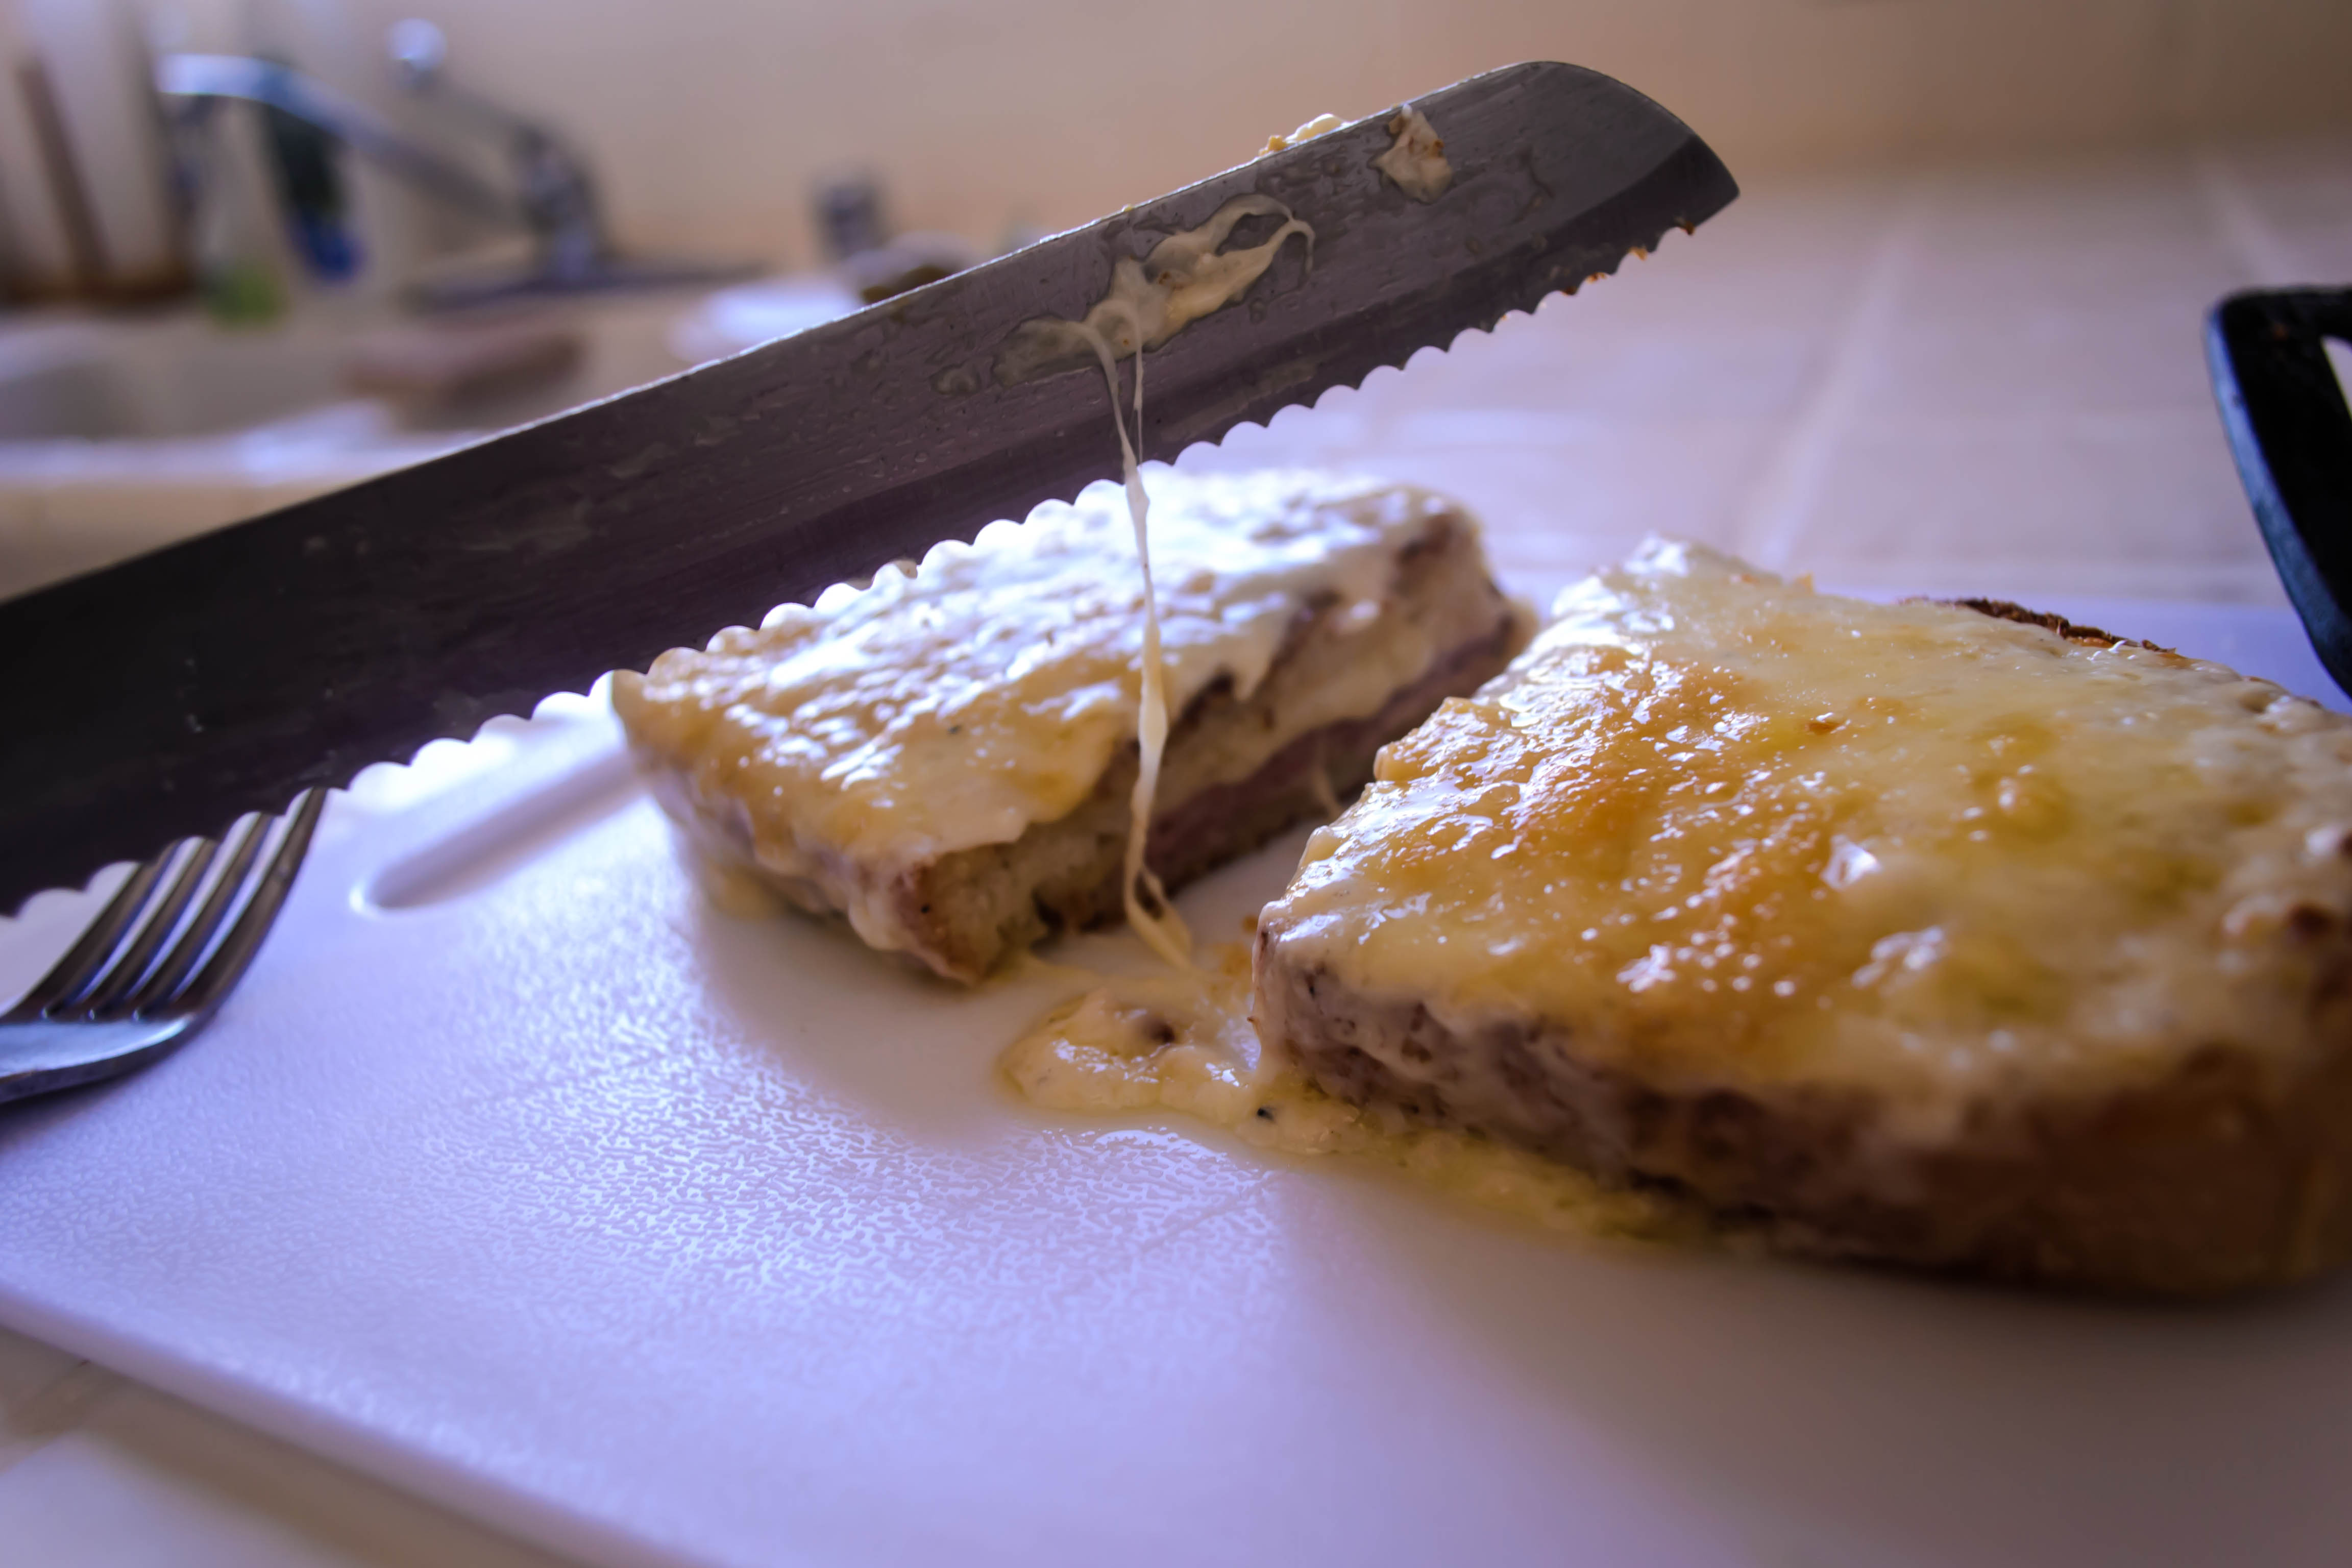
 So let’s do this. A perfectly crunchy sandwich, laden with melting swiss and a thin layer of smoky, salty ham, topped with spoonfuls of perfectly creamy bechamel, sprinkled with more cheese, and broiled until golden bubbles swell on the surface. It’s a fork-and-knife sandwich, and it’s far from a light lunch, but it is, I think, a good way to start.

Generally speaking, N. and I are boring restaurant attendees. One drink apiece, no appetizers, an entrée for each, and by then we are too full for dessert. The most exciting thing we do (hold your breath, folks) is to share plates, particularly when we are torn between what we want to order. This is likely borne out of graduate school poverty, though in a world of extravagant portion size it seems like a reasonable practice to continue.
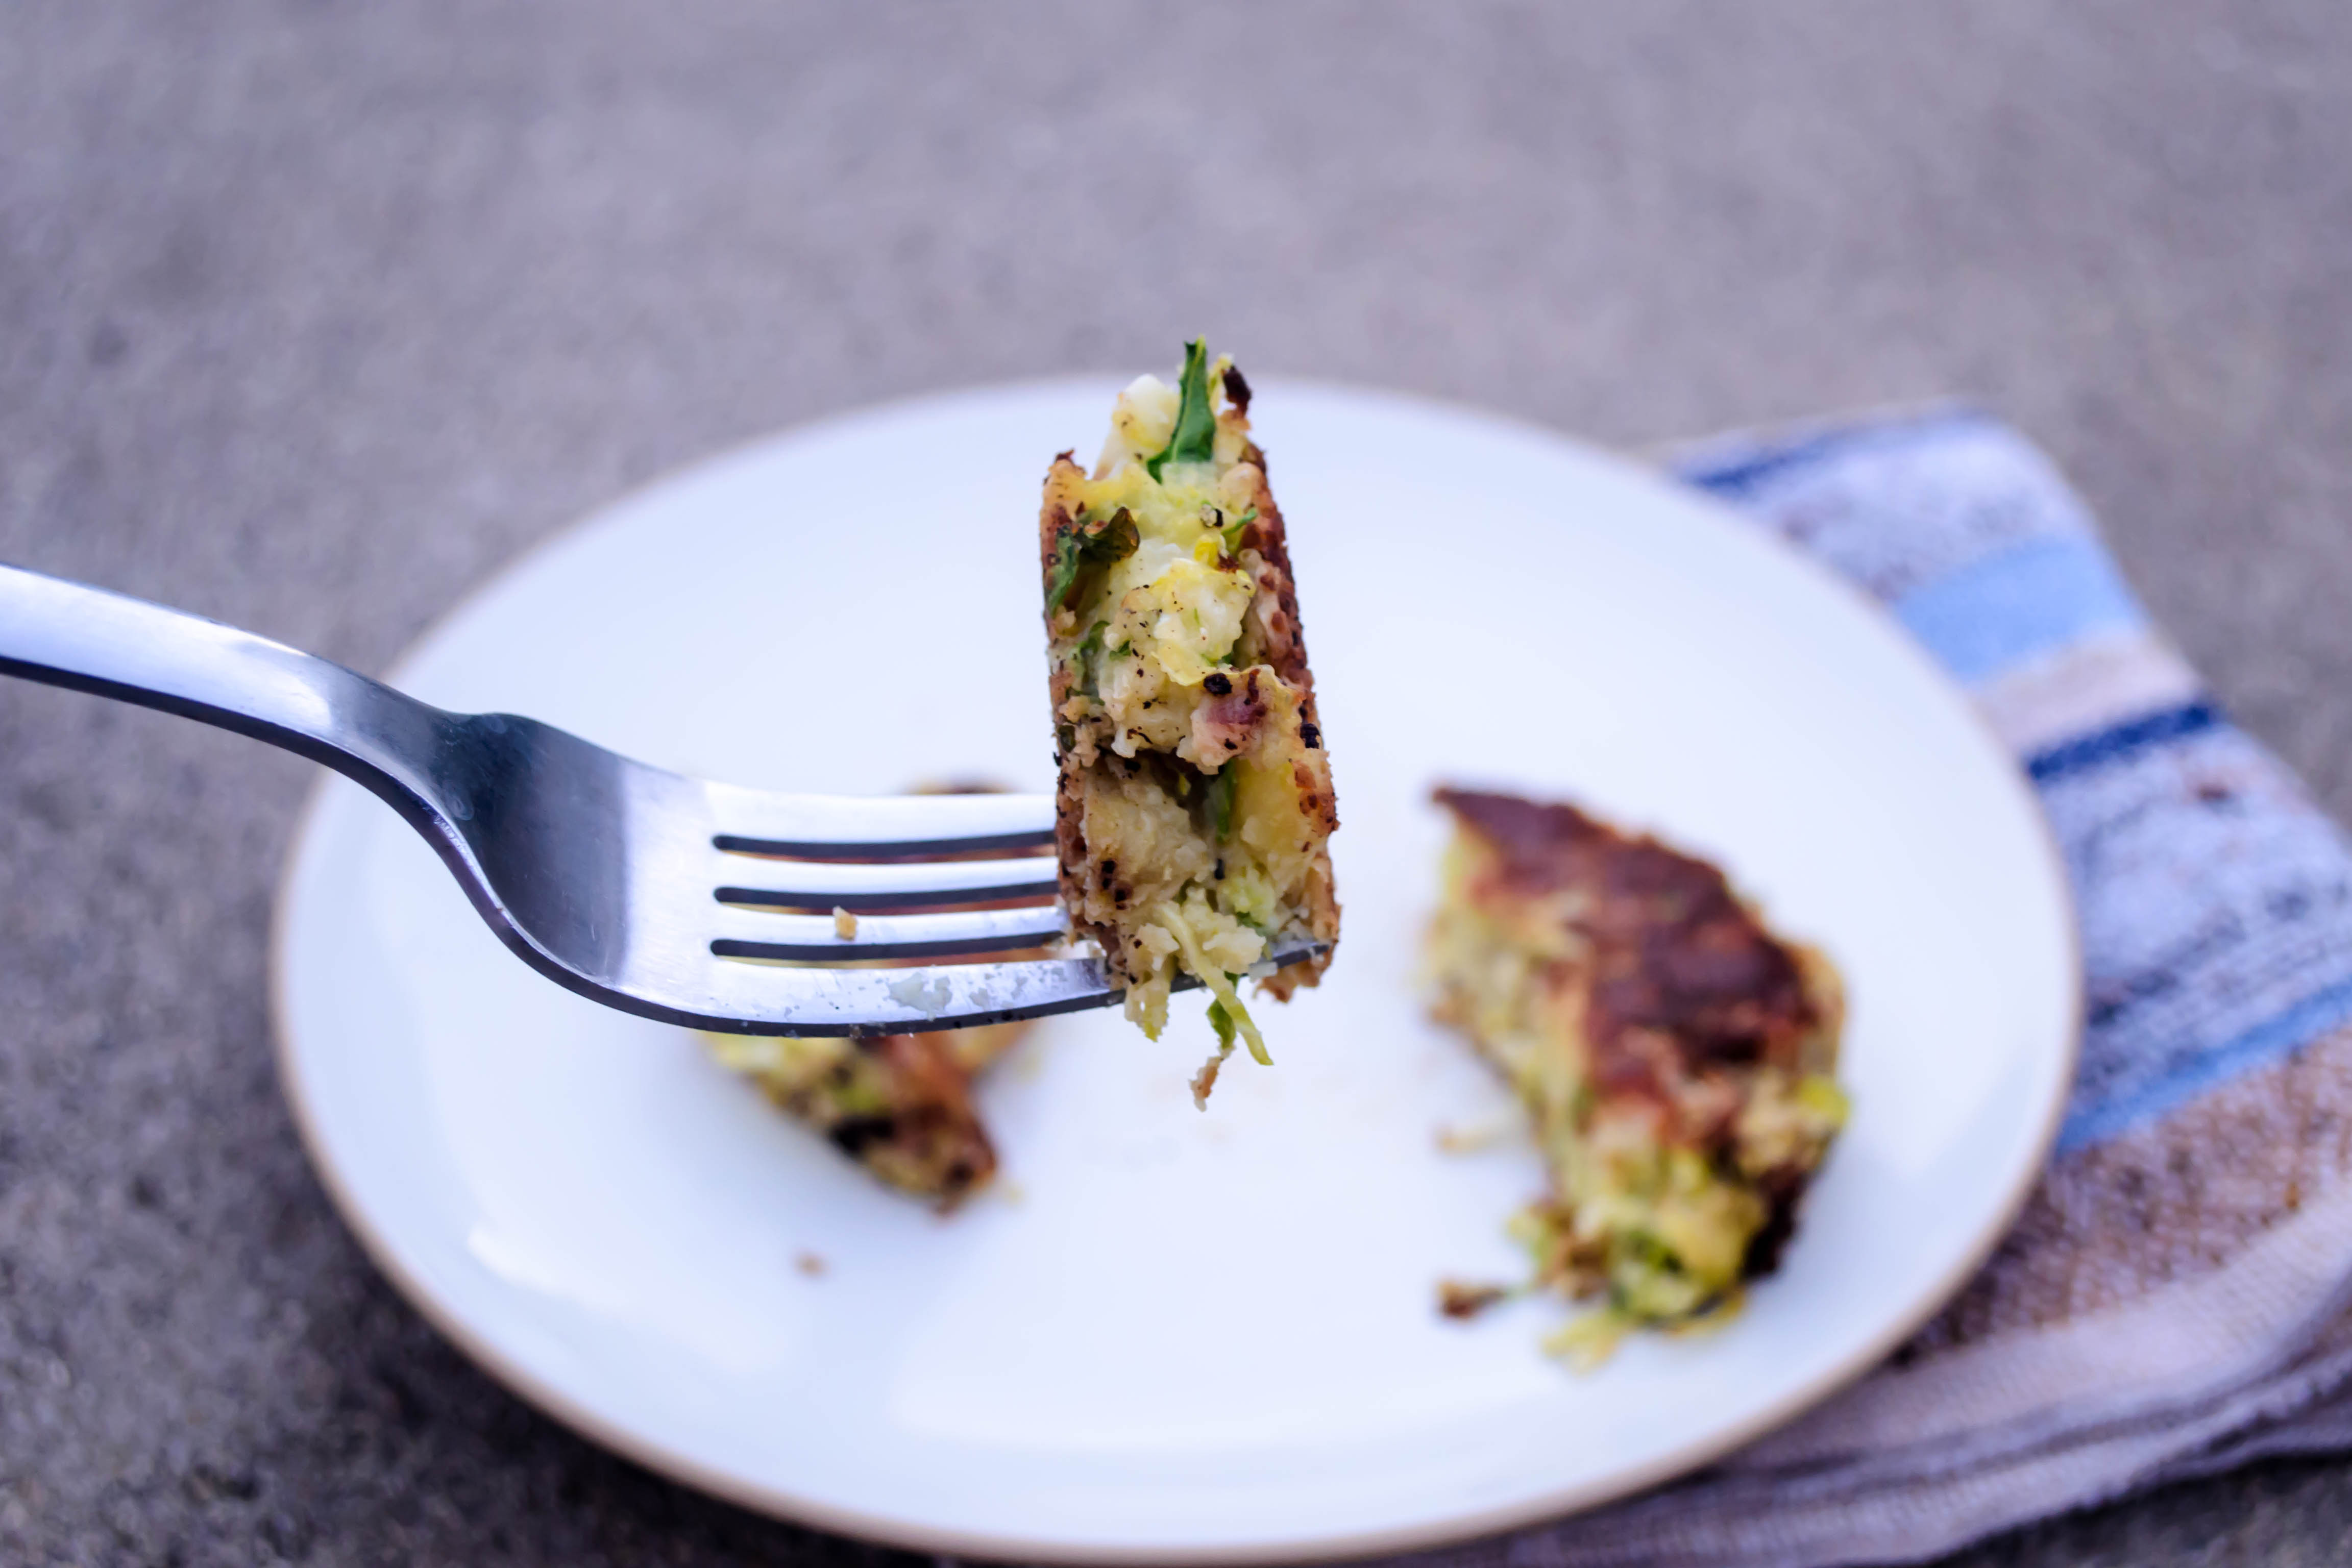
 But once in a while, an appetizer or a side dish sounds so luscious, or so interesting, or so, I don’t know, good (are we still allowed to use that word?), that we can’t resist it. At one of our more favorite haunts a week or two before the holidays, we were enticed by just such a side – a craggy mass of mashed potatoes threaded with strands of Brussels sprouts and bacon, a suggestion of cheddar, and broiled until the top was smattered with crusty dark bits. It sounded like a dream. It was… fine.


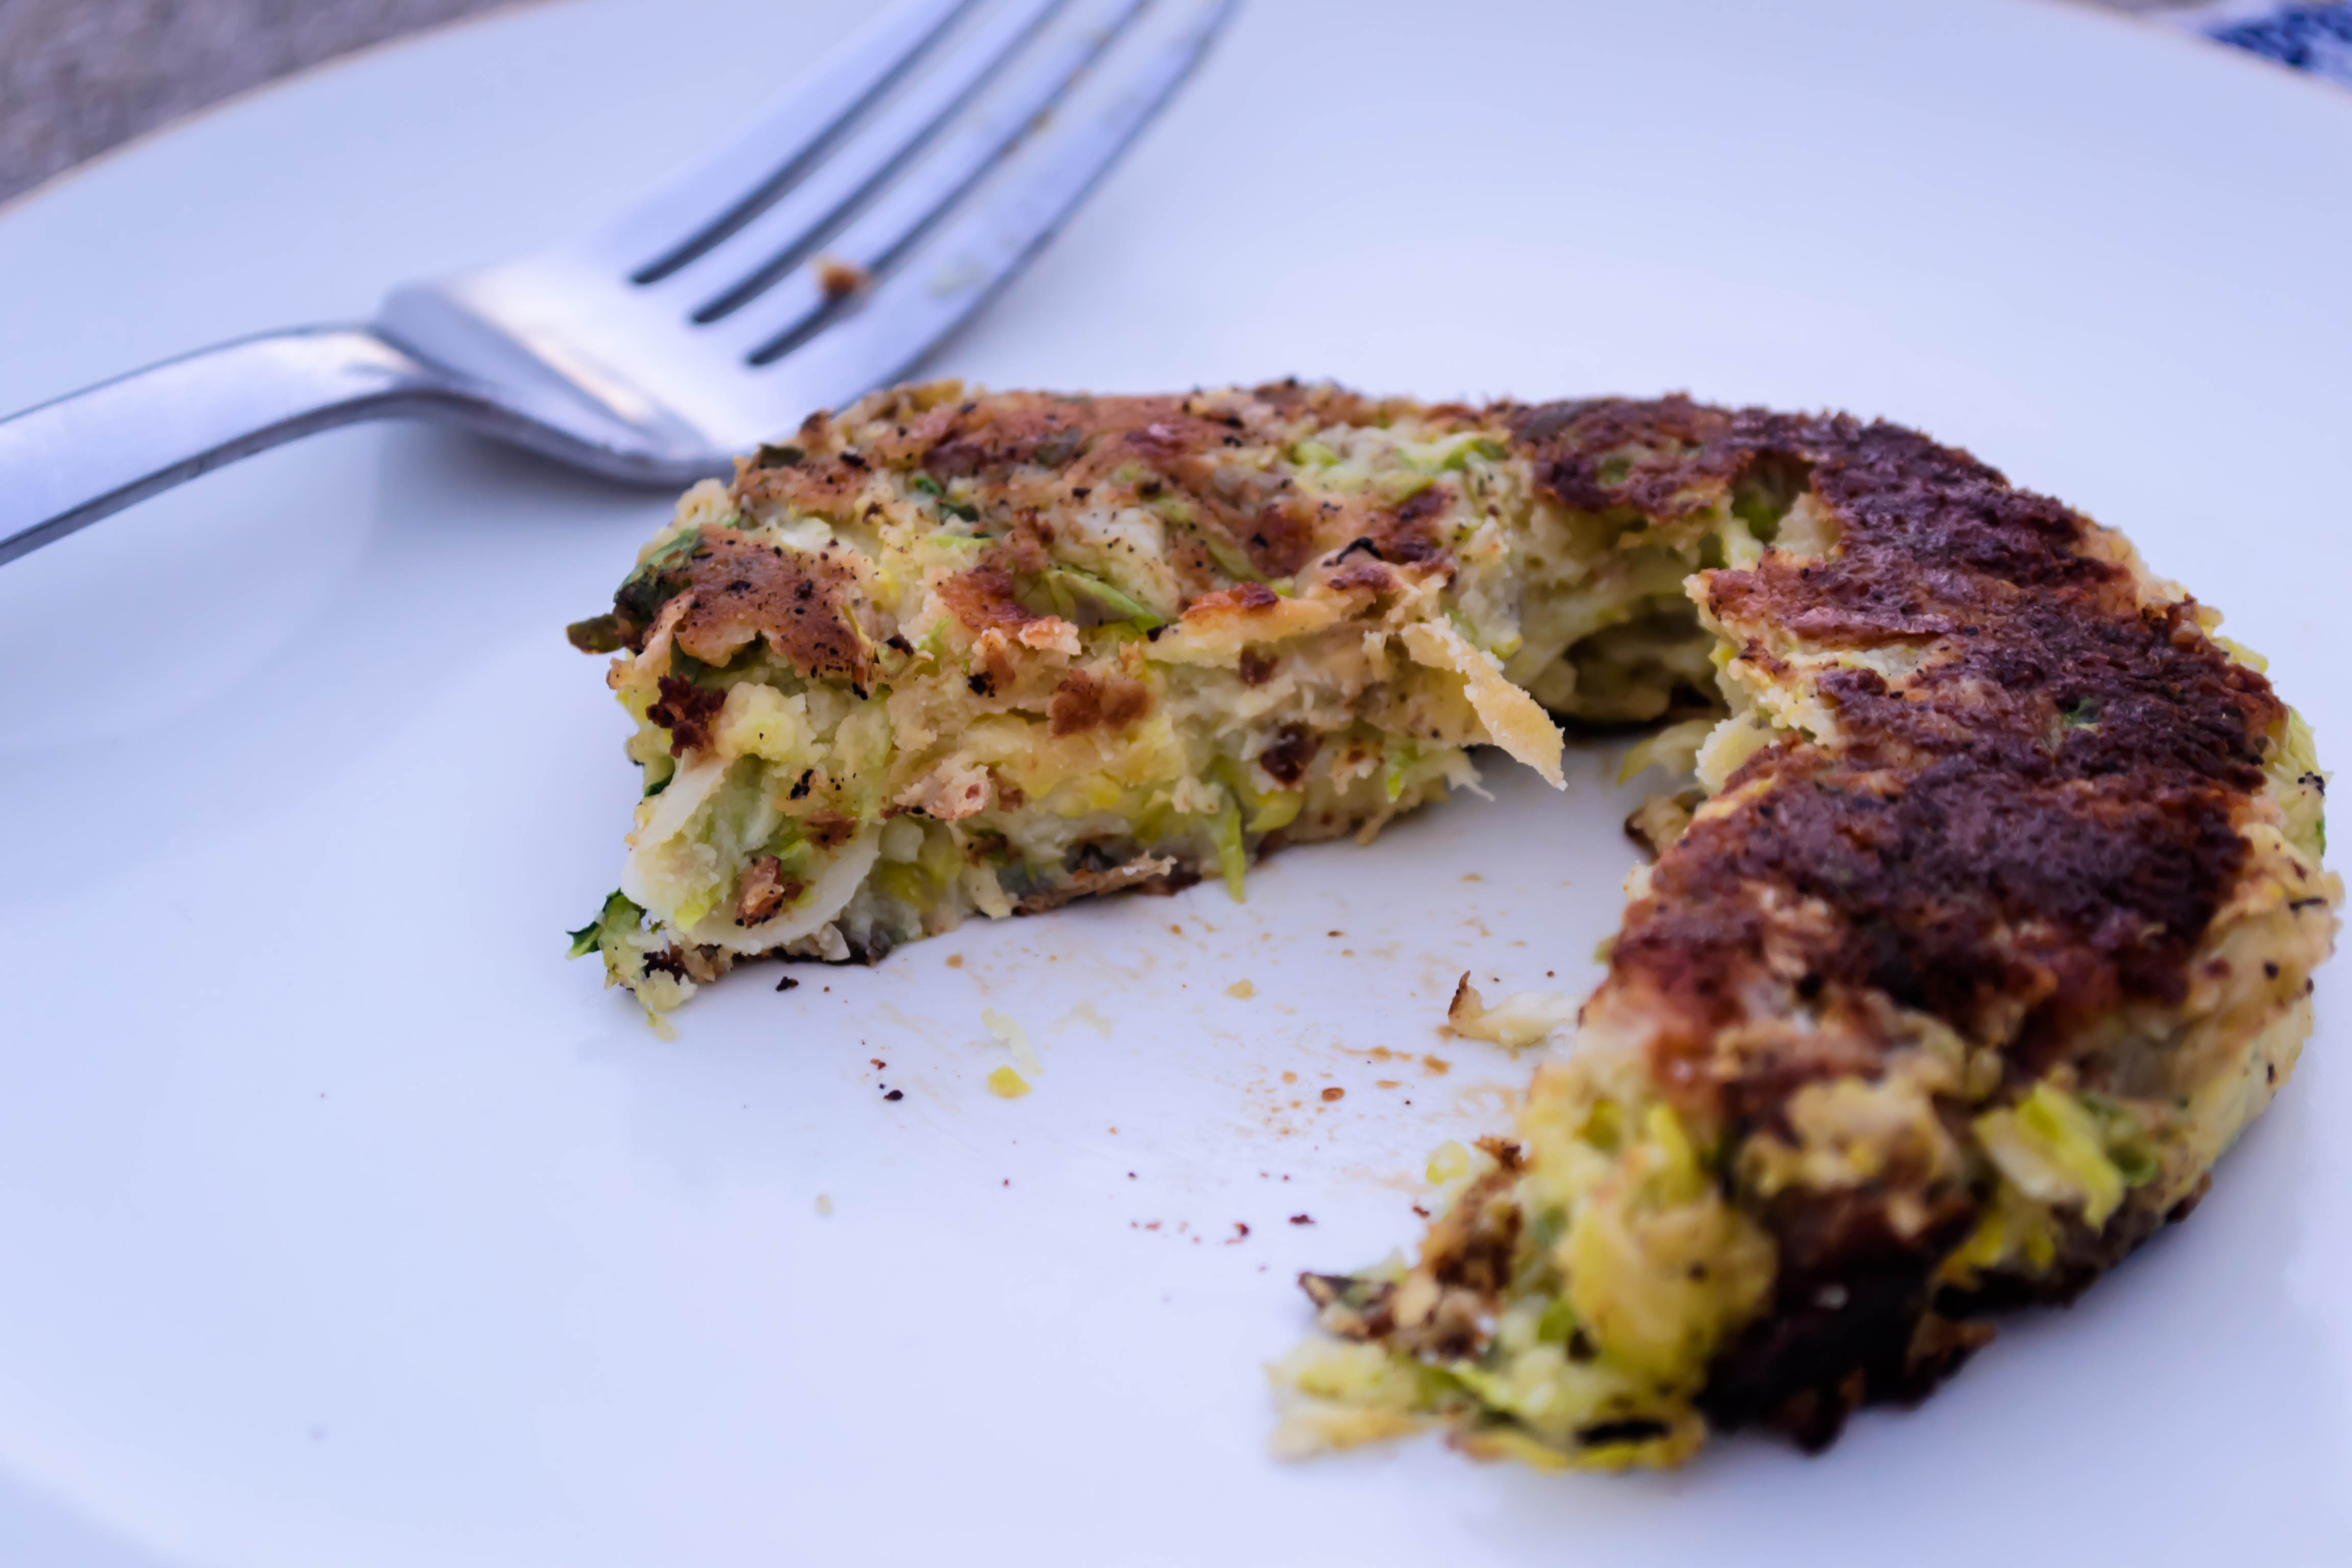
 As I ate it, I couldn’t help but feel that the flavors could have been stronger. More cheese. More bacon. More crunch. It needed to be, perhaps not a heap of mash subjected to broiling, but shaped into tender cakes and fried in a pan. Yes, cheesy patties shot through with ribbons of Brussels sprouts and chunks of bacon, fried up in the very bacon grease the meaty bits had expelled as they cooked. Crunchy, creamy, melting, with enough green that a very imaginative person could just barely declare them virtuous.
 What I ended up with was a marriage of that classic British leftovers dish bubble and squeak (though certainly in a modern reinterpretation), and a latke so unkosher that we might as well have piled shrimp on top and called it a day.
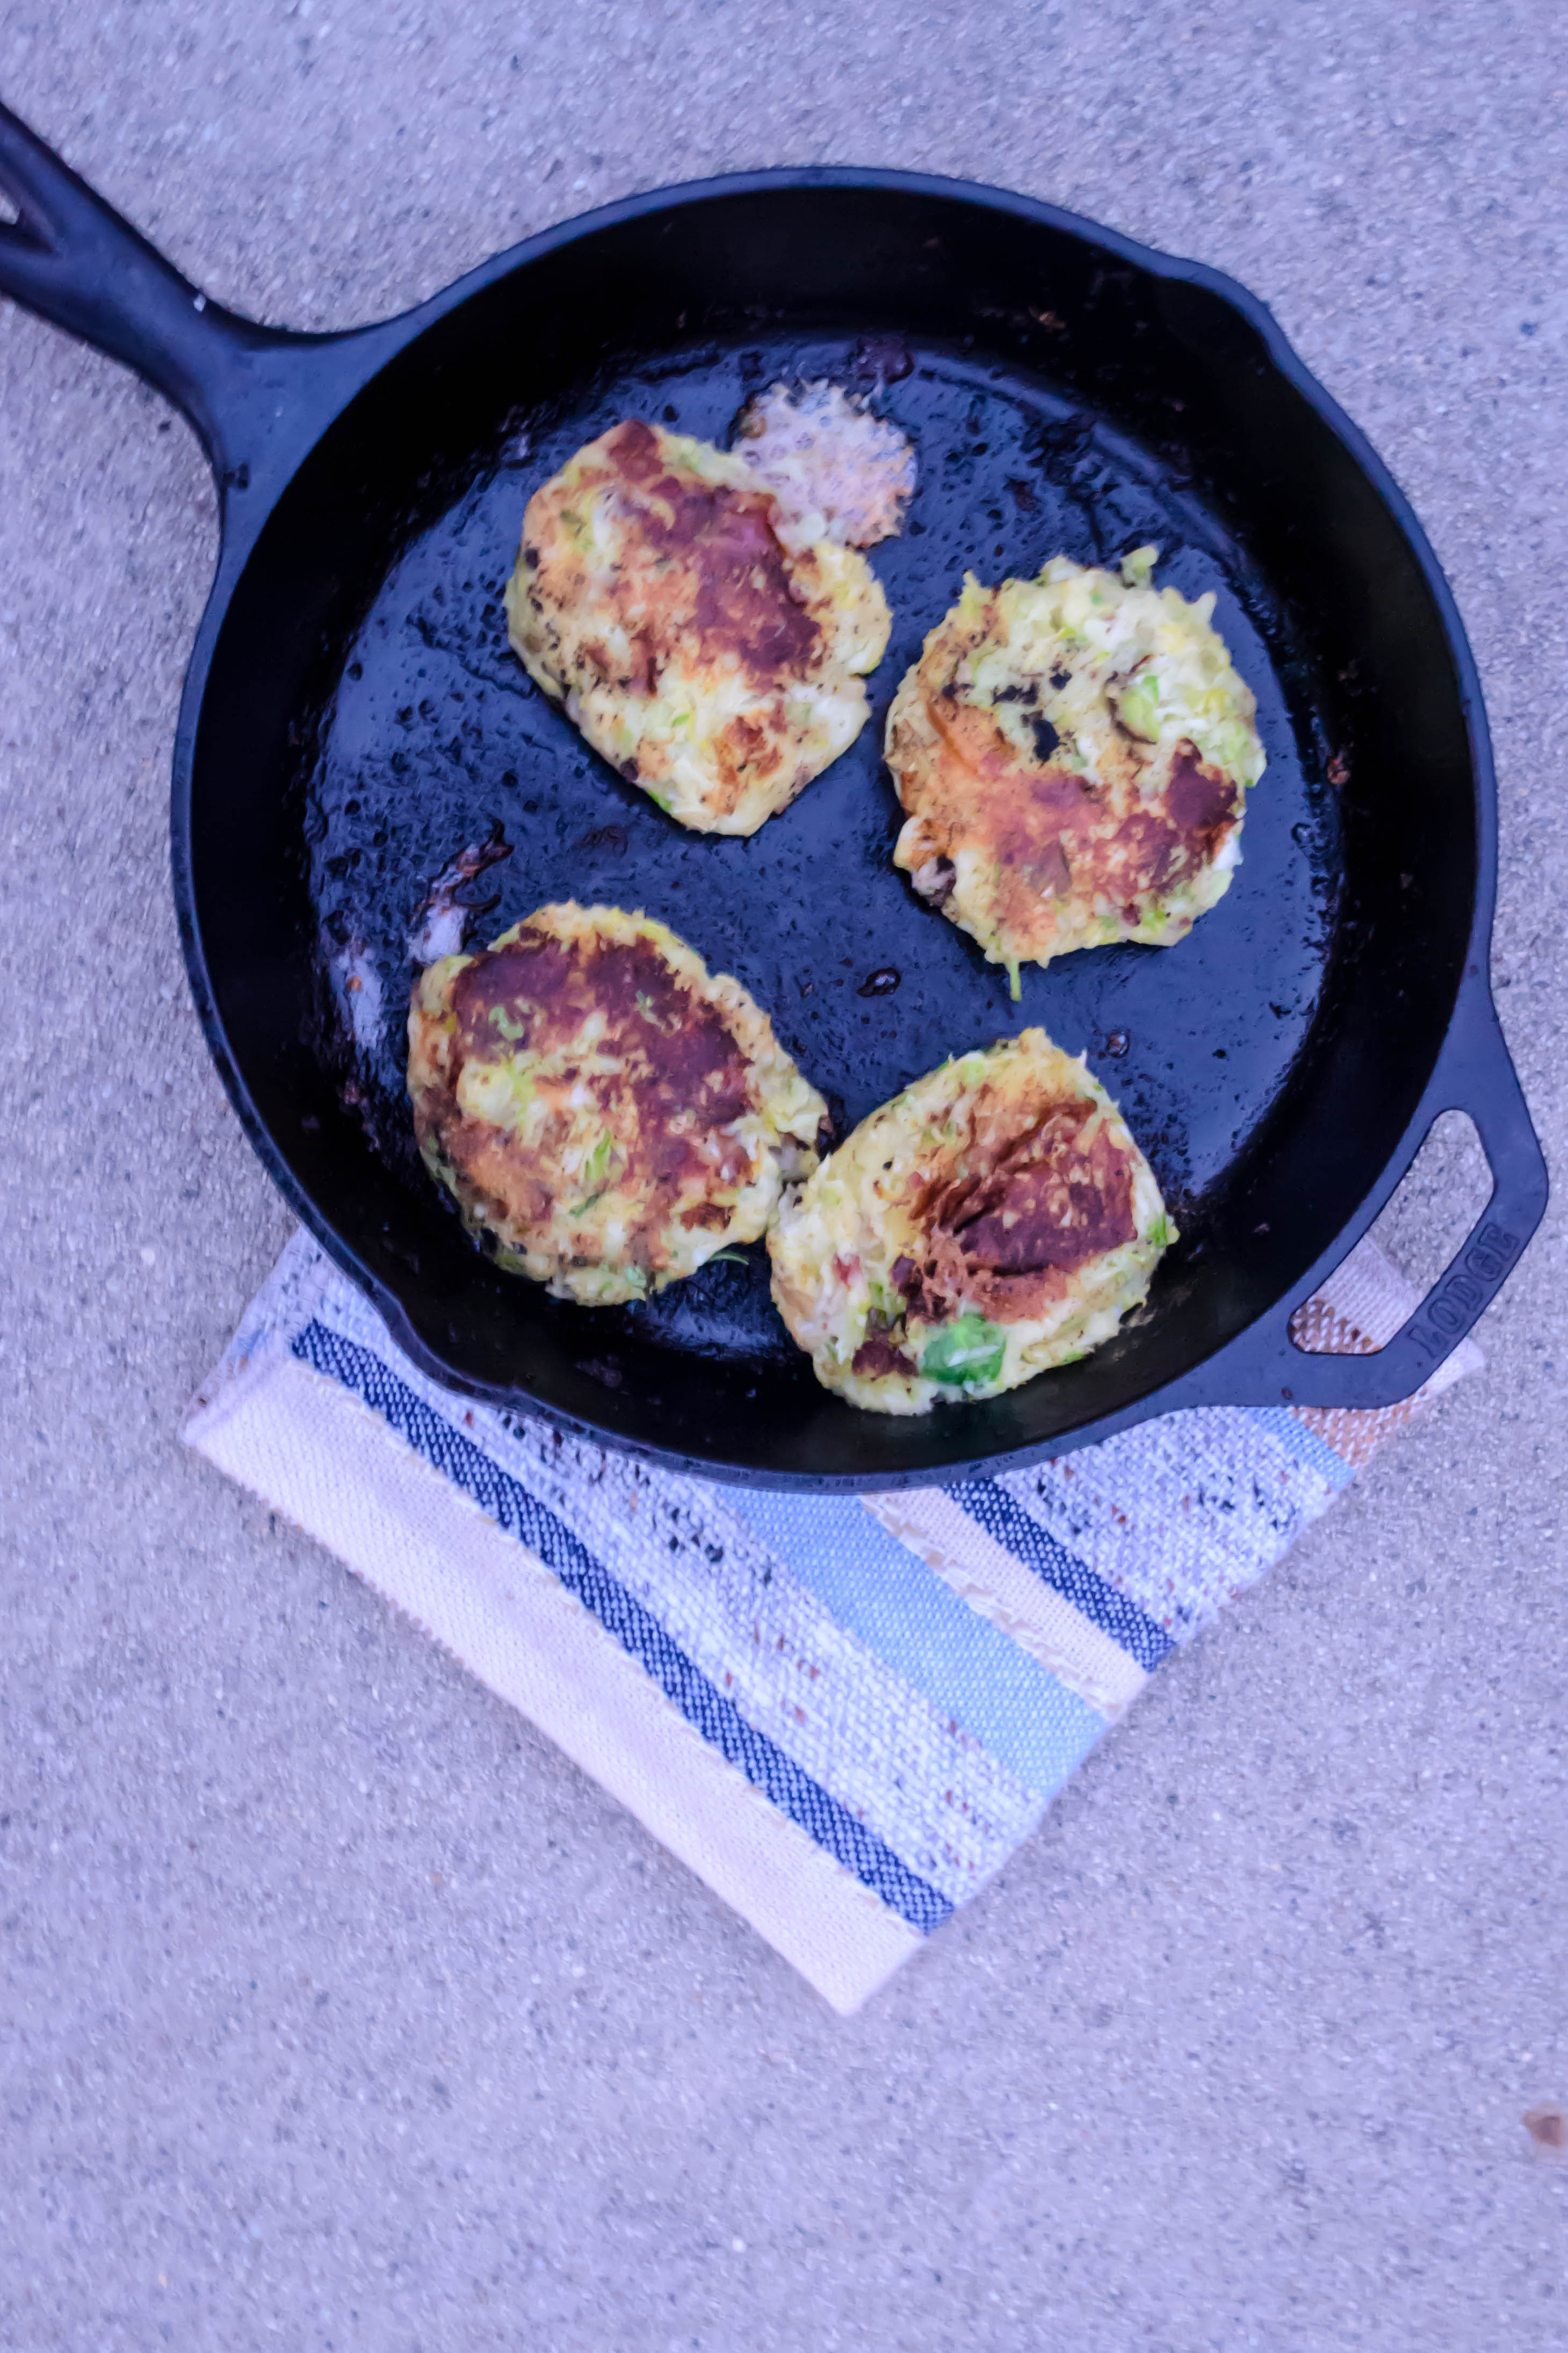
 Yukon gold potatoes have quickly become my standard for mash (I could even call them the “gold” standard, but you might groan at that, eh?), and this dish is no exception. Their flavor is terrific – hearty and rich – and they whip into lovely buttery fluff. And here, where texture is intentional, there is no need to peel them. The tissue-thin skins shred into the mix and echo the ribbons of Brussels sprouts. Chewy crisp hunks of bacon stud the cake with smoky saltiness, and do yourself a favor and use the sharpest cheddar cheese you can find – it needs to be saliva-inducing to stand up to the other flavors here. A single egg, lightly beaten and worked in, holds the cakes together, and then it’s just a question of heating up your cast iron skillet and frying them to order. I can imagine scarfing these for breakfast, lunch, or dinner, and I’m admitting nothing, but they are even acceptable stolen cold out of the fridge.
 *A note about bacon grease: I found, as I fried these, that bacon grease lends terrific flavor, but because it can be shot through with remnants of browned bits from frying the bacon, it can make the exterior of the cakes quite dark. To prevent this, as in the directions below, I recommend that you pour out the grease, reserving only a tablespoon or two. If you’re feeling particularly fussy, you can strain this reserved portion, but I wouldn’t be too worried about that. Discard the rest (or save for some other application) and wipe out your pan in between frying the bacon and frying the cakes. When it is time to fry again, combine the reserved bacon grease with some olive oil. You’ll still get the smoky, unctuous flavor, but the olive oil raises the smoke point and will produce a golden, rather than an almost-black, crust.
 Cheesy Brussels and Bacon Mashed Potato Cakes
 Holiday breakfast, a sequence.
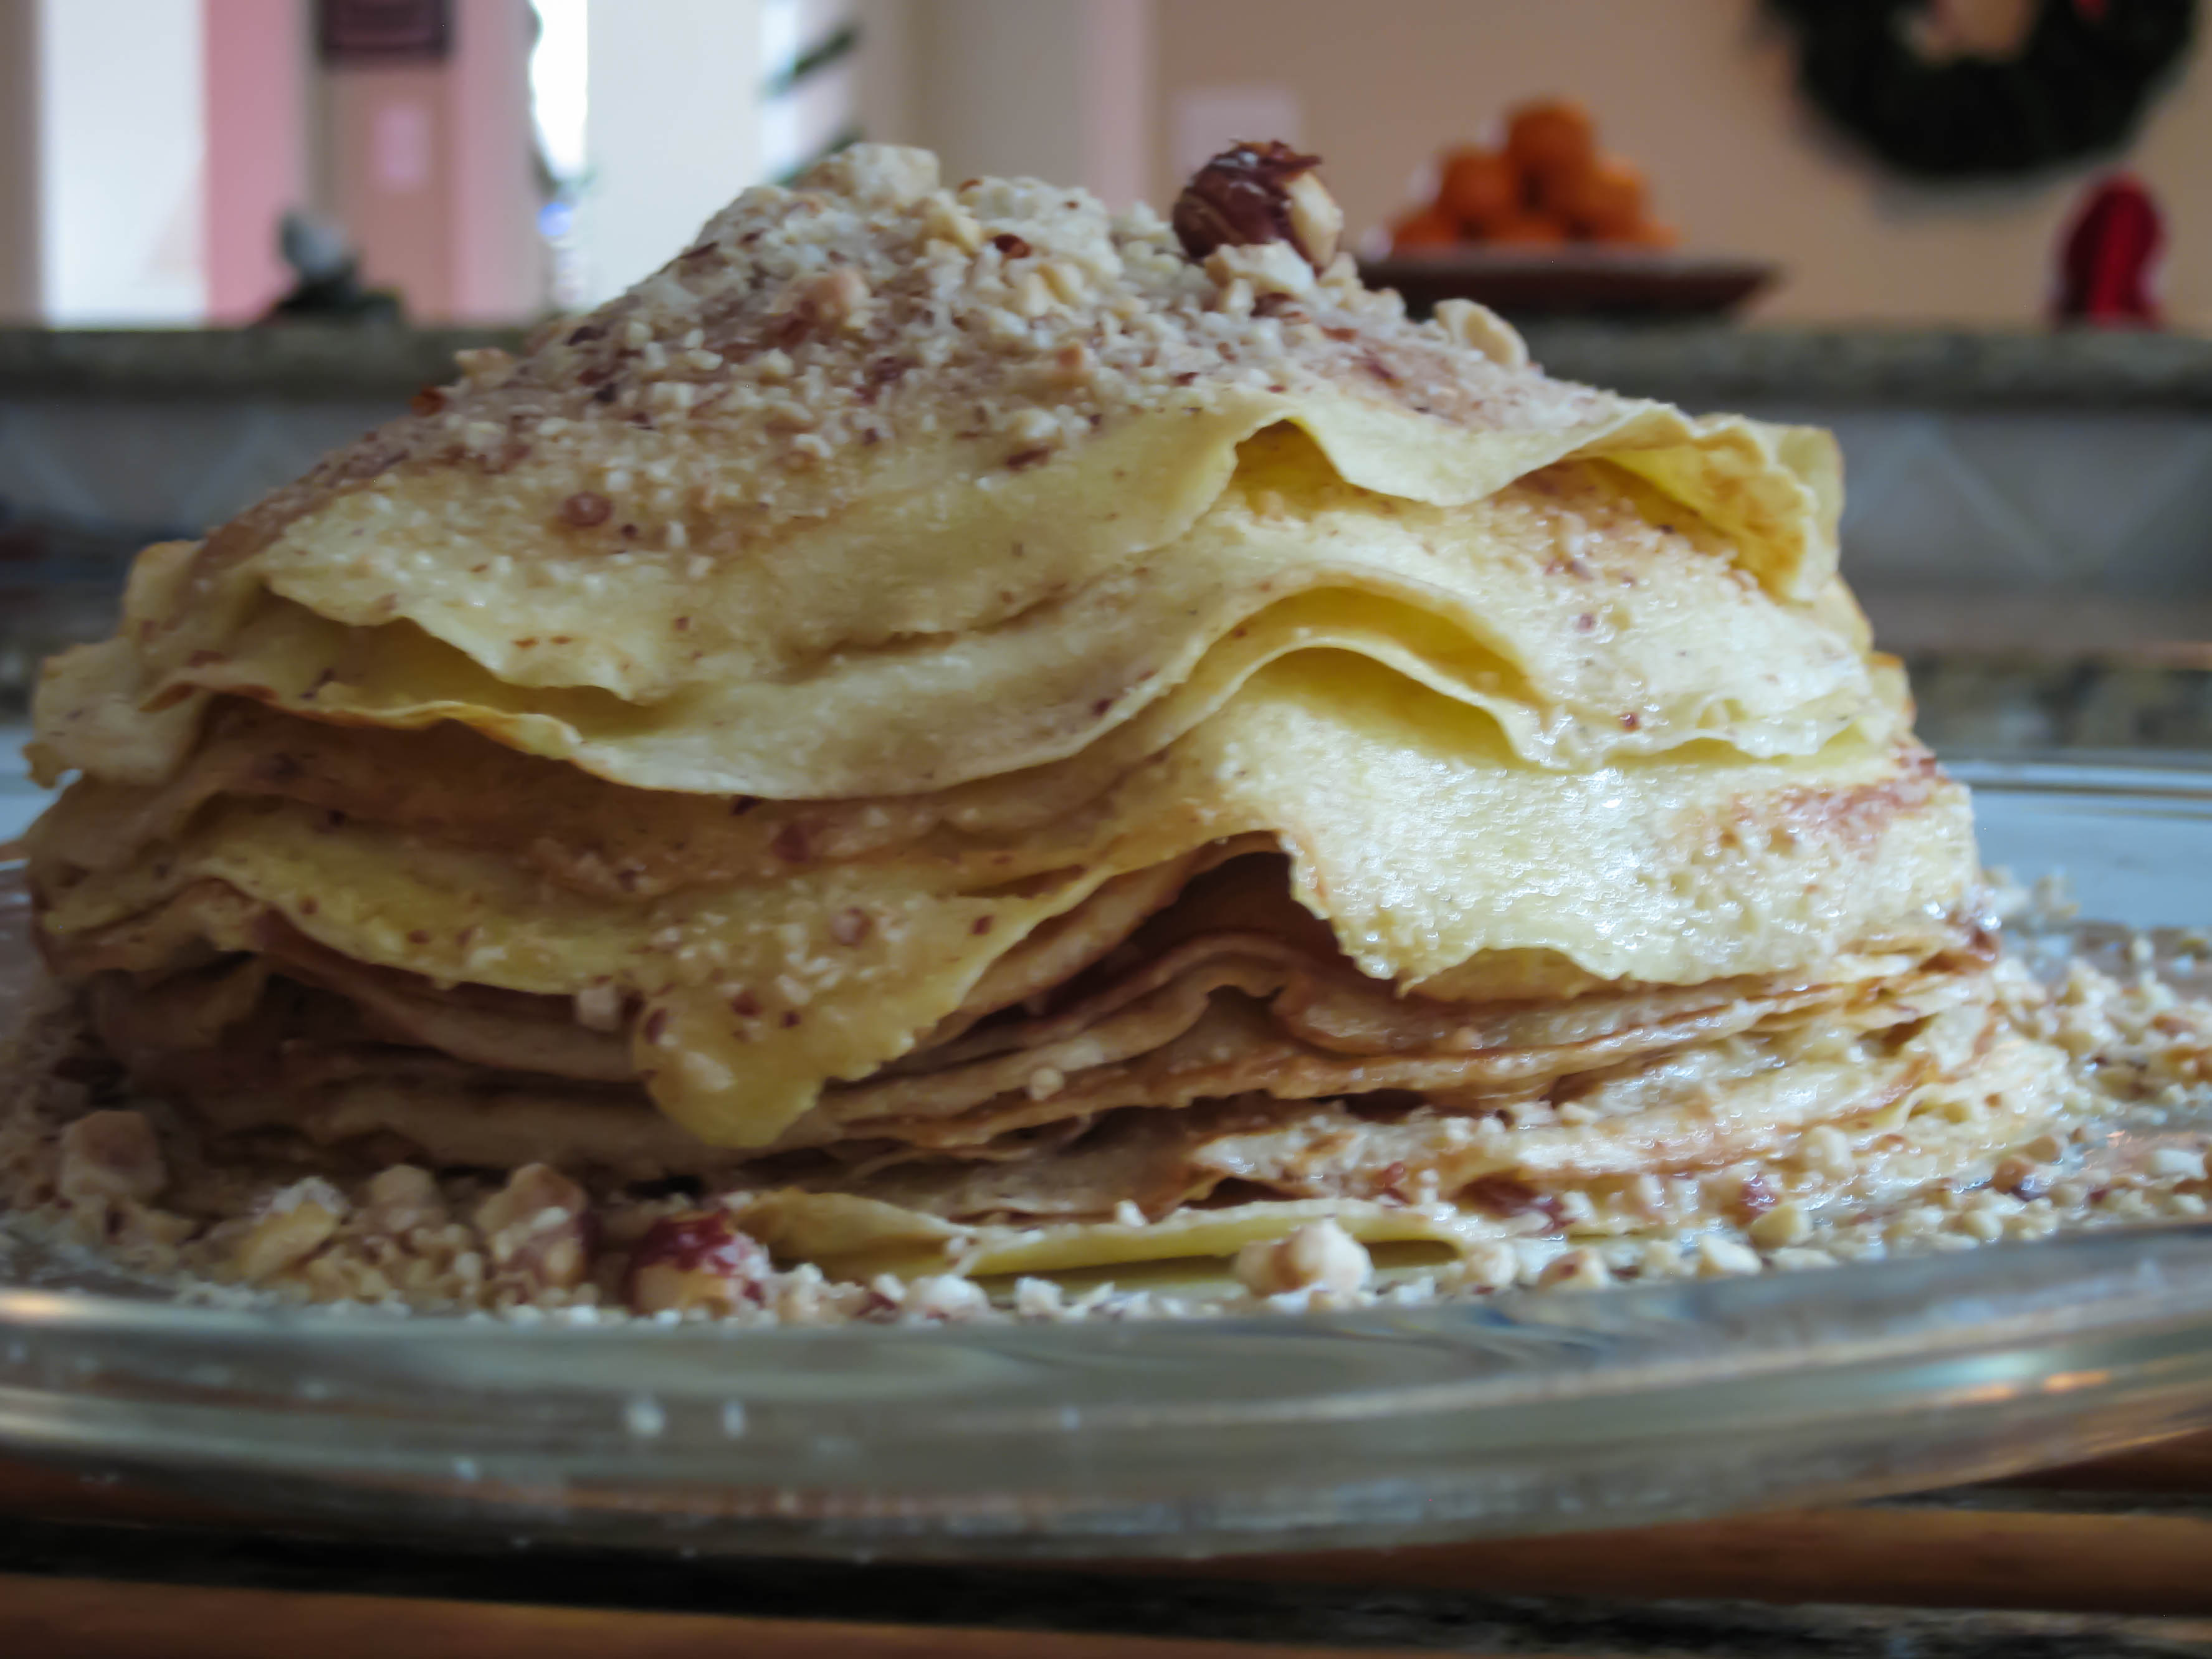


 * Note: my mom called this dish palacsinta; it’s essentially a pile of crepes, with sugar, butter, lemon juice, and pulverized hazelnuts in between each layer, baked until the edges are crispy, and served as a cake. In doing a bit of internet research, however, I’ve determined that palacsinta are Hungarian crepes, and that the layering is just one way of serving them.
** Note 2: as I was on vacation over the holiday, I took these shots with my smaller, more portable camera – a Canon PowerShot SD770 IS. I’m underwhelmed by the photo quality, but the stratigraphy of the dish was so pleasing I decided to share it anyway.
It feels inauspicious to publish a New Year’s post almost a week after the eponymous day. It feels like I’m already behind, or like I’ve squandered the moment. But upon reflection, I suppose it might actually be a positive thing. What it means is that I didn’t spend New Year’s Day in front of the computer. In fact, I spent it at the Johnson Space Center in Houston, Texas, where N. and I were visiting my parents. I spent it thinking about stars and planets and discovery and the amazing achievements humankind has made. And then a glass of wine, and a delicious dinner, and a small, smiling toast to the fellow I’ve been with now for ten whole years.
Not a bad way to spend the first day of 2014.
But now I’m back. Back to my kitchen, back to my desk, back to my bookshelves screaming under the weight of new and old friends, bound in paper and string and glue and cardboard and leather, and some still to be added, and back to thinking about food, and how to put it into words.
I’ve discovered that I like a project. An eternal academic, I like the solidity and consistency of due dates. I like knowing that I post on Mondays. I like having a photo ready to share with you on Fridays. But I also like having a topic to work with. Set me loose in a kitchen with no plan, and I’m a bit of a mess; it’s just like going into a library and not knowing which volume you’re looking for. There are so many choices, I can’t limit myself. Give me some parameters to work with, though, and I feel ready to play. It’s a curious kind of freedom, a bit like Mrs. Whatsit’s consideration of life as a sonnet: strict rules, relentless form, but within that structure, the play of words to choose, the storm of emotions to depict or messages to send, is all your doing as the author, as the cook, as the creator.
So I’ve now done three projects in this little virtual kitchen. In the summer of 2012 I made a wedding cake for some of our dearest friends. This, as you might expect, necessitated a number of trial runs (I may never make buttercream again), which I’ve collected links for here. On the very last day of 2012 I completed my Bittman Project, a multi-year attempt to cook everything almost everything most things on Mark Bittman’s 101 Thanksgiving Side Dishes collection. Last year’s resolution/project was centered around learning about dough. Though I’ll admit to still needing practice with pie crust (honestly, how can flour, butter, salt, and water be so challenging?), I have gained incredible confidence working with bread dough. The inexorable certainty that yes, yeast will rise, even if the water is a little cold, or you leave it a little long, or you forget it in the fridge overnight, is a comfort. The feeling of knowing, just knowing, when a dough has been kneaded long enough by its feel and its look, is something I didn’t expect to understand, but I do. I read about protein structures and gluten development and types of fat. I made biscuits and bagels and shortbread and sweet rolls. I teamed myself up with the Twelve Loaves project to inspire new ideas, and surprised myself with experiments I never thought would work. It was a good year.
But now I need a new project. I’ve thought about this for a while, and I want to continue my exploration of fundamentals that build good, solid dishes. Therefore I propose, once a month, here, together, let’s get sauced.
Now wait a minute, wait. I’m not talking booze here (though I suppose the occasional saucing of that sort wouldn’t hurt). I’m talking sauces. Mother sauces. French sauces. The liquid magic that pulls a dish together, whether it be laced with butter, or cream, or broth, or carefully tempered eggs. Every month, once a month, for the year of 2014, I will make and detail the procedure for a classic sauce. The plan is to show you how I made it, explain the process, and then include some ideas for how to serve it. This will entail at least one recipe in which I’ve used it, so we can all put our newly minted sauce skills to work immediately. I have a few ideas for what I will make, but I’m not up to the twelve I will need to round out the year, so I’d welcome input from you, friends out there in internet-space. What kind(s) of sauce(s) would you like to learn how to make? What kind(s) should I not leave the year without attempting? I’d love to “hear” your thoughts. Of course I always welcome comments, but you can also email me! I’m at blackberryeating@gmail.com. If you’re more of the Twitter or Facebook type, let’s do that. You can find me on Twitter at @blackberryeater, and there’s a link to the “blackberry eating in late september” Facebook page on the right of this very homepage. Come visit!
Now that we’re through with that shameless self-promotion (how embarrassing!), all that’s left is for me to give you a preview. The first sauce we tackle will be béchamel, a true classic. No, it’s perhaps not the fat-free, guilt-free representation of that most typical, most quickly broken New Year’s resolution too many of us make, but what fun would that be? Think of it instead as a food representation of that warm, comforting winter blanket you’ll still need for a month or two (unless you’re in Southern California, where apparently winter never happened).
Happy new year, and see you next week!
A fabled land of farmers, farm shares, fancy (and not so fancy) restaurants, family meals, food projects and more.
cooking my way through my dissertation, one egg at a time
Fearless cooking from a tiny NYC kitchen.
food, in so many words.
Recreating the famous dishes of famous writers. Part recipe blog, part historical discussion, entirely unabashed love of books.
Epicurean Adventures from Eugene, Oregon
Celebrating the Harvest
Modern Iranian aka Persian Food & Culture Blog - Cuisine, Recipes, Stories , Photos, Pictures, DIY tutorials
Exploring Culinary Traditions of Africa, African America and the African Diaspora
food, in so many words.
food, in so many words.
food, in so many words.
Food-Stories-Recipes-Love
WordPress.com is the best place for your personal blog or business site.
