 All too often, it seems, I find myself either ahead or behind the curve. Last week I was offering you Easter bread the day after Easter. This week, I’ve got a slaw recipe that really merits a space on your Memorial Day table, but May is still barely on the horizon. I can’t really blame anyone for this – not even me (at least that’s what tell myself). The fact is, summer is now so close – I have a mere three weeks of classes left to teach – and, if we’re honest, it’s been such summery weather in Los Angeles for so many weeks now, that the divide between what might be summer and what could have been spring is so dubious it barely existed.
 While I wait for real summer, I content myself with small pleasures. Sitting on my patio out back, with the afternoon breeze just strong enough to keep the sun from being too hot. Remembering why I assigned that novel to my morning classes as I gasp my way through Margaret Atwood’s bewildering narrative in its relentless, sharp prose. Devouring, lest you think me too romantic, an entire package of chocolate-dipped marshmallow peeps I found in a clearance Easter candy bin. I know. They were so good, though, tiny milk chocolate eyeballs and all.
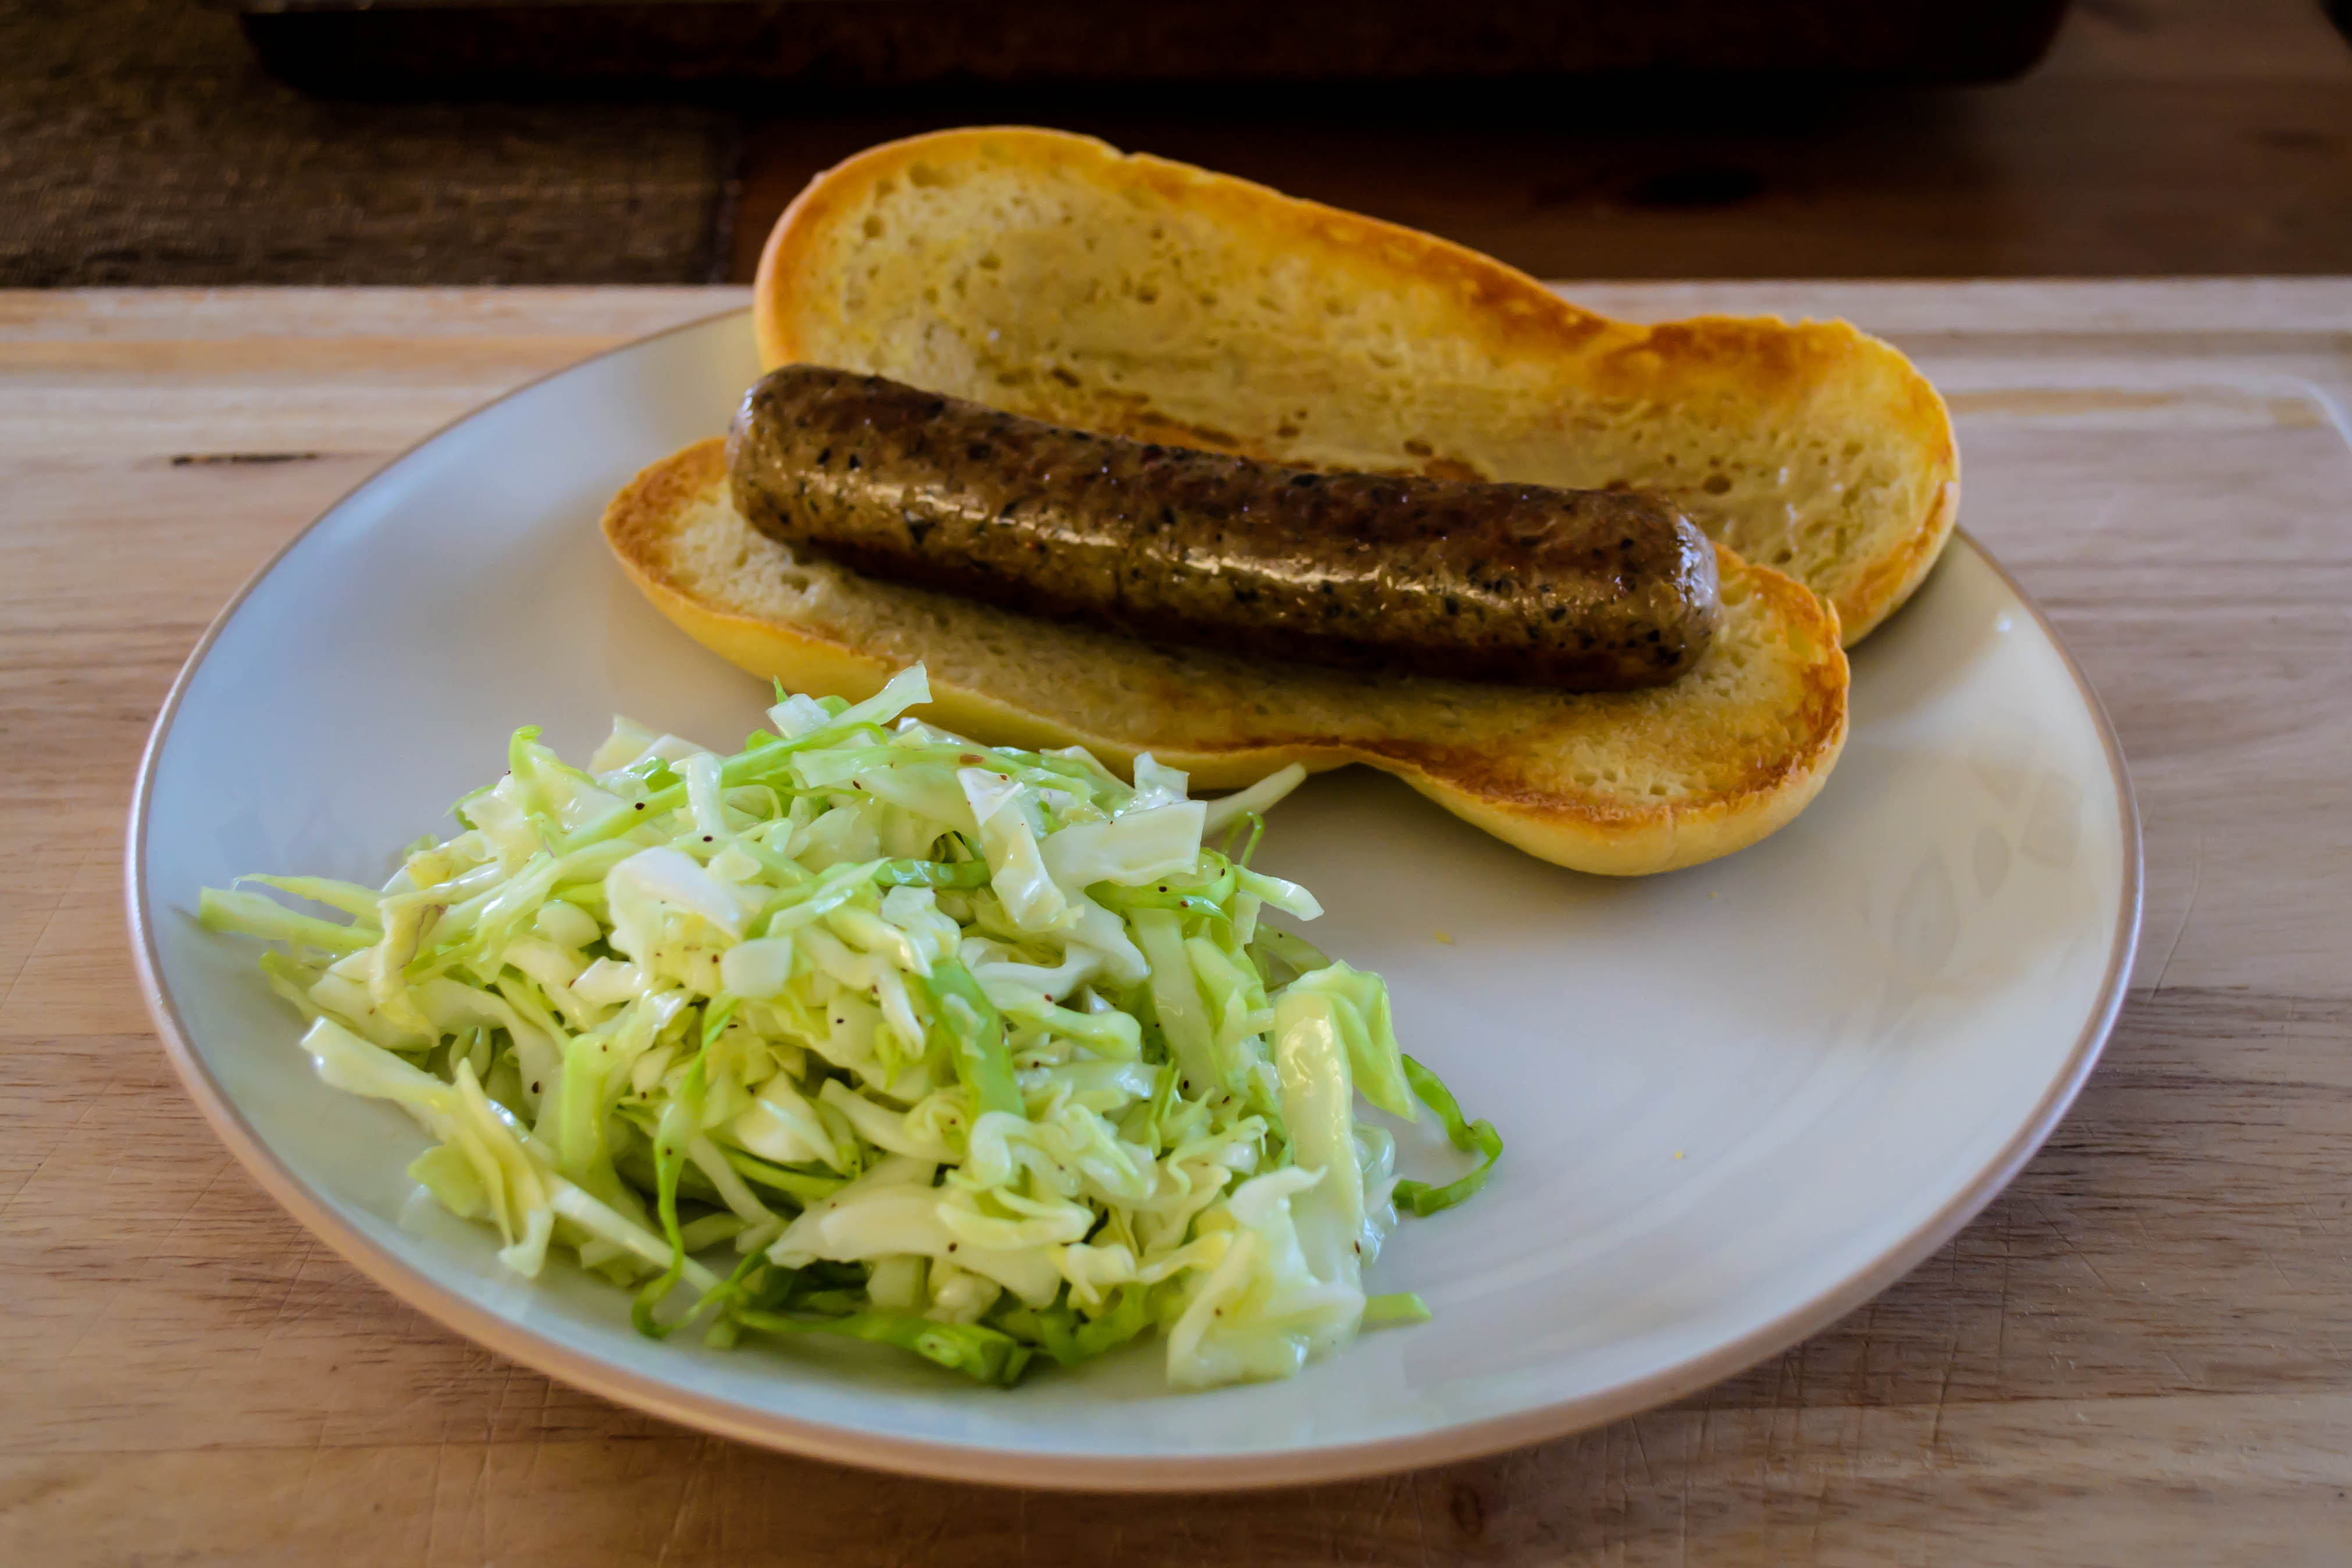
 Despite my inability to work “in a timely fashion,” I think you should keep this simple little slaw recipe around. It’s a tangle of cabbage so bright, so fresh, with not a speck of mayonnaise in sight. It would be equally welcome piled high as a side dish for sausages or barbecued anything as it would squashed between soft brioche halves on a pulled pork sandwich. If we’re going to get really dreamy, it could likely sit quite comfortably atop a lobster roll for a man-I-wish-I-were-on-a-beach-somewhere lunch fantasy.
 The inspiration for this slaw comes from a side dish N. had with a plate of fish and chips at Mud Hen Tavern in Hollywood, celebrity chef Susan Feniger’s newest venture. I tasted the humble pile of cabbage shreds and became instantly intrigued by the nutty, savory herbal notes that I couldn’t quite place. I don’t often do this, but I asked a server, and was soon speaking to one of Feniger’s cooks, who told me his secret ingredient was celery seed. He gave me a few instructions about how they make it, and from there it was just a matter of playing with quantities.
 Celery seed is a funny little spice – tiny, musty smelling seeds, but with a distinct sharpness. Crushed raw and solo between your teeth they are too strong: a bitter kick with the aftertaste of raw celery stalks. Toasted, though, or crushed and lightly simmered in olive oil until their flavor blooms, they add a deeply savory note, a mix of umami and something almost floral, that I’m now totally obsessed with and want to add to everything.
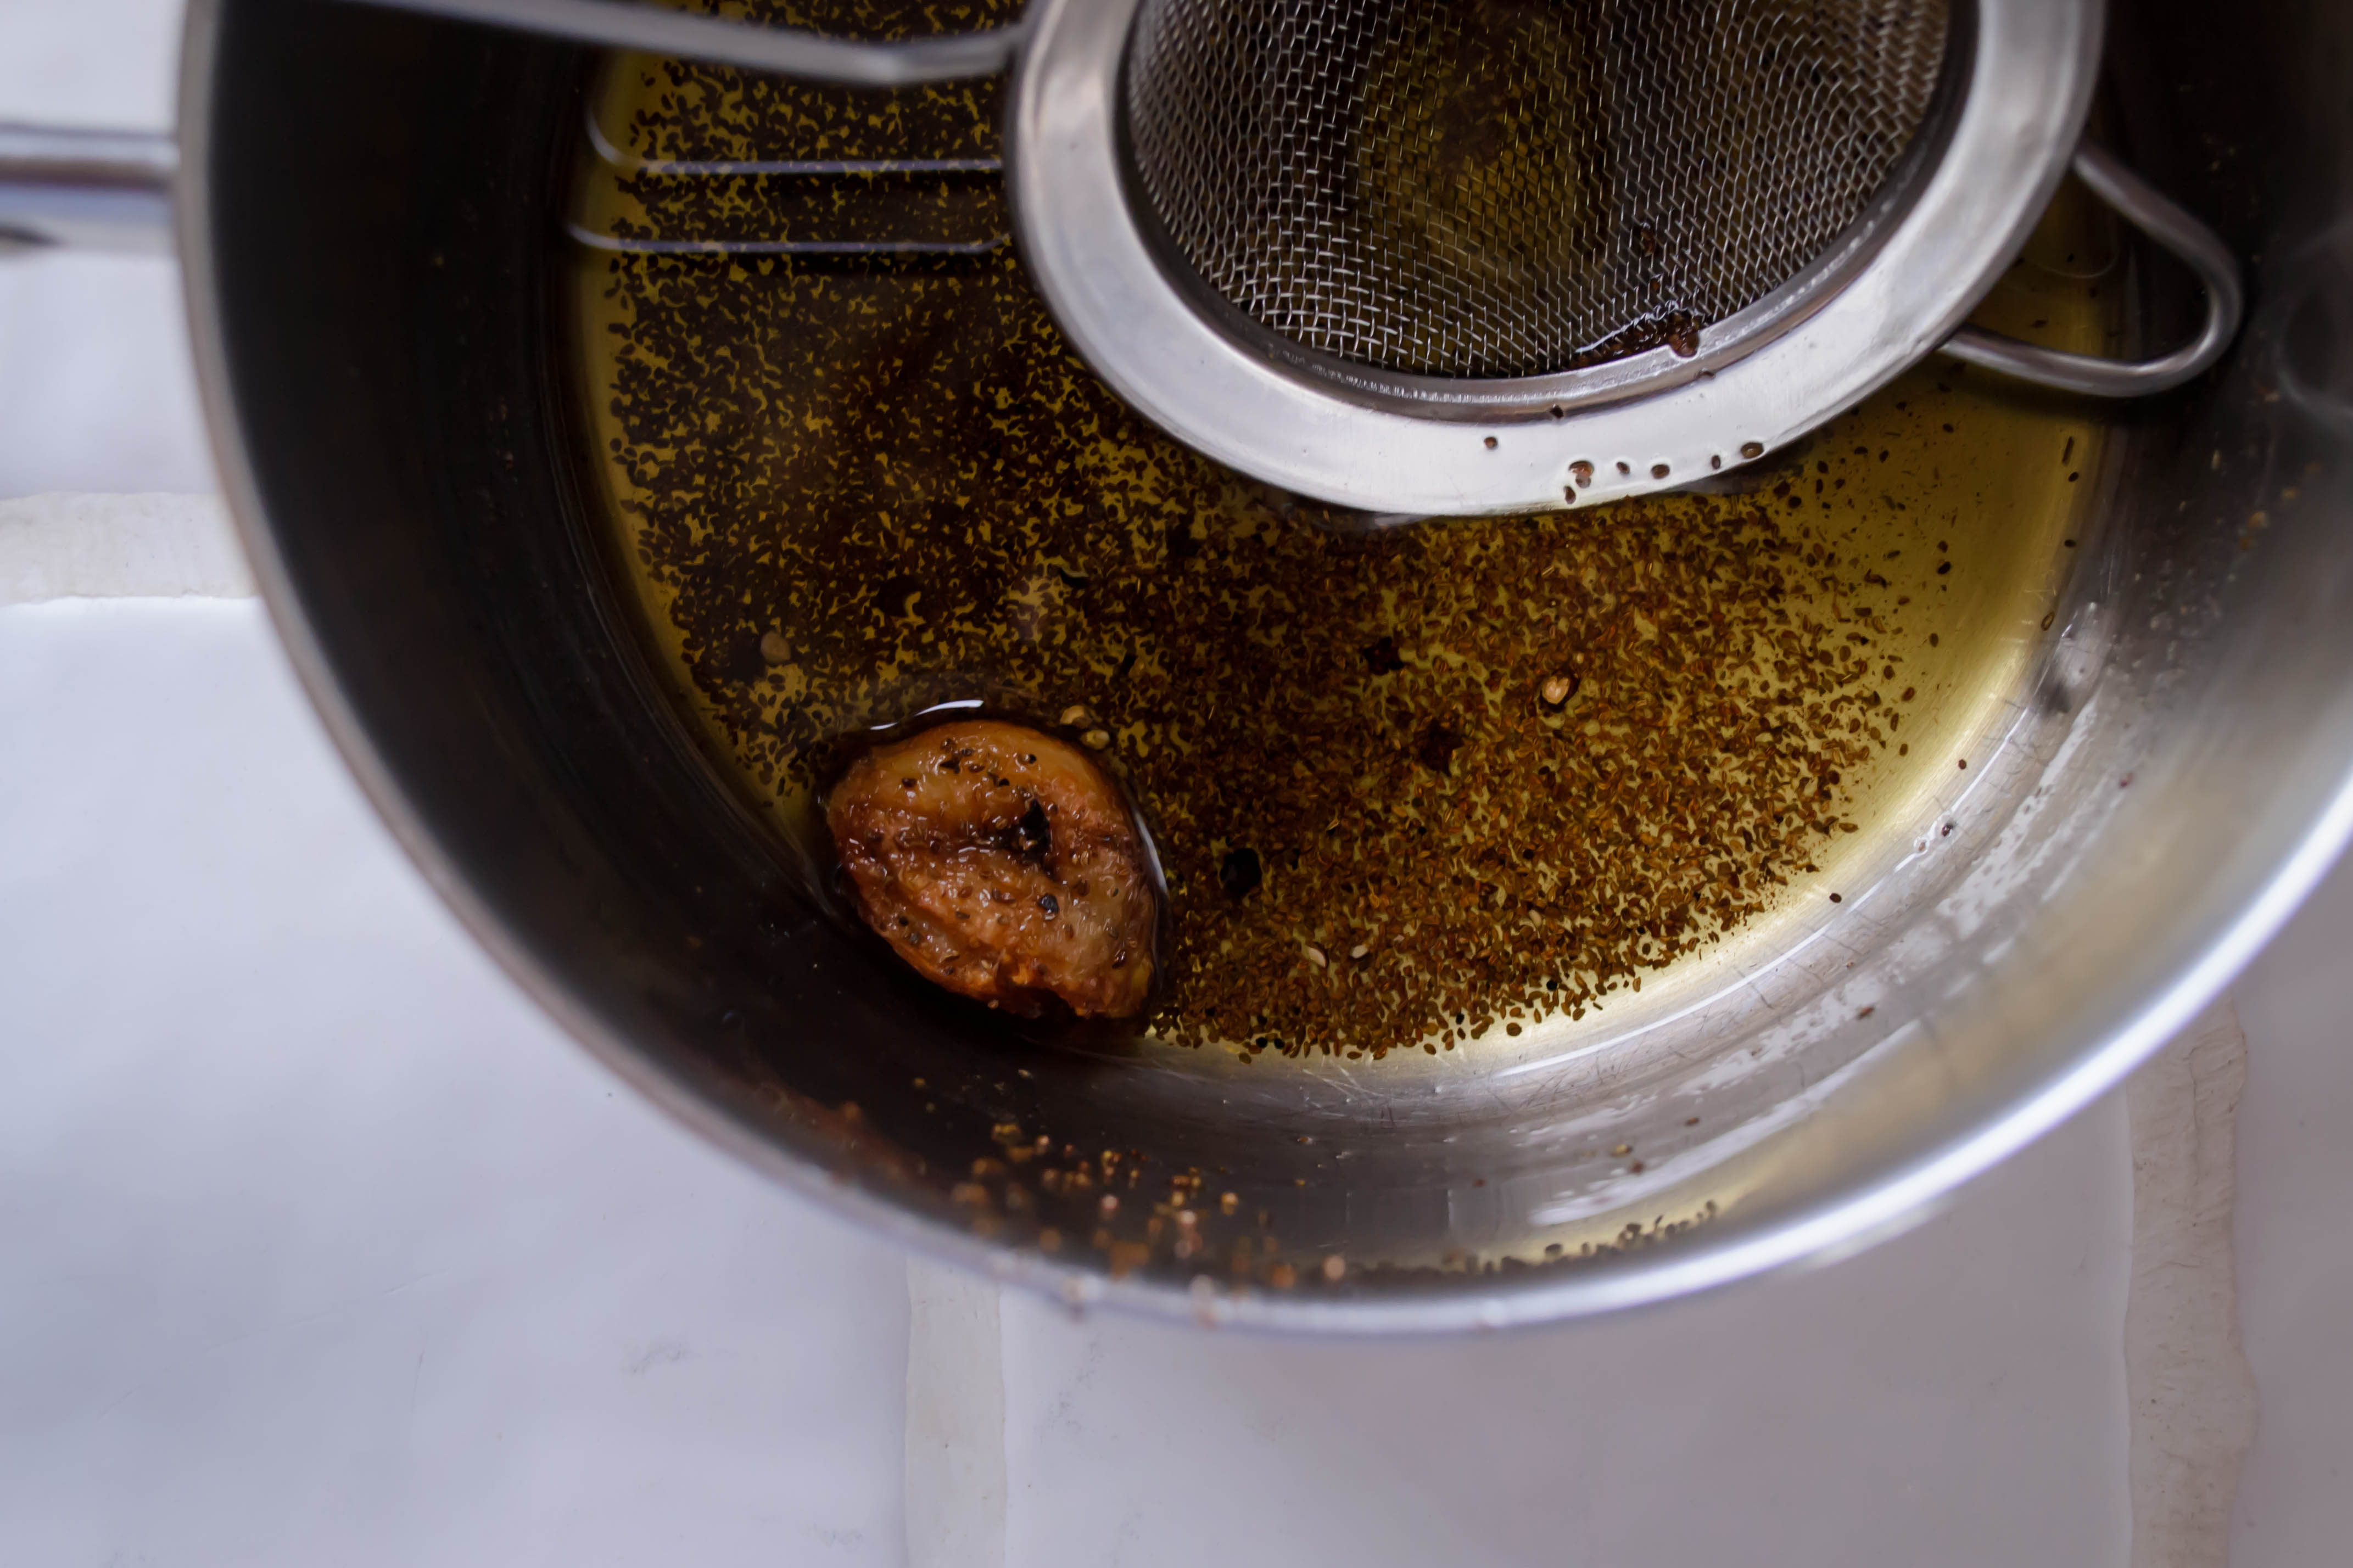 This slaw is so simple, provided you’re willing to start the process a few minutes in advance. Celery seed, pepper, and, in my variation, a smashed garlic clove, get simmered in olive oil to infuse their flavors. Once it’s cool, the oil, with some of the celery seed dust (it imparts a lovely speckled look and an extra hit of flavor), gets tossed through a jungle of green cabbage threads along with a sprinkle of sugar, a pinch or two of salt, and a hint of vinegar. That’s it. You can let it sit for a while to allow for integration and mellowing of flavors, or you can eat it immediately, savoring every crisp bite.

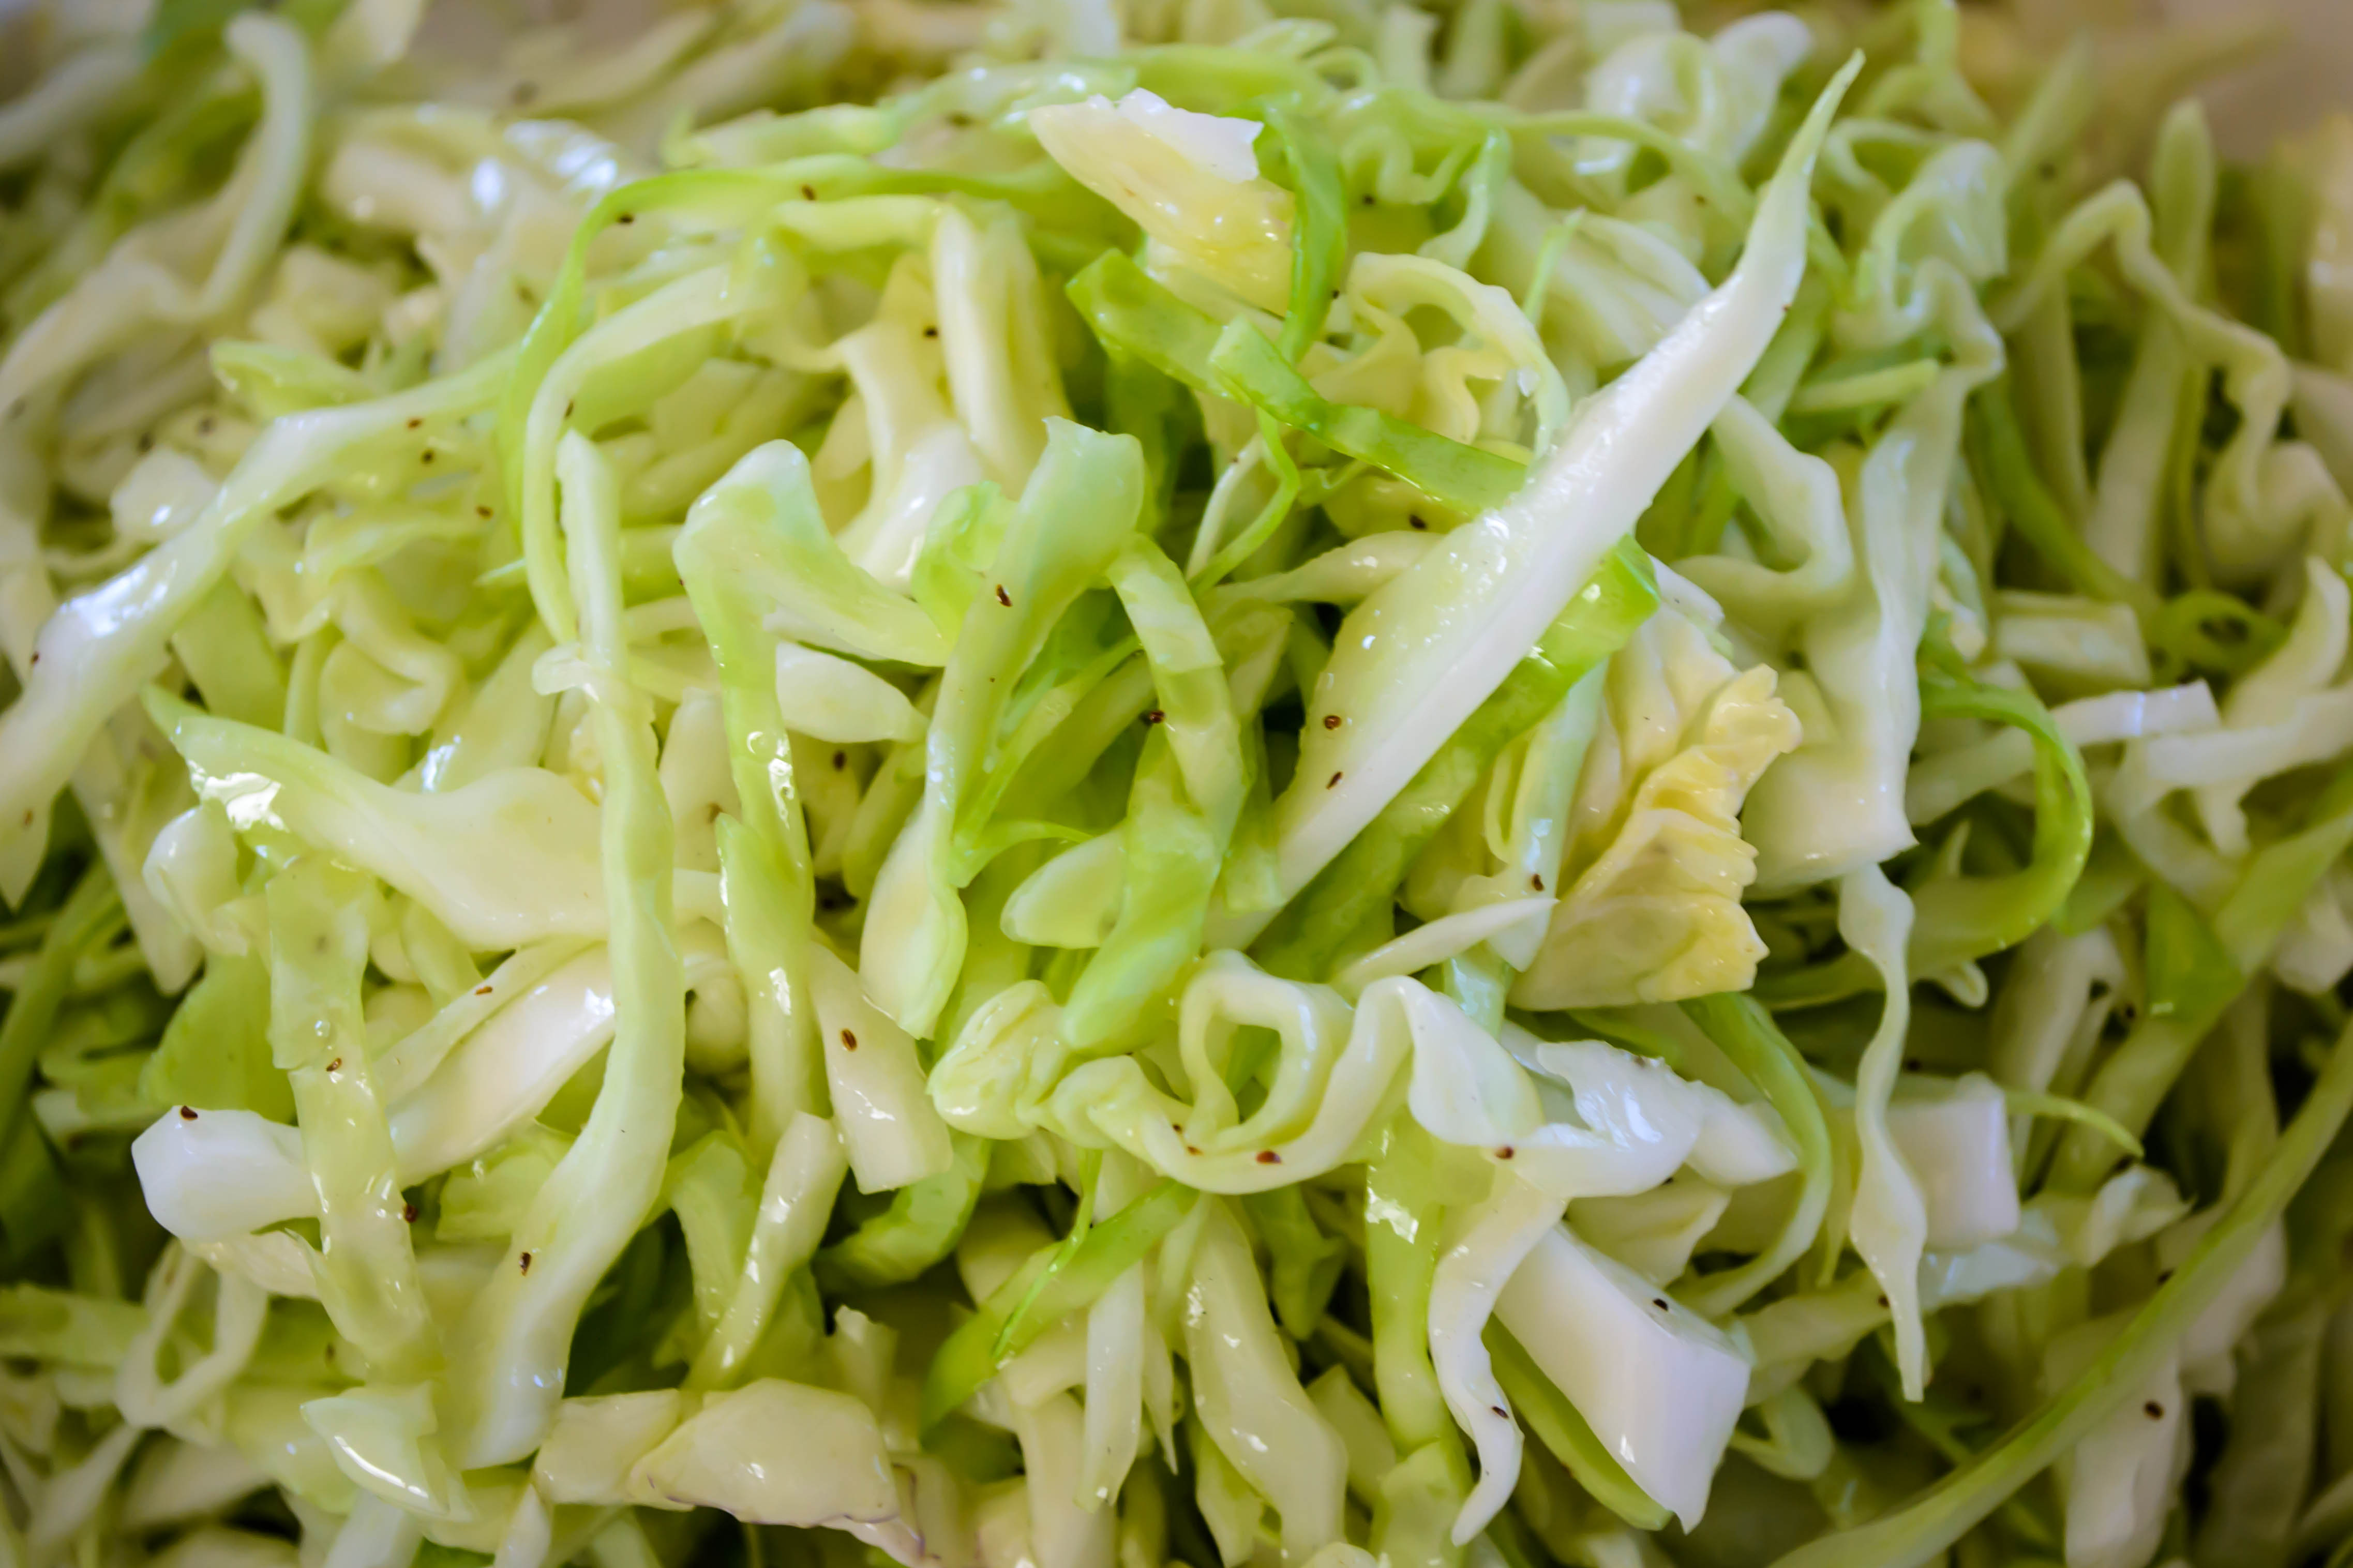 Substitutions or alternatives: for a different kind of tang, you could swap out the sort of vinegar you use. Red wine vinegar, champagne vinegar, or, for a salivary inducing sweet brightness, even rice vinegar, would also be lovely. Let your main dish steer you in the right direction. As for the celery seeds, I wouldn’t exchange them for anything. If you must, though, I suppose you could crunch a few mustard seeds or coriander and infuse those into the oil instead. Crushed coriander in the oil and a few judiciously torn cilantro leaves mixed in with the cabbage, for example, might make for a beguiling crunch atop a fish taco…

Cabbage and Celery Seed Slaw
Makes 4-6 side dish servings
⅓ cup olive oil
1 garlic clove, peeled
3 whole peppercorns, or about 10 grinds of black pepper
1 teaspoon celery seeds
½ teaspoon salt
1 teaspoon sugar
1 teaspoon white wine vinegar
1 lb. cabbage, cut into fine strands with a sharp knife (or use your food processor, or a 16 ounce bag of pre-sliced)
- In a small pot or saucepan, heat the oil over medium-low heat. While it heats, prepare the seasonings: use the flat blade of a knife to push down gently on the garlic clove and then the peppercorns, crushing them to allow more efficient release of flavor.
- Using the same flat blade of the knife, crush the celery seeds. Because they are tiny, just pushing down on them as you did with the garlic and peppercorns won’t do much. Instead, spread them out a bit, and then draw the flat of the knife across them, pushing down as you go. Repeat a few times, until at least half of the seeds are smashed almost to a powder.
- When the spices are adequately crushed, add them to the oil and turn the heat down to its lowest setting. After a sudden sizzle, you want a slow, gentle poach. The oil should just barely fizz around the edges of the garlic clove.
- Simmer on this low, low, lowest of low heat for 15 minutes, until the garlic clove is evenly browned and soft, and the oil smells incredibly aromatic. Remove from heat and let cool.
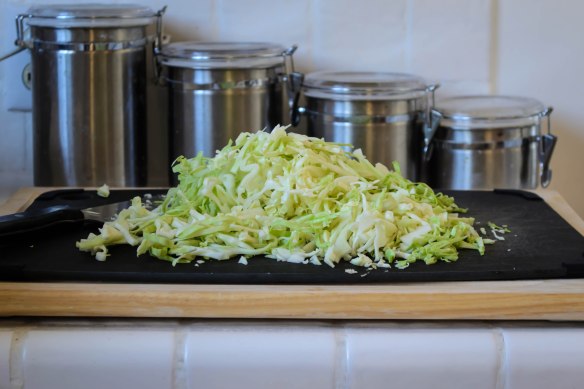
- While the oil cools, prepare the cabbage. I had a 2 pound head of cabbage. To prepare it, slice it in half straight through the core. Then, cut that half in half, again through the core, so you have two quarters. You can then remove the core easily with one diagonal slice for each quarter. To create thin strands, as in the photo above, slice across the quarters perpendicular to the previous cut, creating twin sets of cabbage strings.
- Once the oil has cooled to room temperature, strain it through a fine mesh strainer straight into your serving dish. You may not need the full ⅓ cup. I would start with 3 or 4 tablespoons and see where that takes you. Some of the celery seed dust will seep through the strainer, but that’s okay. It gives a lovely speckled look and lets you know what flavors to anticipate.
- Add the salt, sugar, and vinegar to the oil in the bowl and whisk it up a bit with a fork. Add the cabbage, toss well to coat evenly, and then taste for seasoning and moisture. I found I wanted a breath of extra salt. You may want a bit more oil, or additional vinegar, to suit your liking.
- Serve immediately, or let sit for 10-15 minutes to let the cabbage soften slightly and the flavors meld.
 This means that every week when it comes time to sit down and write a post, I scramble. At least it’s getting lighter outside every night, which means the moment when I can photograph the intricacies of one of our dinners – perhaps even on a week night – is coming. But for now it usually means making and photographing something on a Saturday, editing the photos (I do a little fiddling with white balance and noise reduction) and cobbling together a few things to say about it on Sunday, and scheduling it to go live as usual Monday morning.

 Recently, Joe posted a



 I started this project with flour-thickened sauces almost by accident. Wanting familiarity, I didn’t realize my first three sauces, the
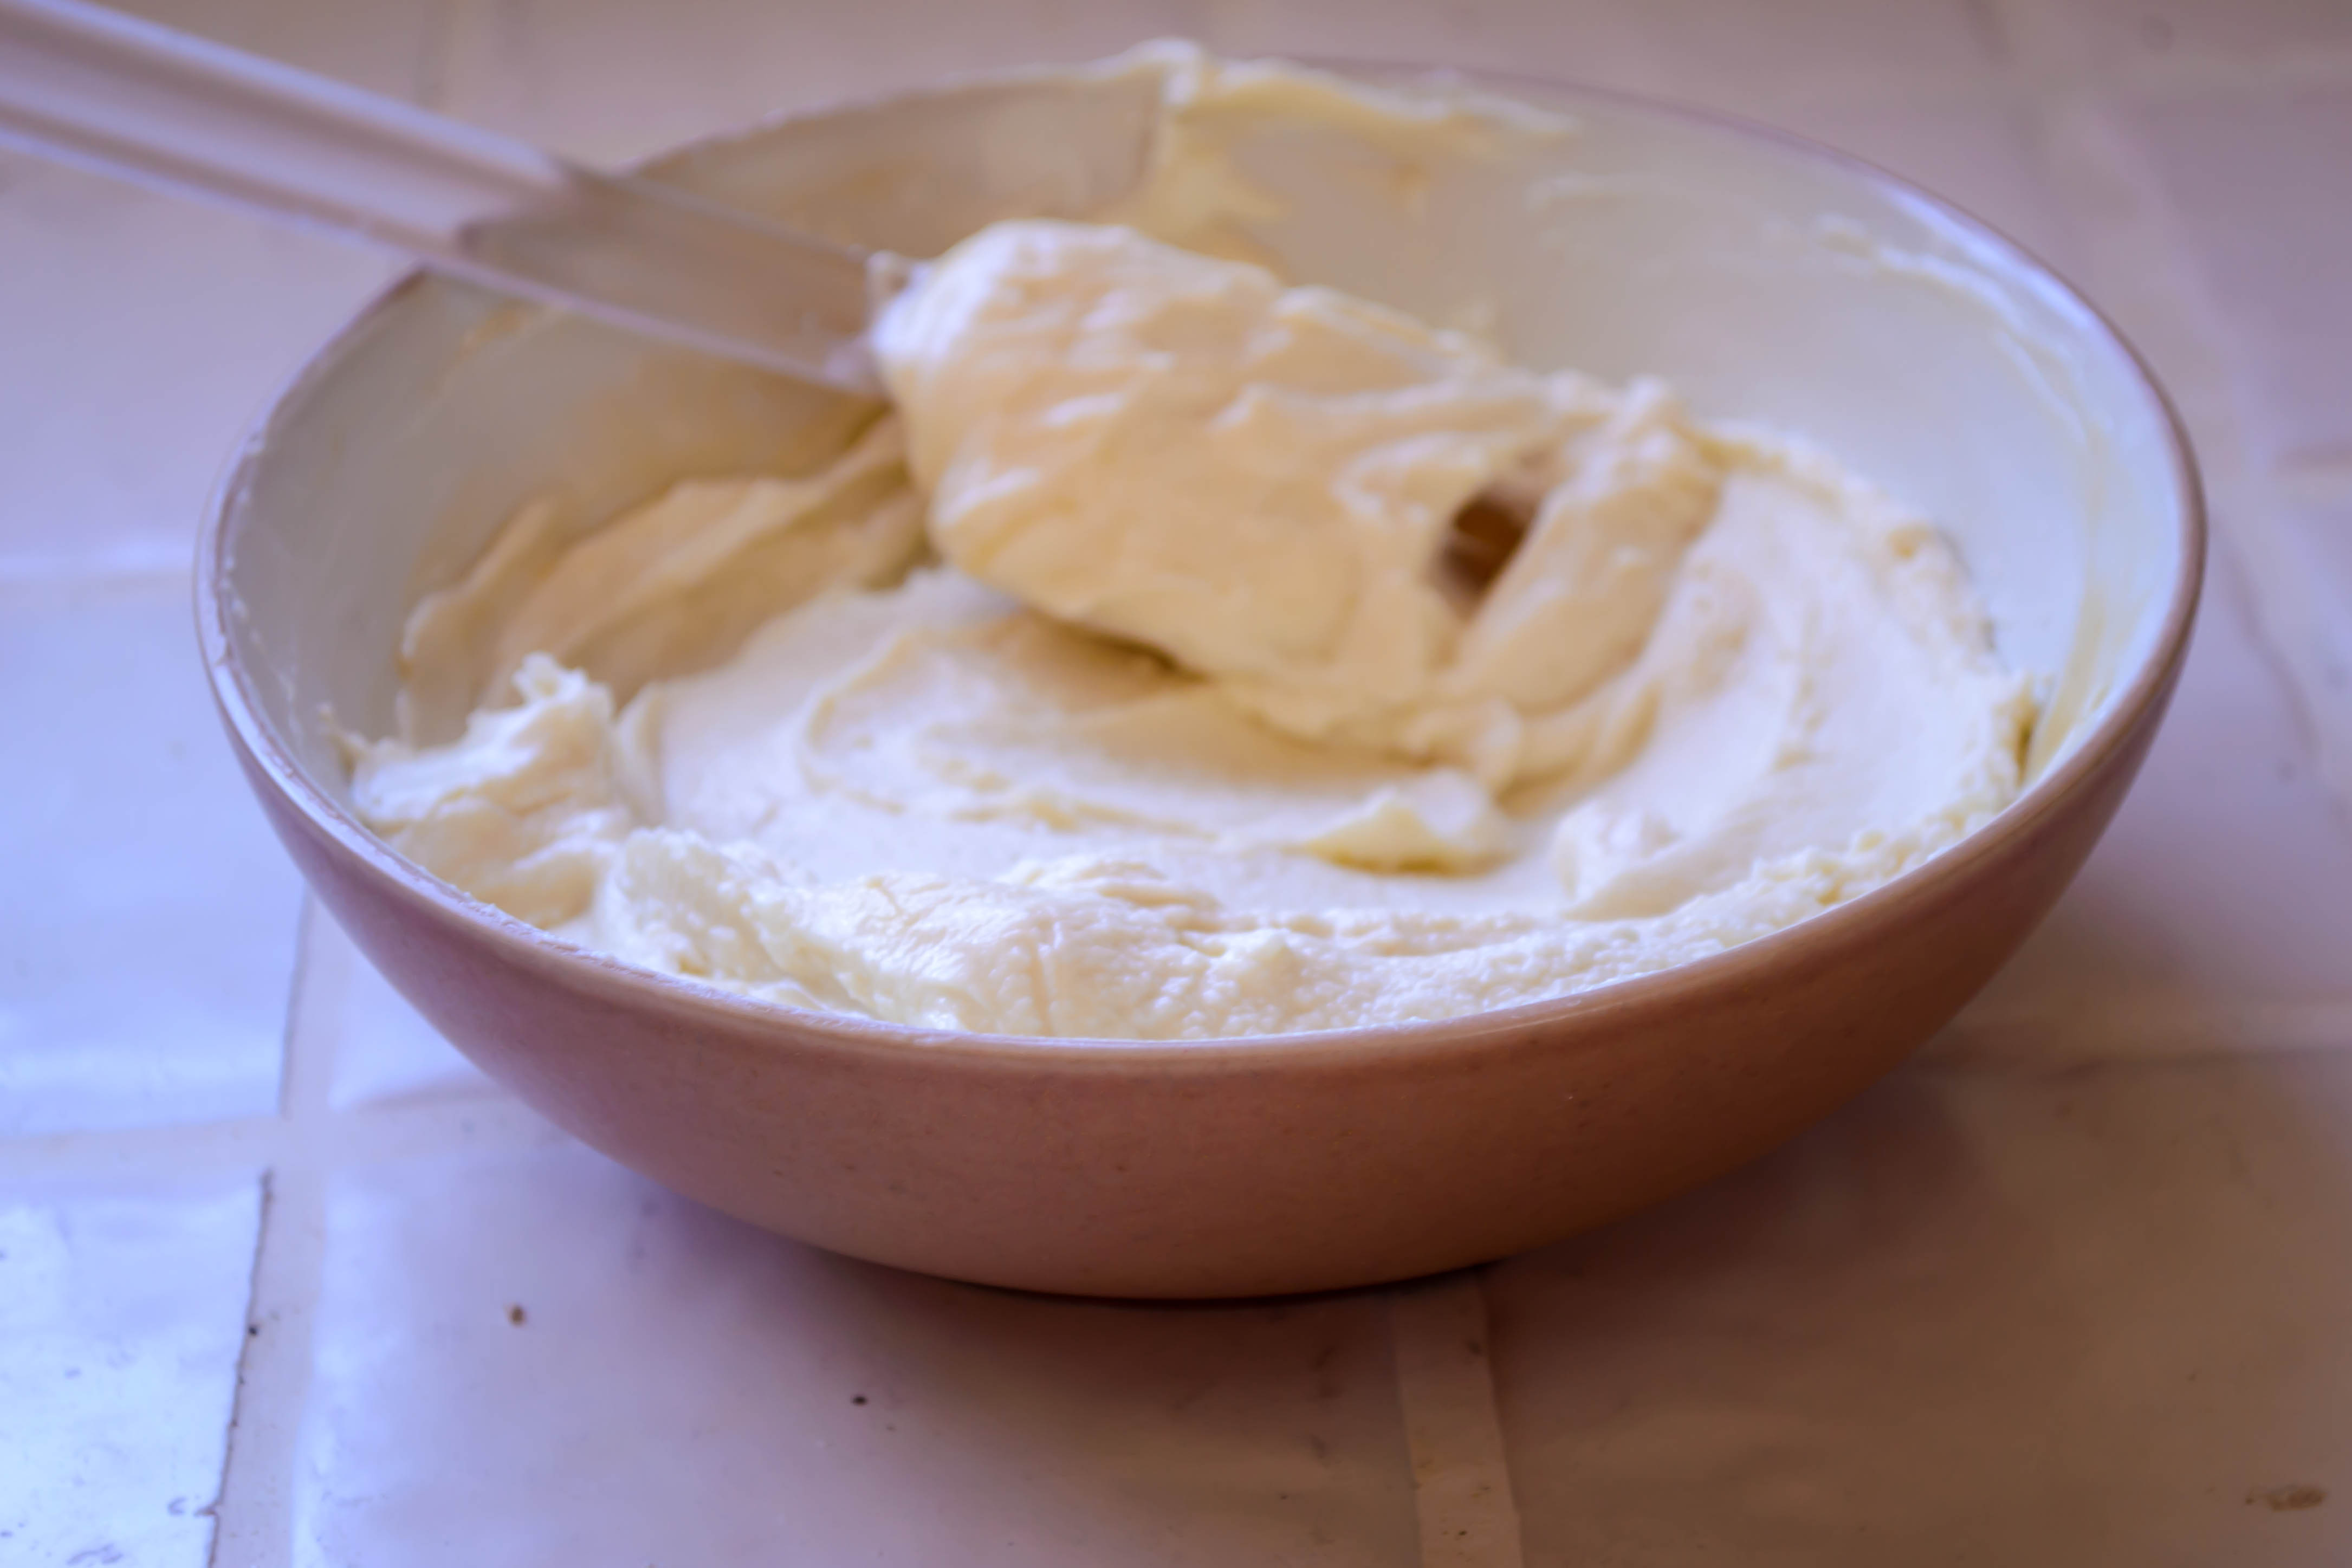
  I used an approximation of Ruhlman’s Ratio recipe for this. Almost more useful than the recipe, though, was his advice: “Do not be afraid of its breaking. Sauces can sense fear and will use it to their mischievous advantage. I have broken many sauces and am still a happy, productive member of society and an advocate of the emulsified butter sauces. If you make them, you can and will break them” (187-88).
 An emulsified sauce, of which hollandaise is just one example, means a sauce that is thickened – held together, if you will – by a tenuous relationship. Think salad dressing. Remember those bottles from childhood, packed in on the door of the fridge? Remember how, during the week in between salad courses, they would slowly blurp into separate layers – oil on vinegar on water? An emulsion is when those disparate layers, unfriendly, incompatible, are coaxed together into a homogenous mix. Vinaigrette is an emulsion – perhaps one of the simplest. Fat, acid, harmonious.


 Note: if you are making eggs benedict as your vehicle for this sauce, my recommendation is to poach the eggs first (


 "blackberry-eating in late September"