 Things get a little lax in the summer. Example: you’re not getting a sauce this month. What can I say? I’ve been on vacation! I’ll make it up to you in August, though, along with a slew of other delectable options I’ve got pending. I was determined, however, not to fall behind in my Twelve Loaves baking. In my haste to stay on schedule, I merely glanced at the beautiful apricots gleaming up from Lora’s bread this month, and assumed these gorgeous fleshly globes were the theme of July’s assignment.
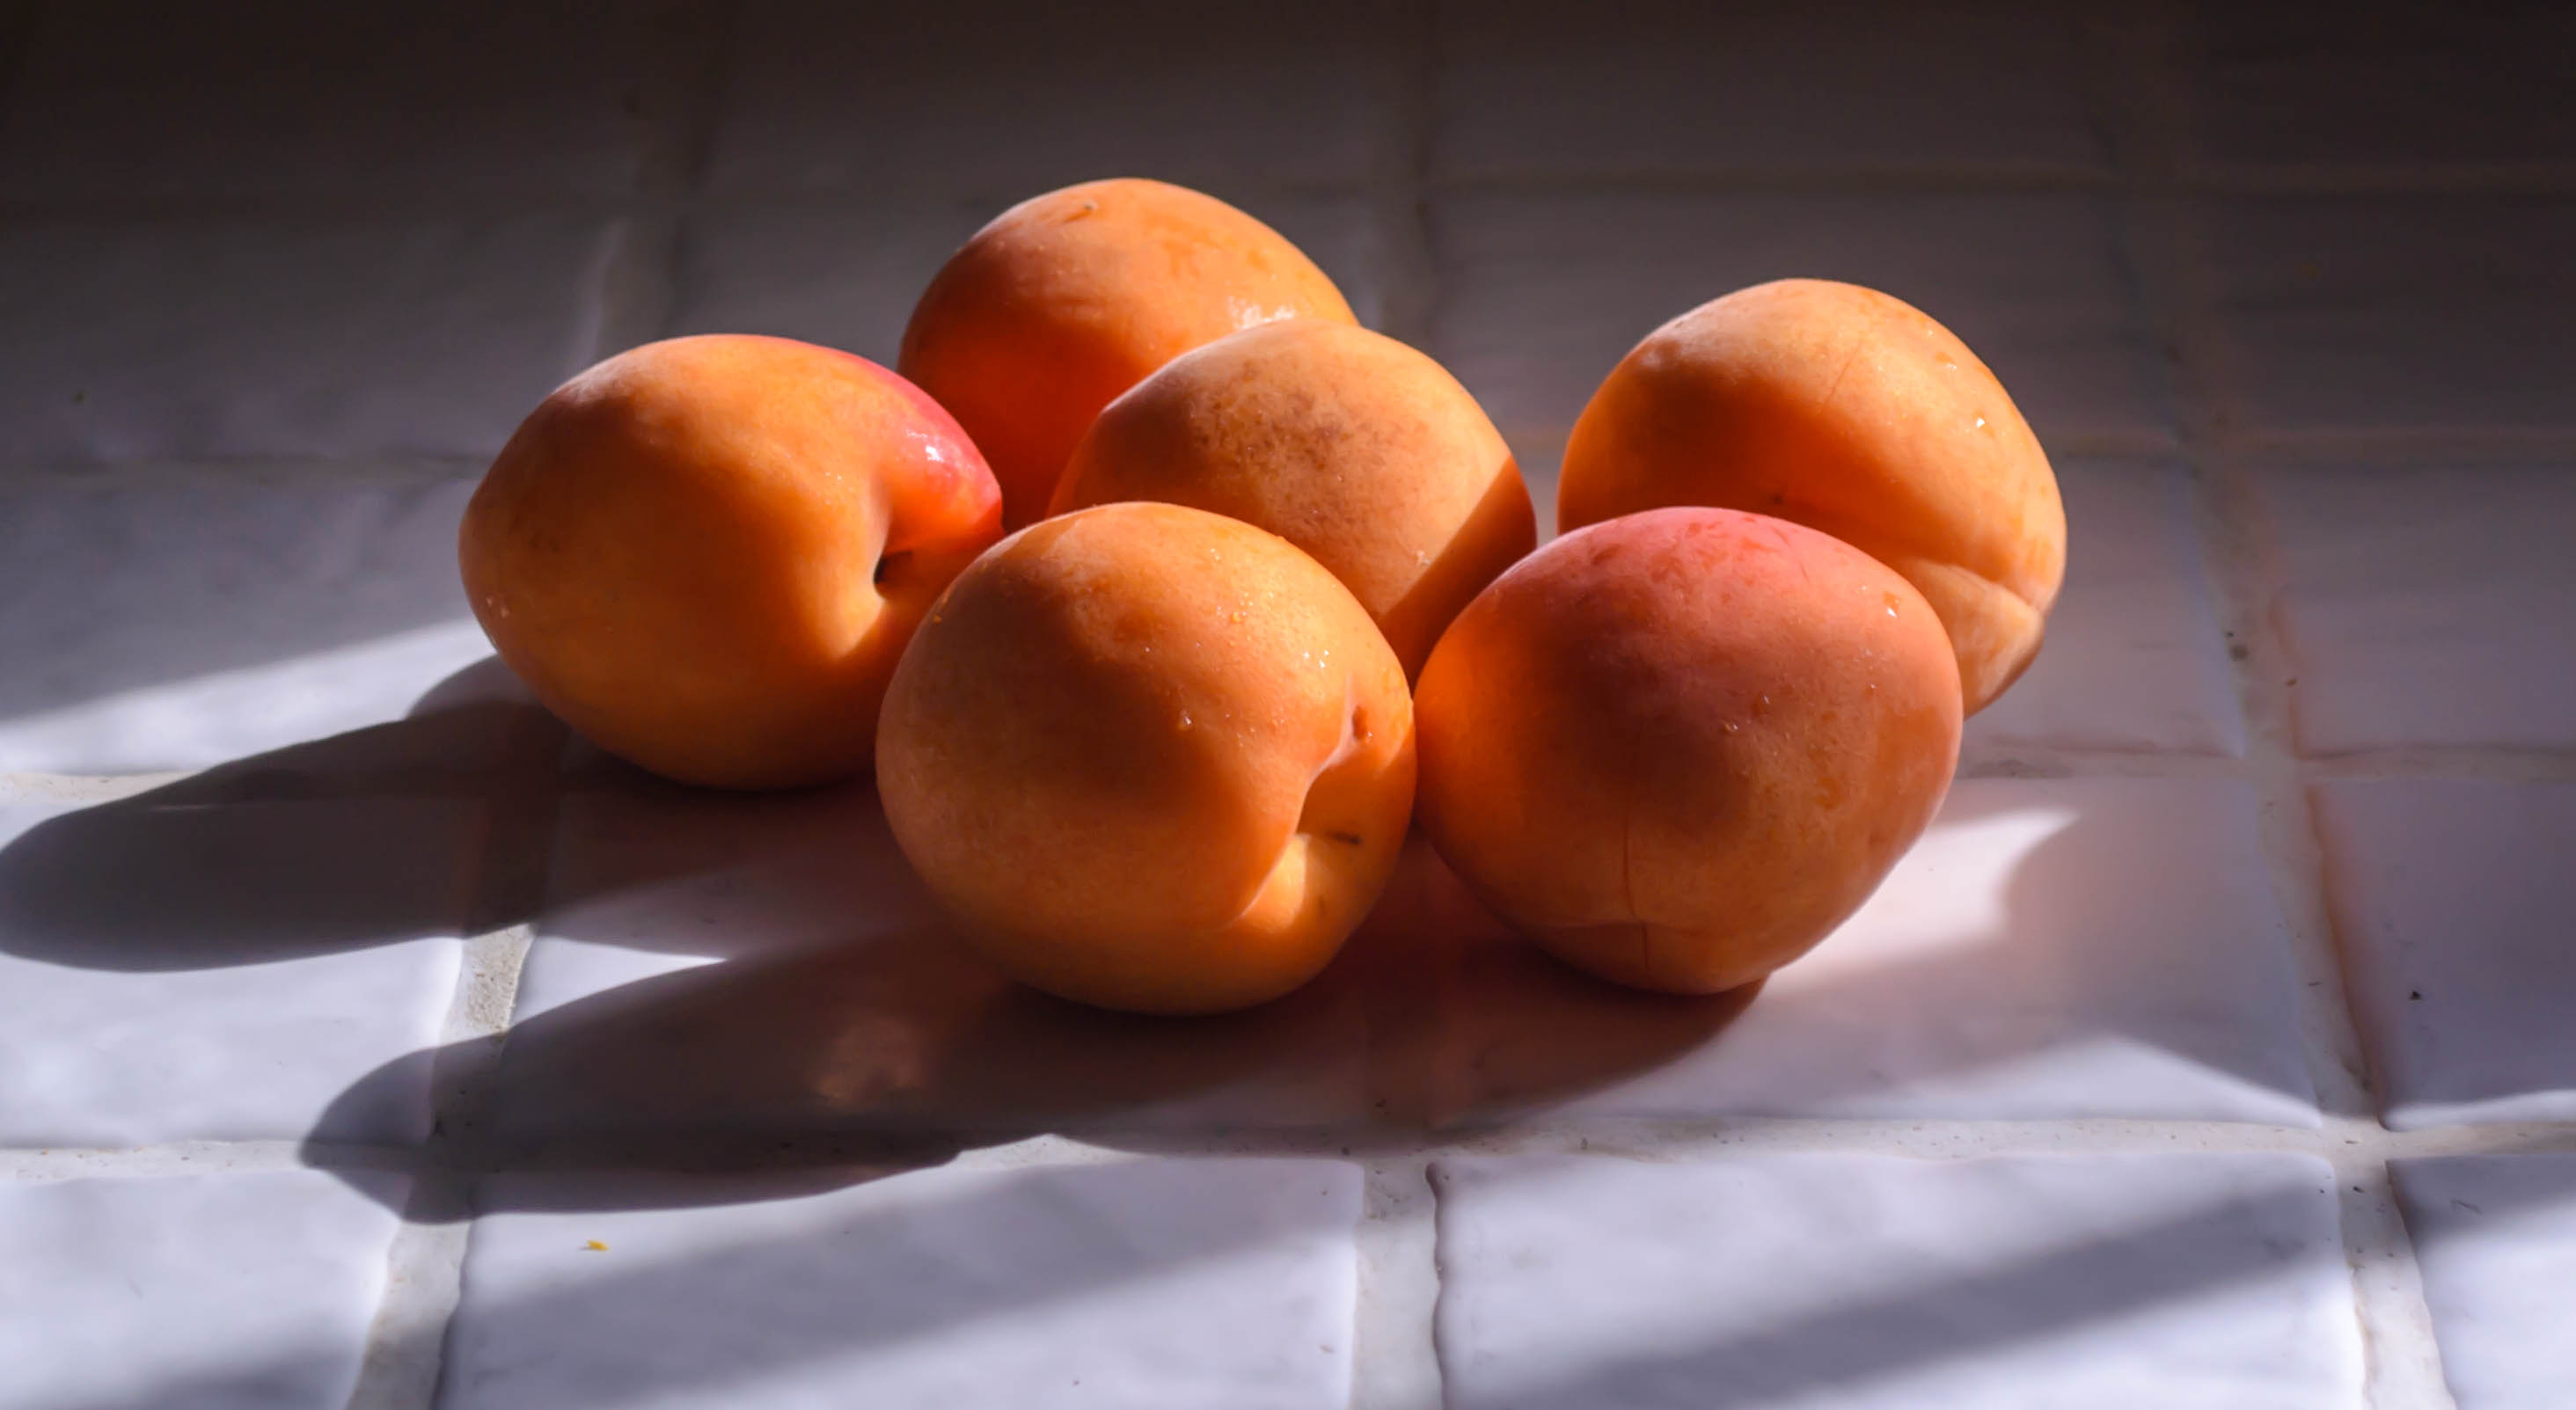

 Turns out the theme was “summer fun.” Well. I think I’m still glad I went with apricots. Their beautiful swelling cheeks and slight fuzzy skins remind me of a healthy summery glow. After a week of beaches and bronzed bodies, the peachy simplicity of apricots seemed like the right move.
 I’ve been auditioning yeasted coffeecake recipes for a while now, sometimes ending up with a stunner, sometimes with something that merits a revisit, and sometimes with something that wasn’t a yeasted coffeecake at all. But for this, I turned to the place I should have looked from the very beginning: Baking Illustrated. This hefty volume from the brains and kitchens of the Cook’s Illustrated crew does all the heavy lifting for me, and if I’m ambitious enough to read the whole story, tells me why and how each item came to be, from a food science, aesthetics, and taste-bud angle.


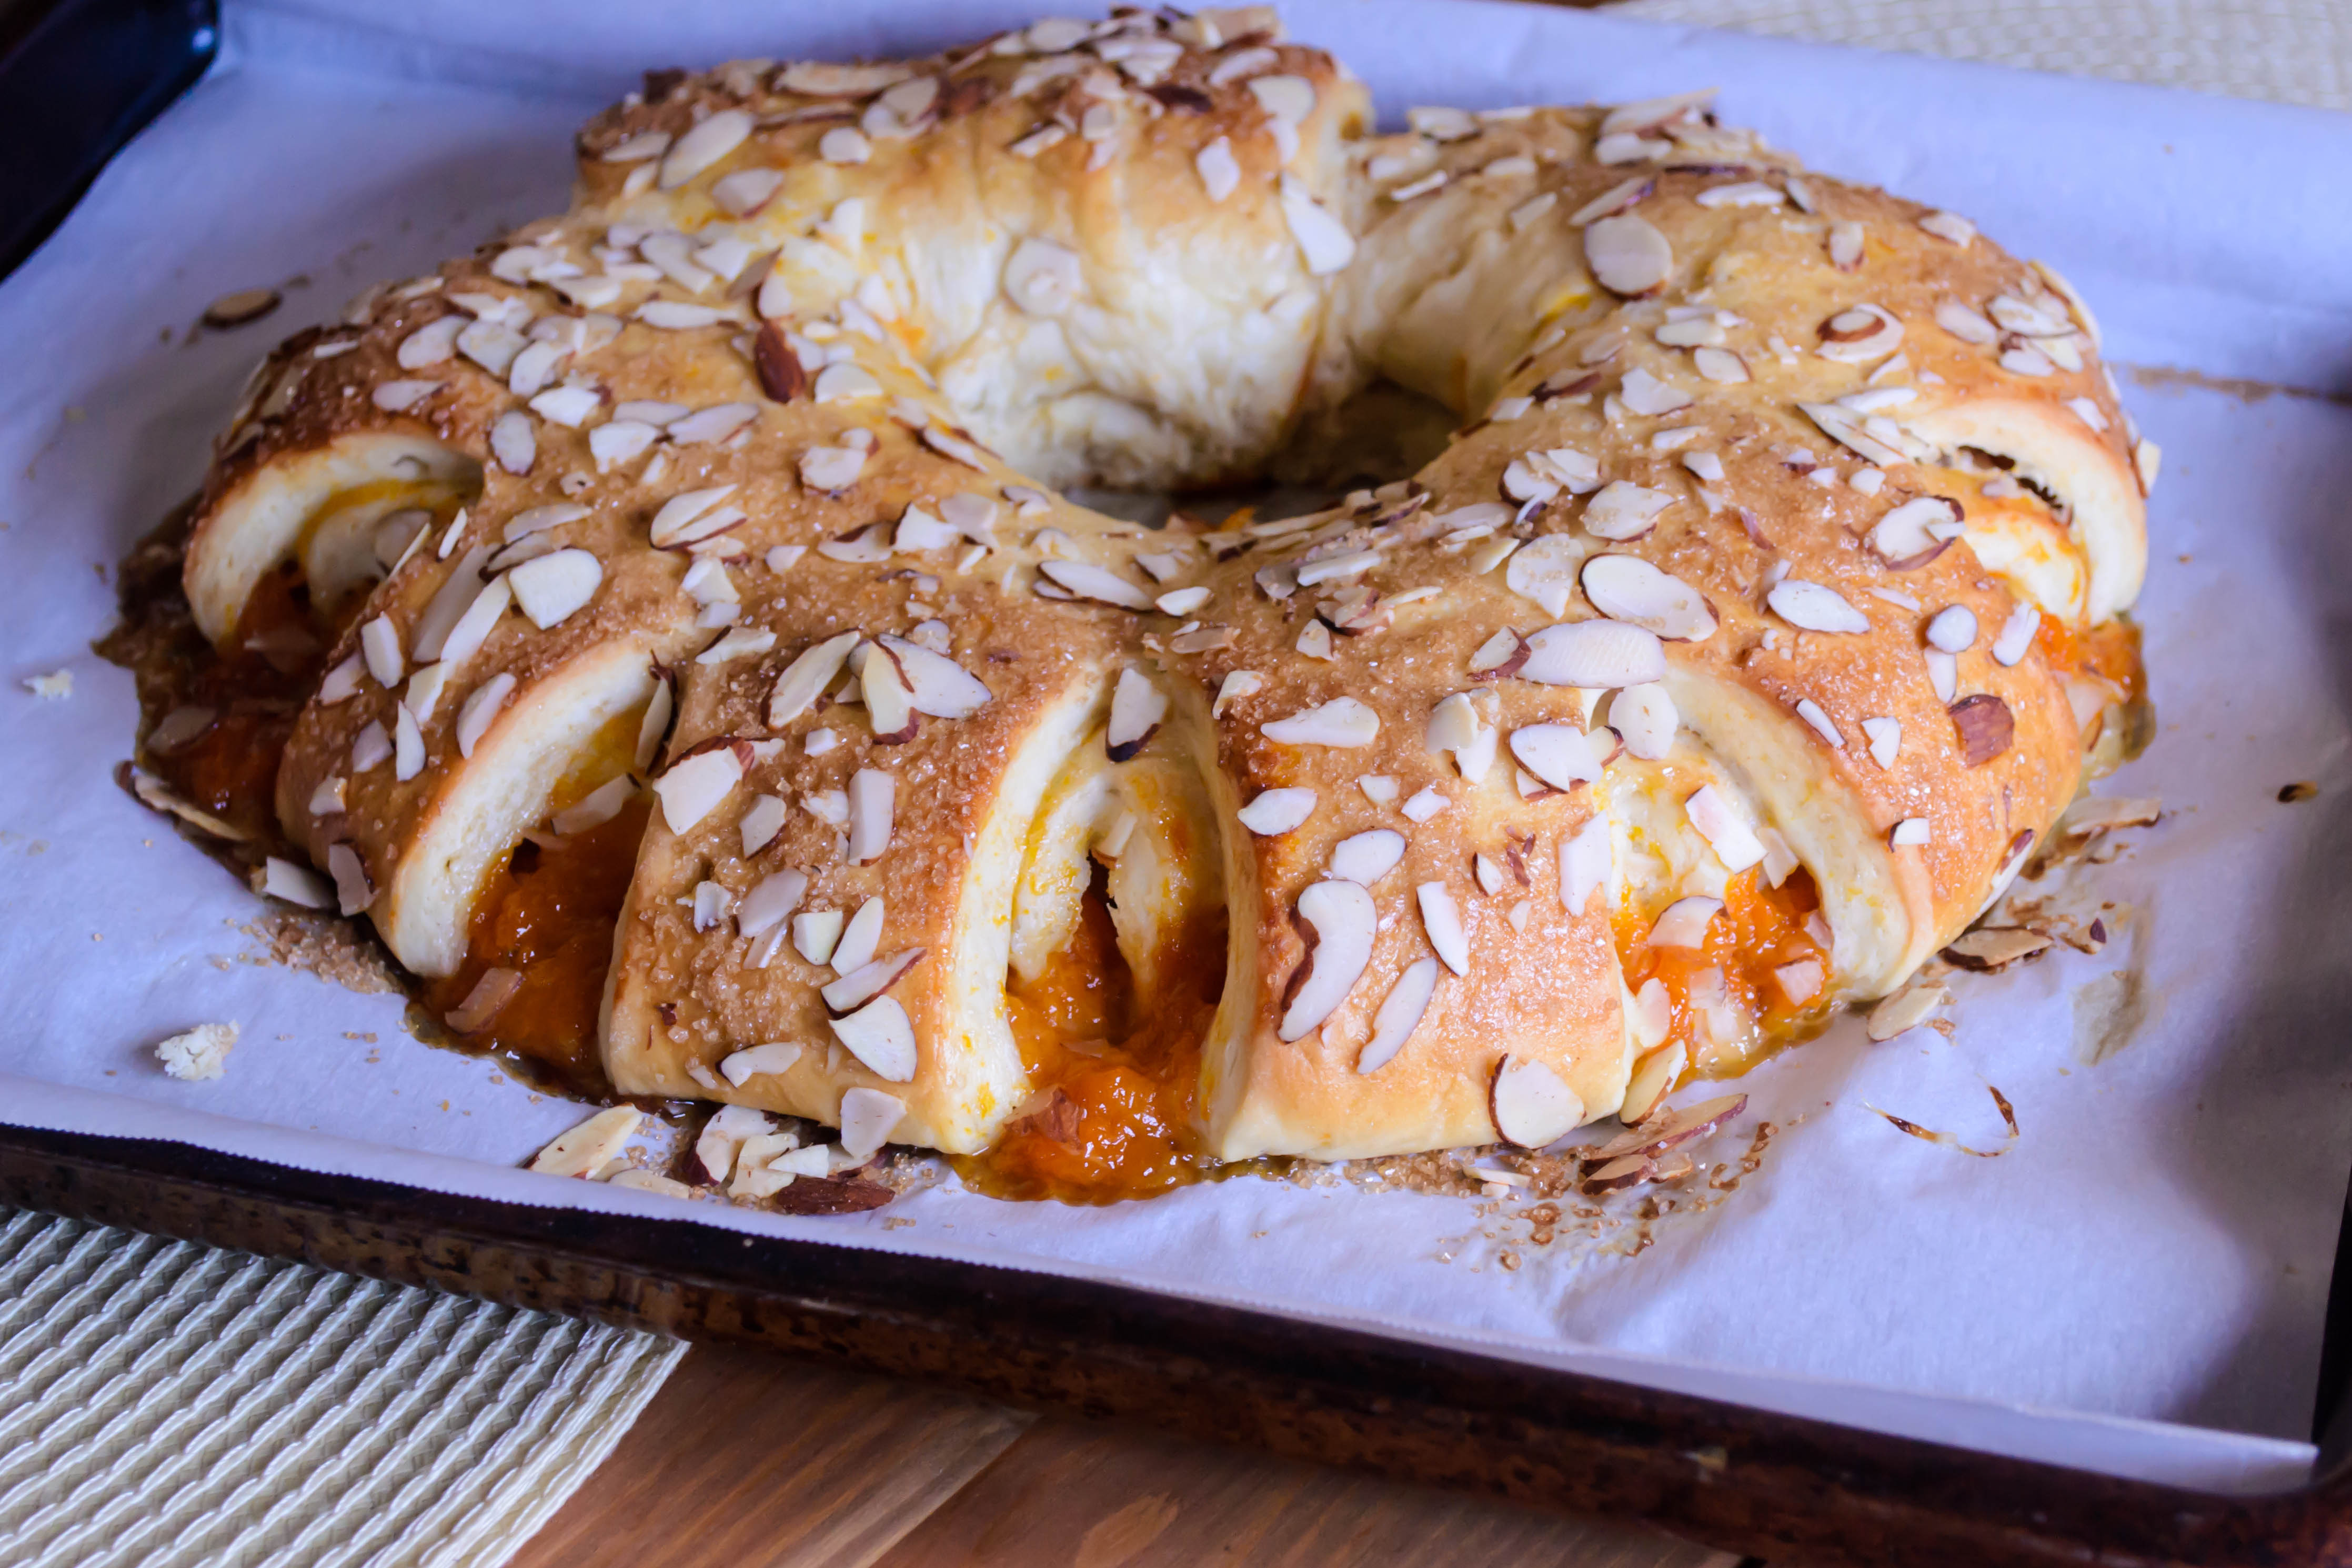
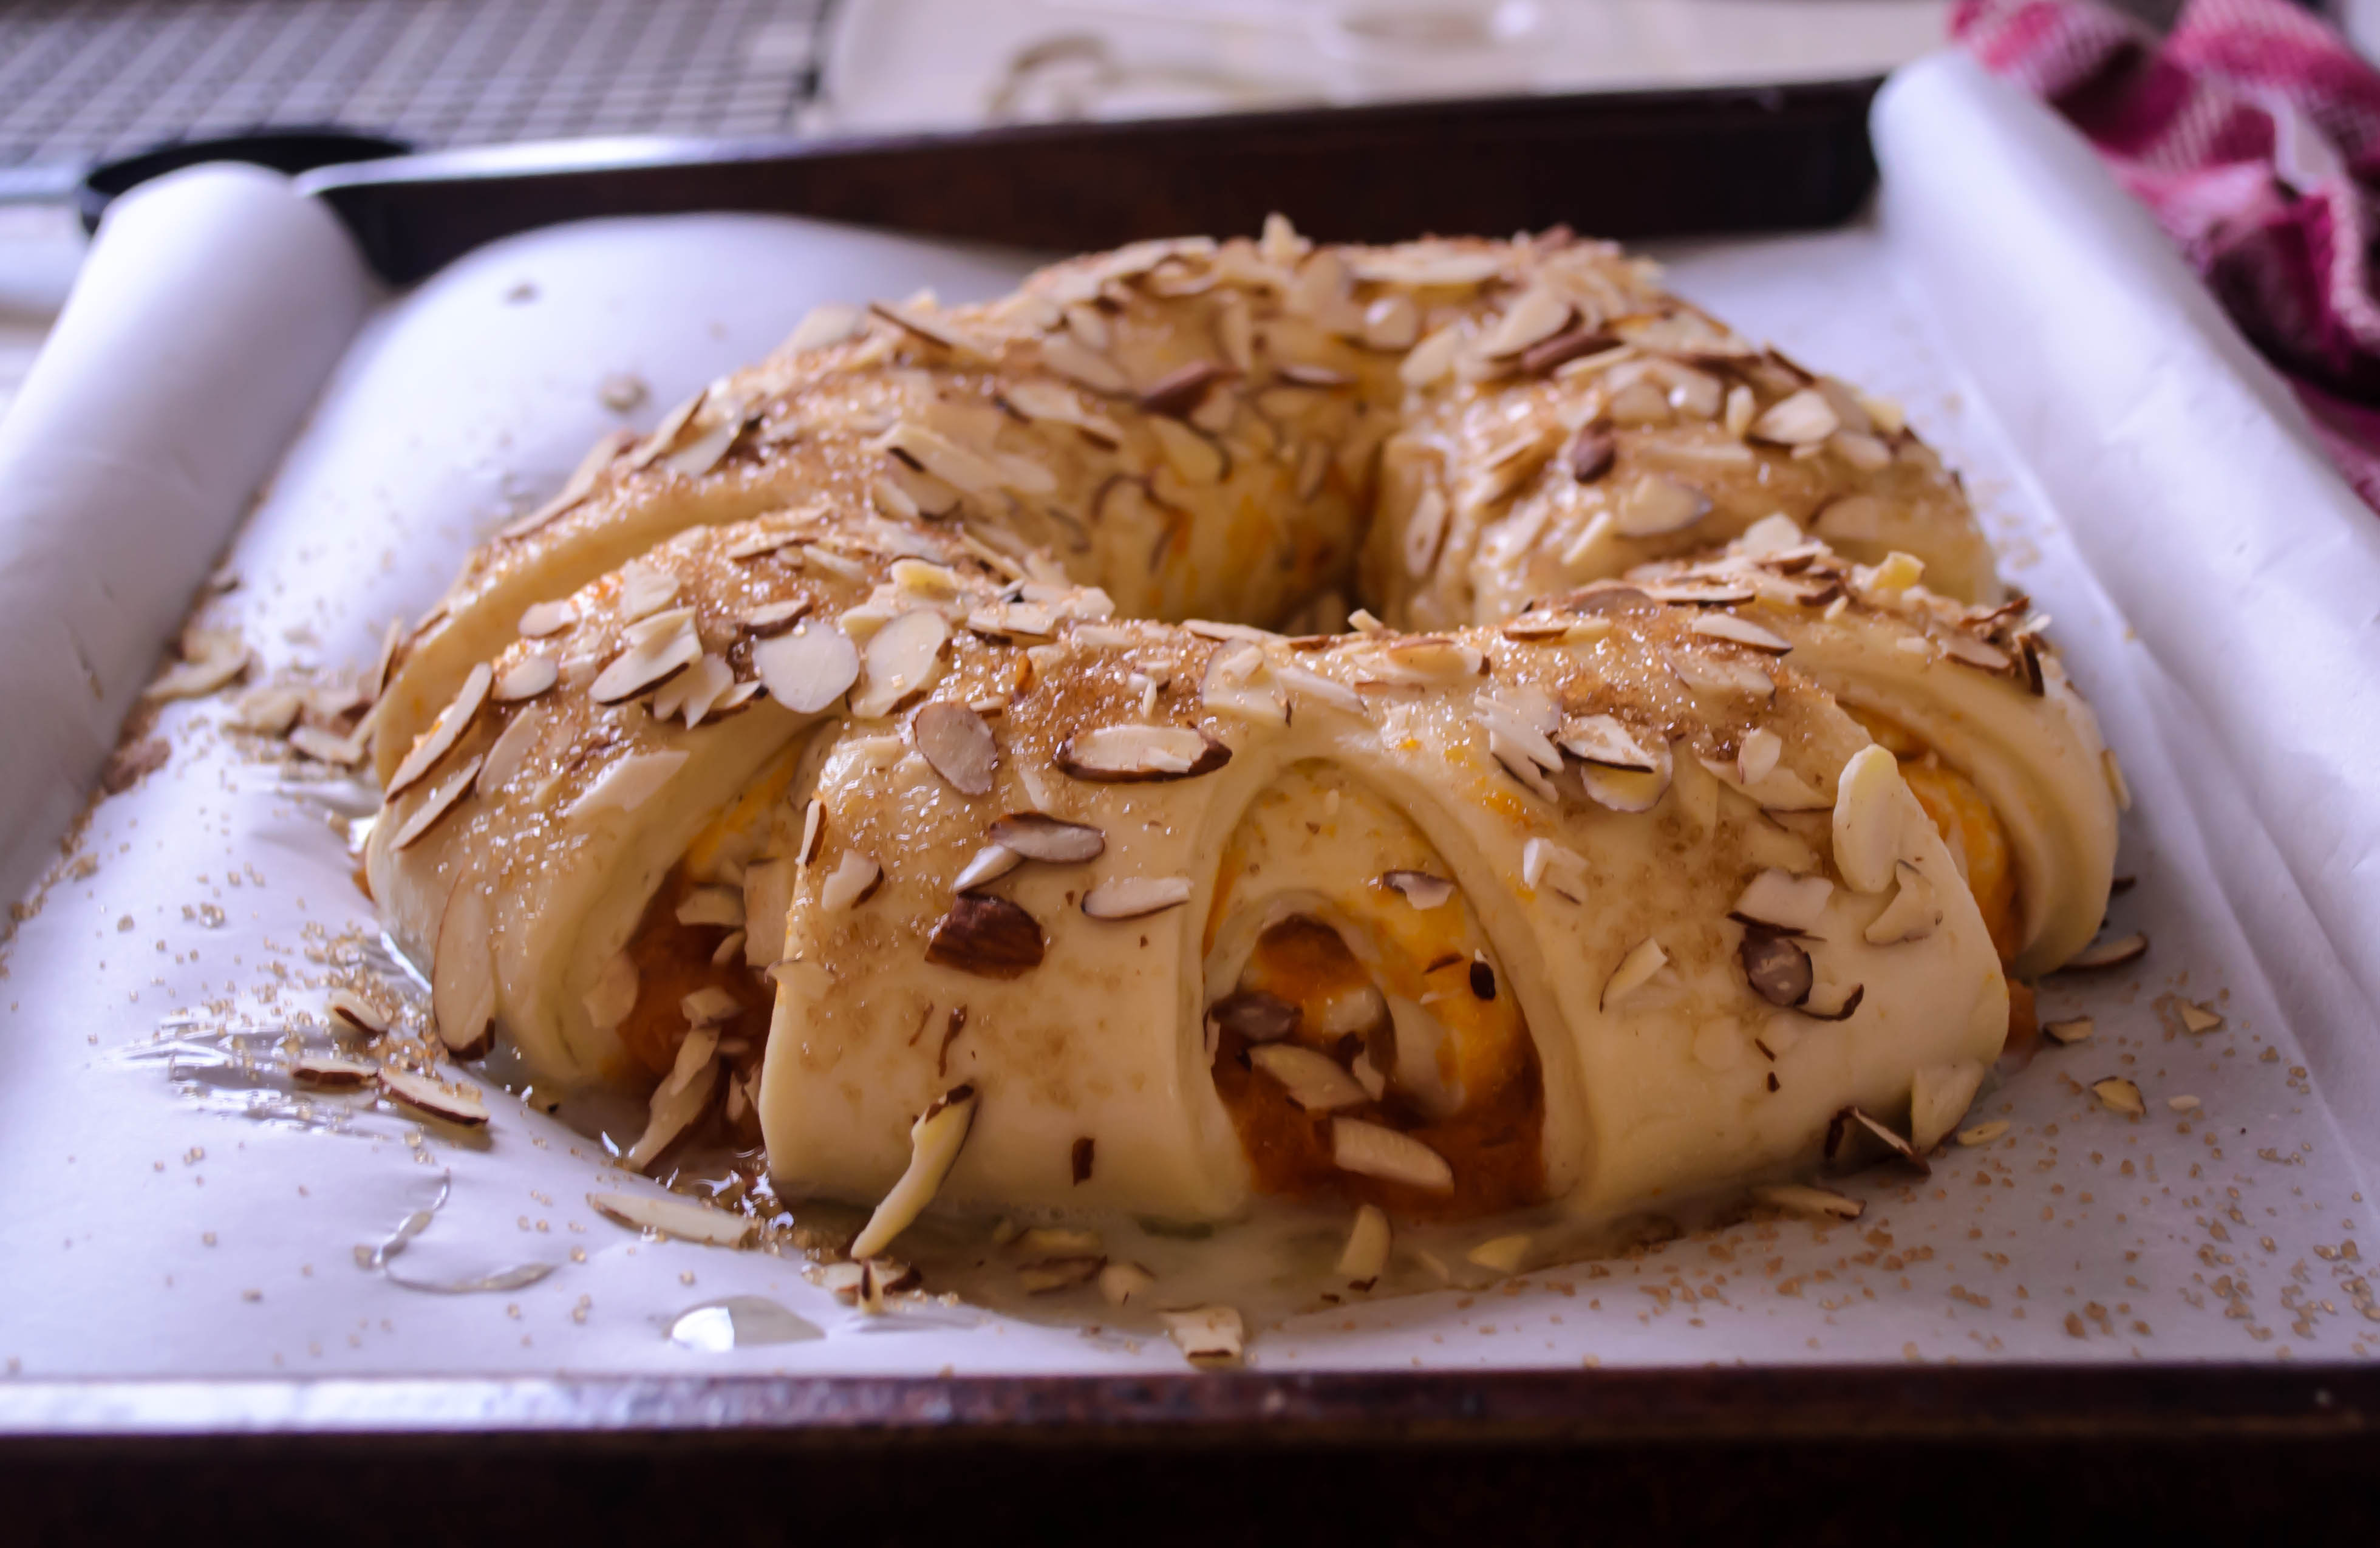
 This loaf is slightly adapted from their yeasted coffeecake recipe with an orange-apricot filling. I omitted the orange, used fresh rather than dried apricots, and opted to forgo the heavy streusel and icing in favor of a light sprinkle of almonds and a bit of coarse sugar for an appealing crunch. I took their suggested horseshoe shape and swung it all the way into a circle for a pretty golden ring oozing jammy splotches.

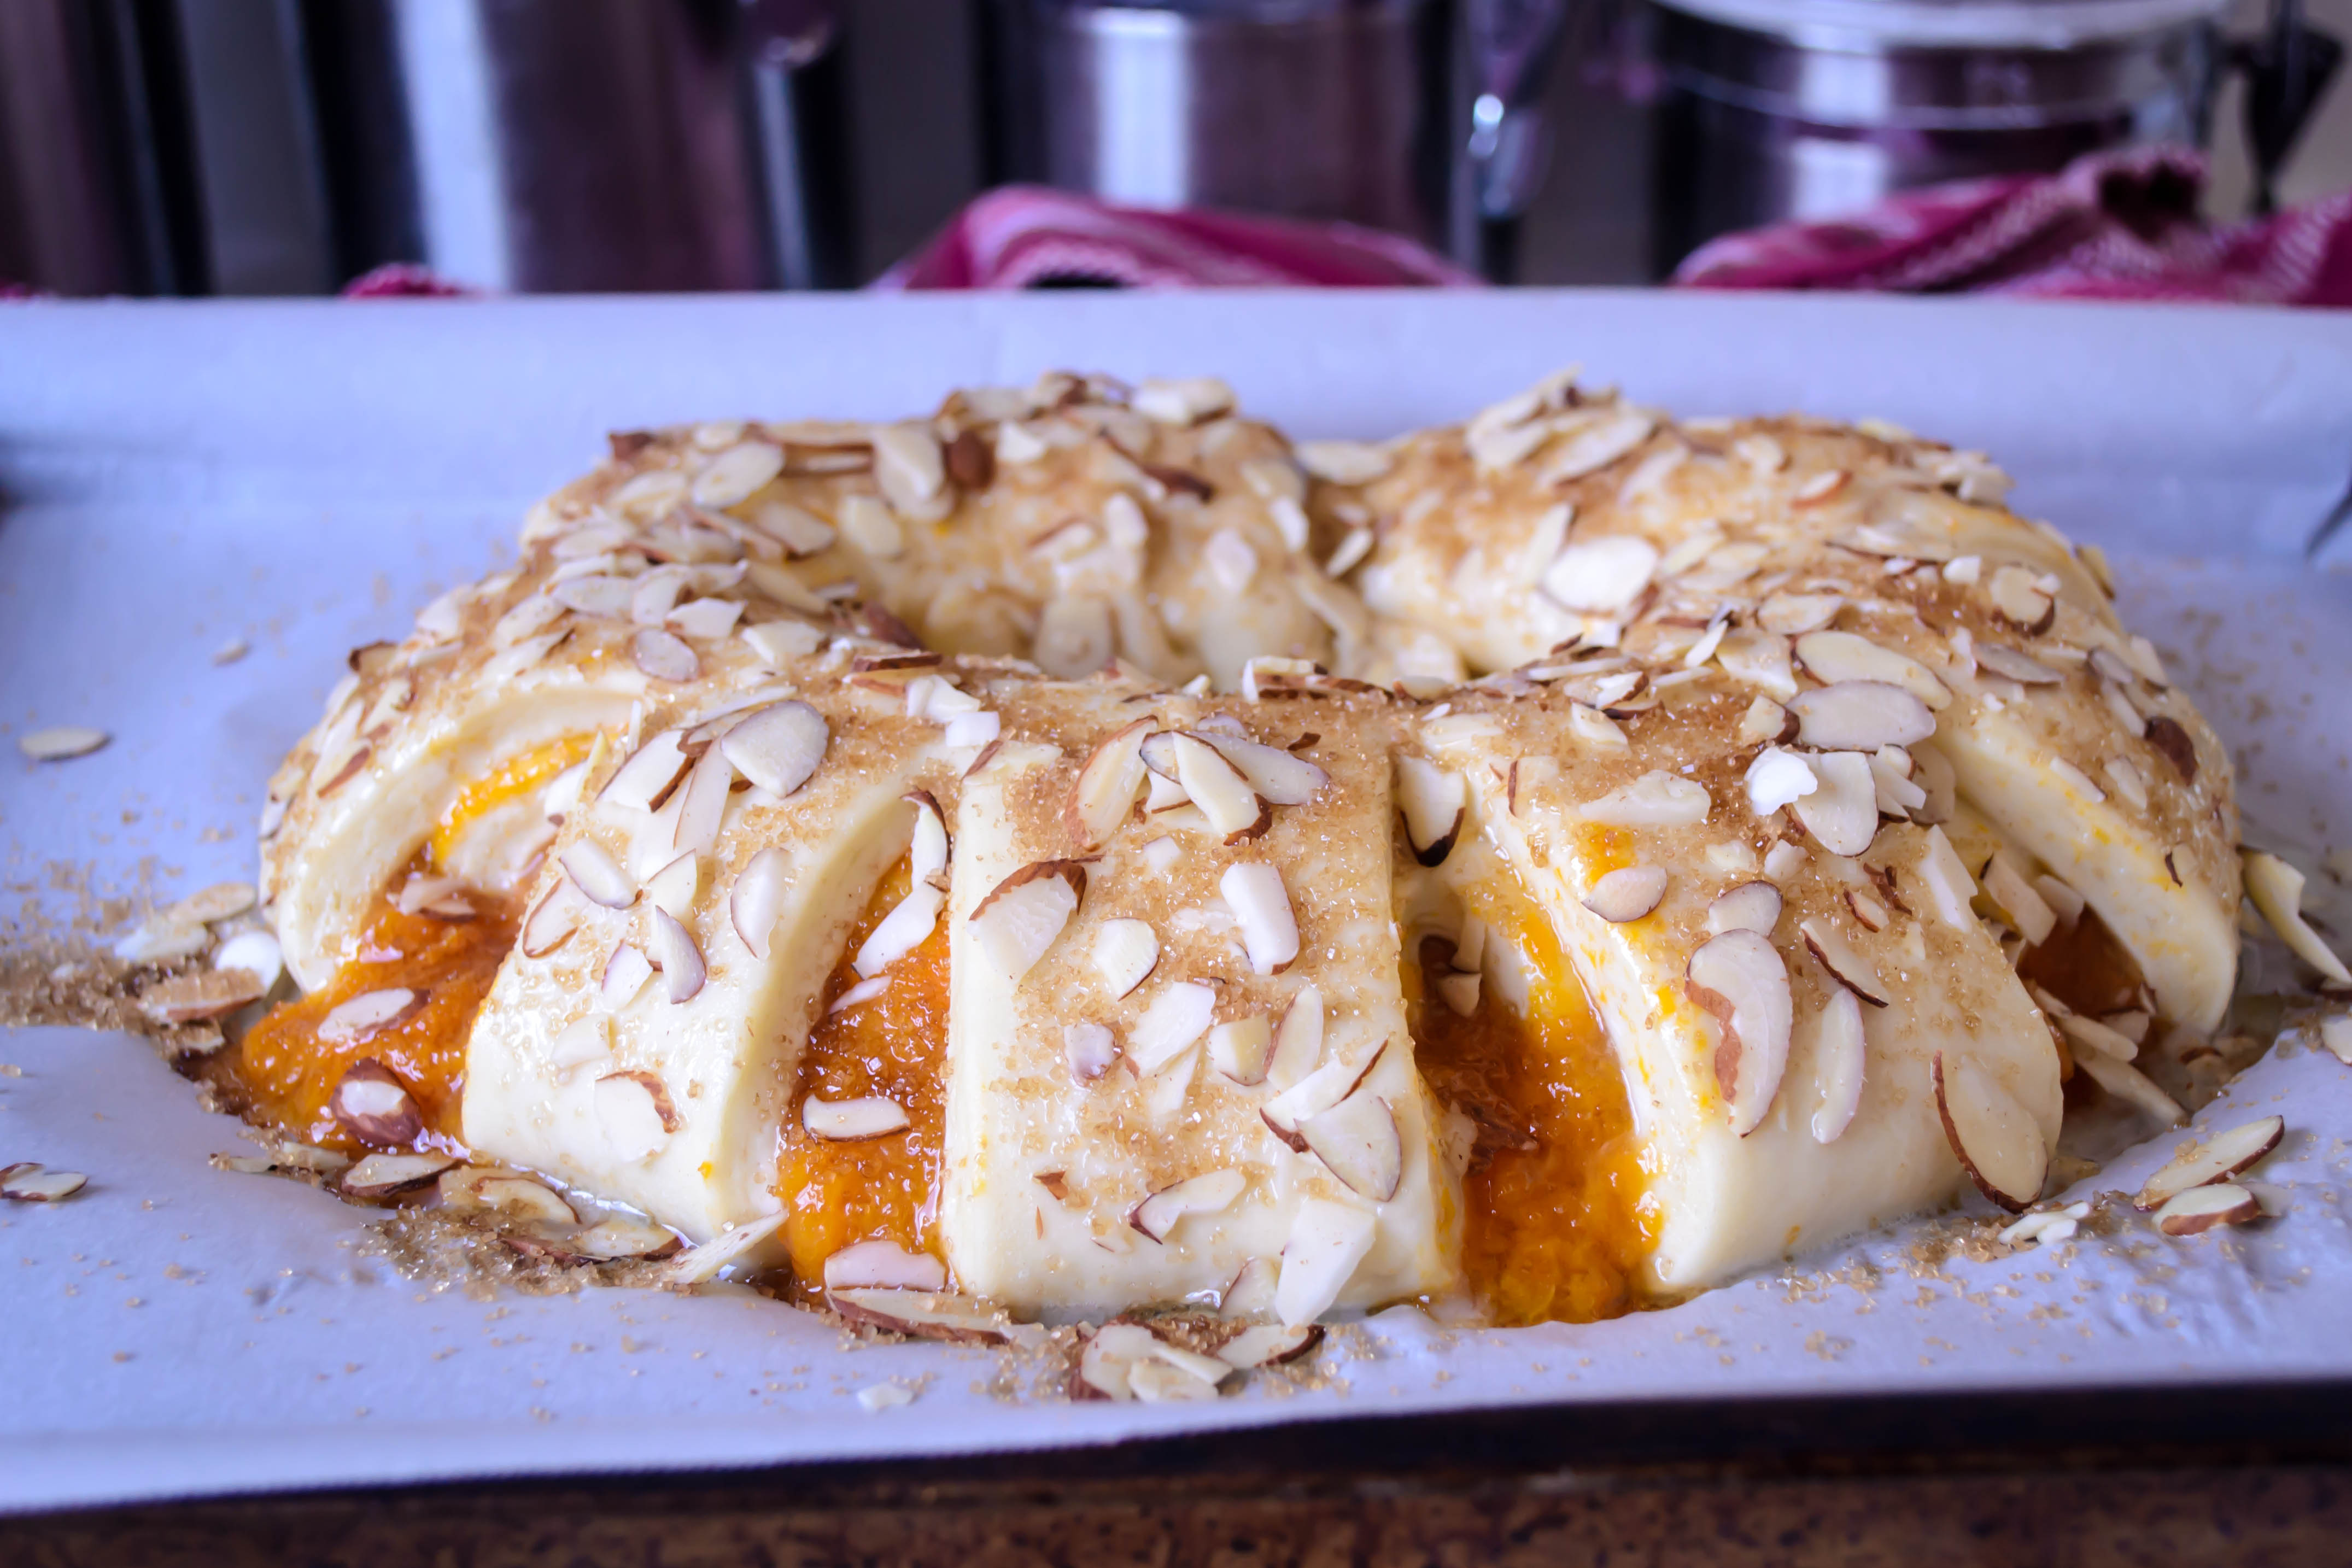
 When this came out of the oven, I – forgive me the overshare – just about drooled right on it. The apricot filling escapes in spots, bubbling and thickening like the filling at the edges of a pie. The dough itself, crusty on top with its sugared almond adornments, is burnished and soft and puffy and gorgeous. Describing the creation to his parents the evening we sampled it, N. called it a giant bearclaw, and though the loaf is a bit denser than a doughnut, the effect of the snipped dough with caramelized filling oozing through is similar.
 Are you sold? Let me tell you one more thing. This cake is essentially a two-day project. I’m serious. But don’t run off just yet! This is actually an advantage for a summer loaf. Because it has so much butter in it, and a pair of eggs to boot, it takes this dough a long time to rise. For the same reasons, it has to be chilled after its initial rise before you can really work with it at all. It’s quite similar to brioche in that way. But this is an advantage because it means you are not switching on the oven in the middle of the day, when your hair is already plastered to your forehead and you cannot bear to be in the kitchen another instant. It’s a mix in the morning, a long rise in a preheated house, and then you can shove it in the fridge and ignore it until early the following morning, when you finally bake. It means a little planning ahead, but I think it works out better in the long run.
 Besides, when you taste this, with its sugared crunch and soft elastic chew and golden sunshine-y tart-sweet apricot, I think you’ll decide it was worth it.
Happy midsummer. I wish you heaps of fun.

Apricot Coffeecake Ring
Adapted from Baking Illustrated
Makes one 8-10 inch ring
Note: this is, unless you are willing to get up very early in the morning, a two day baking process. I think it’s totally worth it, but be sure to give yourself sufficient time to execute it.
Note: because this is a very rich dough, it is also very soft and sticky. It will be difficult to work with by hand, so I’m only including directions for a stand mixer.
Dough:
2 teaspoons active dry yeast
3 tablespoons warm milk
¼ cup sugar
2 large eggs
½ teaspoon vanilla
2 – 2½ cups bread flour (you may not need the entire amount)
1 teaspoon salt
8 tablespoons (1 stick, or 4 ounces) unsalted butter, softened but not melted, cut into small chunks
Apricot filling:
1½ cups peeled, chopped apricots (for me, this was 5 apricots)
1 tablespoon brown sugar
1 tablespoon rum, optional
Topping:
1 egg white
1 teaspoon milk or cream
2-3 tablespoons raw sliced almonds
1-2 tablespoons coarse sugar (I used turbinado)
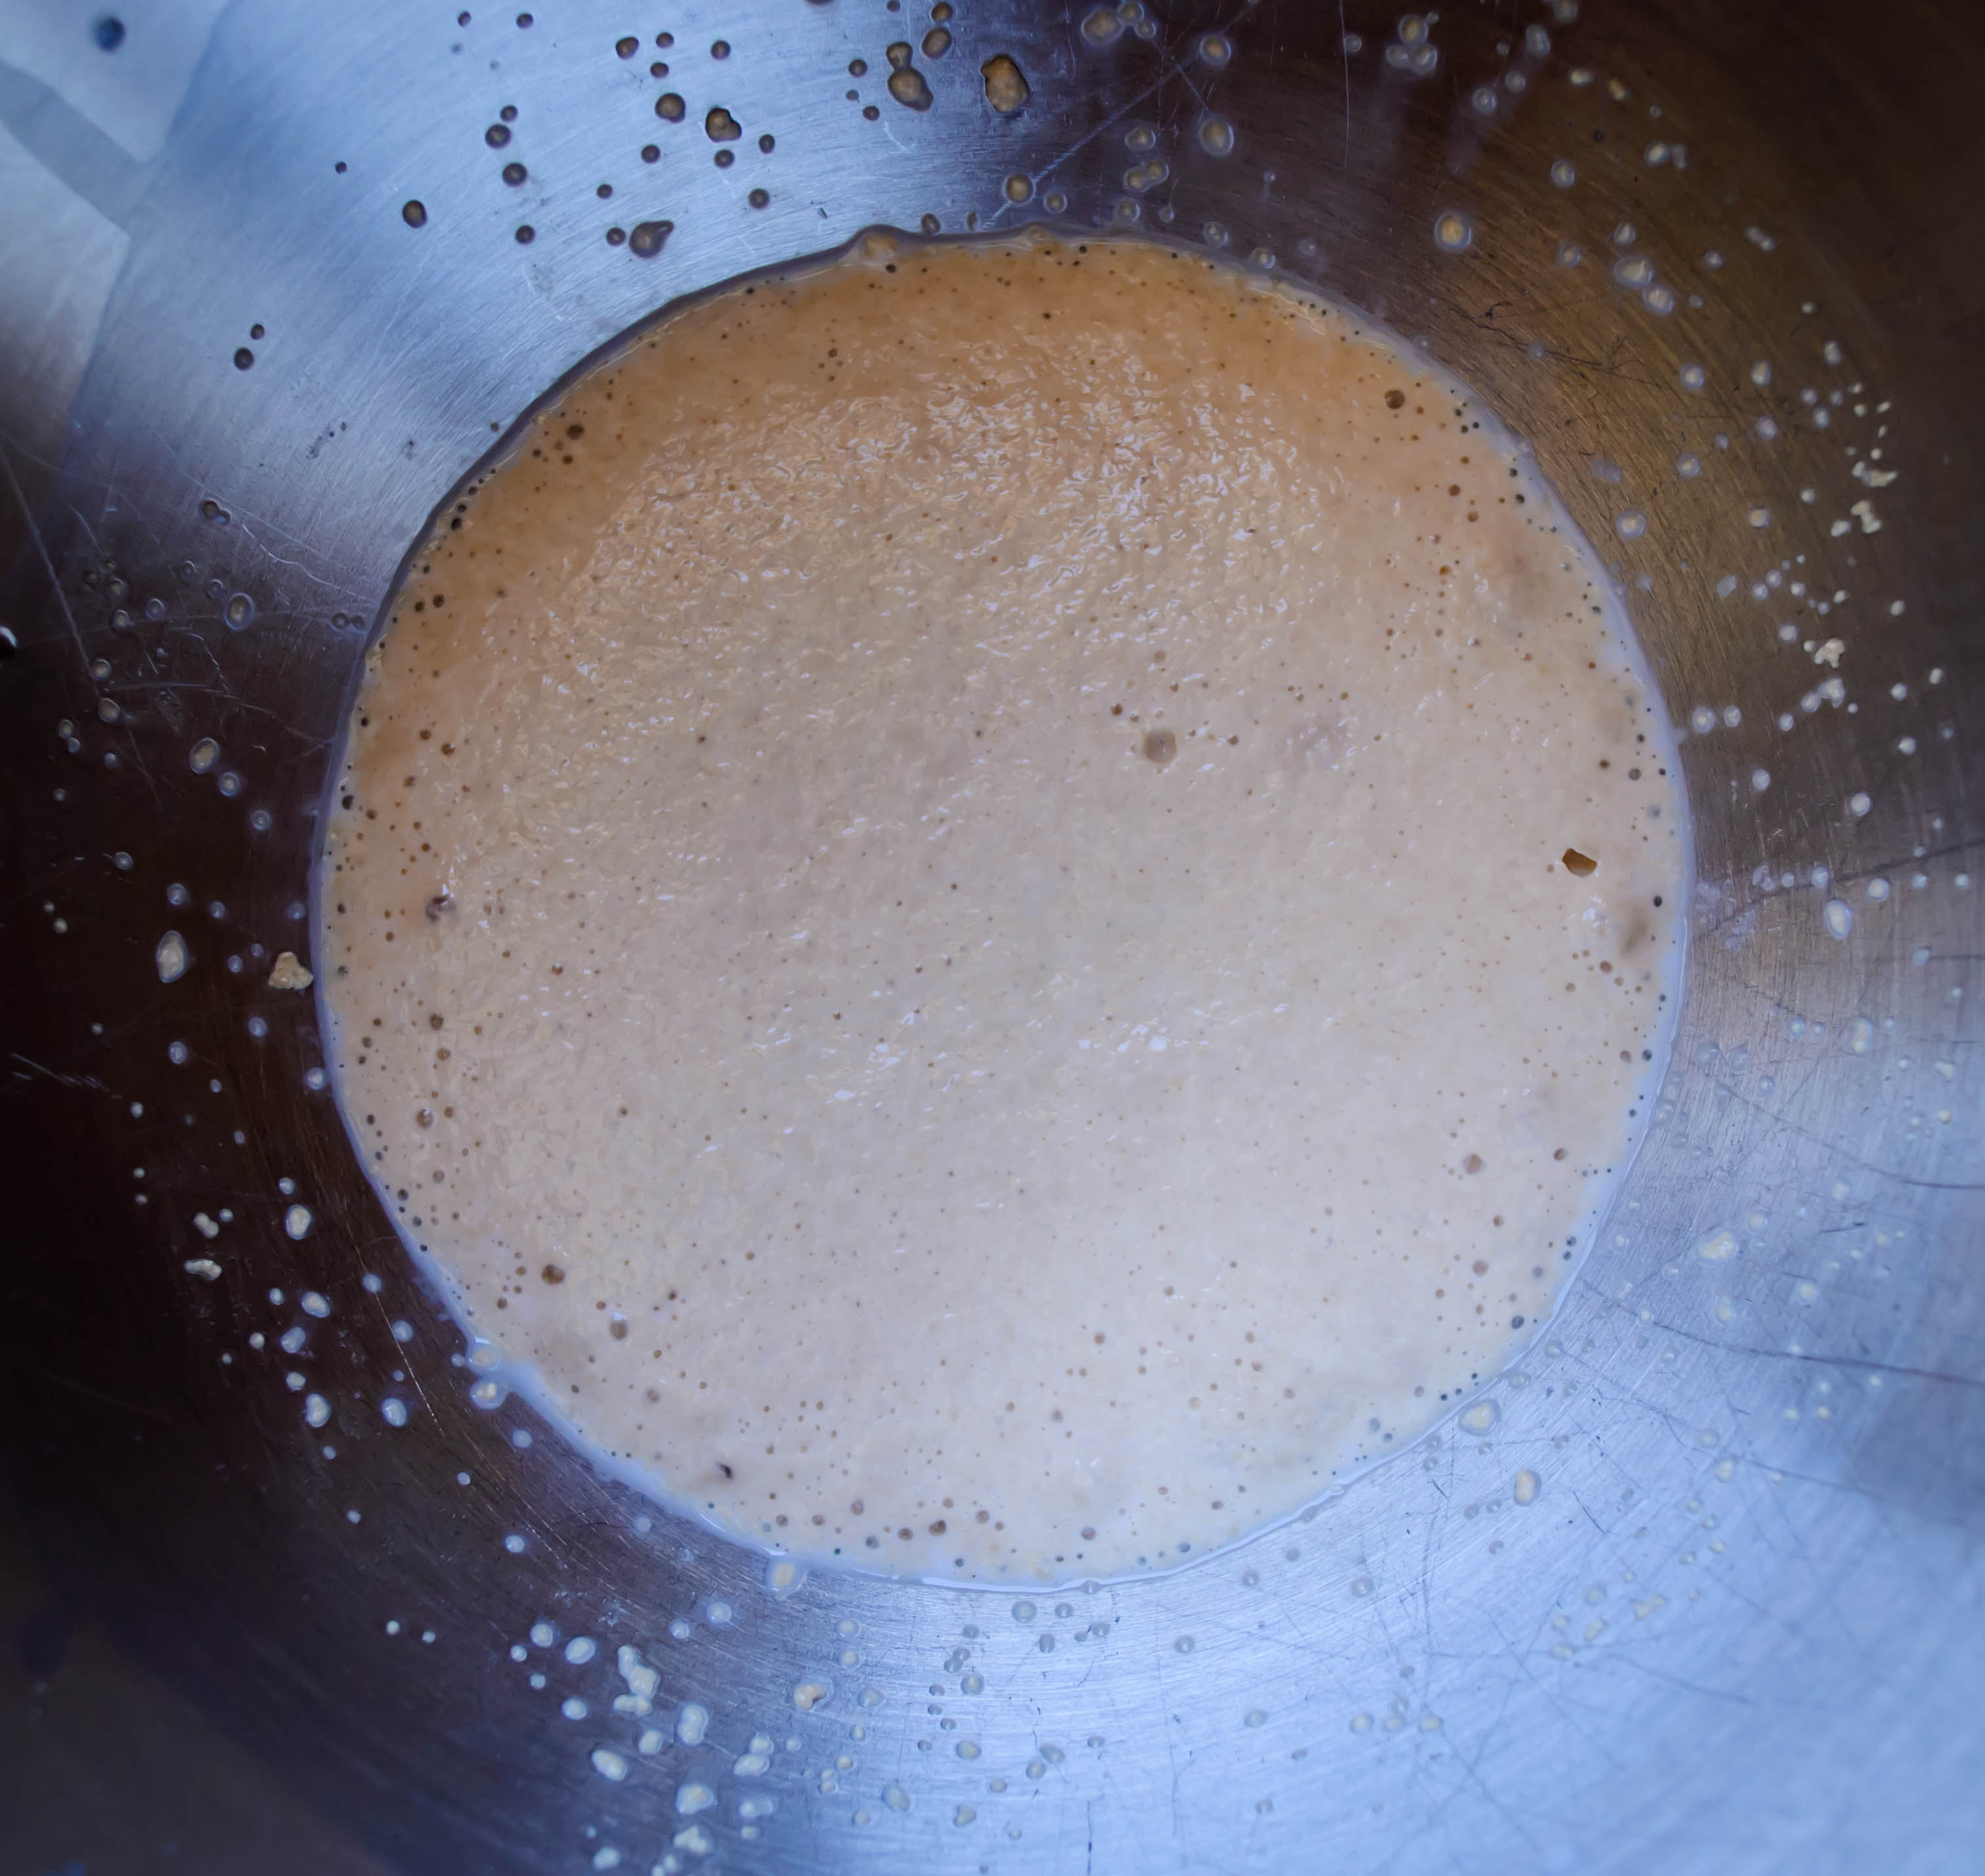
- Sprinkle the yeast and a pinch of the sugar over the warm milk in the bowl of your stand mixer, stir to dissolve a bit, and let sit for 5-10 minutes until the yeast is bubbly.
- Add the remaining sugar, the eggs, and the vanilla, and mix on low speed with the paddle attachment until combined.
- Now, add the salt and 1 ¼ cups of the flour, and again mix on low speed until the flour is incorporated.
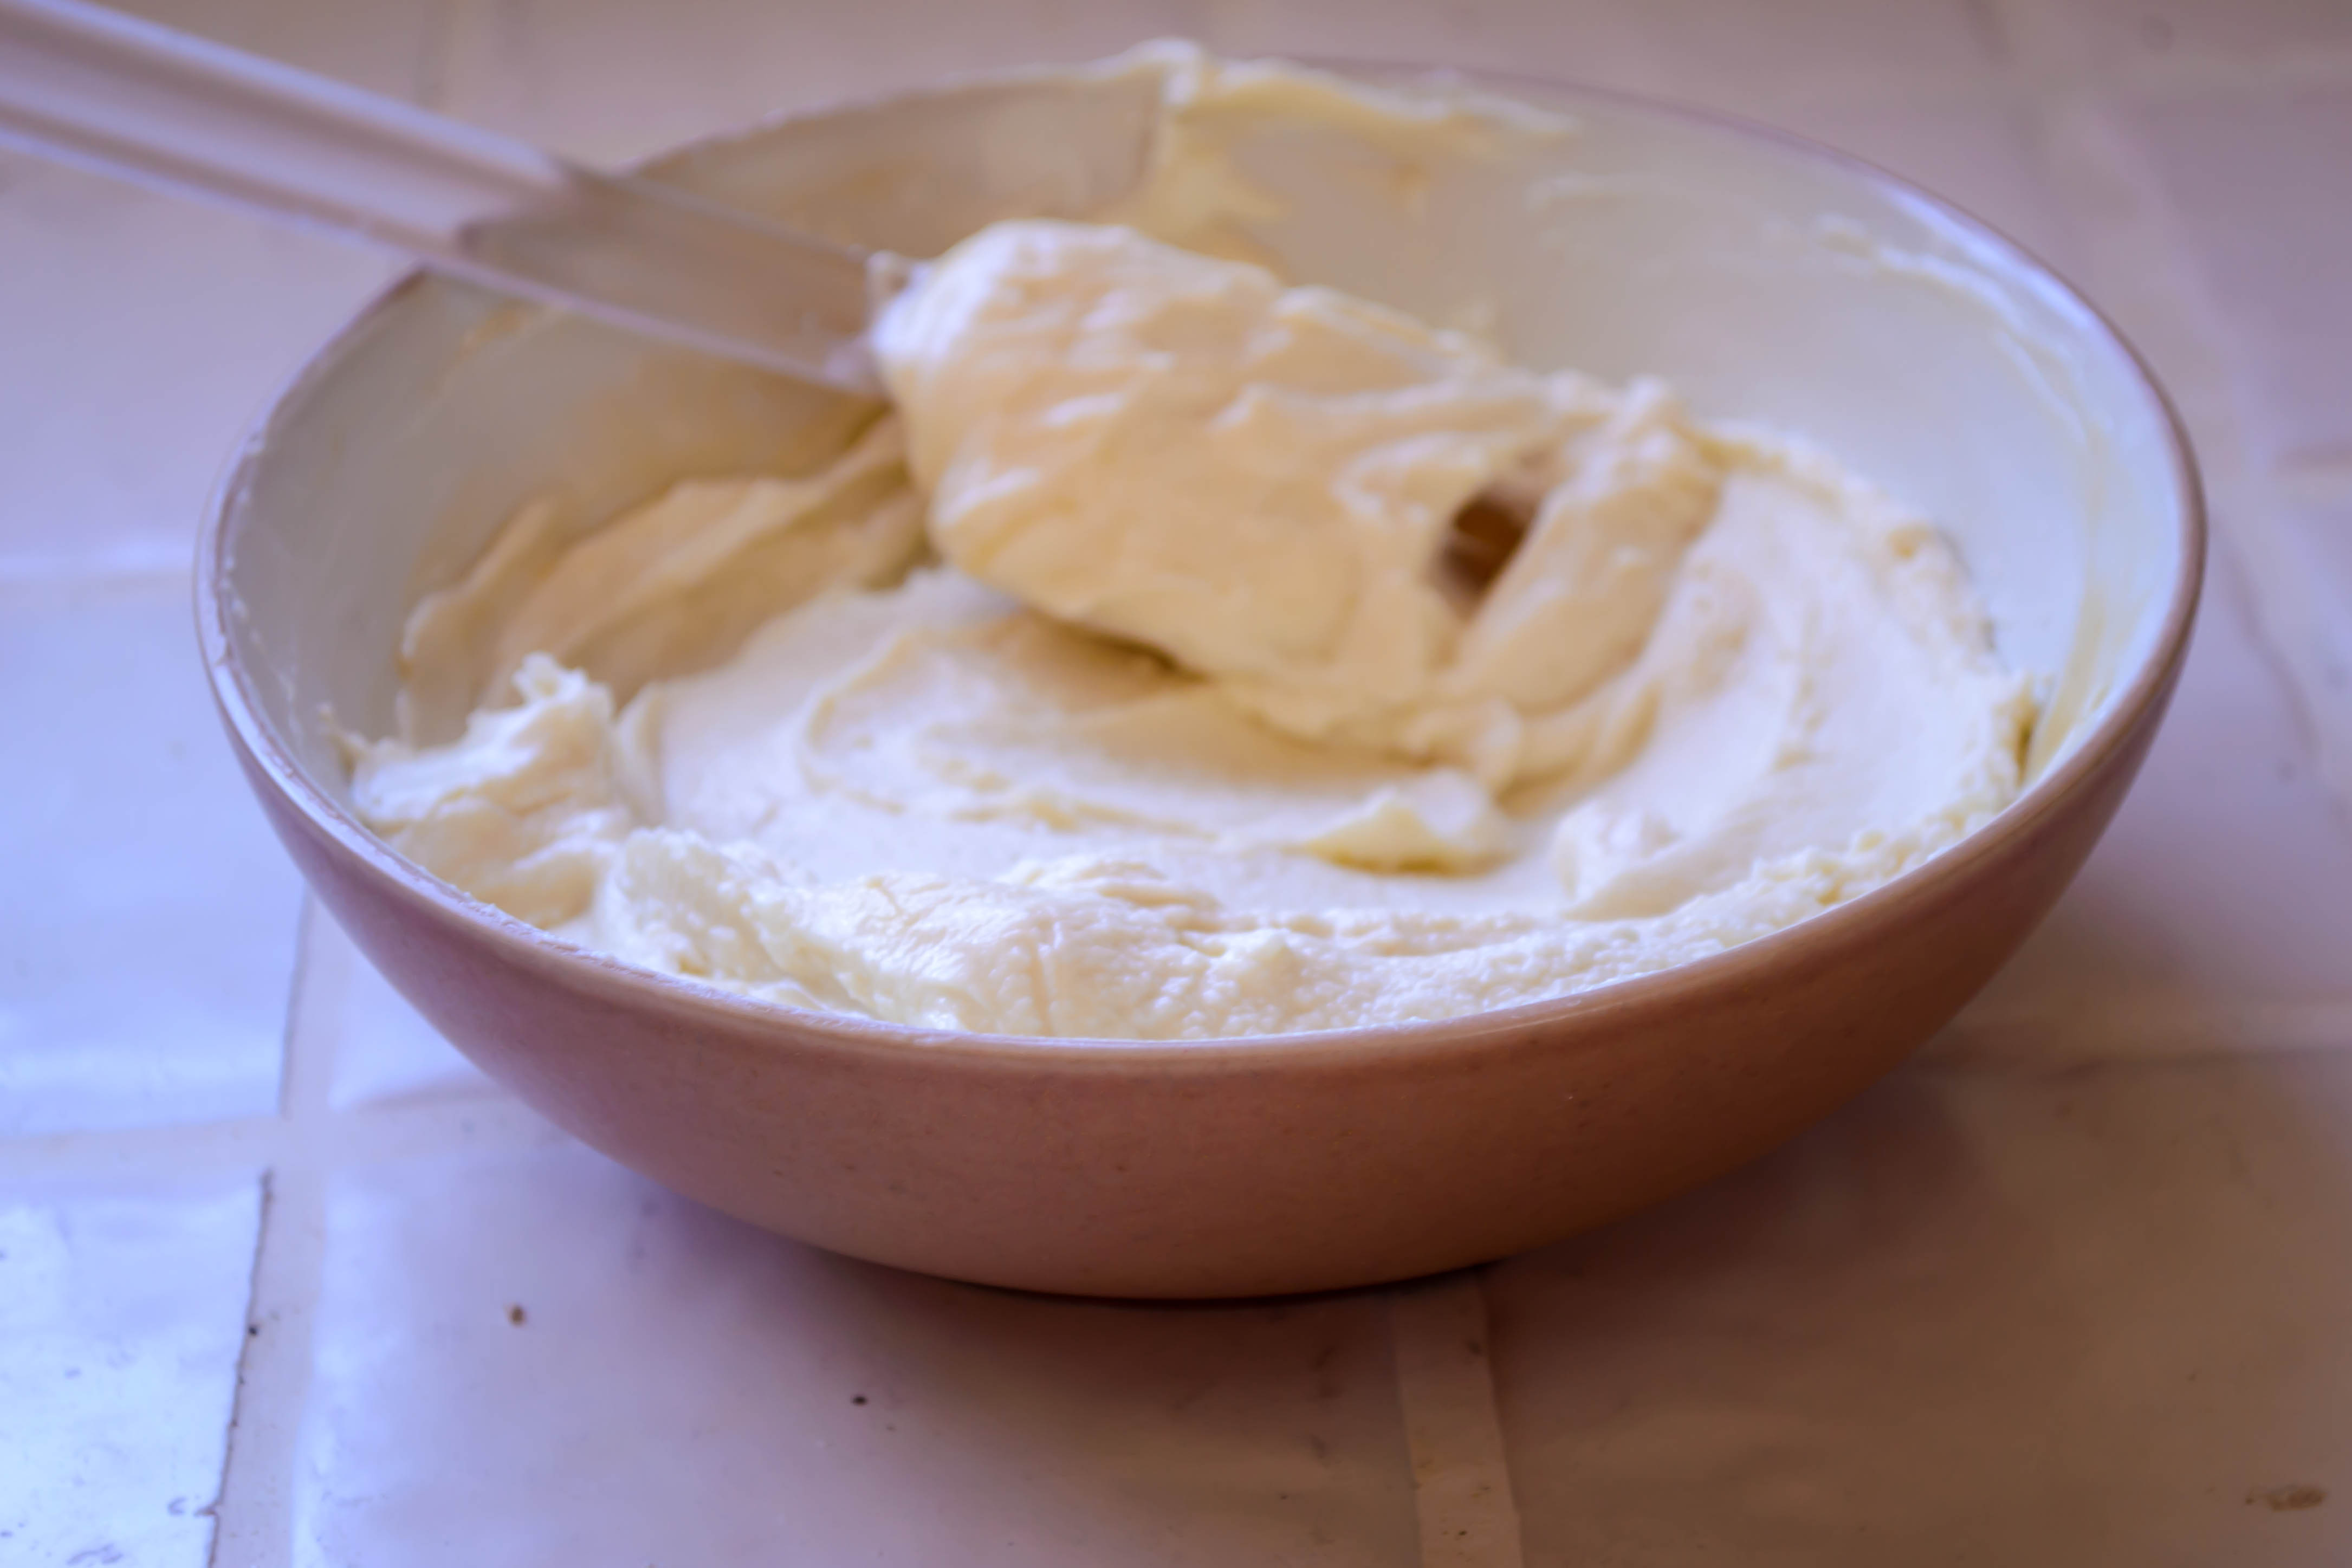
- Increase the speed by one notch so you are at medium-low, and begin adding the butter one chunk at a time, beating until each chunk is incorporated before adding the next. This will take a few minutes, but it allows them to disperse evenly into the dough. When all the butter is incorporated, the mixture will look like thick cake batter.
- With all the butter incorporated, replace the paddle attachment with the dough hook and add 1 cup of flour. Run the mixer at medium-low for about 5 minutes, kneading until the dough is soft and fairly smooth. If it looks disastrously sticky or does not seem to be coming together, you can add the remaining flour a tablespoon or two at a time, but be sure you knead thoroughly between each addition. This is supposed to be a soft dough.
- After you’ve kneaded for 5 minutes on medium-low, increase the mixer speed to medium and knead an additional 2 minutes. According to Baking Illustrated, this tightens up the dough a bit.
- Cover the dough tightly with plastic wrap and let it rise in a warm spot until it doubles in size. This should take 3-4 hours (it’s a rich, heavy dough; it will take the yeast a while to work through all that butter!).
- When the dough has doubled, punch it down by depressing your fist gently into its center, replace the plastic wrap, and stow it in the fridge overnight (Baking Illustrated’s precise instructions are “at least 4 or up to 24 hours”).
- When you are ready to make the filling, which also needs to chill thoroughly before being added to the dough, heat a medium pot of water to boiling. Score the bottoms (flower end, not stem end) of each apricot by cutting a shallow x through the skin and just barely into the flesh with a sharp knife. Plunge the scored apricots into the boiling water and leave them for about 60 seconds. Then, remove them, drain them, and set them aside until they are cool enough to handle.
- Using a small knife, carefully peel back the skins of the apricots starting at the x you’ve scored into the bottom. The skins may already be peeling away, and should separate from the flesh easily. If they prove particularly stubborn, stick them back in the boiling water for another 30 seconds.
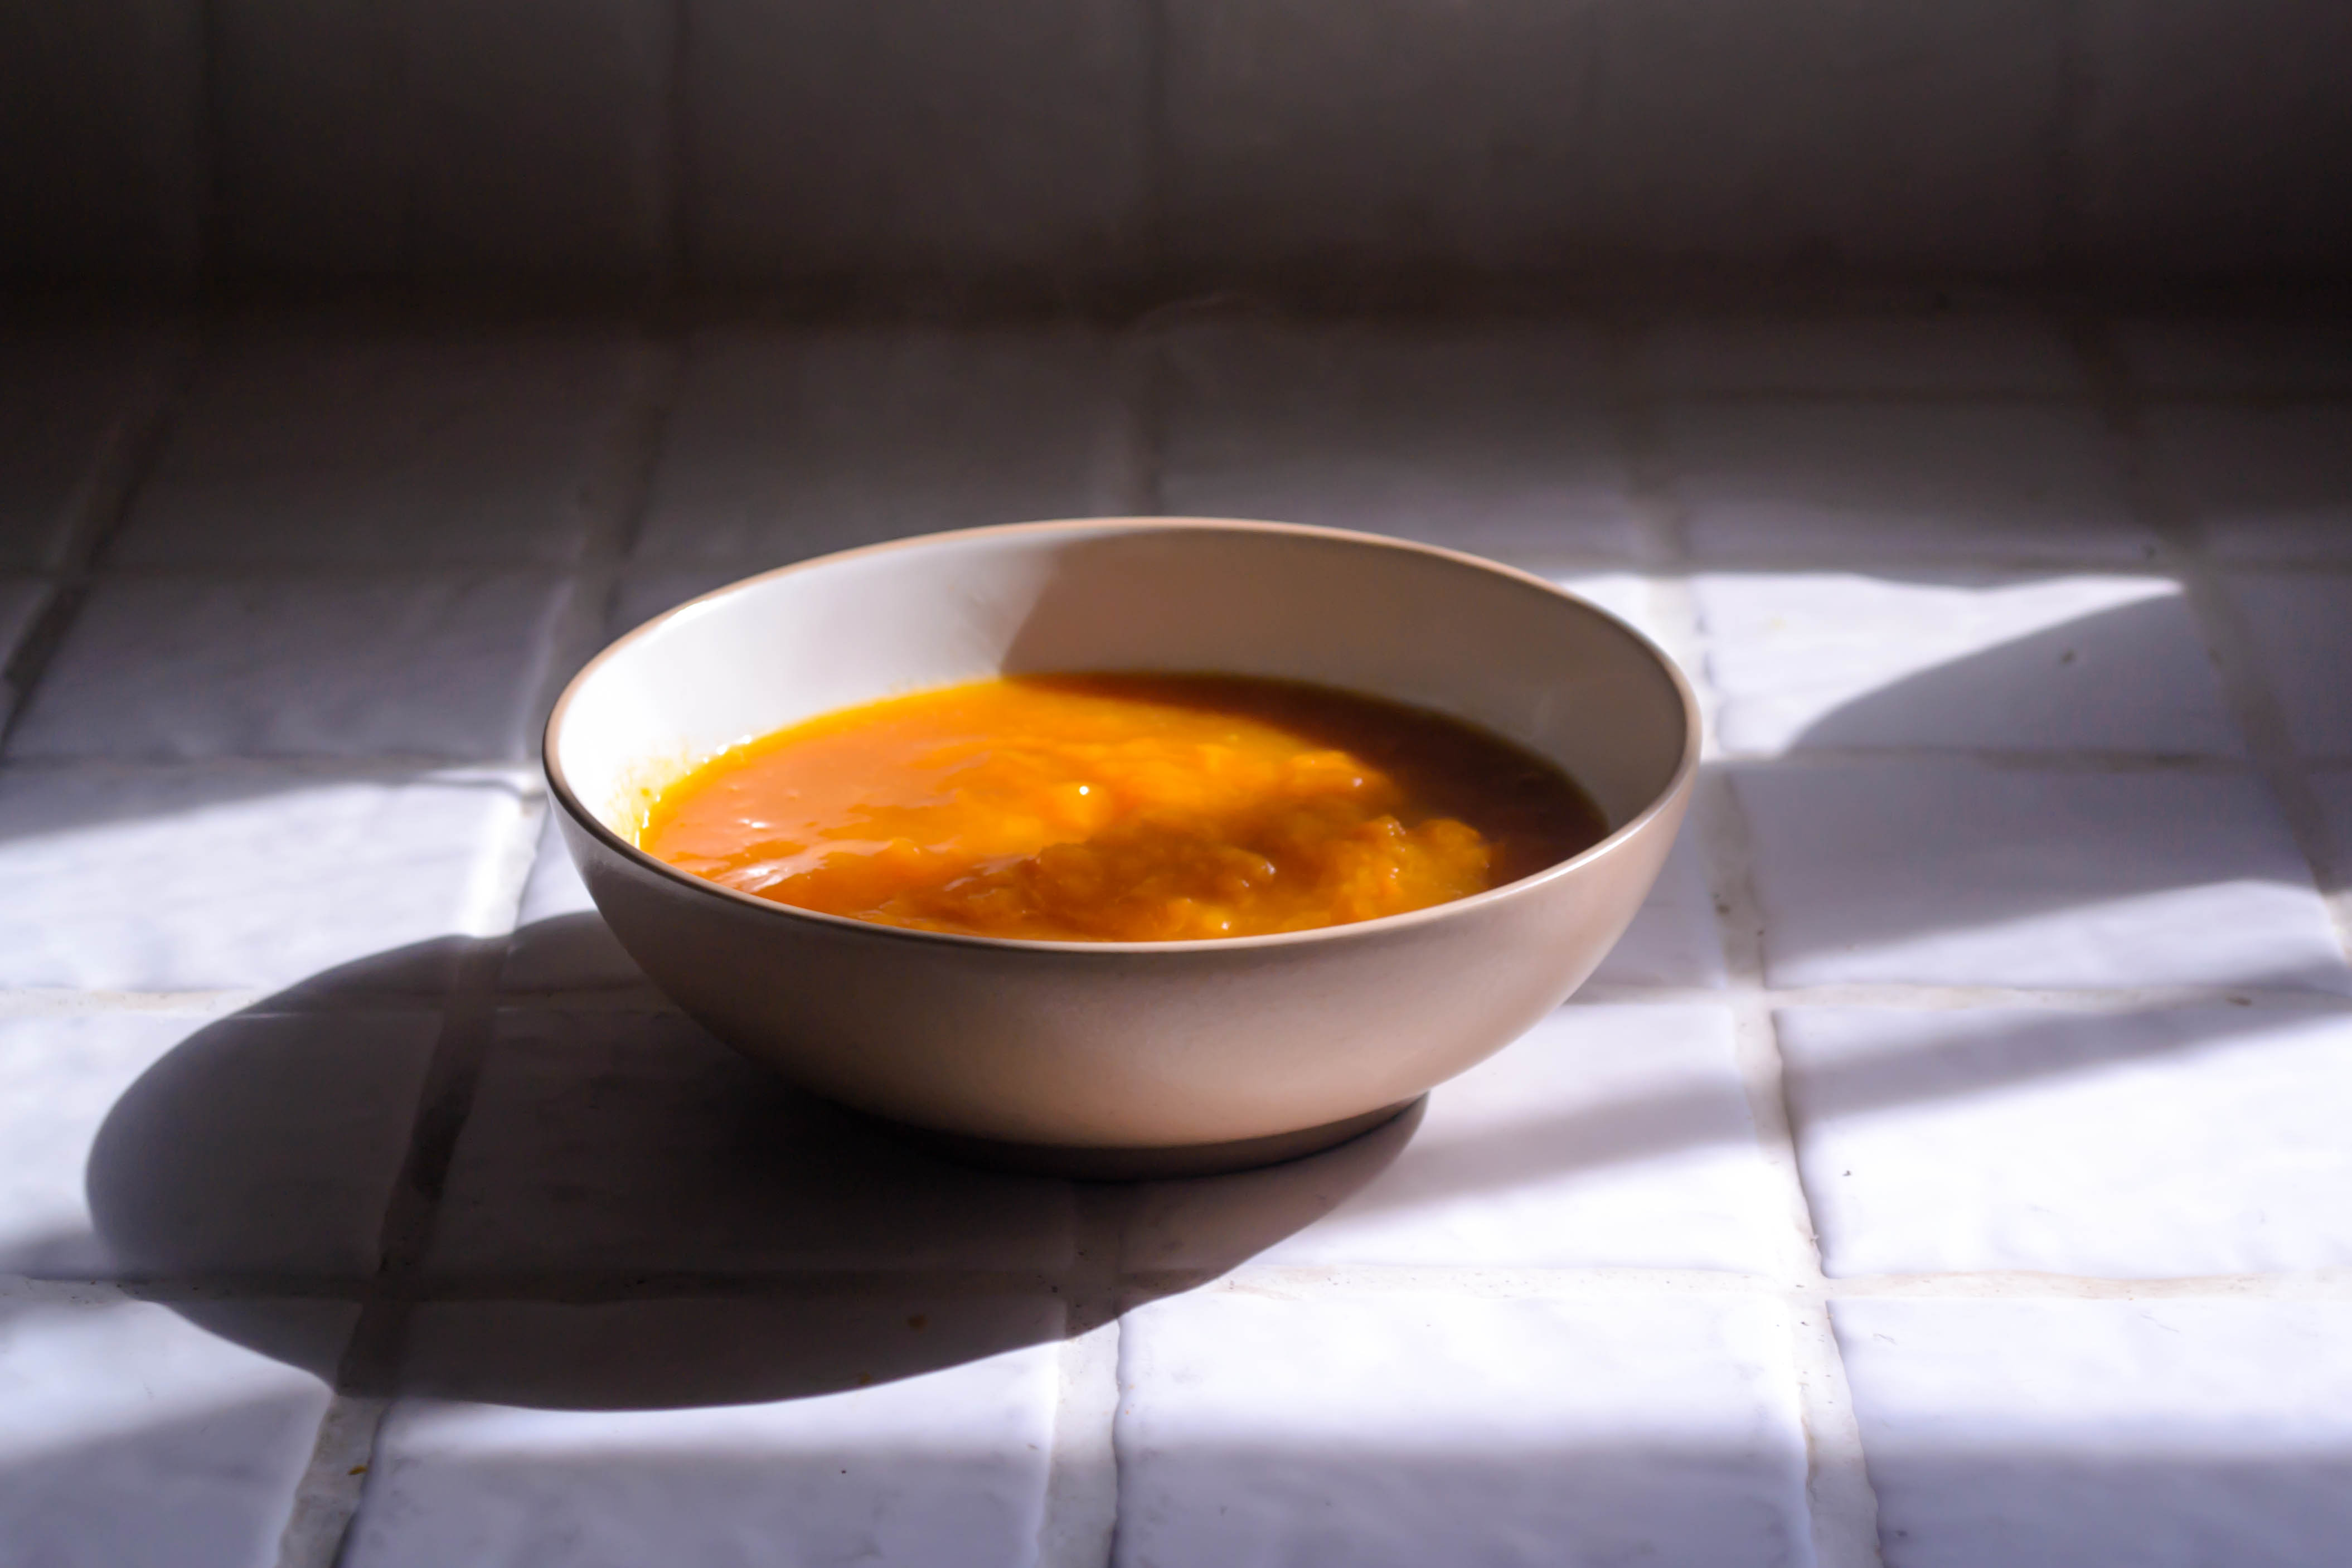
- Remove the pits and chop the peeled apricots, then put them into a pot with the brown sugar and rum, and cook over medium heat for 5-7 minutes, until they collapse into a glorious pulpy mess. Remove from heat and pulse the mixture in a food processor until almost smooth. Or, if you are lazy like me, mash it up with a potato masher. Either way, once your apricots are almost smooth, stow them in the refrigerator until quite cold.
- When you are ready to shape the coffeecake, remove the chilled dough from the refrigerator and gently dump and scrape it out onto a well floured board. Pat the dough out into a roughly 6×5 inch rectangle, lightly flour the top, then use a rolling pin and some elbow grease to flatten the dough into a smooth, 15×9 inch rectangle (it will be about ¼ inch thick).
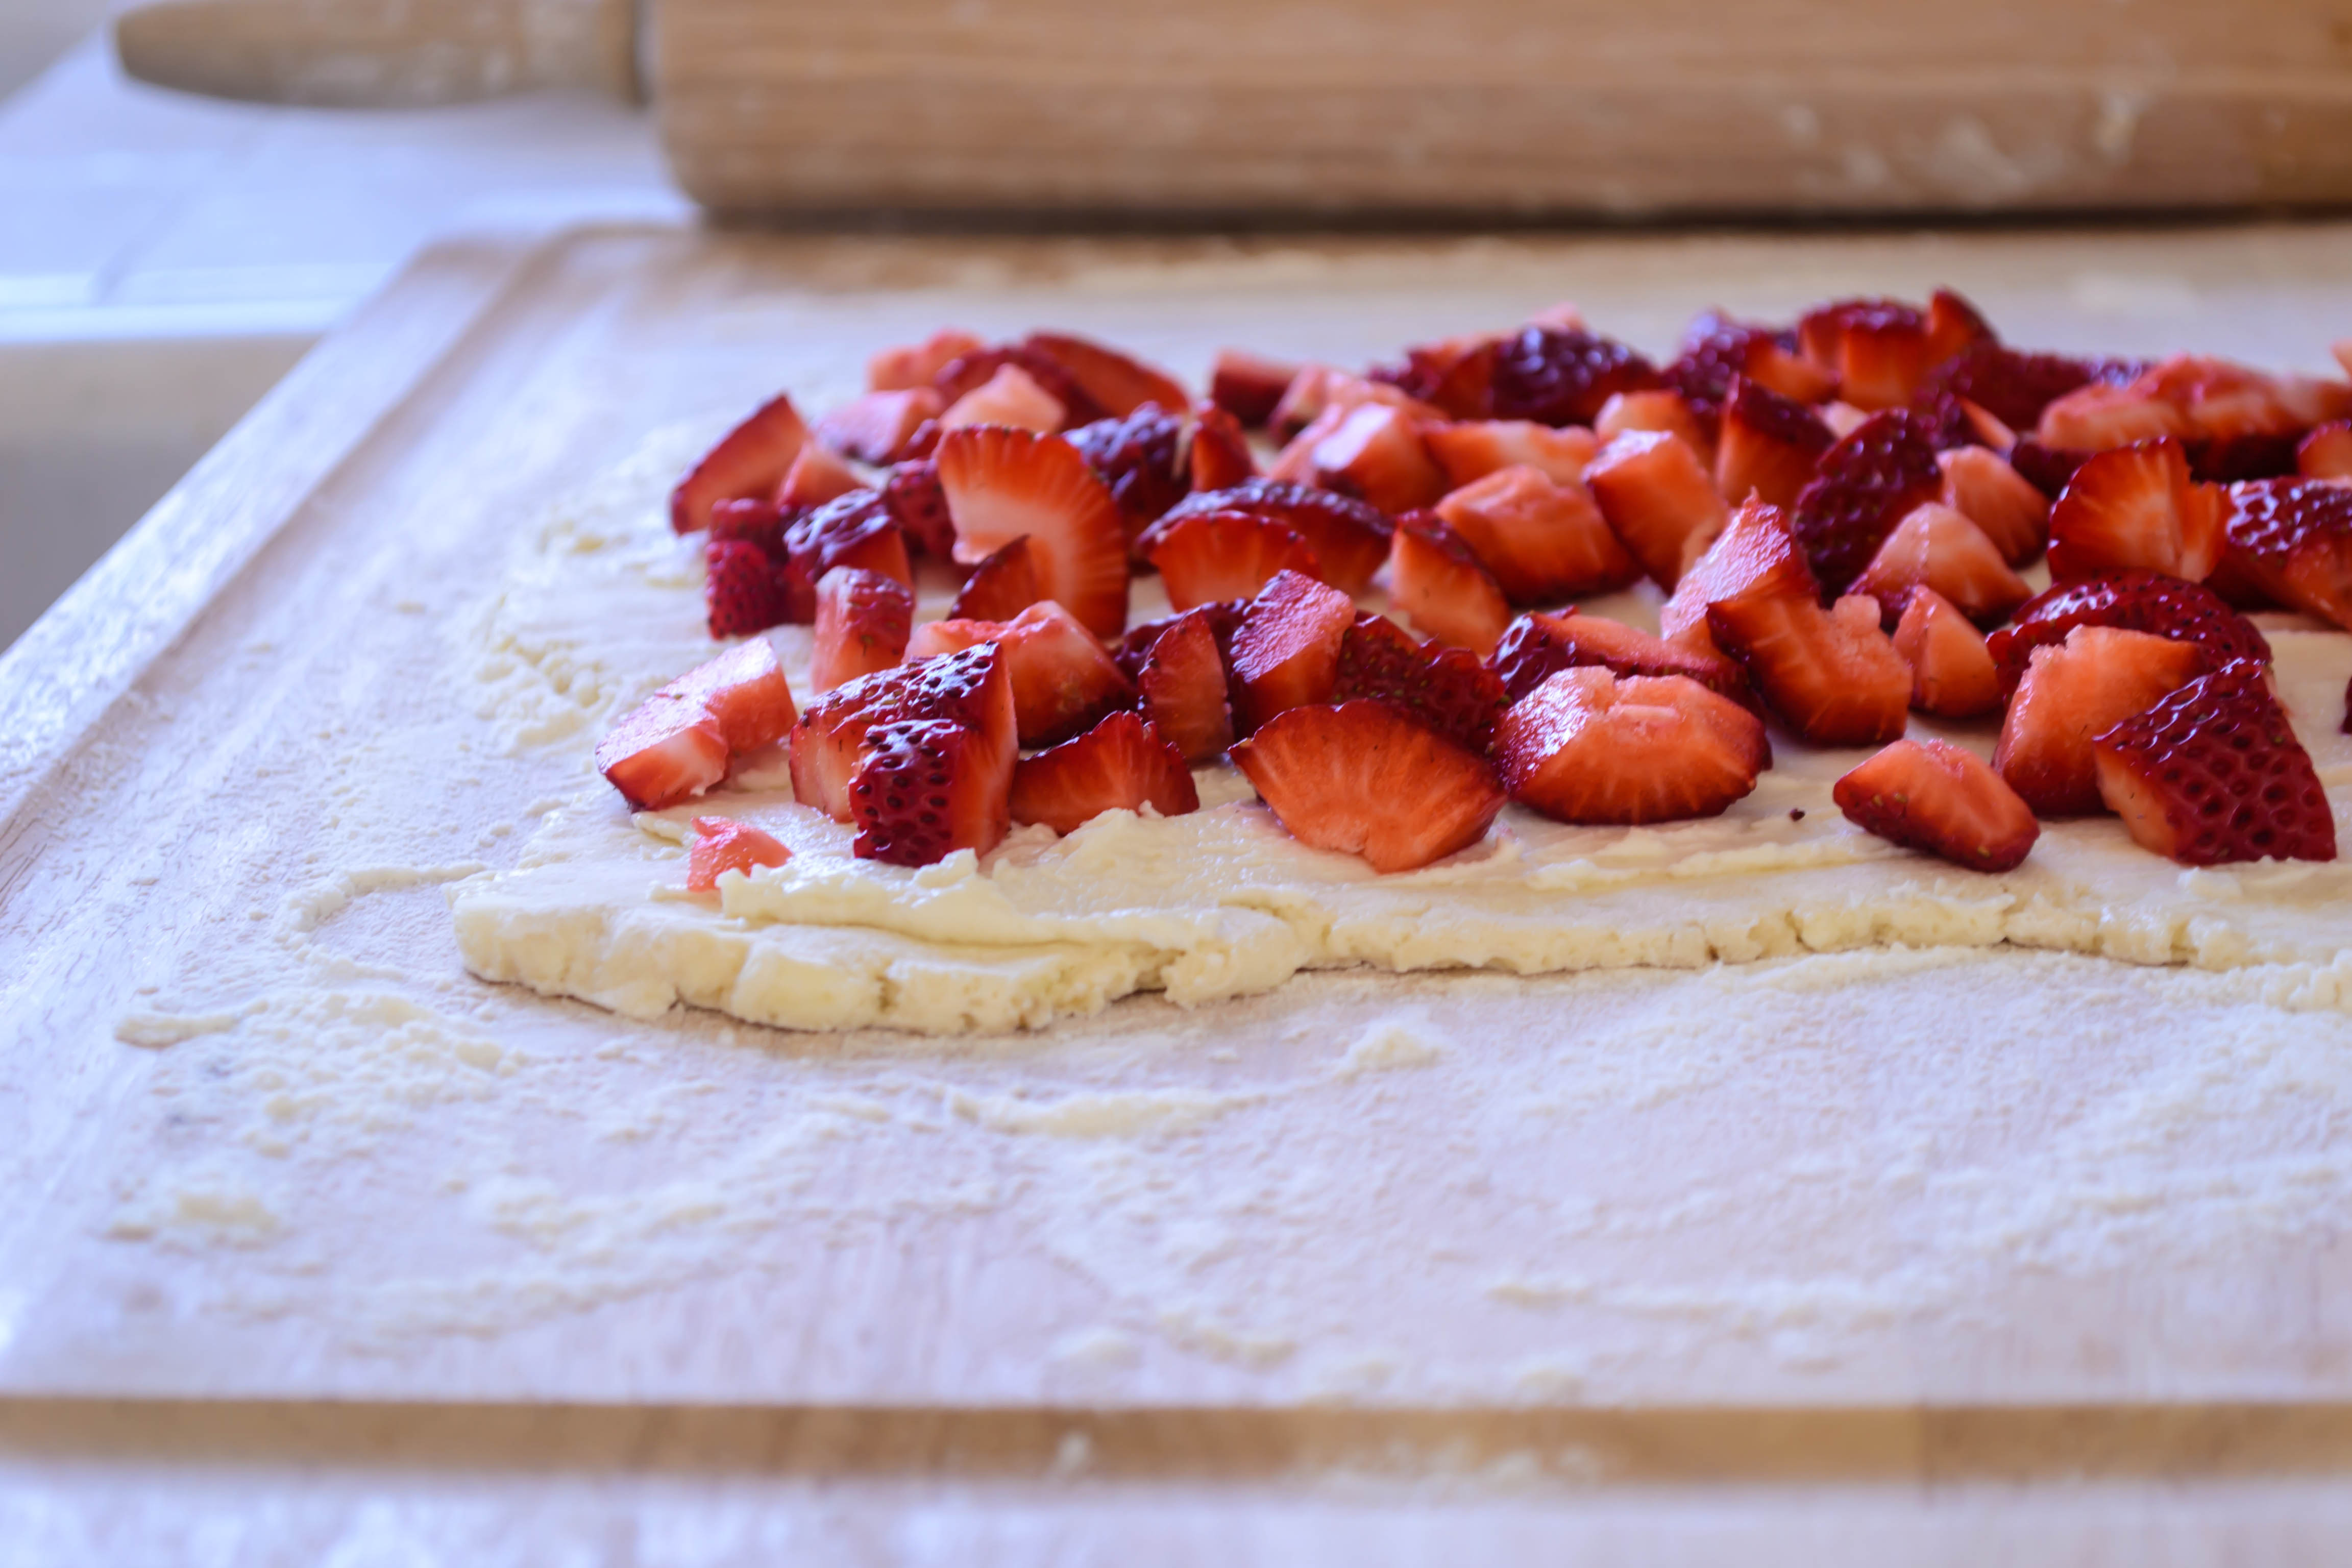
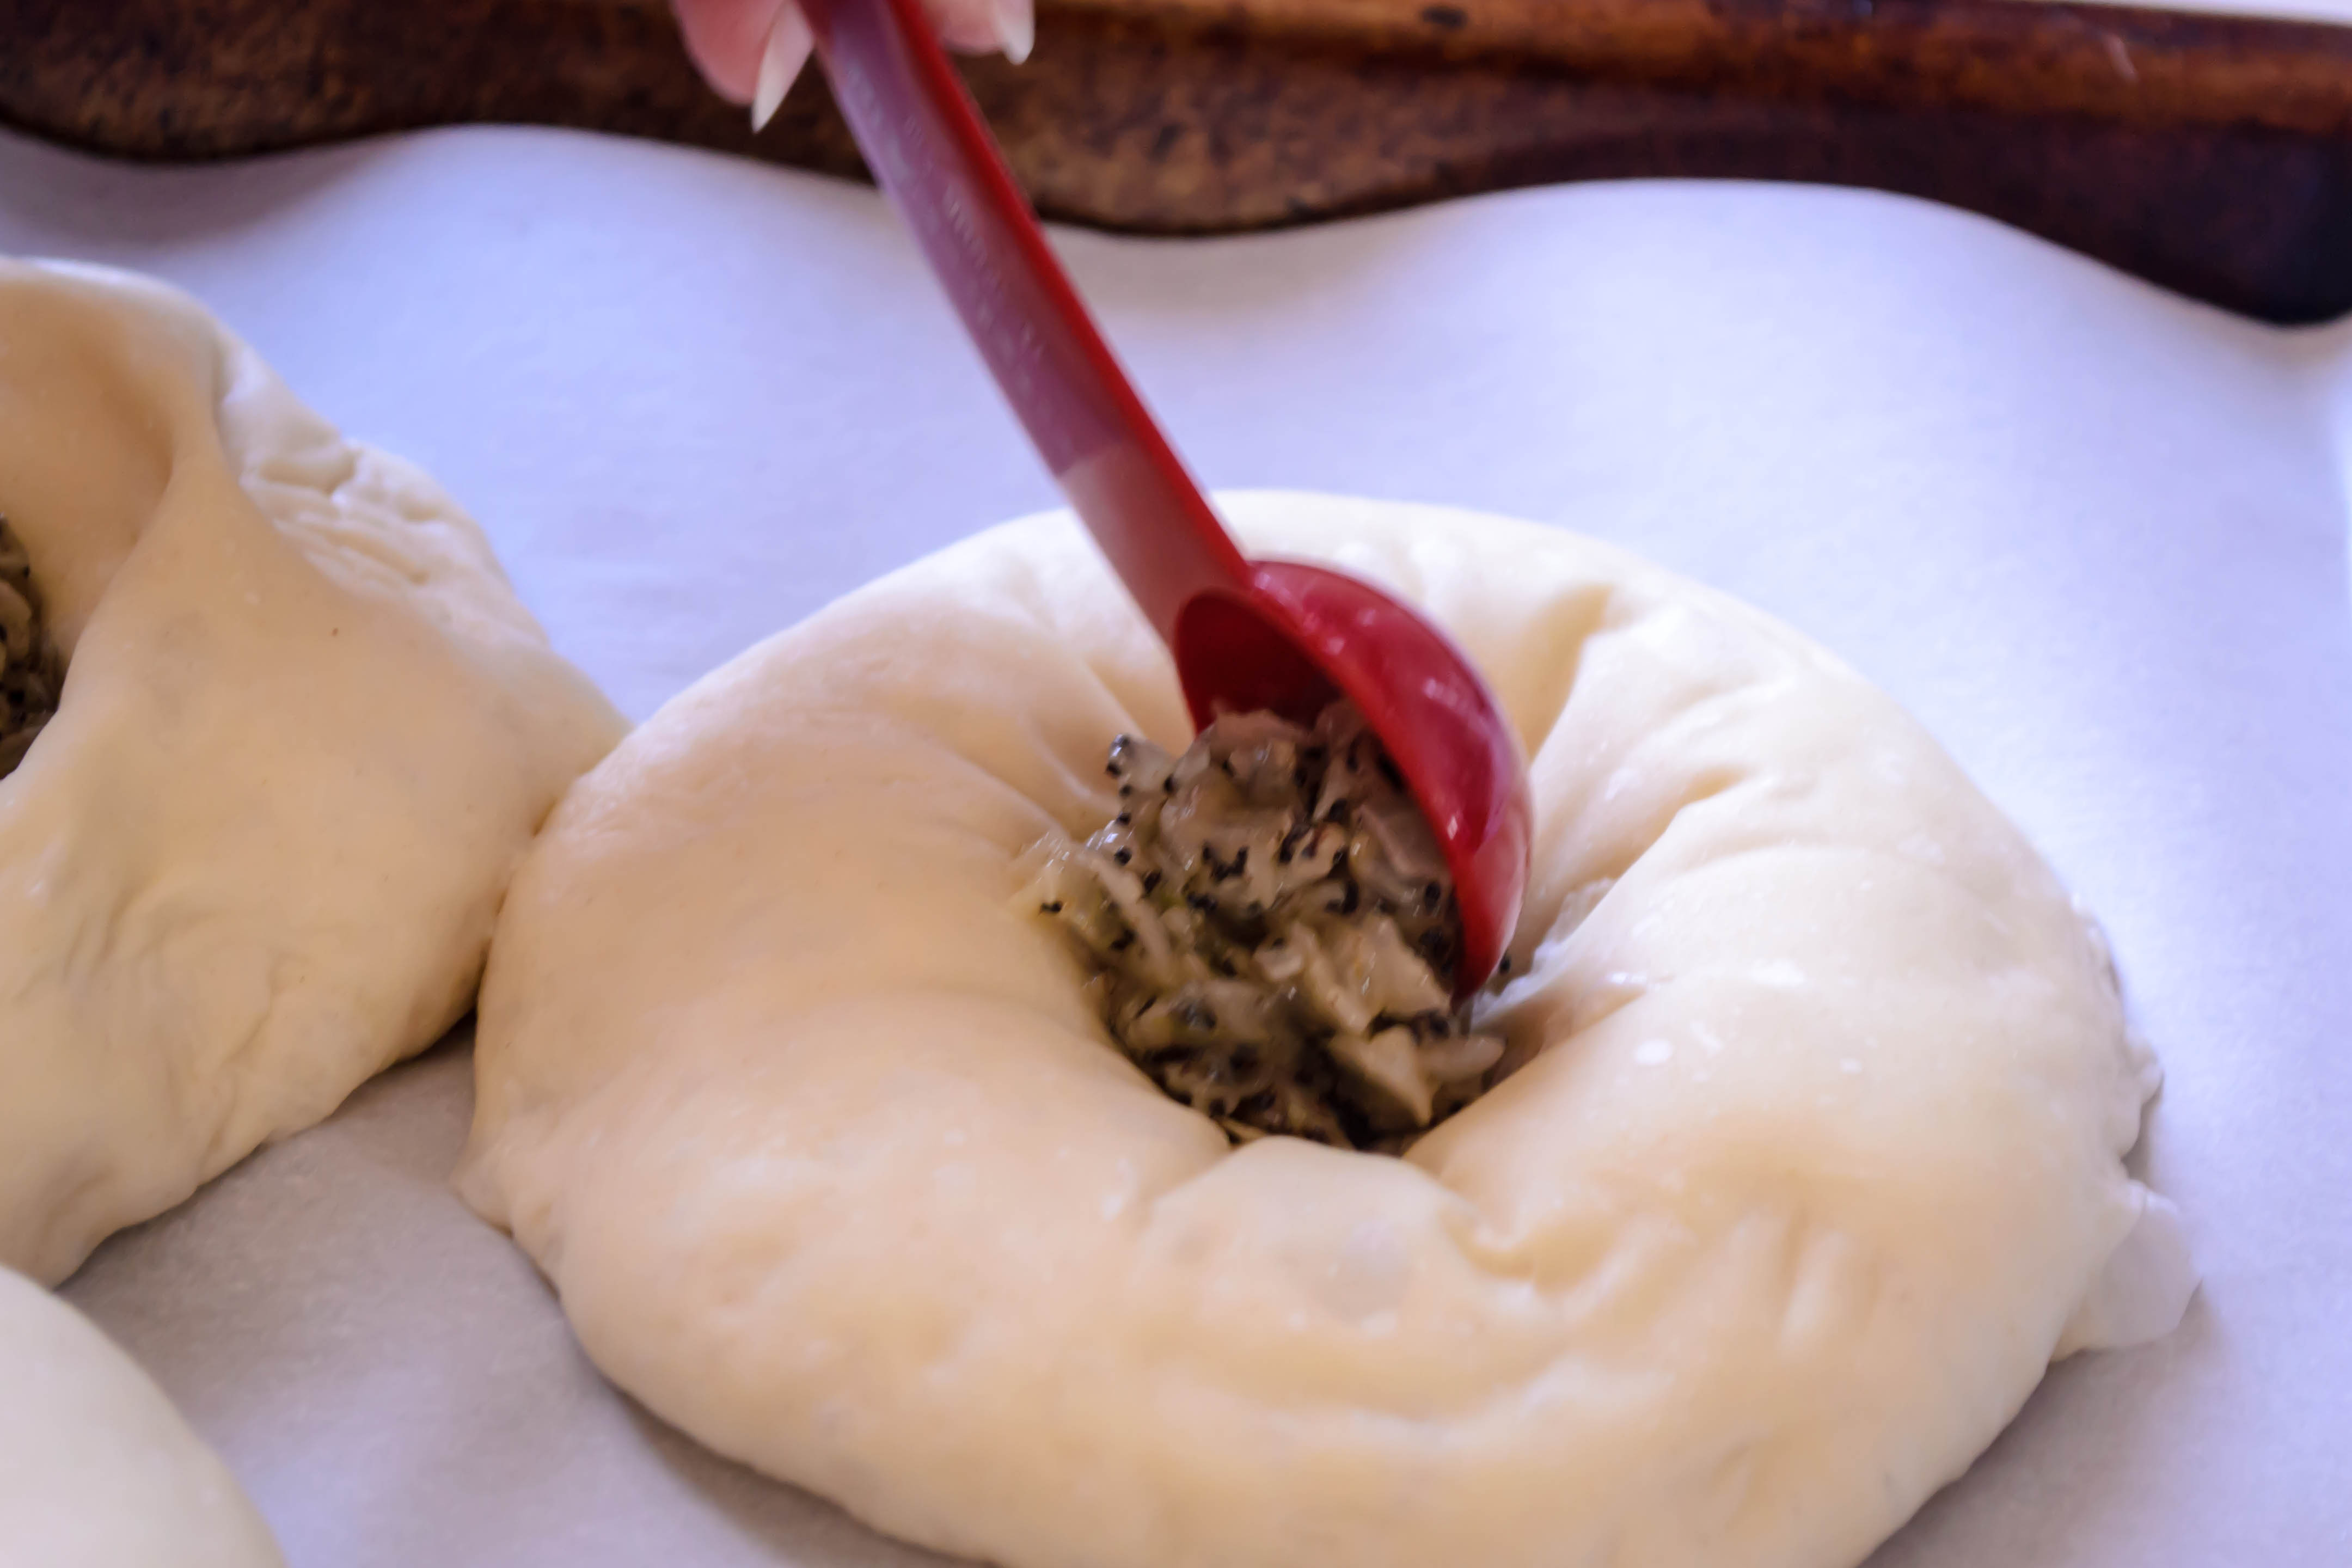
- Spread the cold apricot filling over this large rectangle of dough, leaving at least a ½ inch border on all edges.
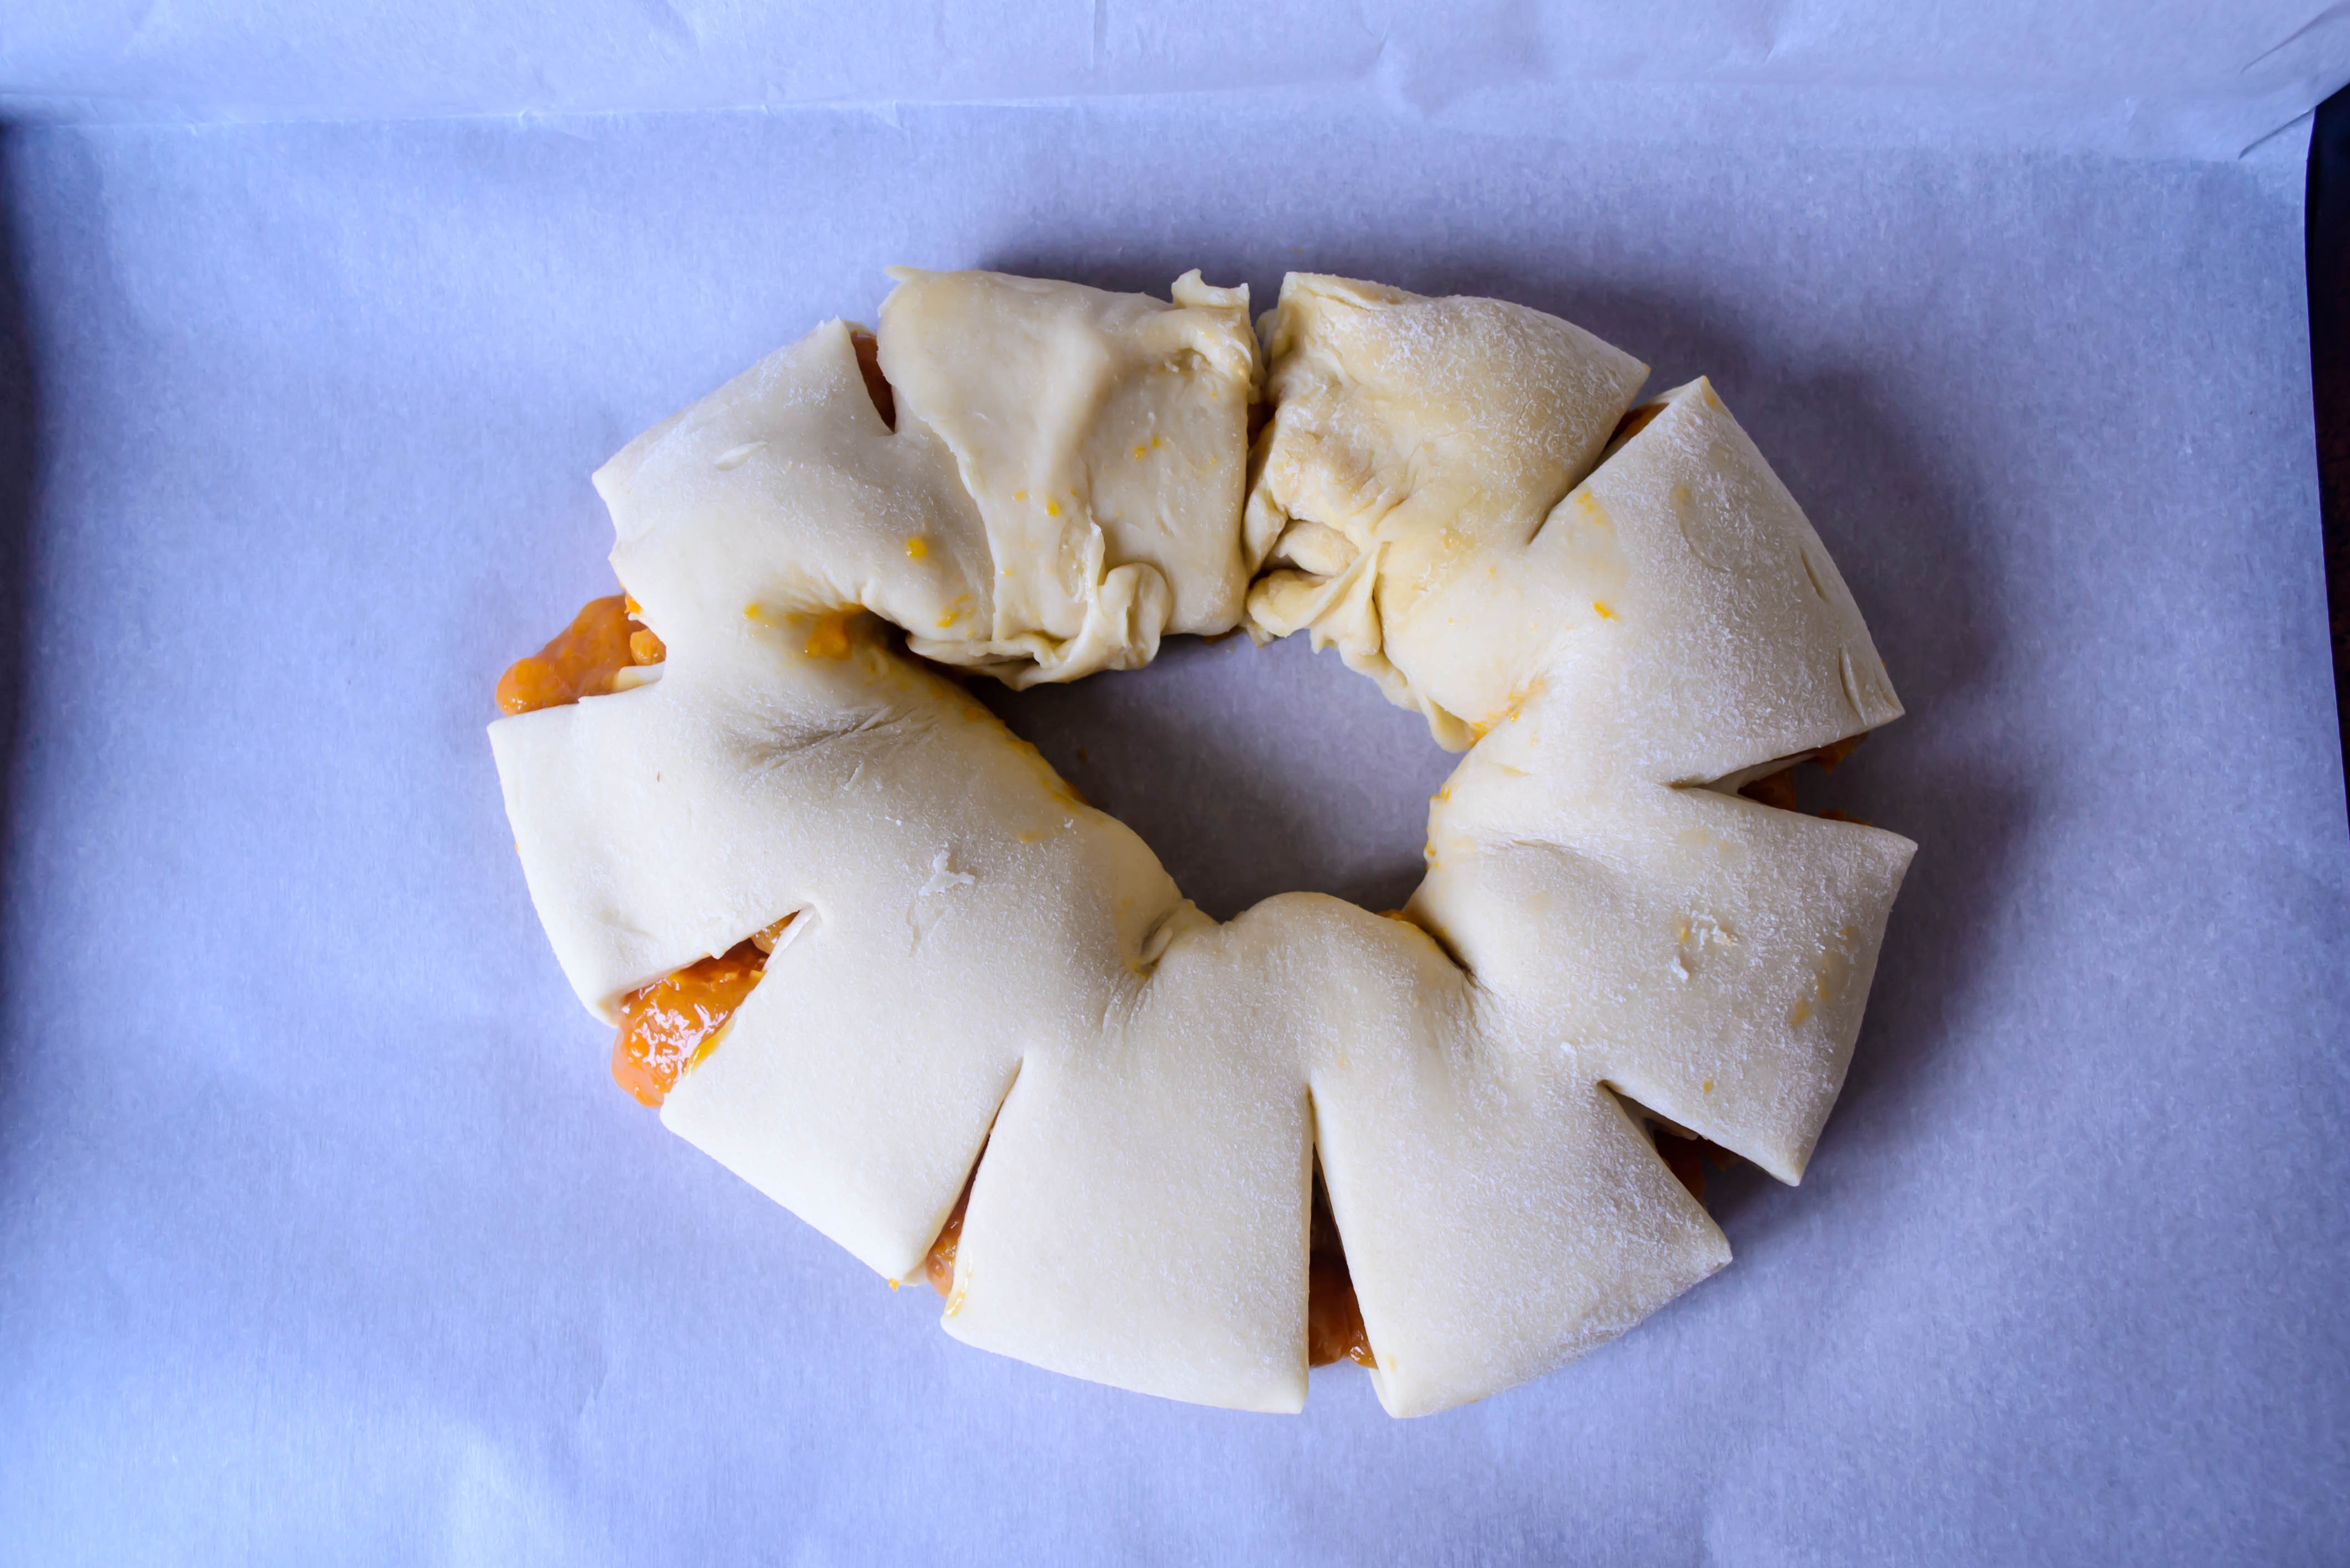
- Using both hands and starting with one of the longer edges, roll the dough up tightly into a long log. Seal the seam securely by pinching the dough, then coax the log into a circle and pinch the ends together to join them in a ring shape. During this process some of the filling will likely ooze out; don’t worry too much about it.
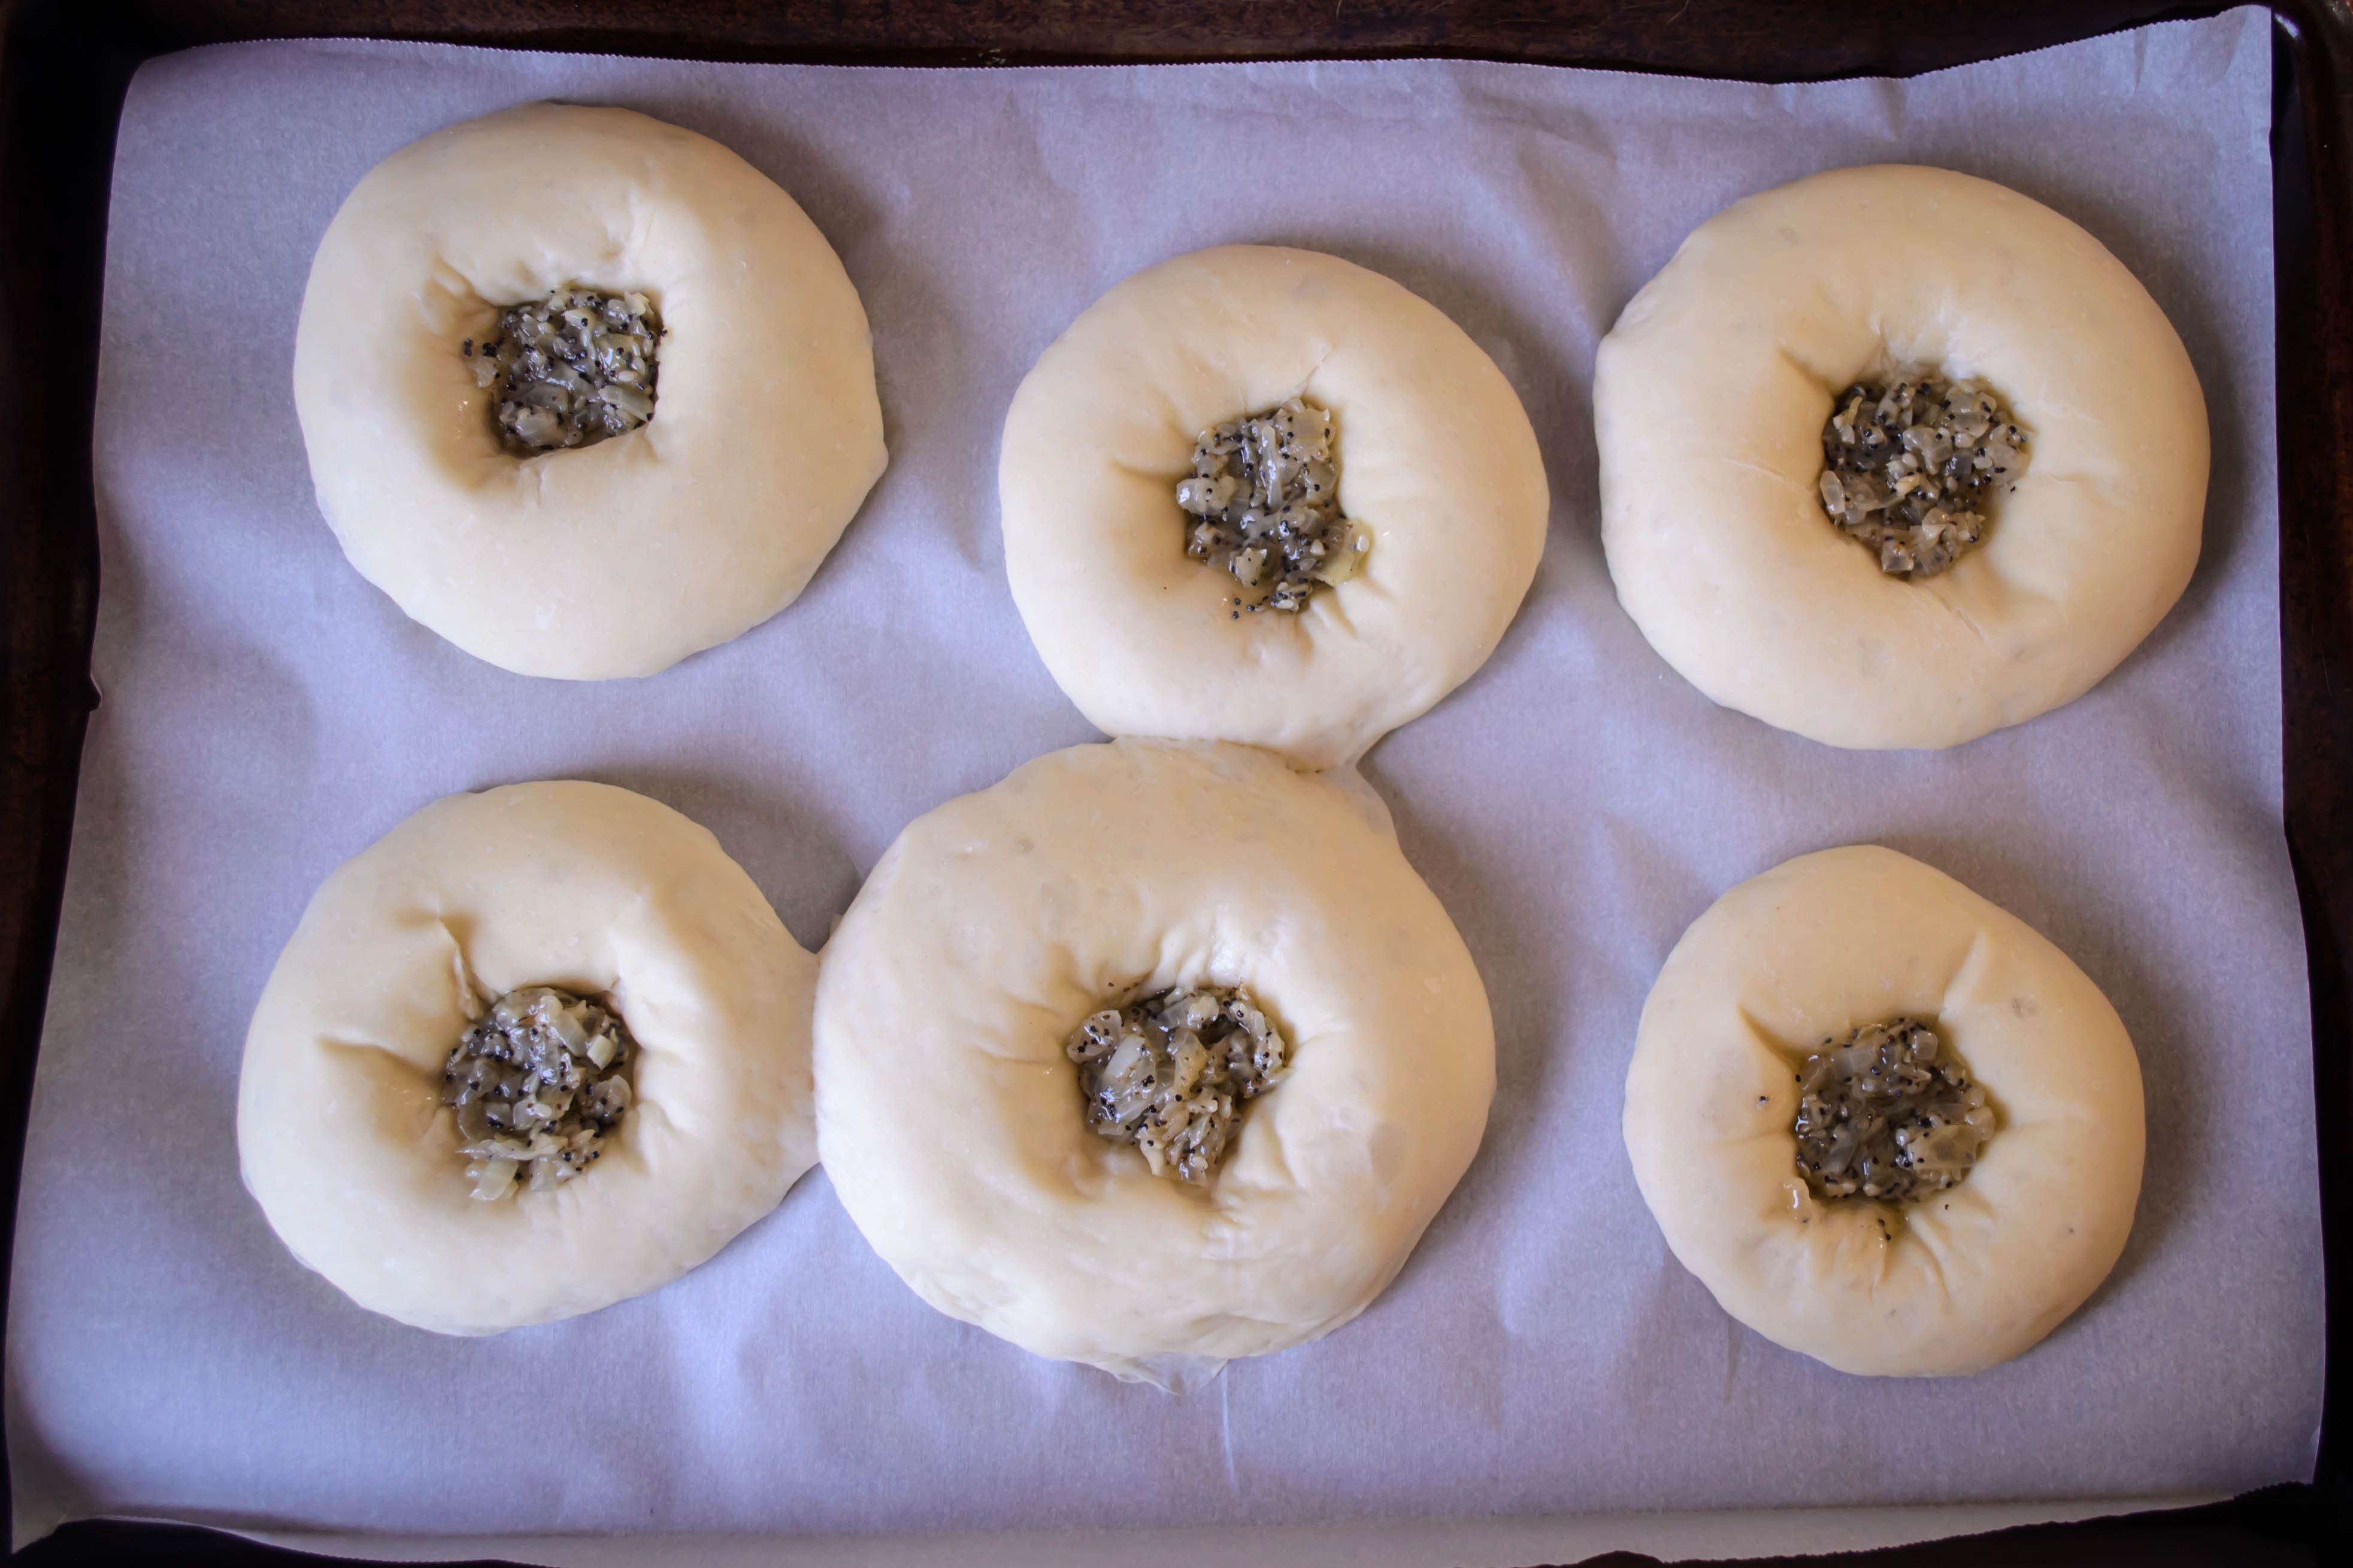
- Transfer the ring of dough to a parchment paper lined baking sheet. With a pair of kitchen scissors, snip about halfway through the log at 2-inch intervals. Again, you will get some lovely orange ooze. No worries; this will get lovely and caramelized when it bakes. Just drape some plastic wrap or a clean kitchen towel over the whole thing and let it rise again until slightly puffed; about 90 minutes.
- 30 minutes before you are ready to bake, preheat the oven to 350F with a rack in the middle.
- When the loaf has risen again, beat the egg white and milk together and brush it over the exposed dough evenly. Sprinkle the sliced almonds and coarse sugar over the loaf, and then slide it into the oven and bake until deeply golden and registering around 190F on an instant-read thermometer. This should take 25-35 minutes.
- Cool at least 20 minutes on a wire rack (just slide the parchment straight from sheet tray to cooling rack) before slicing and serving.
- This cake is amazing warm or cold, and though I suspect it would last a week wrapped in foil and refrigerated, we scarfed it within 3 days.


 For the first – All-Purpose Flour – she made a beautiful wreath of sweet bread, braided and swirled with cinnamon sugar and a trio of summer berries. I determined that I would, indeed, bake this bread. I had yet to try a wreath or crown shape, and was curious about how it would come out.
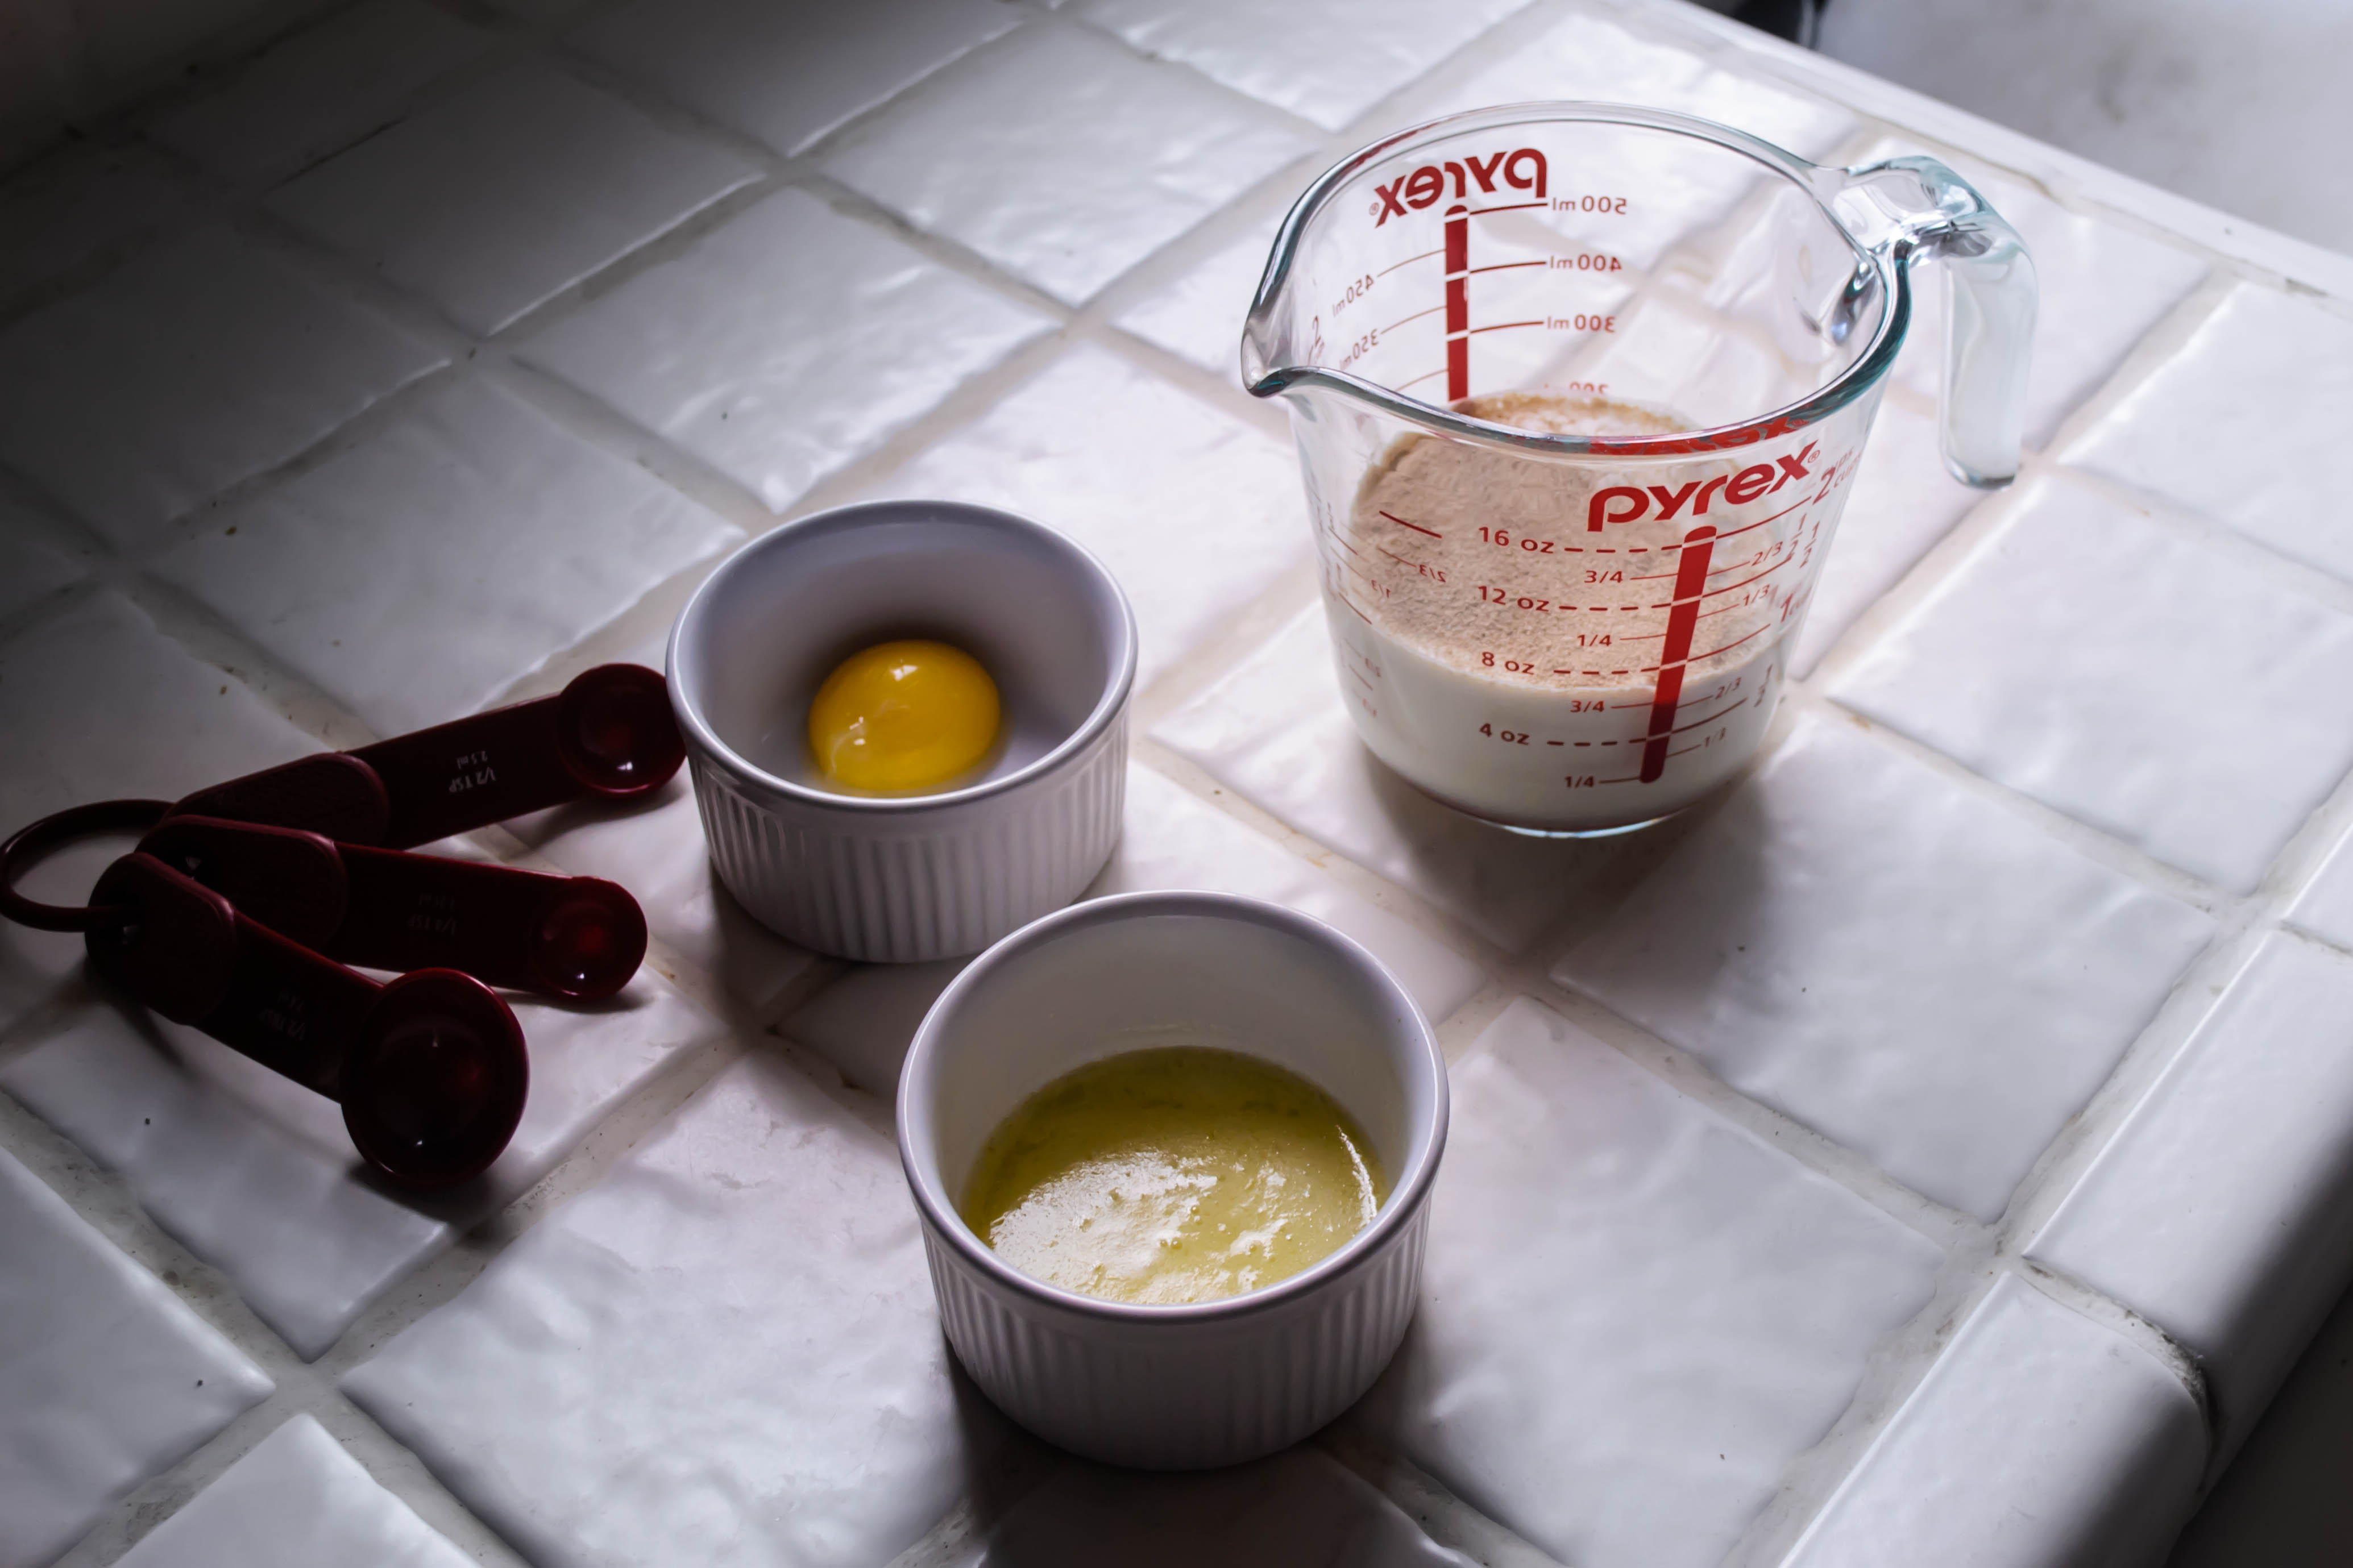
 Here, I’ve replaced Joy’s berries with blood-red bing cherry halves, gushing with juice, their tartness mellowed by baking. Since I’m not crazy about cinnamon with cherries, I have substituted in cardamom, which has an intriguing deep, citrusy scent but offers a spiciness reminiscent of the zingiest flavor in your favorite chai tea blend. To bring together the flavors, I also splashed in a little vanilla.
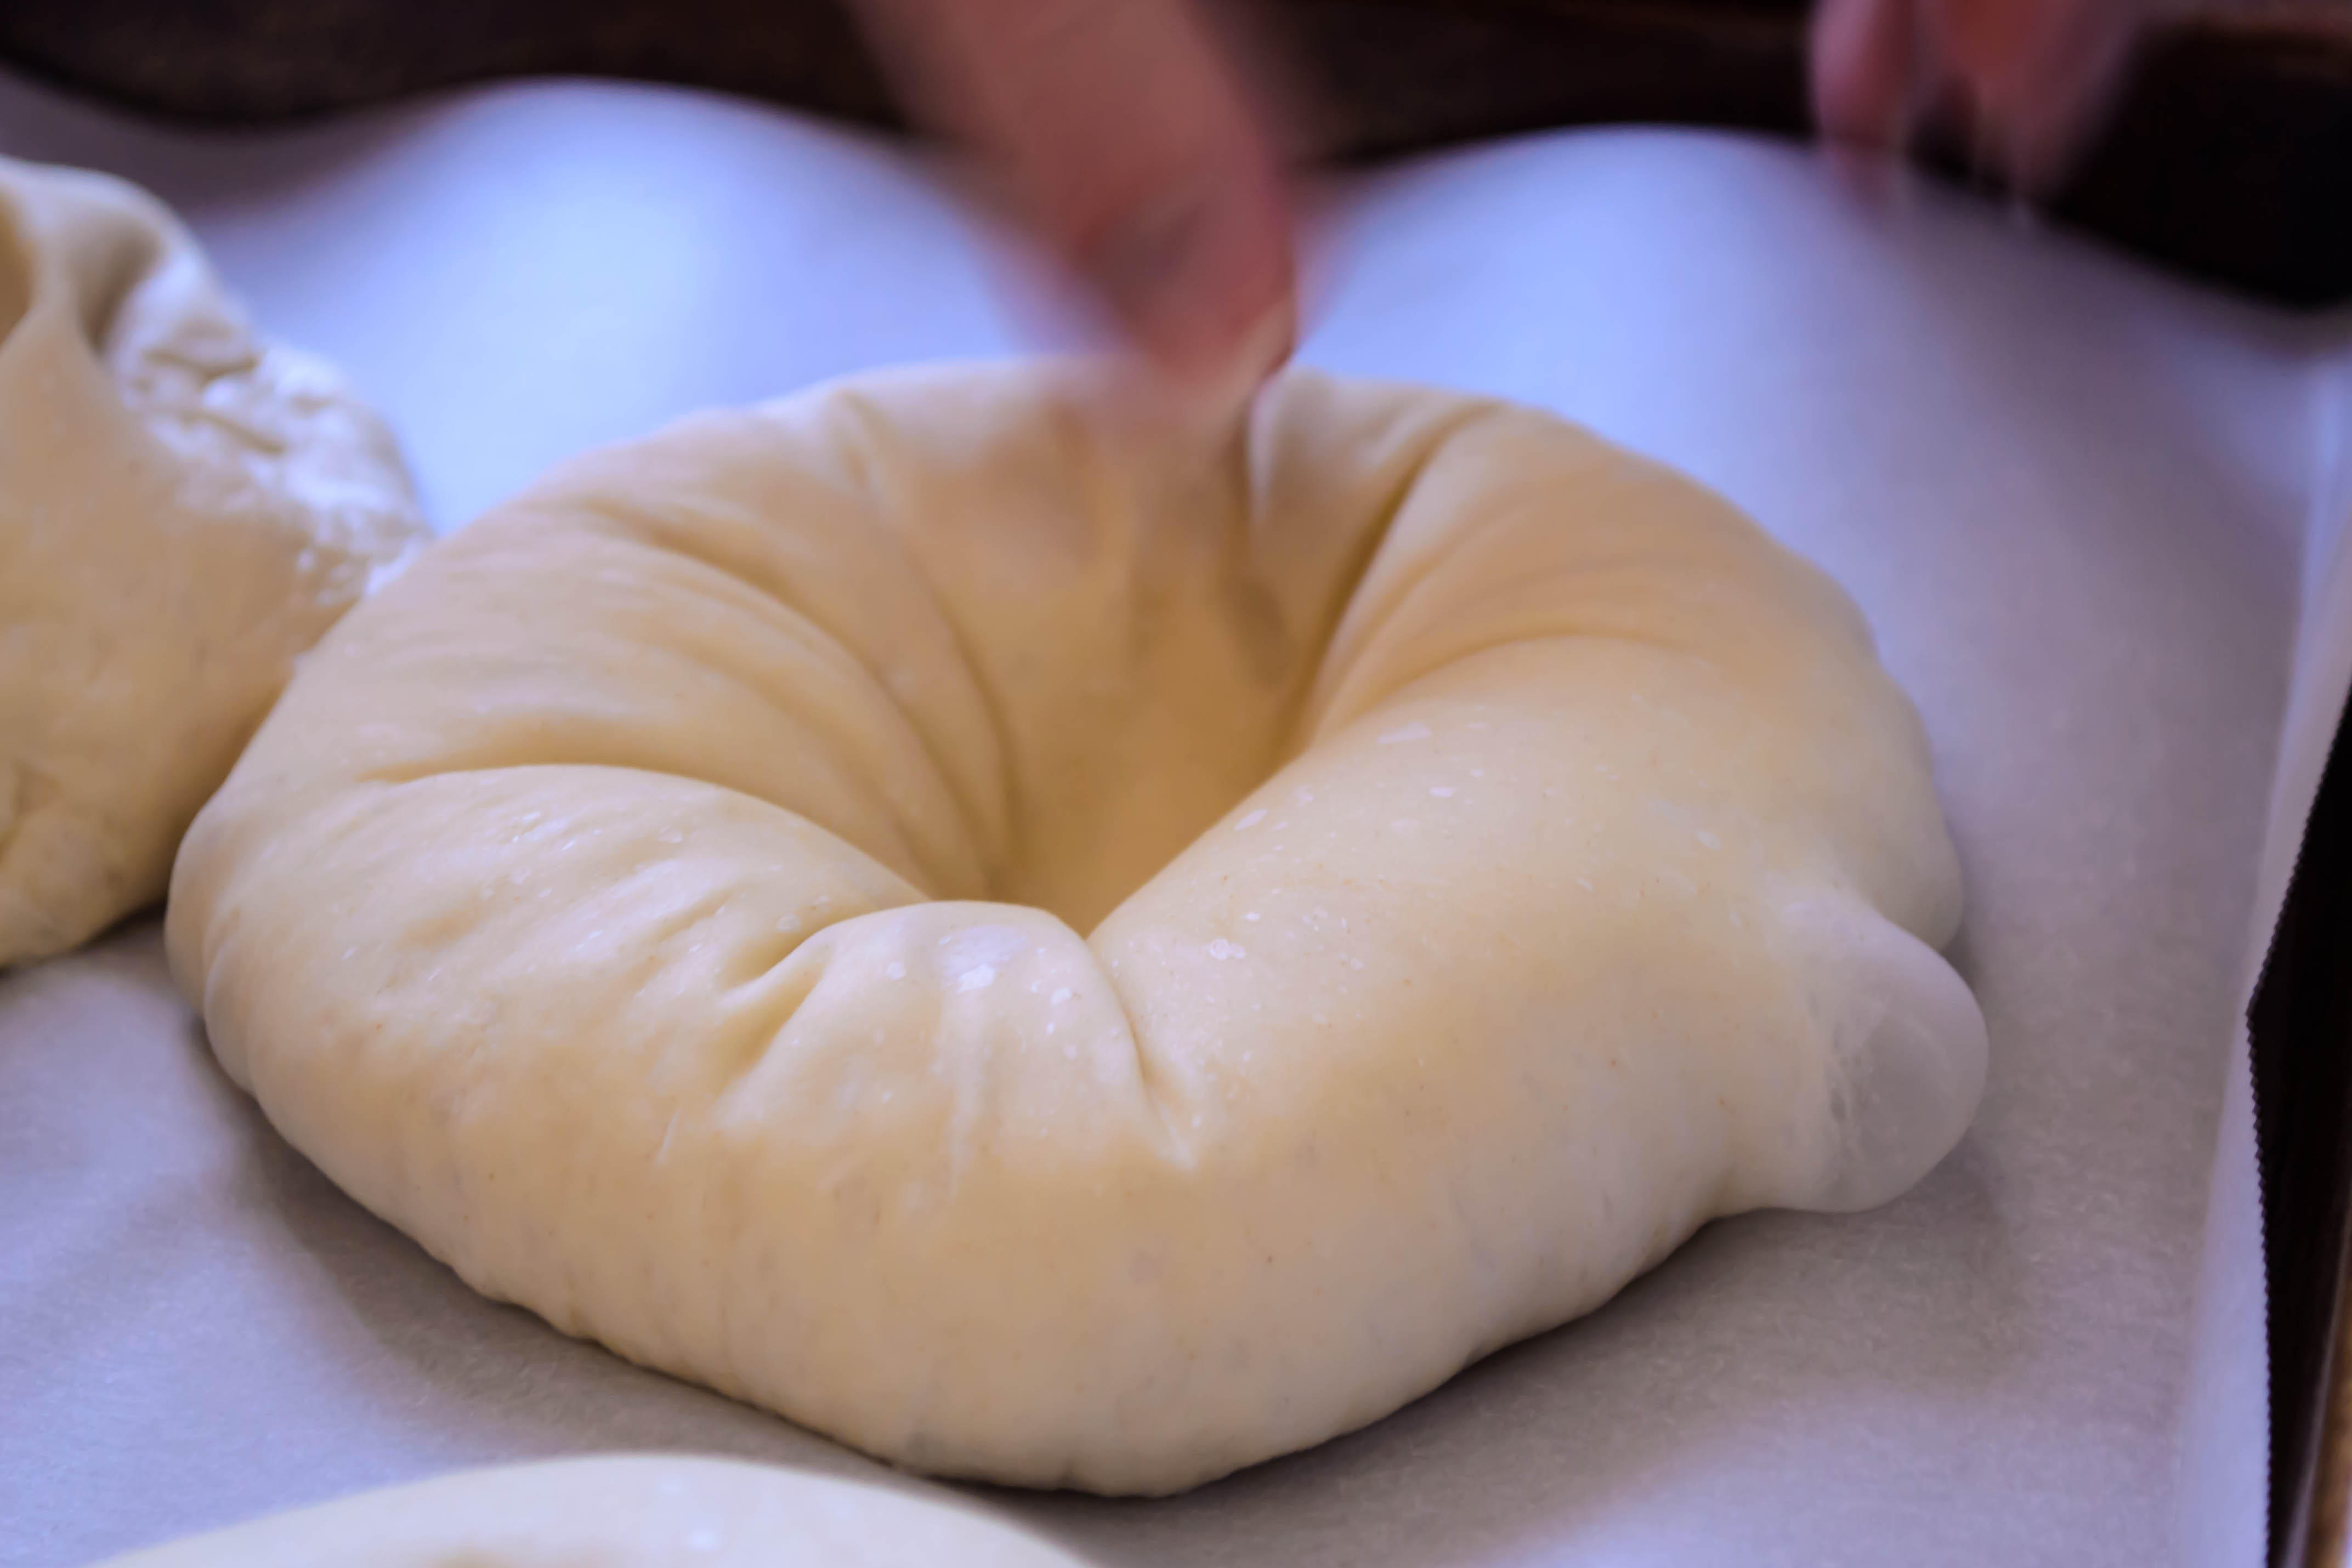
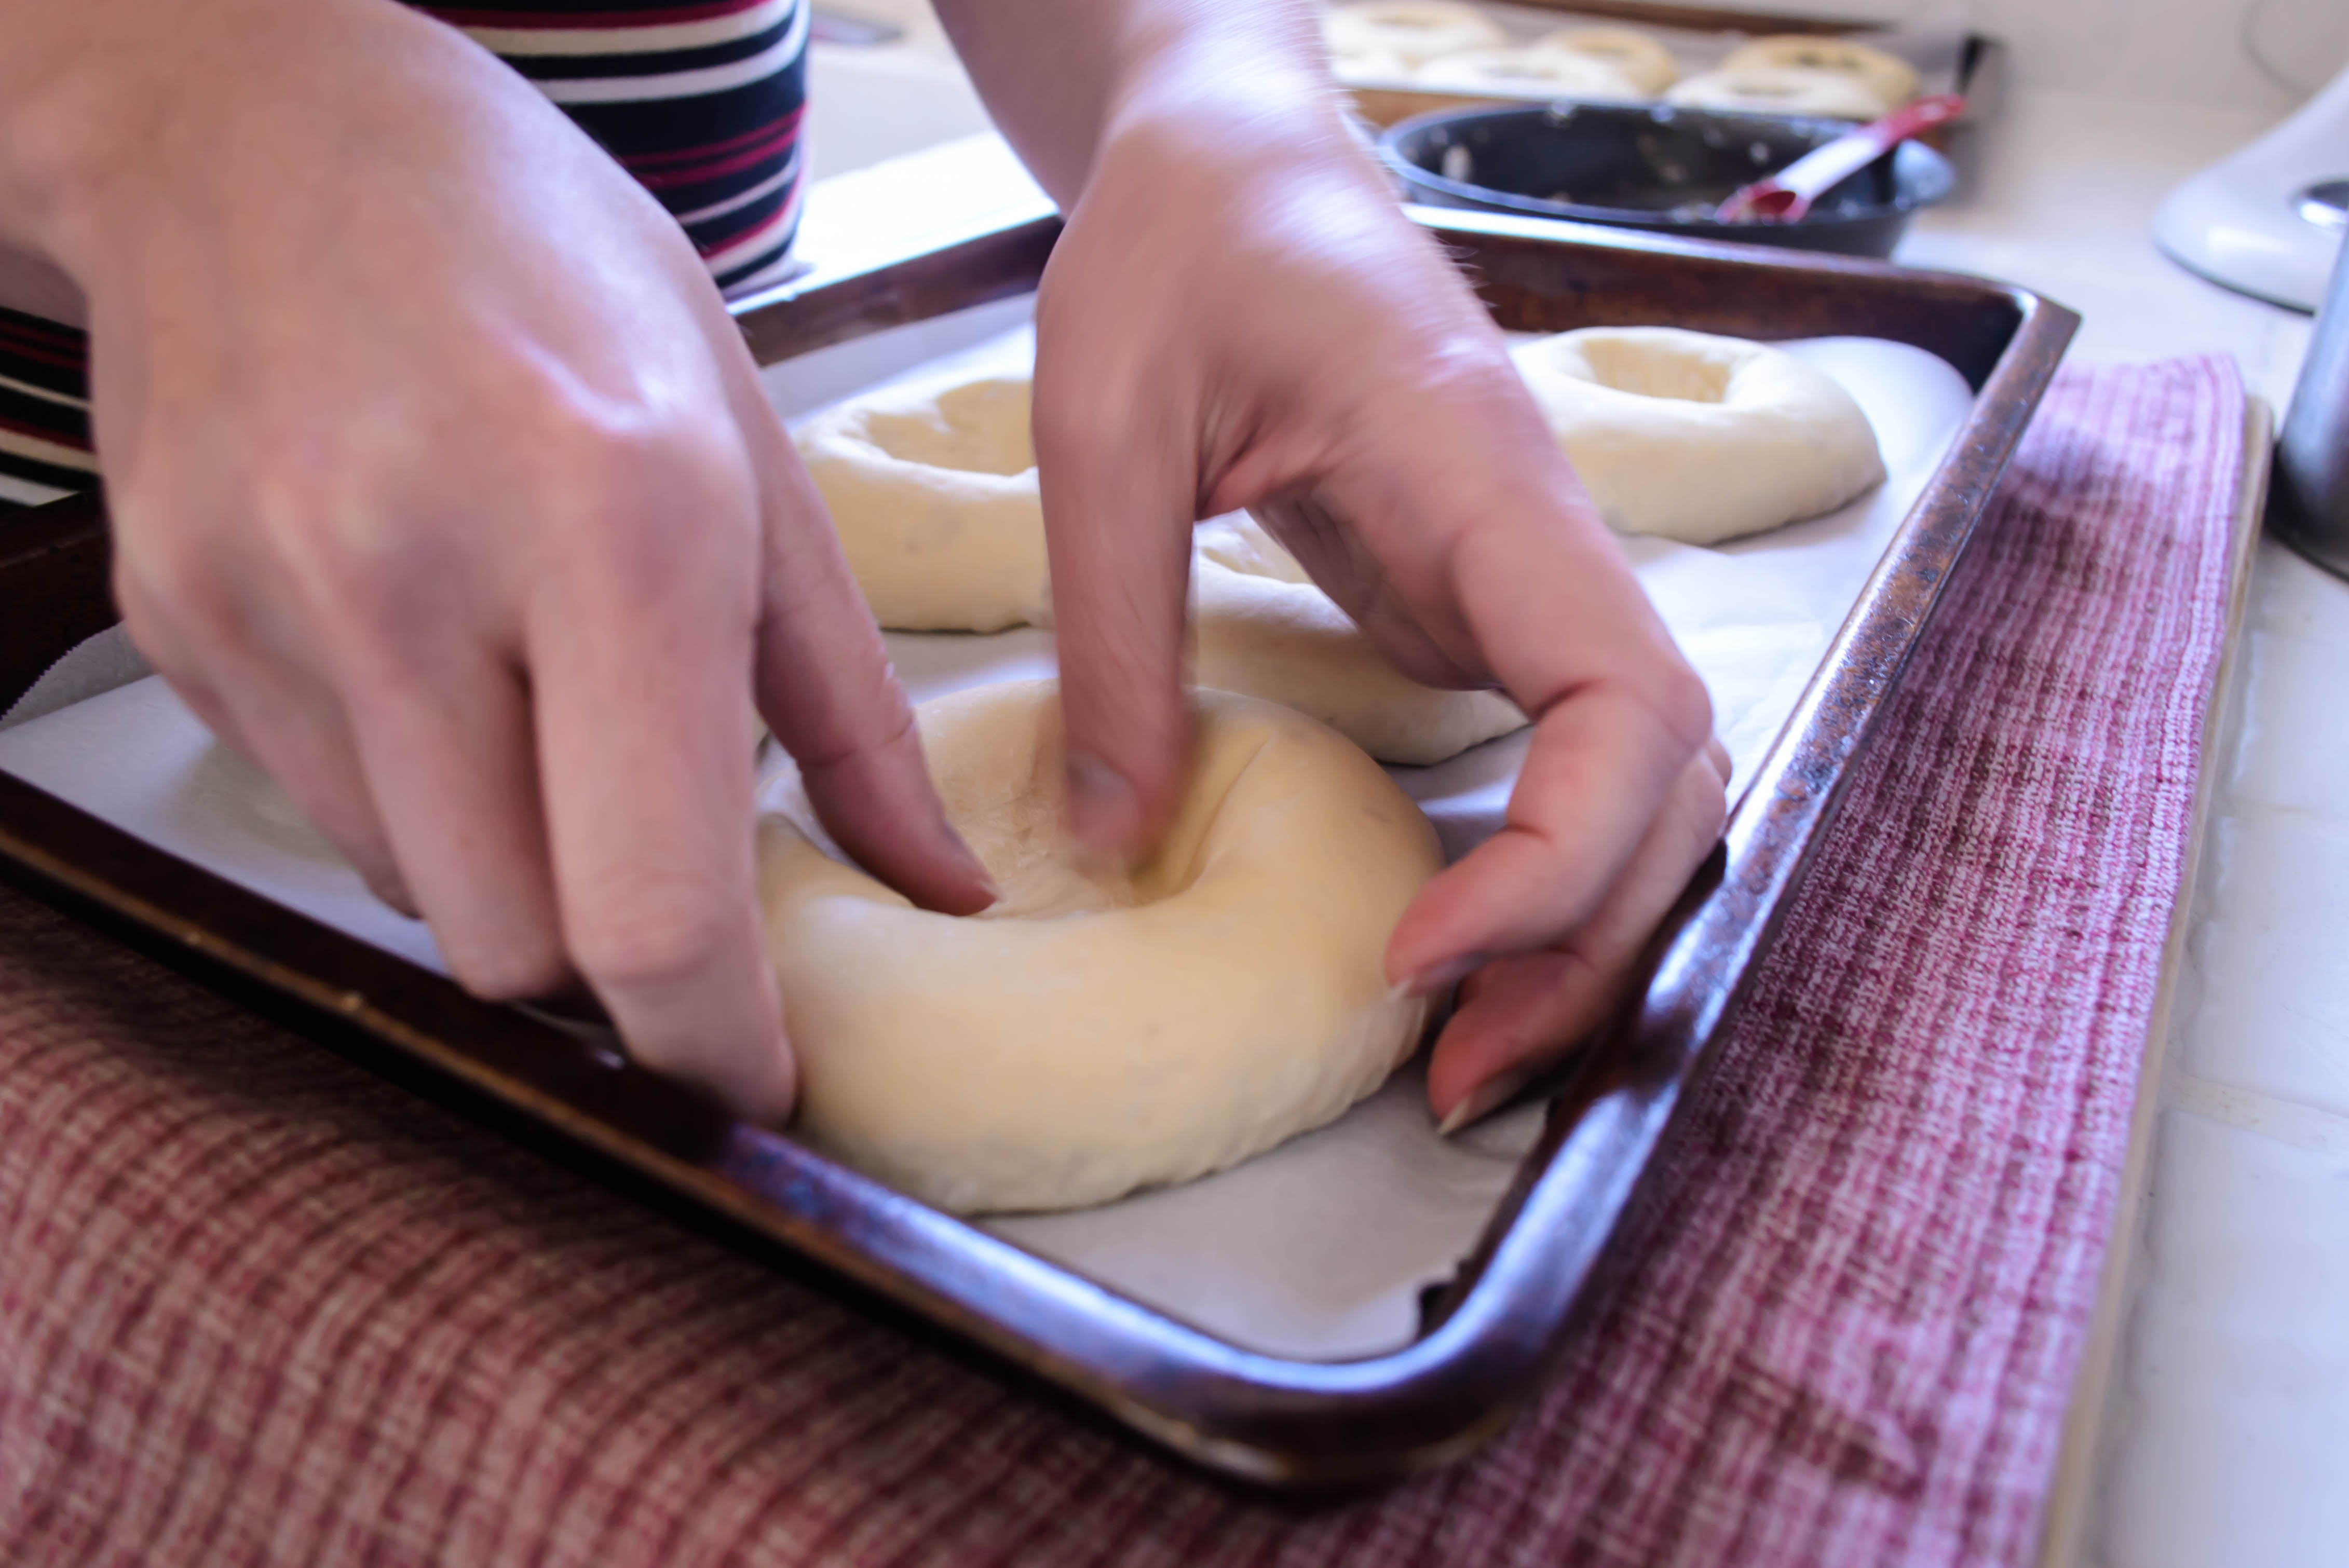
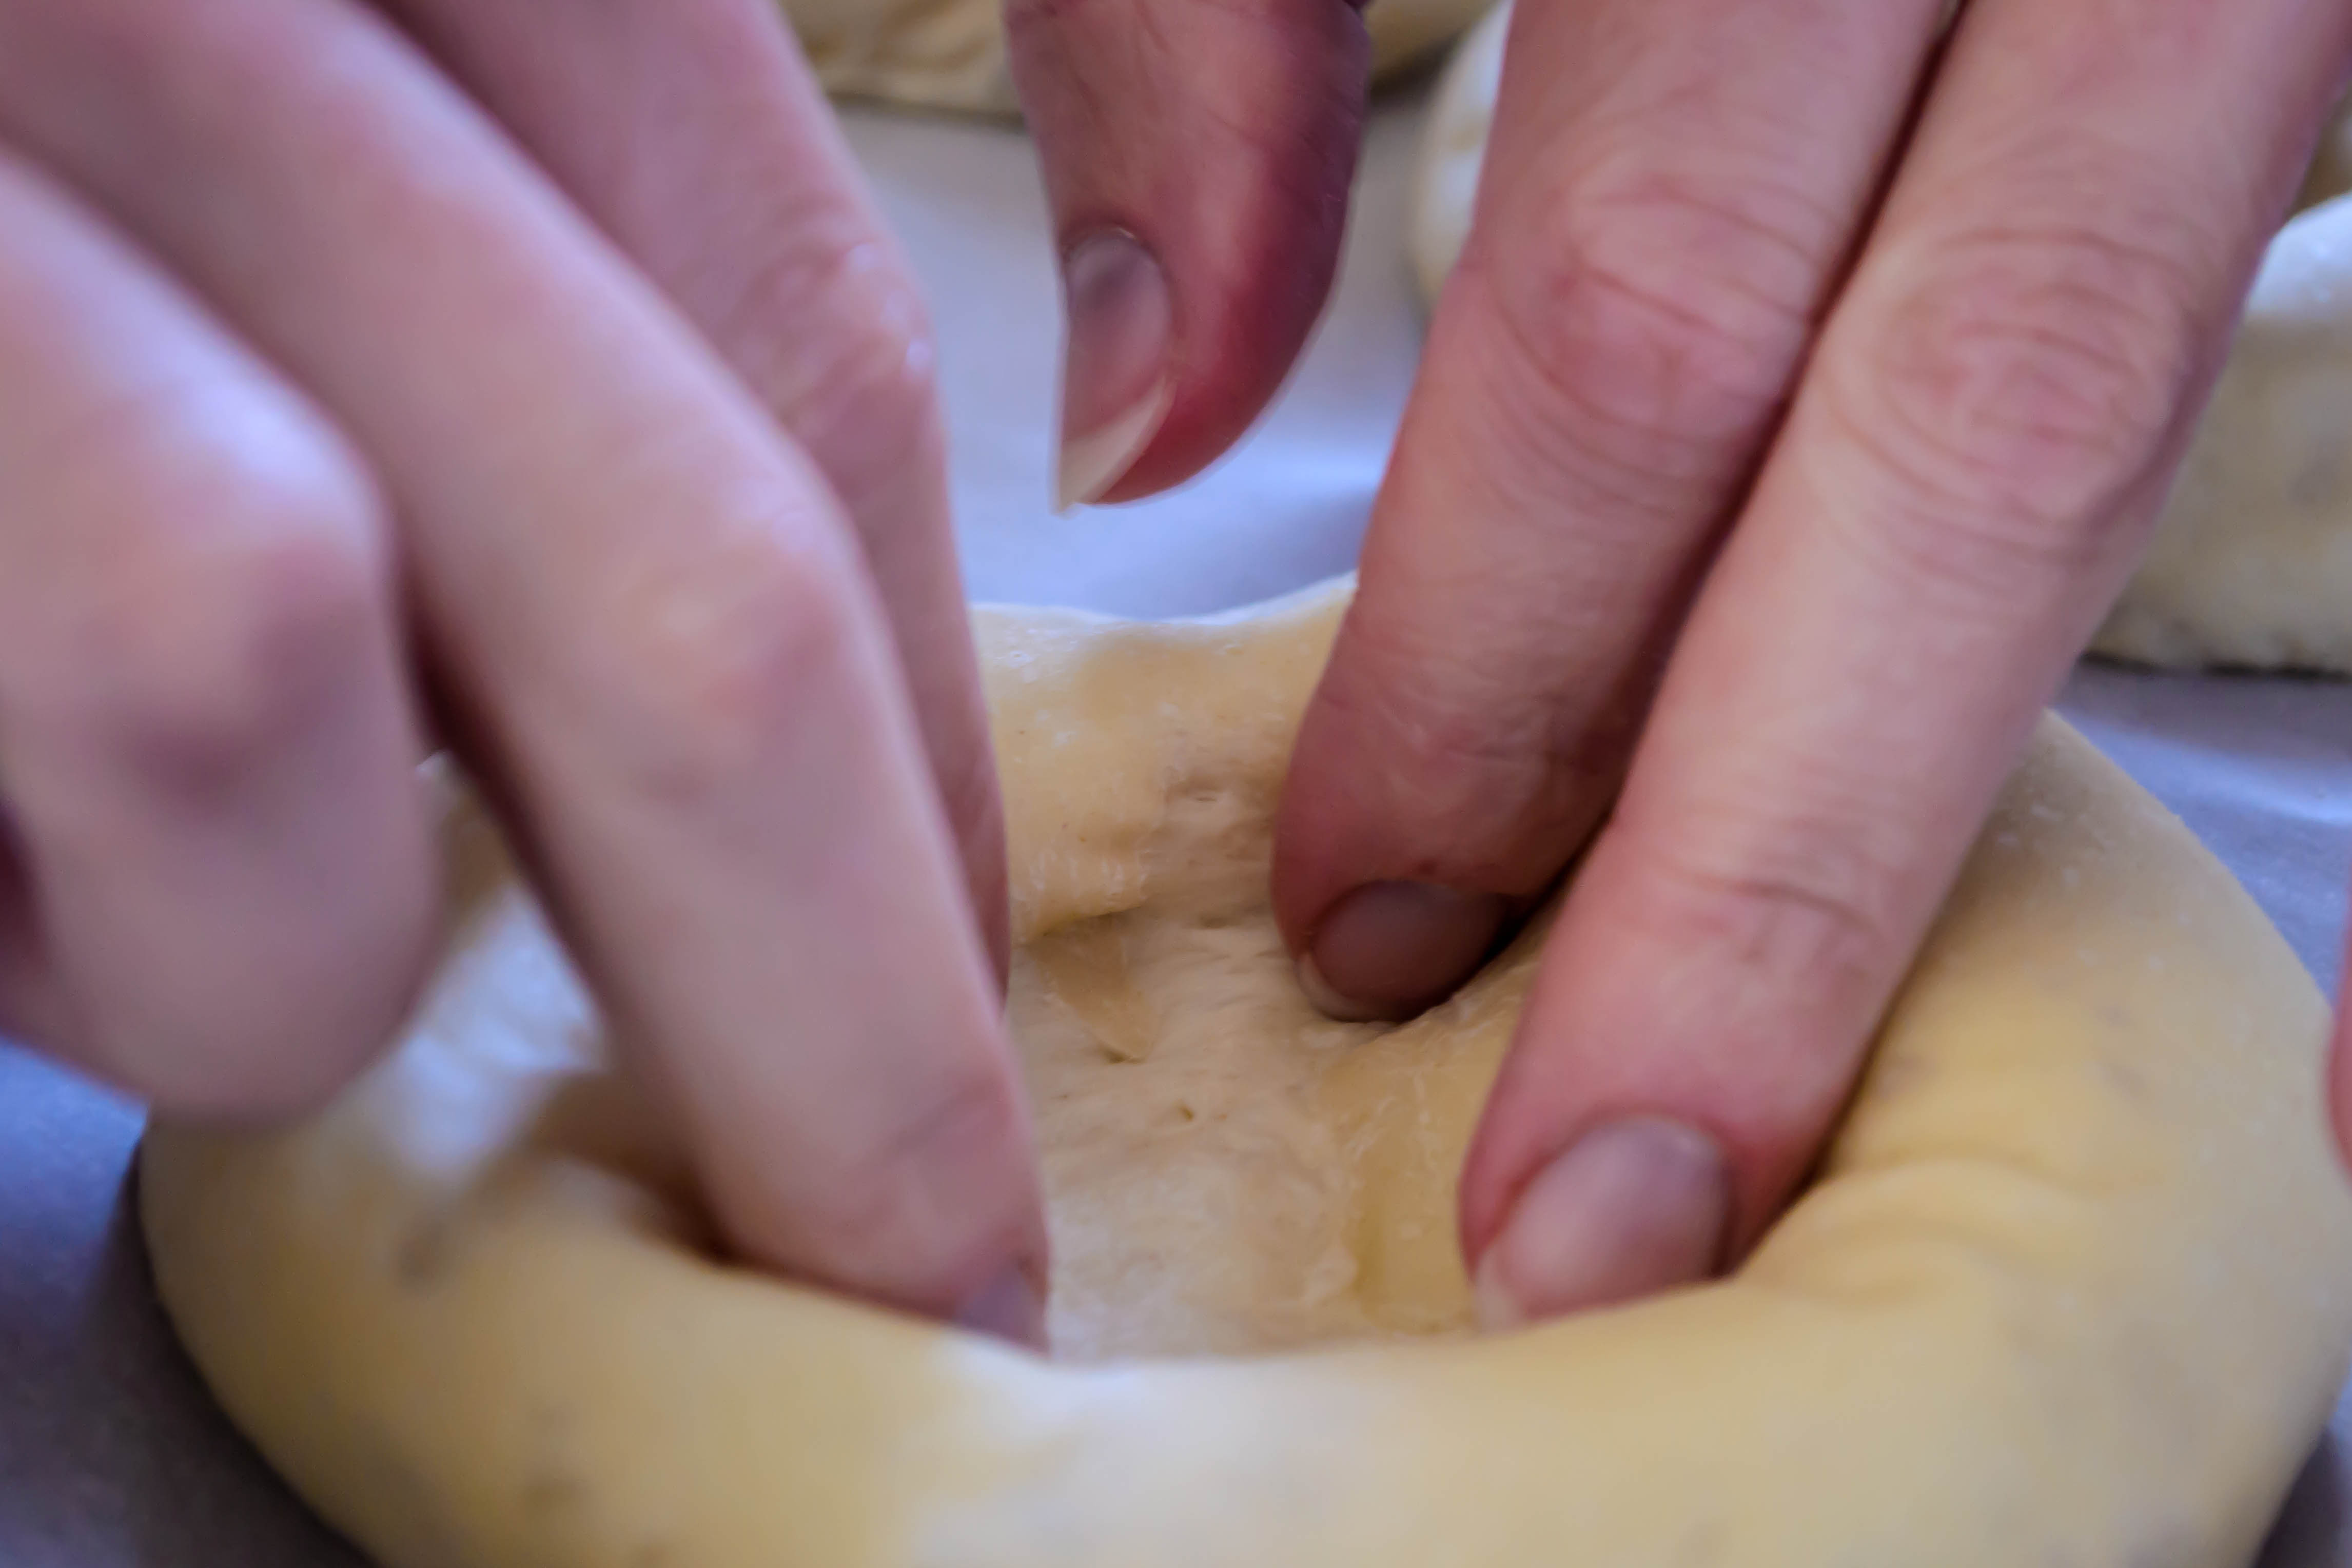
 The trickiest thing about this bread is shaping the crown. This requires flattening, spreading, stuffing, rolling, and then slicing open that roll to reveal the rebellious little rubies inside, which then all immediately threaten to spill out all over your board. You have to “braid” the bread by lifting one strand over the other down its length, all the while trying to keep the fruity guts inside from escaping. Then, once you’ve tamed it into a beautiful interlaced wreath, you somehow have to pick the whole thing up and nestle it into your baking vessel. I know. Mine collapsed a little bit, but honestly, after it rose during its baking time, it was hard to notice. And once we dug in, crunching through the lightly sugared, spicy-tart sweet layers, we didn’t care. The tartness of the cherries is pleasantly rounded by the oven’s heat, but the real star, to me, was the cardamom. Its flavor is so delightful here – brighter than cinnamon but no less flavorful – that I now want it in everything. I suppose they wouldn’t really be “cinnamon rolls” without the cinnamon, but false advertising (or blasphemy) or not, those may be my next cardamom target.
 Two tips for success when it comes to this bread, then, before we get all this out of the way and charge into the recipe.
 1.) Distribute the fruit evenly. I mean it. Don’t just dump the cherries in the middle and decide that’s good enough. Spread them out across your dough rectangle before rolling it up. Though it’s important to leave a slight border, if you have a lot more cherries in the middle of the dough log, it will be much more difficult to keep them contained while you braid it, and you will end up with a really uneven wreath – one section will be much fatter than the rest and therefore bake unevenly. Take the extra few seconds to spread them out well.
 I didn’t learn to drive until I was 17, an oddity at my high school where brand new cars to fit their brand new drivers started showing up during junior year. When I did learn, however, my dad took me on biweekly drives through Orange County, making a wide circle that climbed a gradual hill and then descended steeply toward, much to my dismay, a stoplight that was always red. One week I vividly remember


 The recipe I’m using here is a minor adaptation of
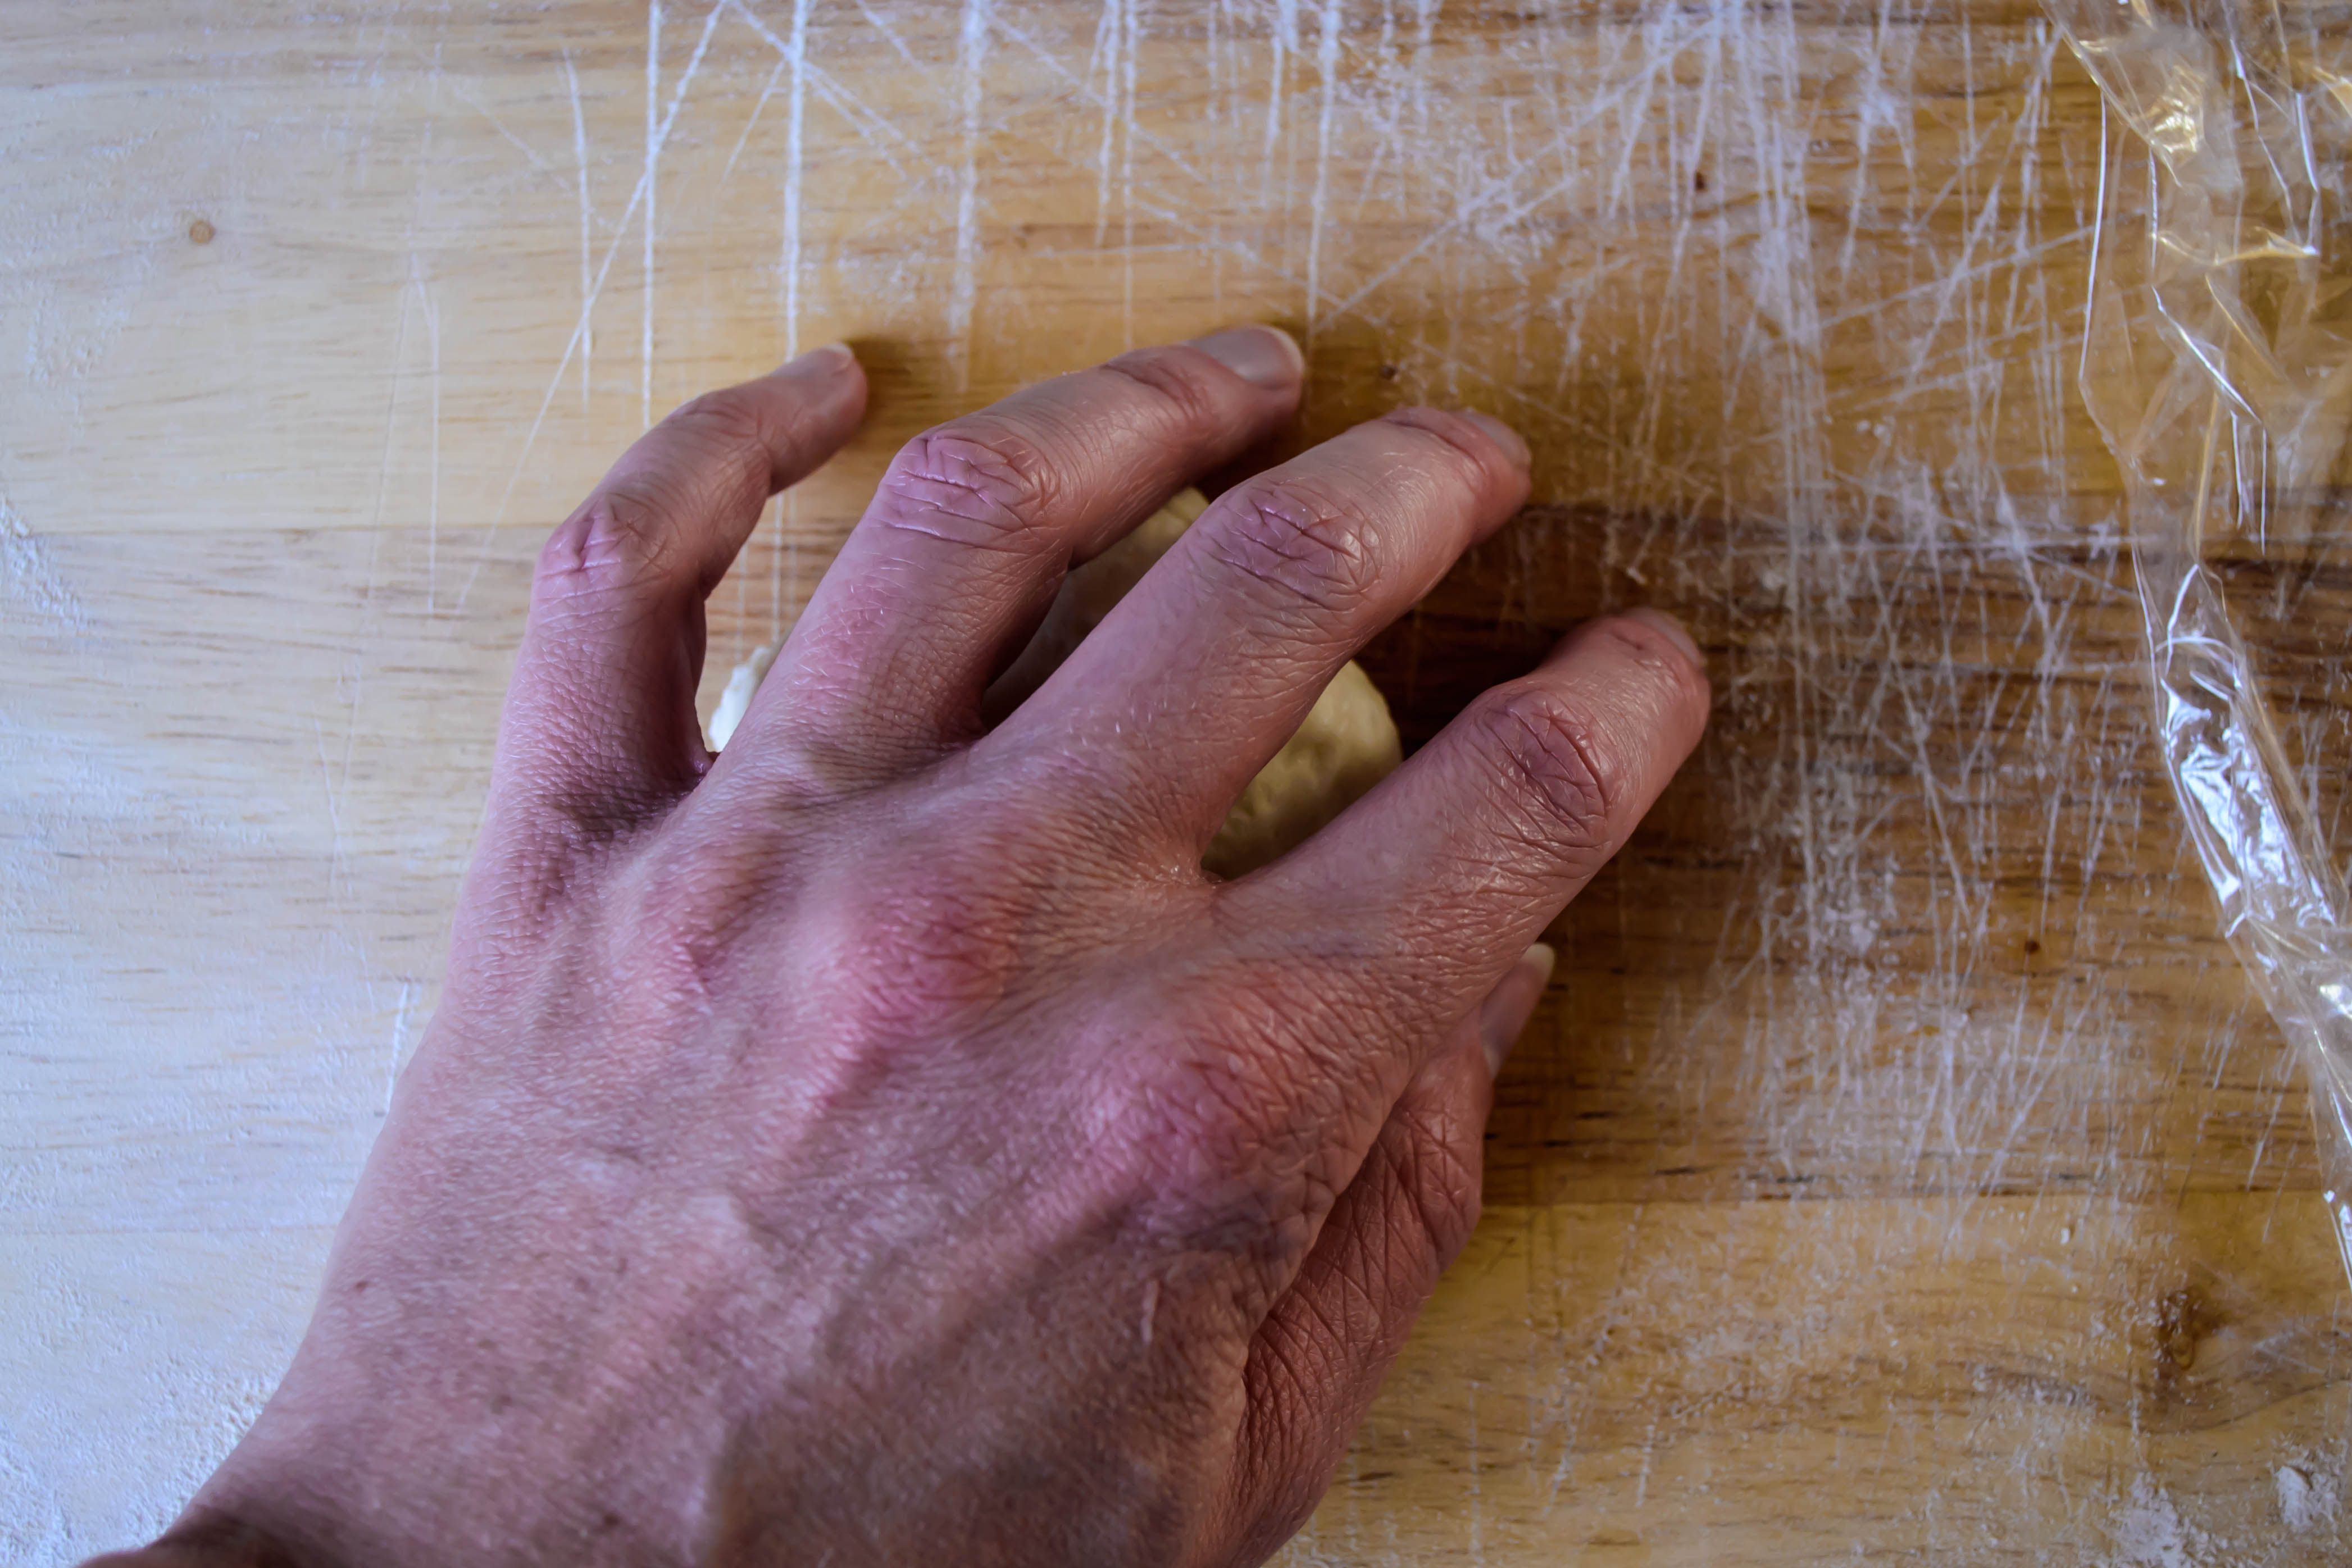
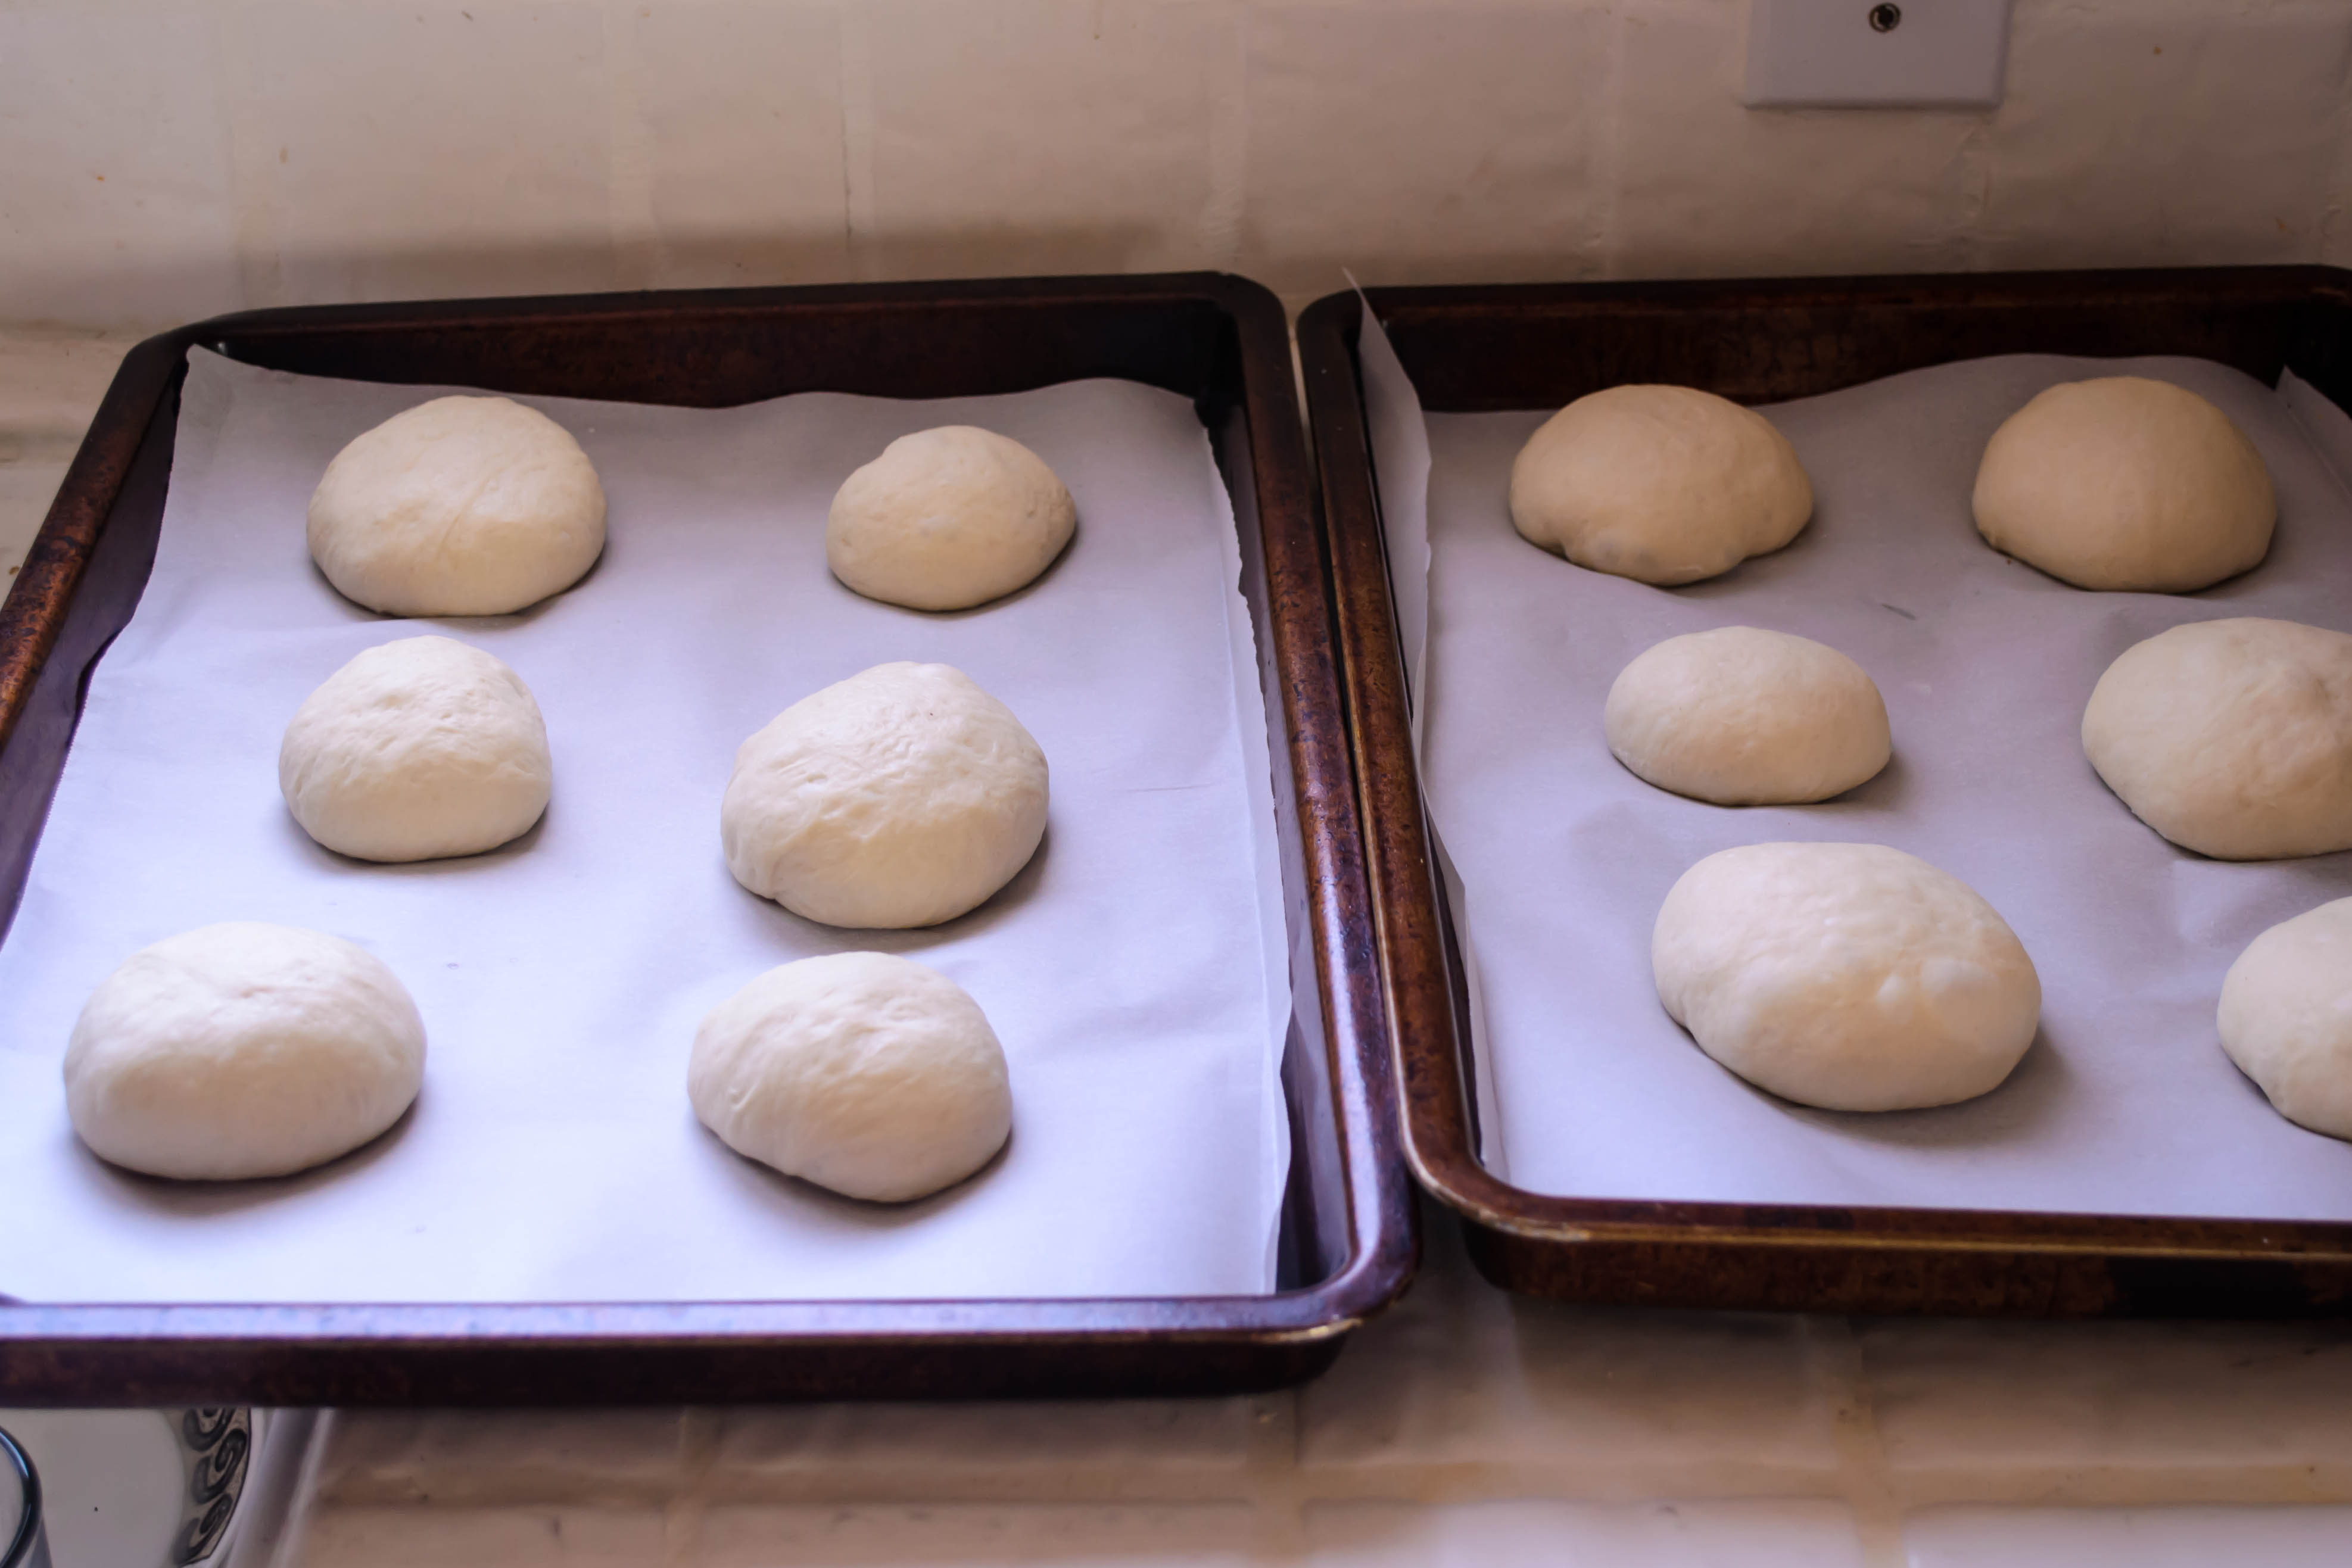
  I asked N. to take some photos for me while I rolled, pinched, and prodded the dough, so much of what follows is his work. Some of mine, though, include the rolling pictorials that follow. I’m using my own version of Joe Pastry’s technique, which I’m finding I like quite well. Rather than just slicing off hunks of dough and rolling them, I flatten out a piece, fold up and pinch the edges into a weird starfish, and then follow Joe’s suggestion of lightly rolling the dough in circles around the board inside my lightly curled hand. My system – in pictures – follows, but you can see Joe’s technique
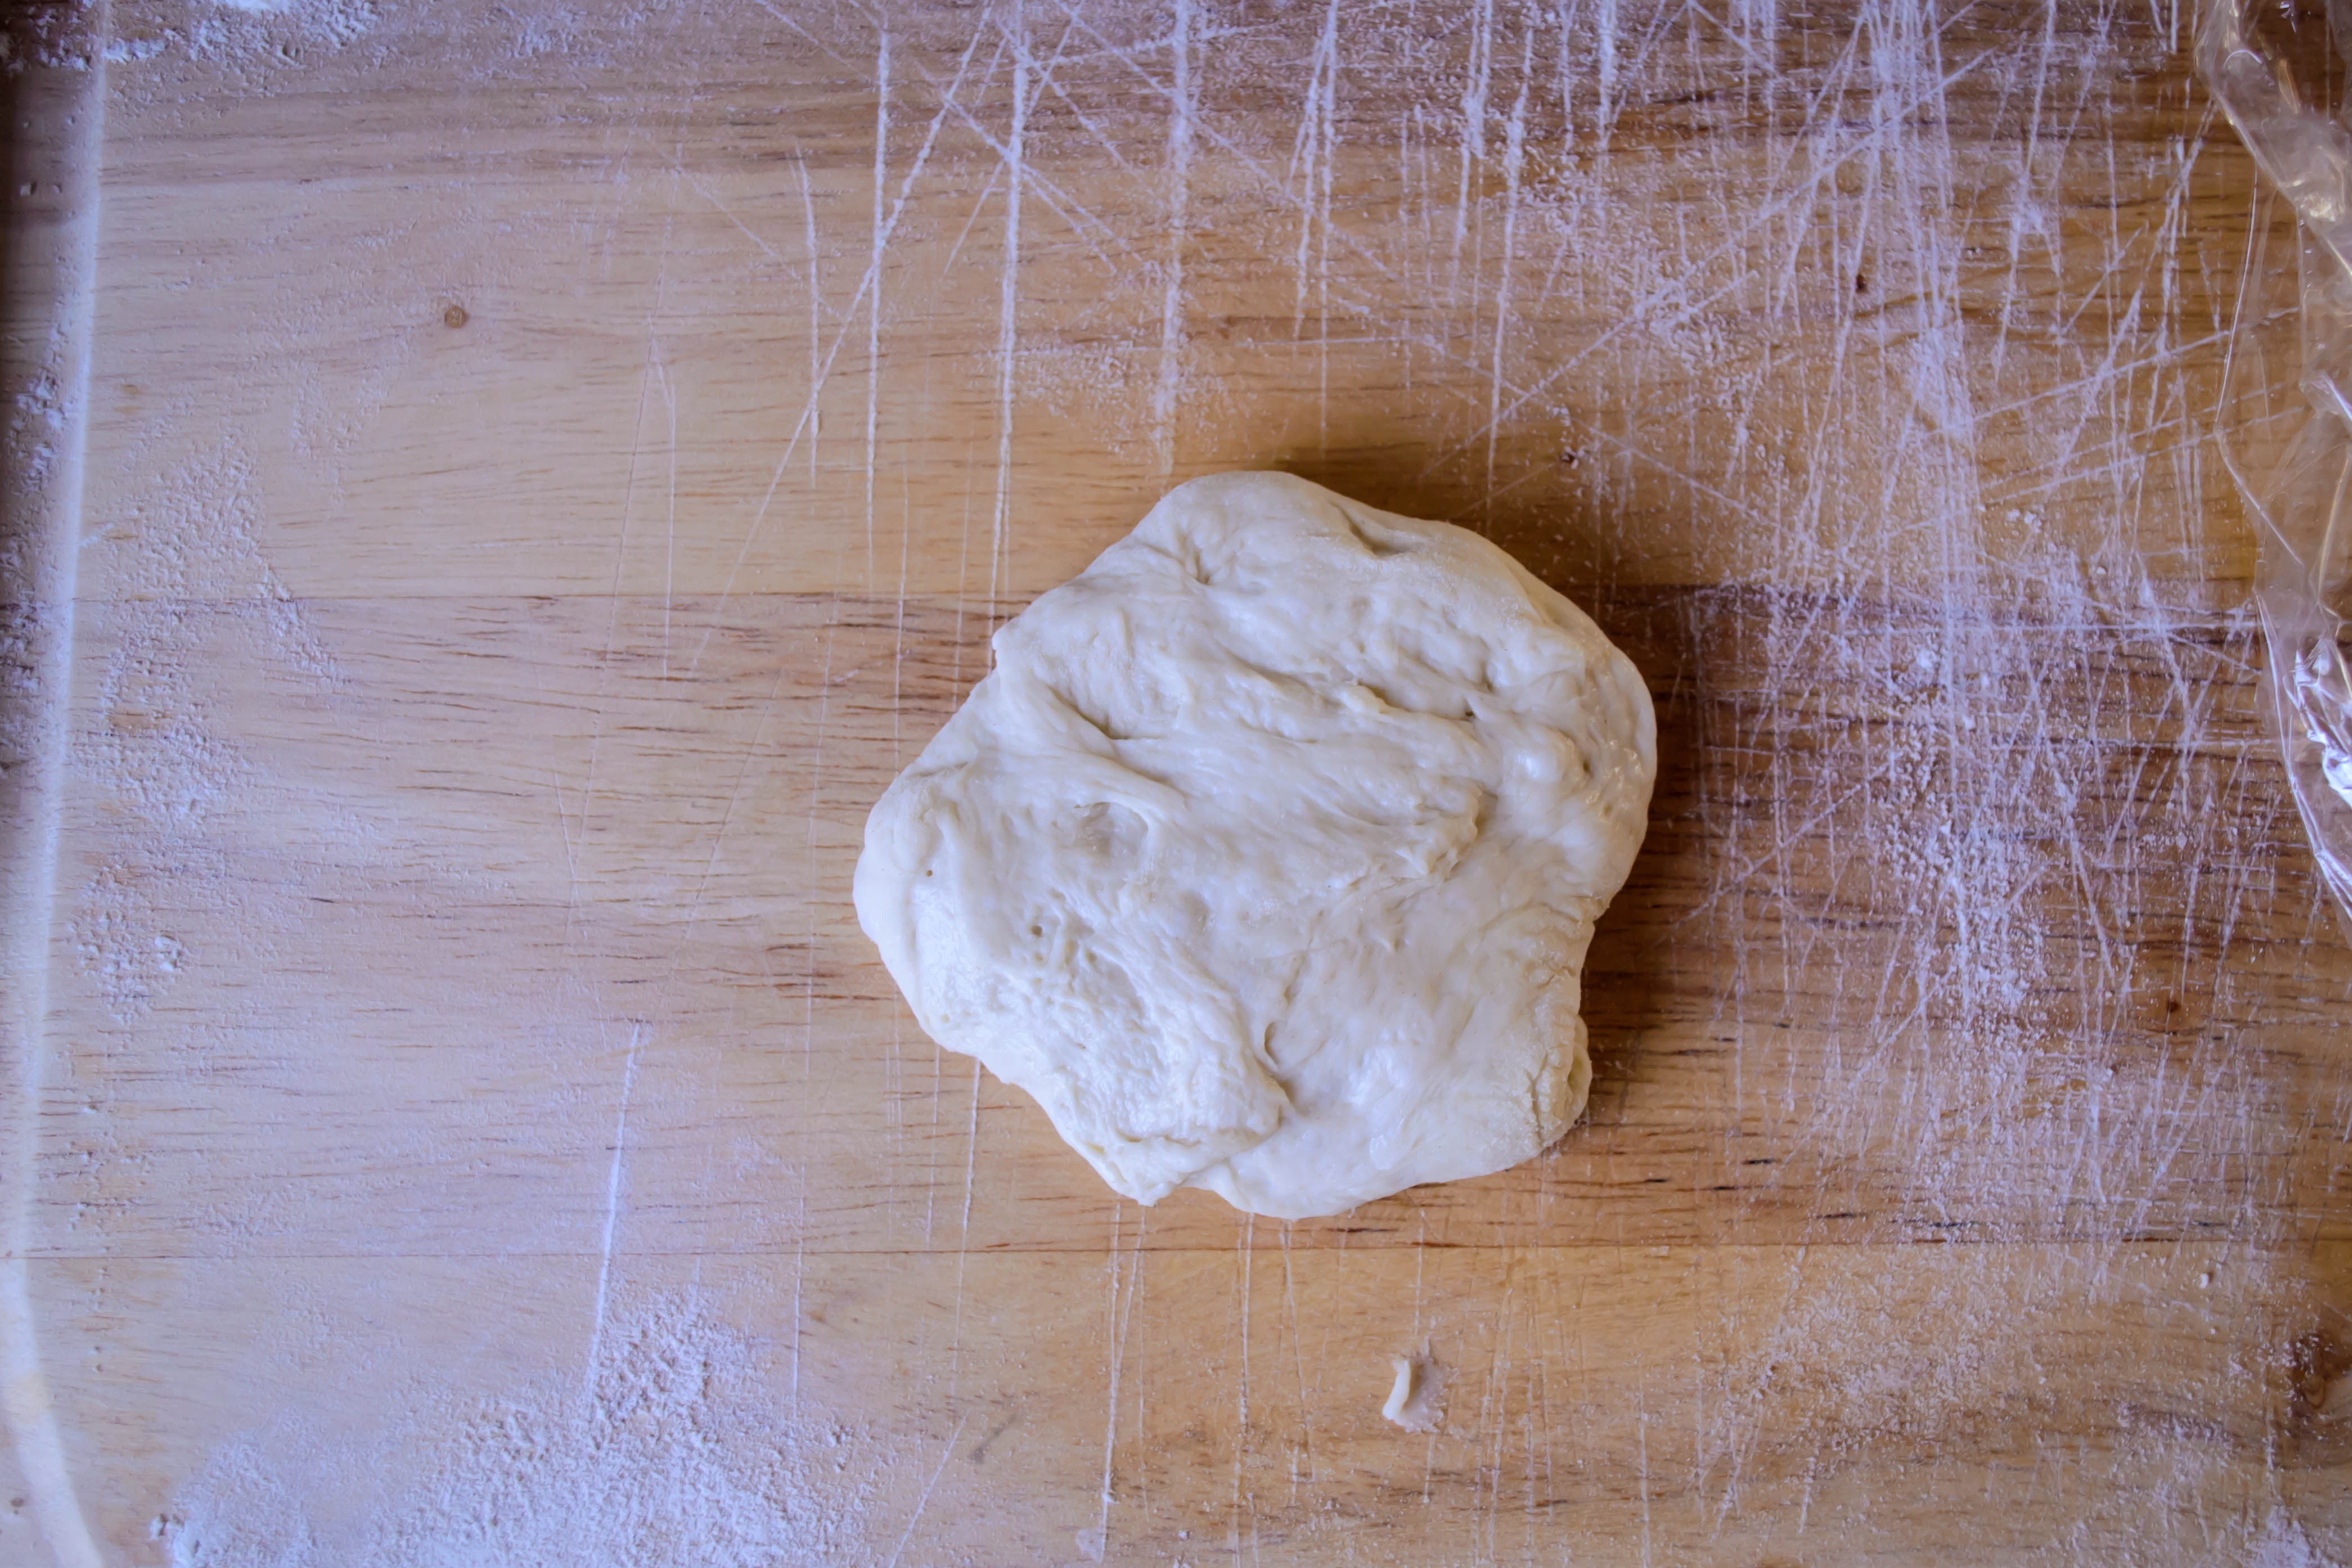


 This means that every week when it comes time to sit down and write a post, I scramble. At least it’s getting lighter outside every night, which means the moment when I can photograph the intricacies of one of our dinners – perhaps even on a week night – is coming. But for now it usually means making and photographing something on a Saturday, editing the photos (I do a little fiddling with white balance and noise reduction) and cobbling together a few things to say about it on Sunday, and scheduling it to go live as usual Monday morning.

 Recently, Joe posted a