As I continue to write this blog, I think a lot about the kind of person I am, and the kind of person I seem to be becoming. I don’t mean this necessarily in a deep, philosophical or metaphysical way (although sometimes those things collide in the expanding corner of brain-space I use to think about food), but in a “what sort of food person am I?” kind of way.
 Example: probably about five years ago, I wanted to make fried rice but didn’t have one of those seasoning packets, not even when I dug all the way to the back of my pantry (I can hear you gasping in horror that I ever had one in the first place. What can I say? We all have guilty secrets about one thing or another), so I tossed a few things together and ended up with a sauce we really liked. I haven’t bought one of those seasoning packets since. From there, I added different spices, different quantities, different ratios of garlic and ginger… and suddenly the bags of frozen stir-fry vegetables we were tossing in weren’t good enough anymore. Fresh vegetables were now a mandate. Fried rice used to be a quick and easy dinner! Now it’s a totally from scratch undertaking. And that’s the kind of (food) person I am becoming.
 Example two: I used to subscribe to a number of cooking magazines. Though I let my subscriptions run out (their cost made them an unjustifiable luxury during graduate school), I continued to use the collection I’d amassed, restricting myself to cooking recipes only from the current month’s issue: no August recipes in April. This was an attempt to keep myself seasonal and inspired. Well, this year it stopped working. As each new month began, I’d eagerly flip through the appropriate month’s issue looking for something to excite me and drive me into the kitchen. I’d close each issue with a sigh and toss it to the side. There were many, many recipes I hadn’t tried before, but there just wasn’t anything in there that felt inspiring anymore. Well, almost. Once in a while, I’d find a recipe that I’d consider for a moment and then turn to N. and say something like, “this might be good, if you made it into a pasta dish instead of a sandwich and added some sundried tomatoes and herbed goat cheese.” And I’d do it, and we’d be pleased with the result.
After a few months of this sort of thing, interspersed with a probably indecent amount of complaining about how I was bored by these recipes, N. finally turned back and said, “I think you’ve leveled up.” Translation: your imagination has moved beyond what these magazines offer and you are now on to bigger and (we hope, for the sake of our taste buds) even better dishes. And that’s the kind of (food) person I am becoming.
 Example three: since I’ve started baking bread, I’ve been trying to plan meals around a yeasty undertaking once a week or so, to keep myself in practice and find “the best” versions of each type of baked good I undertake. This has resulted in a development I’m not sure I’m entirely comfortable with: though I have continued to buy a weekly loaf of bread (I really like, oddly enough, the plain old sourdough loaf the bakery department at my grocery store produces) when I go shopping, I haven’t bought hamburger buns, or pie dough, or pizza dough, since beginning this little dough experiment. Am I really the kind of person who no longer considers store-bought burger buns acceptable? I’m not sure I’m ready for that kind of commitment, but that seems to be the kind of (food) person I am becoming.
 Does that make me a snob? Maybe. It certainly makes me one of those “oh, I just made it by hand” kind of people you sometimes feel inclined to secretly snarl at. But no one in the direct friendly fire of these developments is complaining, so maybe it’s not entirely a bad thing.
 But it does make things more complicated, and more difficult to achieve, sometimes. Like when I decided I really wanted cinnamon-raisin bread for breakfast, but instead of picking up a pre-packaged loaf as we shopped, I was determined to make it myself.
And then I forgot to buy raisins.
What’s a girl to do, with the plan in her head and the taste already in her brain and the soft chew of homemade bread aching in her teeth?
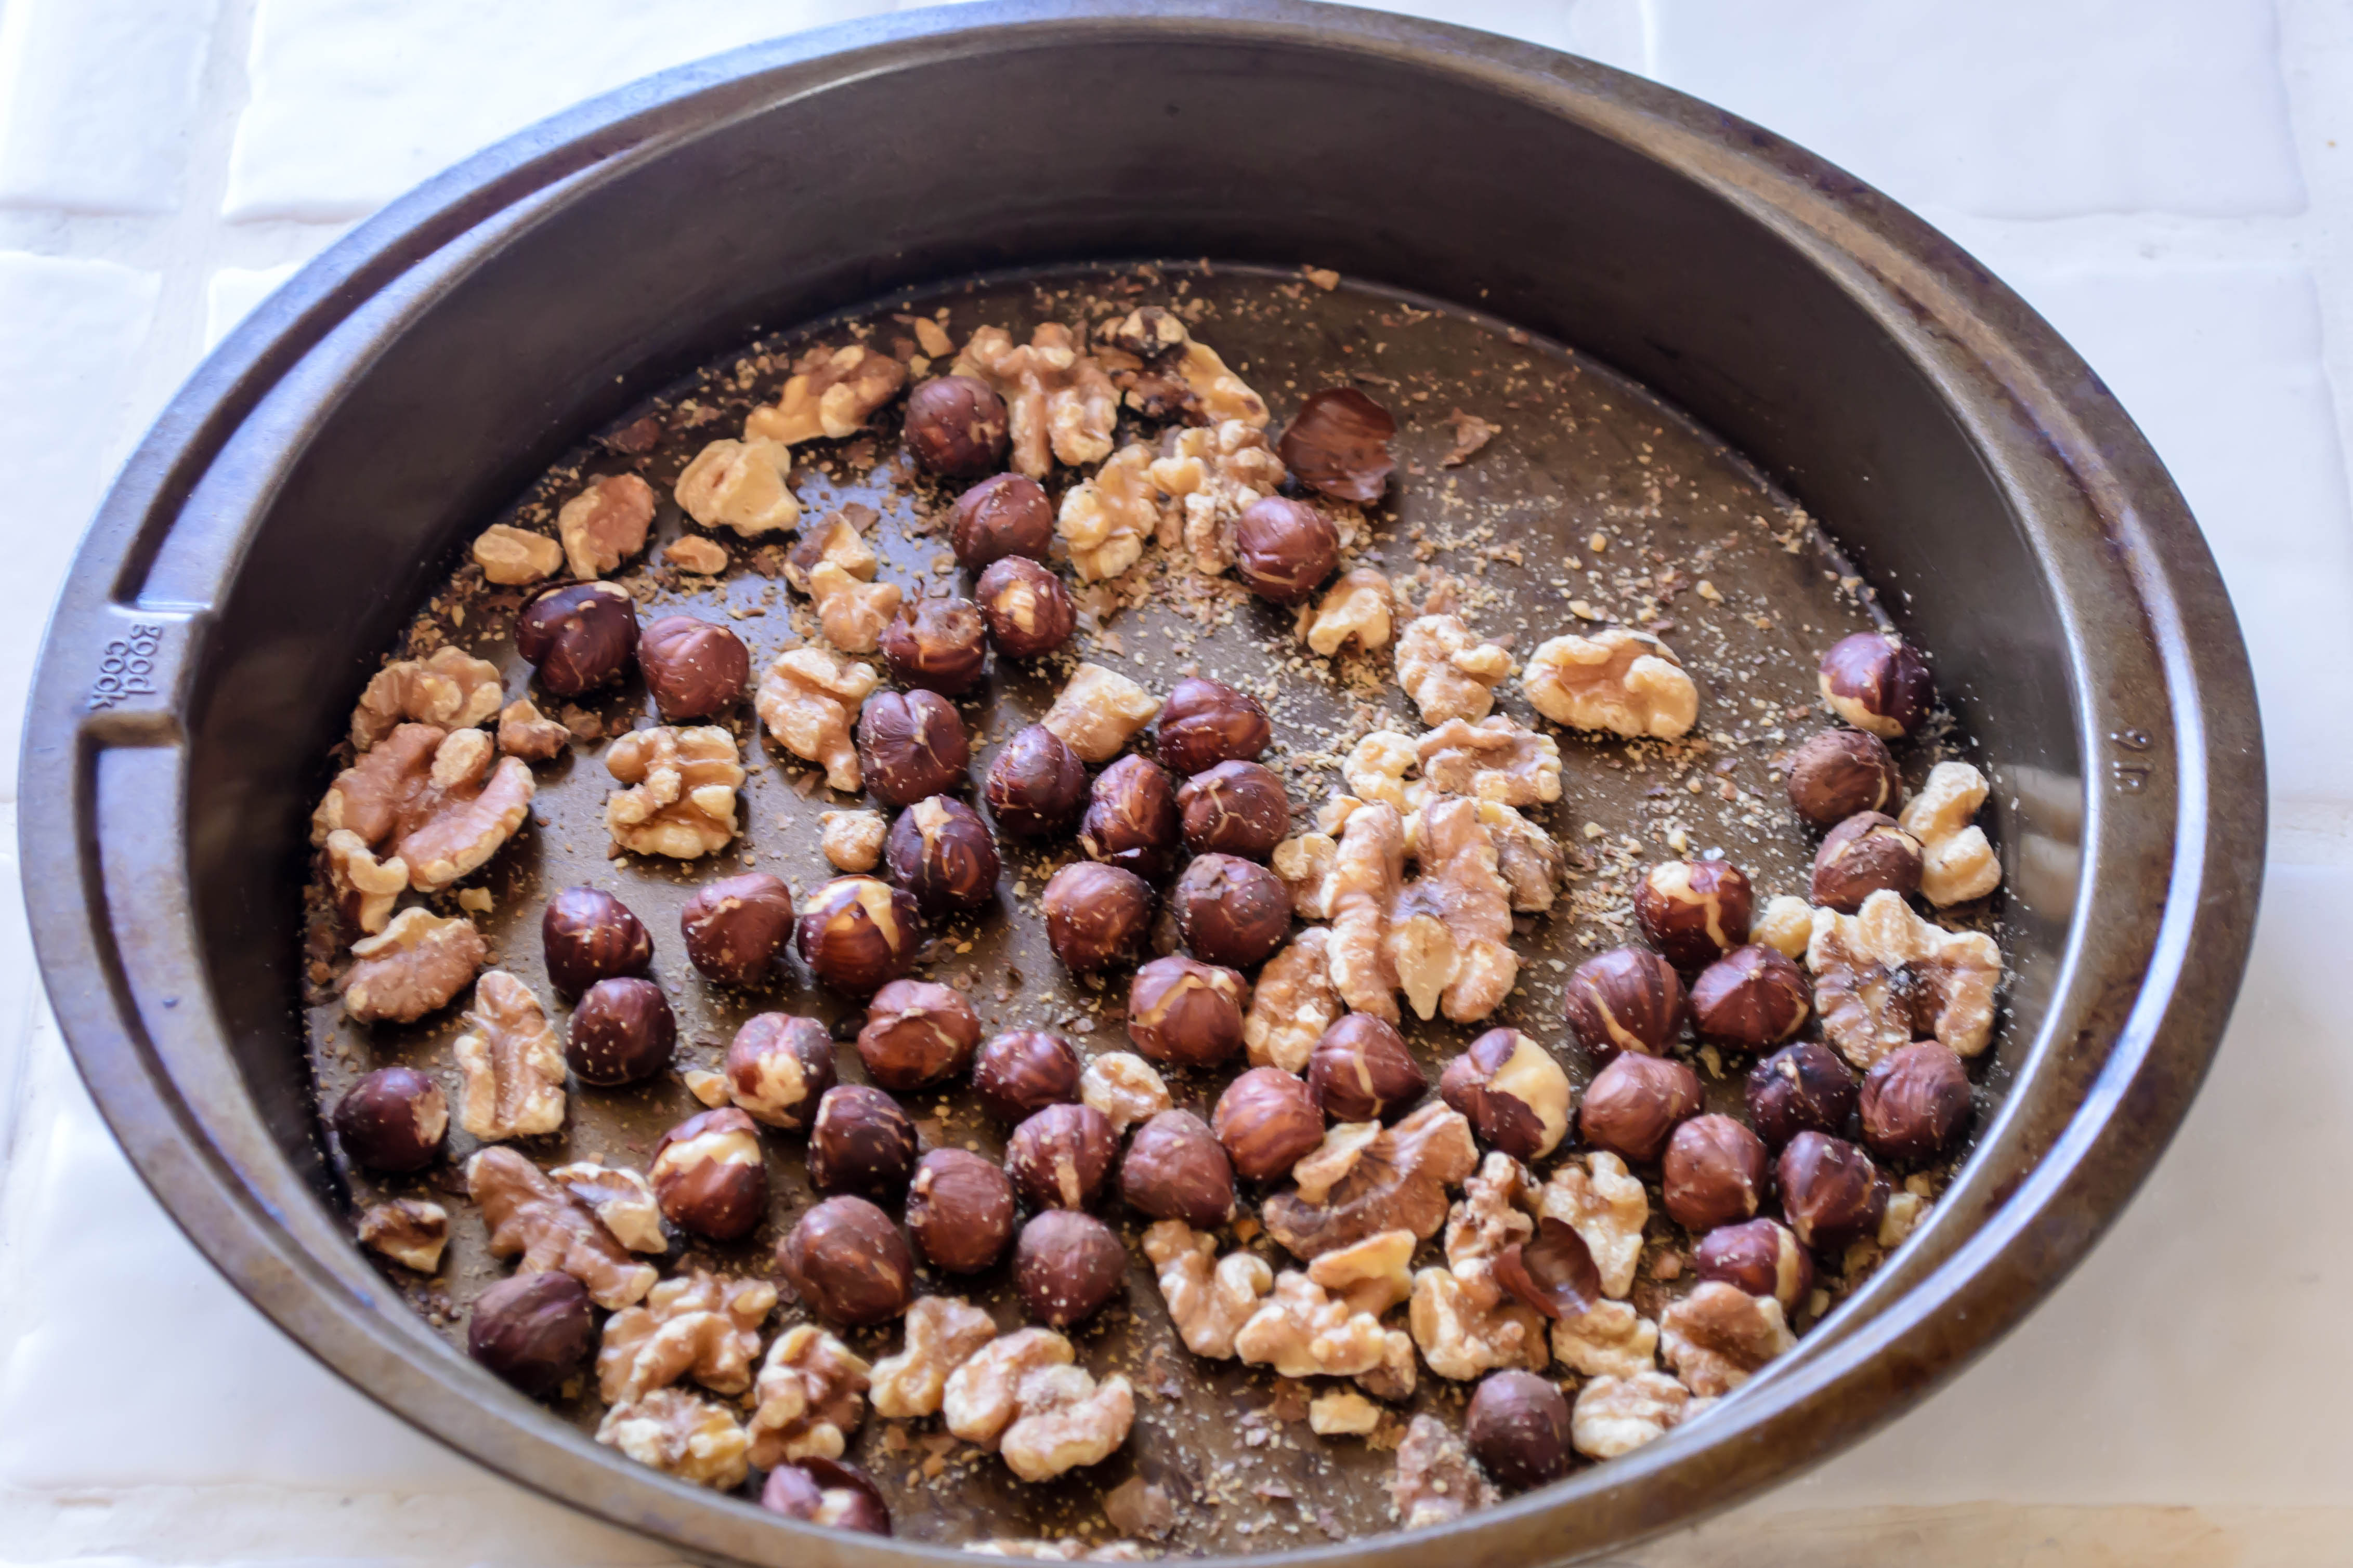
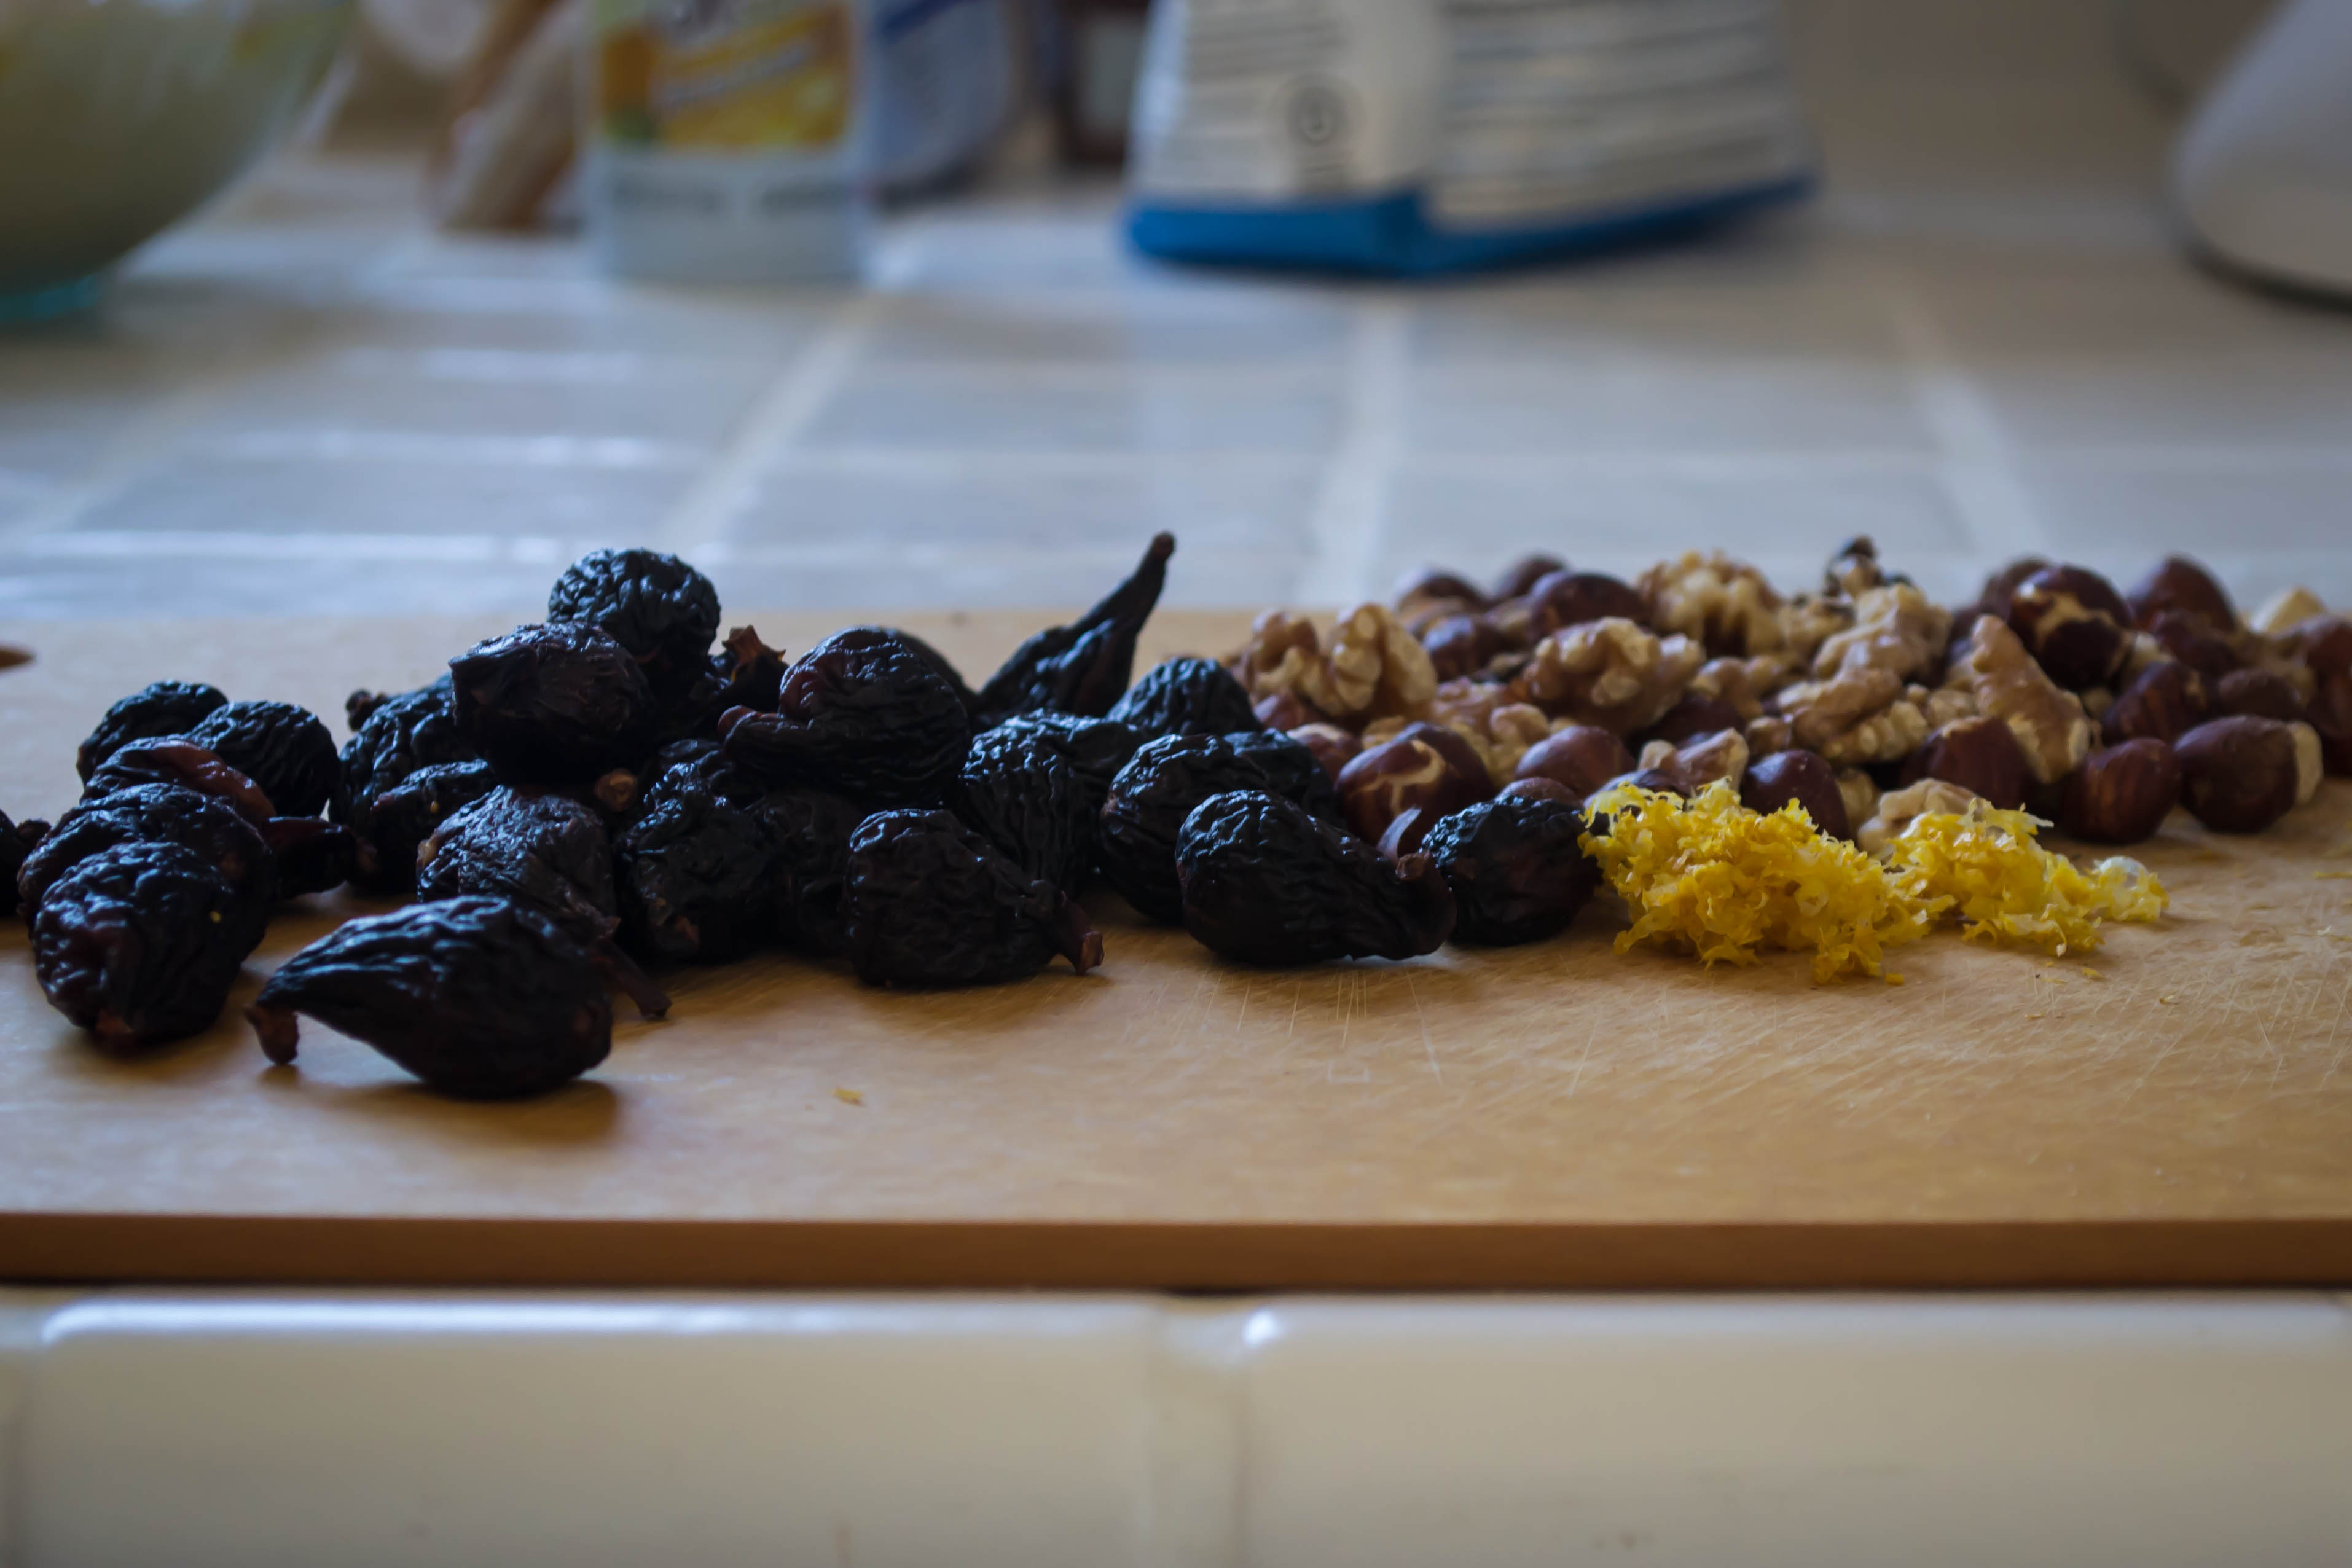 Well, she chops up some figs, and some well-toasted walnuts, and some hazelnuts for good measure, because she was almost out of walnuts. She whirls together a soft, supple dough laced with brown sugar, cinnamon, and sour cream. Nutmeg and lemon zest find their way in. And she rolls up a crunchy crumbly sweet layer of fruit and nuts inside the dough, twists it to dispense the swirl, and lets it rise into a triumphant bulging loaf.

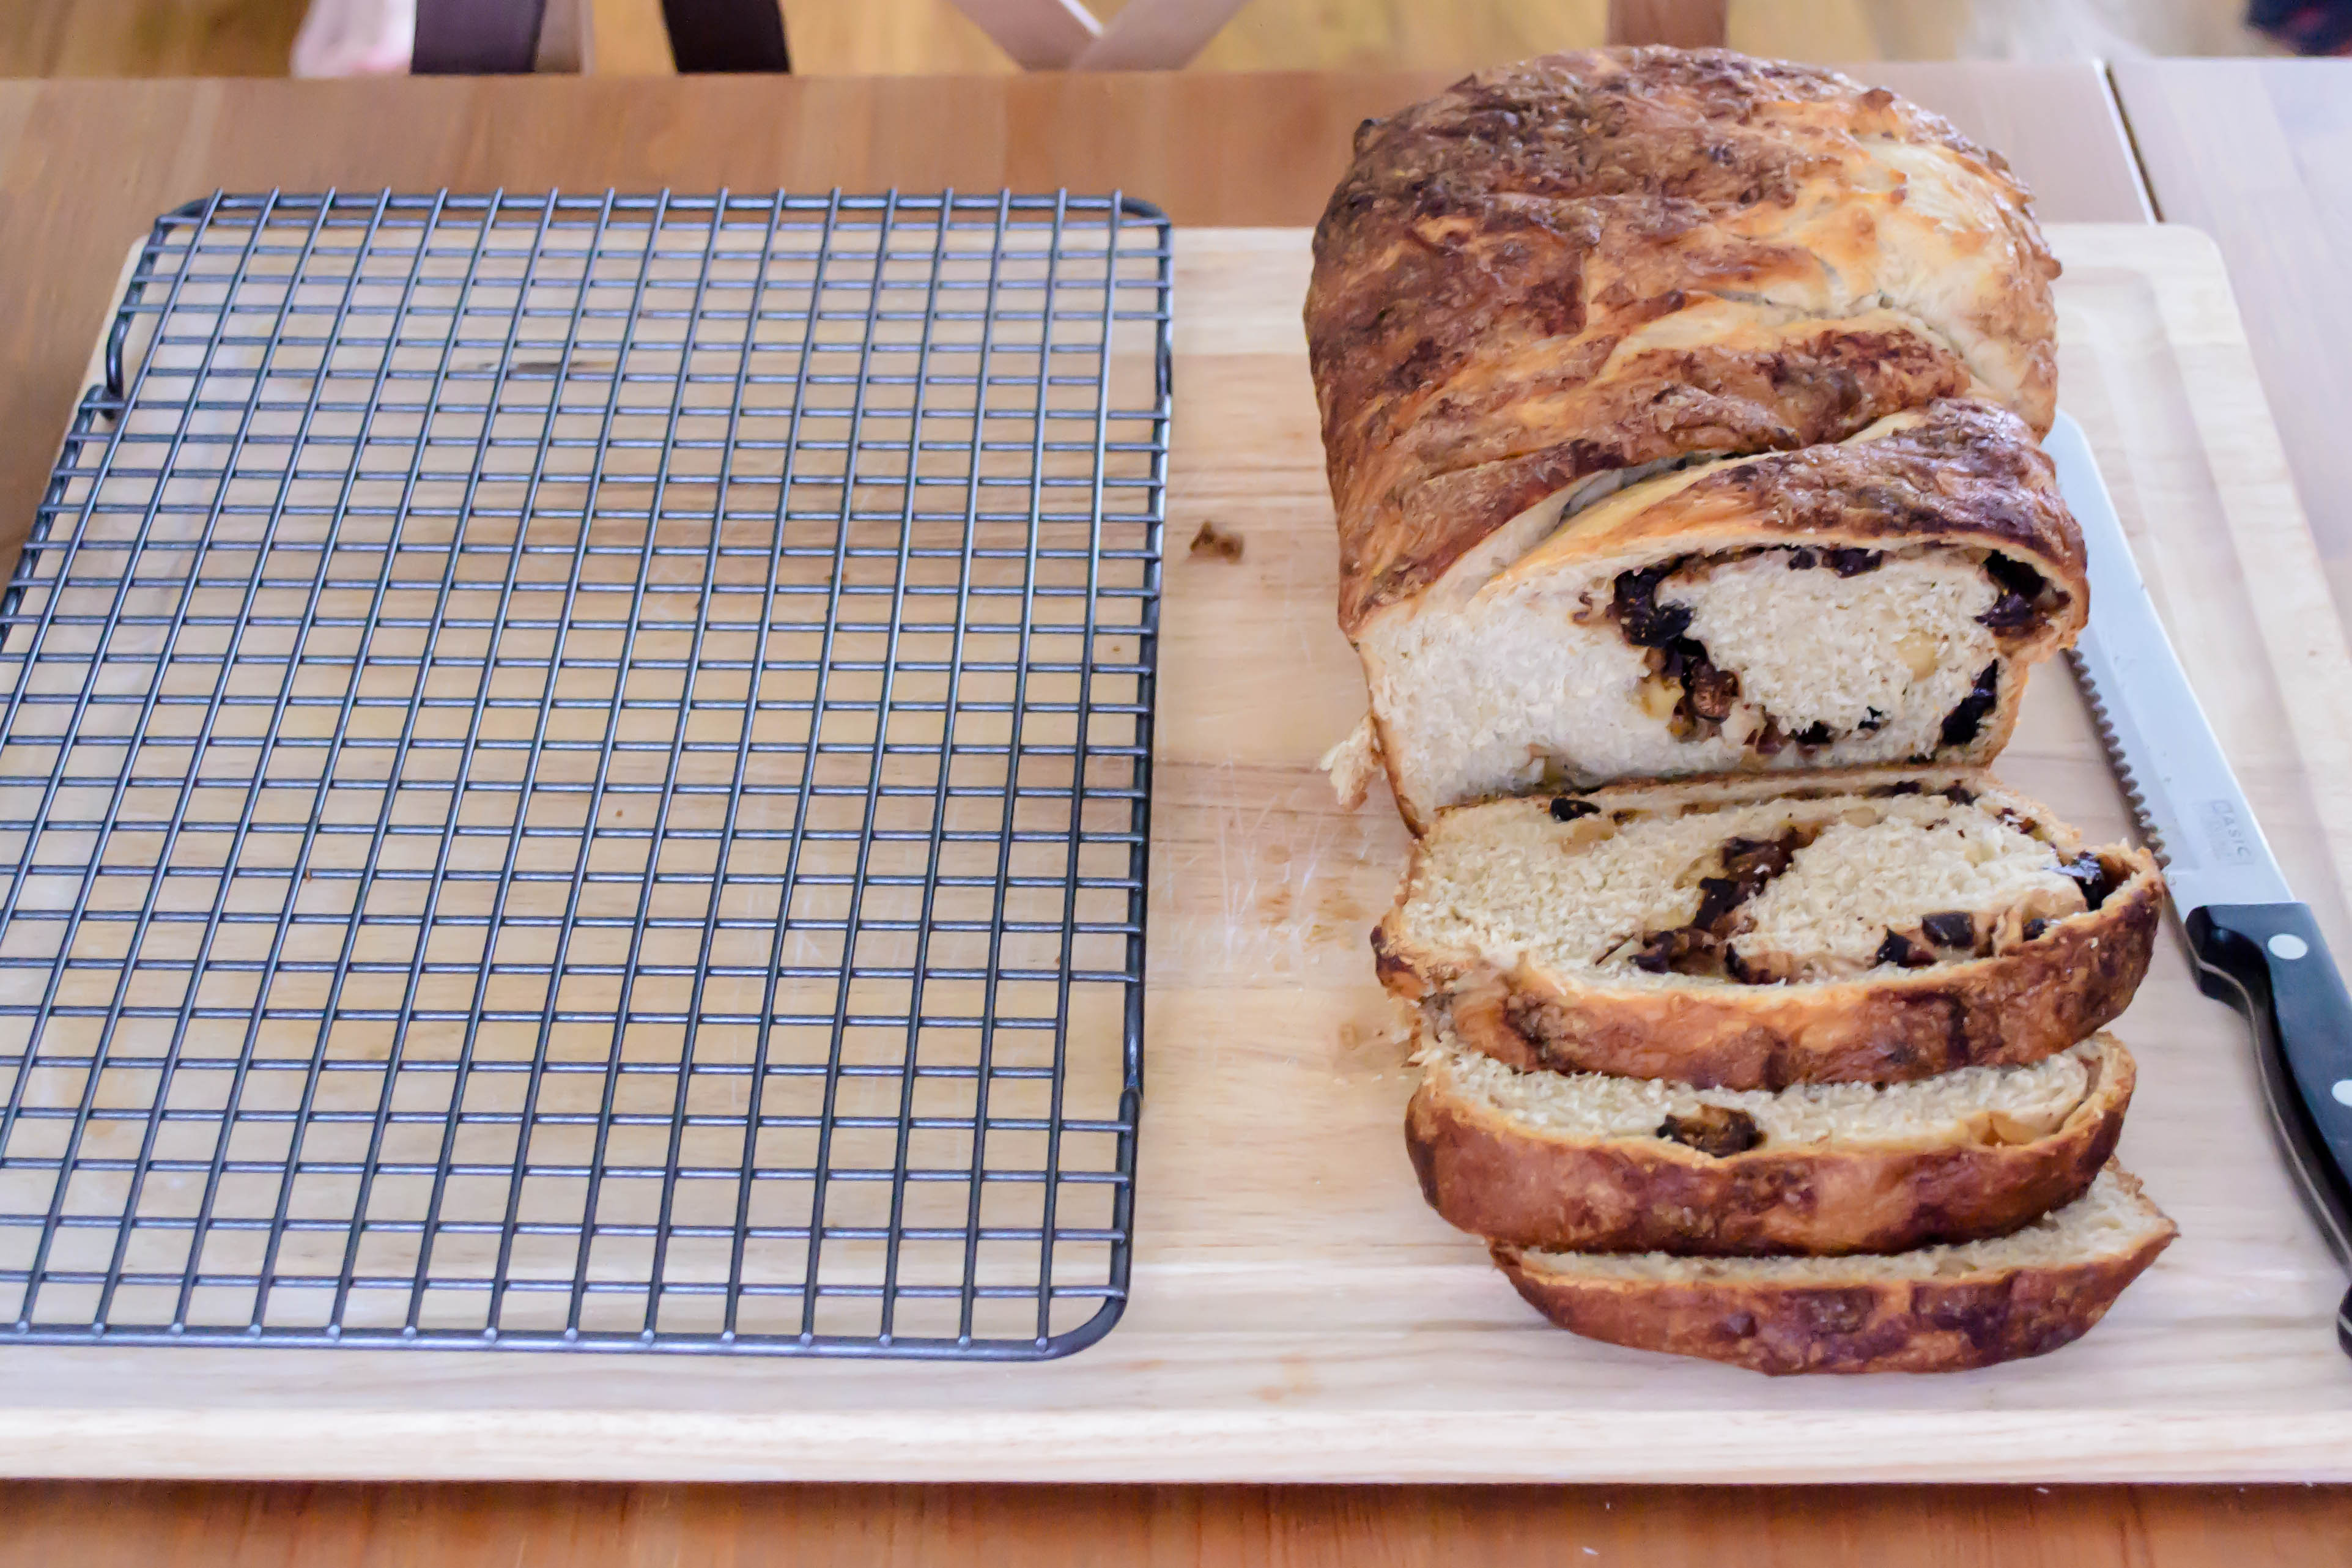
 And what results, after it’s been rubbed with butter and cinnamon sugar for good measure and baked until golden and puffy, is something that drives standard cinnamon-raisin bread straight out of her mind.
 The sour cream adds a beguiling richness to this loaf, making it almost unnecessary to add a slick of butter or cream cheese to a breakfast slice. The figs and walnuts are a pleasingly earthy combination, and though I wasn’t crazy about the lemon zest I added at the spur of the moment, you might like the brightness it brings to the filling.
 So. Food snob? Maybe. But really, when you’re sitting down to breakfast with a loaf of homemade, fig-filled bread, your mouth is probably too full to complain.
 Fig and Walnut Swirl Bread
makes 1 large loaf
For dough:
2 tsp yeast
½ cup warm milk
1 egg
1 tsp vanilla
¼ cup butter, very soft, or melted and cooled
¼ cup sour cream (go on and use the full-fat stuff; don’t deny yourself on such a little bit)
1 tsp salt
1 tsp cinnamon
¼ tsp nutmeg
2 – 2 ½ cups bread flour (see instructions below)
For filling:
½ cup toasted walnuts, chopped, or a mixture of walnuts and hazelnuts
(zest of 1 lemon – optional because I didn’t love it, but you might!)
¼ cup melted butter
¼ cup brown sugar
1 cup chopped dried figs (I like black mission figs, myself)
For topping:
1-2 TB butter, melted or very soft
2 TB brown sugar
1 tsp cinnamon
- Stir the yeast into the warm milk and let it sit for 5 minutes or so to allow the yeast to wake up. It will begin to get bubbly and smell warm and bready.
- While you wait for the yeast, plonk the ¼ cup softened butter, the sour cream, the egg, and the vanilla into the bowl of a standing mixer (or into a large mixing bowl).
- Add the yeast and milk mixture to the combined wet ingredients and mix them together briefly using the paddle attachment, just enough to combine things and break up the egg (if you are not using a stand mixer, an electric handheld or some elbow grease and a whisk will do nicely here).
- Add the brown sugar, spices, salt, and 2 cups of flour. Using the paddle attachment (or a sturdy wooden spoon if you aren’t a stand mixer sort of person), mix just until the flour is moistened and you have created a lumpy dough.
- Switch to the dough hook (or turn your dough out onto a well floured board) and knead for 5-7 minutes. The dough will be very sticky – we’ve added a lot of fat and a lot of moisture. Don’t despair. Add more flour a tablespoon or two at a time just until the dough cooperates (up to 2 ½ cups of flour, though depending on the relative humidity of the day, you might not need that much). It will still be a bit sticky, but it will become more elastic and supple and much easier to work with.
- Once your dough is smooth and stretchy and a bit springy, plop it into a greased or oiled bowl, cover it with plastic wrap, and set it aside in a warm place to rise for 90 minutes, or until doubled.
- Meanwhile, prepare the filling: in a small bowl, combine toasted nuts, figs, brown sugar, and lemon zest, if using. Melt the ¼ cup butter to prepare for glossing the dough.
- Once doubled, punch down the dough to release trapped gas by gently deflating it with your fist. Turn it out onto a floured board and roll it into a rectangle the width of the long edge of your loaf pan and about twice as long.
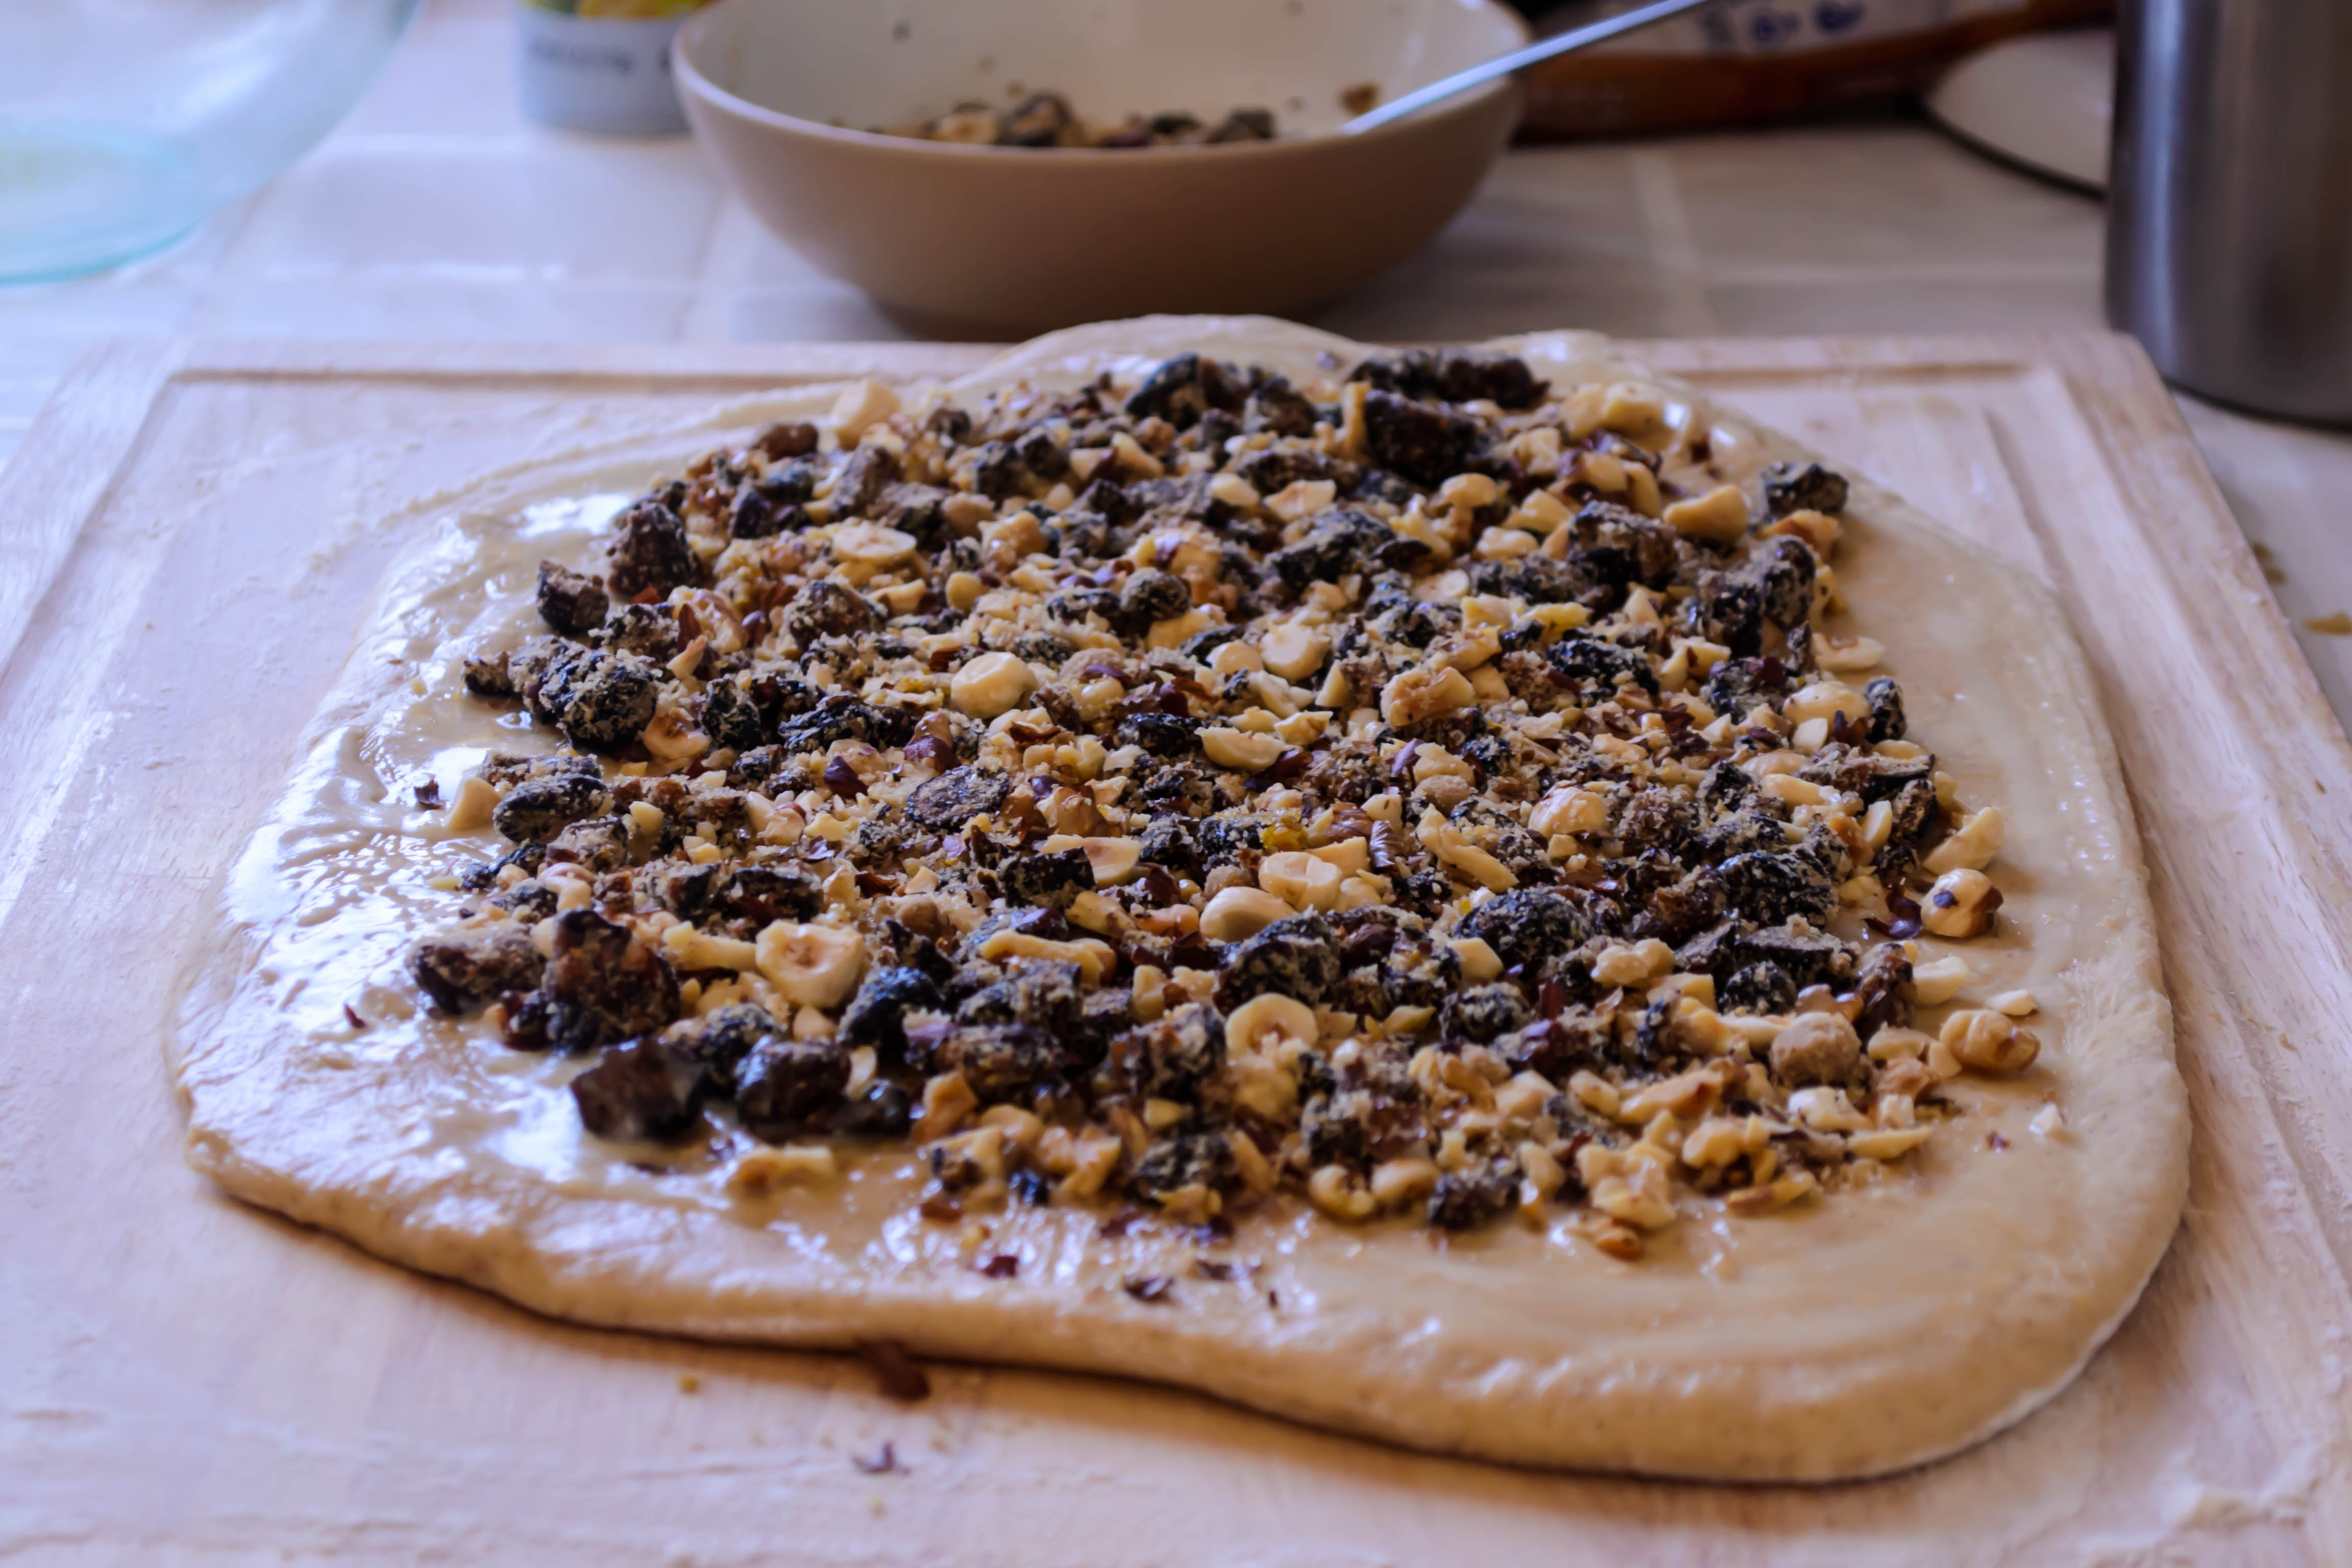
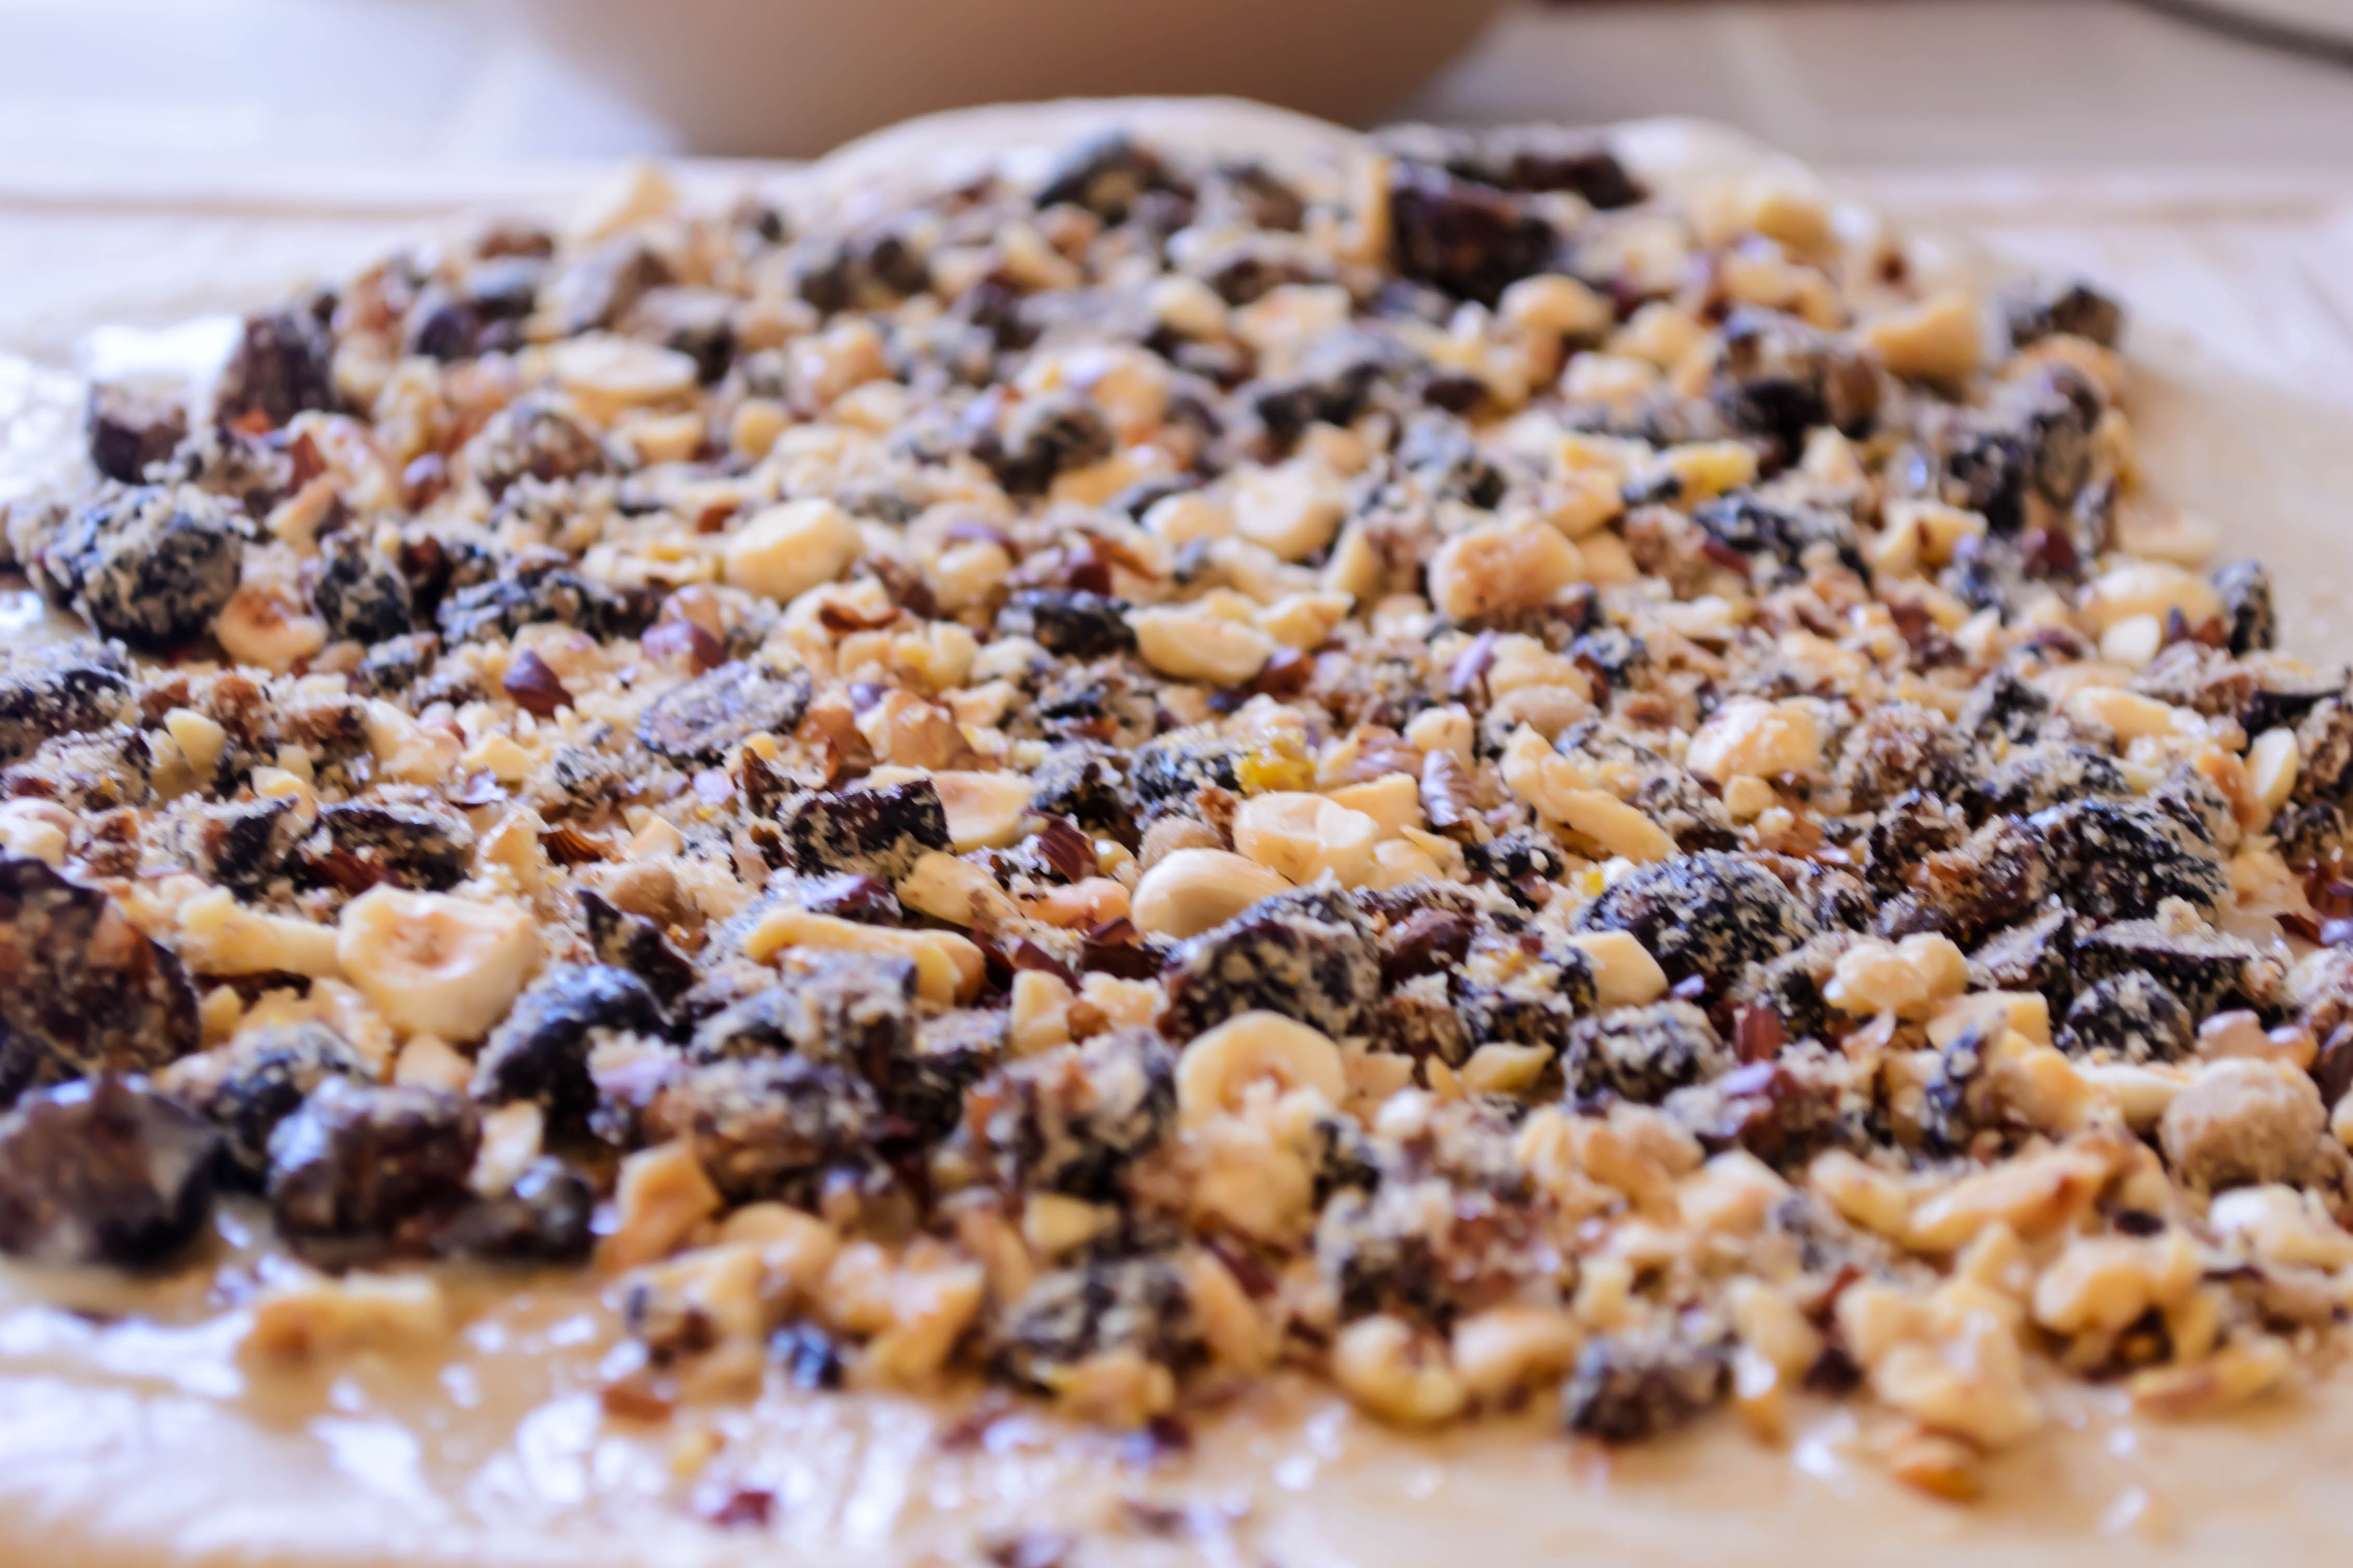
- Now it’s time gloss the dough and add the filling. Dribble the melted butter over your rectangle of dough and rub it all over the surface, right out to the edges. I’m calling this “glossing” the dough because it leaves everything shiny and glossy and gleaming. You might have a little extra butter; save it for the topping.
- Sprinkle the dough with the fig and walnut mixture, leaving an inch or so border on all sides to prevent overflow. You will likely have extra. That is a most excellent thing because it goes so well with oatmeal or with Greek yogurt. Instant snack.
- Starting on the shorter side of your rectangle (the side that is the same length as your loaf pan), begin to roll up the dough as you would for a jelly-roll, starting with the middle and moving out to the sides. Continue rolling until all the filling is enclosed, and then fold up the remaining, bare edge and pinch it firmly against the roll to create a seam.
- Twist your log of dough a few times to ensure that a pretty swirl of filling is formed as it bakes, then settle it into a buttered or greased loaf pan.
- Rub the top of the dough with soft or melted butter, then sprinkle it all over with the brown sugar and cinnamon. Cover it lightly with greased plastic wrap and set it aside to rise again for 30 minutes.
- During this second rise, preheat your oven to 375F. When the dough has had half an hour to collect itself, remove the plastic wrap and bake it for 35 minutes, or until the bottom sounds hollow when thumped or the internal temperature is between 180-200F (the thump test is the standard way of checking for doneness on bread, but it seems sort of impossible when you are baking a big loaf in a loaf pan. I prefer to take its temperature).
- When it tests done, using whatever is your favorite method, remove it from the oven and let it cool for at least twenty minutes in the pan. This will allow the structure to firm up so it slices nicely, rather than collapsing and squashing into itself when you so much as approach it with a serrated knife.
- Slice and consume. The filling can be a bit crumbly, so we ate it with forks like a slice of yeasted coffeecake. Enjoy!