Peanut Butter and Jelly Bread #TwelveLoaves May

When it comes to cooking, I don’t mind a little complexity.  You can call it fuss if you want.  I’m not put off by a picky technique or an extra step.  Separate the eggs?  Okay.  Toast the nuts first?  Sure thing.  If it adds to the flavor of the finished dish, I’m on board.  But when it comes to eating, I like things simple.  I love appetizers because your gratification arrives in a single bite.  I dig pizza because the toppings all come at you together.  A drumette of roasted chicken sitting precariously atop a mound of braised greens in a puddle of puree?  I’m sure it’s delicious, but it’s a little fancy for me.  At the point that it comes off the heat, I’m ready to put it in my mouth, plating-be-damned (obligatory self-deprecating note: it’s clear, given this, why I haven’t yet managed to squirm my way onto Tastespotting or Foodgawker).

Food Blog May 2013-1298So this week, faced with this month’s Twelve Loaves challenge of baking a loaf of my choosing, I started thinking about the humble sandwich.  Now, I know, a sandwich isn’t exactly challenging to put together.  But I’m a little anal-retentive about some things, and one of them is the old classic pb&j.  Here’s the issue: I like my peanut butter on both sides.  That means you have to put it on first.  But then, you can’t just dunk that peanut-buttery knife into your jam jar!  Cross-contamination!  So you have to decide: do I get a different knife?  Or do I take an extra few seconds and rinse off the peanut butter knife (and peanut butter doesn’t just rinse off like that, you know)?  I know, this is a silly non-problem to have.  But it led to a delicious idea: what if the bread itself were already infused with peanut butter and jelly, making spreading, smearing, and layering all unnecessary?

Food Blog May 2013-1293

Food Blog May 2013-1297
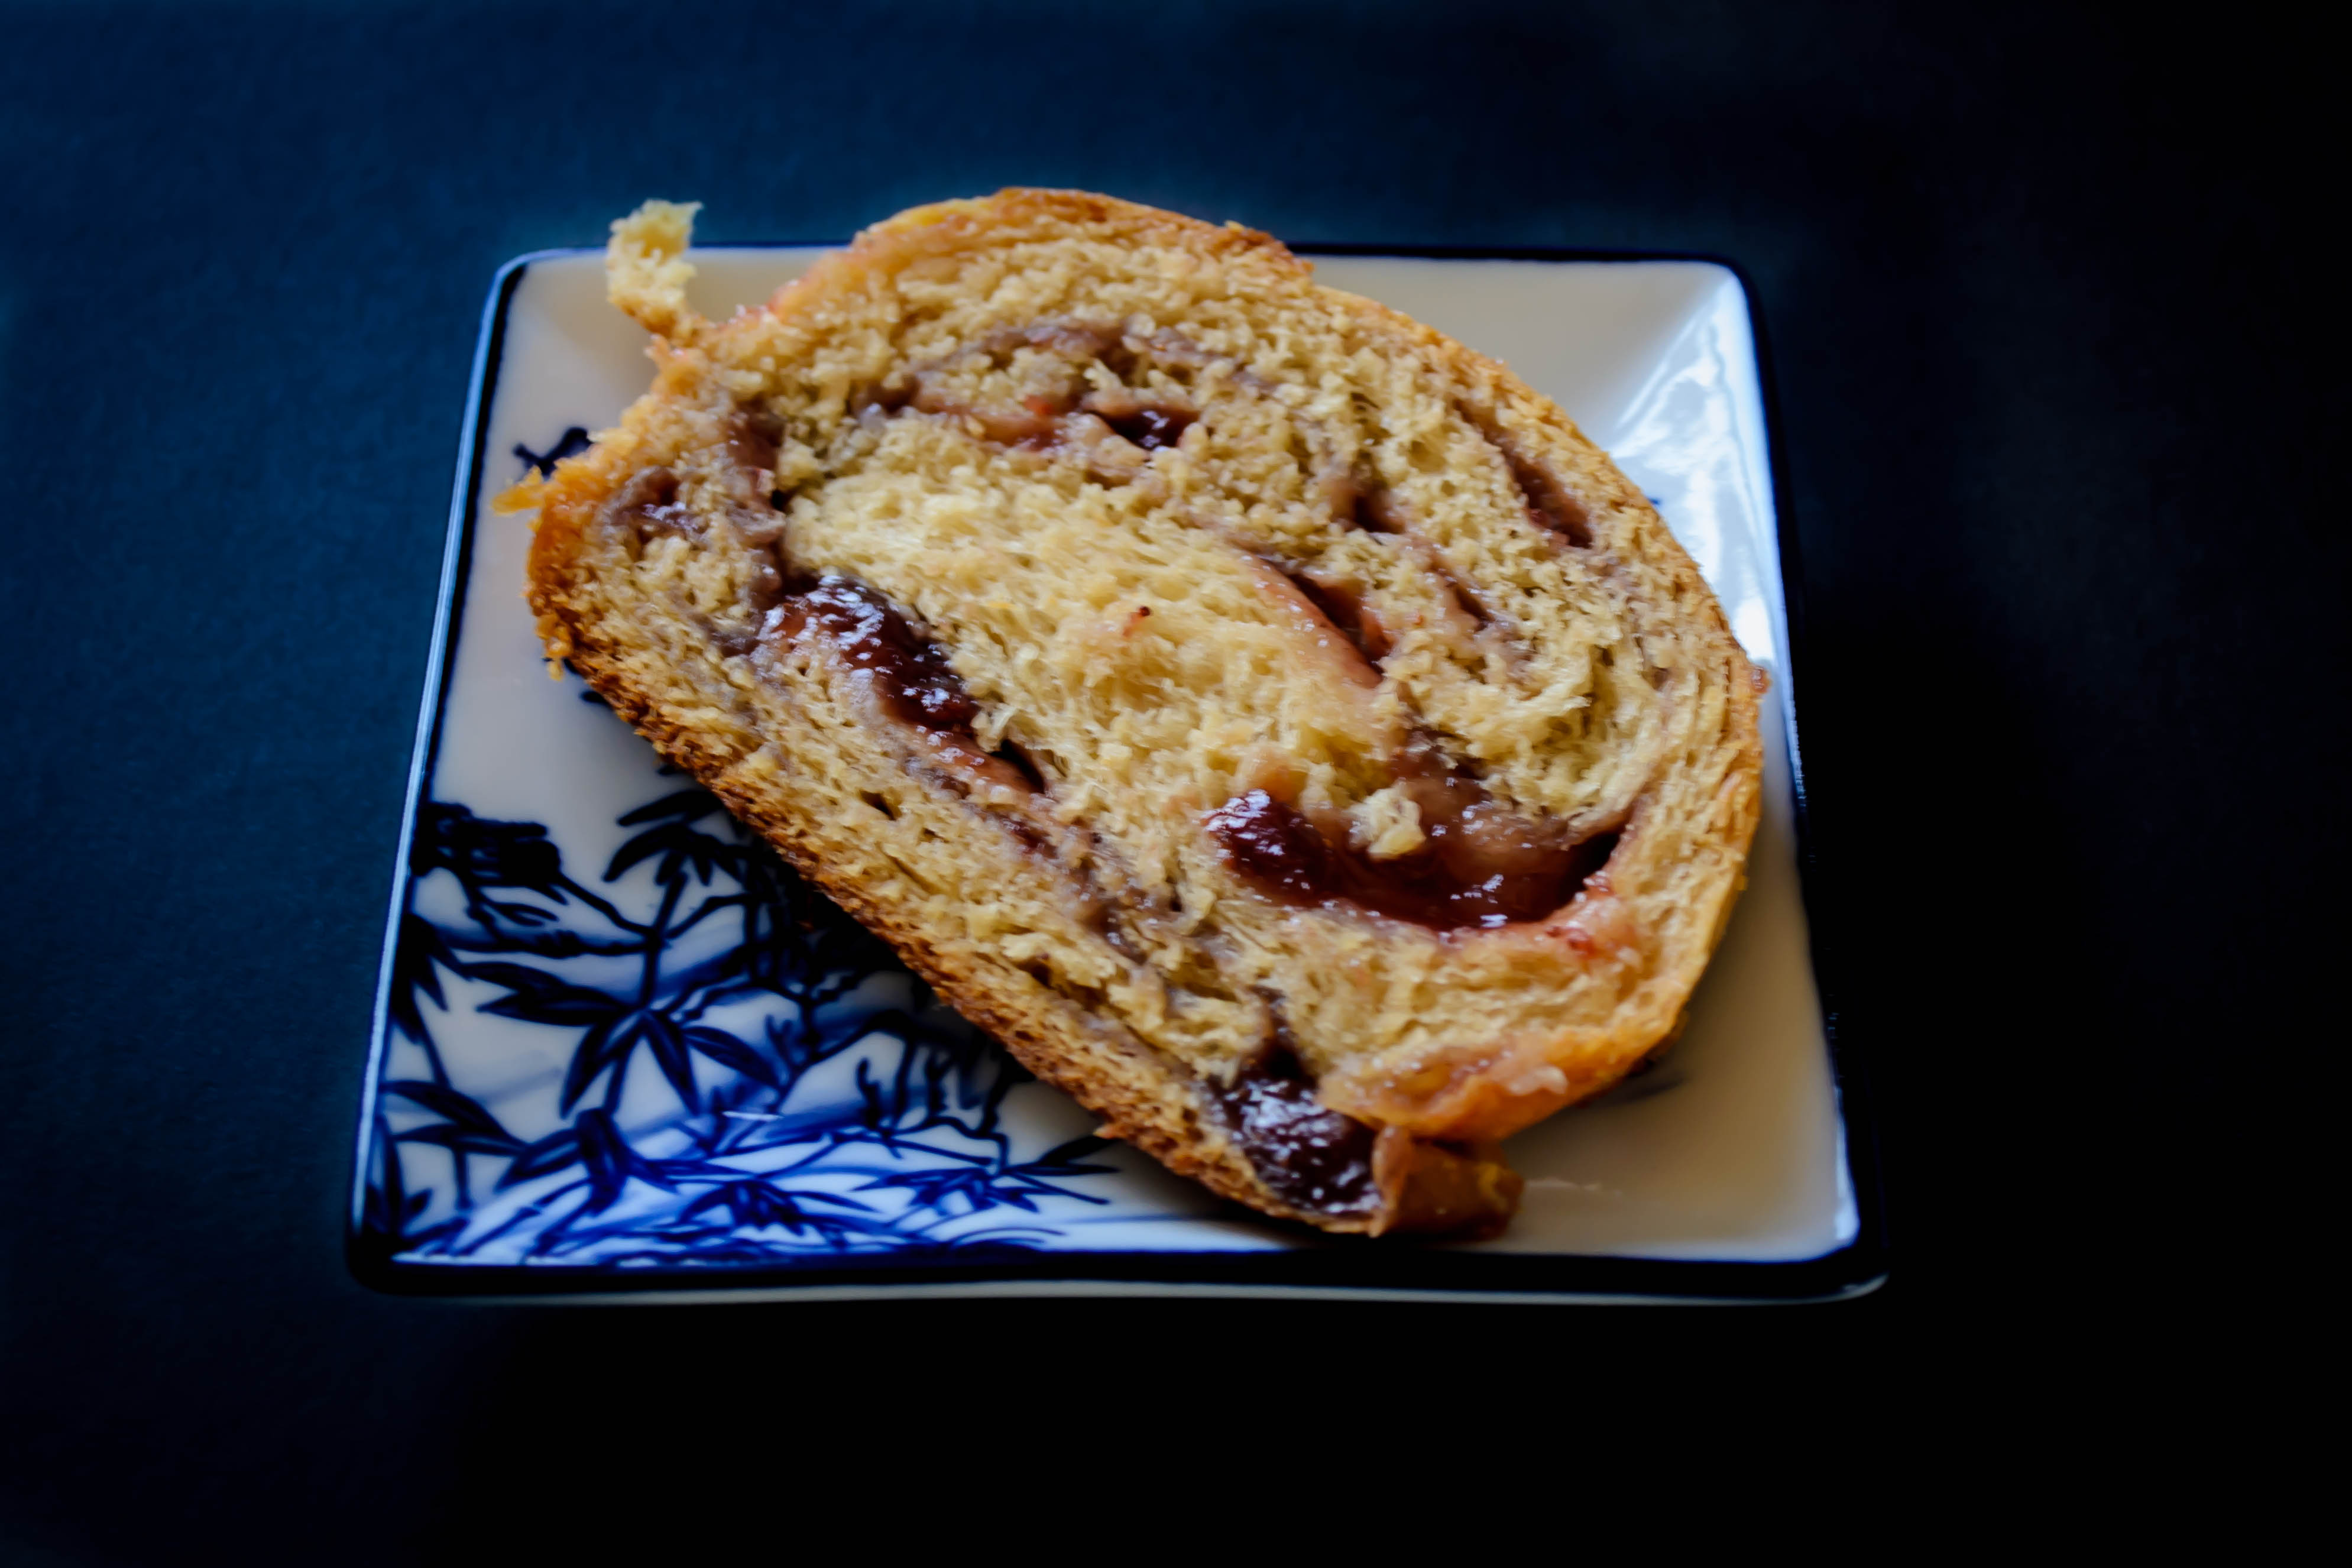
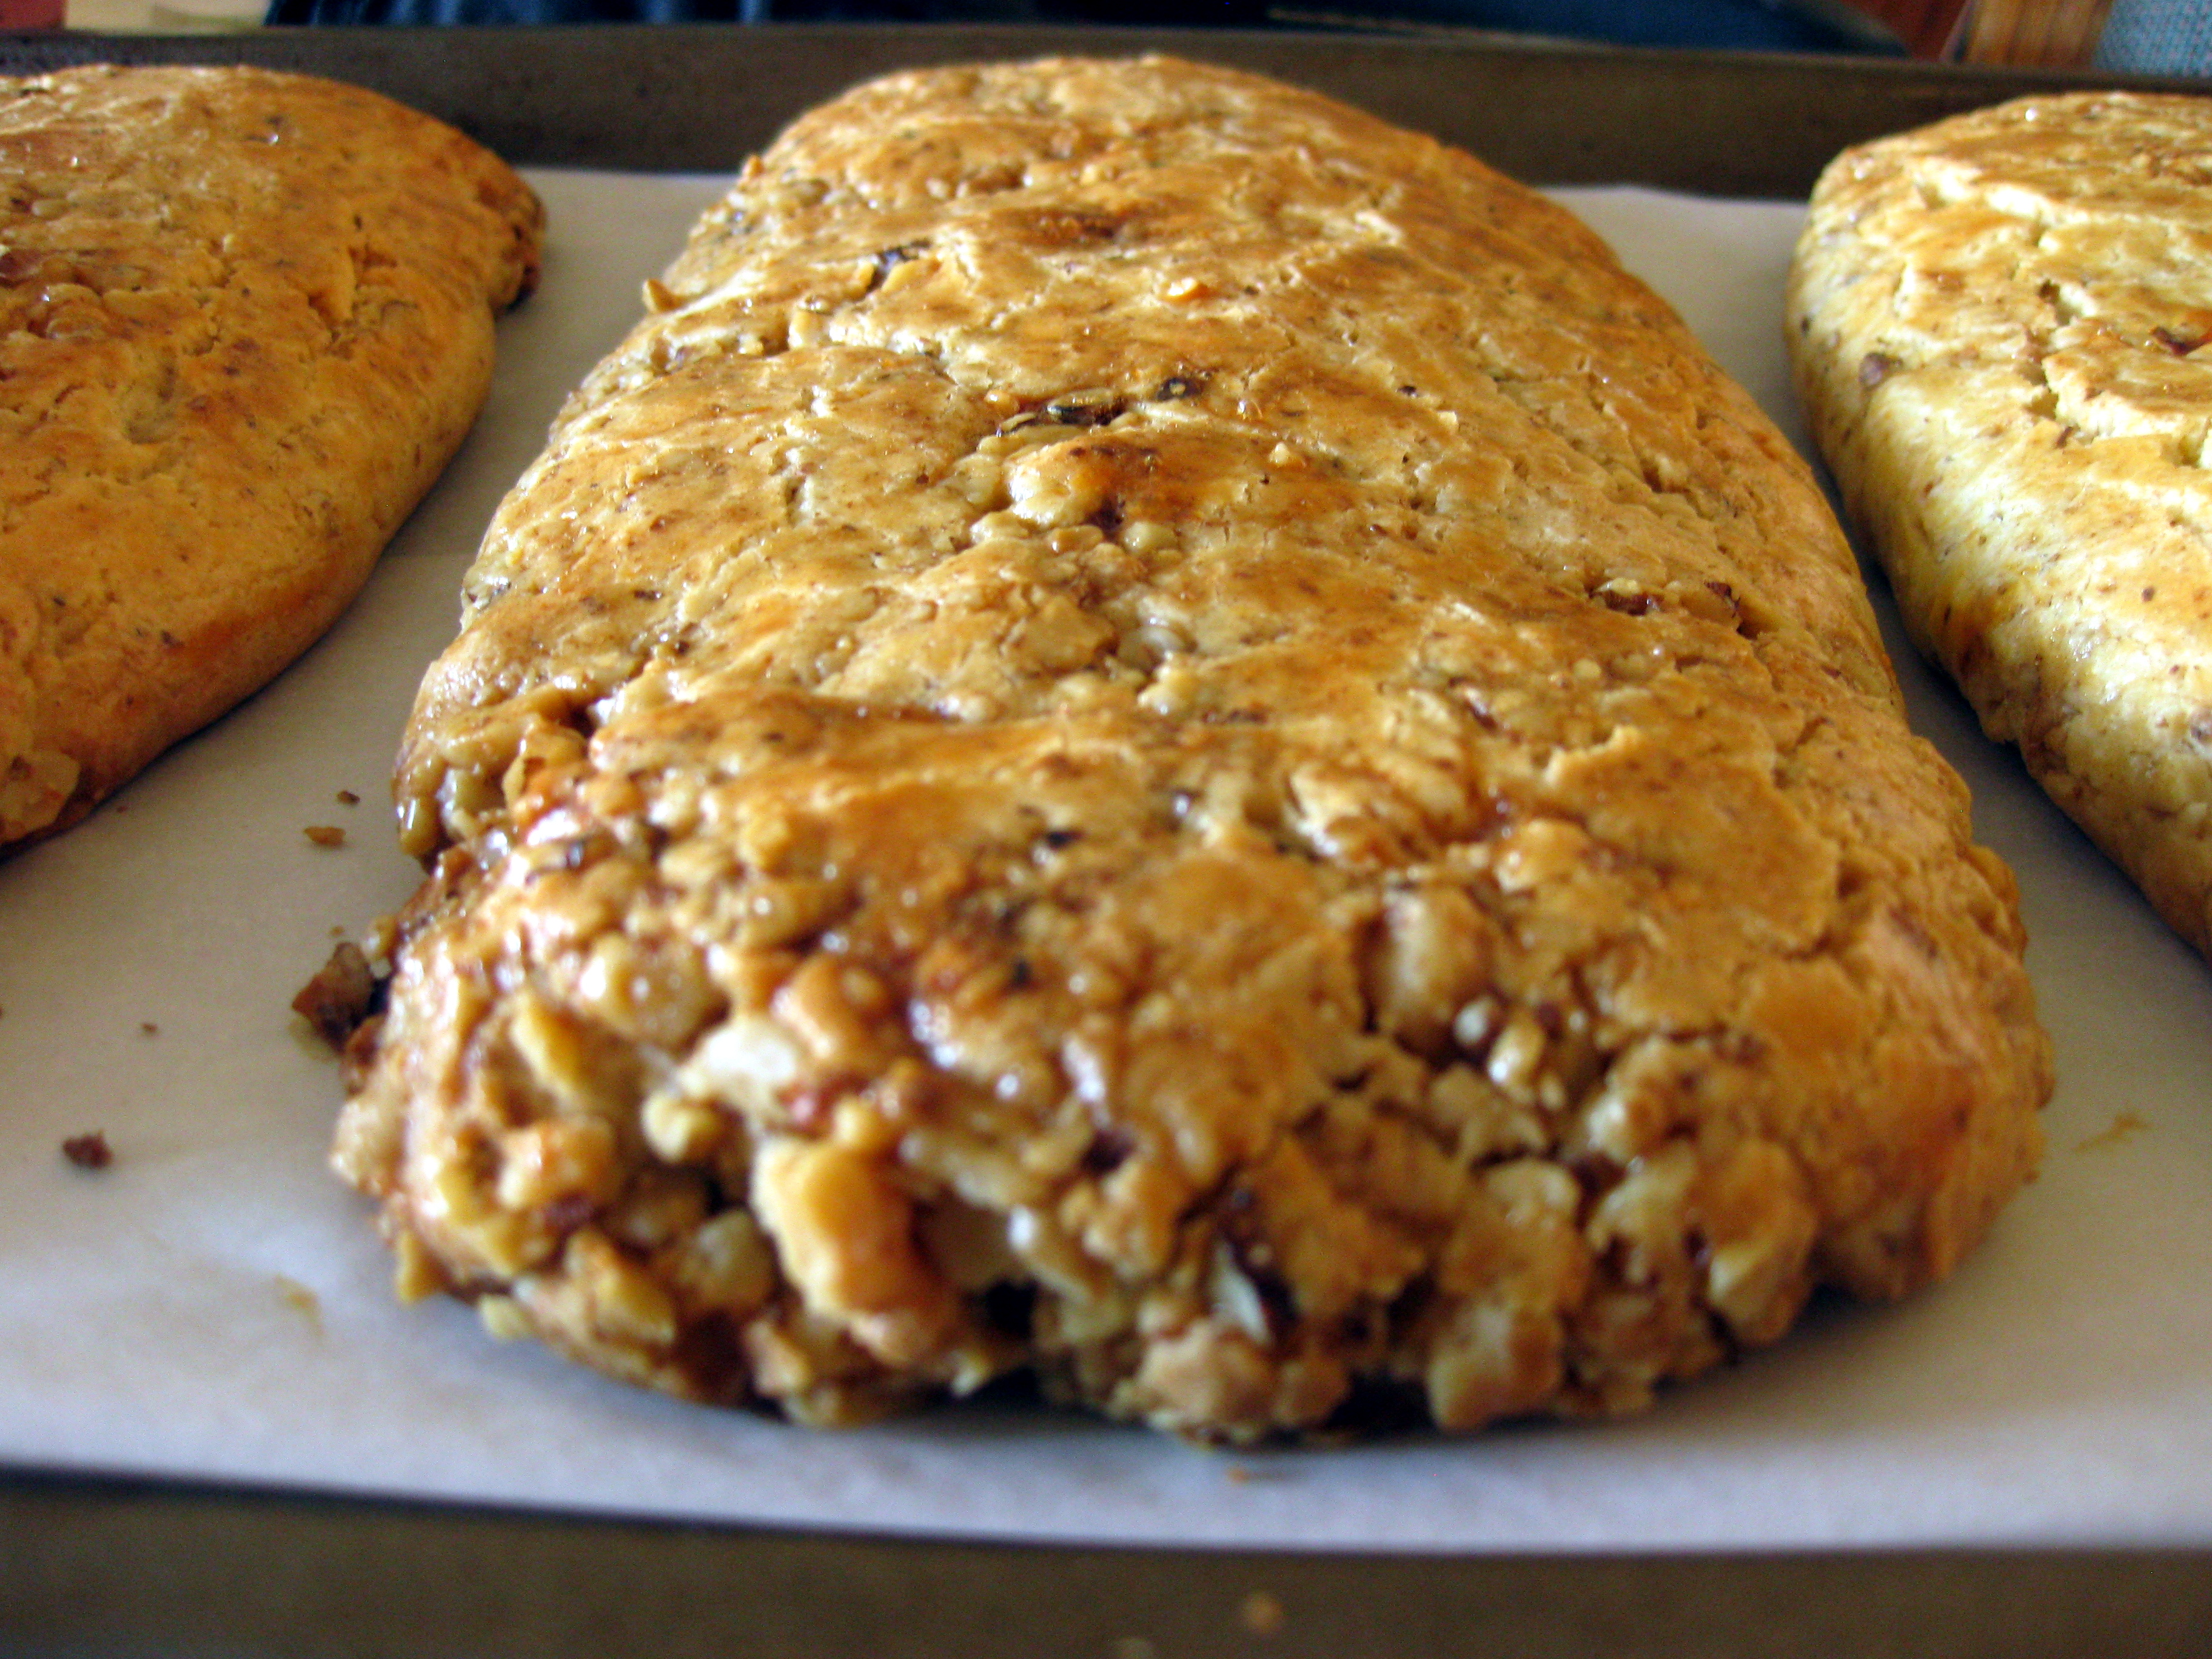
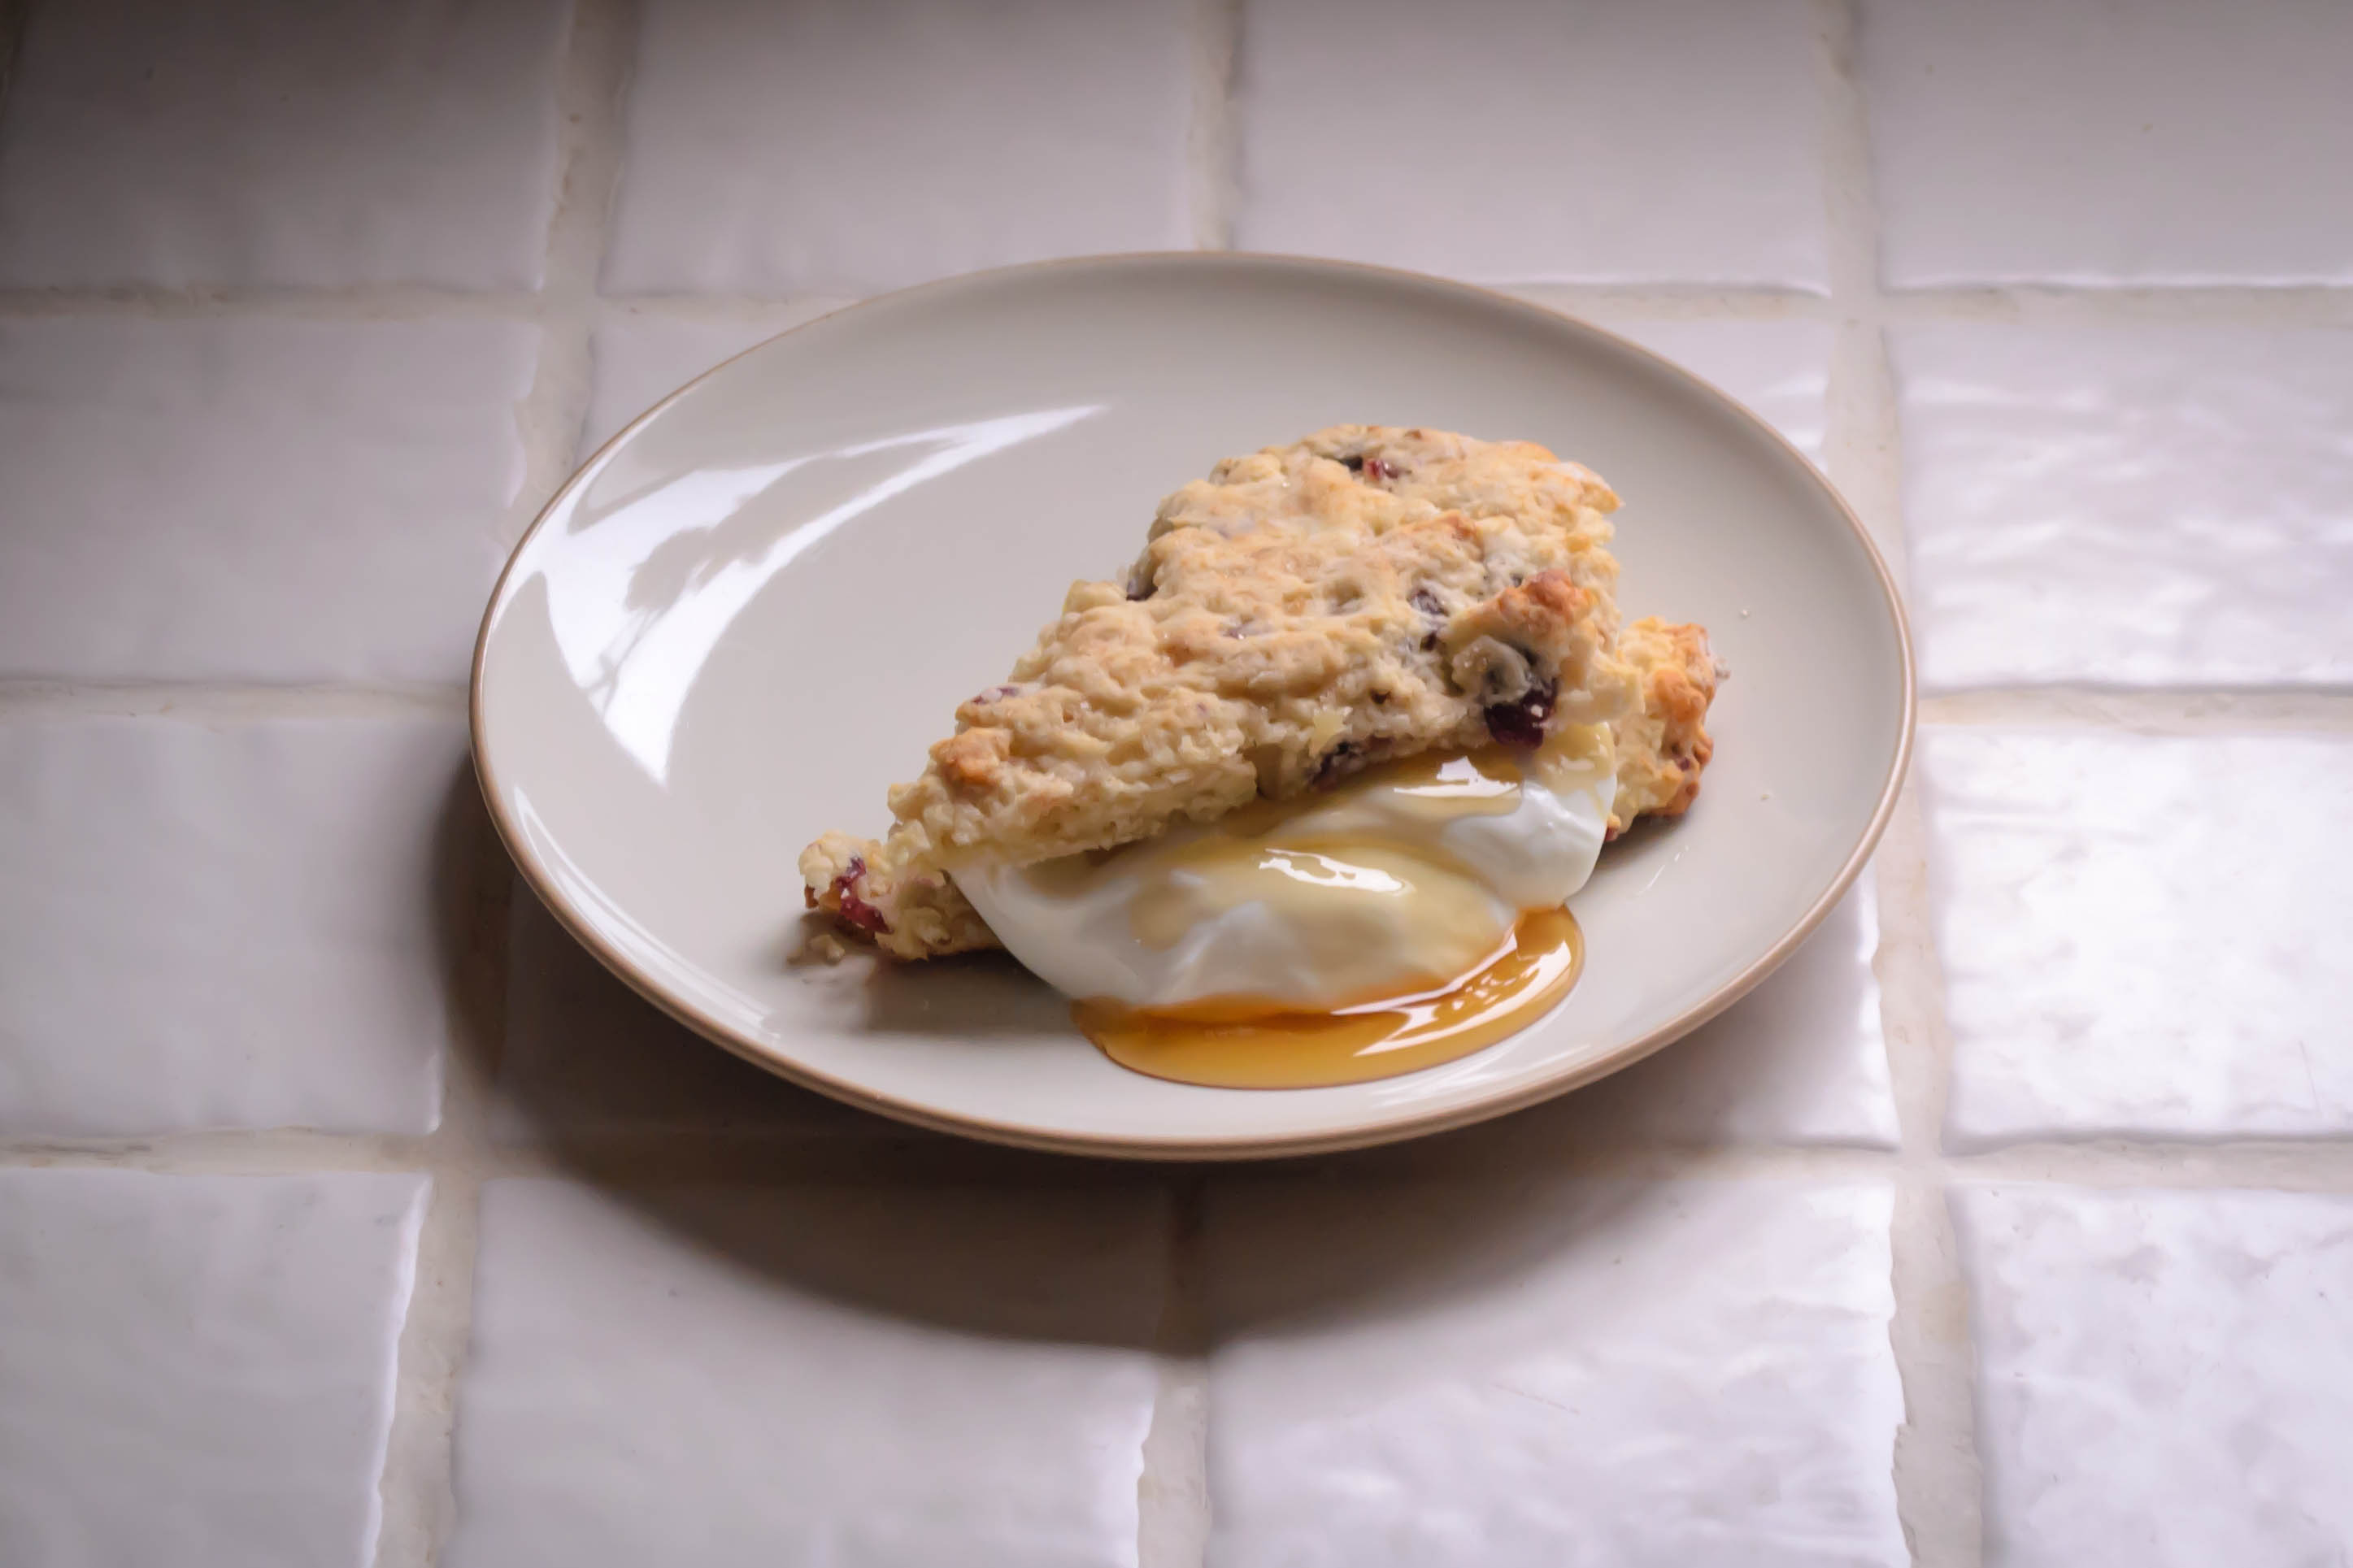
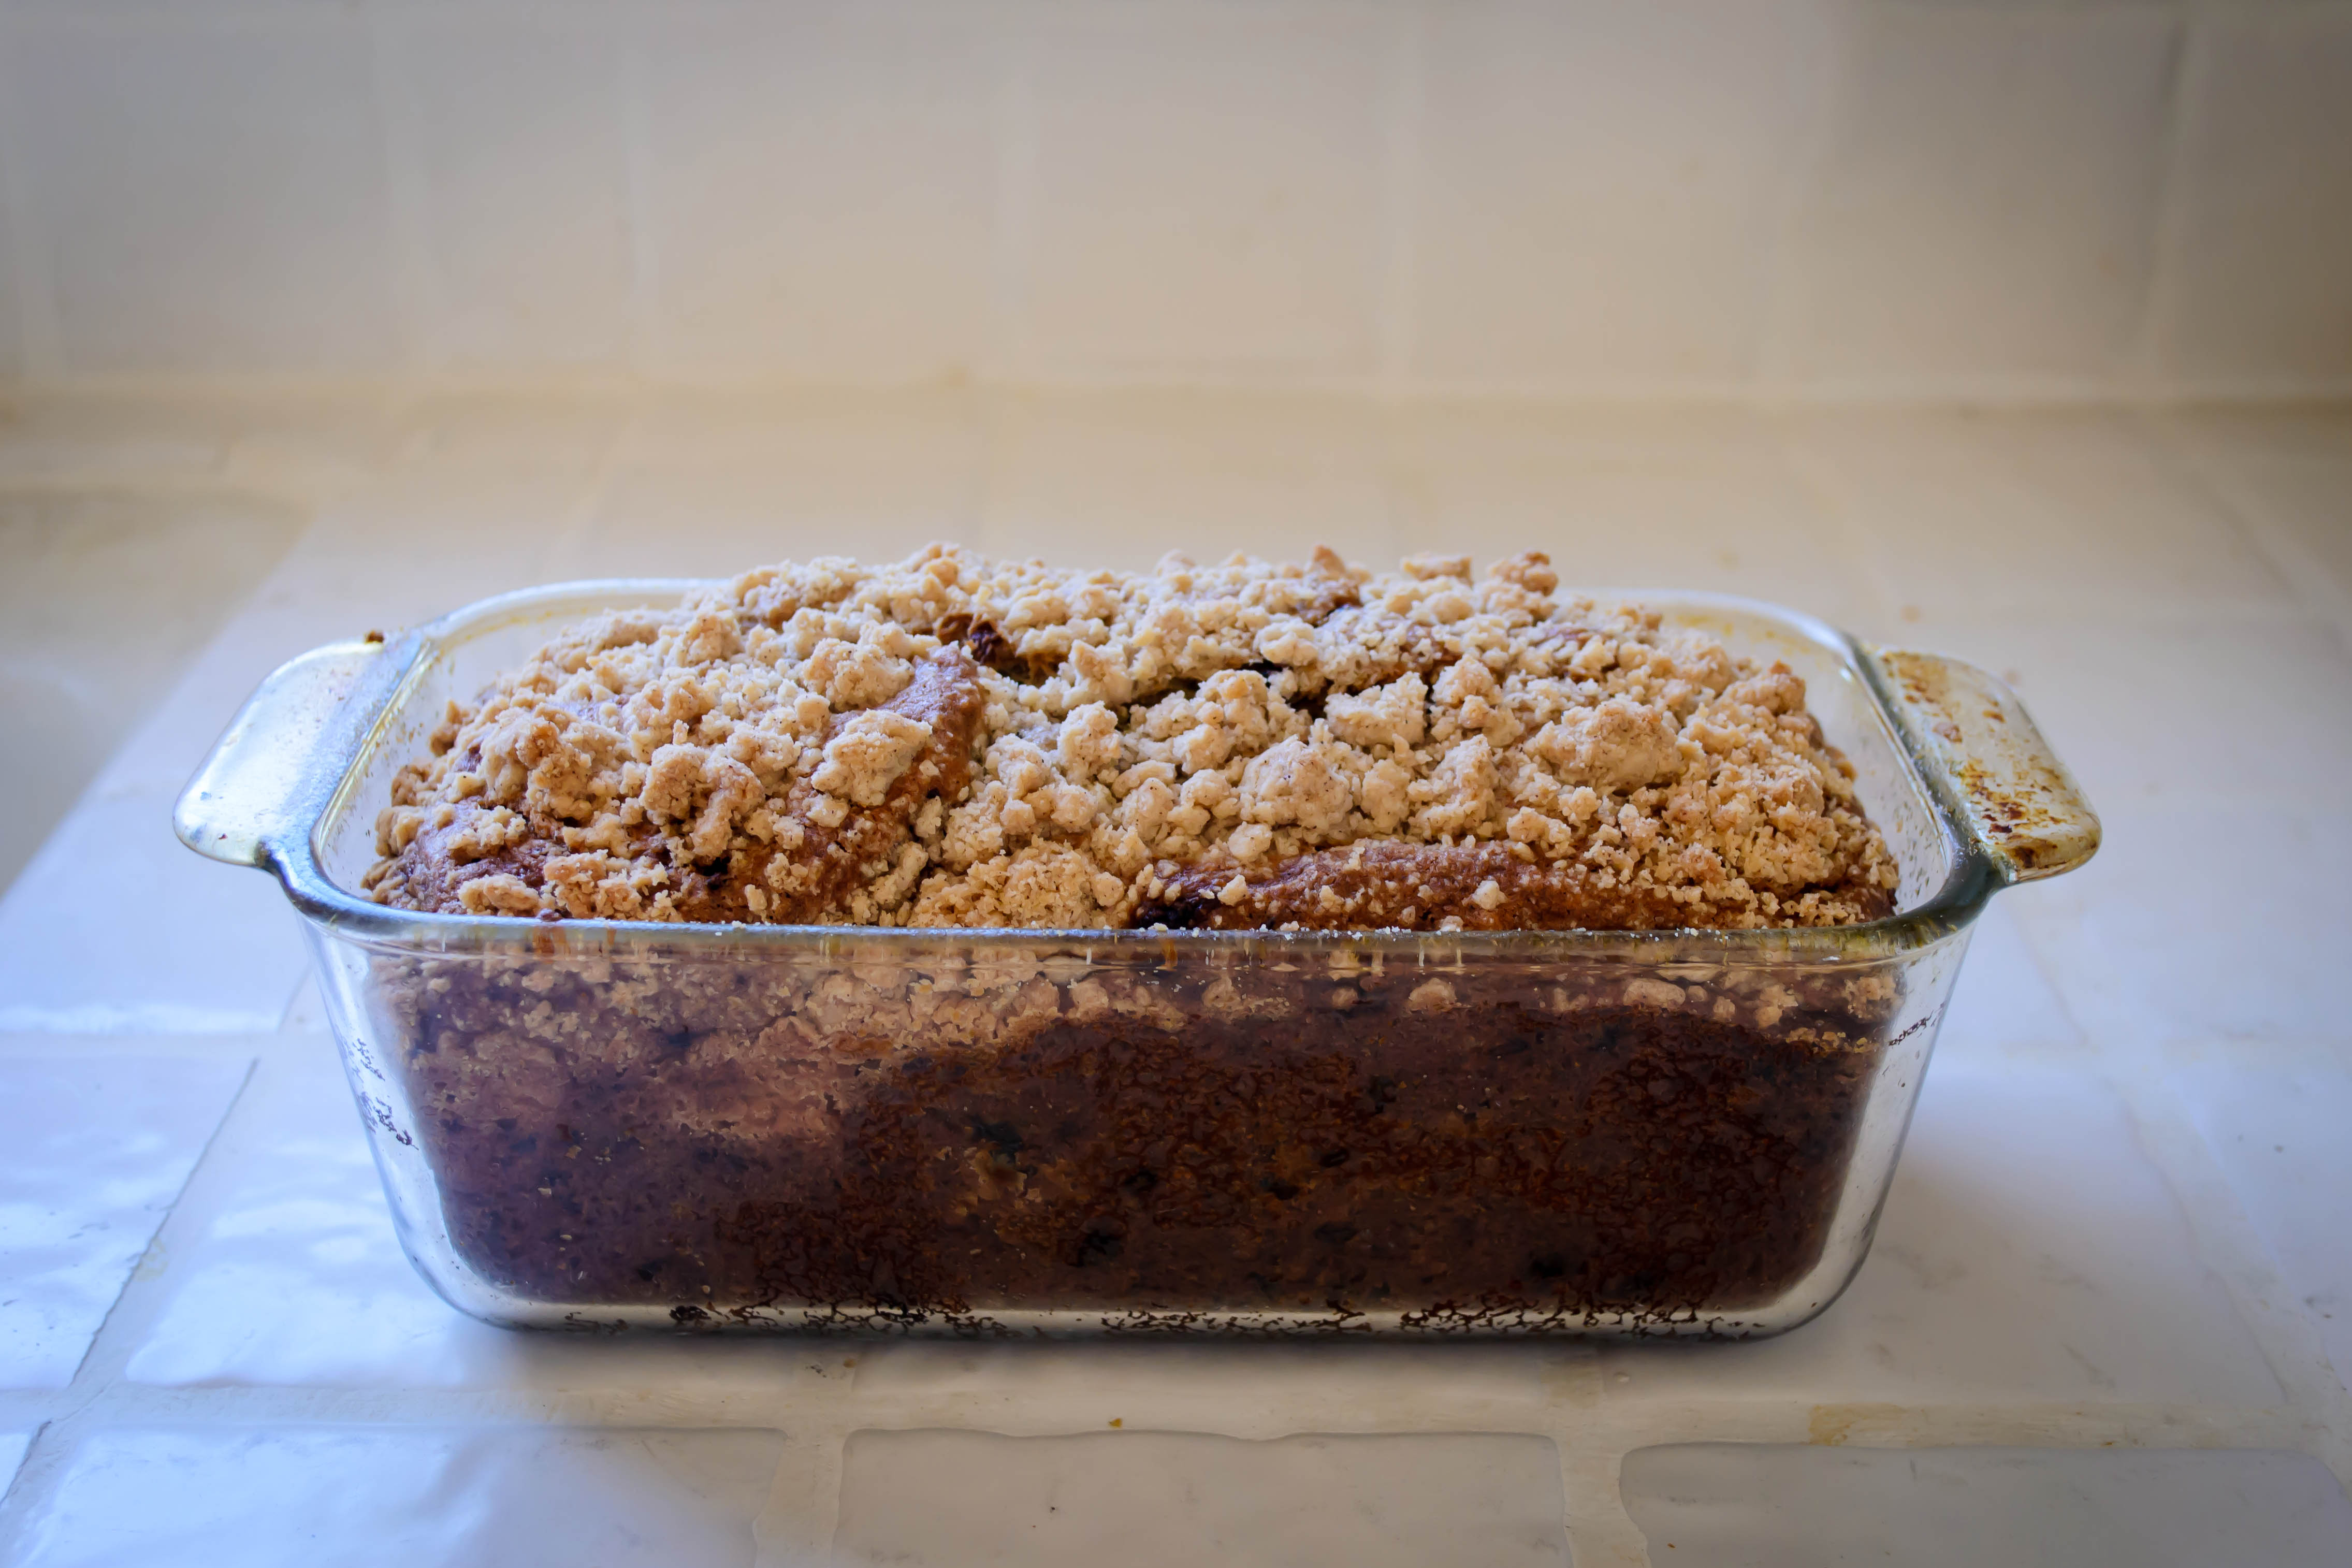
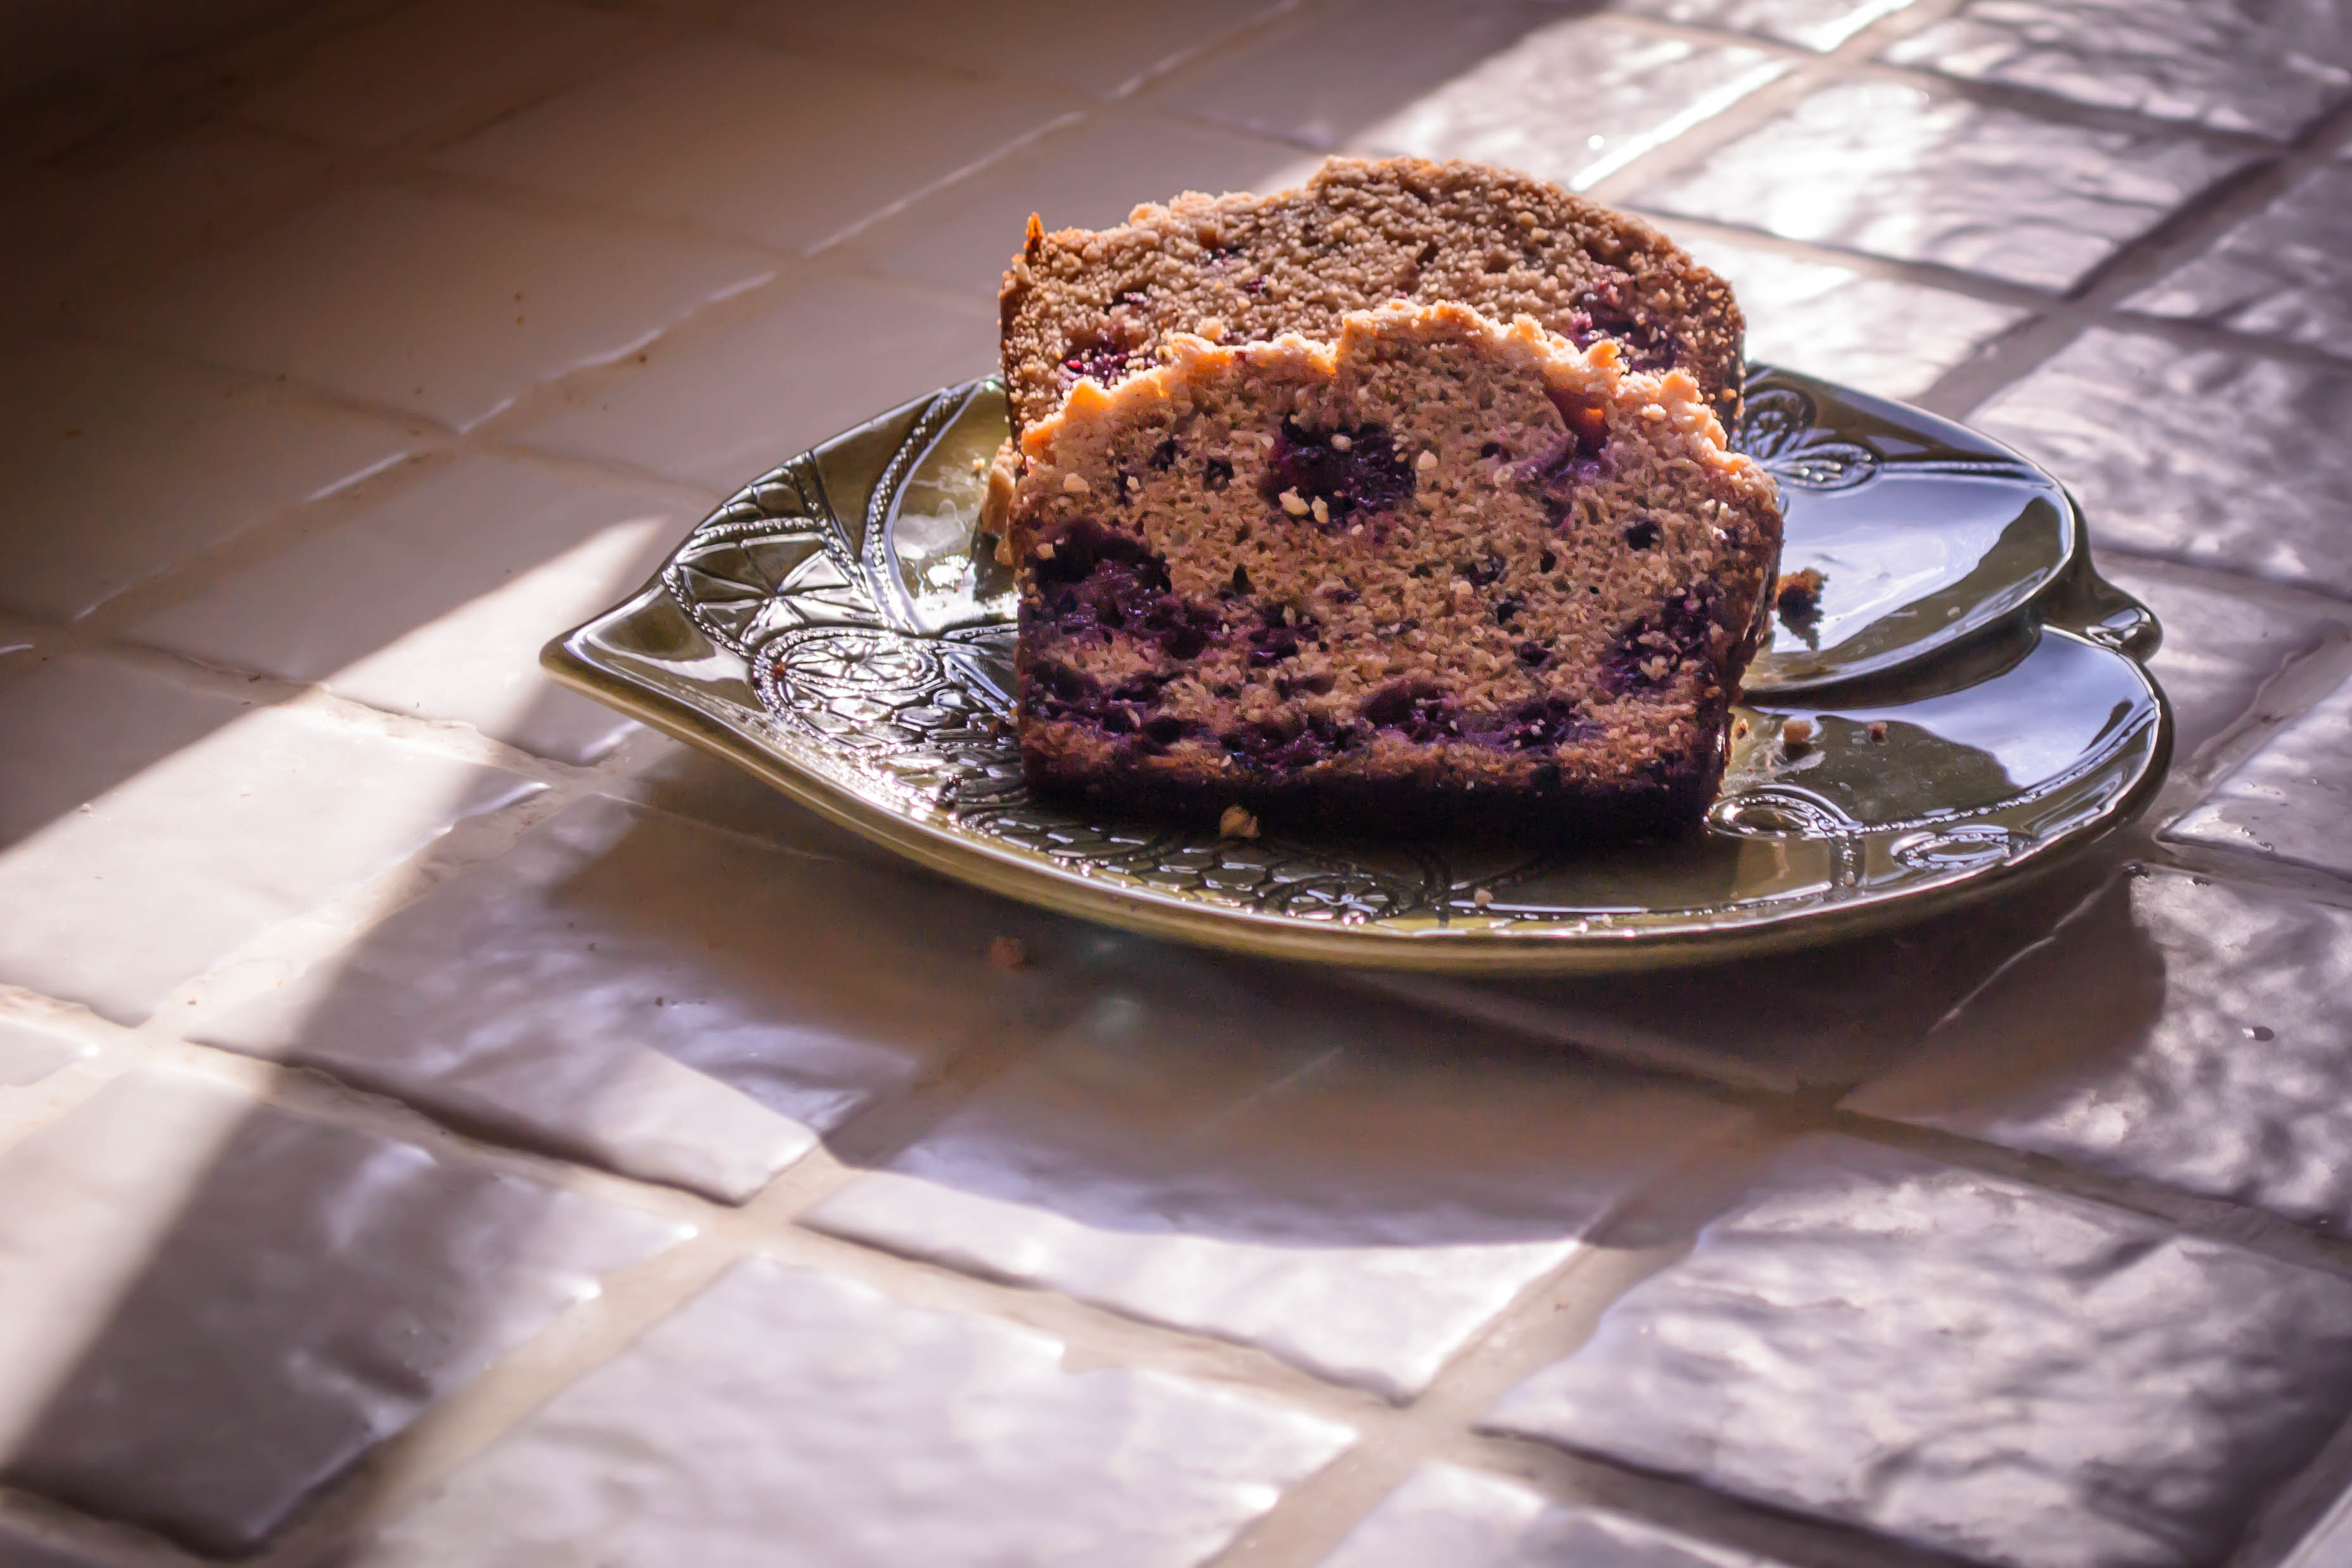
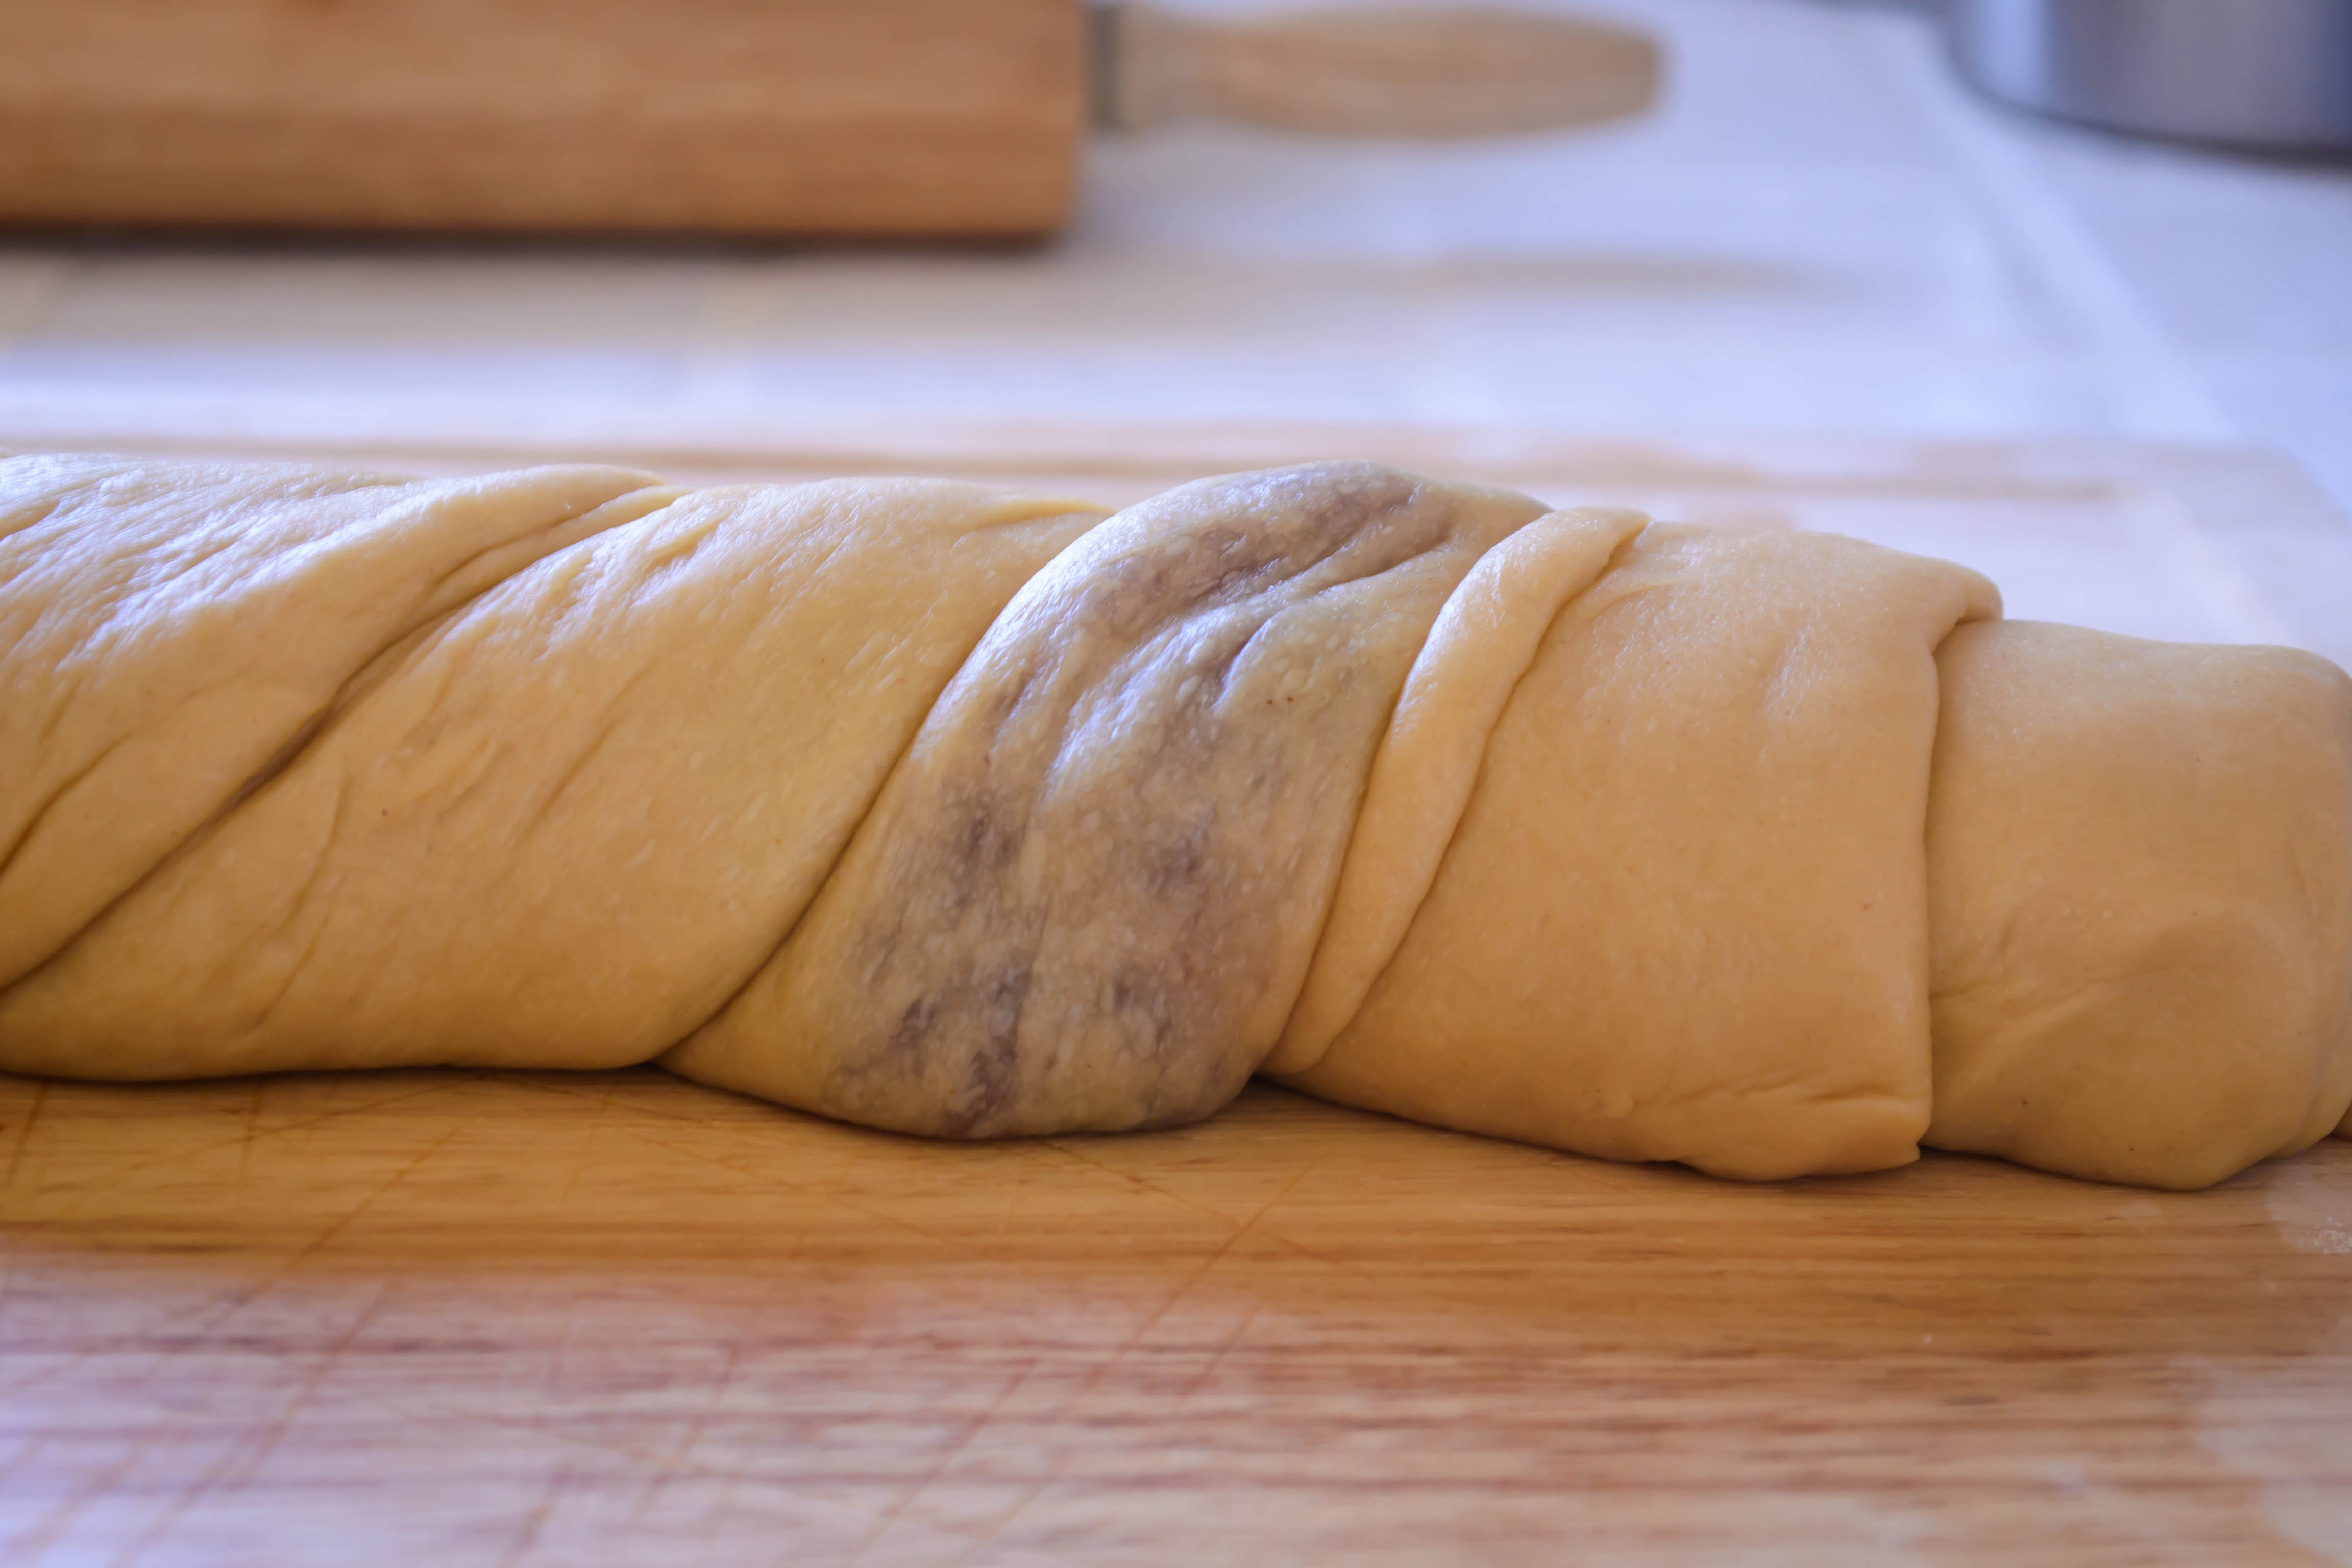
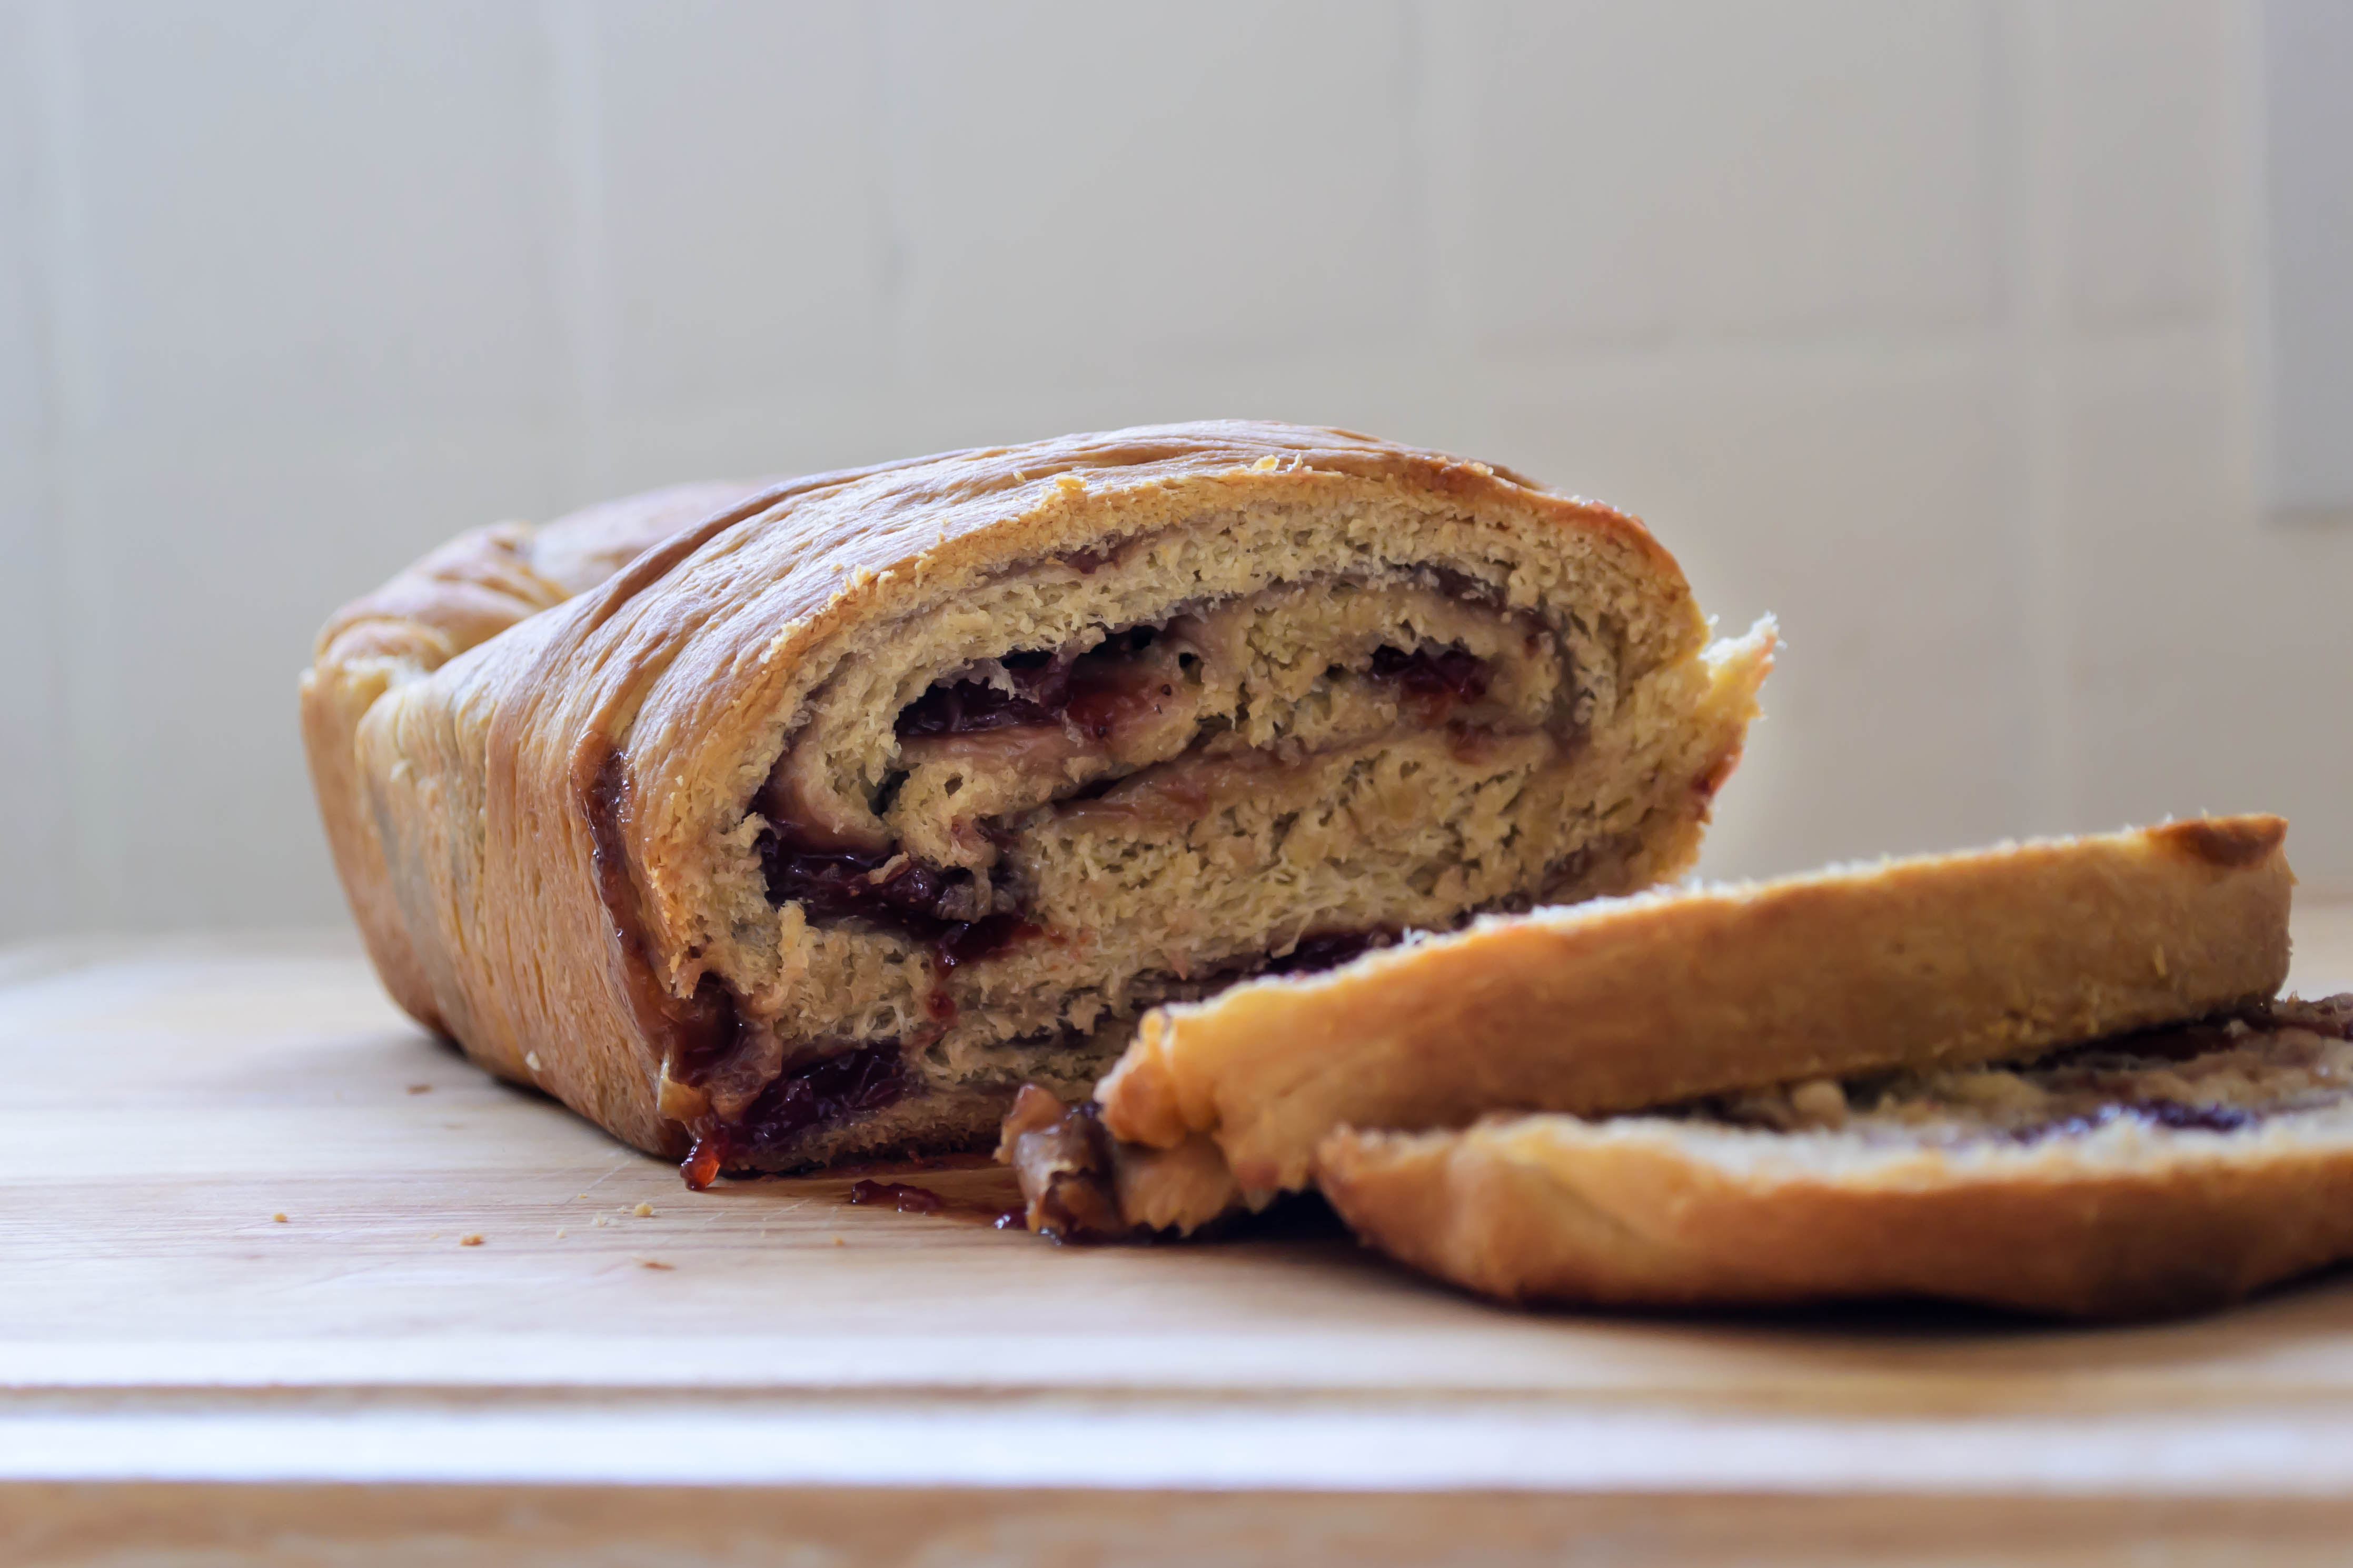
What arose from this self-indulgent, first-world-problems sort of pondering was a moist, deeply tawny loaf, dense in the best kind of way, with a mild but definite peanut flavor.  I flattened it into a rectangle and spread it thickly with jam before rolling it up and twisting it to create a swirl: a thick artery of gloppy, sticky strawberry so pervasive it cracked the crust and oozed forth into barest caramelization.  The borders of the jam swirl maintained just a little doughiness from the extra moisture, echoing the effect the jam would have on the bread after sitting in your lunchbox all morning, and at these doughy, almost under-baked pockets, the peanut butter taste was most pronounced.  With butter, peanut butter, an egg, and milk in the dough, this is a rich bread, though not as indulgent as brioche.  It’s a perfect mid-morning or mid-afternoon snack, and the best news of all is: it’s instant gratification – a sandwich in one step!  No spreading required; all you have to do is cut a slice.

Note: I do not like, nor have I ever liked, crunchy peanut butter.  I don’t even really care for peanuts in their original form (I know, the fact that I like peanut butter despite this makes me a bit odd.  On the flip side, I could go the rest of my life without tomato sauce but I can’t wait for the first big brandywine or sweet Cherokee purple heirloom of the summer.  Go figure).  However, if you wanted to ramp up the peanut flavor in this bread, I’d advise you to do one of two things: 1.) instead of smearing the top of the loaf with butter just before baking, smear it with chunky peanut butter you’ve heated in the microwave for a few seconds (heating it will help it spread better).  2.) if the idea of smearing melty, sticky peanut butter doesn’t appeal to you, use regular butter, but drizzle on a few tablespoons of finely chopped peanuts.  This will give you a crunchy peanut-y hit every time you take a bite of crust.  Food Blog May 2013-1262

Food Blog May 2013-1266Peanut Butter and Jelly bread

¼ cup warm water

2 tsp yeast

2 tsp sugar

¼ cup scalded milk, cooled (microwave or heat on the stovetop until the barest simmer, then cool.)

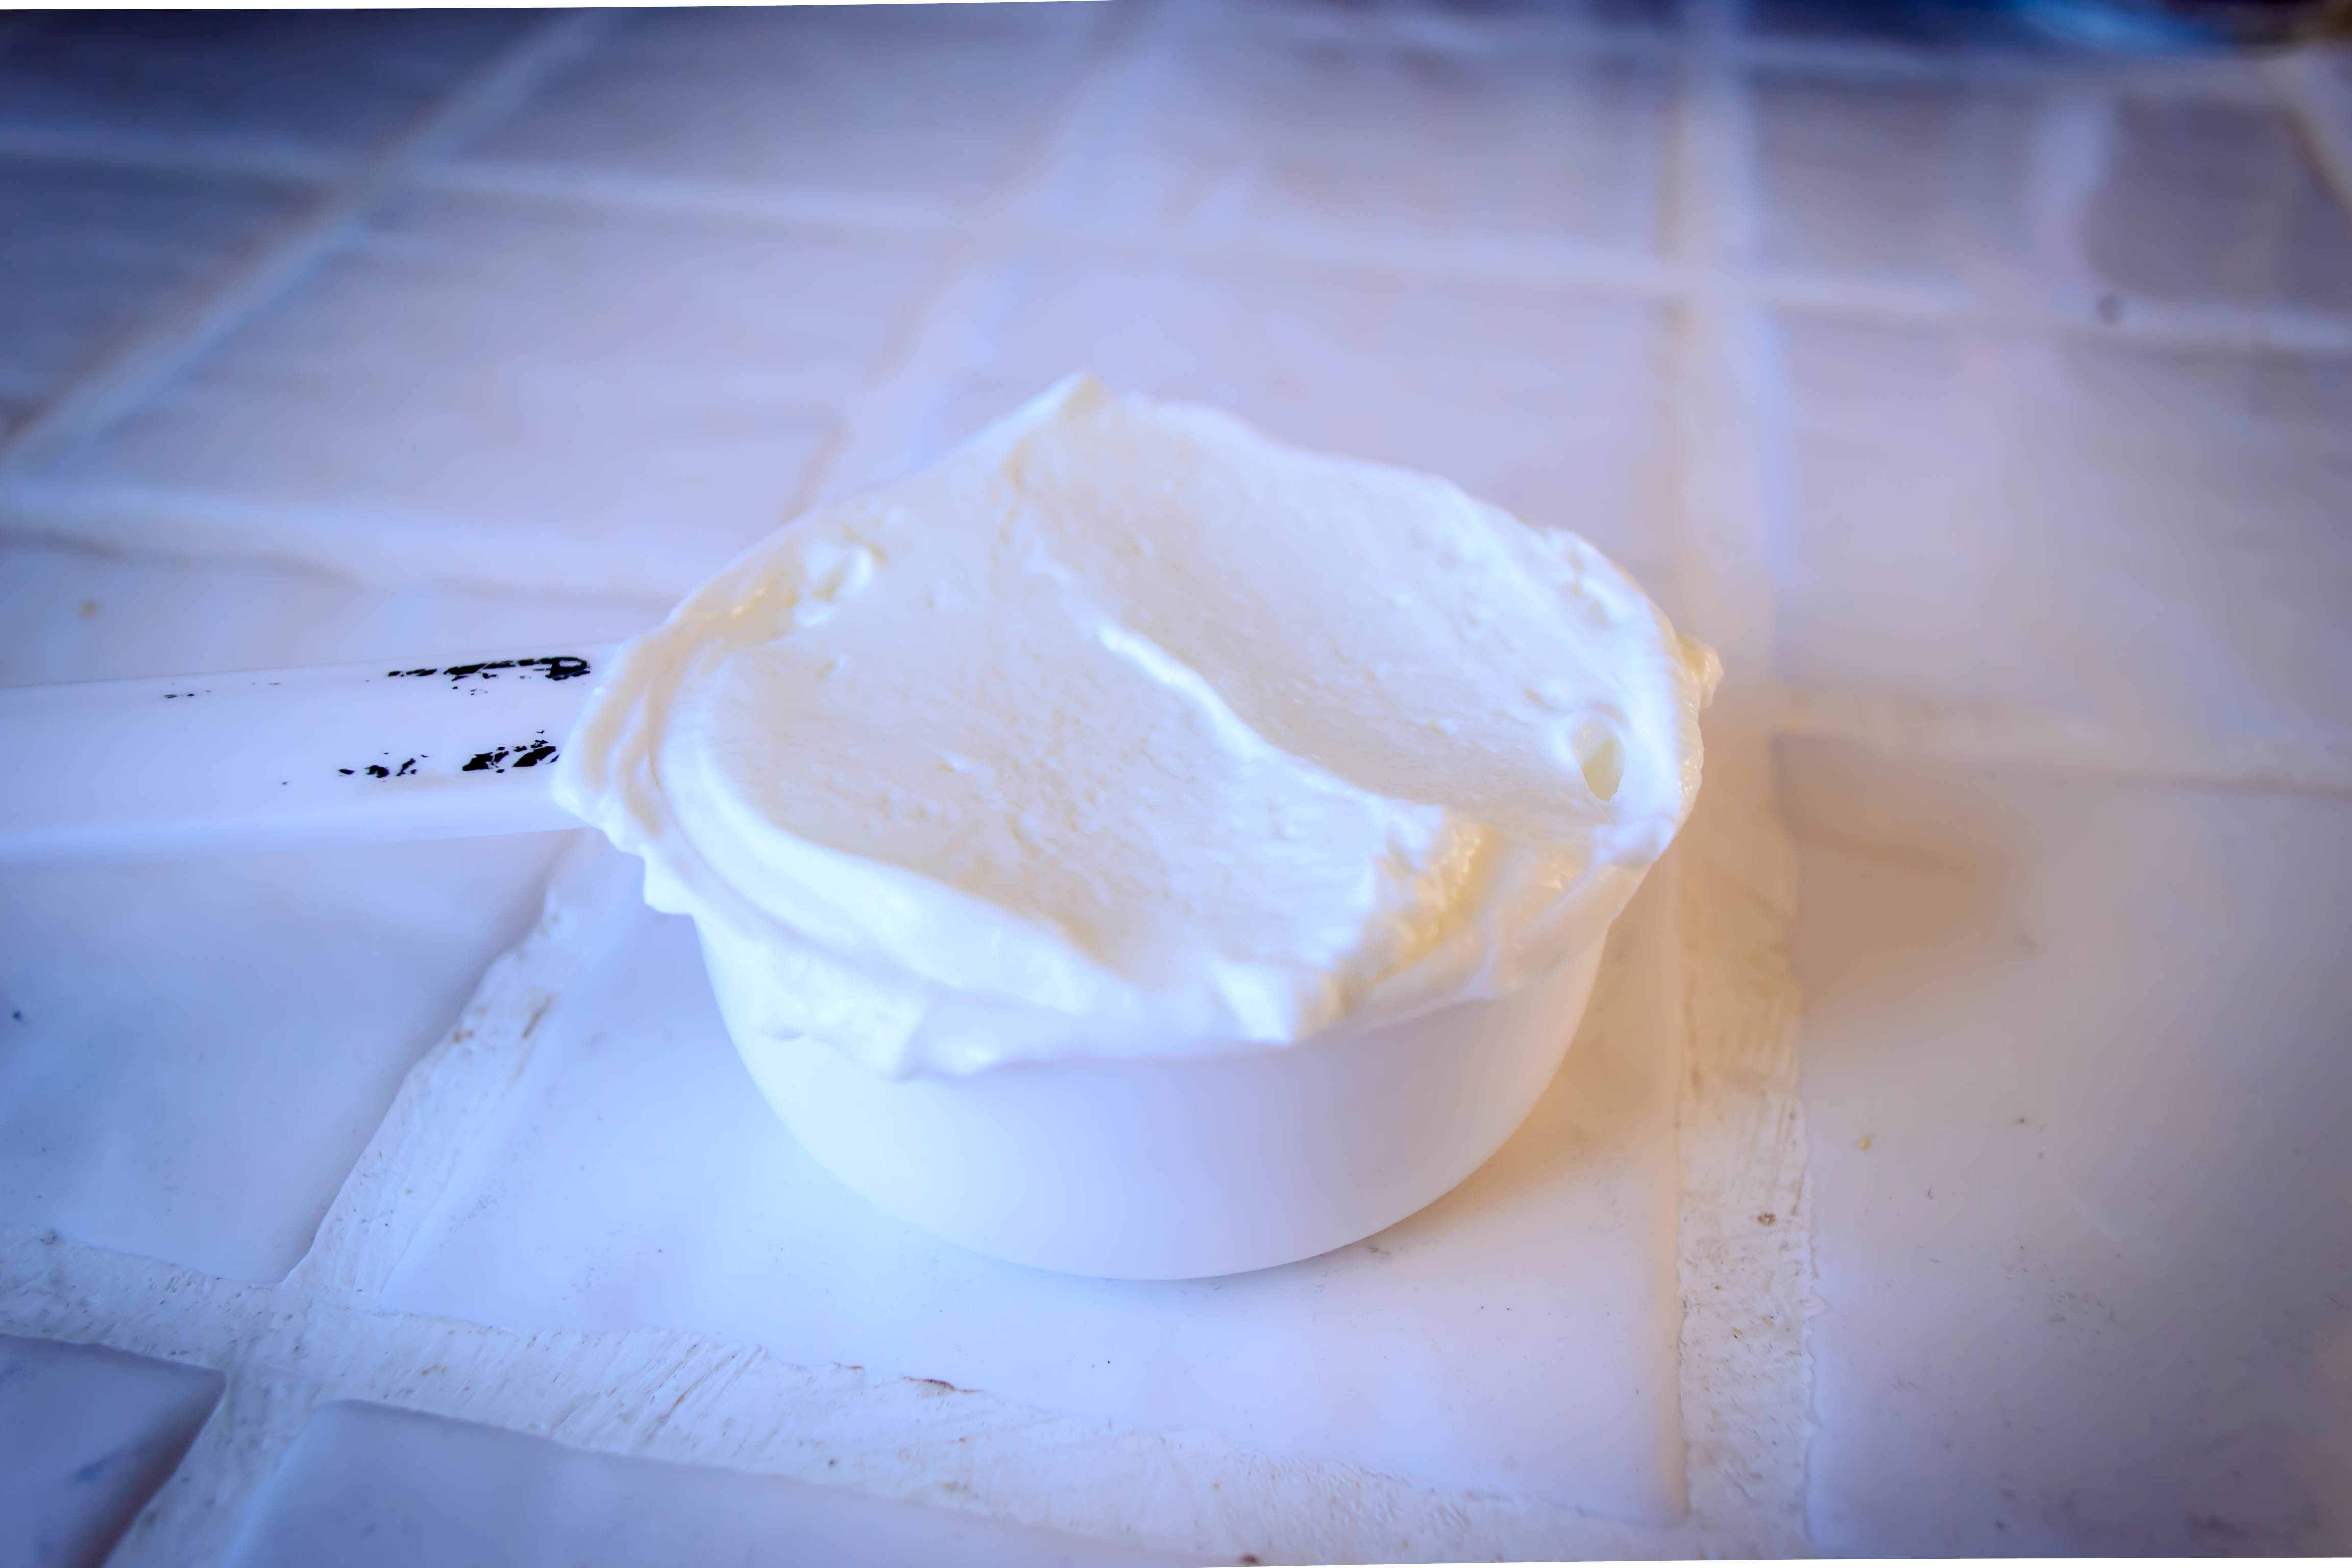
½ cup very soft butter, divided

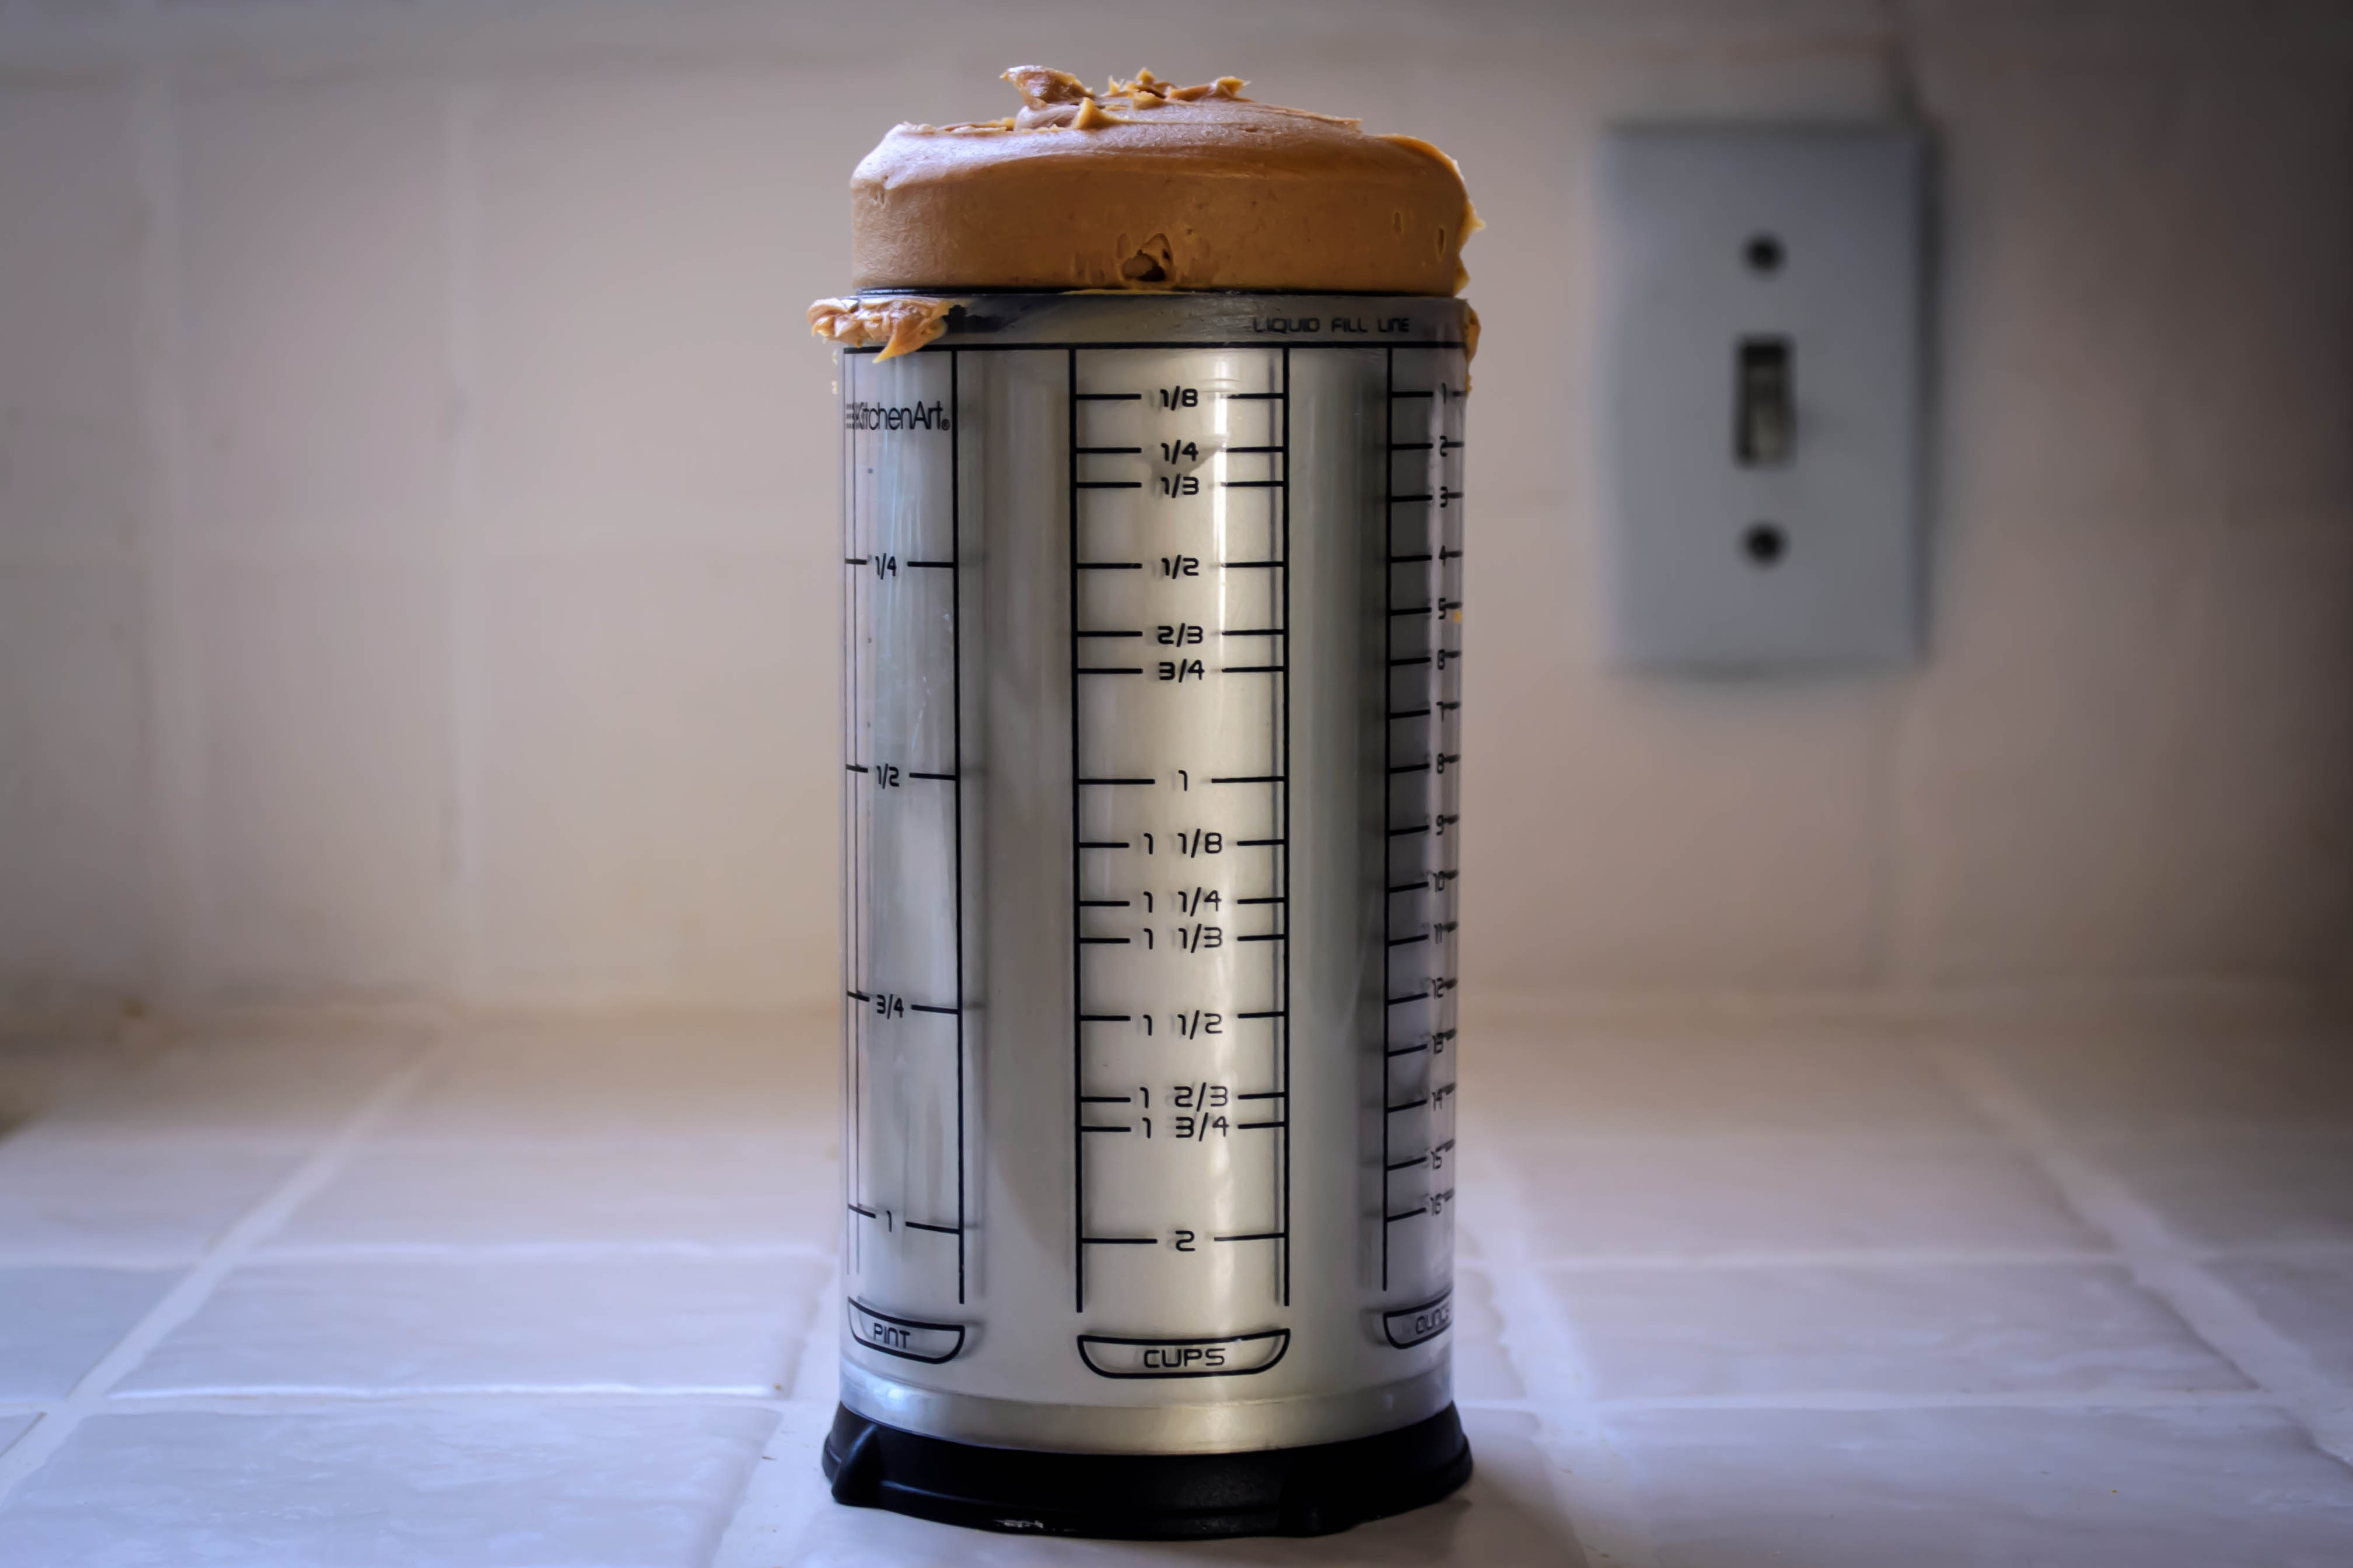
¼ cup smooth peanut butter

¼ cup sugar

1 egg

2 tsp vanilla, divided

1 tsp salt

2-2¼ cups bread flour

1 cup strawberry preserves, or your favorite flavor

Food Blog May 2013-1270

  • In the bowl of your stand mixer (or a large bowl), combine the yeast, 2 tsp sugar, and warm water.  Let stand 5 minutes or so until the yeast becomes bubbly.
  • Meanwhile, scald the milk, then let it cool.  I like to add the peanut butter and a ¼ cup of the butter to it and stir – this helps incorporate them into the dough more easily AND it cools the milk down faster.  Double duty is always good!
  • When the milk has cooled to just above room temperature and the yeast is bubbly and smells like baking bread, add the milk, peanut butter, ¼ cup of the butter, egg, remaining sugar, and 1 tsp vanilla to the yeast and mix with the paddle attachment or a sturdy whisk until incorporated but still lumpy.
  • Add the salt and about 1½ cups of the flour and mix again, still using the paddle attachment, until the flour is evenly damp.  If you are using a stand mixer, switch to a dough hook and begin kneading on medium-low speed.  If you are not using a stand mixer, dump the dough out onto a well-floured board, sprinkle it with a bit more flour, and begin kneading by hand.  If the dough is too sticky to knead productively, add flour ¼ cup at a time until it is workable.  I ended up using a total of 2 cups of flour.

Food Blog May 2013-1271

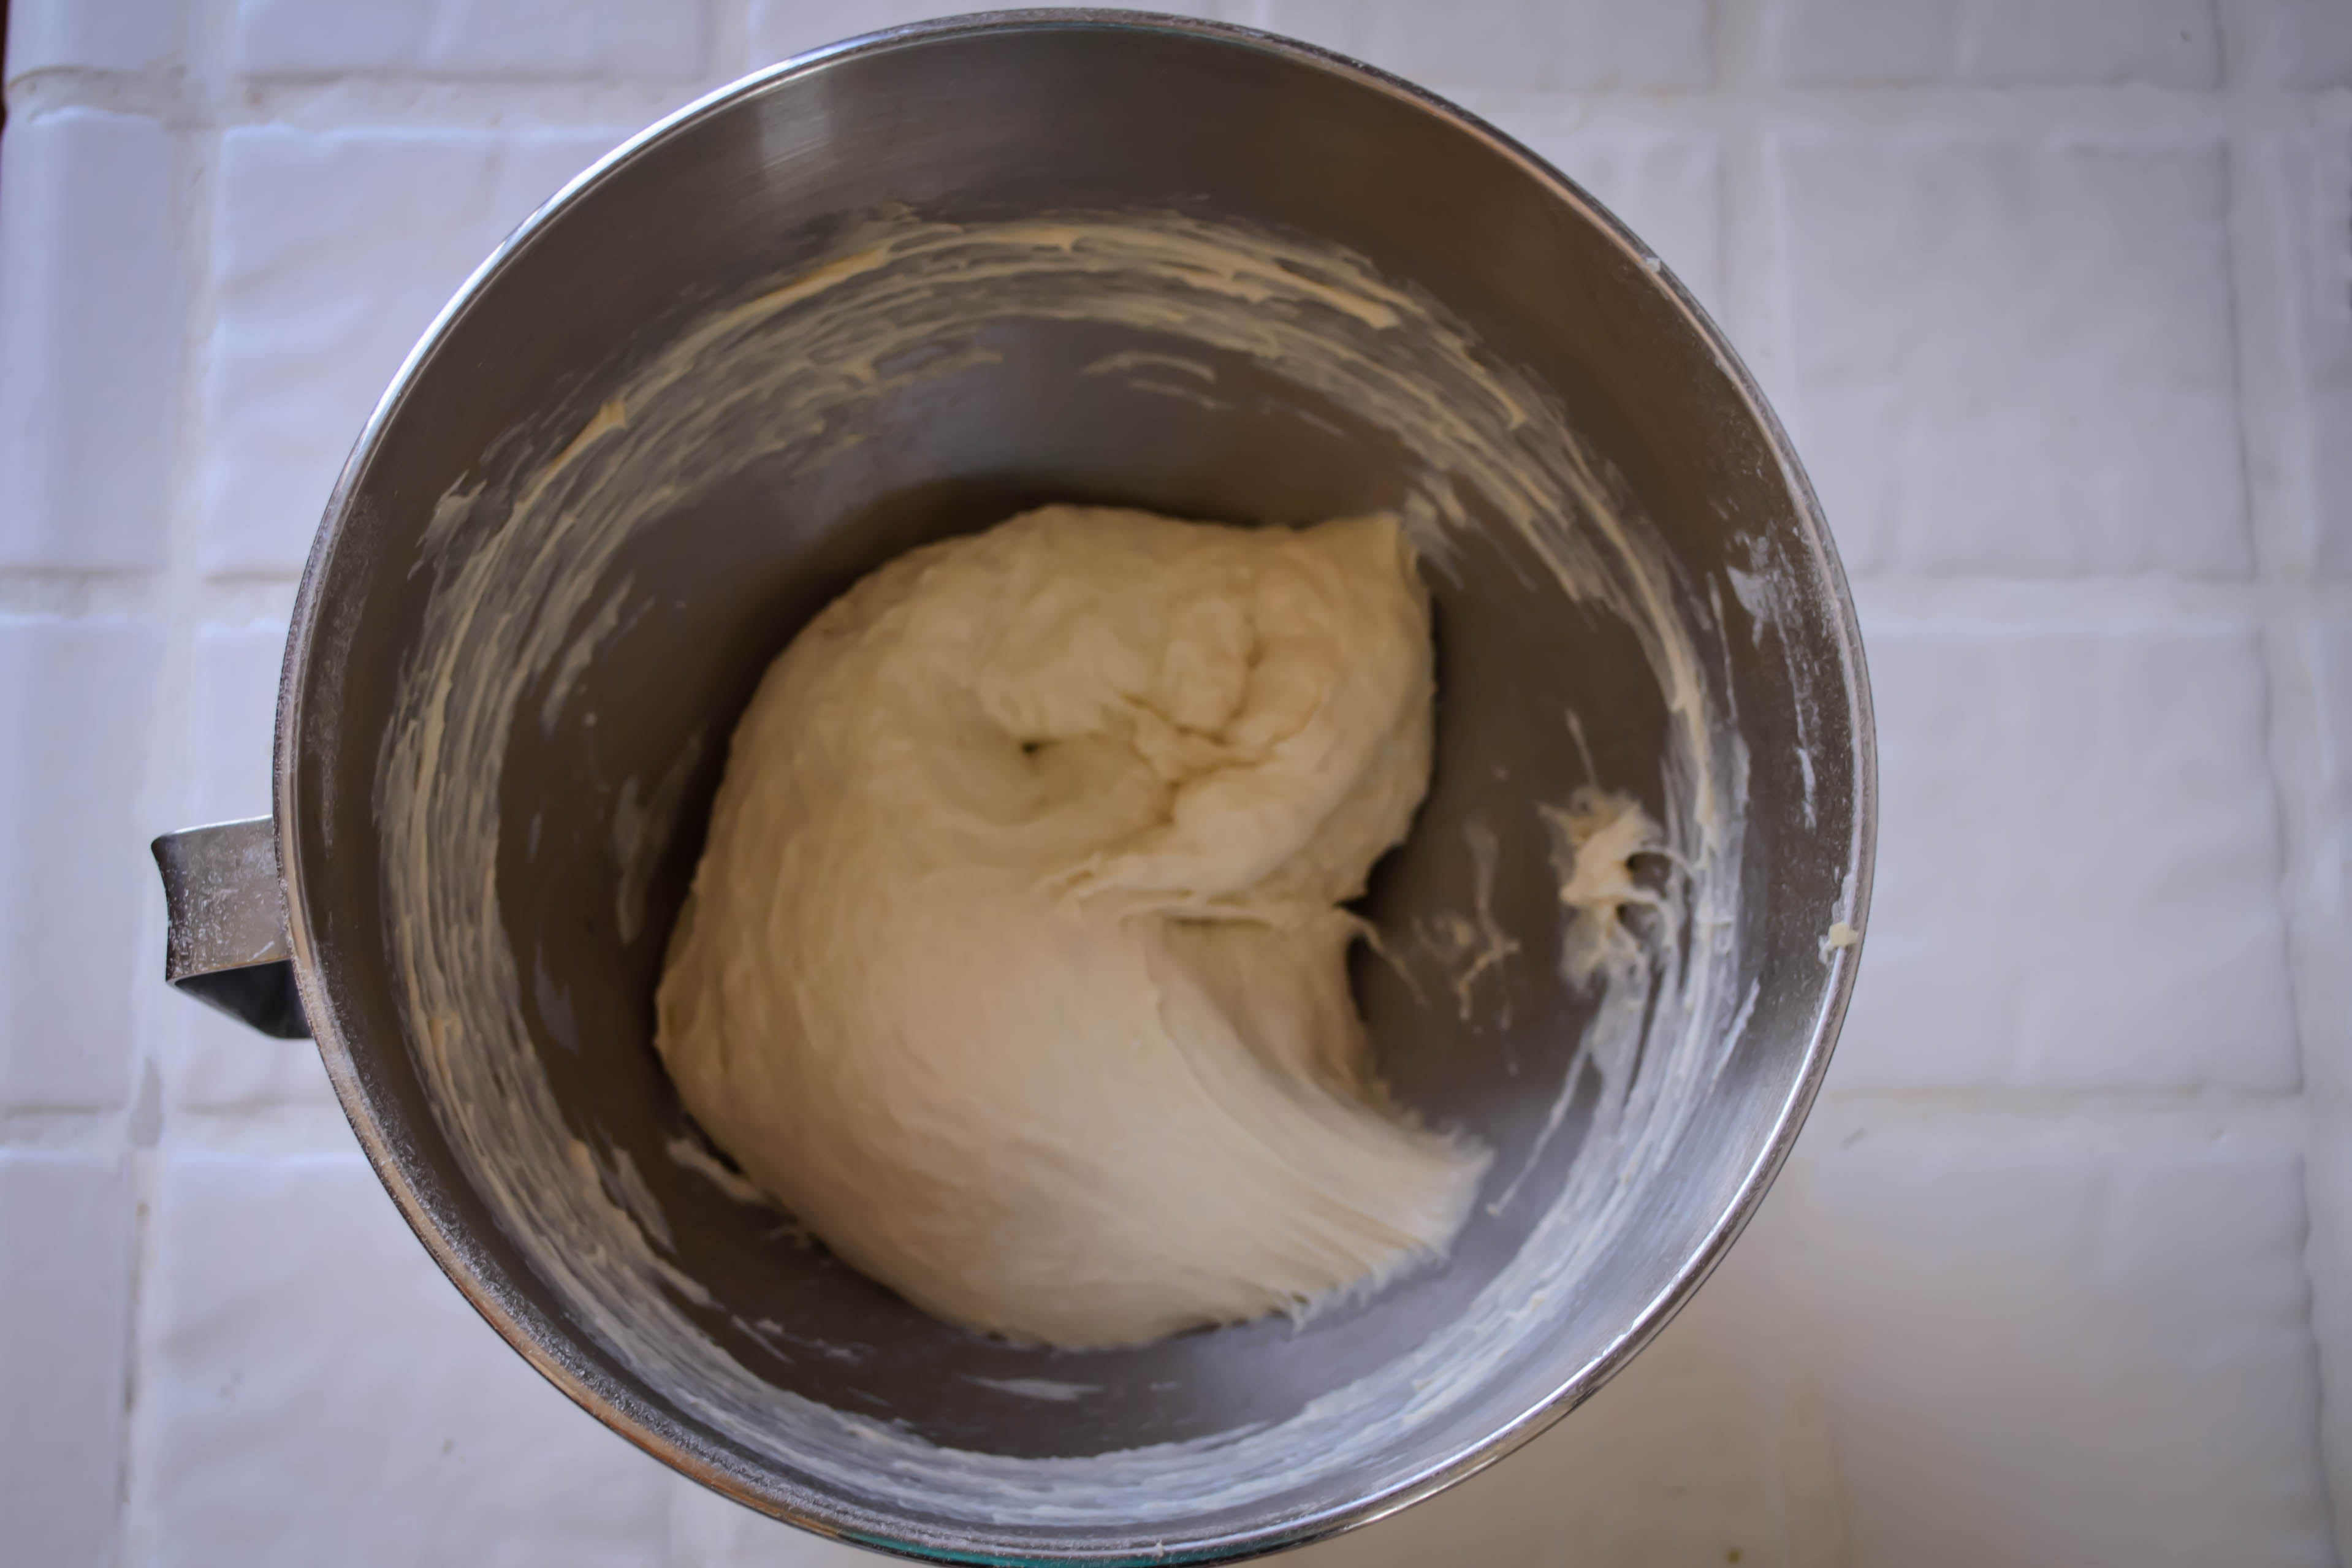
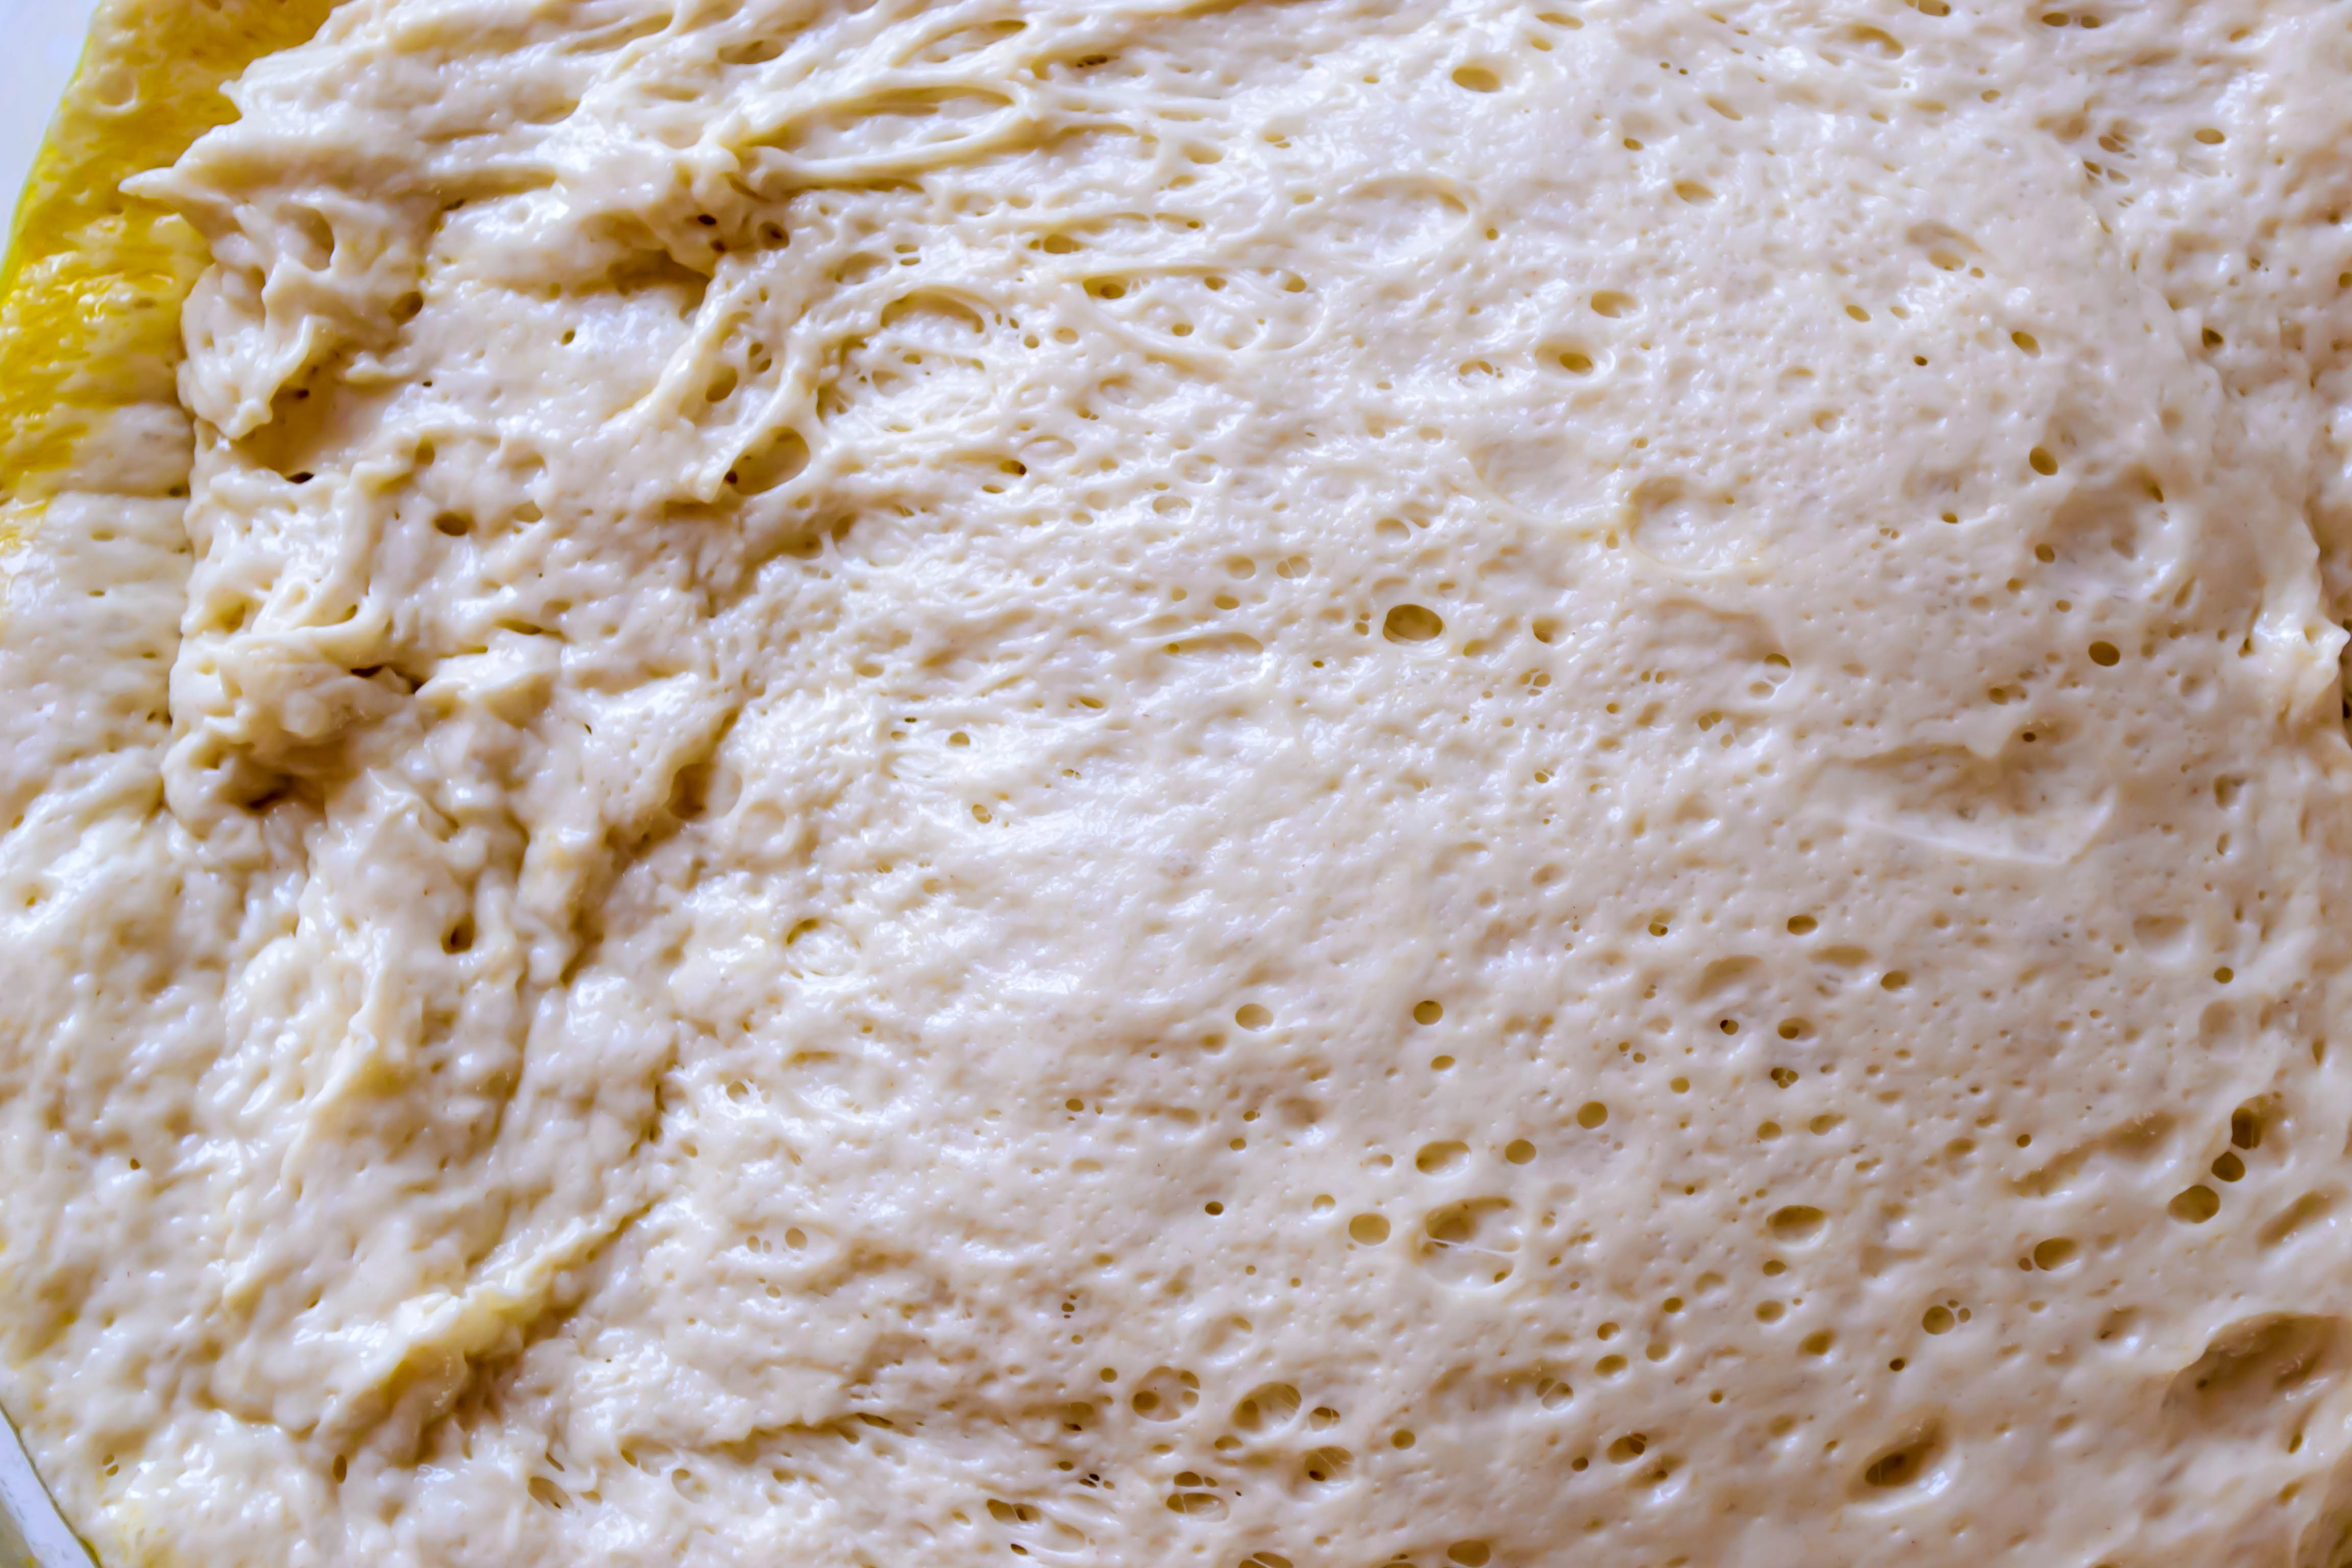
  • Knead for 8-10 minutes, or until the dough becomes smooth, shiny, and elastic.  At this point, relocate it to a lightly oiled bowl and cover it with a taut layer of plastic wrap.  Let rise in a warm place for 2 hours.  It will double or almost double in size in this time.
  • When the dough has risen and is close to double the size of the original ball, deflate it gently with your fist and then let it sit for 10 minutes.  While it gets its breath back, place the jam or preserves you’ll be using in a small bowl and heat it just until it loosens up a bit – this will make it easier to spread.  Add the remaining 1 tsp vanilla to the warm jam and combine with a fork.

Food Blog May 2013-1274

Food Blog May 2013-1276Food Blog May 2013-1277

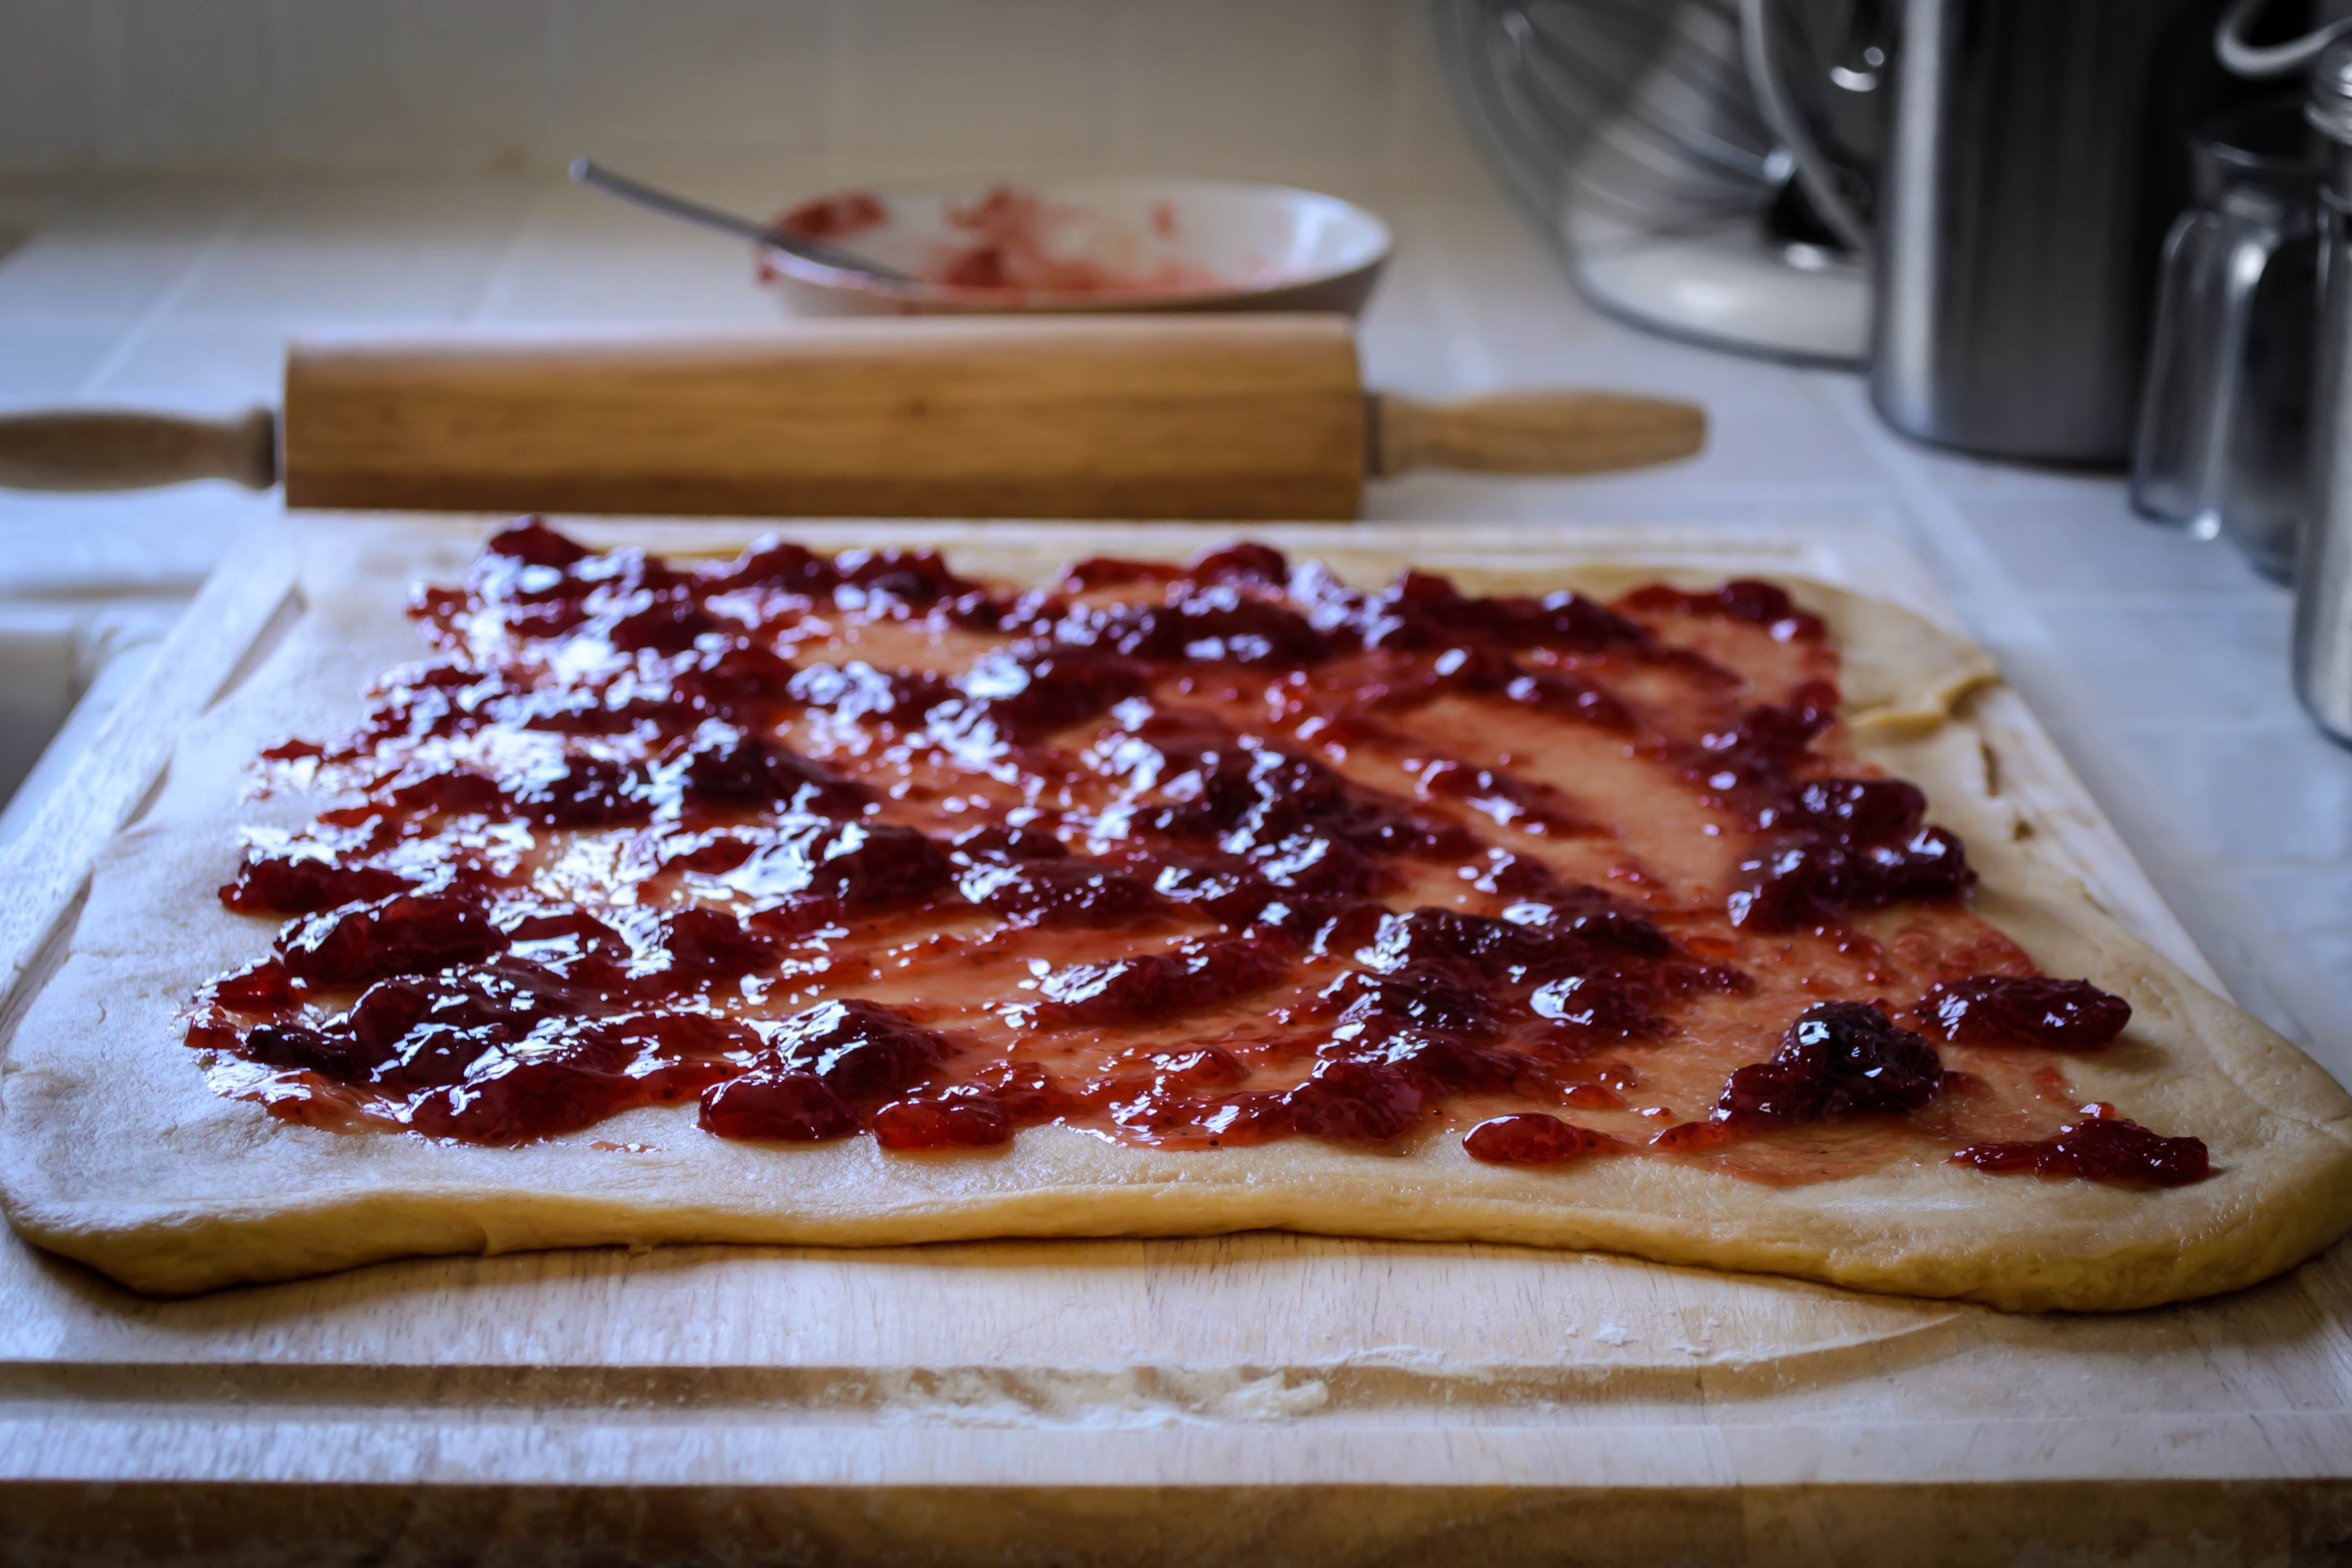
  • Once the dough has rested, turn it out onto a floured board and roll it into a rectangle of about 12×18 inches.  Spread this rectangle with the jam mixture, leaving a border of at least ½ an inch on all sides.  This will prevent the filling from leaking out as you roll it up.
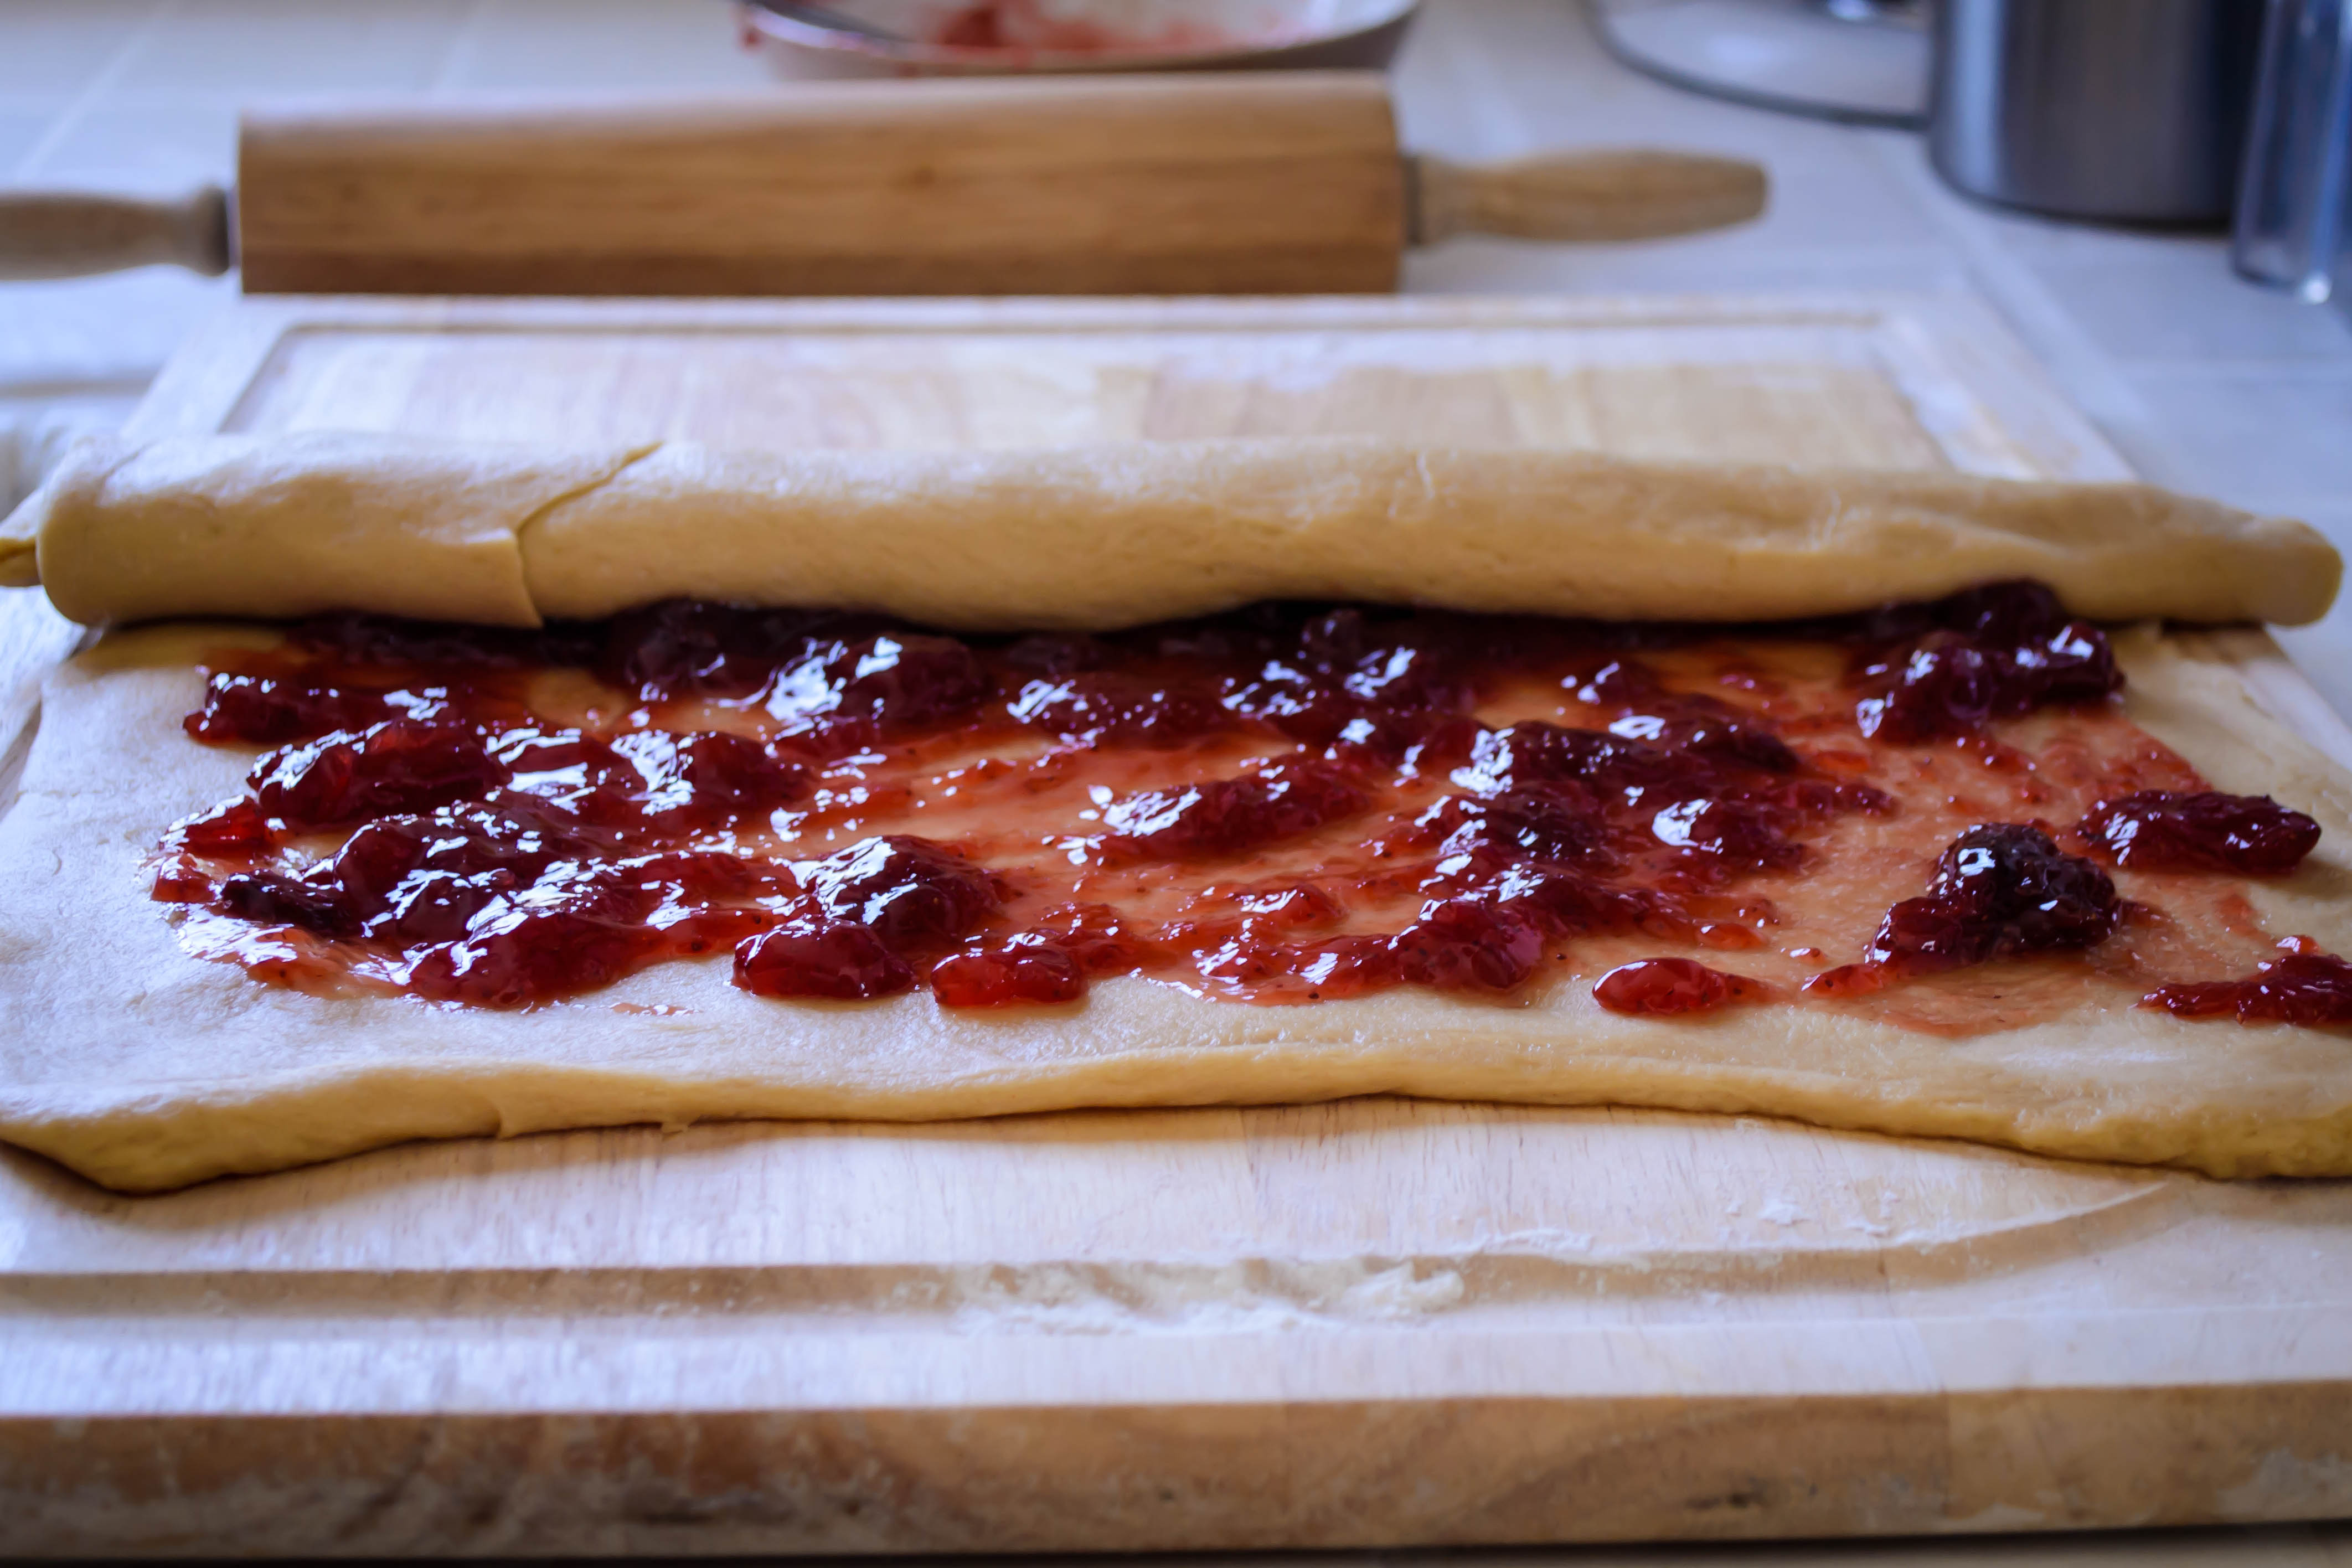
  • Starting on the shorter edge in the middle (so you’ll end up with a log about 12 inches long), begin rolling up the dough into a tube, moving back and forth between middle and ends to create an even log.  When you get to the end, seal the long edge by pinching the dough together with your fingertips.  This will keep the loaf together as it bakes.

Food Blog May 2013-1279

  • Twist the whole log six or seven times.  This distributes the jam through the center of the dough, so that your baked loaf will have a beautiful sweet swirl throughout.

Food Blog May 2013-1280Food Blog May 2013-1282Food Blog May 2013-1283

  • Smear a 9×5 inch loaf pan with about 1 TB of the remaining butter, then snuggle the log of dough into it.  Scrunch it up a bit – that’s okay, it will fill out the pan when it bakes – and set it aside to rise again for 30 minutes.

Food Blog May 2013-1284

  • While the dough rises, preheat your oven to 350F.

Food Blog May 2013-1288

  • When the dough has risen, rub the top with the remaining 3 TB butter (or chunky peanut butter, if you wish), and bake for 30-45 minutes.

Food Blog May 2013-1294

Note: this bread’s doneness is difficult to test.  Because the jam is interspersed throughout, the finished loaf can seem a bit doughy.  If you have an instant read thermometer, try to insert it in an area that is just bread, not jam.  (I had some difficulty doing this, as you can see from the small holes on the top of the loaf in some of the photos above.)  You are aiming for a temperature of between 190-200F.  I must admit, though, I don’t mind this loaf a bit underdone – I think it captures the softness and almost-soggy glory of a simple pb&j from childhood.  And really, that’s what this bread should be about.

Food Blog May 2013-1300

Stay tuned…

Happy Mother’s Day, all!  I’m a bit behind this week, so though I have something delicious and jammy and lovely to share with you, it won’t appear here until tomorrow… please check back!

Garlic Fontina Flatbread

Food Blog May 2013-1256I have a thing about garlic bread.  Achingly soft butter, a scattering of herbs, pungent, sharp garlic paste, spread thickly on sourdough baguette and broiled until the butter bubbles and browns and the garlic takes on a toasty depth; what’s not to love?  I make it in the oven, I make it on the grill, I’ve even tried turning it into a sandwich.  But all too often, the process of toasting leaves the edges of the bread blackened and the crust just too crunchy for my taste.  I want crisp toastiness, but I don’t want mouth-scraping shards of bread shrapnel.

Food Blog May 2013-1233Enter flatbread.  I don’t mean the dry, cracker-like stuff carelessly sprinkled with toppings and served up as an appetizer.  I mean something a little puffier, a little richer, a little cheesier.  A few months ago, I dabbled with a Food Network recipe for Spinach and Cheese Flatbread, and was delighted by the elastic dough that bubbled up into a soft-but-crisp rectangle.  It is chewy and golden, but not quite as sturdy as a pizza dough.  The bottom, slapped against a well-oiled sheet pan, gets just crisp enough to support all but the most ridiculously sized slices (don’t ask me how I know this.  Thank you), so you aren’t left with a square that wilts as you hold it.

Food Blog May 2013-1236As soon as I ate the FN version, I realized this was the answer to my garlic bread dreams.  The dough would be smeared with a loving, excessive layer of garlic-butter-herb-are-you-drooling-yet?-paste, sprinkled with fontina, which melts beautifully and has a mild funk I really enjoy, and baked until crispy toasty nirvana resulted.

Food Blog May 2013-1238My results approached sublimity, and the shortcomings were entirely human error, which seems fitting.  The paste didn’t spread very evenly because this is a soft dough: it threatened to tear when I applied a spatula, so I ended up smearing and dolloping my mixture with my fingers.  You could easily solve this by melting your butter instead of just softening it, and then pouring the mixture evenly over the dough.  Then, because I was afraid the butter and garlic would burn at pizza-cooking temperatures, I was pretty liberal with my cheese application, which meant that the toasty roasty golden color I was expecting didn’t quite happen.  Another minute or two in the oven might have helped, but we were hungry.  A little less cheese might have helped too, but seriously, less cheese?  Totally unreasonable.

Food Blog May 2013-1229Food Blog May 2013-1231Food Blog May 2013-1232In any case, the bread itself was puffy and buttery and decadent.  The garlic loses some of its pungency during baking, but retains that addictive sharpness and bright tingly aroma that makes it so good.  The dollops of butter became dimples of puddly richness that, upon reflection, reminded me a little bit of the center of a really good bialy.  The bottom of the crust is like an old-style pan pizza: golden with burst air bubbles and just oiled enough to leave your fingertips in need of a napkin.

Food Blog May 2013-1251This is a great happy hour snack.  Since it heats up the house, it gives you a great excuse to sit out on your patio, or deck, or picnic blanket, or camp chair.  It pairs well with a crisp, summery wine, and equally well with a frosty pint of beer (or maybe, since, you know, Cinco de Mayo, a classic Corona with lime, or a salt-and-cayenne-rimmed margarita).  You can use any combination of herbs you like.  I chose what was happening right outside my back door:

Oregano – I love the fuzzy leaves on this little guy. Food Blog May 2013-1241

Basil – back in late fall, I relocated a few stalks of basil from the supermarket clamshell container to a vase of water, and instead of wilting, they grew roots!  I shook my head, still in Oregon mindset, while planting them – they would never make it through the winter – but this is Southern California, so of course they did, and are now flourishing.  I’ve read that plucking the blossoms off encourages them to keep producing leaves, so every day or so I faithfully scatter the delicate white blooms. Food Blog May 2013-1244

Parsley – my parsley plant is looking a bit wild these days; it has bolted thanks to the heat. Food Blog May 2013-1246

But if you peer down inside, amidst the sunburned jungle, you can see there are still some stems worth serving! Food Blog May 2013-1249

As for additional toppings, you could add sundried tomatoes or thin rings of bell pepper or even jalapeno to the butter paste if you want to get fancy about it, and it would certainly fare well dipped into a bubbly saucer of marinara, if that’s your thing.  Either way, I think you should make this.

Maybe today!

Are you making it yet?

Food Blog May 2013-1255 Garlic Fontina Flatbread

adapted from Food Network’s Spinach and Cheese Flatbread

For the dough:
2 tsp sugar
2 tsp active dry yeast
1 cup warm water (it should feel just slightly warmer than body temperature when you dip your finger in to test it)
2 ¼ – 2 ½ cups bread flour
1 tsp salt (I like coarse sea salt)
1-2 TB olive oil


For the toppings:
8-10 cloves garlic, minced (about ¼ cup in all)
1 stick very soft butter (1/2 cup)
2 TB each chopped fresh parsley and basil
1 tsp chopped fresh oregano
¼ tsp crushed red pepper flakes
1-2 cups grated fontina cheese


  • Sprinkle the sugar and yeast over the warm water, stir gently to combine, and set aside to proof for 5 minutes or so.  The yeast will begin to bubble and smell like warm bread.
  • In a large bowl (I use the bowl of my electric stand mixer), combine 2 ¼ cups of flour, the salt, and the olive oil, and whisk together briefly.  The olive oil will create little streaks of moistness, like barely dampened sand.
  • Once the yeast mixture is bubbly, pour it into the flour and mix with the paddle attachment or a wooden spoon just until a sticky dough comes together.  Then, if you are using a stand mixer, switch to the dough hook and knead on medium speed for about ten minutes.  If the dough is still relentlessly sticky by minute six, smearing tackily across the sides of the bowl and schlopping stubbornly on the bottom, add an additional ¼ cup flour to make it more manageable.  If you don’t have a stand mixer, plop your dough out onto a floured board and knead by hand.
  • After about ten minutes, the dough should be smooth and elastic, though still fairly sticky.  That’s okay.  That stickiness will keep it moist and supple and lovely.
  • Place the dough – more or less sticky as it is – into a lightly oiled bowl and cover with plastic wrap.  Set it aside in a warm place until doubled.  This may take about an hour and a half, but my kitchen was about 80 degrees on the day I made this, so it only took mine an hour to puff triumphantly.
  • Gently deflate the dough and let it rest for ten minutes.  Then, stretch and spread it carefully on a well-oiled baking sheet.  If it stubbornly snaps back against itself and refuses to form a nice rectangle, let it rest another ten minutes and try again.  The gluten needs to relax a bit after all that rising work it has done.
  • When you have the shape you want, cover the dough with a clean kitchen towel and leave it to rise again for half an hour, until it has doubled yet again.
  • While the dough rises, preheat your oven to 450F and prep your toppings.
  • In a medium bowl, combine the butter, garlic, herbs, and red pepper flakes into a chunky paste.  I haven’t added any salt here, because the cheese is salty, but if you are a sodium fiend sprinkle in some salt to taste.
  • Approach your risen dough with caution: you may be able to smear on the garlic butter paste with a spatula, but you may have to carefully coat the surface with just your hands.  It will depend on the texture and elasticity of your dough.  If it won’t spread the way you want and you get frustrated with it, microwave the paste for a few seconds until the butter is melty, then pour the mixture on instead of smearing.
  • Top your buttered dough with an even sprinkle of cheese, keeping in mind that where the cheese completely covers the buttery garlic paste, not much toasting will occur.  I’ll leave determining quantities and coverage up to you and your preferences.
  • Place your topped flatbread into the oven and bake for 15-18 minutes, until the edges of the dough are puffed and nicely browned, and the cheese has turned golden and sizzles.  Let it cool on a countertop for 5-10 minutes, just to let the cheese cool from molten temperatures a bit, then slice and serve.

Food Blog May 2013-1252


Family Dinner

This week, on this day, Shauna from Gluten-Free Girl and the Chef is hosting a dinner party.  She, and the Chef himself, and their dancing daughter, are celebrating their new book: Gluten-Free Girl Every Day, and have asked folks to talk about family dinner, and what it means to them.

Remains of biscottiI grew up in an almost ridiculously normal (whatever that means) American household.  One mom, one dad, one sister, one dog, northern European ancestry, middle class.  That meant 3-part plates at dinner time: meat, starch, veg almost every night.  Sometimes the meat was grilled, sometimes baked, rarely fried.  The vegetables and starches were wide in variety and the casseroles, while present, were an occasional item.  We weren’t from the Midwest – in fact, of all the places I’ve lived in my life I’ve never had a home in that wide, grain-covered middle expanse of the United States – but we certainly could have been.

Looking back on them now, I love those family dinners, but I’m not sure I did then.  The food my mom cooked was good, but I wasn’t ready to notice it yet.  Dinner was dinner.  My sister and I always drank milk – sometimes white and foamy and cold, sometimes overdosed with chocolate syrup, sometimes with straws – until we both developed lactose intolerance.  Milk was replaced with juice, or water, or, as we got older, a glass of wine.  What grownups we felt like, sipping wine at the dinner table with Mom and Dad!

Dinner was, when I was young, a time to be together as a family.  Each of us took a turn spoke about the events of the day.  I found this part of the routine boring.  I loved my parents, but the meetings and conferences they described were not my cup of tea, and not what I was interested in hearing about.  Neither, much to my mom’s dismay, was I particularly invested in sharing my own daily experience.  I remember vividly her attempts to eke out details about my day at school: “what was your favorite part?”  My answer was usually a single word, or even a single syllable.  “Lunch.”  School just wasn’t thrilling enough to talk about.

frame it?When I was a senior, my dad was transferred to another part of the state.  My parents, bless them, didn’t want to tear me away from my last year of high school, so my dad rented a room in a suburb near his new office and came home every other weekend.  My mom was an elementary school teacher, and to lighten her load a bit, cooking dinner once a week became one of my tasks.  It turned out I much preferred this to my other chores, which included mowing the lawn and taking the trash bins down to the curb on garbage day.

My early attempts at dinner were, as you might expect, far from gourmet.  My Nana sent me a cookbook – The Complete Guide to Country Cooking – and a subscription to Taste of Home magazine, and I stubbornly stuck to these sources when it was my turn to invade the kitchen.  Why I wasn’t willing to defer to Mom’s collection of cookbooks I can’t begin to imagine.  Teenager-itis, I suppose, and maybe a feeling of needing to define “my” cooking against hers – Country Cooking was my repertoire.  This led to somewhat disjointed meals: I remember making something called “Peachy Ham Slice” and, minutes before the dish was ready to serve, realizing that I should probably include a few side dishes.

When I return “home” to my parents’ house, a house I didn’t grow up in, dinner is like a party.  Mom and I plan a menu with at least one fancy item.  It might be seared ahi, dressed with a mango and avocado salsa.  It might be couscous spiked with coconut flakes and toasted almonds.  It might even be the dessert, which as kids usually meant a small container of fruit flavored yogurt, but now could range from chocolate cake smothered in ganache to crisp, toasty biscotti.  We break out the tablecloth.  We set the dining room table with cloth napkins and balloon-bulbed wine glasses.  Dinner is an occasion.

IMG_5429But when it’s every day, when it’s in my own home, with my own little family (just N. and Lucy and me), dinner is different.  We are tired.  N.’s job is demanding.  On a regular weeknight, dinner means curling on the couch with lap-desks, plates positioned just so, and turning our brains off for a while as we watch an episode of Top Gear (the BBC version only, please), or Arrested Development, or even, perversely, Kitchen Nightmares.  Our forks work mechanically until our bellies sigh with contentment.  This isn’t fancy dinner, but it’s home, and it’s comfort, and it’s now.  If our family ever gets bigger, I want our child or children to have the same dinner experience I had with my parents and my sister: talking around the table, music in the background, together.  But that’s for someday.

Holidays 2012-0127That act of gathering around the table, though, or munching away on the couch, that’s not all dinner is.  At least not for me.  For me, dinner starts in my brain.  Dishes, flavors, raw ingredients that could be combined jostle around, shouting for attention, telling me their stories.  What if I used hash browns instead of tortillas to make a quesadilla?  What would that be like?  What if, for extra texture, I folded kale chips into the hash at the last minute instead of serving them on the side?  What if, oooh, I roasted the mushrooms for stroganoff instead of just sautéing them in a pan?  It’s like the scene in Disney’s The Sword in the Stone where Merlin packs up his traveling bag, except instead of dishes and furniture waltzing through the room, it’s ingredients.  When they seem particularly promising, I jot them down on a legal pad I keep just for the kitchen.  They become pizza and roasted vegetables and frittatas and pastas.  They bake into seed-sprinkled loaves and butter-drenched biscuits, and, at least last week, overly browned sweet potato fries.  They are rarely 3-part plates anymore – six years of meager graduate school stipends forced much of the meat out of our diets – but combine spices and heat in ways I never thought about when I was a teenager struggling to put meals together. DSC_0791

In my kitchen now, as I prepare to start dinner, all of the stress and concerns and aches I’ve had throughout the day get pushed to the sidelines by the creative bubble in my brain expanding out down my arms and into my fingers: time to cook!  My vegetable board comes down from its hook, I hone my knife a few times, just to keep the edge nice, and I’m chopping garlic and mincing ginger and grating lemon zest.  I’m whisking white wine vinegar with mustard and honey to start a salad dressing.  I’m loading a pan with florets of broccoli to roast.

Food Blog February 2013-0682Then Lucy arrives (yes, my “daughter” is a Lucy too!).  Friendly eyes, hopeful wag, up for anything, she stands in the doorway, letting her nose suss out the situation.  I give her a carrot or the thick, stubby stem end of a head of broccoli (her favorite), or once, memorably, a whole Brussels sprouts stalk she was determined to annihilate (I took this away from her fairly quickly).  She hangs around hoping until I light up the stove.  She doesn’t like the gas, so she heads back to the living room where she can’t see the tiny blue flame.

DSC_0986DSC_0985DSC_0984When things start to smell good, N. does a pass through.  He peeks into skillets, examines the counters for ingredients, snags a clump of cheese or a piece of marinating tofu.  Sometimes he’ll watch for a minute as I flip an omelet or deglaze a pan.

Food Blog March 2013-0373That’s how we come together, at dinnertime in my family.  We may not talk much during the meal (though Lucy and her velvet brown eyes have plenty to say about the smells she’s not tasting), but the magic of the kitchen itself pulls us all in.  We serve ourselves, pan to plate, and retreat to the living room, but inevitably find ourselves back at the stove, sneaking seconds.  Lu makes a round of the floor as N. and I eat, just to be sure nothing has fallen from the countertops.  And sometimes, later, as we pack up the leftovers for another night, N. tells me it was the best pizza I’ve made so far, or that I can roast carrots like that again anytime, or that he was really craving comfort food, and those breakfast burritos were exactly what he needed.  And that spurs the ingredient dance to start again, and it reminds me that dinner is maybe my favorite time of day.

IMG_5878

Dried Fruit and Ginger Scones

Food Blog April 2013-1194

This month’s archive makes it look like I’m harboring a bit of a sweet tooth.  Nothing wrong with that, necessarily, but I should tell you this week’s entry is actually at N.’s (indirect) request.  A month or two ago, my beloved aunt sent me some specialty King Arthur flour, and along with the packages of semolina and European style AP blend came a catalog.  Naturally, this has become my bedtime reading (what, you don’t read cookbooks and kitchen magazines in bed?), and on Monday night as I dawdled longingly over a blurb about Double Devon Cream, N. surfaced from internet-land and glanced at the facing page.  “That,” he said, and pointed at a photograph of some cranberry orange scones.  “You want scones?”  A silly question, apparently.  “That.”  So here they are.

Food Blog April 2013-1189

I did some research (i.e. food blogs and recipe comparisons from the other cookbooks stacked on my nightstand) and found, as usual, that Deb has all the answers.  Seriously, is there anything the woman hasn’t made?  I adore you, Deb, but really – a person can only repress the green-eyed monster for so long…   This adapts her recipe for “Creamy, Dreamy Scones,” which she got from the America’s Test Kitchen Cookbook.  I’ve used a combination of cake flour and all purpose flour for a lighter texture, allowed turbinado sugar to stand in for the regular sugar, and replaced some (okay, most) of the cream with whole milk, because I lost my mind this week and, forgetting the intended use of that little container, dumped most of it into an unholy-but-oh-so-heavenly conglomeration of chard, bacon, and bourbon.

These scones take advantage of the bags and bags of dried fruit that inevitably collect in my pantry.  You could probably add other flavors as well, but I thought apples and cranberries, and the candied ginger I’ve been obsessed with for at least a year now, would play well together.  Apricots would probably be beautiful too (unless you are, like one of my family members who shall remain nameless to protect familial harmony, freaked out by dried apricots because they apparently bear an uncomfortable resemblance to mouse ears).

Food Blog April 2013-1170

Scones come together much like biscuits: whisk the dry ingredients, cut in the butter, stir the milk/cream/buttermilk and flavor additions in with a fork.  But then, and this is where things can go awry, you have to pat it into a circle and either punch out rounds with a biscuit cutter, or slice the whole thing into triangles.  I chose the latter.

Food Blog April 2013-1177Food Blog April 2013-1182

This dough is, if we’re honest with each other, an almost unmanageably sticky mess.  Resist the temptation to mix more flour into the dough, because the more flour you add, the less tender the finished scones will be.  But do be prepared to sprinkle flour over everything it will come in contact with.  I used a floured pizza cutter to slice it into eight pieces, which tore up edges and corners even while the dough clung fiercely to the board below.

Food Blog April 2013-1178

Food Blog April 2013-1180

Food Blog April 2013-1185

A bench scraper tool is really helpful for transferring your scones to their cooking vessel – a parchment lined baking sheet would be fine, but I used my brand new enameled pizza stone because I’m so jazzed about it.  This, because I preheated it along with the oven, made the scones sizzle as I levered each one onto its surface, and rather than sticking (which I was dreading, since I realized only after they’d been in the oven for five minutes that I hadn’t greased or floured the cooking surface AT ALL), produced a crisp bottom crust.

Food Blog April 2013-1190

I left my offering on the pizza stone to cool while I took the dog for a walk, and returned to find it had been accepted.

Food Blog April 2013-1191

An hour or so later, it had been accepted again.

Food Blog April 2013-1192

These are best on the first day, but will keep acceptably for two or three days if they are well wrapped in aluminum foil and stored at room temperature.  Chances are – if your family is anything like mine – this short storage period won’t be an issue.  Still warm, these make perfect hand-held afternoon pick-me-ups (the ginger really zings you out of the 3 o’clock slump), but if you want to go the extra mile, I recommend slicing them in half so you have two triangles, stuffing them with Greek yogurt and a decadent ooze of local honey, and attacking with a fork for breakfast.

Food Blog April 2013-1197

Apple Cranberry Ginger Scones

Adapted from Smitten Kitchen, who used America’s Test Kitchen Cookbook. 

1 cup all-purpose flour

1 cup cake flour

1 TB baking powder

4 TB coarse sugar, divided (I used turbinado because that’s what was in my baking cupboard)

½ tsp salt

5 TB butter, cut into cubes

¼ each chopped dried apples, chopped dried cranberries, and chopped candied ginger

¼ cup heavy cream

¾ cup whole milk

  • Position a rack in the middle of your oven and preheat to 425F.  If you will be baking on a pizza stone, put it in the oven to preheat as well.  If you will be using a cookie sheet, line it with parchment paper and set it aside.
  • Whisk together the flours, baking powder, 3 TB of the sugar, and salt in a medium bowl.
  • Cut in the butter using a pastry blender, two knives, or your fingers, until the largest chunks of butter are the size of small peas (sidenote: “peas” seems the universal size for butter chunks – why is that?  Is there no other pea-sized object so regular and recognizable in size that we could call upon?  Ball-bearings?  Corn kernels?  Canine teeth?).
  • Pour in the cream and milk (or just use all cream, if you have it) and mix it around with a fork until an evenly hydrated, extremely sticky dough forms.
  • Add the fruits and mix again until evenly distributed (you may have to work a bit to break up the ginger pieces).
  • Dump the sticky mass out onto a well-floured board.  Sprinkle a little flour on top as well, then pat the dough out into a circle about 1-inch thick.  Try not to add too much flour, lest they become dense and tough.
  • Dip a pizza cutter or other thin, sharp knife into flour, then cut the circle into 8 equal sized pieces.  You may need to scrape off and re-flour your slicing instrument between slices.
  • Using a bench scraper, a thin spatula, or (if you are brave) your hands, relocate your 8 scones to your prepared baking vessel, spacing them a half inch or so apart (they will puff and rise a little bit, but not tremendously).  Sprinkle the tops with the remaining 1 TB of sugar.
  • Bake for 13-15 minutes, or until lightly golden on top and cooked through.
  • Cool at least 10 minutes before removing to a wire rack.  Eat warm or cool.

Blackberry Bourbon Bread (#Twelve Loaves April)

I’m a sucker for alliteration.  Call it having been an English major for so many years.  So when I read on April’s Twelve Loaves challenge that the objective was berry bread, I may have freaked out a little.  And when the idea of blackberries and bourbon zinged into my brain – dark, sultry, tartly perfumed – I may have freaked out a little more.  Food Blog April 2013-1083

Blackberries, bourbon, yogurt, and crumbly pebbly streusel all done up in a quickbread that we’ll pretend isn’t really an excuse for cake.  How could you want anything more?  Well, maybe a warming breath of cinnamon.  Granted.  And maybe some browned butter. Food Blog April 2013-1138

Just as this is barely a bread, it’s also barely a dough.  It only fits into my dough challenge by virtue of its attachment to the idea of bread, which, as I’ve noted, isn’t a very strong attachment at all.  Aren’t “quickbreads” really just desserts that we like to eat at non-dessert hours of the day?  But it is delicious, and warm, and comforting, and I think we could all do with a bit of that after this week.

Food Blog April 2013-1110Yogurt, browned butter, blackberries, bourbon, streusel, and cinnamon all in the same bread sounds a bit overwhelming, but really, all of the components played very well together.  Blackberries and yogurt scream breakfast, and mixed in a thick batter with plenty of melted butter they produce a moist, slightly dense loaf splotched with purple pockets of jammy tartness.  But the addition of bourbon makes this a naughty thing to consider having a slice of too early in the morning (unless you are still up from the night before, I suppose).  When I tasted the batter, I was concerned about how assertively the alcohol came through, but after baking what lingers is a lovely floral aroma – all the peaty, throat-searing headiness fades (and honestly, it left me wondering whether another tablespoon or two of bourbon might be welcome in the recipe).  Really, this is a loaf perfect for that most wonderful of British institutions we are sadly lacking in the U.S: afternoon tea.  And if you slathered a thick slice with clotted cream, I don’t think anyone would complain. Food Blog April 2013-1115

Blackberry Bourbon Bread

Makes 1 large 9×5 loaf

For the bread:
1 ½ sticks butter (12 TB, or ¾ of a cup)
2 eggs
1 ½ cups sugar
1 tsp vanilla
¼ cup bourbon (I like Knob Creek)
½ cup Greek yogurt, though likely any plain, unsweetened yogurt would do
2 cups flour
1 tsp salt
1 tsp cinnamon
1 tsp baking soda
12 oz. blackberries, rinsed and air-dried (I realize this is an odd quantity, but that’s how much was in the container I found.  The advantage here is that it means you can start with two pints [16 oz.], and the inevitable handful you end up eating by sneaking “just one more” at a time will leave you with just the right amount!)
Food Blog April 2013-1123For the streusel:
½ cup flour
½ cup powdered sugar
½ tsp cinnamon
4 TB (½ a stick) cold butterFood Blog April 2013-1124
  • First, you’ll need to brown the butter for the bread.  In a small saucepan, preferably not black (it’s harder to see the browning against a dark background), melt the butter over medium heat.  Continue cooking, occasionally swirling gently, as it foams up.  That’s the water separating and steaming away.  After a few minutes, the solids will start to collect on the bottom of the pot, and begin to darken to gold and then coppery brown.  When that happens, turn off the heat.  It’s amazing how quickly those cooking solids go from perfectly brown to burned.  Set the pot aside to cool while you work with the other ingredients (I stuck mine in the freezer on top of a pot holder to chill down quickly).
  • While your butter cools, preheat the oven to 350F and prepare a 9×5” loaf pan by rubbing the bottom and sides with butter or spraying with a non-stick spray.
  • In a large bowl (or the bowl of your stand mixer), beat the eggs until slightly foamy.  With the mixer running (you could do this by hand with a whisk, I suppose, but an electric mixer of any kind will make it much easier), add the sugar ½ a cup at a time, integrating it completely before the next addition.  When all of the sugar is added, continue mixing for another 2 minutes, or until the mixture has become quite pale in color and increased in volume.
  • Add the vanilla, bourbon, yogurt, and cooled butter, and mix until well combined.  The yogurt may break up a bit and make things look curdled, but don’t worry.  Once you add the dry ingredients everything will be fine.
  • In a medium bowl, whisk together the flour, baking soda, salt, and cinnamon.  Add 1/3 of the dry mix to the wet ingredients, mixing on low speed just until the flour is integrated.  Add another 1/3 of the dry mix and combine again.
  • When you have just 1/3 of the dry mixture left, toss the blackberries in it gently.  This will help keep them evenly distributed in the batter as it bakes, rather than all sinking to the bottom.  Add this final portion of flour, with the berries, to the batter and fold it in gently with a spatula.  This is harder to do evenly, but will keep the berries intact better than using a mixer blade.  The resulting batter will be quite thick.
  • Scrape-pour the batter into your prepared loaf pan.  Mine got tremendously full, and to prevent any chance of overflow during baking, I relocated some of the batter to a 6-inch cake pan instead.  If you are concerned about overflow, I suggest filling the loaf pan only about 2/3 full, and make muffins or tiny cakes out of the rest of the batter. Food Blog April 2013-1116
  • For the streusel, which I insist you use because it adds such a nice textural contrast, combine the flour, sugar, and cinnamon in a small bowl.  Using a fork to whisk them together works nicely.
  • Rub in the butter with your fingers or a pastry blender until it is very well integrated.  Ordinarily I use a pastry blender for this sort of thing, but here I think your fingers really do work best, since you can squash and smoosh the butter more efficiently.  You want tiny pebbles – the biggest should be smaller than peas and the smallest like grains of couscous.
  • Sprinkle the streusel over the surface of your bread in an even, thick layer.  You will probably have a bit extra, but I think that’s hardly a bad thing. Food Blog April 2013-1117
  • Deposit your loaf in the oven and bake for 80 minutes, or until a toothpick or cake tester inserted in the middle comes out with only a few moist crumbs clinging to it.  Since ovens are all different, I recommend you first test for doneness at 60 minutes, just to be safe.
  • Remove and cool in the pan on a wire rack until you can’t stand it any longer.  Then slice and enjoy with tea, with cream, with a dollop of yogurt, or just all on its own. Food Blog April 2013-1160