
When I was a kid, my parents made me cassette tapes from several Disney albums to listen to in the car. I mean real albums: records. 45s and 78s, that spun, some wobbly and warping, on a turntable at a speed that, when I was much smaller, seemed unreal. But the cassette tapes were for long car trips, and we all learned every word in every song (this wasn’t so bad, according to my parents, with the Disney songs. One of the other tapes – a John Denver greatest hits album – wasn’t so lucky. I requested it so many times that the tenuous black strip of tape got tangled in the player, and even after attempts to repair it by winding it manually back into the plastic casing, one day it mysteriously disappeared. I’m still convinced that my dad, sick to death of hearing the plaintive desire for country roads to take us home, chucked it out the window).
Interestingly, one of my favorite songs from that collection was from a movie I’ve never seen: Disney’s The Happiest Millionaire. The song, “Fortuosity,” was a happy ditty about luck and opportunity, and “fortuitious little happy happenstances,” and I loved it. It’s an idea that I like, and the song itself comes back to me every once in a while at random moments, most often when I think about the word “fortuitous,” with which the song obviously plays, and when I remember road trips with my family.
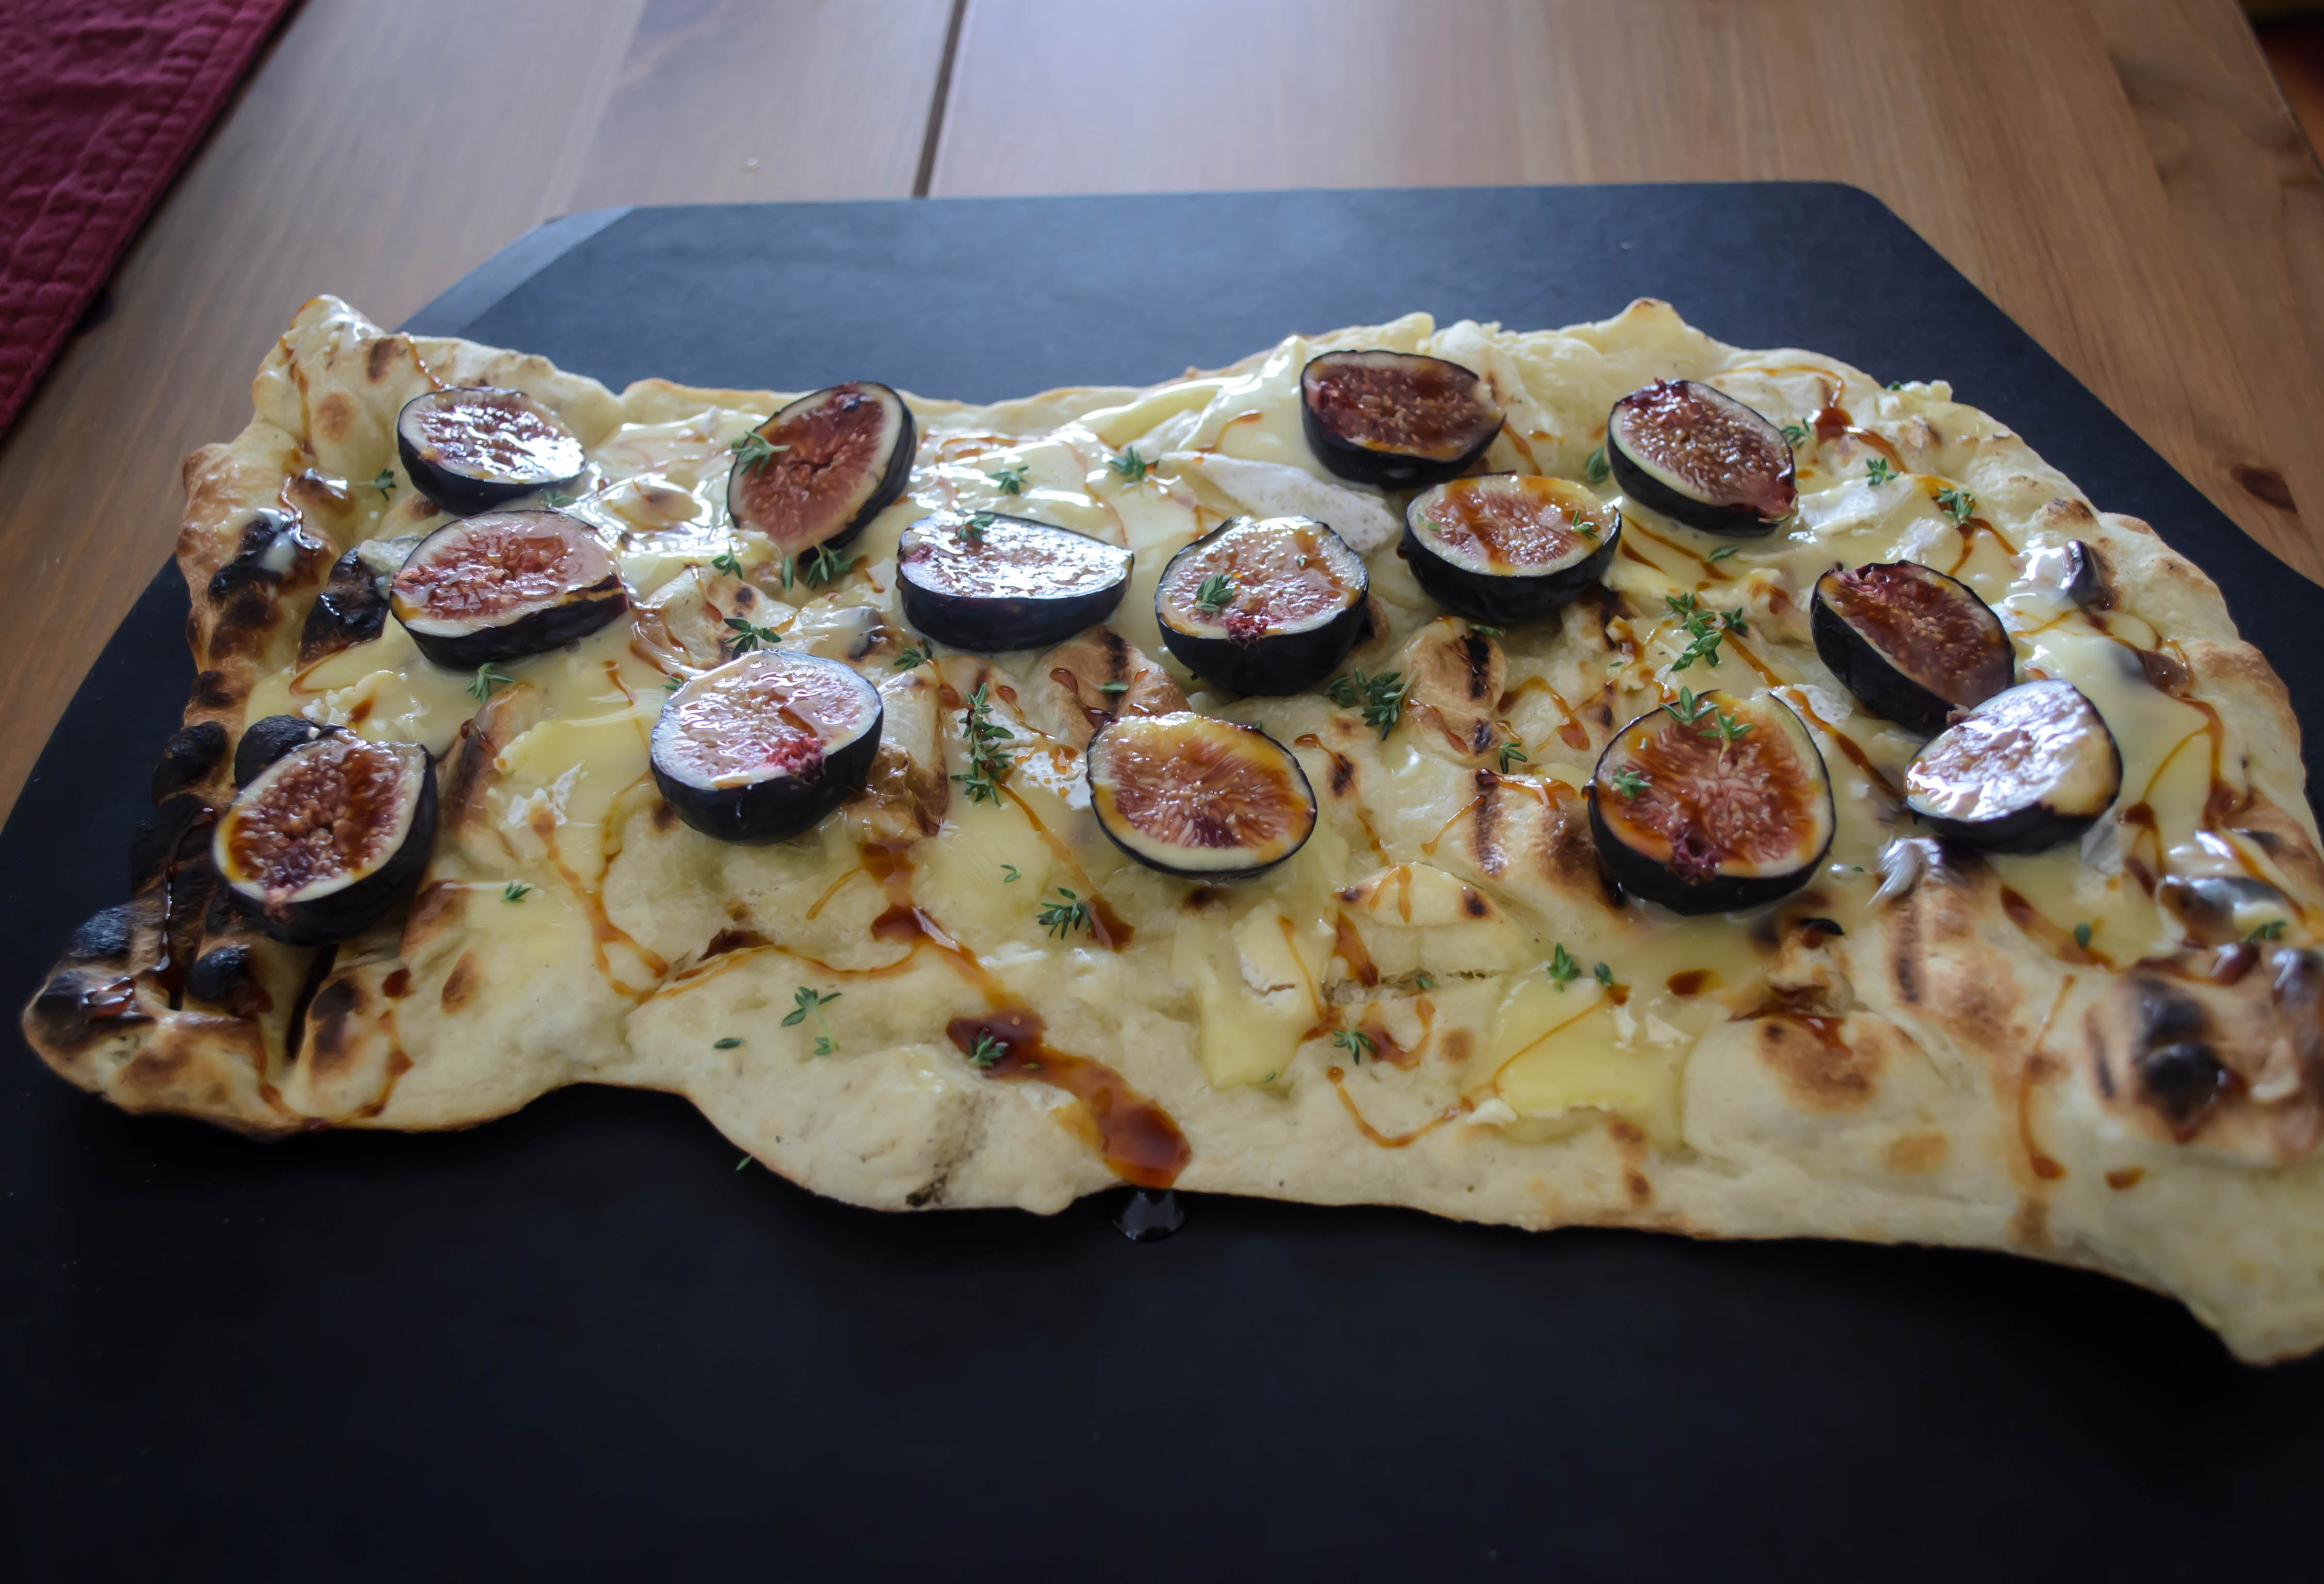 This is a long-winded way of introducing the idea that this week’s post, and this month’s Twelve Loaves challenge, aligned entirely by fortuitous coincidence. Last week I asked N. to grill up some leftover pizza dough, which I smeared with double cream brie, nestled in some halved figs straight from the farmers’ market, and drizzled with barley malt syrup and sprigs of fresh thyme. Then I checked the Twelve Loaves challenge only to see that September’s theme is Farmers’ Market food. Fortuosity indeed.
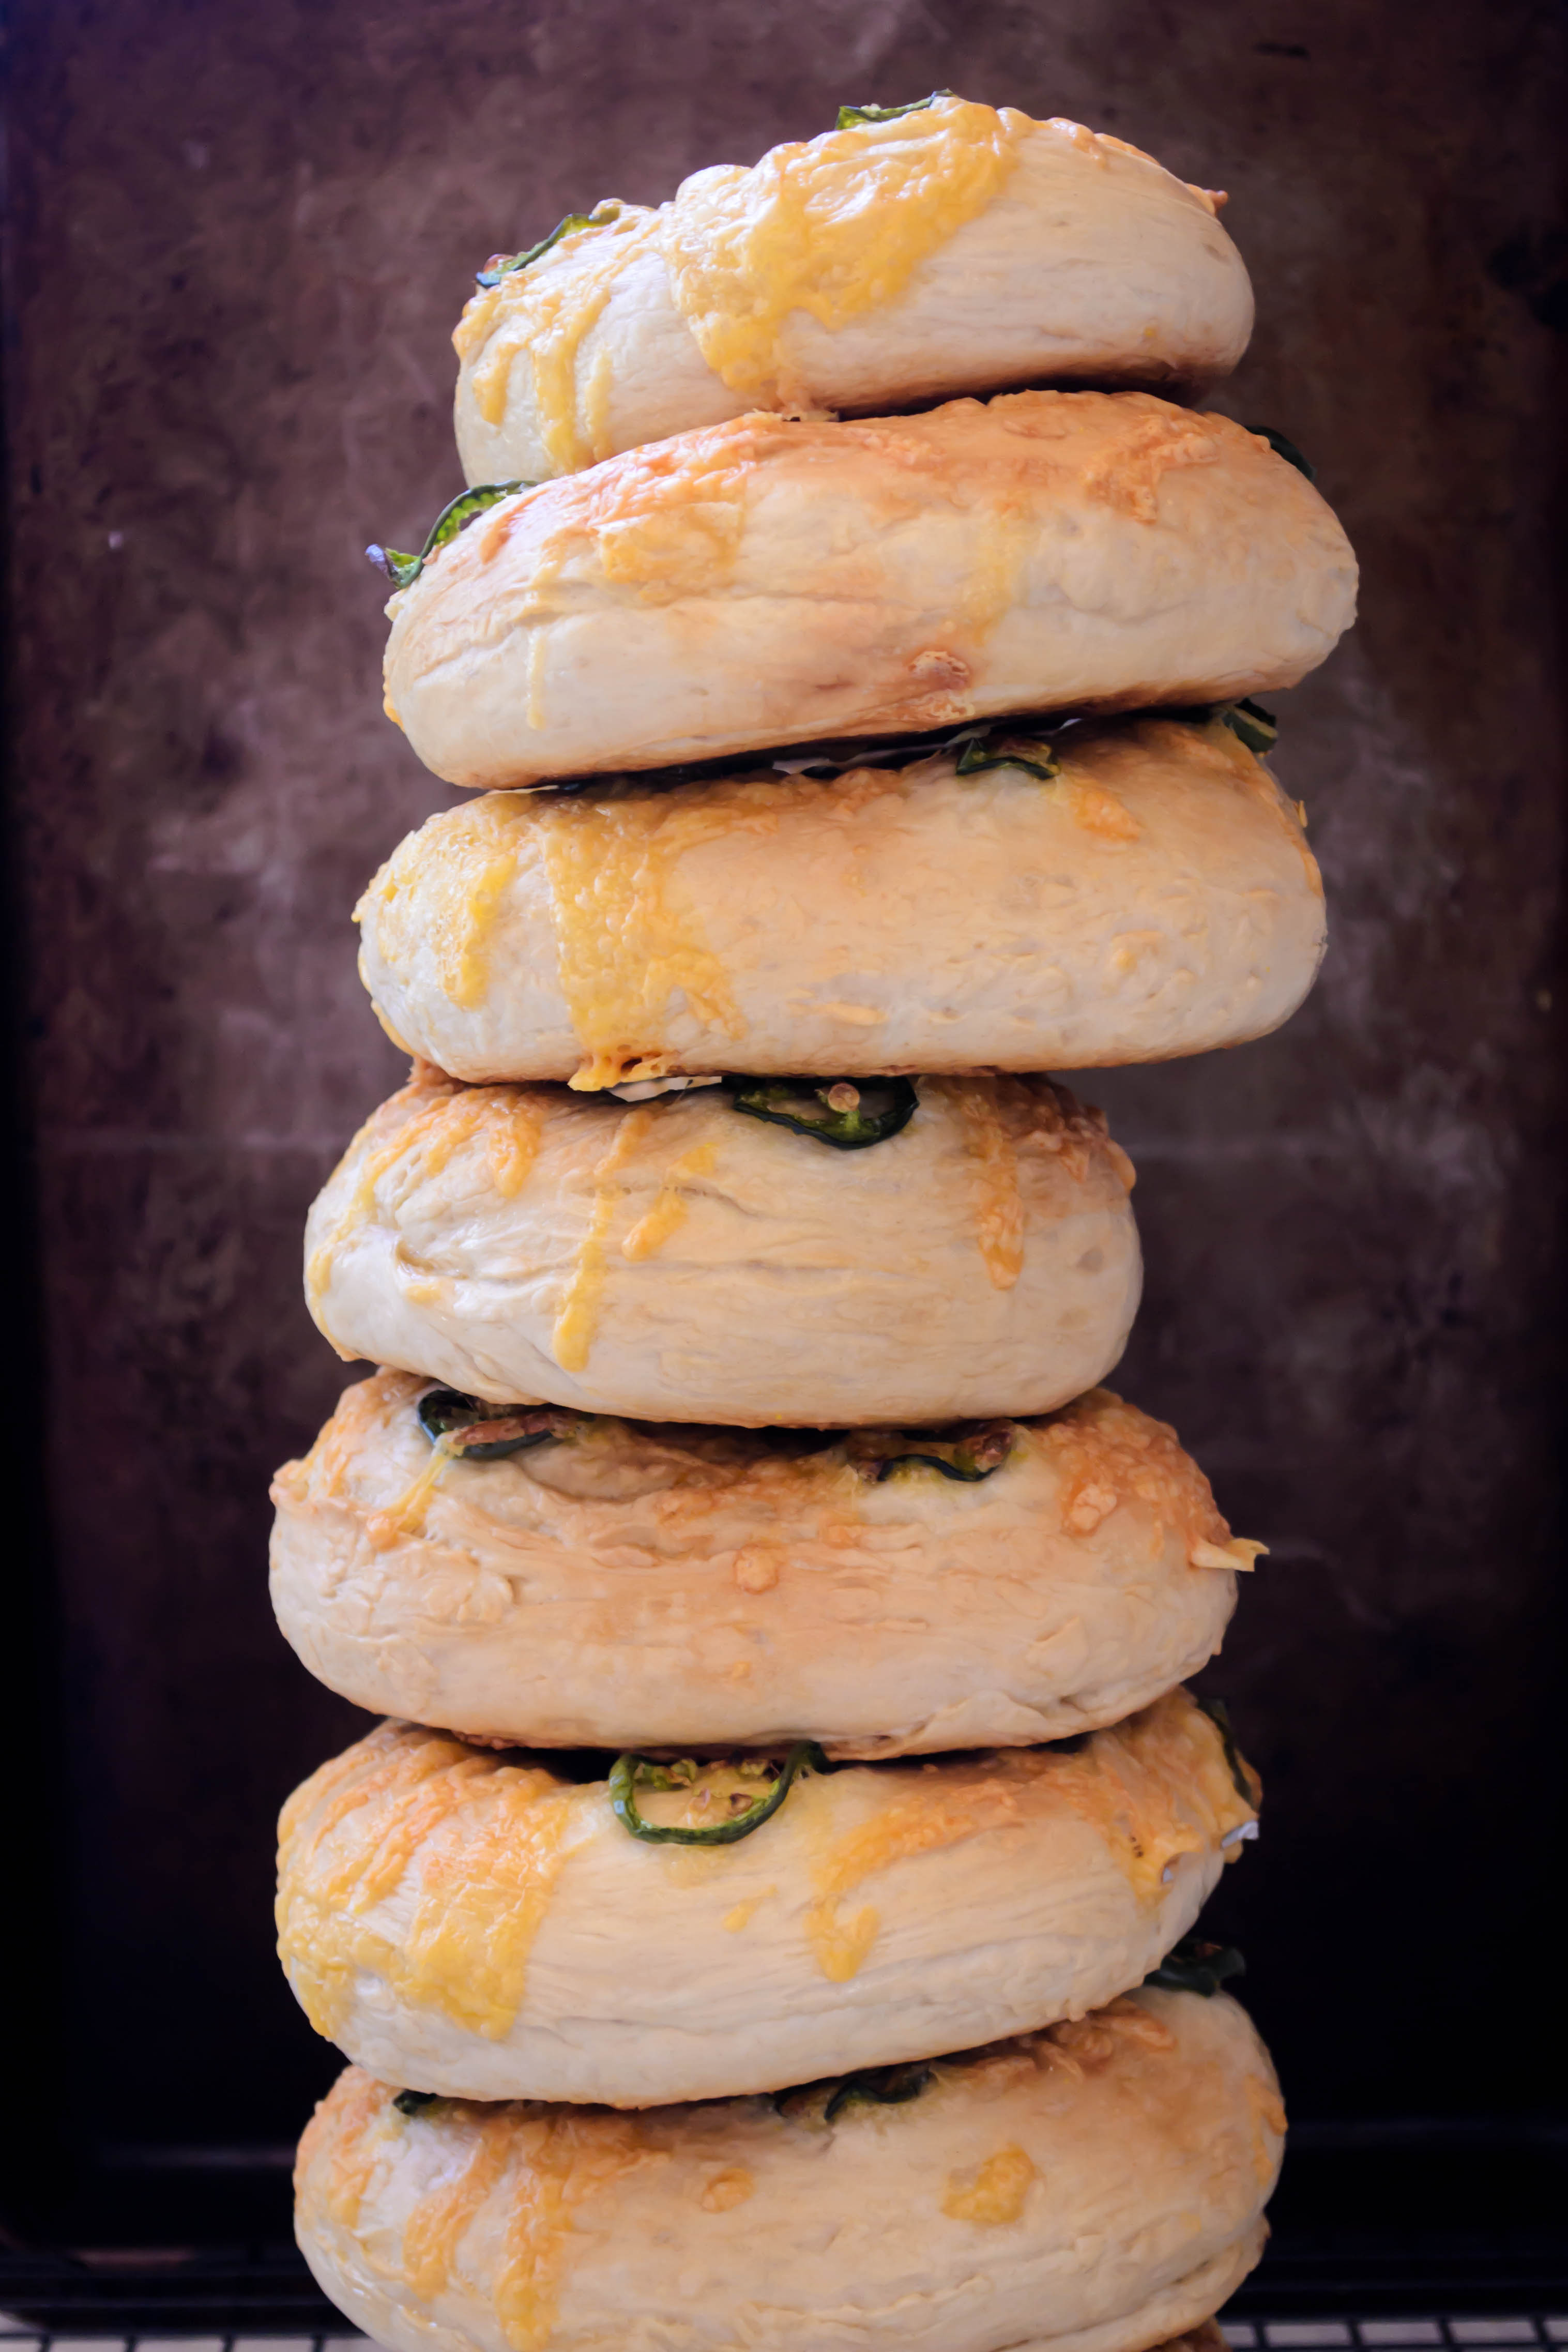
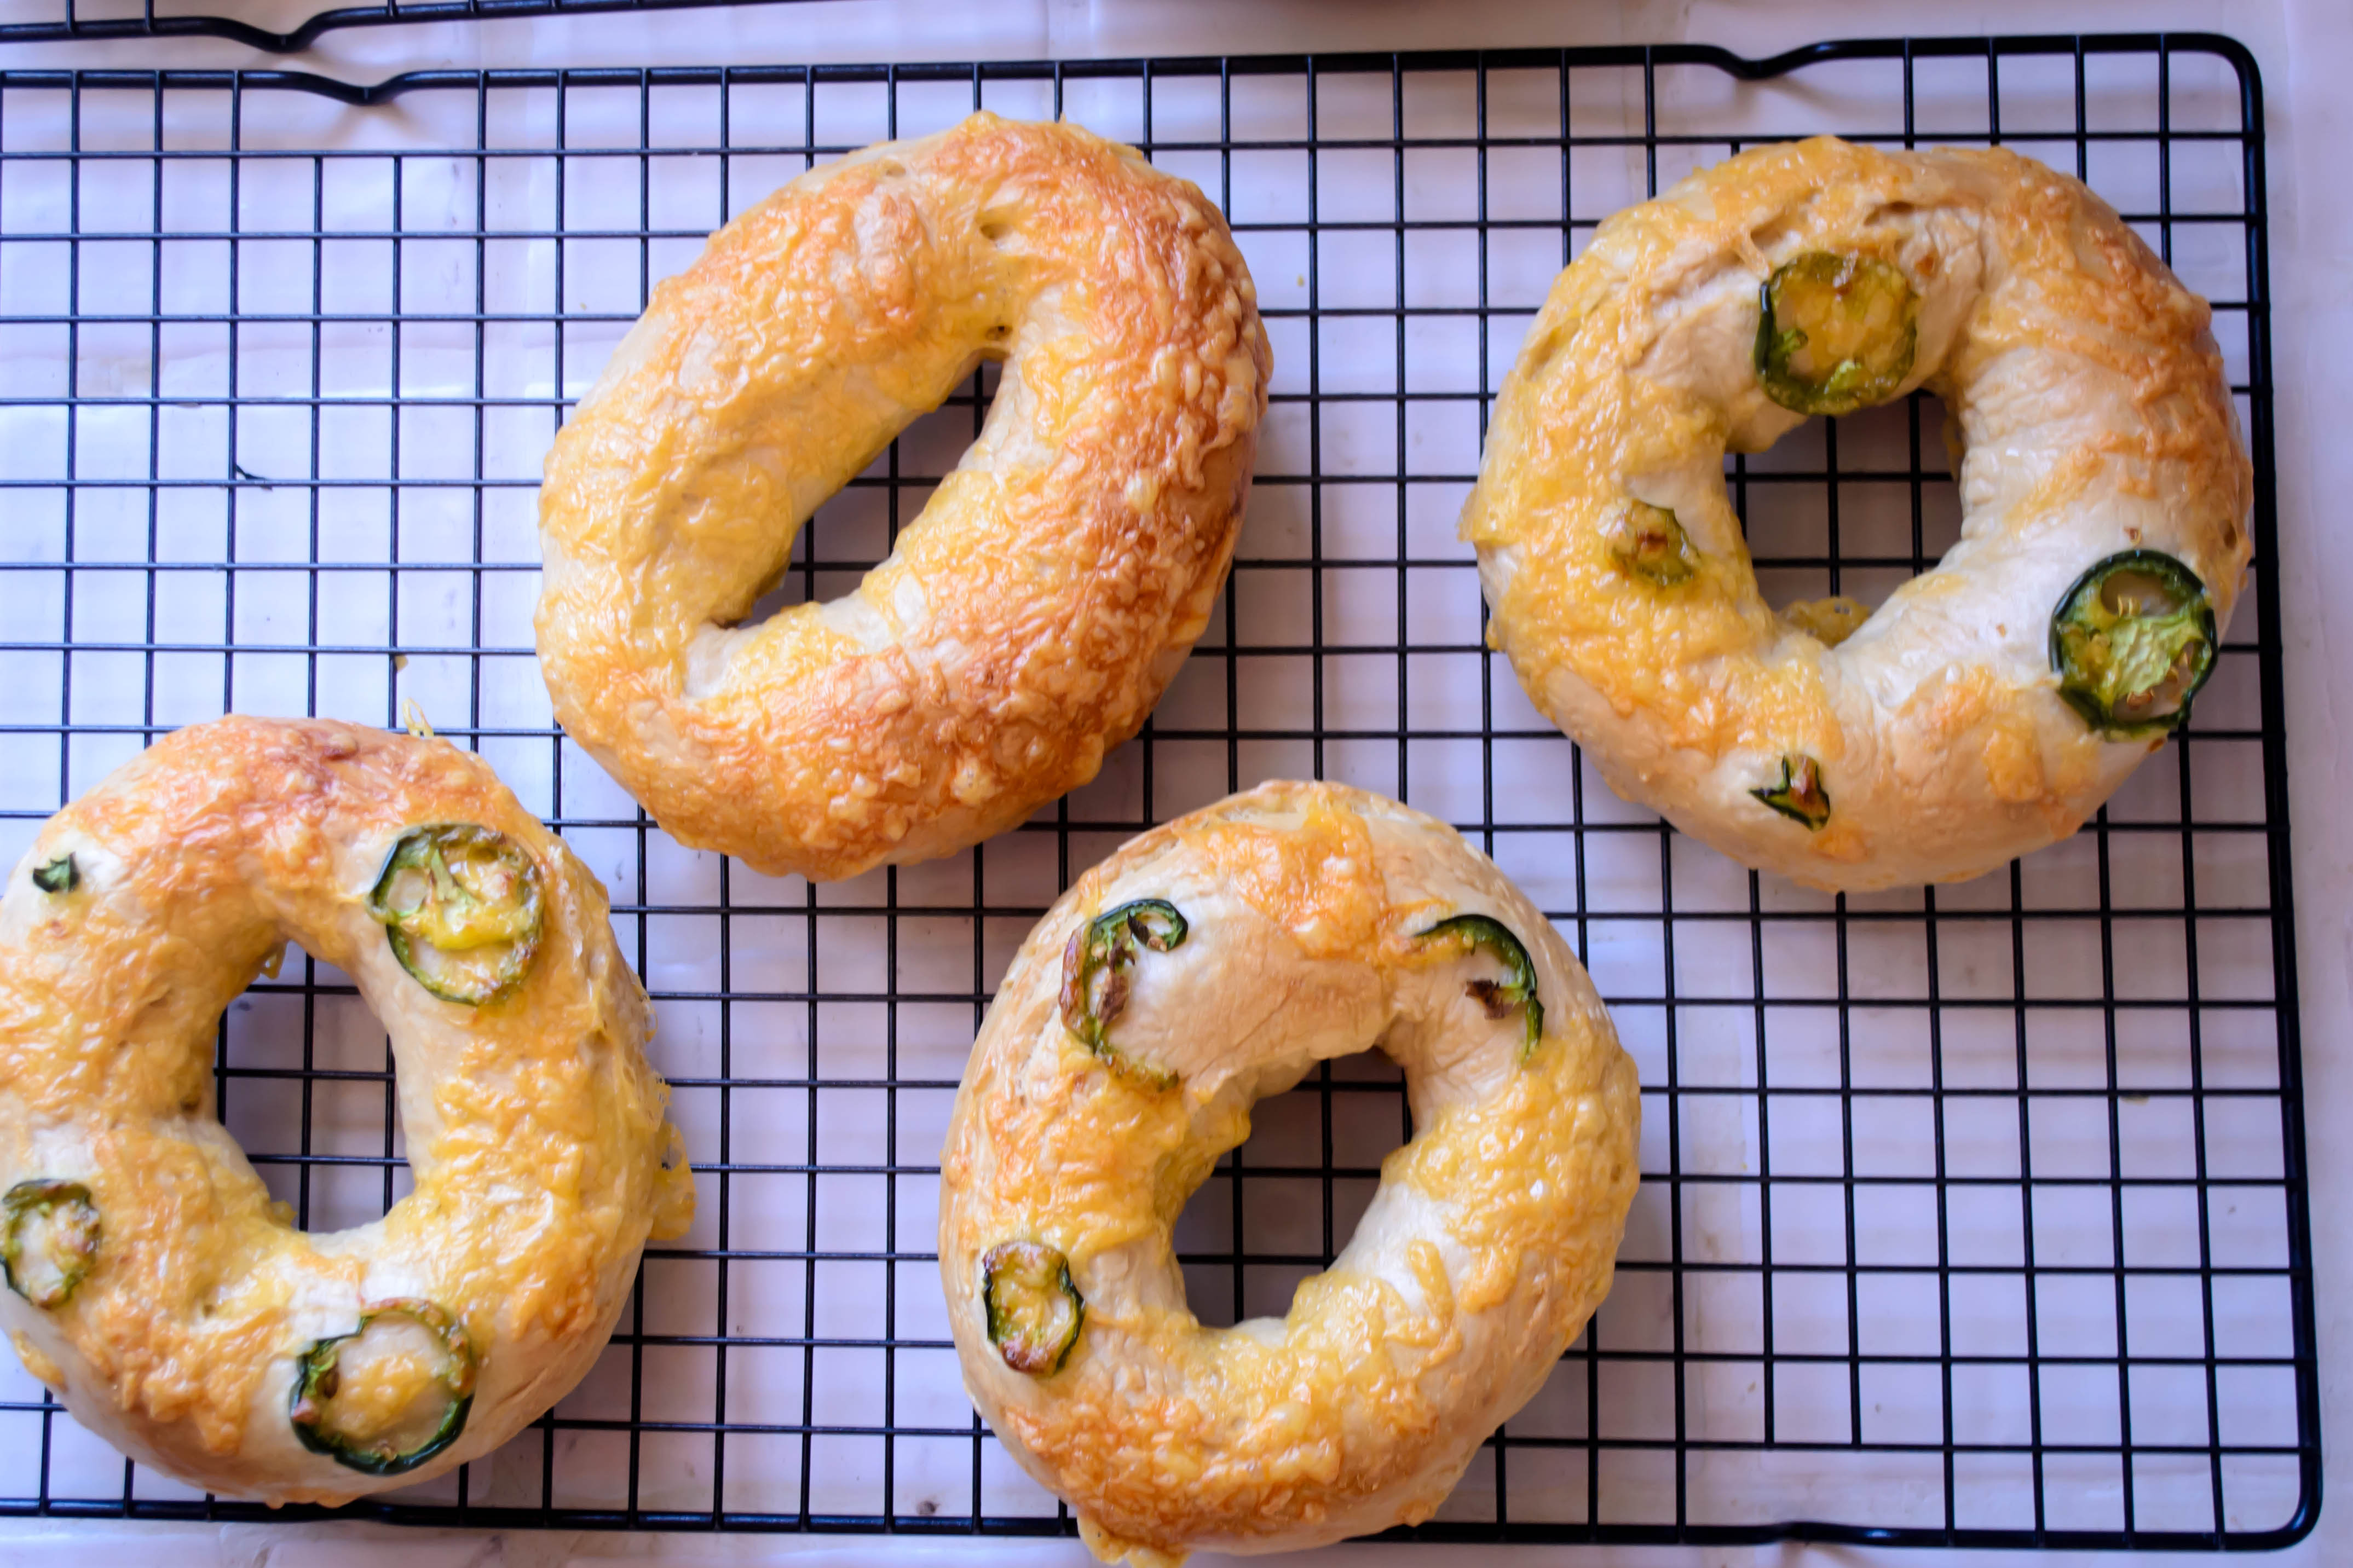
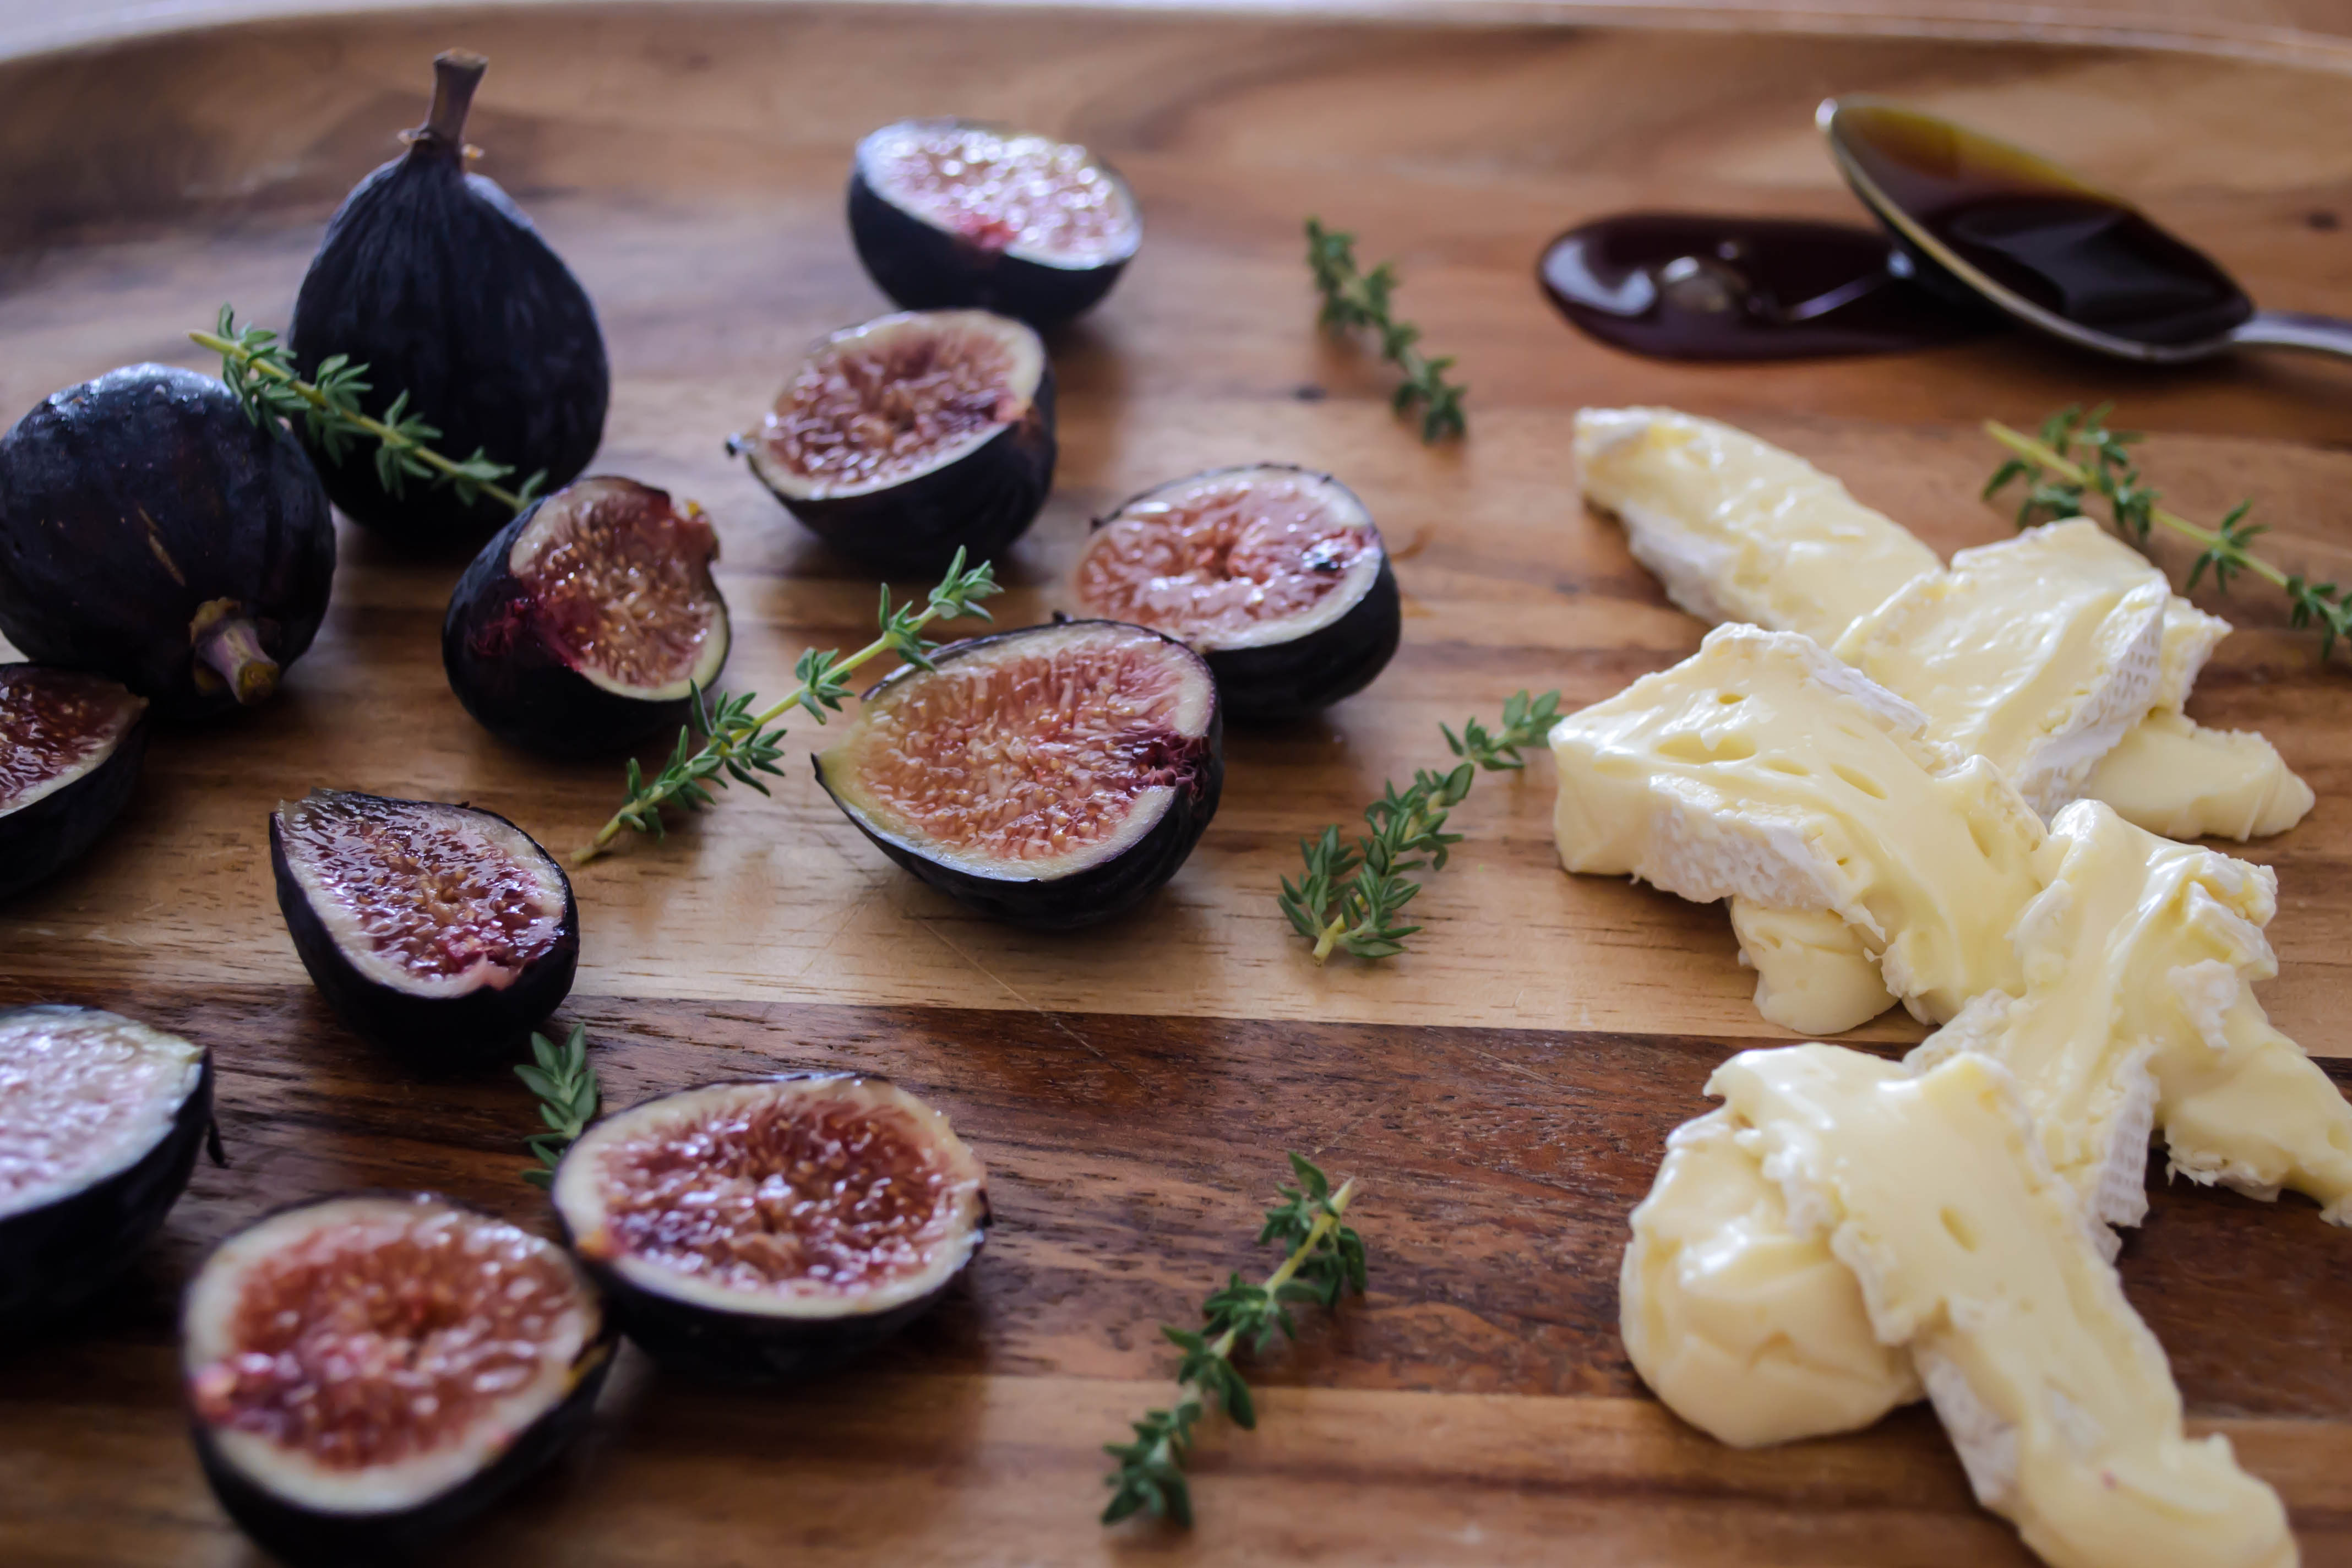 The idea for this combination – creamy cheese, soft, sweet figs, and a hit of herby freshness, came from a party N. and I attended recently. Our hostess, who works with N. (we should have them over soon, N., if you’re reading this…), had quartered some black mission figs, settled them in around a wedge of brie, and dosed both liberally with honey and thyme. My spin was based on the desire to use more of the barley malt syrup I bought for last month’s bagel experiment, and the obsessive love we have for homemade pizza, which means there is frequently a ball of dough either in the fridge or in the freezer, hoping to be put to tasty use.

Visitor to our thyme bush. I named him Algernon, because he looked like he might be impersonating someone.
We loved this combination. The barley malt syrup is a roastier contestant than, say, maple syrup, and was therefore a welcome balance. It is sweet, but there is an almost bitter edge to its flavor – no doubt the malt part. It is, in fact, just a lower grade extract than what brewers use for beer, so the darker component makes good sense. Drizzled judiciously across the blistered surface of our cheese and fruit studded flatbread, it enhanced both main players. Though Los Angeles played some mind games with me last week, cooling off just as I published a post asserting that autumn hadn’t arrived yet, it has warmed up again. Since this flatbread cooks on the grill, it’s perfect for a warm evening when you can’t bear the idea of firing up the oven. But if you don’t have a grill, and you’re willing to risk the house-heating power of indoor cooking, I’ve also included directions for the oven. 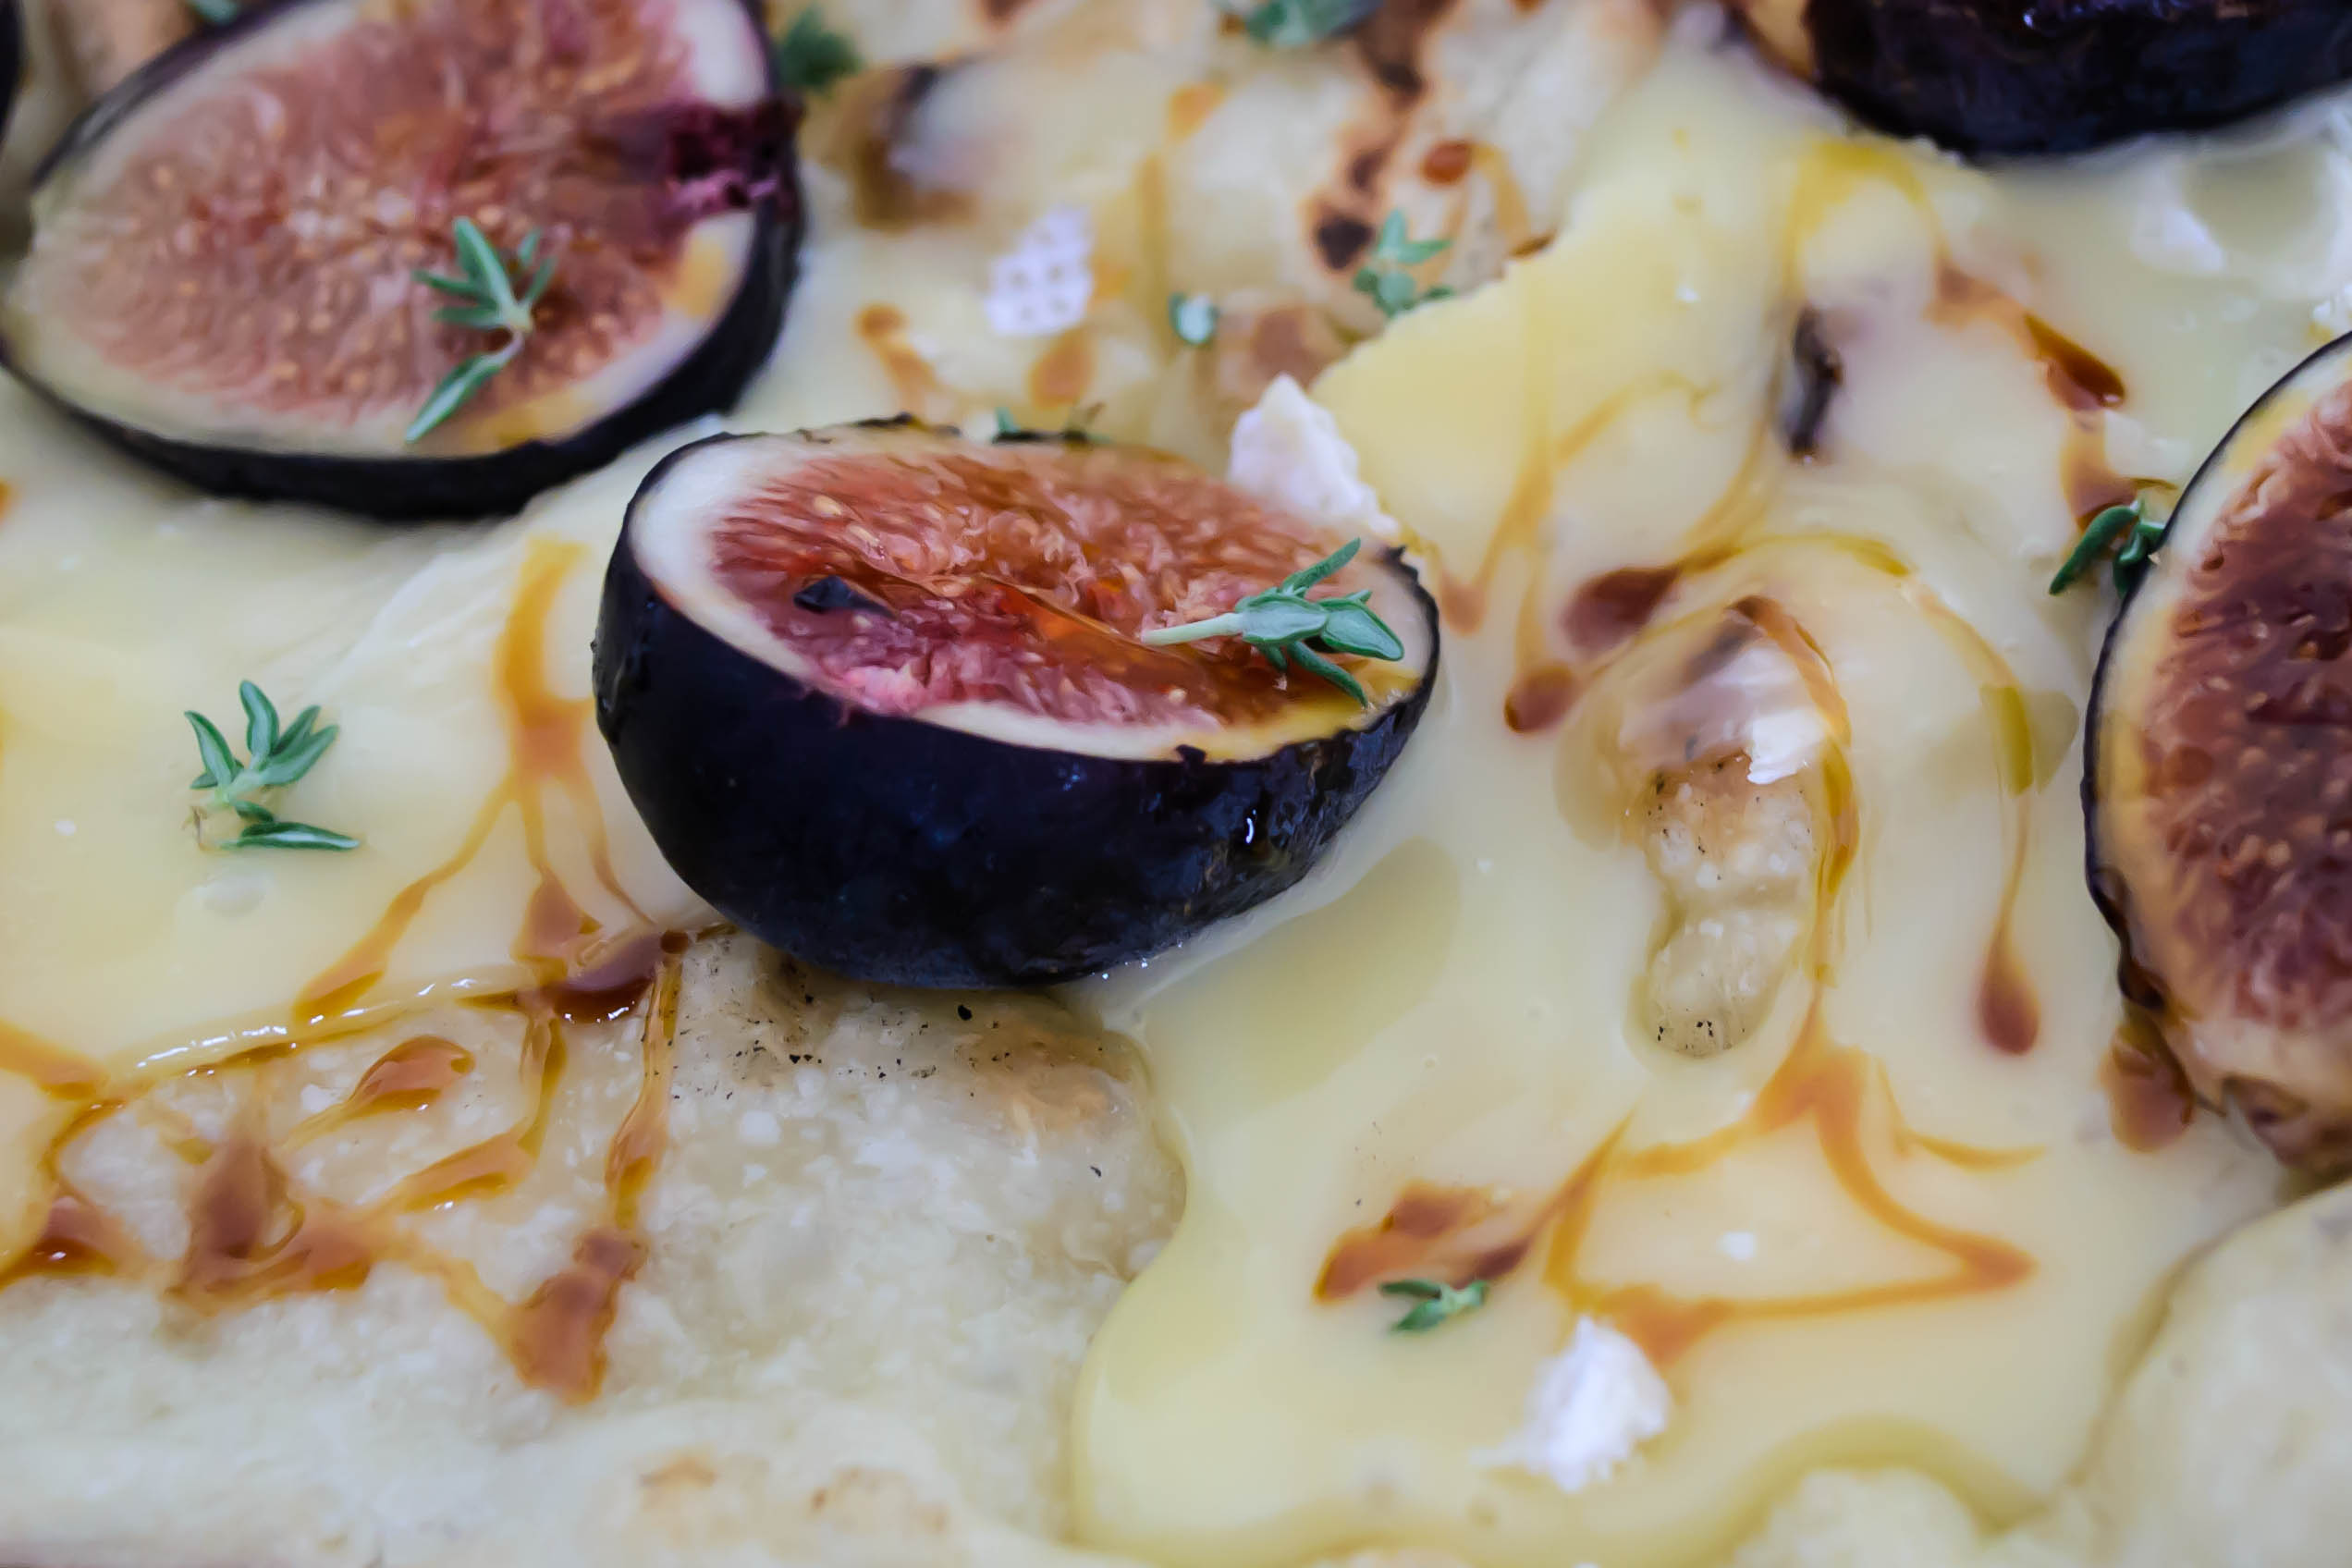

Fig and Brie Flatbread
Serves 3-4 as an appetizer; 2 as a main course
Directions for grilling adapted from Elizabeth Karmel and Bob Blumer’s Pizza on the Grill
12 oz. ball of pizza dough, purchased or homemade (I’m still working on perfecting my recipe; once it’s foolproof, I’ll post it for you)
Olive oil for stretching dough
6-8 fresh black mission figs, halved from stem to blossom end
8 ounces brie cheese, cut into thick slices
2 tablespoons barley malt syrup or your favorite honey
2 teaspoons fresh thyme leaves (in small sprigs is fine – the stems are tender enough to eat near the end of the sprig)
- If your dough is in the refrigerator, remove it about half an hour before you intend to cook it and let it rest, unwrapped, on a lightly floured or oiled surface.
- While the dough rests, preheat your oven or grill. For a gas grill, this will take about 10-15 minutes with the burners set on high. Once the grill has preheated, turn down the burners to medium. For a charcoal grill, this will take a little longer – perhaps up to 30 minutes for the coals to begin turning gray. For an oven, preheat to 500F (or as close to this as your oven will go!).
- Once you’ve got your heat source preheating, prep your toppings. Halve the figs, slice the cheese, pinch the thyme into individual leaves or small clumps. This is all going to go pretty quickly once we start cooking, so you’ll want to be ready.
- When the dough has rested, set a 9×13 inch glass baking dish bottom side up on your counter. Rub the bottom (now facing upwards) with olive oil, then push and stretch your pizza dough out on the bottom of the dish so it hangs over all edges, creating a rustic but relatively even rectangle. If it springs back or threatens to tear as you stretch it toward the edges of the dish, let it rest a bit longer and then try again.
- Bring your dough, still on the bottom of the baking dish, out to the grill. If the dough is sturdy enough to lift without tearing, pick it up by two ends and lay it across the grill grates, flopping the sides drooping below your hands toward the back edge of the grill, in the same motion you would use to swing a tablecloth over a table. If the dough is not so sturdy, put some gloves on, and carefully invert the baking dish only an inch or so above the surface of the grill. The dough will slowly disengage and drop gracelessly onto the grill grates. Once dough and grates are in contact, close the lid of the grill and leave it closed for about 3 minutes, or until the bottom side of the dough is well browned with nice grill marks.
- Use a pair of long-handled tongs to transfer the flatbread to a pizza peel or a rimless baking sheet. Use the peel or baking sheet to help you flip the rectangle of dough over and slide it back onto the grill, unmarked side down. Close the lid of the grill and leave it closed for another 3-5 minutes, or until the whole thing is browned, marked, and nicely puffed. I like the look of a few big airy blisters on the surface.
- If you are using an oven, flop your dough onto a preheated pizza stone or the bottom of an oiled cookie sheet and bake for 10-12 minutes.
- Once your flatbread crust is browned and blistered to your liking, transfer it from the grill or oven to your cutting surface. Smear the whole top of the dough with the slices of brie cheese (I used the back of a spoon. You could also use a spatula). Nestle the figs in, spacing them evenly over the surface.
- Drizzle the barley malt syrup over the top of the flatbread in a thin stream. Don’t overdo it – the stuff is sweet. You might not need the full 2 tablespoons. You just want a light zigzag of caramel over figs and cheese alike.
- Sprinkle on the thyme leaves, slice, and consume.
* You could, I suppose, top the dough either before cooking, if you are using the oven method, or immediately after flipping, if you are using the grill, and cook the toppings. I didn’t do this, because I wanted the freshness of the figs, and knew the heat of the bread itself would be enough to melt the cheese. If you choose to cook the toppings and you are using a grill, add the toppings after flipping, but turn off the burners on one side of the grill to create indirect heat, and cook your topped flatbread over the unlit burners for 7-10 minutes. This will allow the toppings to cook and the cheese to melt without burning the dough.


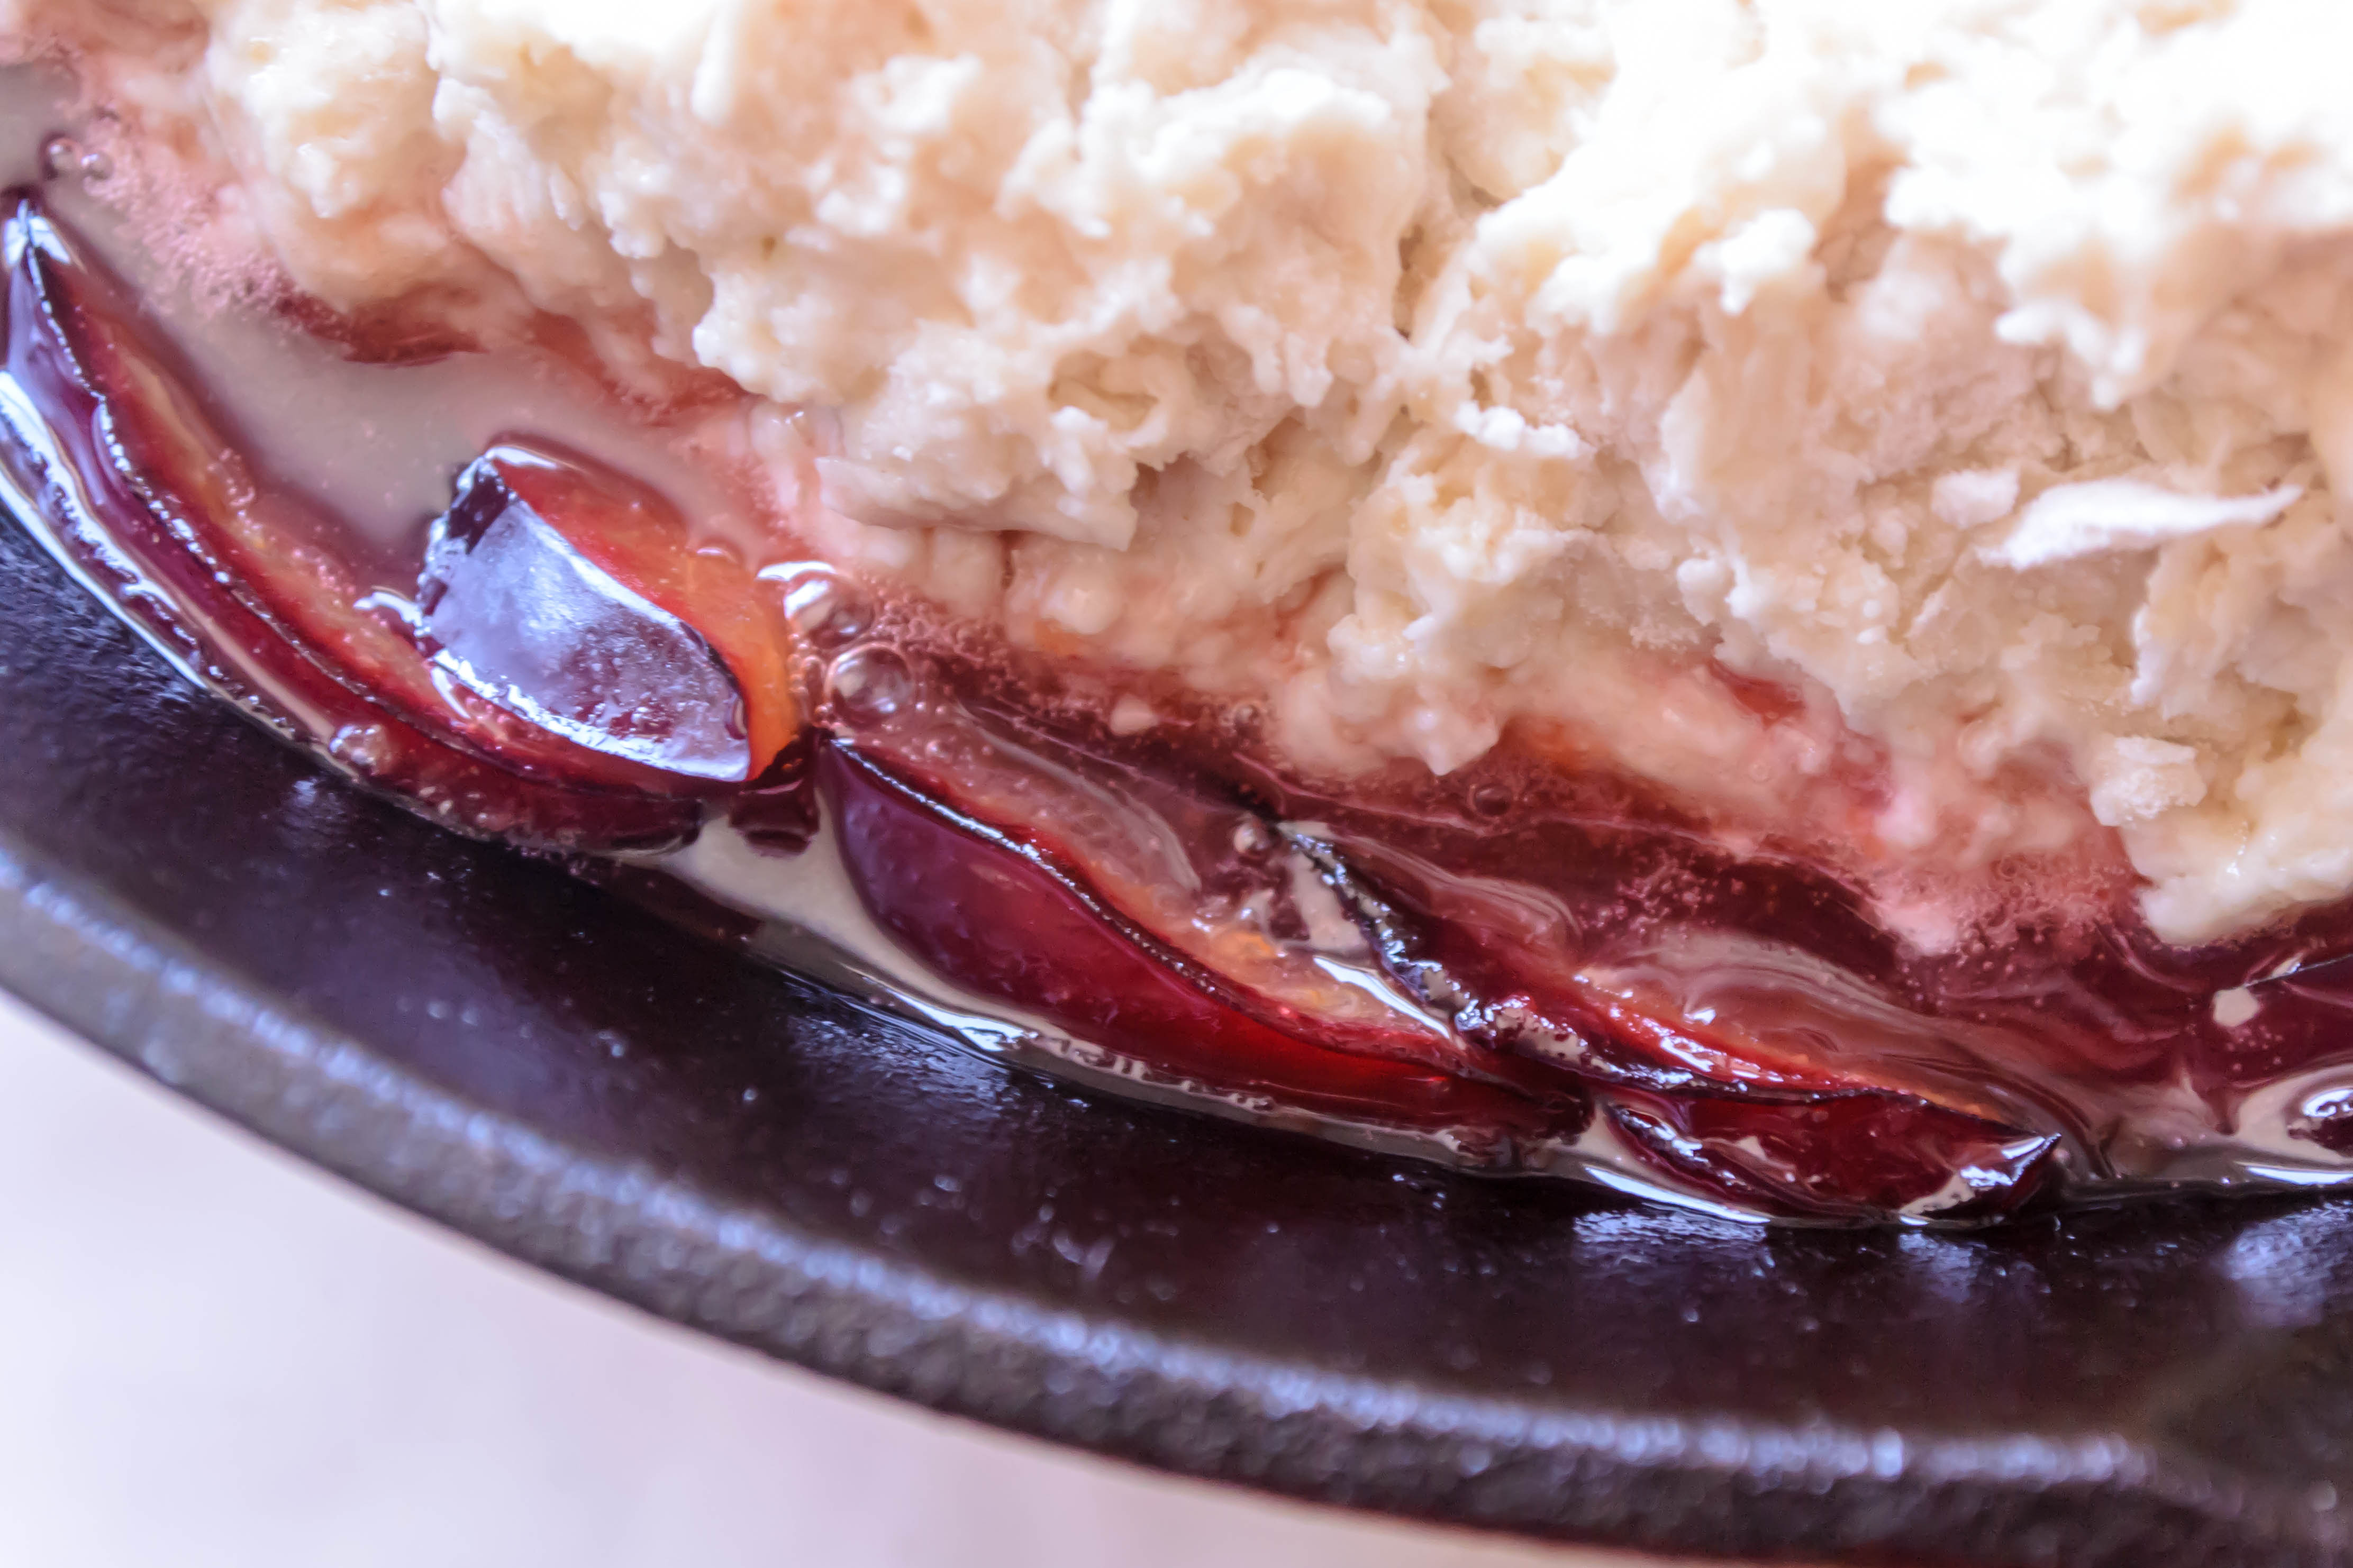

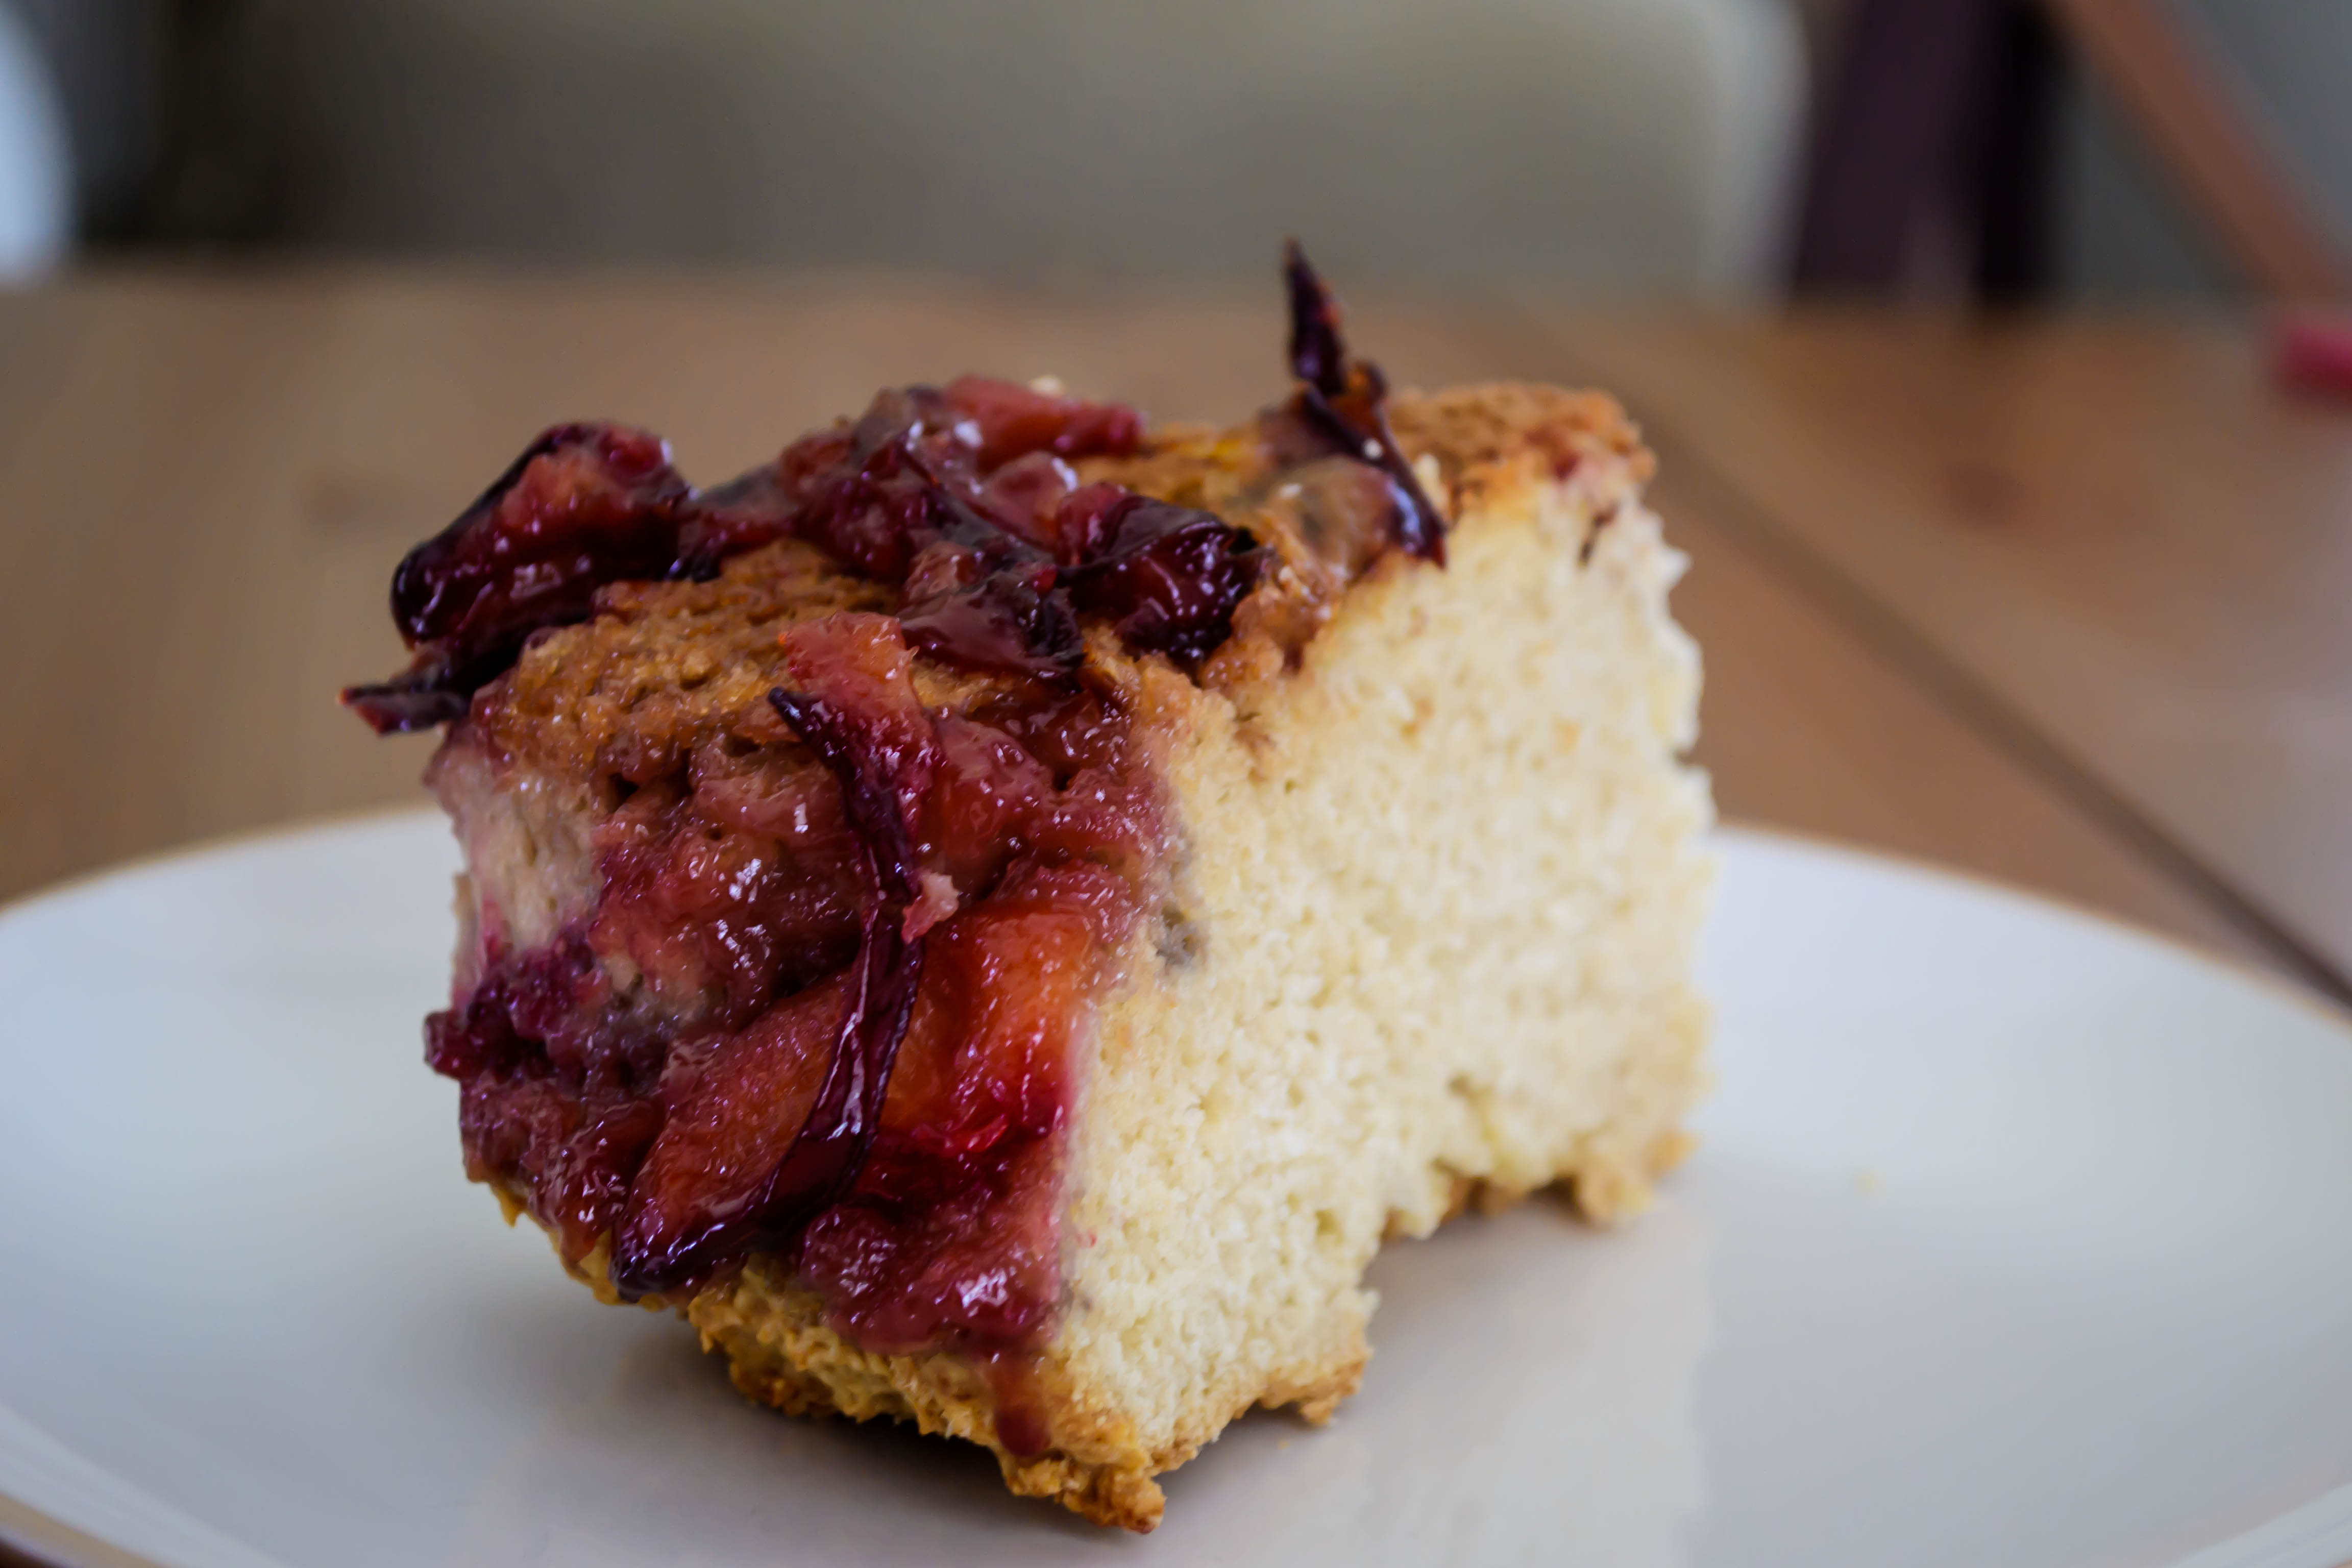
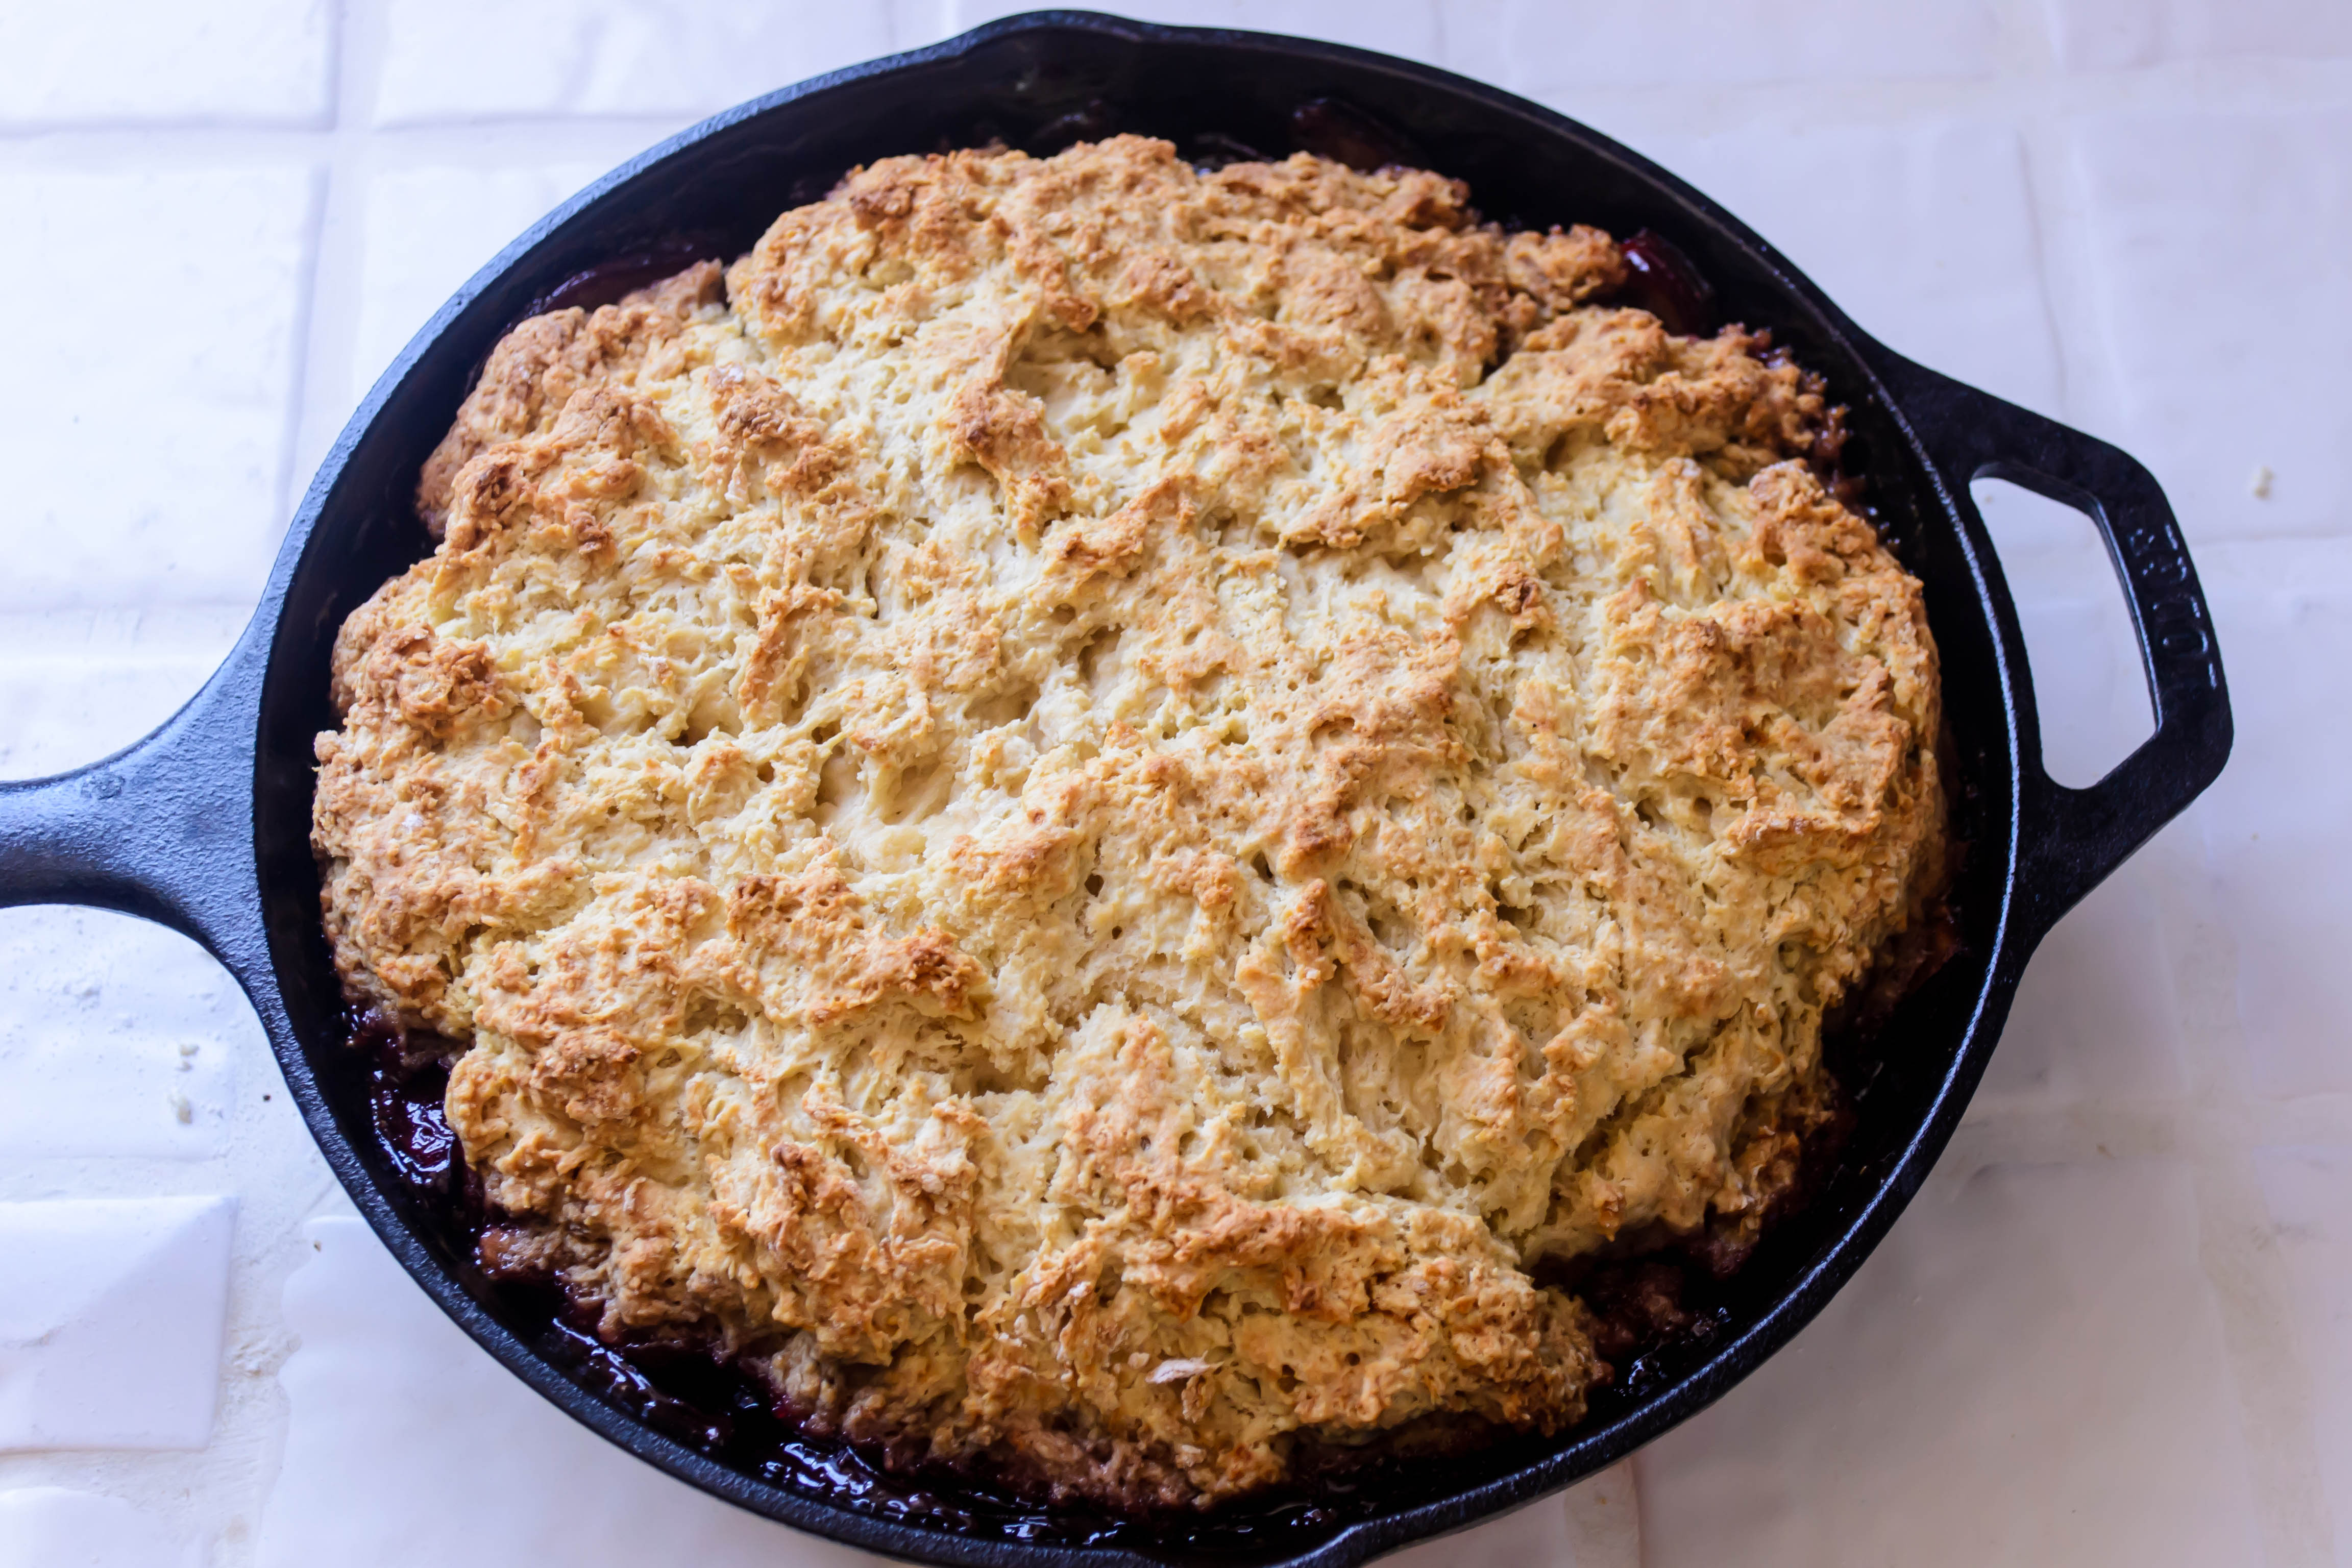
 What I got was a stunner-in-progress. I’m going to give you the recipe for exactly what I made, but I know this is not the final iteration of this dish for me. The plums were perfect: juicy, melting into the caramel and the bottom of the bread, sticky and jammy and reminiscent of a triumphant batch of plum butter my mom made one summer with pounds and pound of plums delivered to our door in a brown paper bag straight from a neighbor’s tree. The bread itself was good: solid Irish soda bread, a little richer and a little sweeter from the addition of brown sugar, extra butter, and an egg, perfect for the breakfasts and snacks I envisioned, and better the second day than the first. But as I dug in, I found myself wanting the bread part to be more like cake: more egg, less flour, a hint of vanilla or nutmeg or maybe cardamom. The plums were so good, so gloriously gooey and tooth-sticking-ly caramelized, that they deserve a proper dessert – something you can watch a scoop of ice cream melt over.
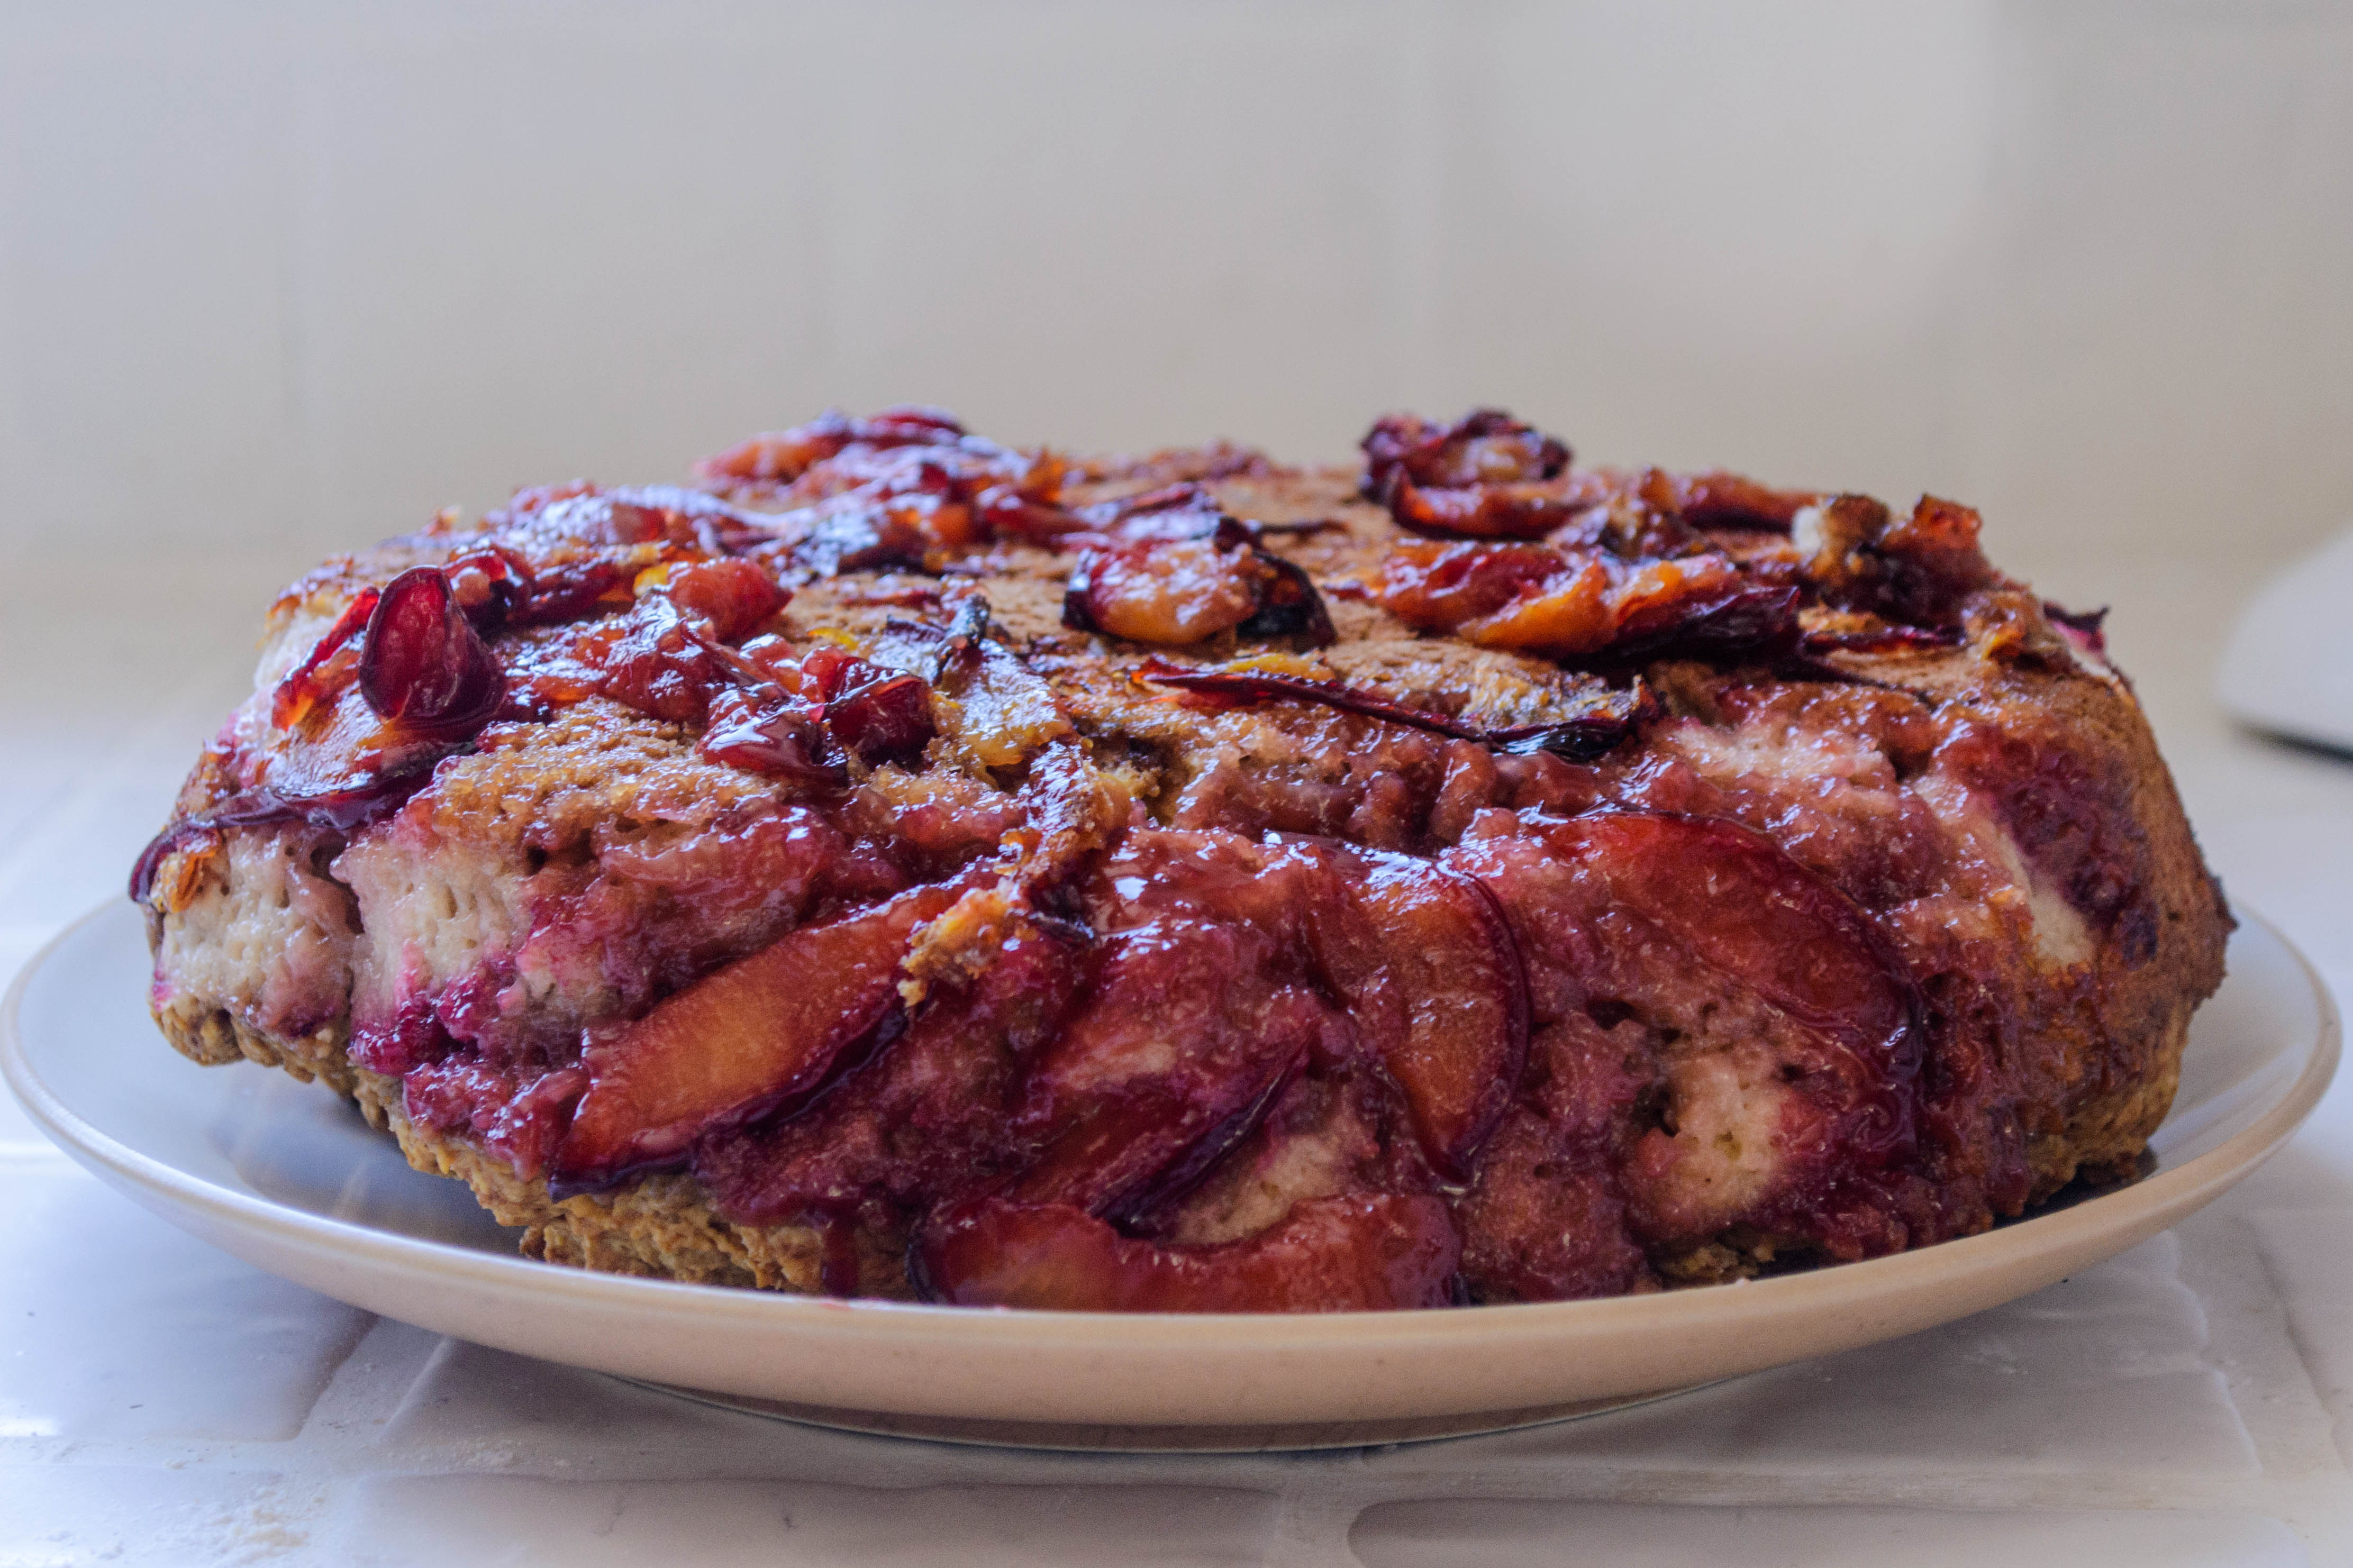


