I know what you must be thinking. I rhapsodize about meatballs, toss around semi-exotic ingredients you might have to go to multiple stores to obtain, advocate that you turn zucchini into noodles, and then disappear for almost three weeks with only a few photos to tide you over.
 During those weeks, I must admit I didn’t cook much. We were traveling, making our annual pilgrimage to Oregon where we attended a wedding, stayed with good friends, single-handedly prevented the Cascadia quake by staying in a hotel that overlooked the ocean, N. bought a banjo, and I pulled a muscle in my back. (We also discovered the glory that is a chocolate stout float, but more on that in a few weeks.)
 Not much makes you look forward to an eight-hour car ride less than having a pulled muscle in your lower back. Apart from trying to get comfortable and working to stay awake through the muscle relaxers I was taking (man do those things knock you out!), I sorted through what had become unexpectedly difficult to accomplish without the muscle just left of your spine: spitting out toothpaste without dribbling it down your front. Shimmying into a pair of shorts – your feet and ankles are suddenly so far away! Rolling over in bed. Hobbling across the street at a snail’s pace while the kindly drivers on either side regret waving you forward. Filling and then draining off a pot of pasta water.
 Cooking, thus, when we got home, had to be simple at first, and required some of N.’s help for the parts that had become surprisingly heavy. Fortunately, I’d been hoping to repeat this simple little pasta dish: capellini, also known as angel hair, tangled together with lightly wilted arugula and salty crumbles of feta, topped with an aromatic, heavy dose of crunchy breadcrumbs flavored with garlic and lemon zest. The whole thing only uses two pans, it requires only a handful of ingredients, none particularly exotic, and it takes a mere twenty minutes or so to throw together, since most of the prep and cooking of the breadcrumbs can be done while you’re waiting for the pasta water to boil.

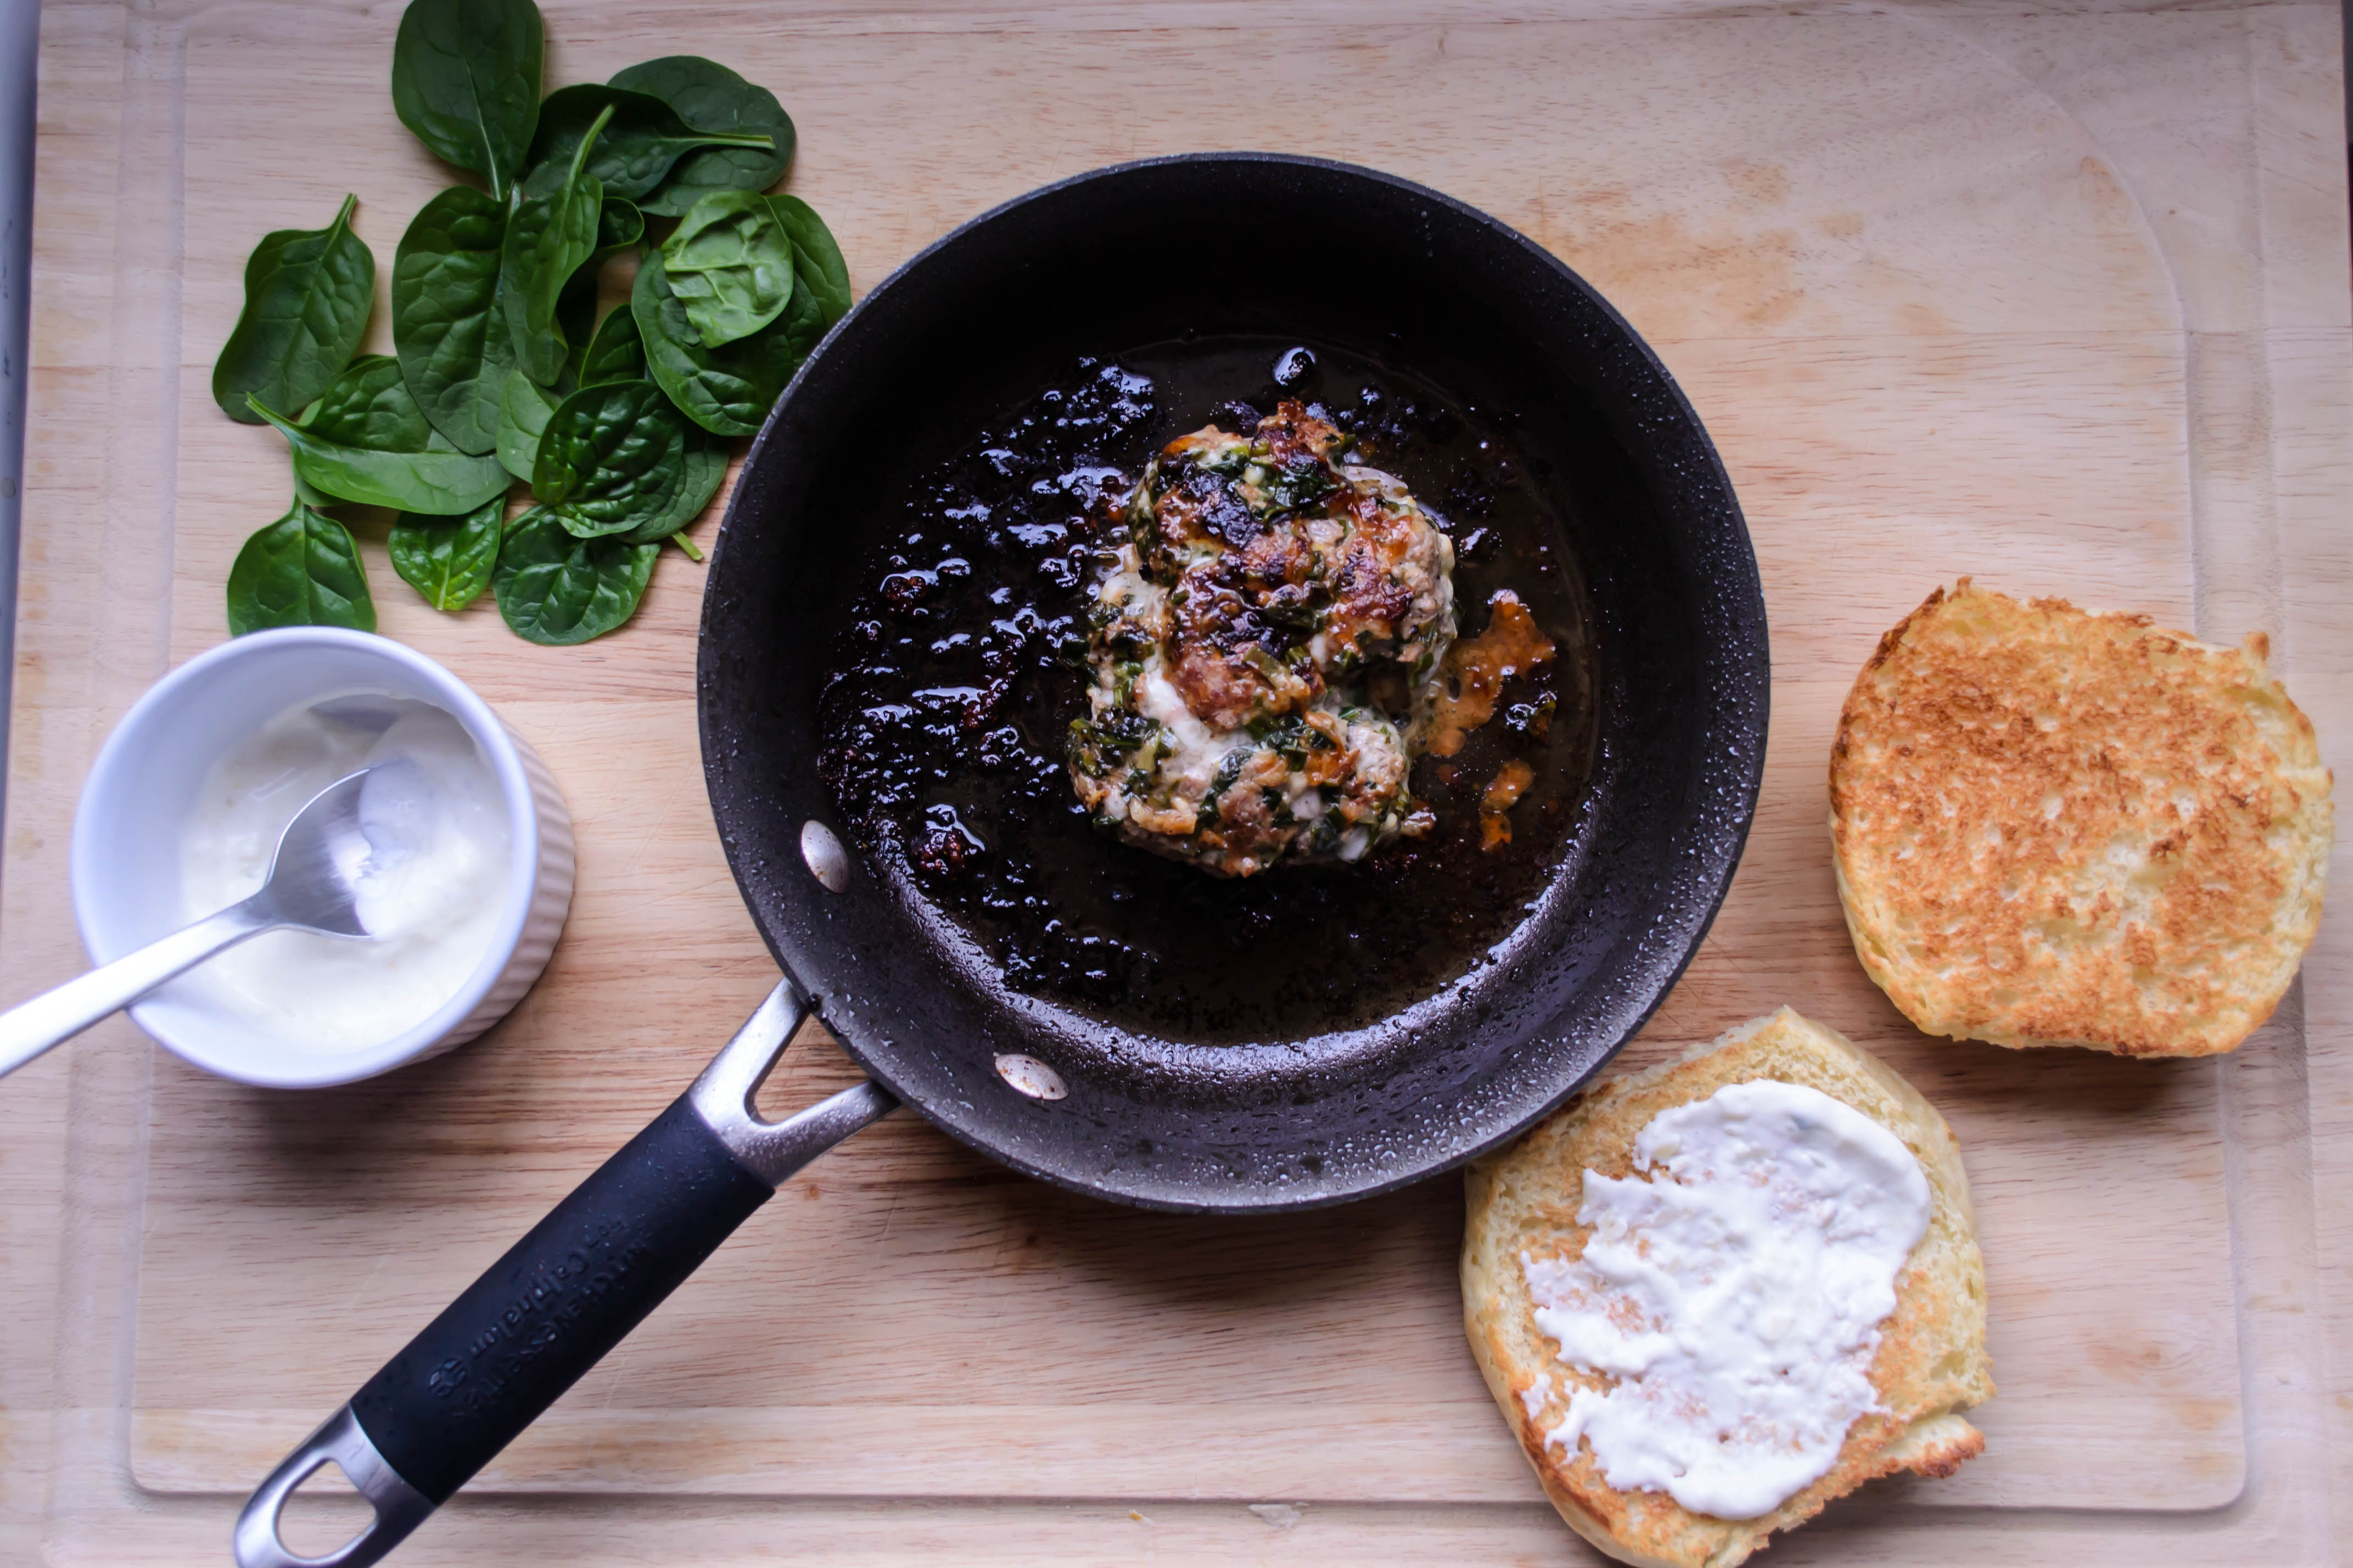
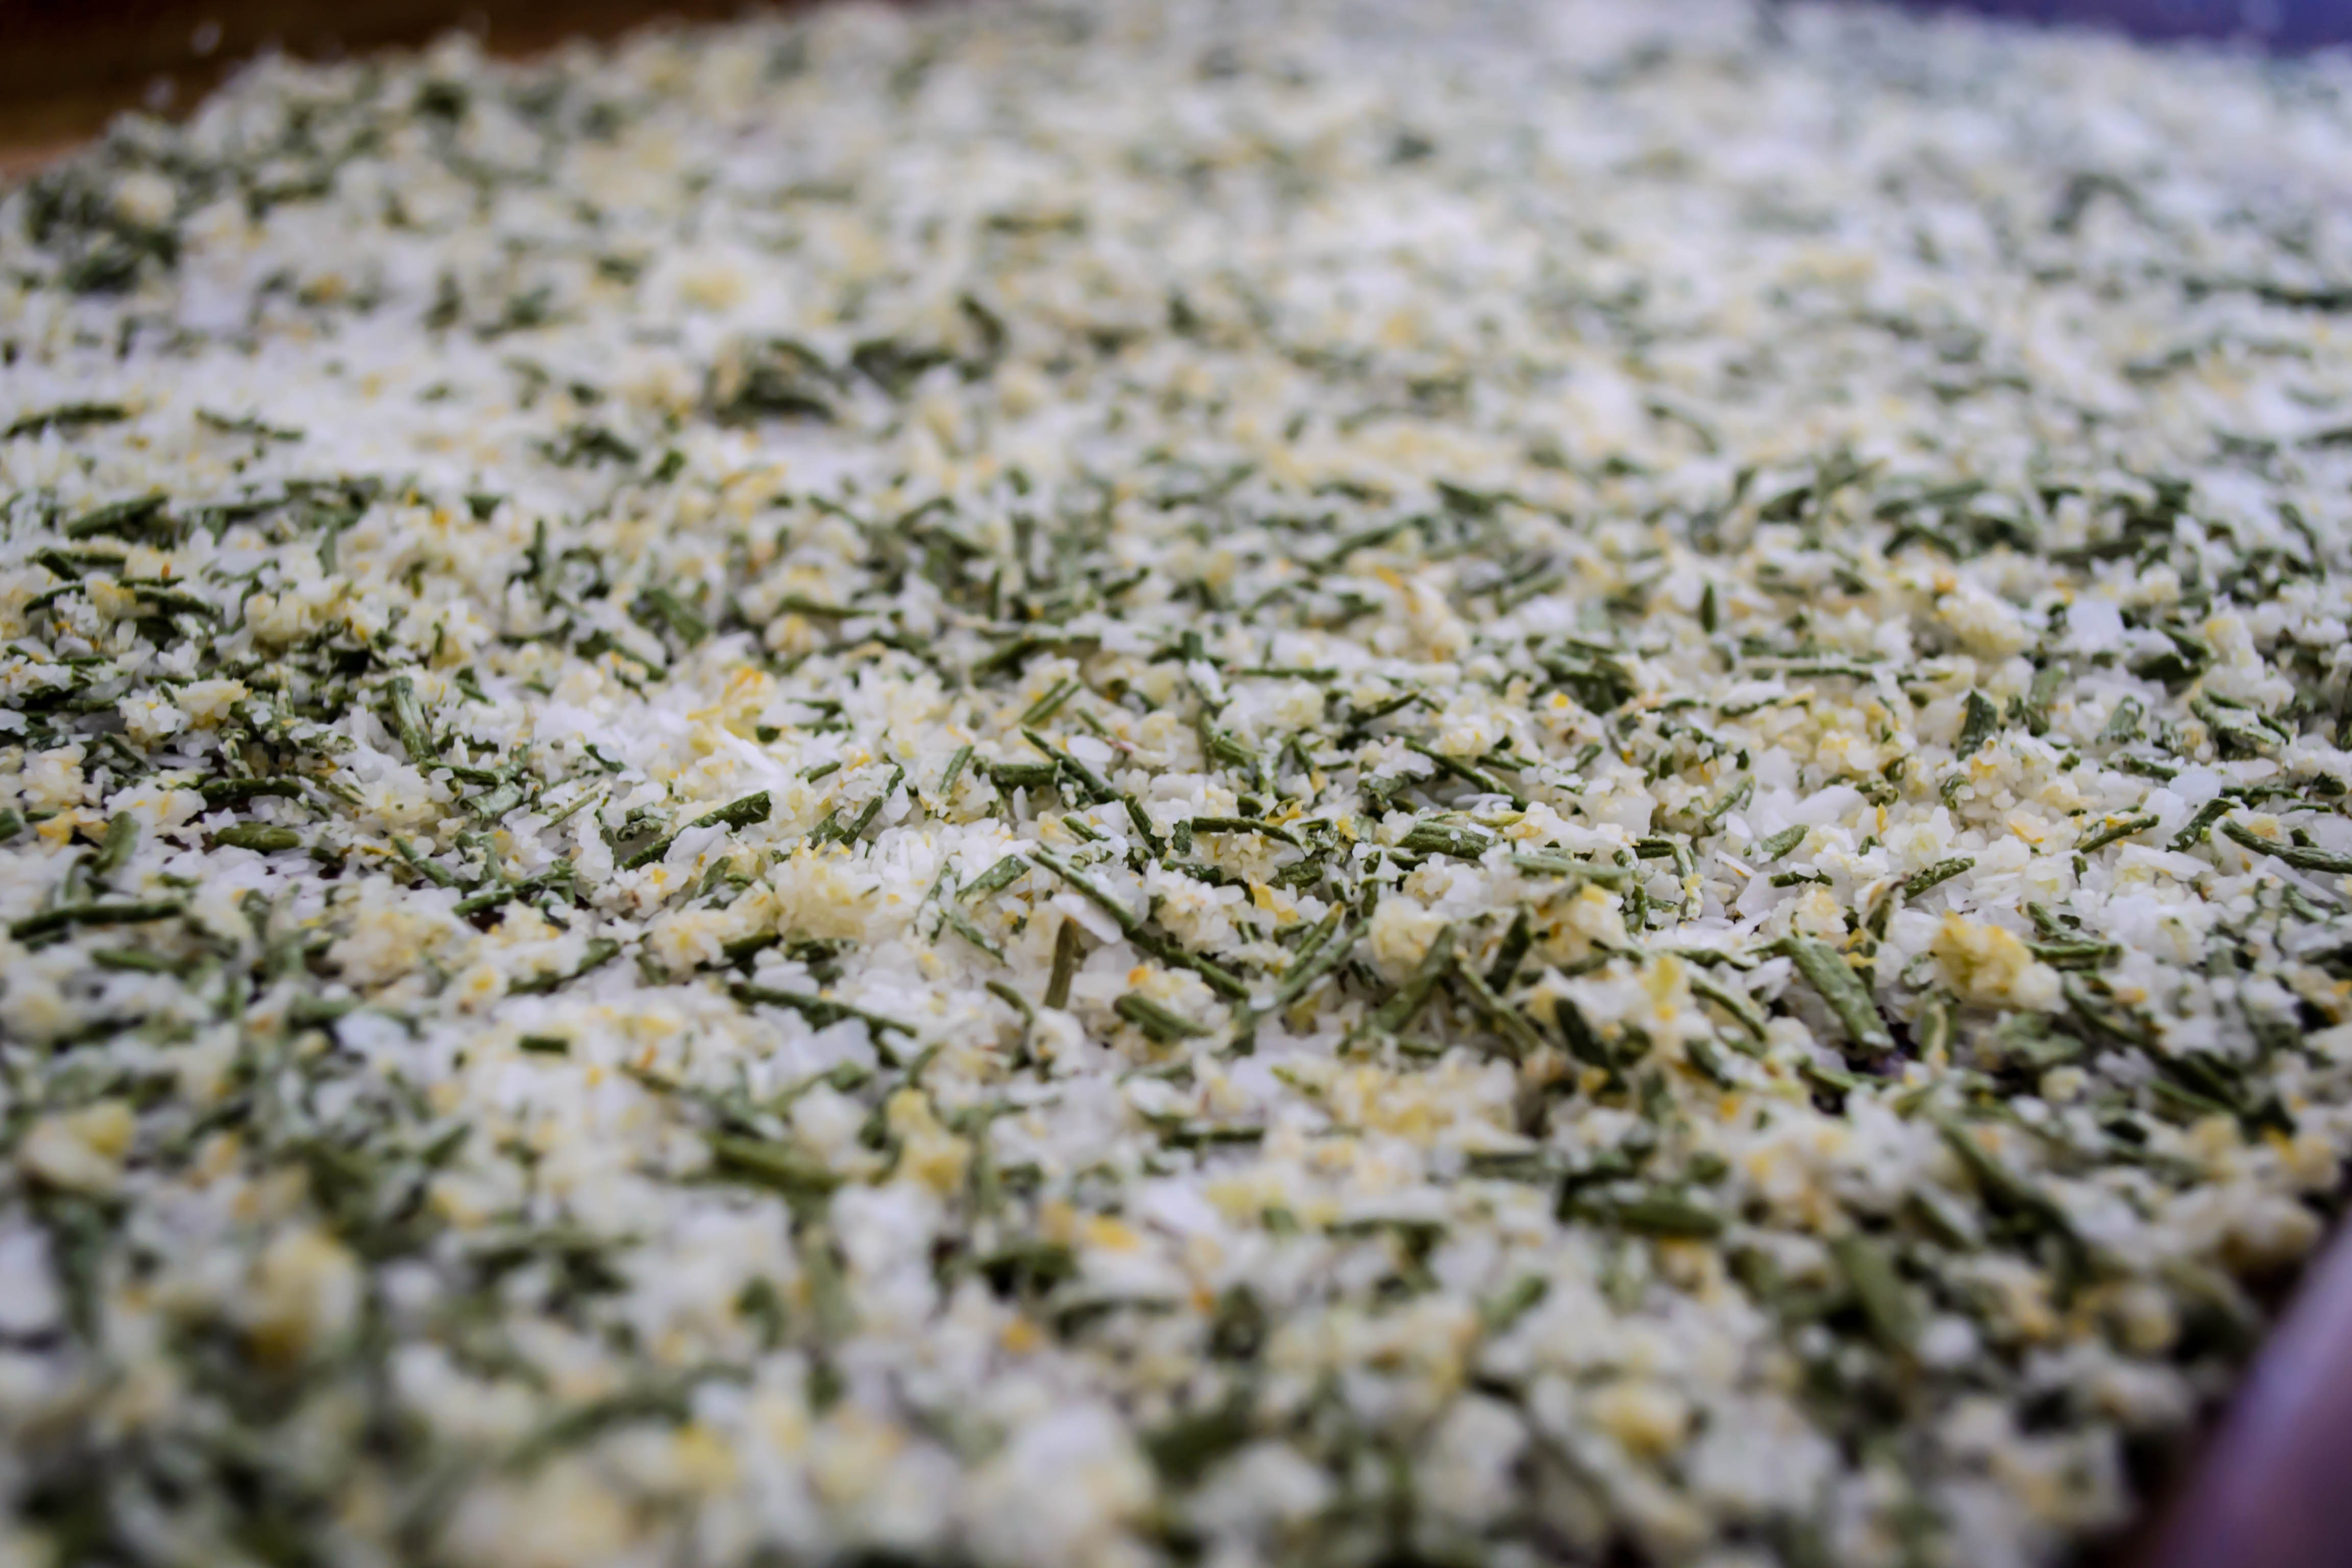
 If you aren’t accustomed to having arugula in your fridge, you should be – it’s a wonderful go-to green for salads and a refreshingly different take on pesto. Delicate but peppery, it’s also called rocket and is one of my favorite salad bases. As for the topping, I’m using panko – those delightfully brittle shards that are Japan’s answer to the breadcrumb, and unquestionably my favorite type. You wouldn’t want them for your meatballs, where the goal is light, springy absorbency, but once toasted, they make an addictively perfect crisp topping for basically anything. Since they don’t taste like much, I’ve bumped up the flavor with lemon zest, a healthy bit of grated garlic, and some red pepper flakes for N., who likes that hit of warmth on the back of the throat.
 Coming home at the beginning of August is a bittersweet proposition, because at once it means a glory of summer fruits and more vegetables at the Farmers’ Market than my market bag or my wallet can handle, but it also means the first day of classes looms ever closer on the horizon. And as nice as it is to be home, the fact that it will be at least another year before we see all the friends we just hugged goodbye is a pang quite different from my slowly healing back muscle. This week, then, we’ve covered a bit of the bitter, with the peppery greens and the briny sharpness of the cheese. Next week, inspired by a bourbon-loving friend I didn’t get to see on this trip, I want to make up for it with something sweet.

Arugula and feta pasta with lemon garlic crumbs
Serves 4 very hungry diners, or 6 less hungry diners
6 tablespoons olive oil, divided
1 cup panko breadcrumbs
¼ teaspoon salt
¼ teaspoon red pepper flakes
1 tablespoon grated garlic (from about 4 cloves)
1 tablespoon lemon zest (from 1 large or 2 small lemons)
8 ounces capellini or angel hair pasta
¼ cup fresh lemon juice (from 1 large or 2 small lemons)
5-6 ounces baby arugula
4 ounces feta, crumbled
- Heat a large, lidded pot of well-salted water over high heat. When it comes to a boil, add the capellini and cook according to package directions. While you wait for the water to boil, however, make the breadcrumbs and prep the other ingredients, as detailed below.
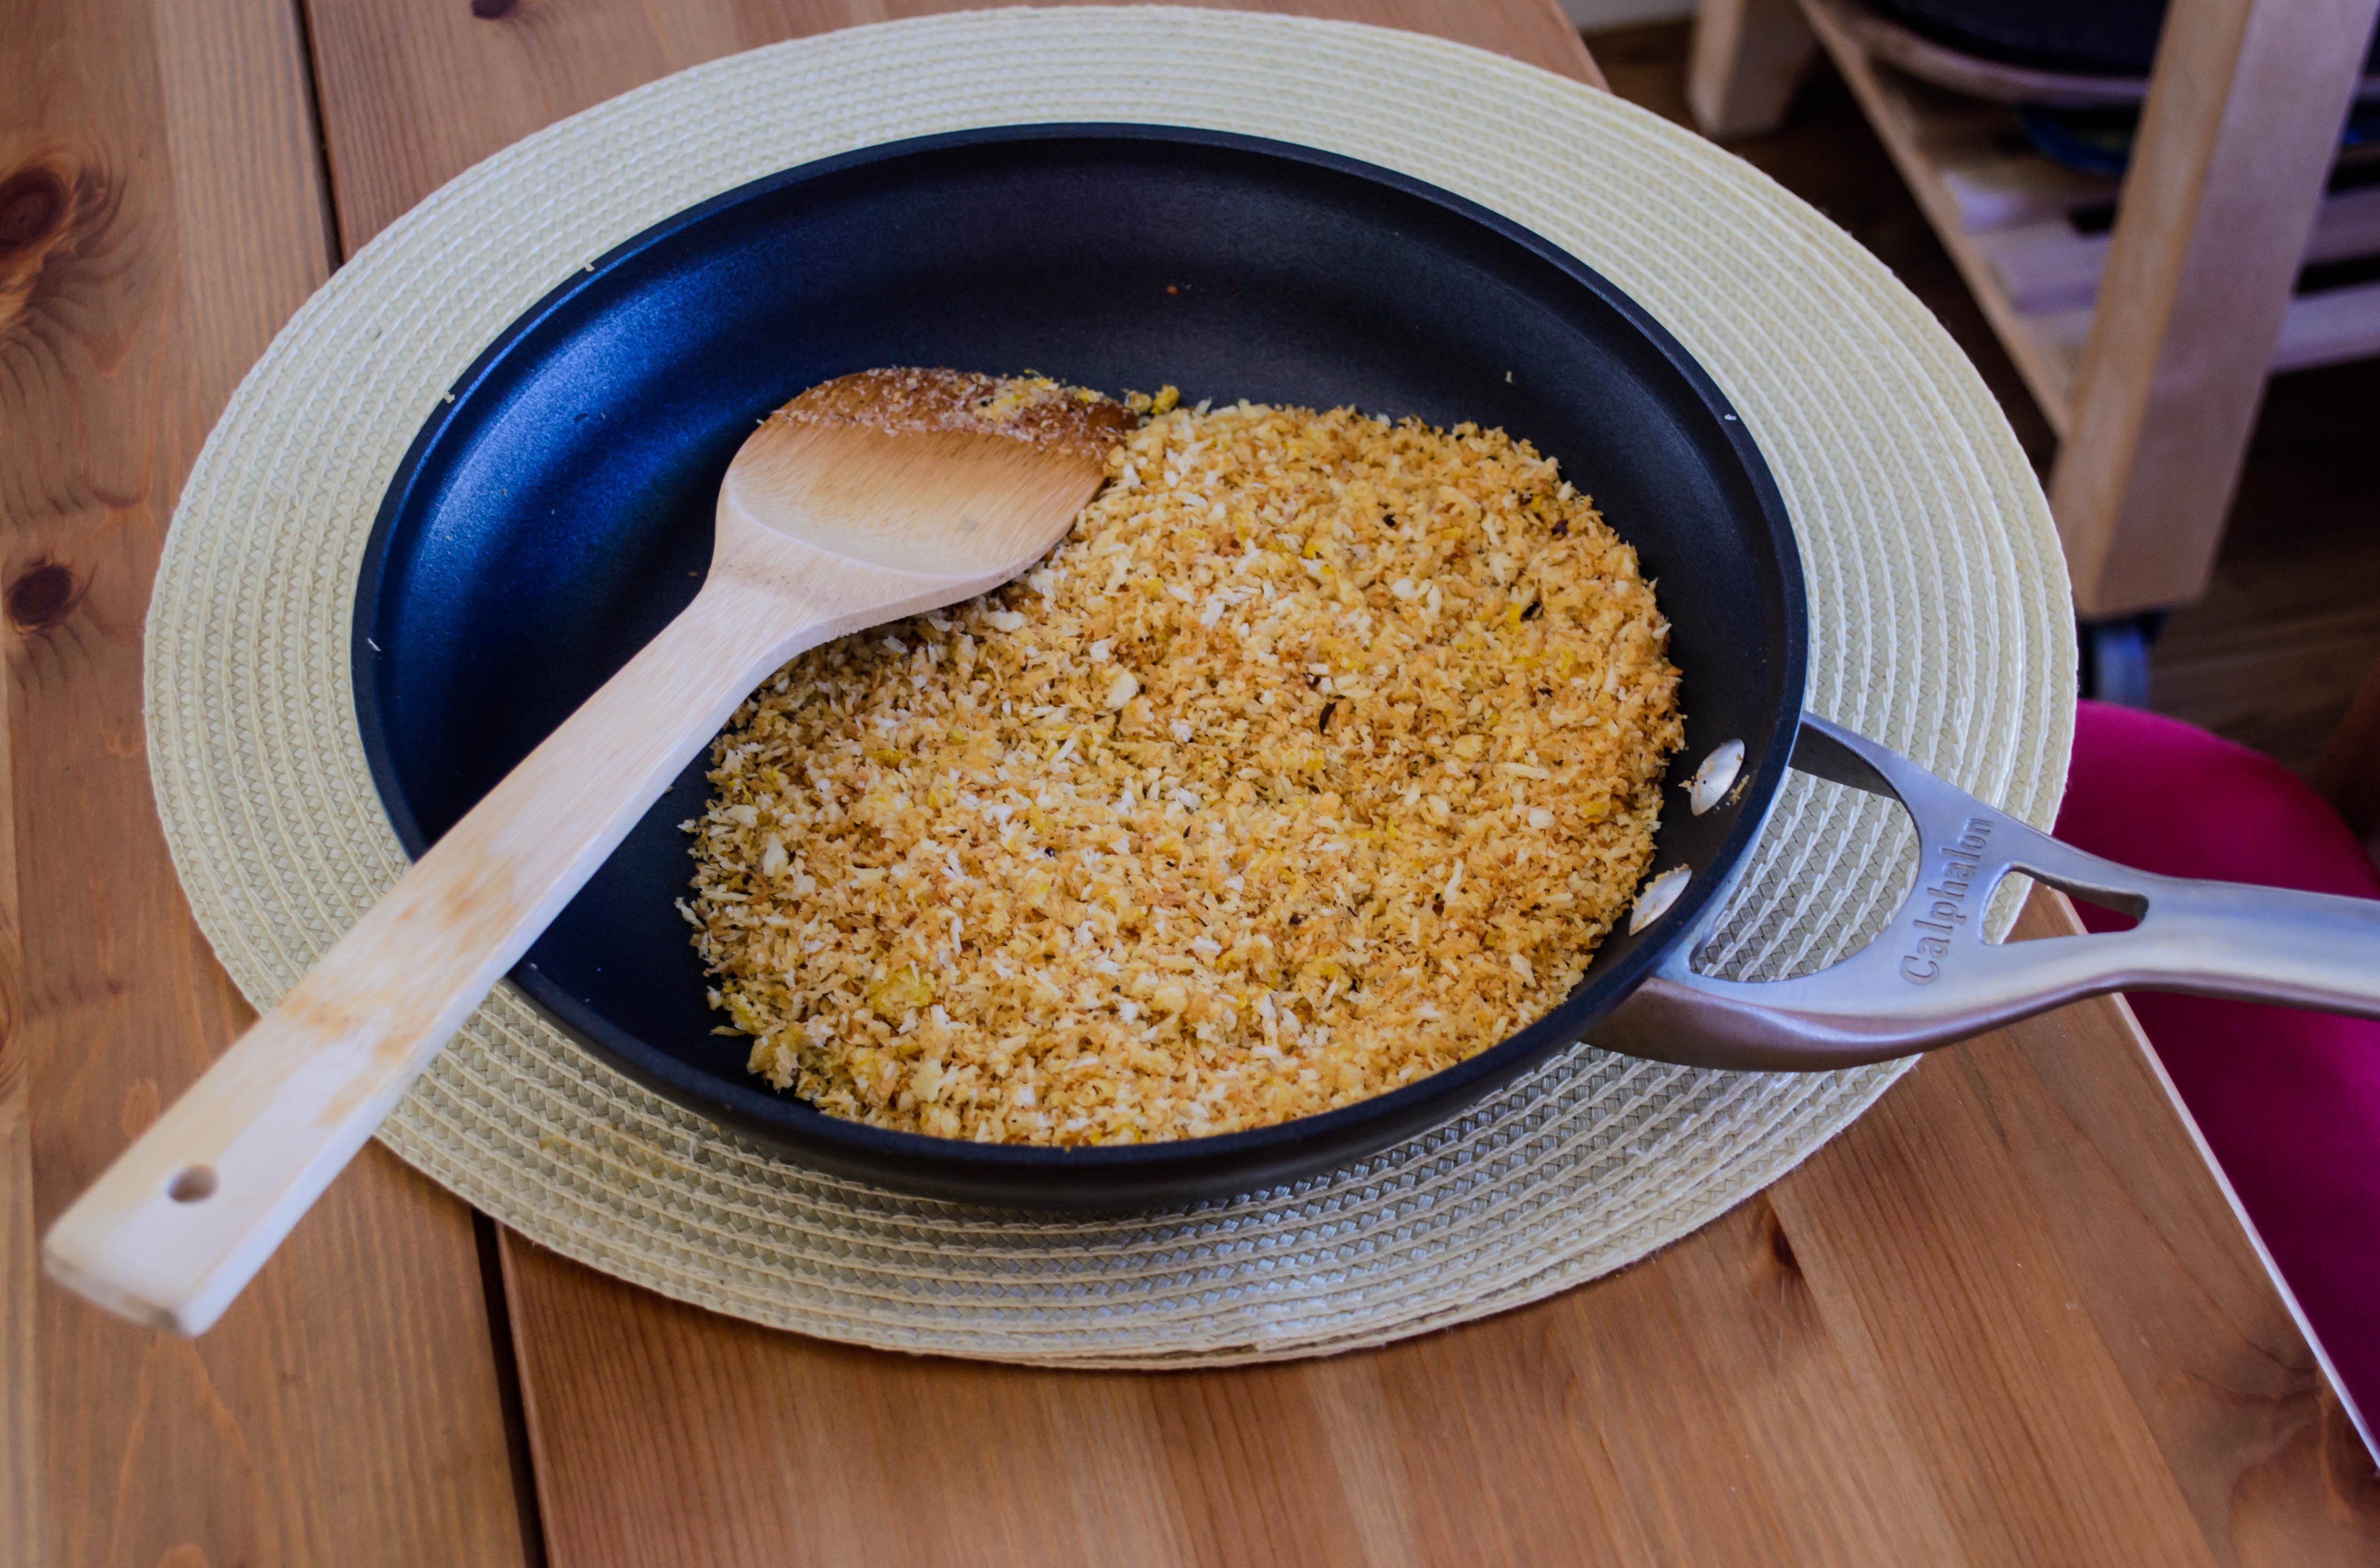
- Heat 2 tablespoons of the olive oil in a 10-inch skillet over medium heat. When it is shimmering, add the panko breadcrumbs, the salt, and the red pepper flakes. Toast over medium heat, stirring almost constantly to brown evenly and prevent burning.
- When the crumbs are golden, which for me was about 2-3 minutes, add the grated garlic and lemon zest and stir well to evenly distribute. The zest and garlic will want to clump up, so stir assertively. Cook, stirring, for another 1-2 minutes until the mixture is fragrant and nicely browned. Remove from heat and set aside.
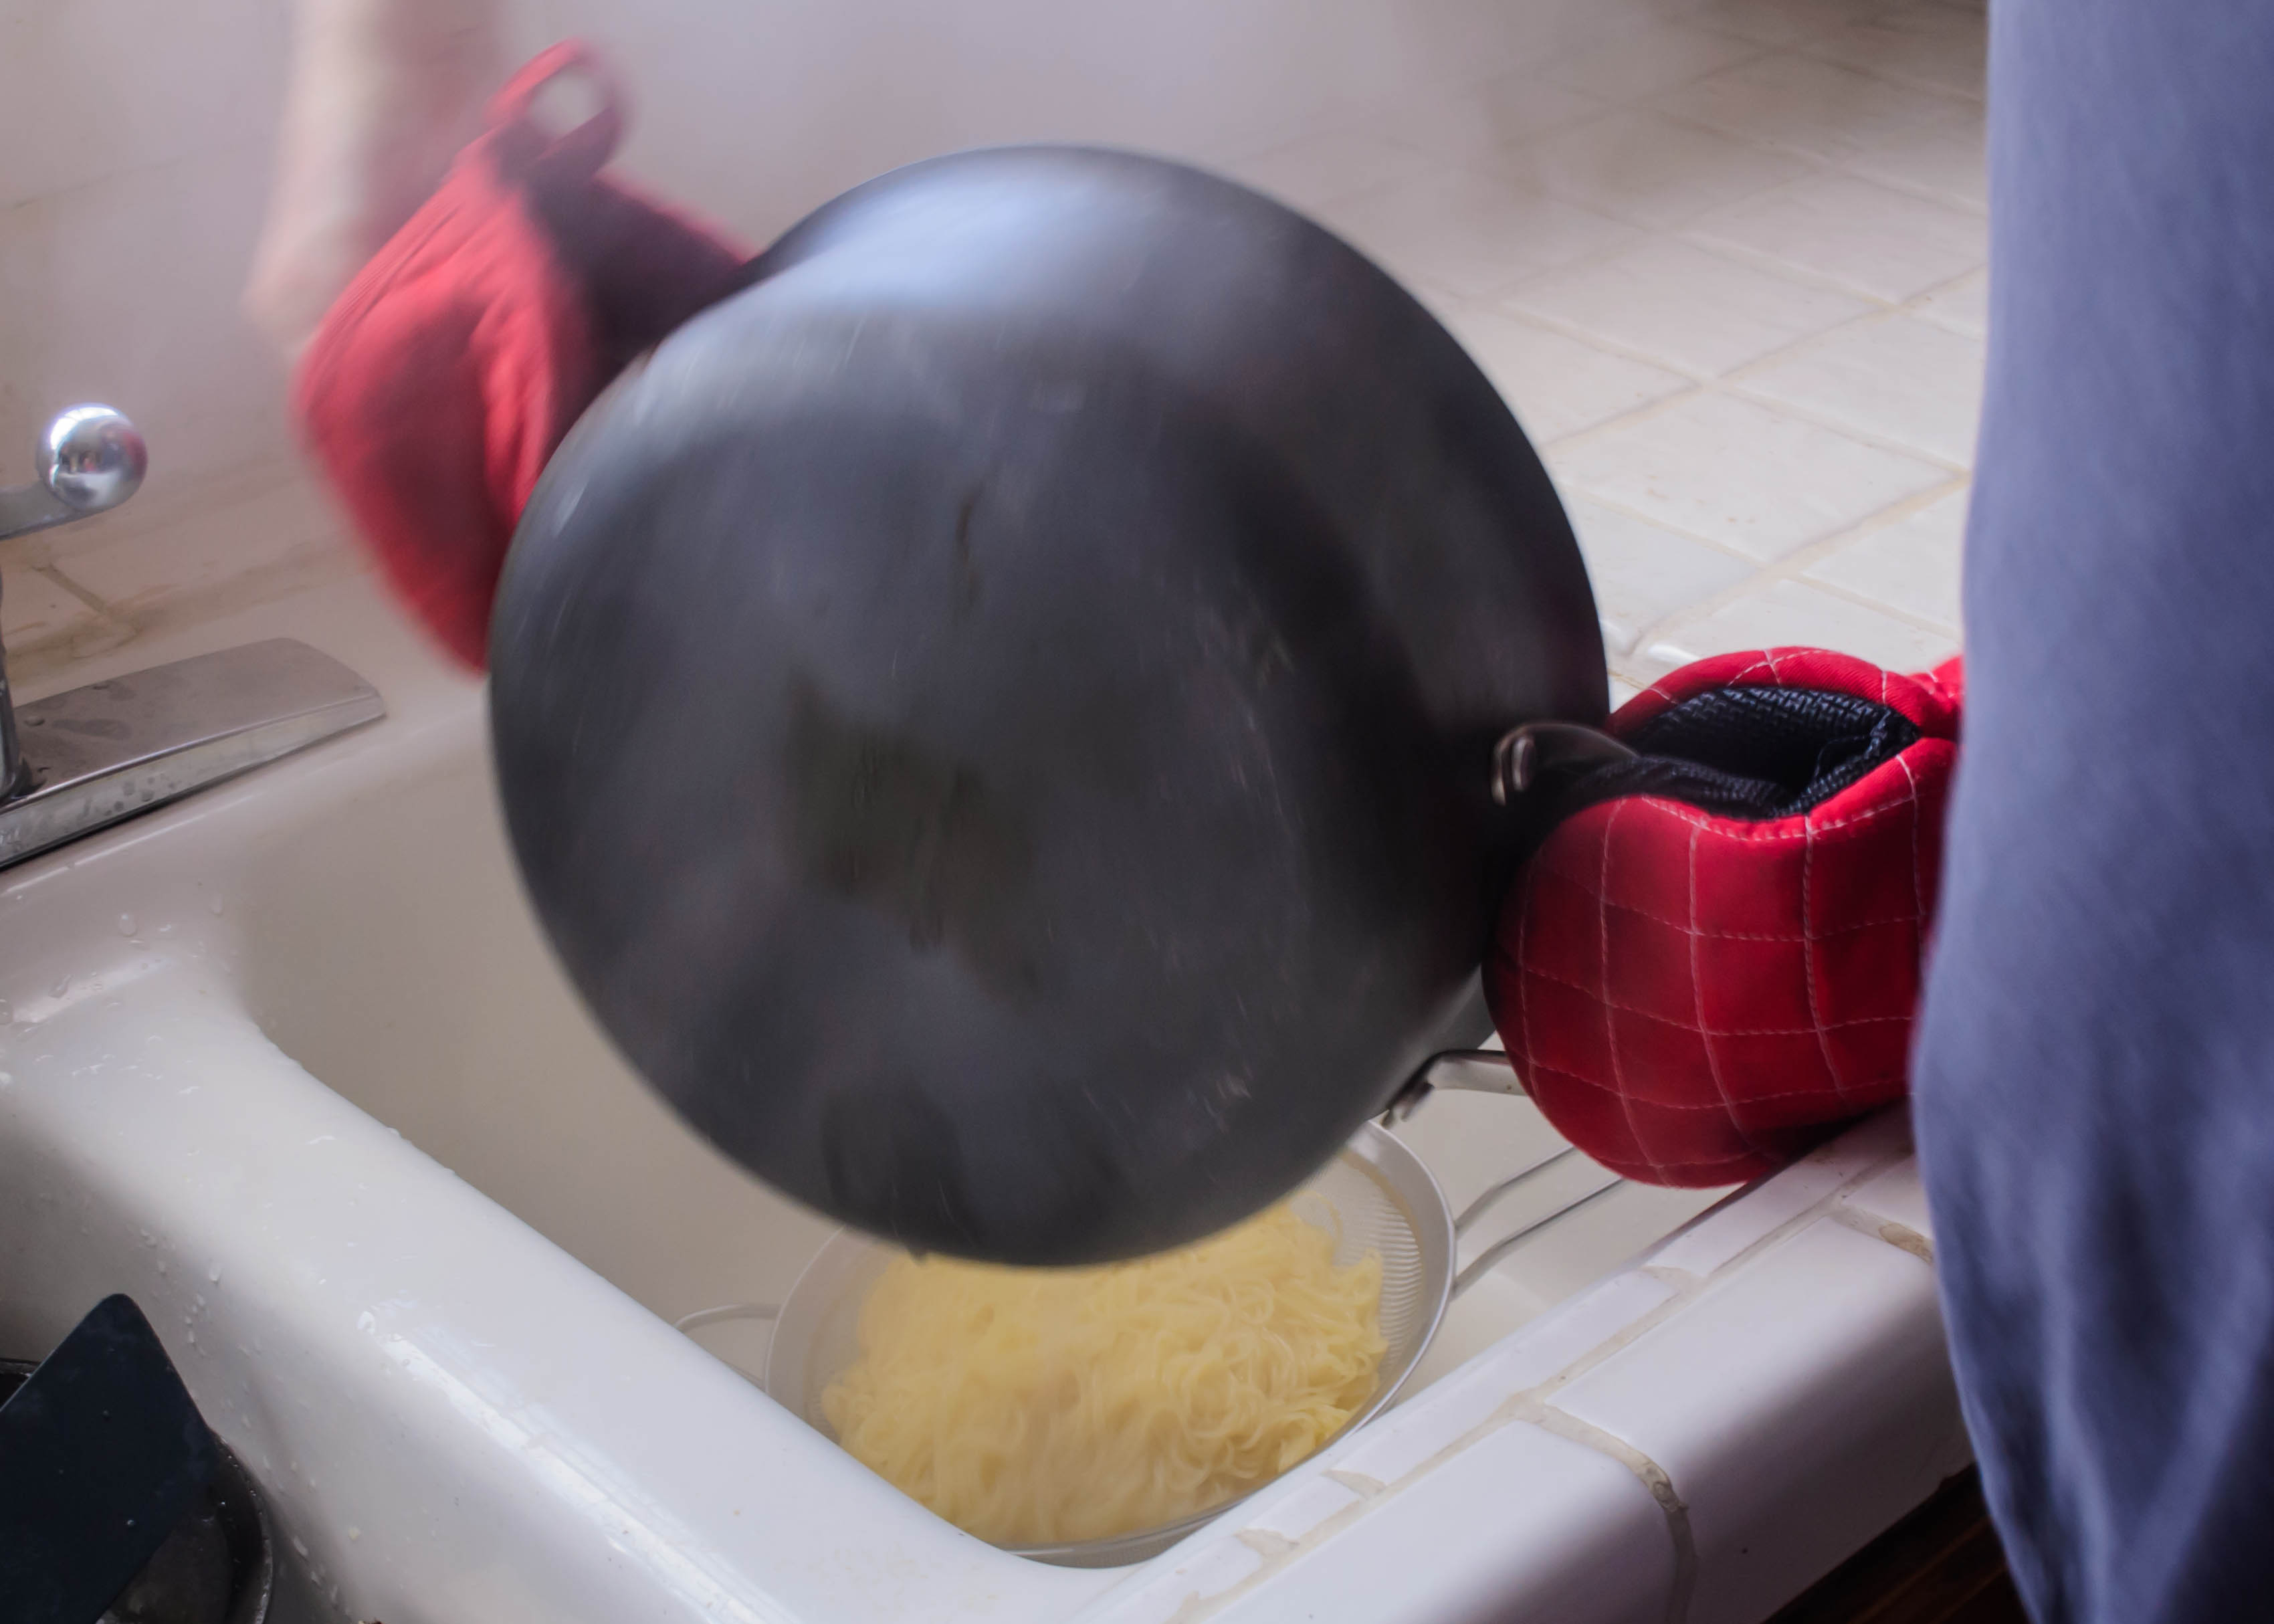
- By now, your water should be close to or already boiling. Add the pasta and stir to submerge it. Cook with the lid off to al dente, following the package directions. As soon as the pasta is done, drain immediately into a colander or strainer.
- Add the remaining 4 tablespoons of olive oil to the now-empty pasta pot and swirl it over medium-low heat to evenly coat the bottom of the pot. Add the lemon juice, then the pasta, and toss with tongs to coat evenly with oil and lemon juice.
- Dump in the arugula and use the tongs to gently integrate it with the pasta. When the arugula is gently wilted, turn off the heat and sprinkle in the crumbled feta cheese. Use tongs again to toss so the cheese is evenly distributed.
- Serve hot in large, shallow bowls, and top each serving with about 2 tablespoons of the crumbs.

 But “not often” isn’t the same as never. A few weeks ago, as a heat wave rendered Los Angeles practically immobile (or maybe that was just my un-air-conditioned living room), I dragged myself to the kitchen to (I hoped) find something reasonably delicious to throw together for dinner that didn’t involve the oven or the stove. Great expectations, no?
 What we ended up with was a dinner that made our eyebrows climb, and almost immediately we were thinking about when we would have it again. And as sometimes happens, it was just what I had, layered together into something great. Chicken salad. Toast. Avocado smashed with extravagant quantities of lemon juice and raw garlic. Layered and mounded into an open-faced sandwich as at home on a picnic blanket as on your dining room table. So bright and fresh! Satisfying but so light and summery! And, if you have had the presence of mind to make your chicken salad the day before (or, if you’ve got a deli you love, bought some), assembly requires all of five minutes with minimal application of heat. Oh, and if you find yourself in need of a way to use up some
  This is a summer dinner you need to make. And then make again. Because really, complexity is fun, but sometimes simple is just right.
 A few extra thoughts: the lemon and garlic smashed avocado is currently my food crush. It’s great with the chicken salad, but it would also be spectacular (and really quite aesthetically lovely too) underneath thin slices of hard boiled egg or smoked salmon. Or, you know, just plain on toast. Or to dip chips into. Or a spoon.
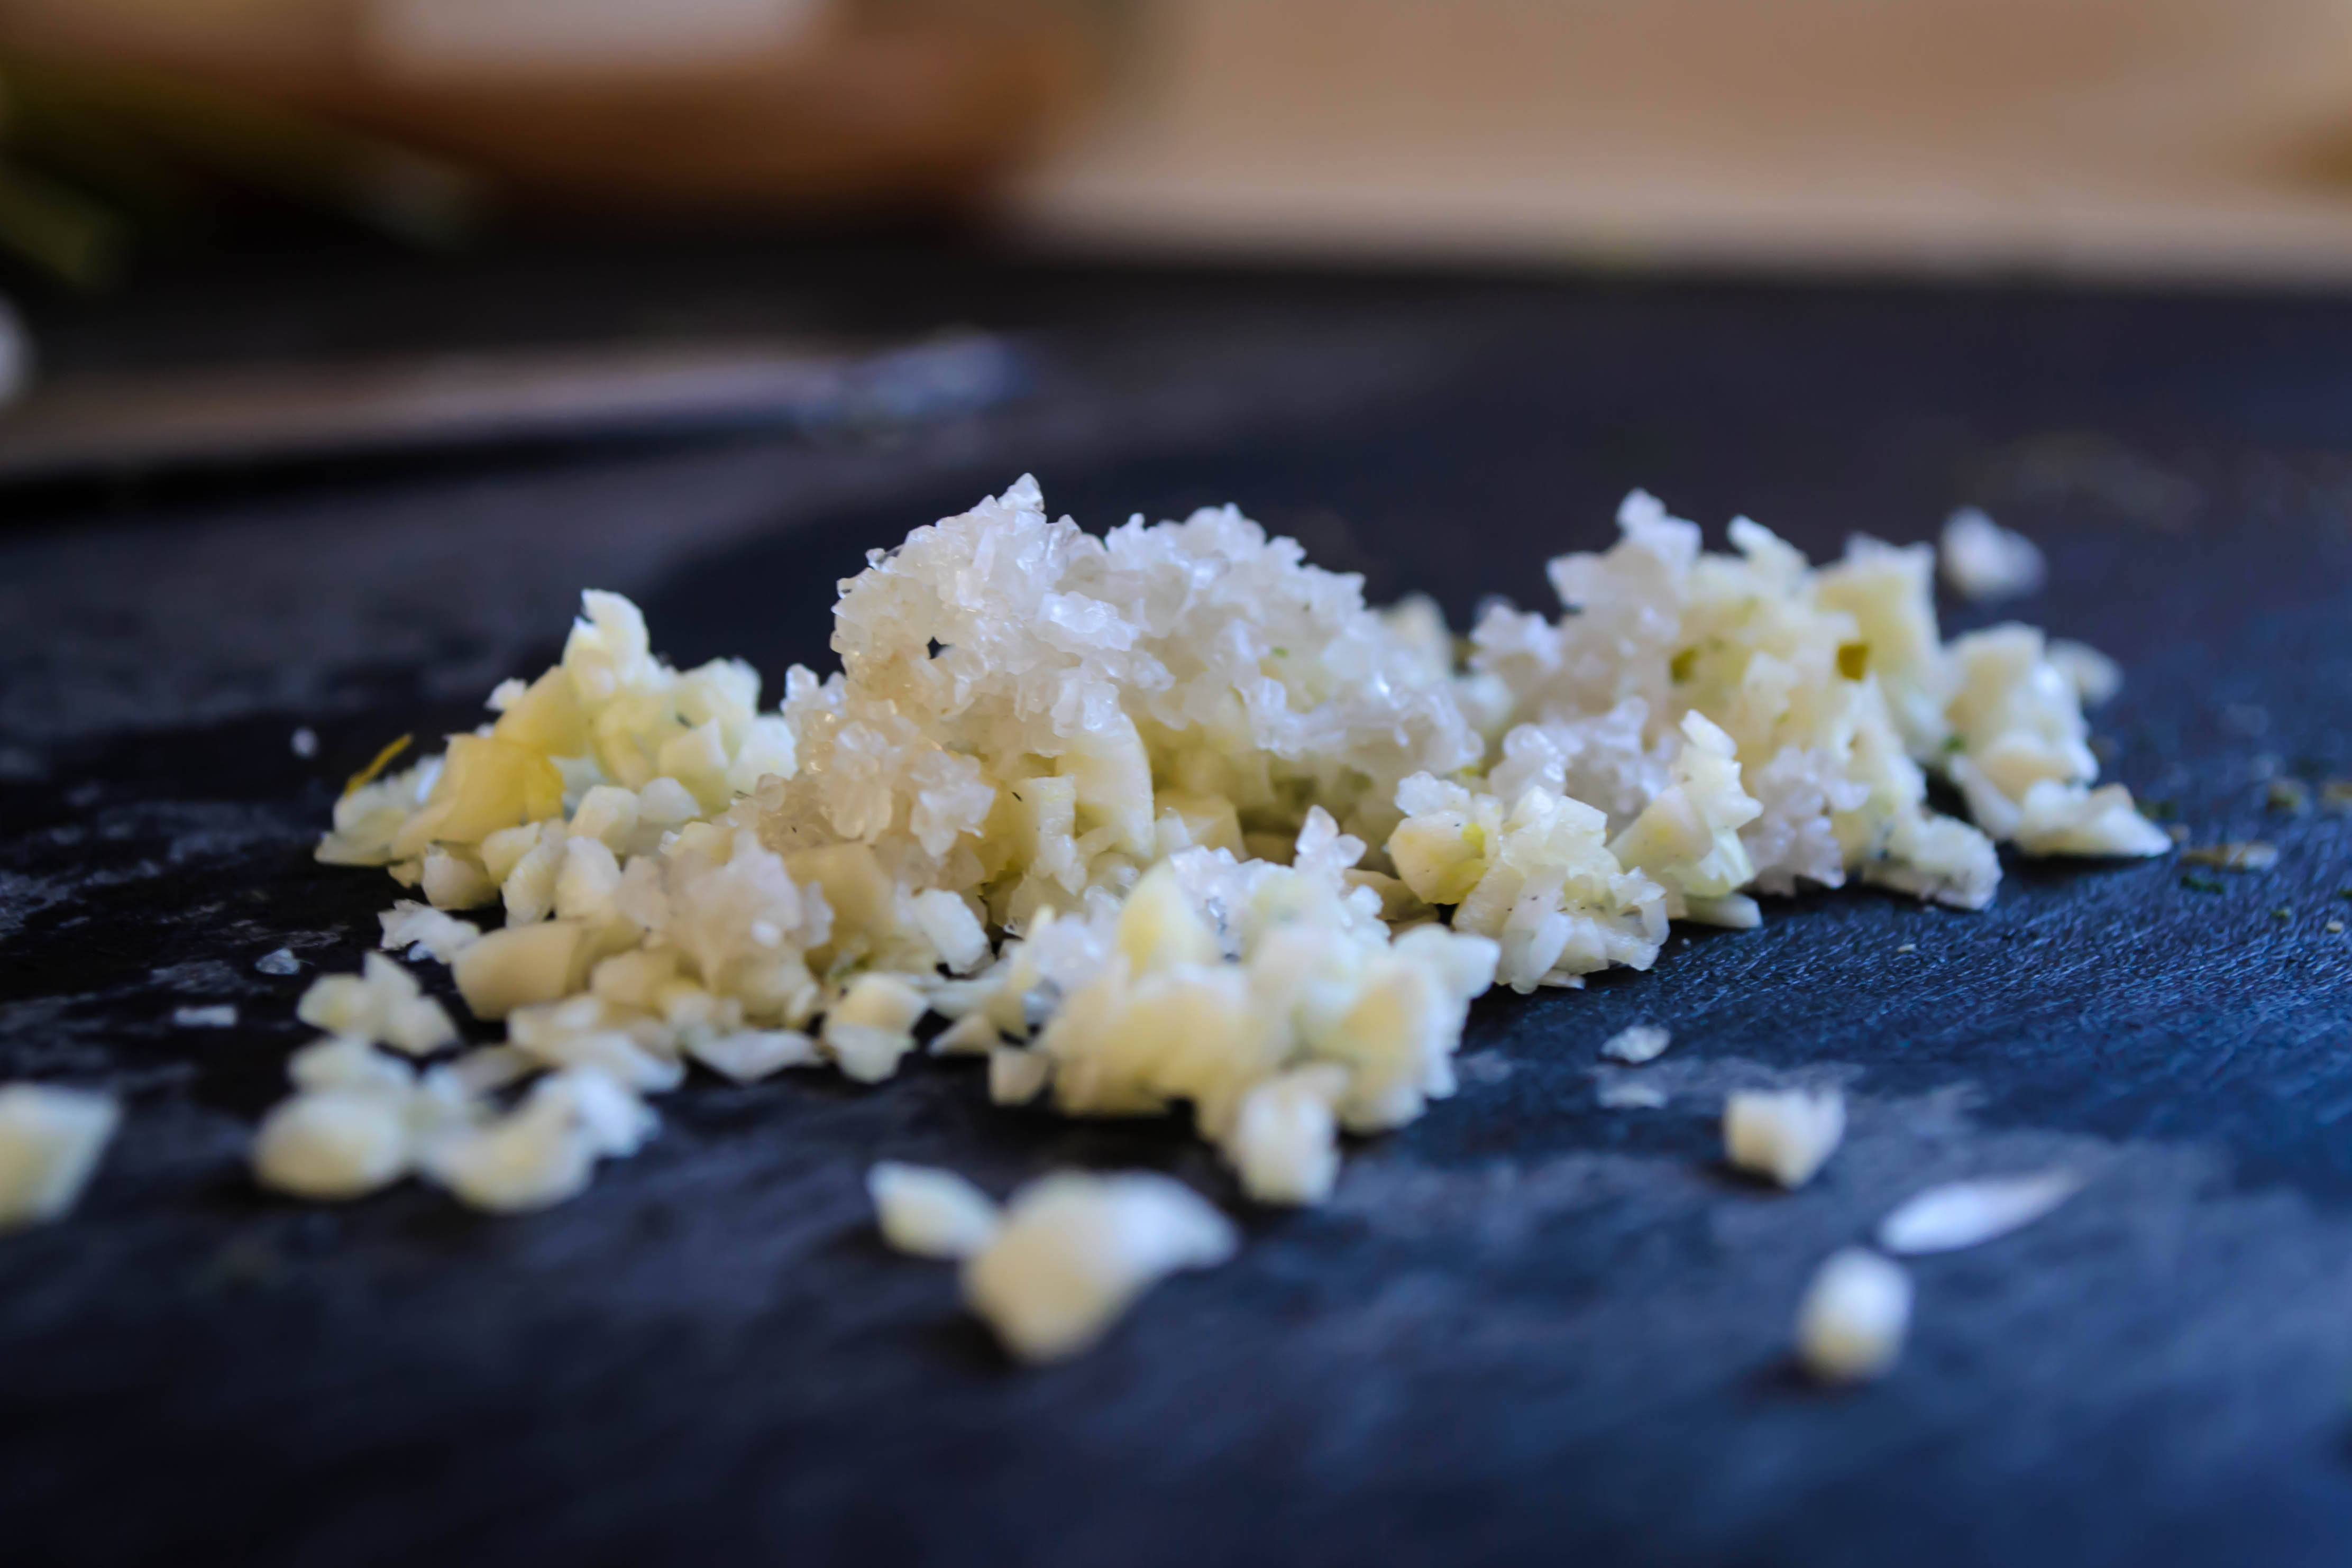
 Finally, and this is not about chicken salad or avocado, if you have an iPhone, you should ask Siri “What does the Fox say?” Then you should ask her again. It could well be that I’m the last person on the planet to know about this, but still. You’re welcome.
 While I wait for real summer, I content myself with small pleasures. Sitting on my patio out back, with the afternoon breeze just strong enough to keep the sun from being too hot. Remembering why I assigned that novel to my morning classes as I gasp my way through Margaret Atwood’s bewildering narrative in its relentless, sharp prose. Devouring, lest you think me too romantic, an entire package of chocolate-dipped marshmallow peeps I found in a clearance Easter candy bin. I know. They were so good, though, tiny milk chocolate eyeballs and all.
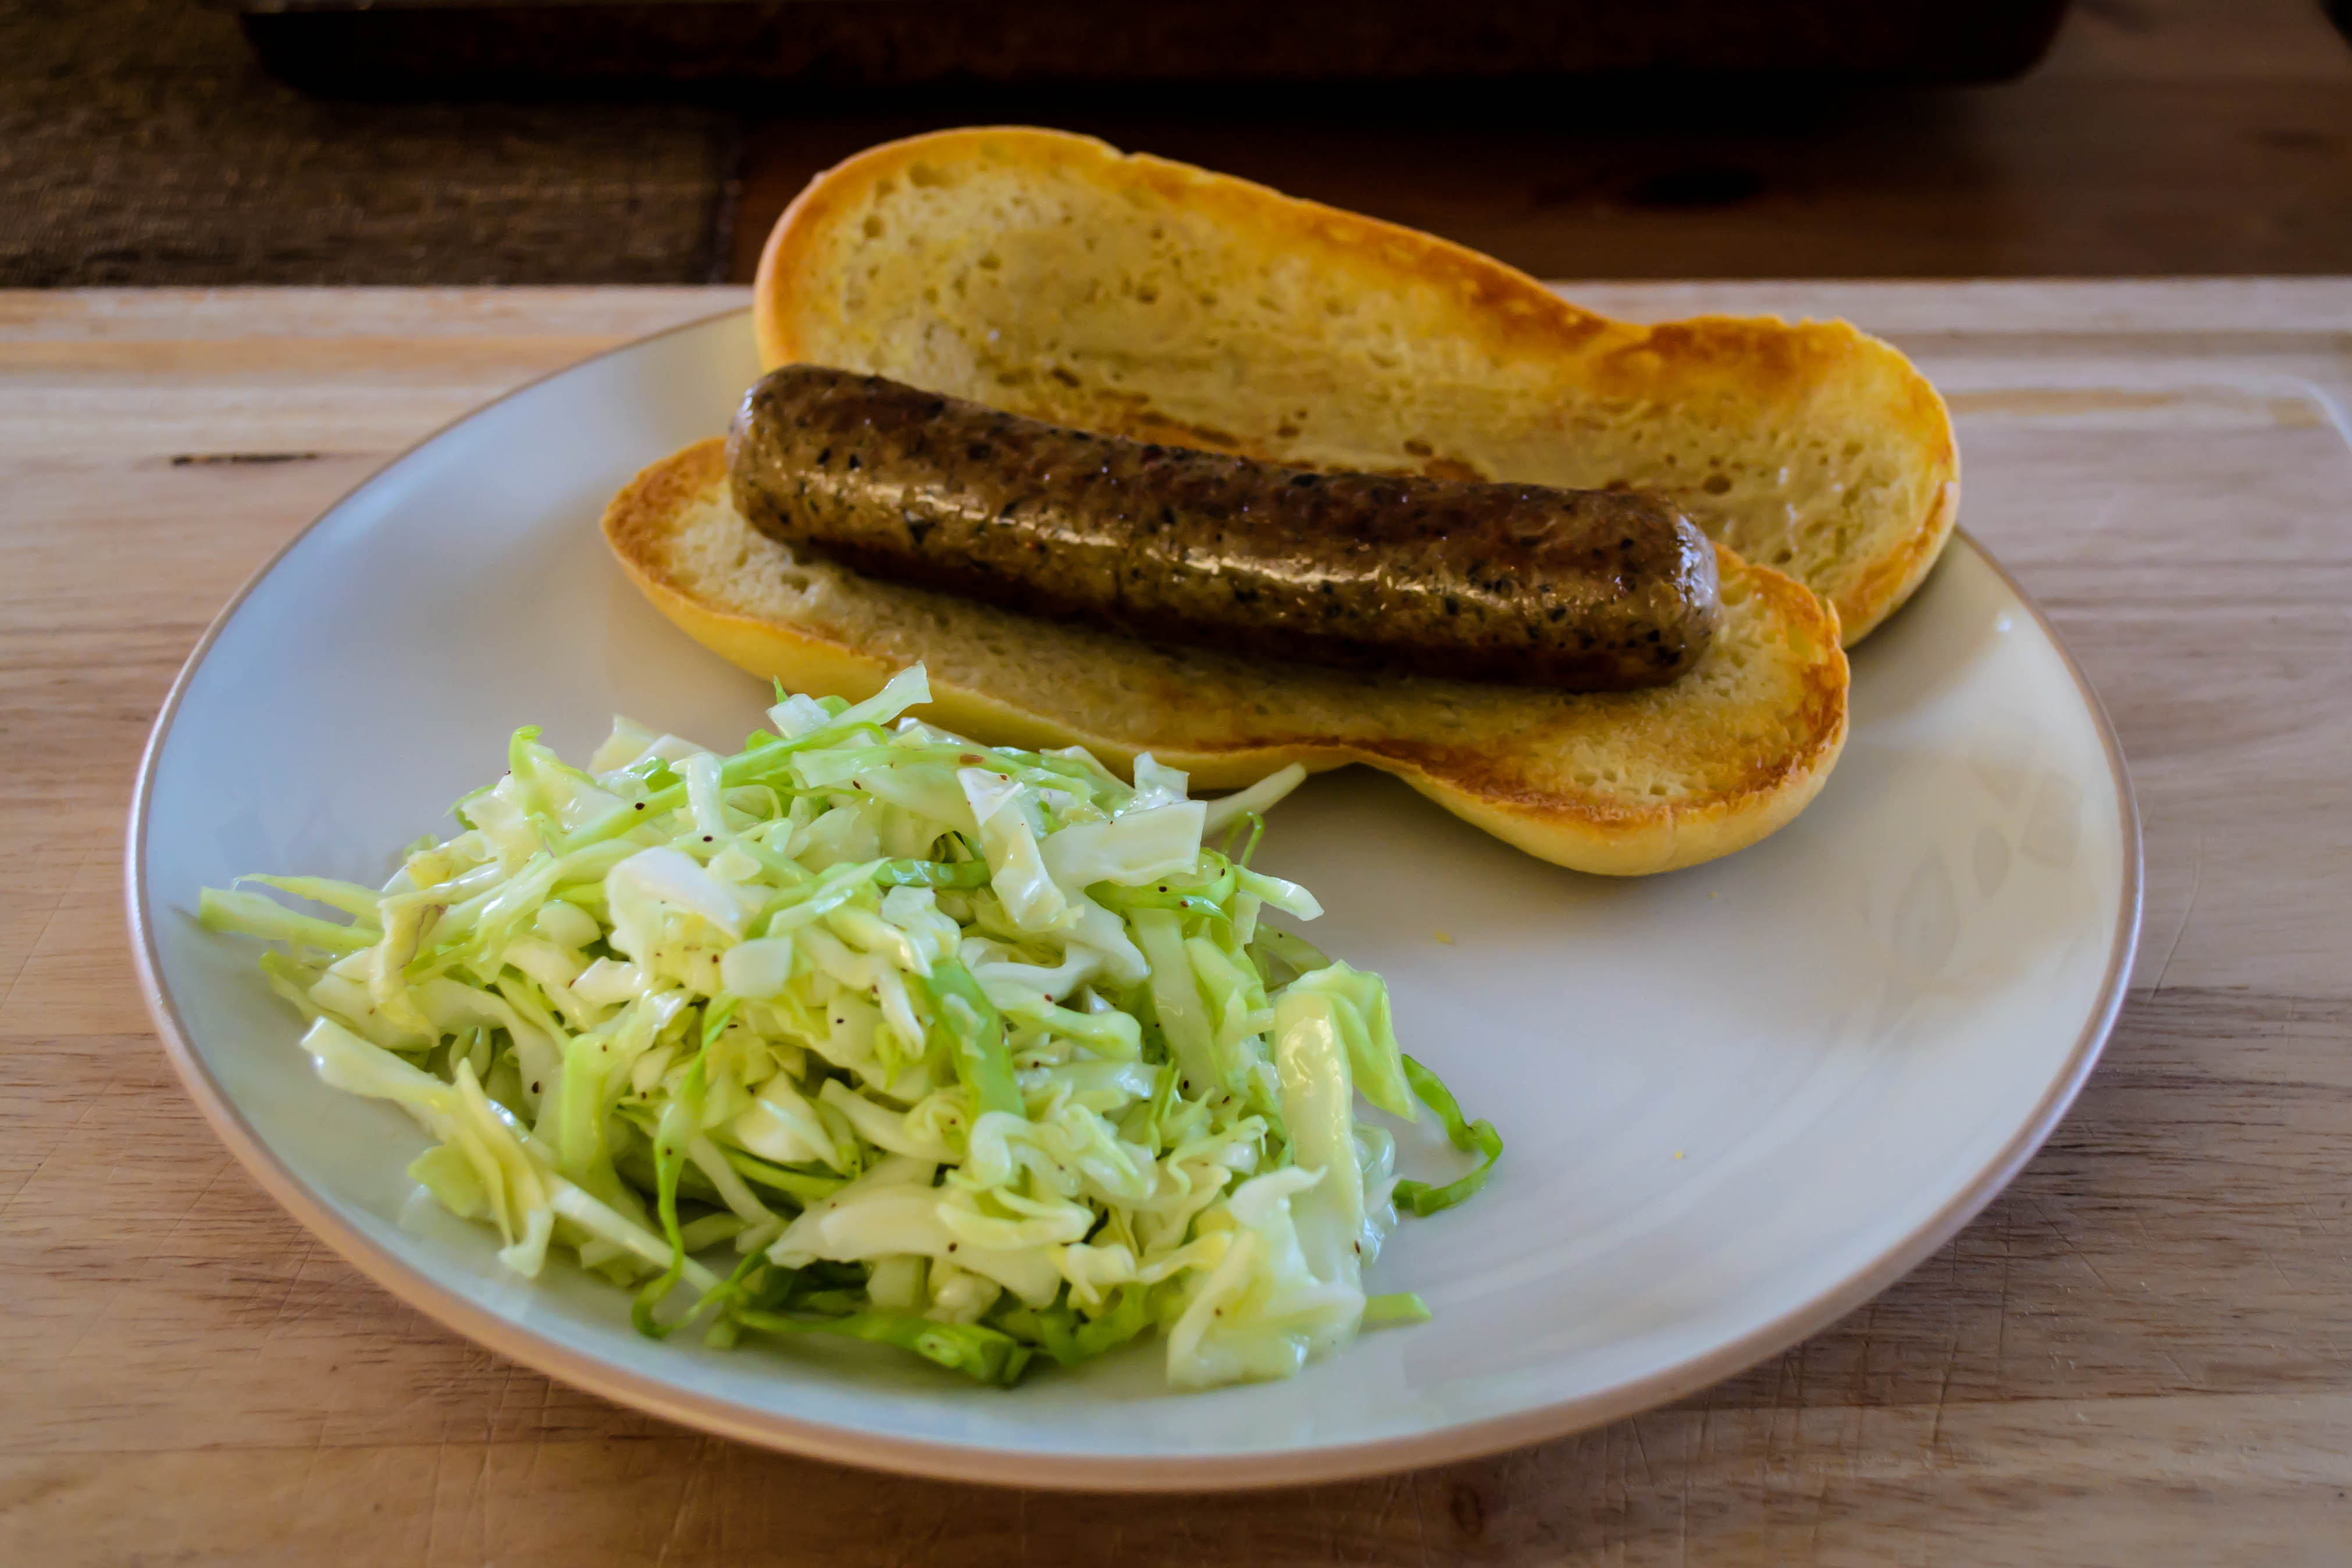
 Despite my inability to work “in a timely fashion,” I think you should keep this simple little slaw recipe around. It’s a tangle of cabbage so bright, so fresh, with not a speck of mayonnaise in sight. It would be equally welcome piled high as a side dish for sausages or barbecued anything as it would squashed between soft brioche halves on a pulled pork sandwich. If we’re going to get really dreamy, it could likely sit quite comfortably atop a lobster roll for a man-I-wish-I-were-on-a-beach-somewhere lunch fantasy.
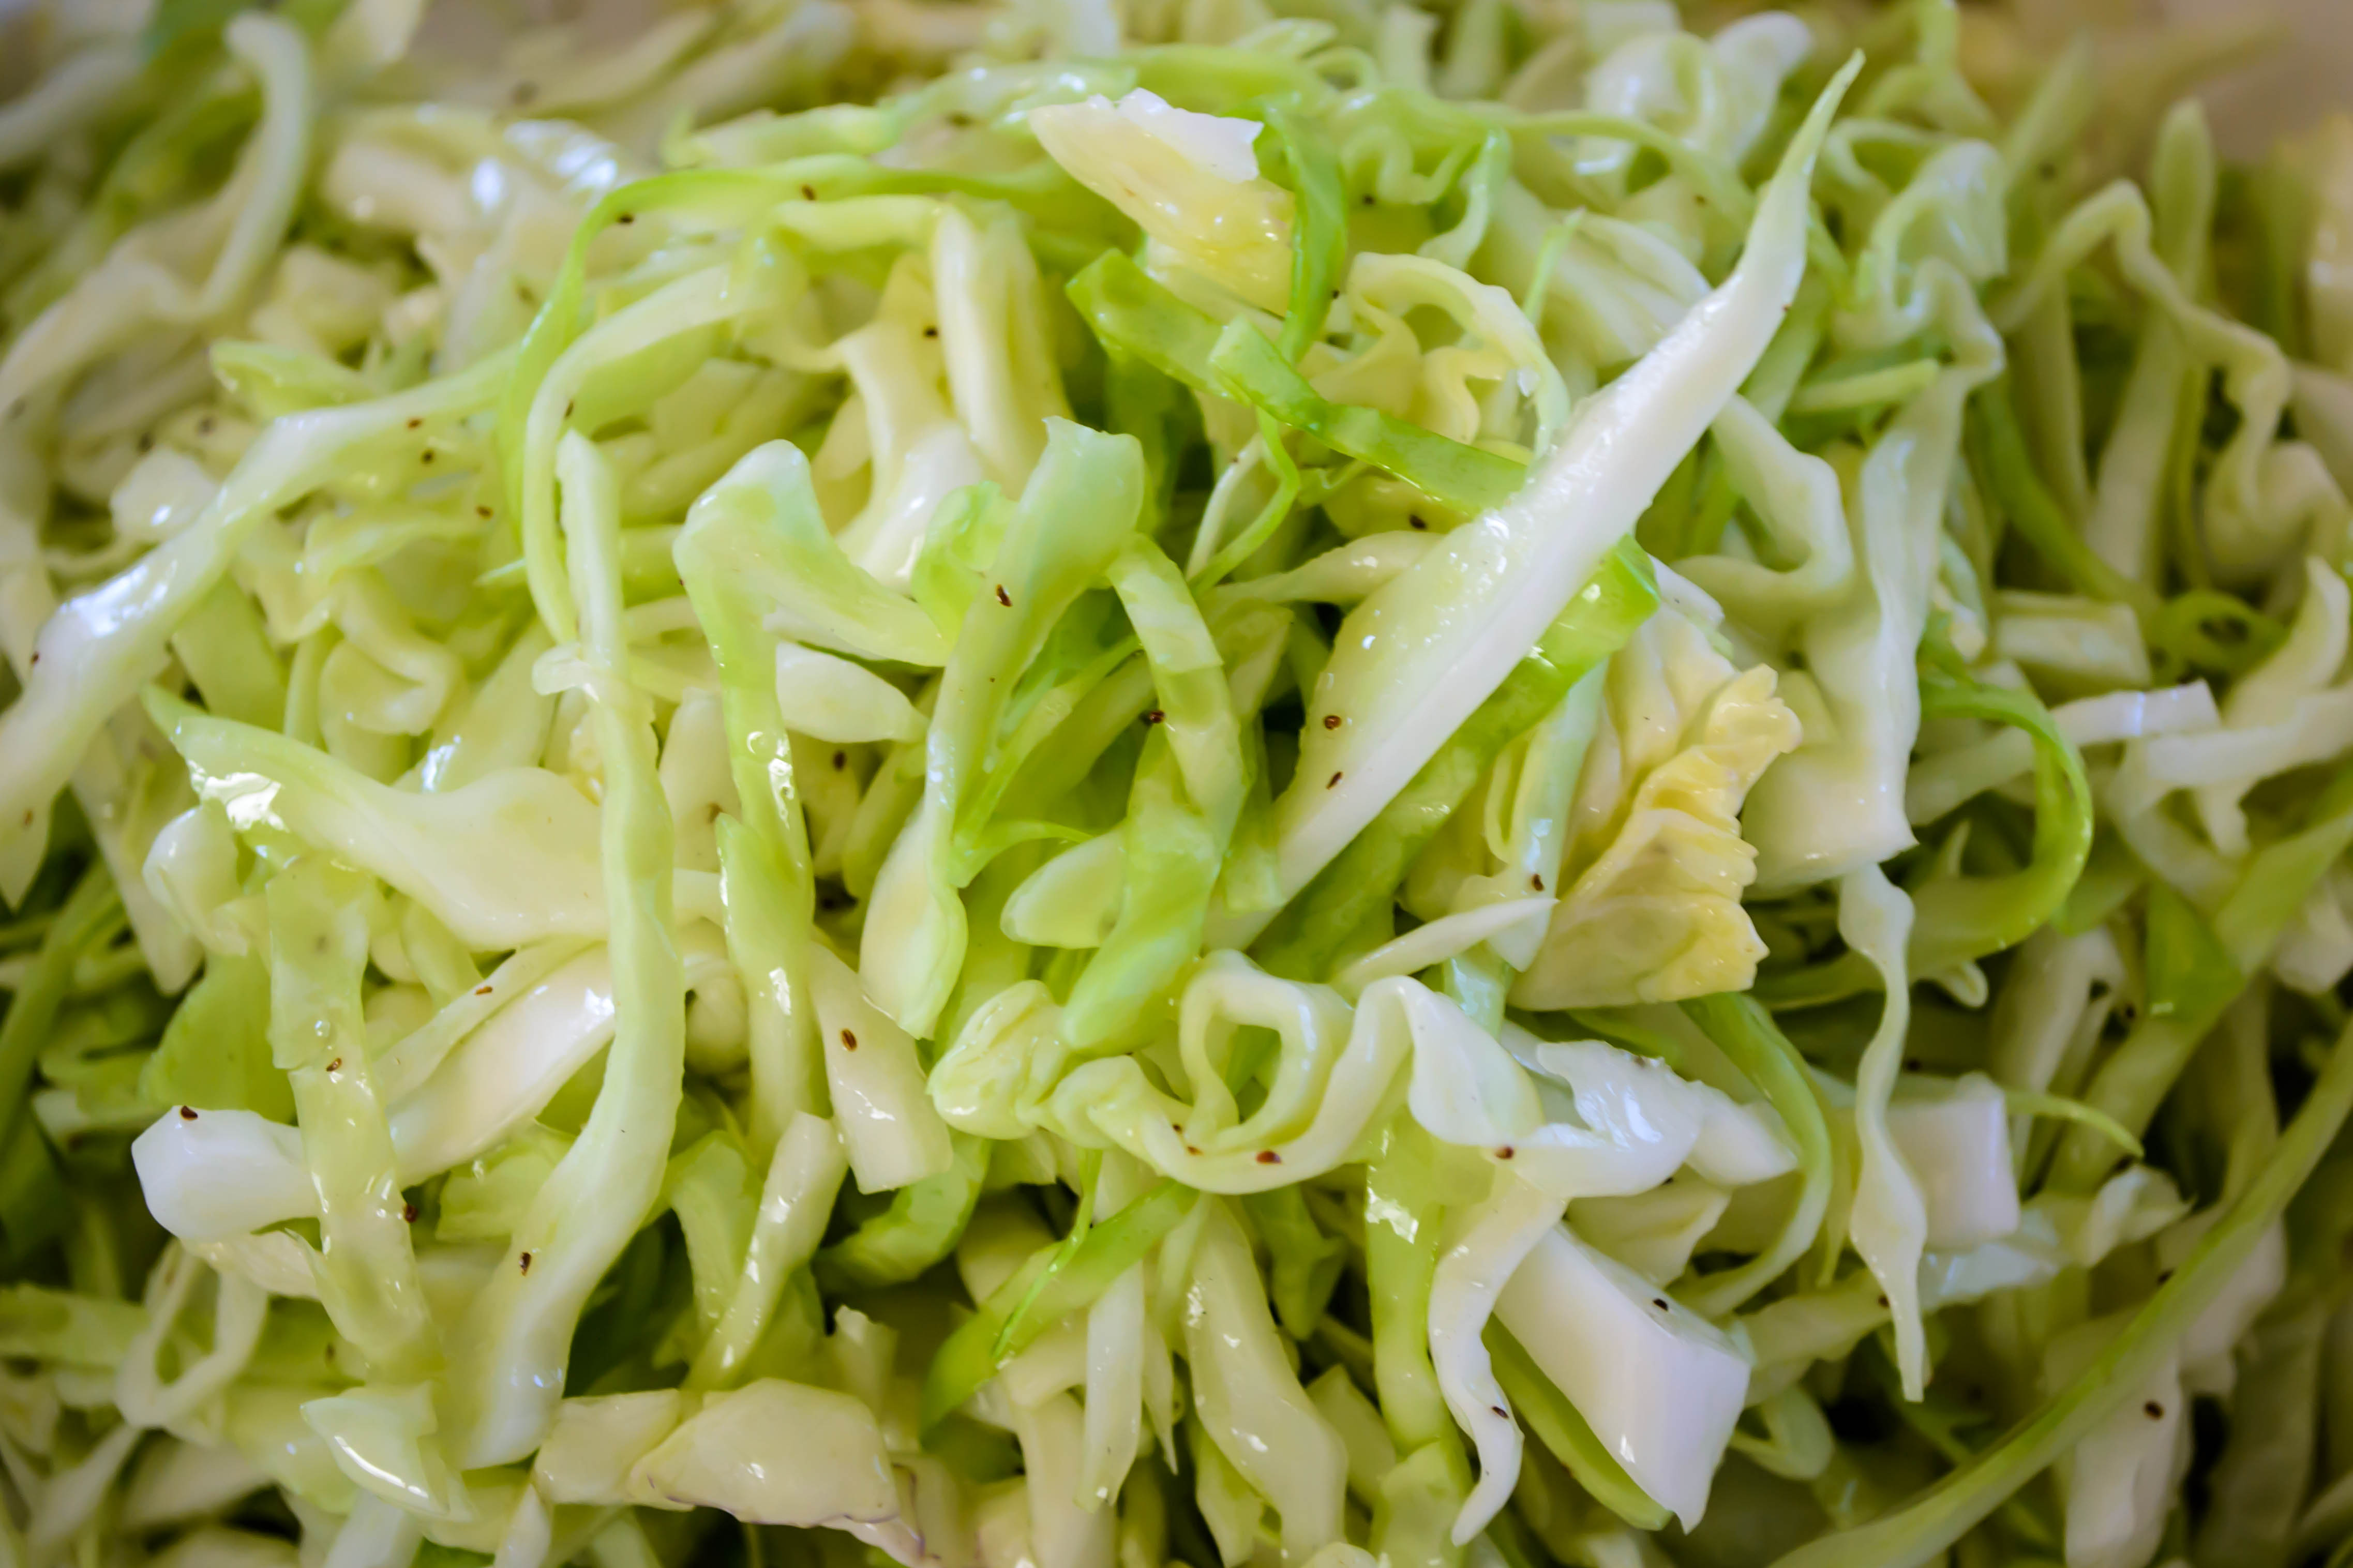
 The inspiration for this slaw comes from a side dish N. had with a plate of fish and chips at
  Celery seed is a funny little spice – tiny, musty smelling seeds, but with a distinct sharpness. Crushed raw and solo between your teeth they are too strong: a bitter kick with the aftertaste of raw celery stalks. Toasted, though, or crushed and lightly simmered in olive oil until their flavor blooms, they add a deeply savory note, a mix of umami and something almost floral, that I’m now totally obsessed with and want to add to everything.
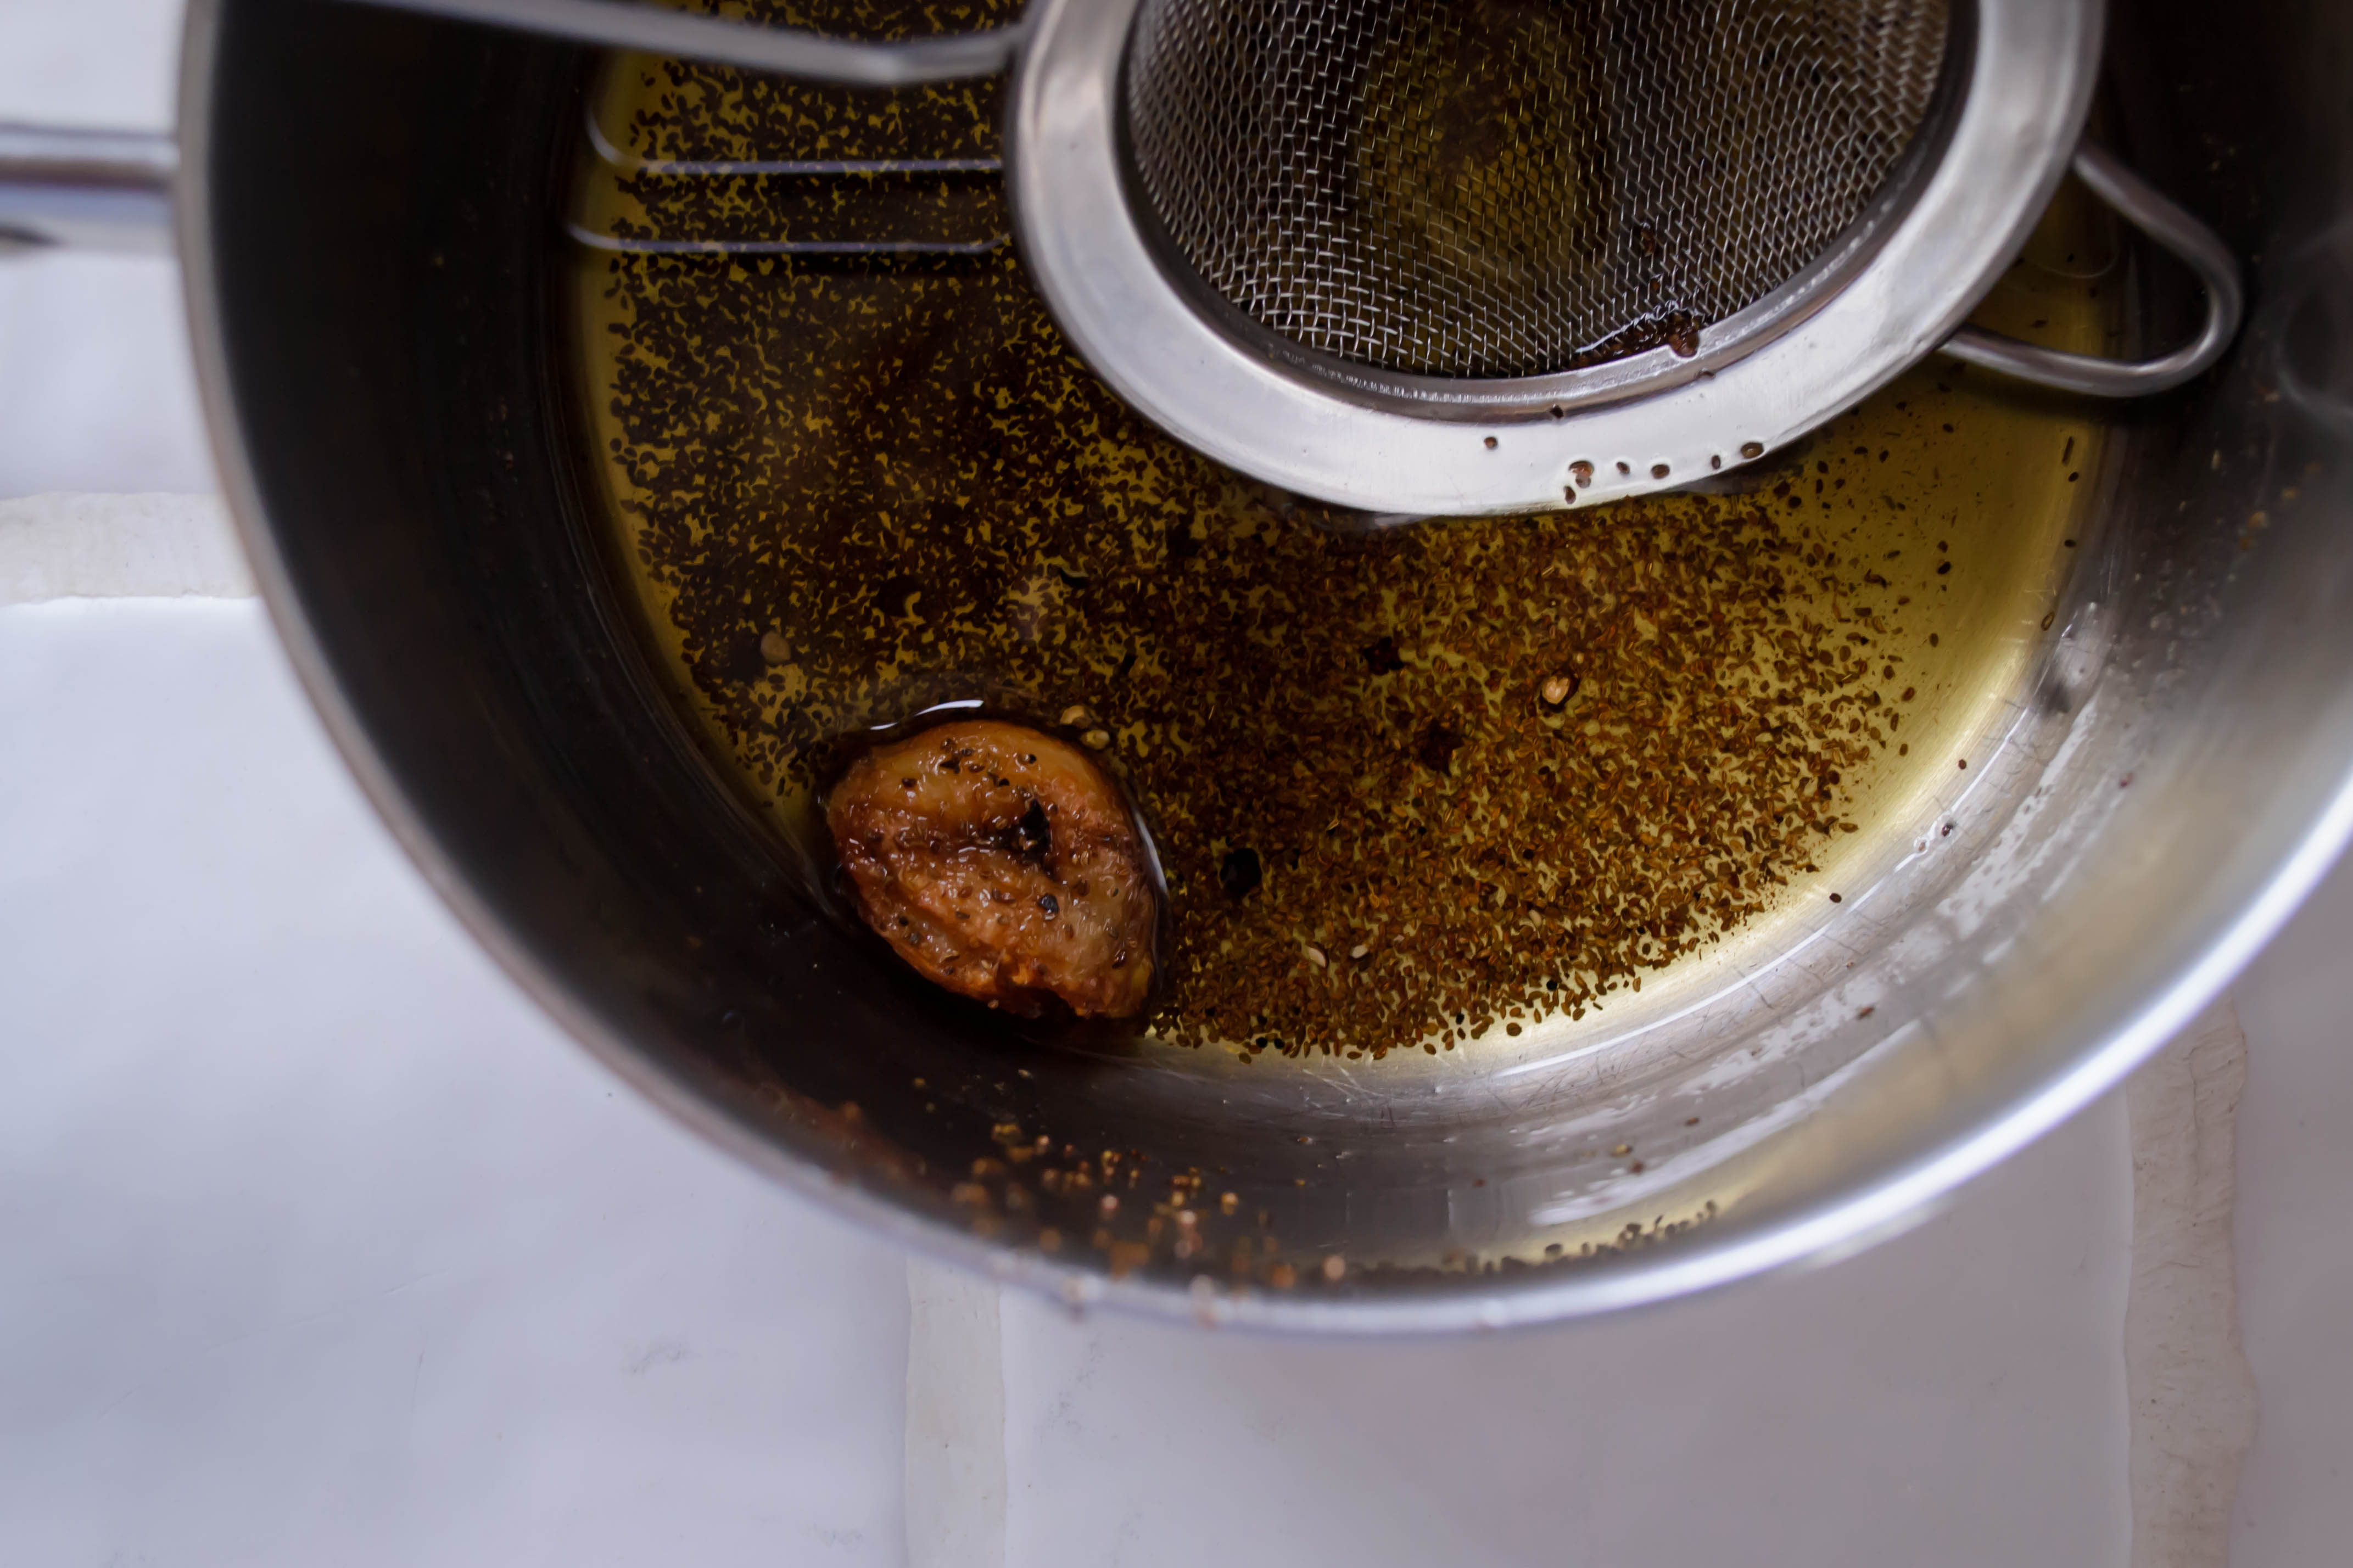


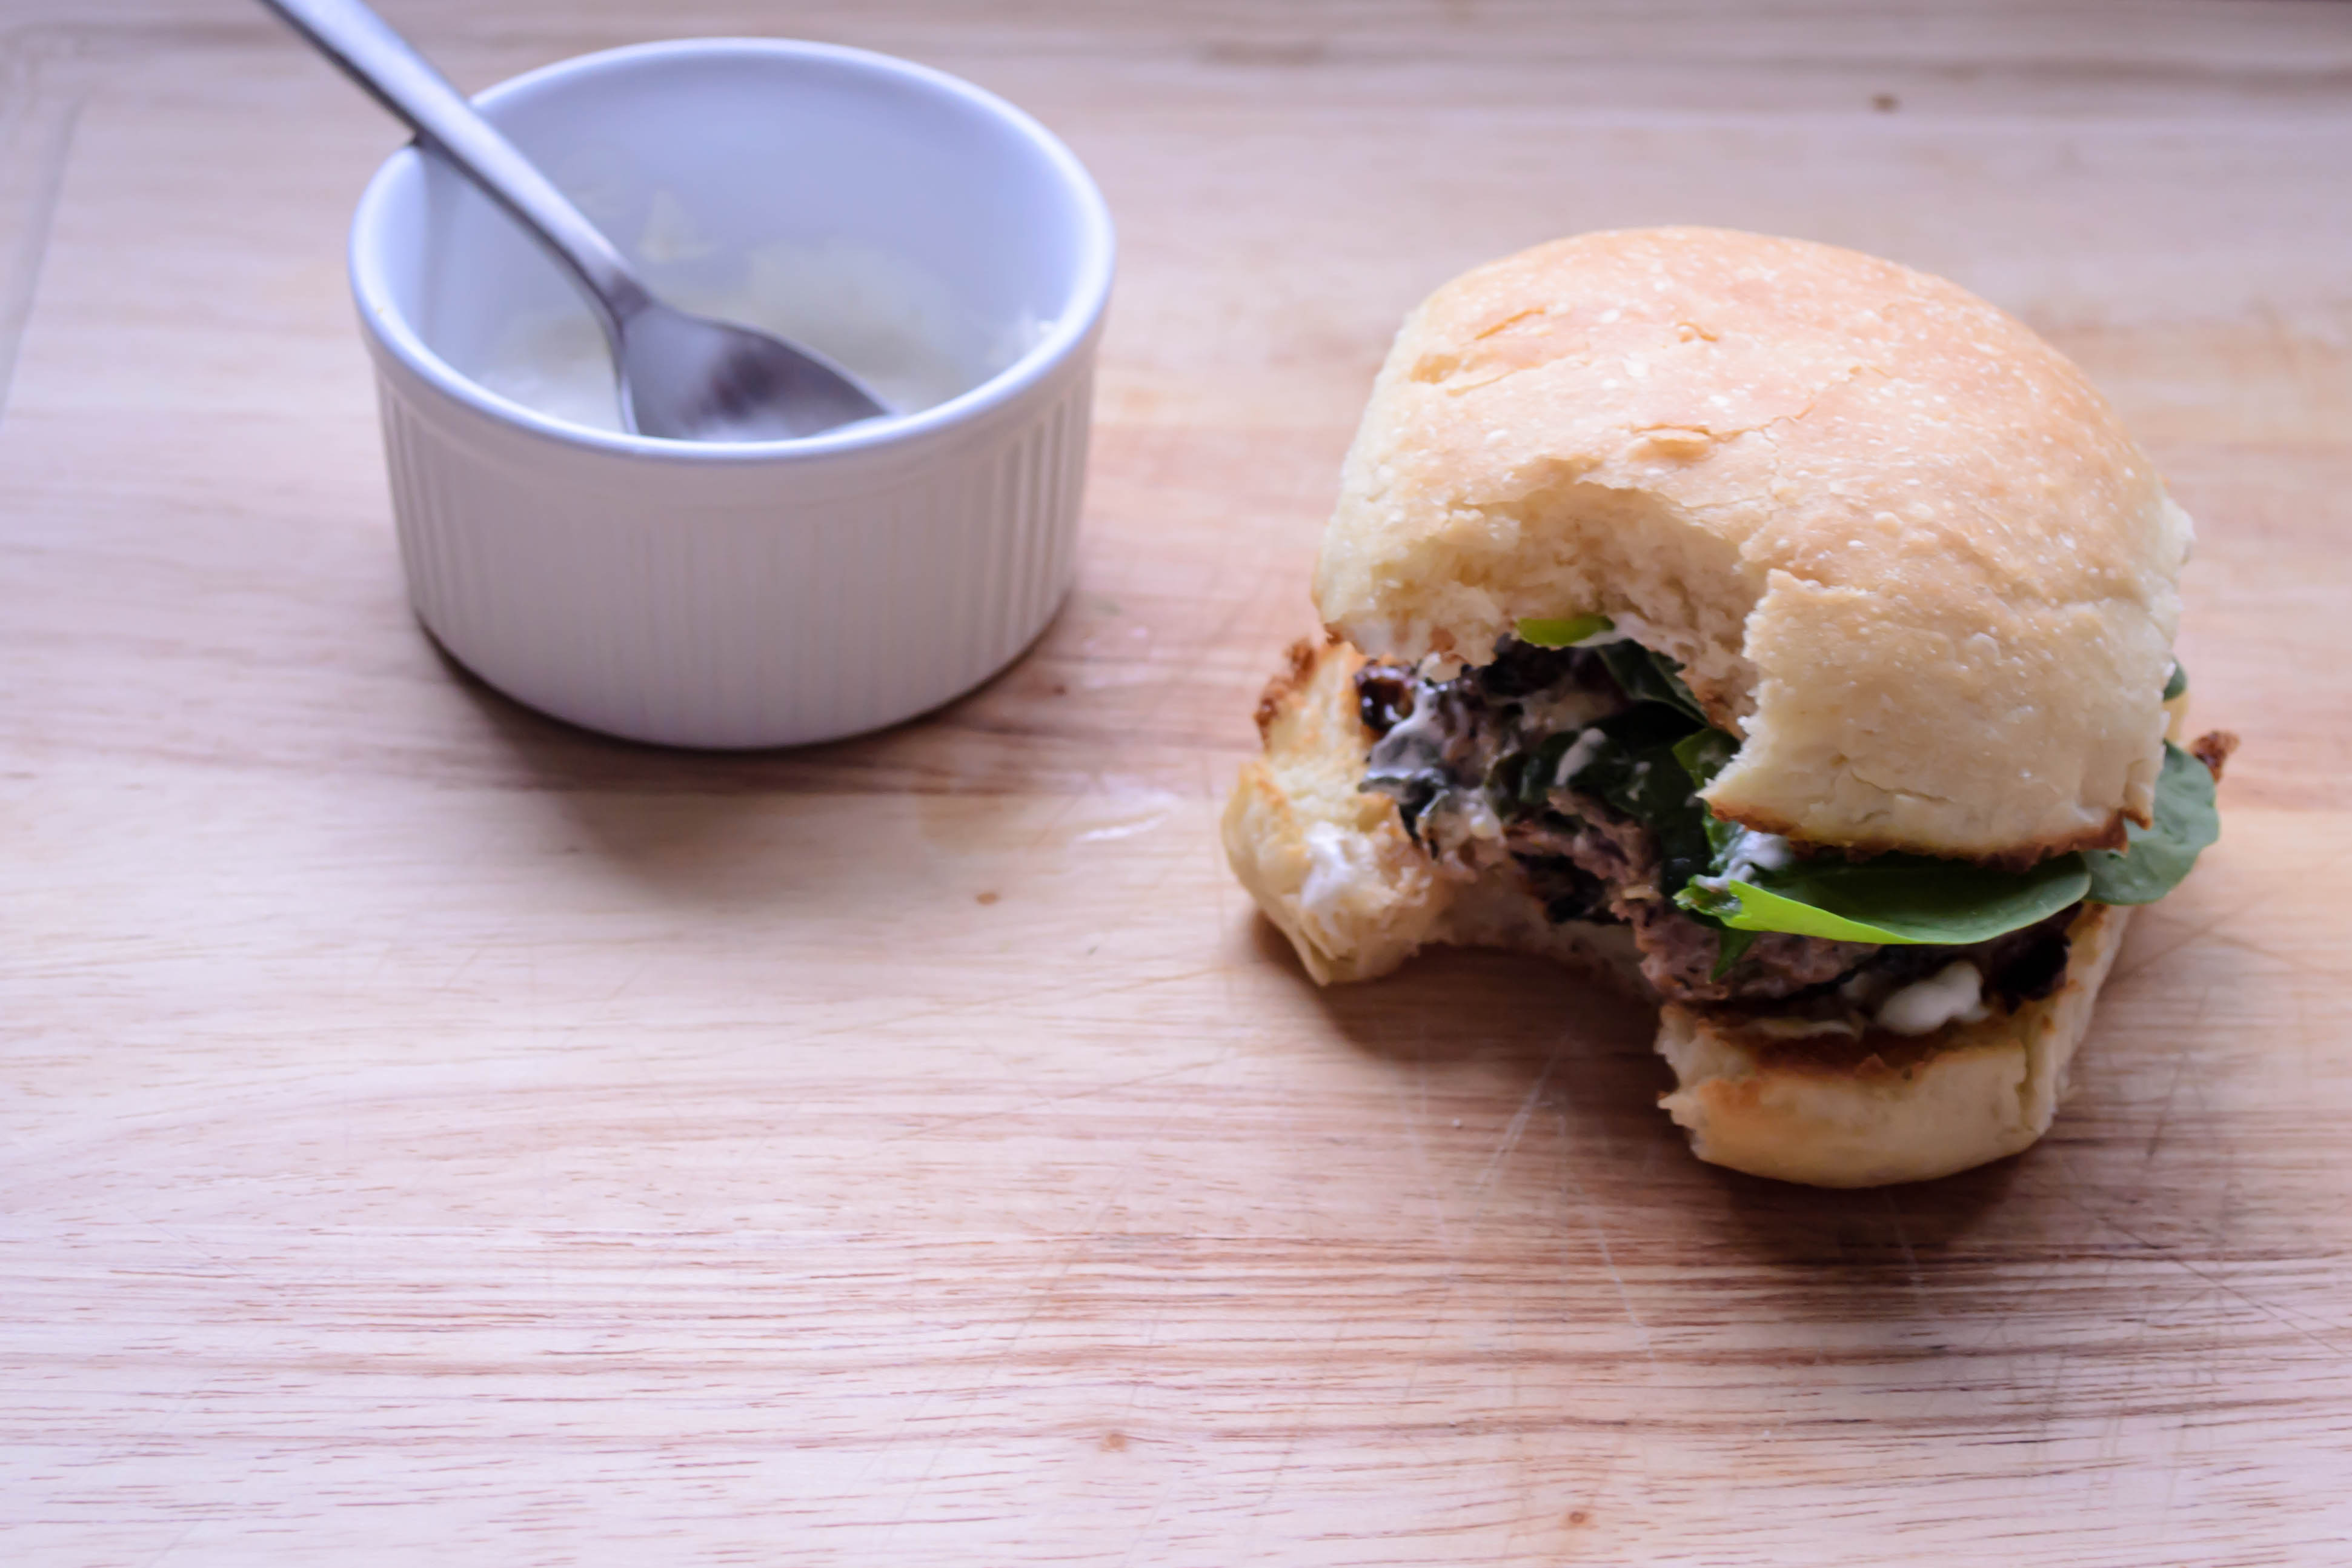
 My bachelor habits are unusual. I typically don’t, when I’m making dinner just for my lonesome, go for what’s quick and easy. In fact, I use the rare occasions when I’m dining solo to catch up on cooking and consuming foods N. is not fond of. So when he was out of town last week visiting his parents, I took advantage of the evening alone to rendezvous with one of his major food rivals: lamb.