Cilantro Lime Rice

Once you live in an area long enough, you start to notice food trends, especially if you like to eat out (which I do).  In Los Angeles, when you’re not focusing on the grass-fed beef and the house-made buffalo mozzarella and the artisan cocktails, you start to notice side dishes.  It wouldn’t be Los Angeles, I suspect, without the ubiquitous kale salad.  These folks love their kale.  And when it’s not kale, it’s quinoa, toasted or steamed or boiled, getting cozy with vegetables or dried fruit or the lightest of vinaigrettes.  Sometimes, in a really ambitious nod to “California Cuisine,” kale and quinoa get combined in the healthiest, hipster-est, most trendy-bohemian side dish the world has ever seen.*

Food Blog September 2013-2636But the other side dish I’ve been noticing a lot lately, spurred along, no doubt, by the dozens of Chipotles lining every other street corner, is cilantro lime rice.  Whether it’s speckled with zest or dotted with the occasional herb fleck, or the bright green of a rice dish Sam I Am would be proud to serve alongside some huevos rancheros verdes, it shows up on so many menus that at some point I was bound to become either totally sick of it, or completely obsessed.

Food Blog September 2013-2631Clearly, my palate chose the latter.  I adore it.  At one of our current favorite Culver City haunts, my dinner choice is based on which dish comes with a side of cilantro lime rice.  I fall on the love side of the Great Cilantro Divide – I admit that there is a soapy quality to it, both in taste and in aroma, but it appeals to rather than repulses me – and lime is quite possibly my favorite citrus option.  These flavors paired with a fluffy, starchy, perfectly cooked scoop of rice are a side dish I would eat next to almost anything.

Food Blog September 2013-2633But the problem, as with most things I end up obsessed with, is that not all cilantro rice is particularly good.  The herbs are dull and flavorless, or the lime isn’t assertive enough, or the rice is mush, or I don’t want to pay for the accompanying $20-30 entree as often as I want the zesty side.  And so, as usual, I have to saunter into the kitchen to make my own.

Food Blog September 2013-2626I toyed around with some flavor combinations, playing with spices and vegetables and heat, and ended up with something so bright and tart and satisfying that we almost didn’t want the blistered corn quesadillas I’d made to go along with our rice.  This was fresh, and vibrant, and almost overloaded with lime and cilantro flavor – maybe my favorite rice side dish since my mom’s pilaf (which I’m convinced will never be topped).

Food Blog September 2013-2630Make this for your family.  Pair it with grilled fish or carne asada or stewed black beans or chile relleno.  And if you like it, let me know!  Maybe it can serve as my penance for the overly complicated, labor intensive loaf I pushed upon you last week.

* I’m not saying this is a bad thing.  I don’t have anything against kale or quinoa, and I agree that they are quite tasty together.  But then, I am a bit of a healthy bohemian type, though certainly not very trendy.  Which is why it’s taken me till now to fall for this dish…
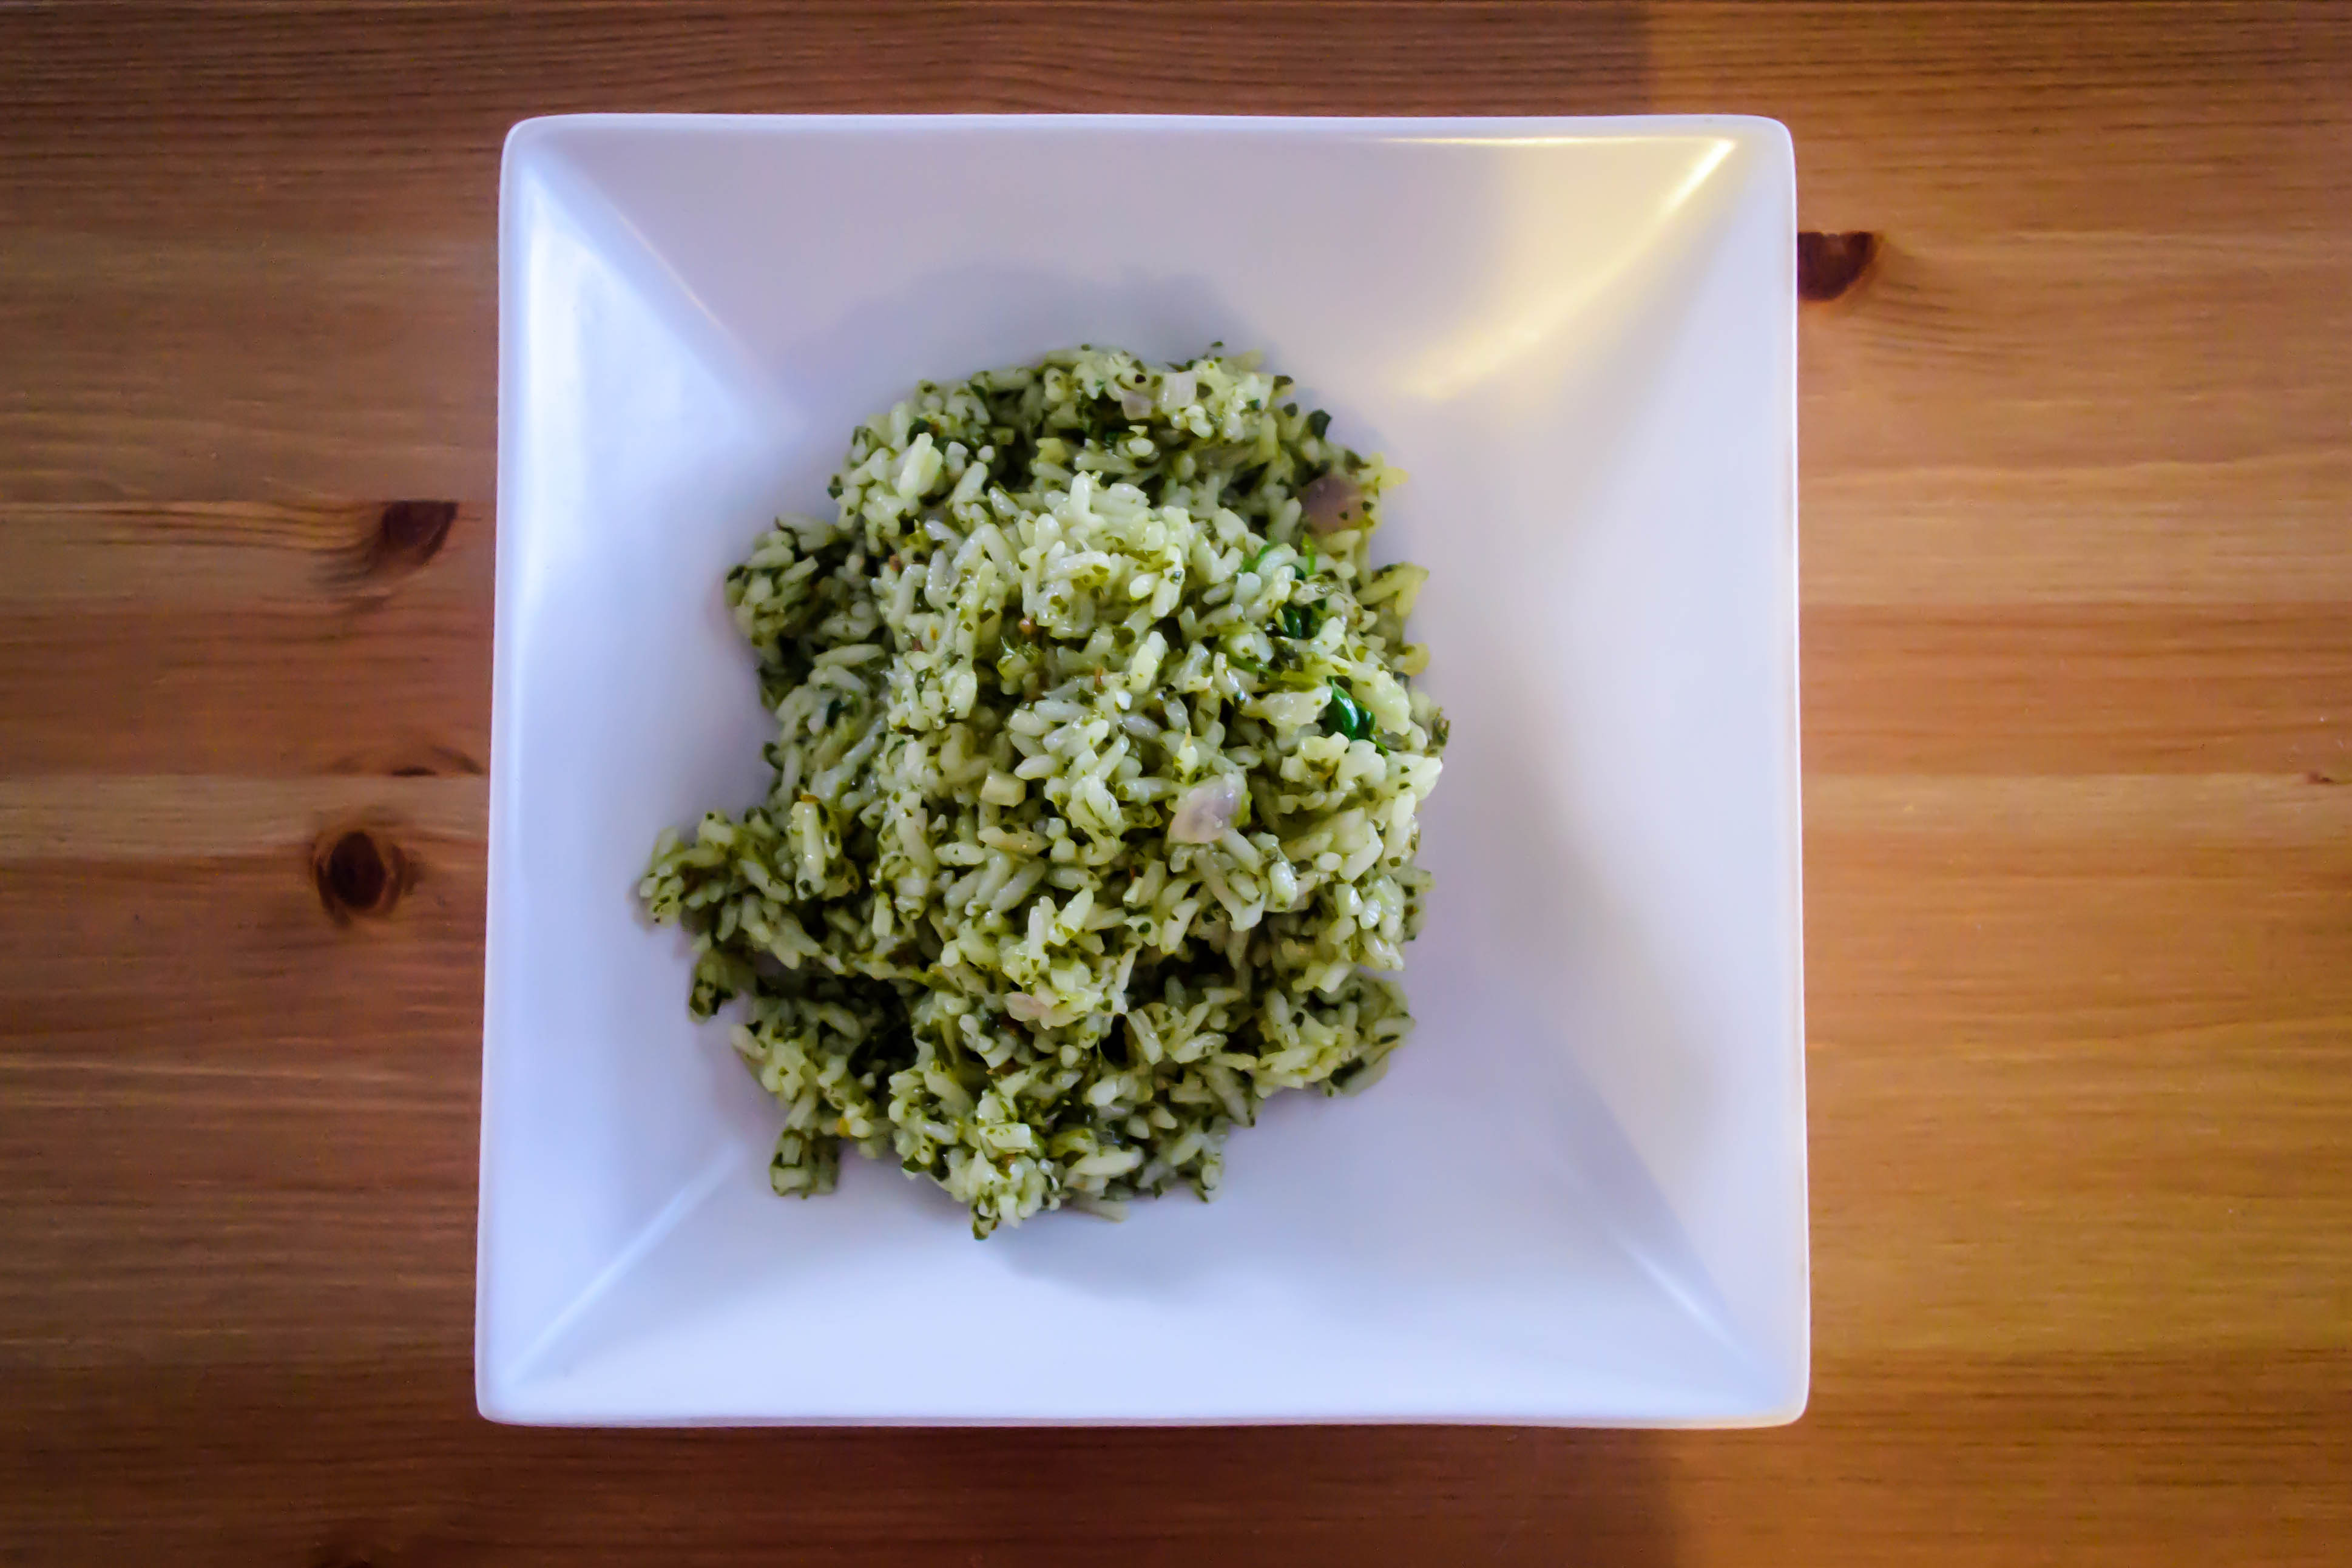
Food Blog September 2013-2638

Cilantro Lime Rice
Serves 6-8 as a side dish
¼ cup olive oil
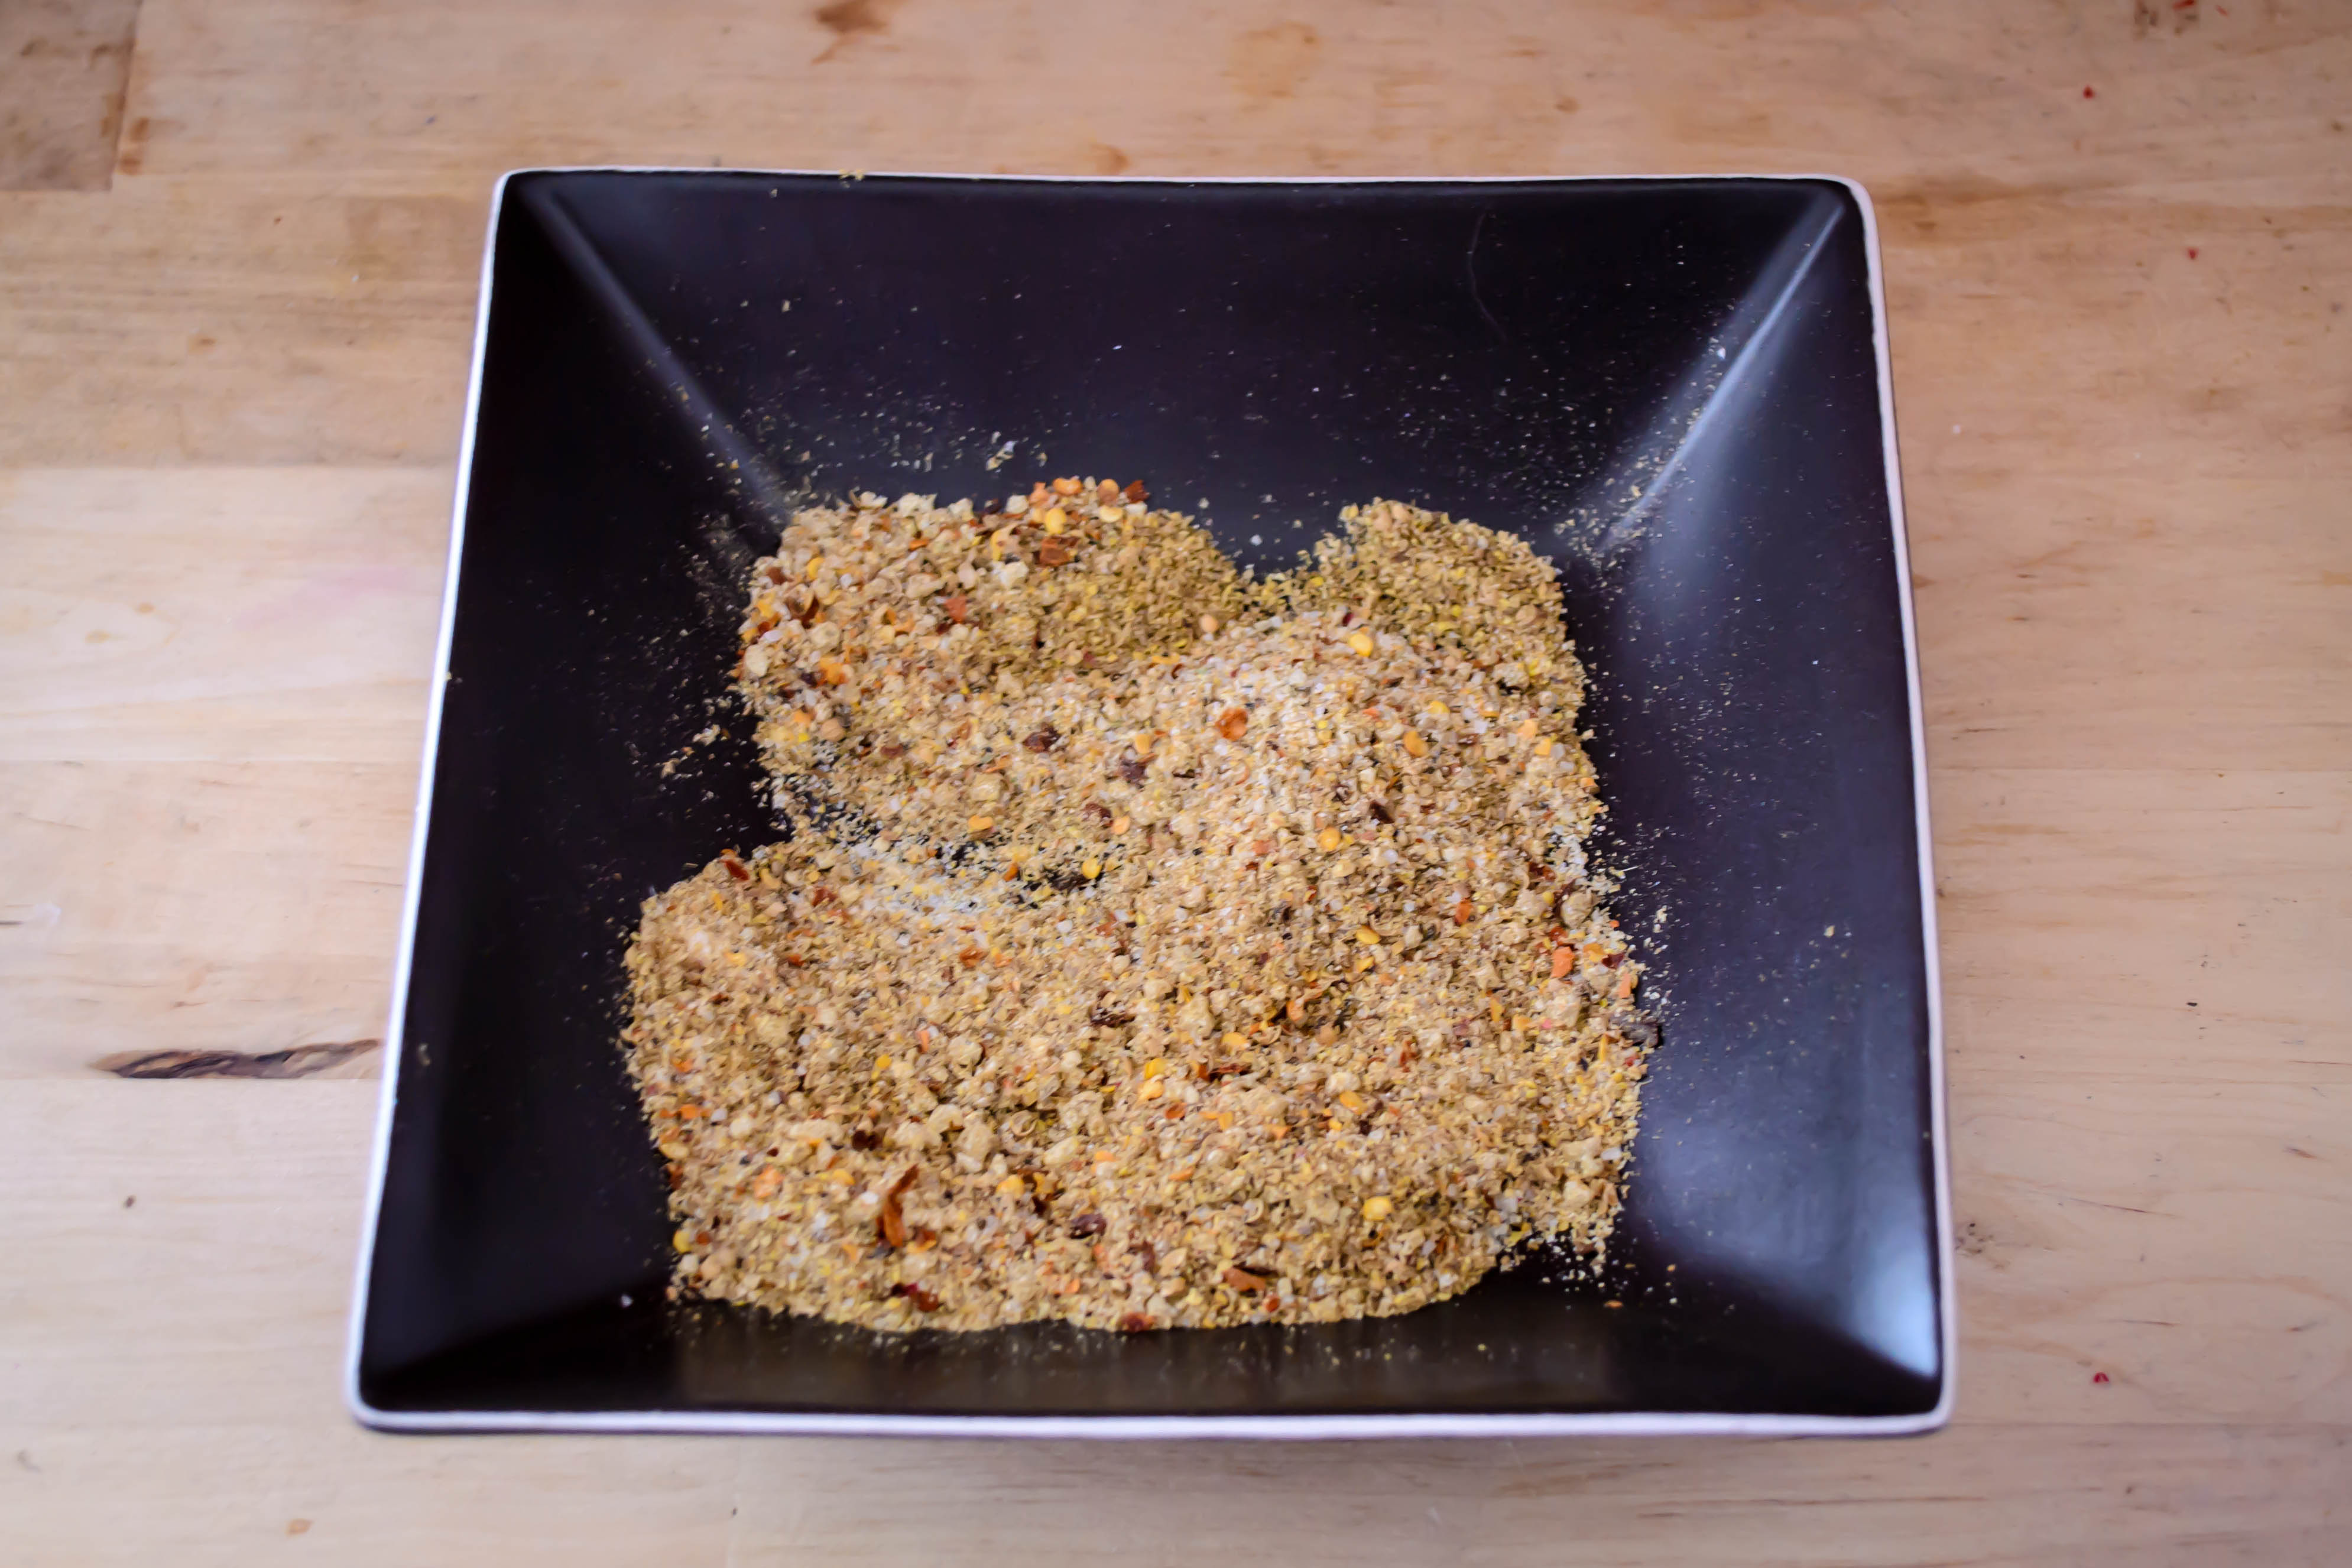
½ teaspoon whole cumin seeds
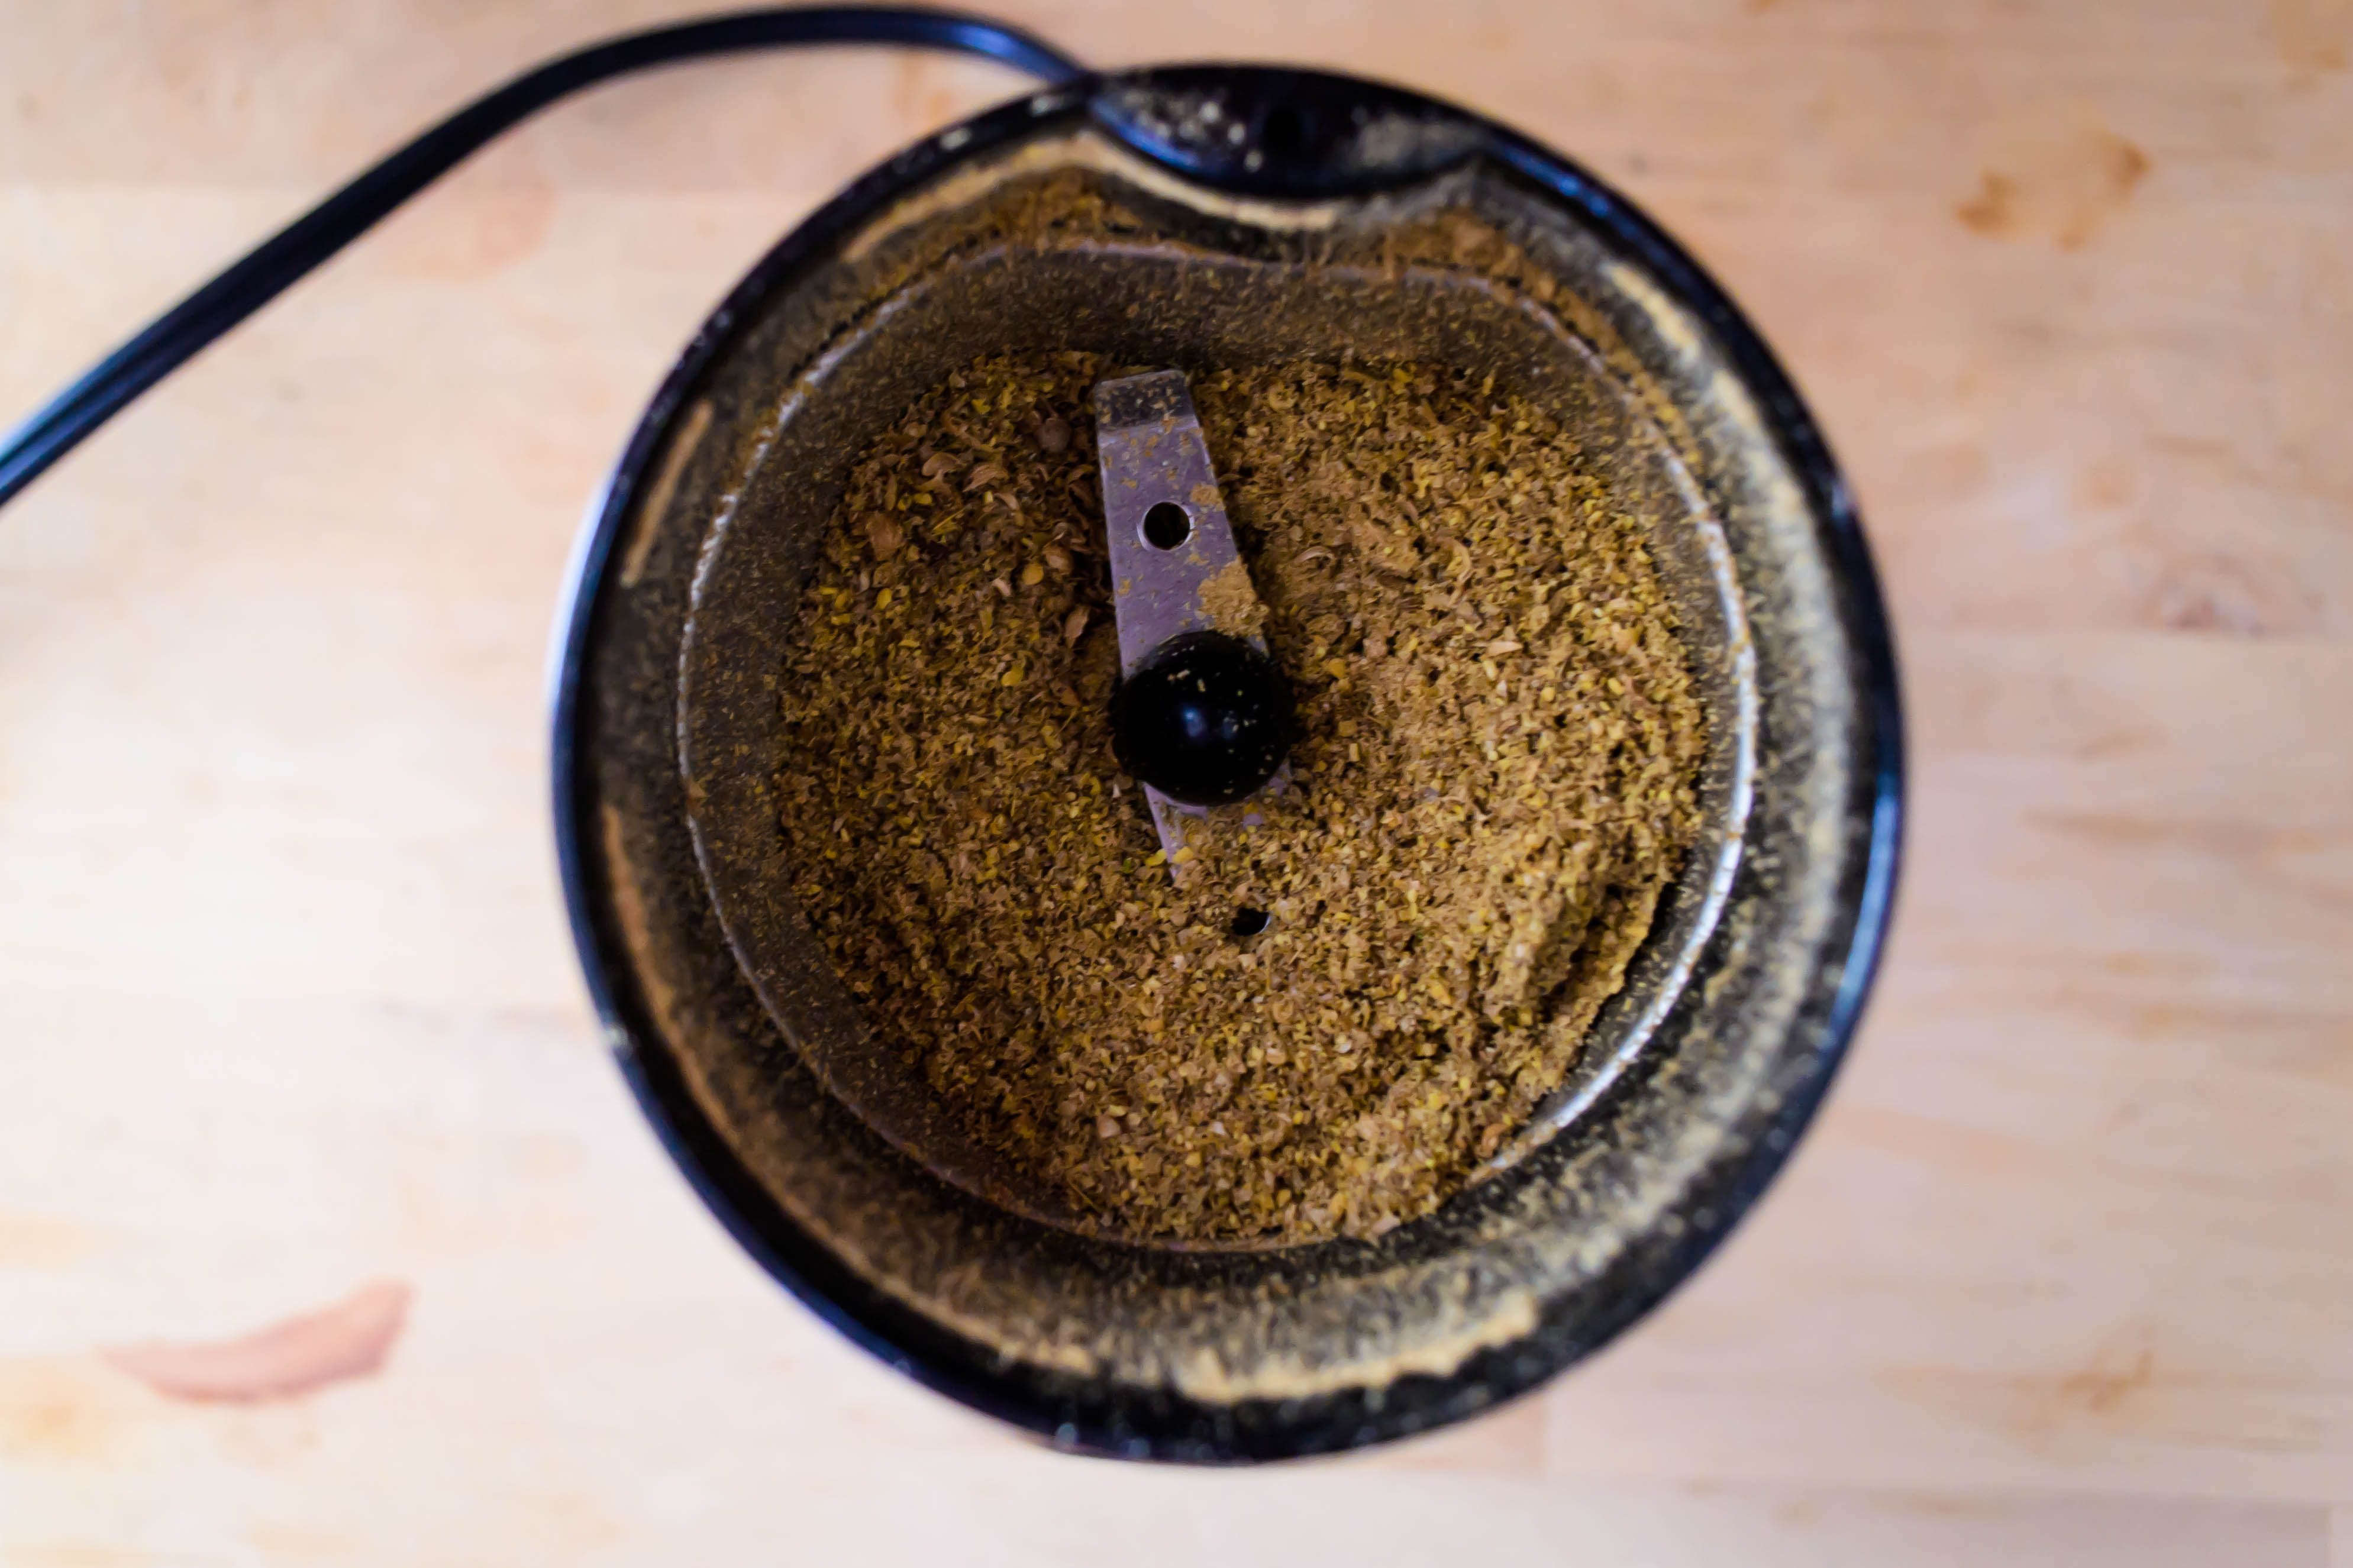
½ teaspoon coriander seeds, crushed in a spice grinder or with the side of a knife blade
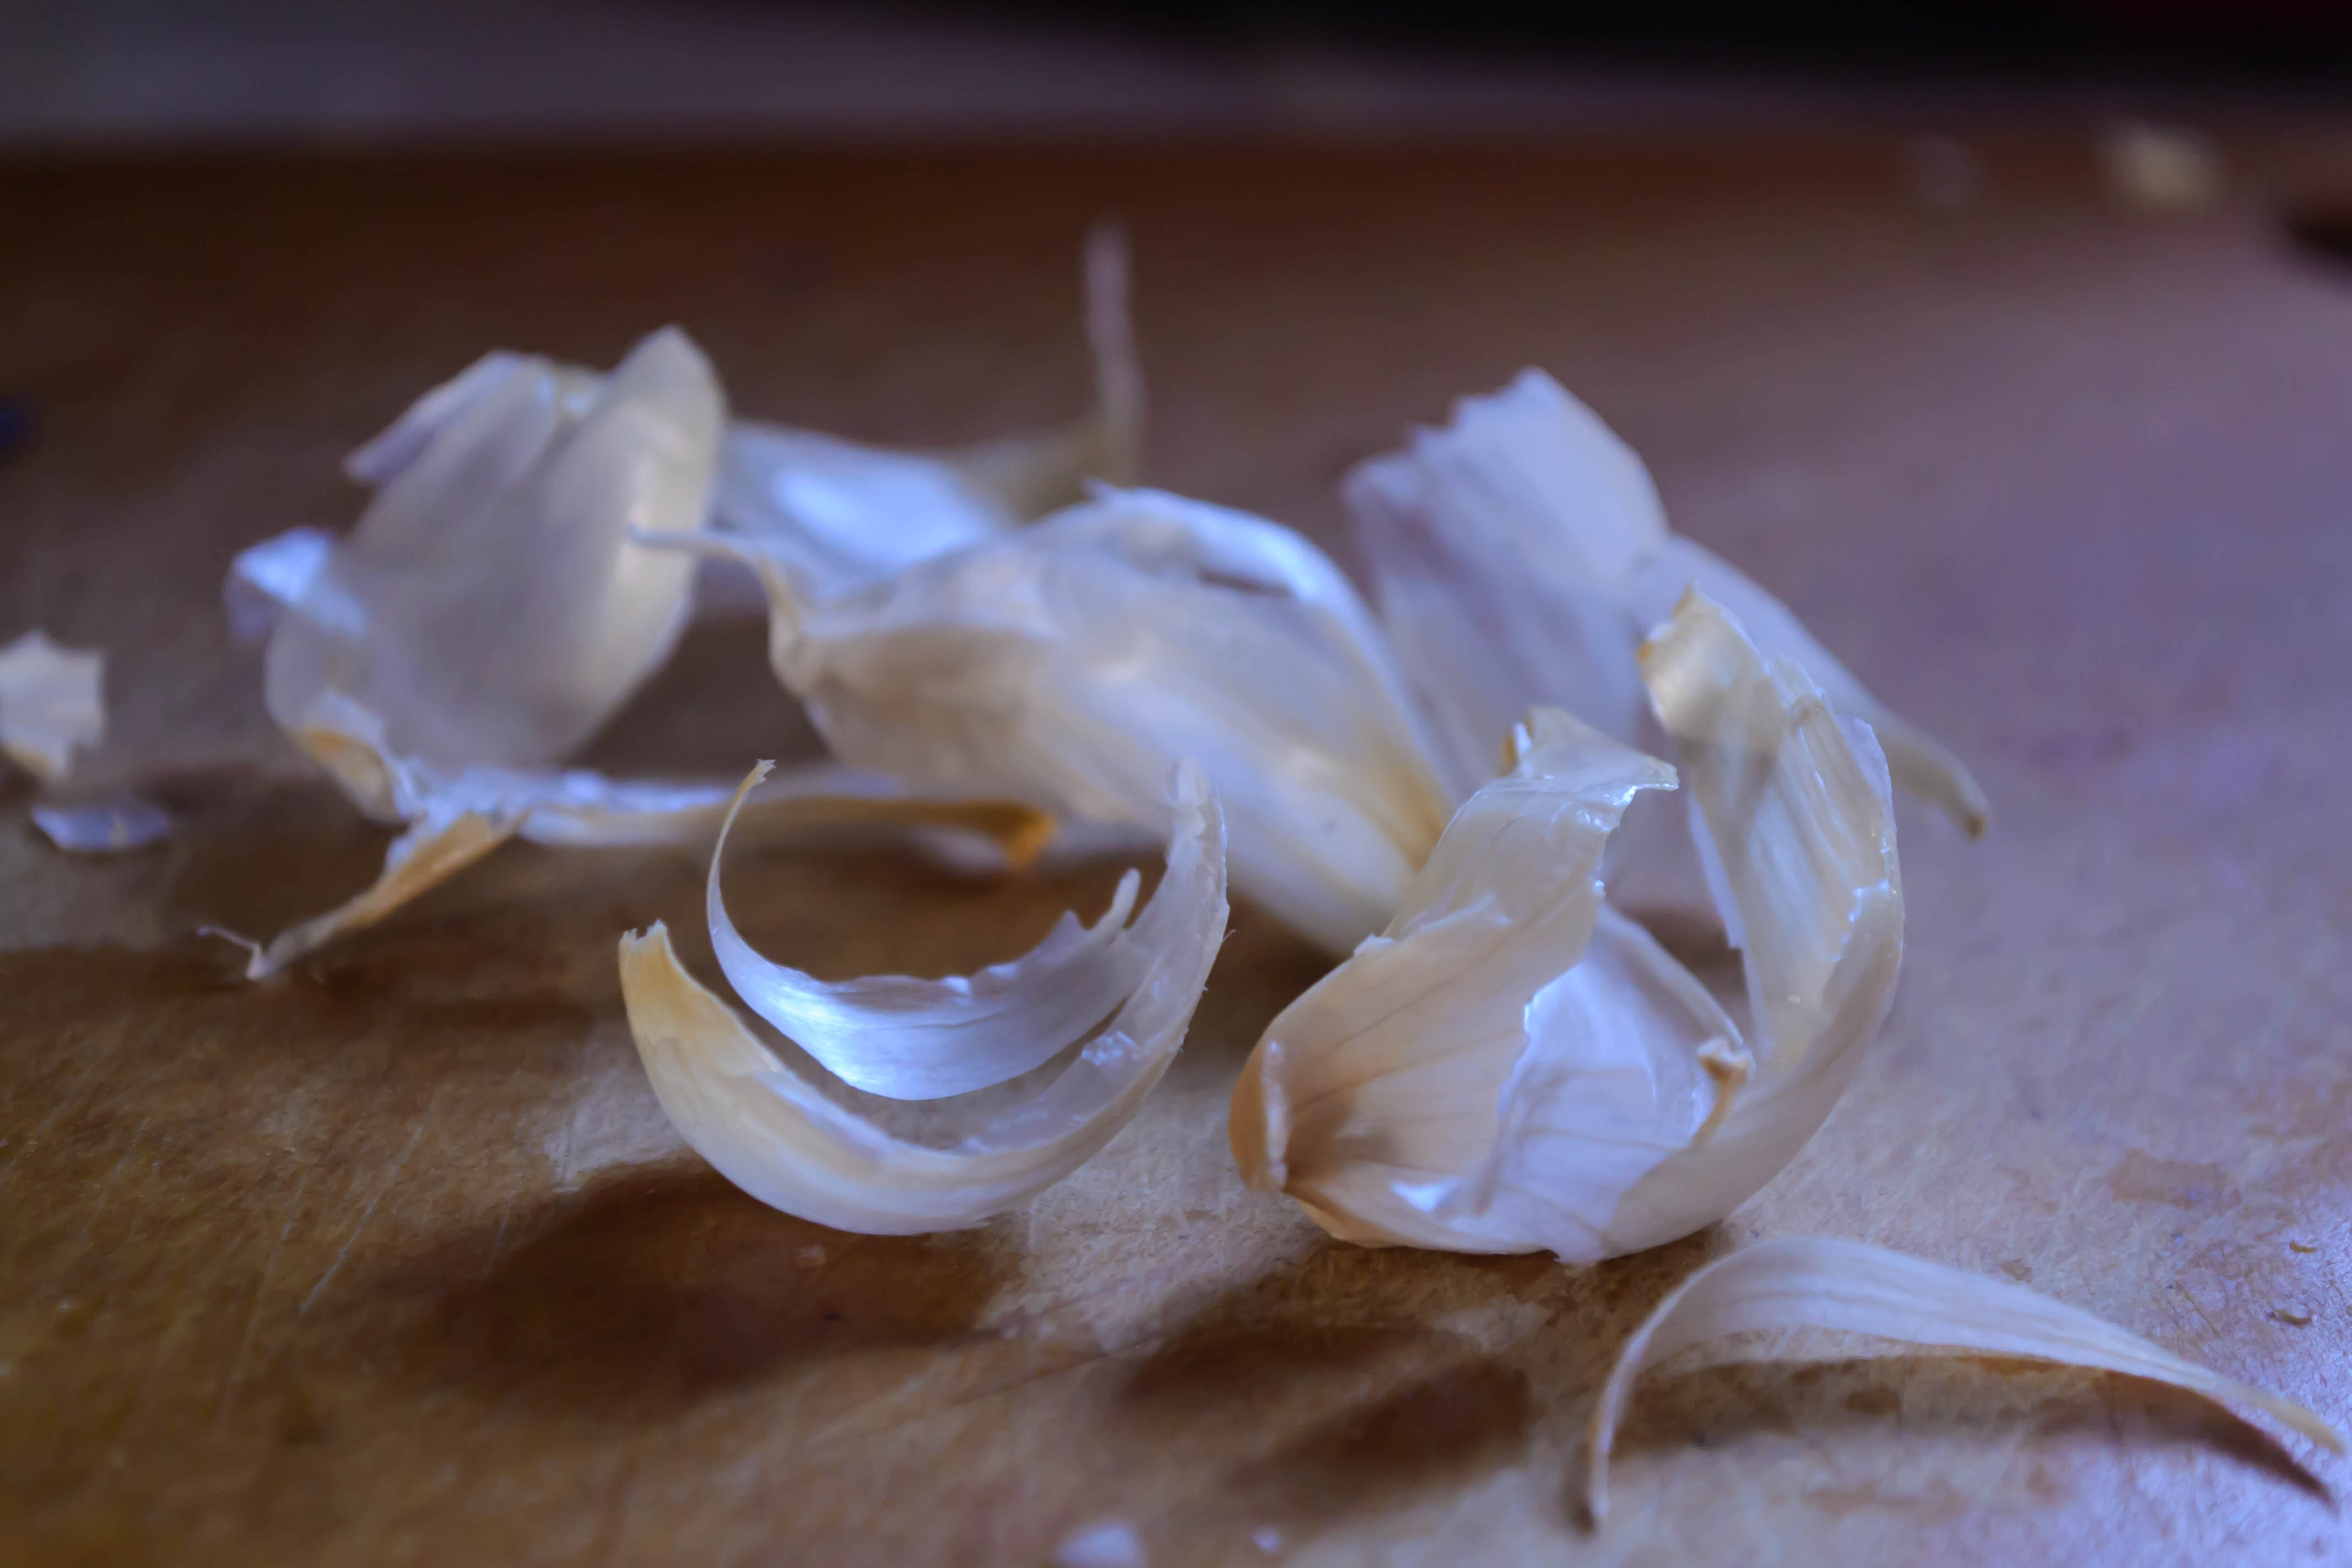
4 cloves garlic, minced
¼ – ½ cup diced onion (I used a red onion, but yellow or white would be fine too)
1 ½ cups long grain white rice
½ teaspoon salt
¼ teaspoon black pepper
3 cups low sodium chicken broth, vegetable broth, or water
2 bunches cilantro
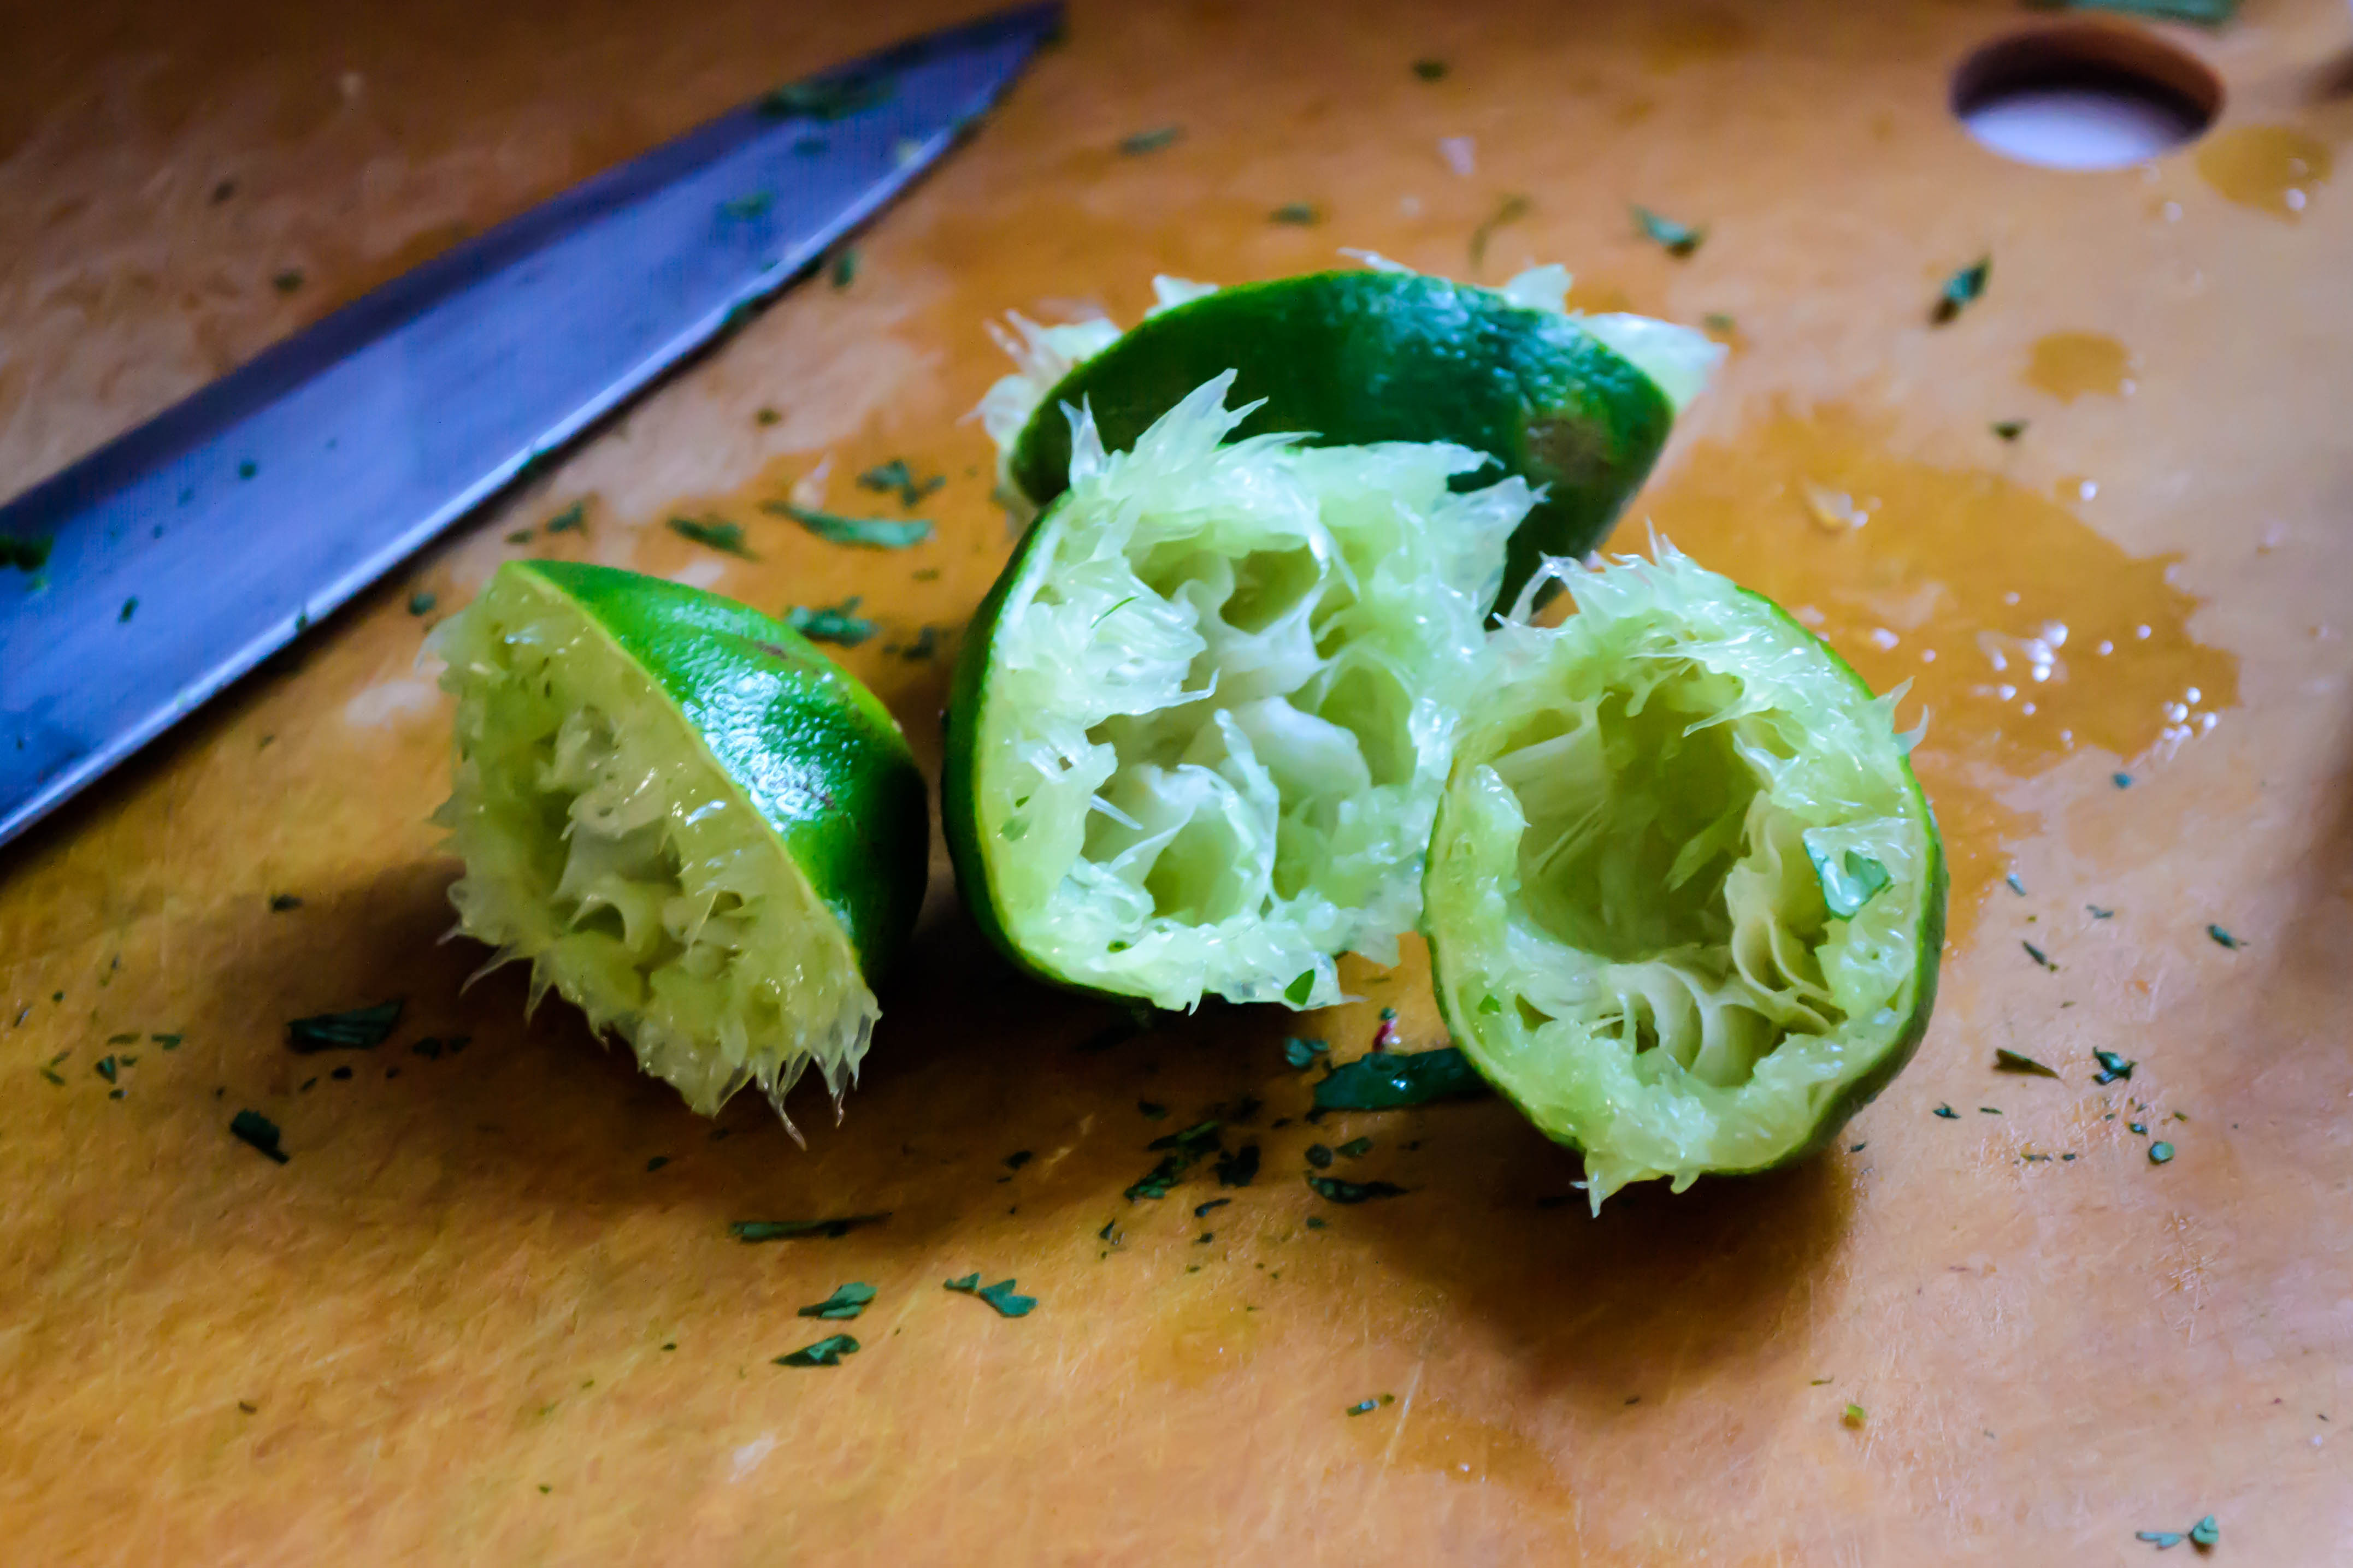
1 – 2 limes (using 2 whole limes results in a very strong lime flavor.  This was what I wanted.  If you want less or you aren’t sure, start with the juice from 1 lime and work up from there)
  • Heat the olive oil in a medium pot over medium heat.  When it is shimmering, add the cumin and coriander and turn the heat down to medium low.  Let the spices warm and release their aroma – this should take about 3-5 minutes (it will look like a lot of oil for just this little palm-full of spices.  Don’t worry.  We are using this for the vegetables and toasting the rice as well).
  • While the spices are heating up, prep your onions and garlic.  When the cumin and coriander smell toasty and begin to pop occasionally in the pot, add the onions and garlic and sweat them over medium low heat for 5-8 minutes. You want the onions to get translucent and the garlic to become aromatic, but not browned or crisp.
  • Add the rice and turn the heat up to medium high.  Let it sizzle, stirring frequently, until some grains of rice are opaque and bright white but some are still translucent and pale.  It will smell a bit reminiscent of popcorn or puffed rice, and that is a good thing.
  • When the rice is toasted, add the salt, pepper, and broth or water.  Stir well and cover to bring to a boil.  Once boiling, turn the heat down to medium or medium low and simmer for 15-18 minutes, or until liquid is absorbed and rice is tender but not mushy.
  • While the rice simmers, prepare the cilantro.  Tear or chop the leaves and tender upper stems from the tough ends and place in a blender or food processor (alternatively, if you don’t want the extra dishes or don’t mind big pieces of cilantro, you can just chop it up with a knife).  Add the lime juice and pulse in 3 second bursts until the herbs are very finely chopped and almost become a paste.
  • When the rice is done, uncover it, fluff it with a fork, and add the cilantro and lime juice mixture.  Combine thoroughly to ensure even greenness, then serve immediately.  Too much time between adding the cilantro and serving the rice will result in a less vibrant green color.

Pasta Puttanesca

At about age fourteen, I stopped being able to eat much tomato sauce. There was something about the combination of sugar and acidity in processed pasta or pizza sauce that left my stomach roiling uncomfortably and my taste buds dissatisfied. This made some dinners difficult: pizza had to be dissected, scraped mostly dry, and put back together. Spaghetti with marinara and meatballs was a thing of the past. Lasagna was off the menu. In many ways this was a good thing, because it introduced me to novelties like pesto and alfredo and, when they became popular, white pizza and fresh pasta sauce. To this day, I’d rather have my pizza crust drizzled with olive oil and rubbed with fresh garlic than drenched in tomato sauce. I rarely miss it because the alternatives taste so much better.

Food Blog September 2013-2618But sometimes you just want the tang of tomato with your pasta. Since the processed option was out of bounds (and really, I don’t use many pre-prepared items like that anymore anyway), I decided I’d have to make my own. I’m not sure what it says about me that my entrée back into the pasta-with-red-sauce scene was spaghetti alla puttanesca, which translates charmingly to whore’s style spaghetti, but there it is. Olives, capers, obscene quantities of garlic, anchovy paste, red pepper flakes, all cooked down with diced tomatoes into a robust, aromatic sauce. It’s my favorite red sauce these days, and since all of the ingredients are basically pantry staples, I usually have the supplies to make this at a moment’s notice.

Food Blog September 2013-2613A number of stories make up puttanesca’s history. It is attributed to Naples, and though it was probably invented in the mid 20th century as a use-what-you-have kind of dish, its colorful name has spawned a variety of other origin stories. In one version, this briny, sharp, attention-getting sauce was cooked in brothels near the docks, and the smell was so strong that it attracted customers, who came looking for a bite to eat and left having paid for something more. By extension, the aroma of the sauce gave these sad customers away to their wives, who knew by the smell of the ingredients where their husbands had been. Some versions of the story twist this around, attributing its invention to these anxious wives, who hoped the savory aroma would lure their husbands back home.

Food Blog September 2013-2615Puttanesca is typically a topping for spaghetti, but here I used gemelli – the delightfully chewy, subtly DNA-shaped twirls – because I like how much closer in size they are to the other ingredients. The texture thrills me as well and, if we’re honest, it’s easier to avoid the dangerous splatter of tomato sauce on my favorite tank top when I’m dealing with, well, basically anything but long fickle strands of spaghetti. My version also includes red wine, which I use to deglaze the pan after lightly, lightly browning the garlic with the anchovy and capers, and some sundried tomatoes for a bit of extra tang. You can add whatever combination of dried herbs you like – basil and oregano are both delicious – although oregano is probably the most traditional.

Food Blog September 2013-2622Pasta Puttanesca
Serves 4
2 tablespoons olive oil
6-8 cloves garlic, finely minced
¼ teaspoon red pepper flakes
2 teaspoons anchovy paste, or 2-3 anchovy fillets
2 tablespoons capers
¼ cup kalamata olives, roughly chopped if you like, or left whole
¼ cup sundried tomatoes, drained and roughly chopped
½ cup dry red wine
14.5 ounce can diced tomatoes
½ teaspoon dried basil or oregano
12 ounces dry pasta; we like gemelli, but spaghetti is more traditional for this sauce
Water and salt for the pasta
¼ cup chopped parsley


  • Add olive oil and garlic to a cold pan. Turn the heat on to medium, and slowly warm the oil and garlic together. This will flavor the oil and cook the garlic gently, so it doesn’t burn or become bitter.
  • When the garlic is dancing a bit in the warm oil, add the red pepper flakes, anchovy paste or anchovy fillets, capers, olives, and sundried tomatoes. Stir gently with a flat-bladed wooden spoon.
  • At this point, your garlic should be golden. Add the red wine all at once. It will sizzle madly. Use your flat-bladed spoon to scrape any bits that have adhered to the bottom of the pan back into the sauce you are now creating. This is deglazing the pan, and it adds incredible flavor.
  • Simmer for 5 minutes, to let some of the alcohol flavor cook out of the wine.
  • After 5 minutes, the quantity of wine will have reduced a bit, and the smell will be amazing. Add the diced tomatoes and the dried herbs and turn the heat down to medium-low.
  • Simmer for 30 minutes, stirring occasionally and gently.
  • While the sauce is simmering, cook pasta of your choice in salted water until just al dente.
  • When the pasta still has a slight bite to it, drain it, then add it to your sauce and stir or spoon it around gently to evenly distribute it through the sauce. Cook pasta and sauce together for 1-2 minutes.
  • Add parsley and serve. We like ours with a loaf of good bread, sometimes toasted, sometimes anxiously torn into pieces, to mop up any lingering sauce.

Fig and Brie Flatbread #TwelveLoaves September

When I was a kid, my parents made me cassette tapes from several Disney albums to listen to in the car.  I mean real albums: records.  45s and 78s, that spun, some wobbly and warping, on a turntable at a speed that, when I was much smaller, seemed unreal.  But the cassette tapes were for long car trips, and we all learned every word in every song (this wasn’t so bad, according to my parents, with the Disney songs.  One of the other tapes – a John Denver greatest hits album – wasn’t so lucky.  I requested it so many times that the tenuous black strip of tape got tangled in the player, and even after attempts to repair it by winding it manually back into the plastic casing, one day it mysteriously disappeared.  I’m still convinced that my dad, sick to death of hearing the plaintive desire for country roads to take us home, chucked it out the window).

Interestingly, one of my favorite songs from that collection was from a movie I’ve never seen: Disney’s The Happiest MillionaireThe song, “Fortuosity,” was a happy ditty about luck and opportunity, and “fortuitious little happy happenstances,” and I loved it.  It’s an idea that I like, and the song itself comes back to me every once in a while at random moments, most often when I think about the word “fortuitous,” with which the song obviously plays, and when I remember road trips with my family.

Food Blog September 2013-2570This is a long-winded way of introducing the idea that this week’s post, and this month’s Twelve Loaves challenge, aligned entirely by fortuitous coincidence.  Last week I asked N. to grill up some leftover pizza dough, which I smeared with double cream brie, nestled in some halved figs straight from the farmers’ market, and drizzled with barley malt syrup and sprigs of fresh thyme.  Then I checked the Twelve Loaves challenge only to see that September’s theme is Farmers’ Market food.  Fortuosity indeed.

Food Blog September 2013-2566The idea for this combination – creamy cheese, soft, sweet figs, and a hit of herby freshness, came from a party N. and I attended recently.  Our hostess, who works with N. (we should have them over soon, N., if you’re reading this…), had quartered some black mission figs, settled them in around a wedge of brie, and dosed both liberally with honey and thyme.  My spin was based on the desire to use more of the barley malt syrup I bought for last month’s bagel experiment, and the obsessive love we have for homemade pizza, which means there is frequently a ball of dough either in the fridge or in the freezer, hoping to be put to tasty use.

Summer 2013-2503

Visitor to our thyme bush. I named him Algernon, because he looked like he might be impersonating someone.

We loved this combination.  The barley malt syrup is a roastier contestant than, say, maple syrup, and was therefore a welcome balance.  It is sweet, but there is an almost bitter edge to its flavor – no doubt the malt part.  It is, in fact, just a lower grade extract than what brewers use for beer, so the darker component makes good sense.  Drizzled judiciously across the blistered surface of our cheese and fruit studded flatbread, it enhanced both main players.  Though Los Angeles played some mind games with me last week, cooling off just as I published a post asserting that autumn hadn’t arrived yet, it has warmed up again.  Since this flatbread cooks on the grill, it’s perfect for a warm evening when you can’t bear the idea of firing up the oven.  But if you don’t have a grill, and you’re willing to risk the house-heating power of indoor cooking, I’ve also included directions for the oven.  Food Blog September 2013-2574

Food Blog September 2013-2569
Fig and Brie Flatbread
Serves 3-4 as an appetizer; 2 as a main course
Directions for grilling adapted from Elizabeth Karmel and Bob Blumer’s Pizza on the Grill
12 oz. ball of pizza dough, purchased or homemade (I’m still working on perfecting my recipe; once it’s foolproof, I’ll post it for you)
Olive oil for stretching dough
6-8 fresh black mission figs, halved from stem to blossom end
8 ounces brie cheese, cut into thick slices
2 tablespoons barley malt syrup or your favorite honey
2 teaspoons fresh thyme leaves (in small sprigs is fine – the stems are tender enough to eat near the end of the sprig)
  • If your dough is in the refrigerator, remove it about half an hour before you intend to cook it and let it rest, unwrapped, on a lightly floured or oiled surface.
  • While the dough rests, preheat your oven or grill.  For a gas grill, this will take about 10-15 minutes with the burners set on high.  Once the grill has preheated, turn down the burners to medium.  For a charcoal grill, this will take a little longer – perhaps up to 30 minutes for the coals to begin turning gray.  For an oven, preheat to 500F (or as close to this as your oven will go!).
  • Once you’ve got your heat source preheating, prep your toppings.  Halve the figs, slice the cheese, pinch the thyme into individual leaves or small clumps.  This is all going to go pretty quickly once we start cooking, so you’ll want to be ready.
  • When the dough has rested, set a 9×13 inch glass baking dish bottom side up on your counter.  Rub the bottom (now facing upwards) with olive oil, then push and stretch your pizza dough out on the bottom of the dish so it hangs over all edges, creating a rustic but relatively even rectangle.  If it springs back or threatens to tear as you stretch it toward the edges of the dish, let it rest a bit longer and then try again.
  • Bring your dough, still on the bottom of the baking dish, out to the grill.  If the dough is sturdy enough to lift without tearing, pick it up by two ends and lay it across the grill grates, flopping the sides drooping below your hands toward the back edge of the grill, in the same motion you would use to swing a tablecloth over a table.  If the dough is not so sturdy, put some gloves on, and carefully invert the baking dish only an inch or so above the surface of the grill. The dough will slowly disengage and drop gracelessly onto the grill grates.  Once dough and grates are in contact, close the lid of the grill and leave it closed for about 3 minutes, or until the bottom side of the dough is well browned with nice grill marks.
  • Use a pair of long-handled tongs to transfer the flatbread to a pizza peel or a rimless baking sheet.  Use the peel or baking sheet to help you flip the rectangle of dough over and slide it back onto the grill, unmarked side down.  Close the lid of the grill and leave it closed for another 3-5 minutes, or until the whole thing is browned, marked, and nicely puffed.  I like the look of a few big airy blisters on the surface.
  • If you are using an oven, flop your dough onto a preheated pizza stone or the bottom of an oiled cookie sheet and bake for 10-12 minutes.
  • Once your flatbread crust is browned and blistered to your liking, transfer it from the grill or oven to your cutting surface.  Smear the whole top of the dough with the slices of brie cheese (I used the back of a spoon.  You could also use a spatula).  Nestle the figs in, spacing them evenly over the surface.
  • Drizzle the barley malt syrup over the top of the flatbread in a thin stream.  Don’t overdo it – the stuff is sweet.  You might not need the full 2 tablespoons.  You just want a light zigzag of caramel over figs and cheese alike.
  • Sprinkle on the thyme leaves, slice, and consume.

* You could, I suppose, top the dough either before cooking, if you are using the oven method, or immediately after flipping, if you are using the grill, and cook the toppings.  I didn’t do this, because I wanted the freshness of the figs, and knew the heat of the bread itself would be enough to melt the cheese.  If you choose to cook the toppings and you are using a grill, add the toppings after flipping, but turn off the burners on one side of the grill to create indirect heat, and cook your topped flatbread over the unlit burners for 7-10 minutes. This will allow the toppings to cook and the cheese to melt without burning the dough.

Vegetable Pakoras with Cilantro Mint Chutney

Why, I thought, as a rivulet of sweat coursed from neck to waist, do I insist on frying in the summer?  The instant read thermometer I was using to check the temperature of the oil sat next to the stove, registering 91F.  Normal people wait for summer and then anxiously stuff themselves on grilled meats, fresh salads, wedges of cool melon.  Foods that don’t make your back bead up.  But here I am, on my first real day of summer vacation, celebrating by standing over a pot of shimmering heat, making pakoras for lunch.

Food Blog June 2013-1613Maybe it’s a cultural thing.  I don’t mean the pakoras.  I mean frying.  Fried foods are a treat frequently enjoyed during the summer months; Americans + carnivals or county fairs = frying anything we can think of.  Depending on where you are in the country, corn dogs, funnel cake, hush puppies, twinkies, tortillas, even oreos, all get dunked into vats of hot oil and floated cautiously around until they transform into variously shaped clumps of deep, crispy gold.

So to bring summer traditions like sweating and eating fatty foods and looking at award-winning livestock and riding in twirling cars where the metal shrieks and you smell the grease with every turn into my own kitchen, I’m making pakoras for a weekday lunch?

Partly.  But not all.

I’ve talked before about my friend Ph., who even has a whole category on this little site dedicated to her (Phoebe-Phriendly, if you’re interested).  Ph. is gluten-intolerant, can’t eat dairy or tree nuts, and is no longer able to process corn or rice.  This makes cooking for her a challenge.  However, she is one of the reasons I started stretching my food boundaries and knowledge; we became close friends in graduate school, and I wanted to be able to make food that she could eat!  We got into a conversation in the comments of her blog the other day, and I brought up pakoras because she was playing with garbanzo bean flour.  She had never made them, so we decided I should come up with a recipe she could use.  That’s where you, my friends, luck out.

Food Blog June 2013-1603Pakoras are an Indian street food: assorted vegetables (or paneer, or bread, or apparently sometimes even chicken) dredged in a well-spiced batter of besan or gram flour (which is made with garbanzo beans) and water.  I added some baking powder to my mix as well, for fluff and lightness.  Most often the vegetables are cut into manageable pieces and dipped into the batter individually before they are fried, resulting in something I’ve been thinking about as essentially an Indian spiced tempura.*   Sometimes, though, they are cut into smaller pieces, tossed together in the batter, then levered carefully into the oil in chunky mixed fritters.  I chose the first of these methods for our lunch, so we could have the fun of mixing and matching which vegetables we crunched our way through.  We chose cauliflower, potatoes, and onions.  My favorite ended up being the cauliflower, while N. couldn’t get enough of the puffy potato slices.

Food Blog June 2013-1607Though they are eaten year round (depending on where you are), I discovered during my research about this delightful little snack that they are particularly popular during monsoon season, dipped into or sauced with a variety of chutneys, and served alongside a cup of chai.  This makes sense – a warm treat to enjoy when it is wet and booming with storms outside – and though the weather in my California kitchen is far (far, far, far) from identical, it is currently monsoon season in India, so it turns out this was, after all, a timely choice.

We had ours with a cilantro mint chutney – lightly spicy, fresh, grassy from the herbs, and bright from the addition of lime juice.  I’ve included that recipe here as well.

Food Blog June 2013-1610Pakoras are best served as hot as your mouth can handle them.  They are crispiest that way.  As they sit, the batter loses its magnificent crunch.  They are acceptable reheated in a 400F oven the next day, but, as with all fried foods (with perhaps the magical exception of a really good fried chicken), they are best eaten immediately.

Food Blog June 2013-1614Food Blog June 2013-1615Food Blog June 2013-1616

* I realize tempura is quite different: rice flour is typical, for one, and the liquid used is often carbonated water to make the batter even lighter.  But the essentials – vegetables coated in batter and fried – are the same.


Vegetable Pakoras and Cilantro Mint Chutney
serves 6-8 as an appetizer or snack, or 4 as an embarrassingly indulgent lunch
Pakora batter:
2 cups garbanzo bean flour (I used Bob’s Red Mill Gluten-Free mix, which is mostly bean flours)
2 cloves garlic, grated
1 small knuckle of ginger, grated (about a ½ inch piece)
1 tsp ground turmeric
1 tsp ground cumin
1 tsp ground coriander
¼ tsp cayenne pepper, or more to taste
1 tsp salt
2 tsp baking powder
1 cup cold water
  • Whisk together the flour, grated garlic and ginger, and all the spices until evenly combined.
  • Whisk in the water until a thick but smooth batter forms.
  • Set it aside for 30 minutes.  This is conveniently enough time to prep the vegetables, heat the oil, and make the chutney.
Pakora vegetables:
1 small head cauliflower, cut into bite-sized pieces
2 medium Yukon gold potatoes, sliced thin (1/8 inch slices seemed ideal)
½ large red onion, cut into chunks or thick rings
  • To prepare for frying, heat 1-2 quarts of oil (I used vegetable oil) in a large, heavy, steep-sided pot over medium heat, until it reaches about 350F.  Put on some closed-toed shoes to keep yourself safe, just in case you have drips or your oil bubbles over.
  • Working in small batches (5-6 pieces at a time), dip the vegetables into the batter, retrieve one at a time with long handled tongs and let the excess batter drip back into the bowl for a few moments before carefully lowering each into the hot oil.  They should sizzle as they are immersed, but not spit or foam up wildly.
  • Cook each batch of vegetables for 4-5 minutes, carefully turning each one halfway through the cooking time, until they are golden and crispy.
  • As each batch finishes, fish the pieces out one at a time and set them on a wire rack over a cookie sheet.  This will allow excess oil to drip off.  Salt them lightly as soon as they come out of the oil.
  • Take the temperature of the oil before adding a new batch of vegetables, to ensure that it returns to right around 350F, the optimal temperature for frying.
  • Continue until all vegetables are golden, crispy, and cooked!

Pakoras are best consumed as soon as they are cool enough for your mouth to handle.  As they sit, the batter gets soggy.  It’s still tasty, but not as triumphantly crunchy.

Cilantro mint chutney:
2 bunches cilantro, bottom 3 inches or so of stems removed
1 bunch mint, stemmed (you will be using leaves only)
Zest and juice of 1 lime
1 jalapeño, stem removed and sliced in half longitudinally (if you are concerned about the chutney being too spicy, remove some or all of the seeds and inner white membrane, where most of the heat is concentrated)
¼ cup water
2 TB olive oil
1 tsp garam masala
Salt to taste
  • Add all ingredients to a food processor and pulse in 3-5 second intervals until everything comes together as a loose, chunky sauce.  The resulting mixture should be thinner in consistency than a pesto, and will not remain emulsified for very long.
  • Scrape into a serving dish and eat with the pakoras.

Smoky Summer Spice Rub

Let’s talk about your spice cabinet.  No?  Okay, then let’s talk about mine.  I really started cooking when I moved to Oregon, and that first Christmas, coming back home to Northern California after three months of what seemed like non-stop rain, the gift I wanted more than anything else was a spice rack.  This, I was sure, would be the essential catalyst in my longed-for transition from college-graduate-experimental-cook to full-scale domestic goddess.  Mom and I went to kitchen store after kitchen store, looking for the right one.  It needed to hang, so it couldn’t be too big.  It had to have a fair number of bottles, but I wanted them empty, not filled, because I wanted to choose my own spices.  We finally found it in Cost Plus World Market, which was convenient, because it was immediately adjacent to their spice selection.  We picked out ten or twelve of the usual suspects, and then Mom said “okay, now turn around while I put it in the cart, and forget what you saw here,” which has, since the days of Santa Claus, always been our funny way of buying presents for each other in full view of the giftee.

Food Blog June 2013-1526This little spice rack worked fine, and hung proudly from a nail above my stove, until my spice requirements exceeded the twelve little bottles the shelves would hold.  Suddenly whole AND ground cumin were necessary.  Tumeric and cayenne and cream of tartar and even the dreaded pre-mixed pumpkin pie spice found their way into my kitchen and demanded homes.

So I’ve ended up with something I am going to guess looks familiar to many of you:

Food Blog June 2013-1529This is not a good system.  There, I said it.  It’s just not!  It holds the whole collection nicely, but it’s dark back there, and things fall over, and sometimes I don’t feel like digging around to see if I have any poultry seasoning, and then it’s Thanksgiving and I’m in a dark, cranky place and I think “screw this noise!” and buy a new bottle.  So then I have four.   What I really need, what I covet and dream about, is something like Aarti’s magnetic spice wall.

In the absence of space or motivation to build something that fancy, though, I stick with my system.  Every once in a while, I summon the courage and the patience to investigate the dark reaches of the cabinet, to get a sense of what’s in there, what needs replacing, and what deserves a space in my weekly menu.  The early days of summer are a good time to do this, because they offer a prime opportunity to make a smoky, spicy, aromatic rub for grilling.

Food Blog June 2013-1532Food Blog June 2013-1534I started with a recipe from Fine Cooking originally designed for beer can chicken, and then I tweaked and adjusted and adapted for what was, as you might have guessed, in my spice collection.  It’s got cumin, it’s got crushed red pepper, it’s loaded with garlic powder and mustard seeds and sea salt and just a hint of ginger for an intriguing and different kind of heat.

Food Blog June 2013-1535This is a tasty rub for grilled meat, obviously (we like it for chicken, patted on before a liberal slather of equal parts Dijon mustard and apricot jam), but I think it would also be great on slabs of pressed tofu, or buttered corn, or potato wedges (you make your steak fries on the grill in the summer, right?).  And if you were really feeling adventurous, you might even add some to a light, lemony vinaigrette to carry the flavors through your side salad.

Food Blog June 2013-1540This recipe makes enough for several applications, which means you’ll have enough to last part of the summer.  It keeps well in a sealed zip top bag.  And in between grilling, you can just store it… in… your spice cabinet.  Oh.  Well, just jam it in at the front, for easy access.  Maybe it will help you forget the mess nightmare treasure trove behind it.  Plus, it’s got so many tasty flavors in it, you surely won’t need anything else for the rest of the summer, right?  Right.

Food Blog June 2013-1542Happy grilling!


Smoky Spice Rub
Adapted from Fine Cooking Magazine
Makes about ¼ cup
2 tsp cumin seeds
1 tsp mustard seeds
1 tsp coriander seeds
1 TB coarse sea salt
2 tsp garlic powder
1 tsp crushed red pepper flakes
1 tsp freshly ground black pepper
½ tsp ground ginger


  • If you are feeling especially ambitious, toast your cumin, coriander, and mustard seeds in a small, dry pan over medium-low heat for 5 minutes, or until the cumin starts to pop a bit and look just a touch oily.  Once that has happened, turn the heat off and let cool before moving on.
  • If you are feeling lazy less ambitious, skip the toasting step and put the cumin, coriander, and mustard into a spice grinder (or your husband’s coffee grinder.  If there’s a little residual ground coffee in there, all the better!  Extra shot of flavor you didn’t have to work for!) and pulse until the seeds become a fine powder.
  • Mix together ground seeds and all remaining ingredients in a small bowl or, if you are lazy especially efficient, the zip-top bag you’ll be using to store your mix in.
  • Ta-da!  Apply liberally, patting and massaging for good coverage and adhesion, to whatever you’ll be grilling for a smoky, slightly spicy kick.