Family Dinner

This week, on this day, Shauna from Gluten-Free Girl and the Chef is hosting a dinner party.  She, and the Chef himself, and their dancing daughter, are celebrating their new book: Gluten-Free Girl Every Day, and have asked folks to talk about family dinner, and what it means to them.

Remains of biscottiI grew up in an almost ridiculously normal (whatever that means) American household.  One mom, one dad, one sister, one dog, northern European ancestry, middle class.  That meant 3-part plates at dinner time: meat, starch, veg almost every night.  Sometimes the meat was grilled, sometimes baked, rarely fried.  The vegetables and starches were wide in variety and the casseroles, while present, were an occasional item.  We weren’t from the Midwest – in fact, of all the places I’ve lived in my life I’ve never had a home in that wide, grain-covered middle expanse of the United States – but we certainly could have been.

Looking back on them now, I love those family dinners, but I’m not sure I did then.  The food my mom cooked was good, but I wasn’t ready to notice it yet.  Dinner was dinner.  My sister and I always drank milk – sometimes white and foamy and cold, sometimes overdosed with chocolate syrup, sometimes with straws – until we both developed lactose intolerance.  Milk was replaced with juice, or water, or, as we got older, a glass of wine.  What grownups we felt like, sipping wine at the dinner table with Mom and Dad!

Dinner was, when I was young, a time to be together as a family.  Each of us took a turn spoke about the events of the day.  I found this part of the routine boring.  I loved my parents, but the meetings and conferences they described were not my cup of tea, and not what I was interested in hearing about.  Neither, much to my mom’s dismay, was I particularly invested in sharing my own daily experience.  I remember vividly her attempts to eke out details about my day at school: “what was your favorite part?”  My answer was usually a single word, or even a single syllable.  “Lunch.”  School just wasn’t thrilling enough to talk about.

frame it?When I was a senior, my dad was transferred to another part of the state.  My parents, bless them, didn’t want to tear me away from my last year of high school, so my dad rented a room in a suburb near his new office and came home every other weekend.  My mom was an elementary school teacher, and to lighten her load a bit, cooking dinner once a week became one of my tasks.  It turned out I much preferred this to my other chores, which included mowing the lawn and taking the trash bins down to the curb on garbage day.

My early attempts at dinner were, as you might expect, far from gourmet.  My Nana sent me a cookbook – The Complete Guide to Country Cooking – and a subscription to Taste of Home magazine, and I stubbornly stuck to these sources when it was my turn to invade the kitchen.  Why I wasn’t willing to defer to Mom’s collection of cookbooks I can’t begin to imagine.  Teenager-itis, I suppose, and maybe a feeling of needing to define “my” cooking against hers – Country Cooking was my repertoire.  This led to somewhat disjointed meals: I remember making something called “Peachy Ham Slice” and, minutes before the dish was ready to serve, realizing that I should probably include a few side dishes.

When I return “home” to my parents’ house, a house I didn’t grow up in, dinner is like a party.  Mom and I plan a menu with at least one fancy item.  It might be seared ahi, dressed with a mango and avocado salsa.  It might be couscous spiked with coconut flakes and toasted almonds.  It might even be the dessert, which as kids usually meant a small container of fruit flavored yogurt, but now could range from chocolate cake smothered in ganache to crisp, toasty biscotti.  We break out the tablecloth.  We set the dining room table with cloth napkins and balloon-bulbed wine glasses.  Dinner is an occasion.

IMG_5429But when it’s every day, when it’s in my own home, with my own little family (just N. and Lucy and me), dinner is different.  We are tired.  N.’s job is demanding.  On a regular weeknight, dinner means curling on the couch with lap-desks, plates positioned just so, and turning our brains off for a while as we watch an episode of Top Gear (the BBC version only, please), or Arrested Development, or even, perversely, Kitchen Nightmares.  Our forks work mechanically until our bellies sigh with contentment.  This isn’t fancy dinner, but it’s home, and it’s comfort, and it’s now.  If our family ever gets bigger, I want our child or children to have the same dinner experience I had with my parents and my sister: talking around the table, music in the background, together.  But that’s for someday.

Holidays 2012-0127
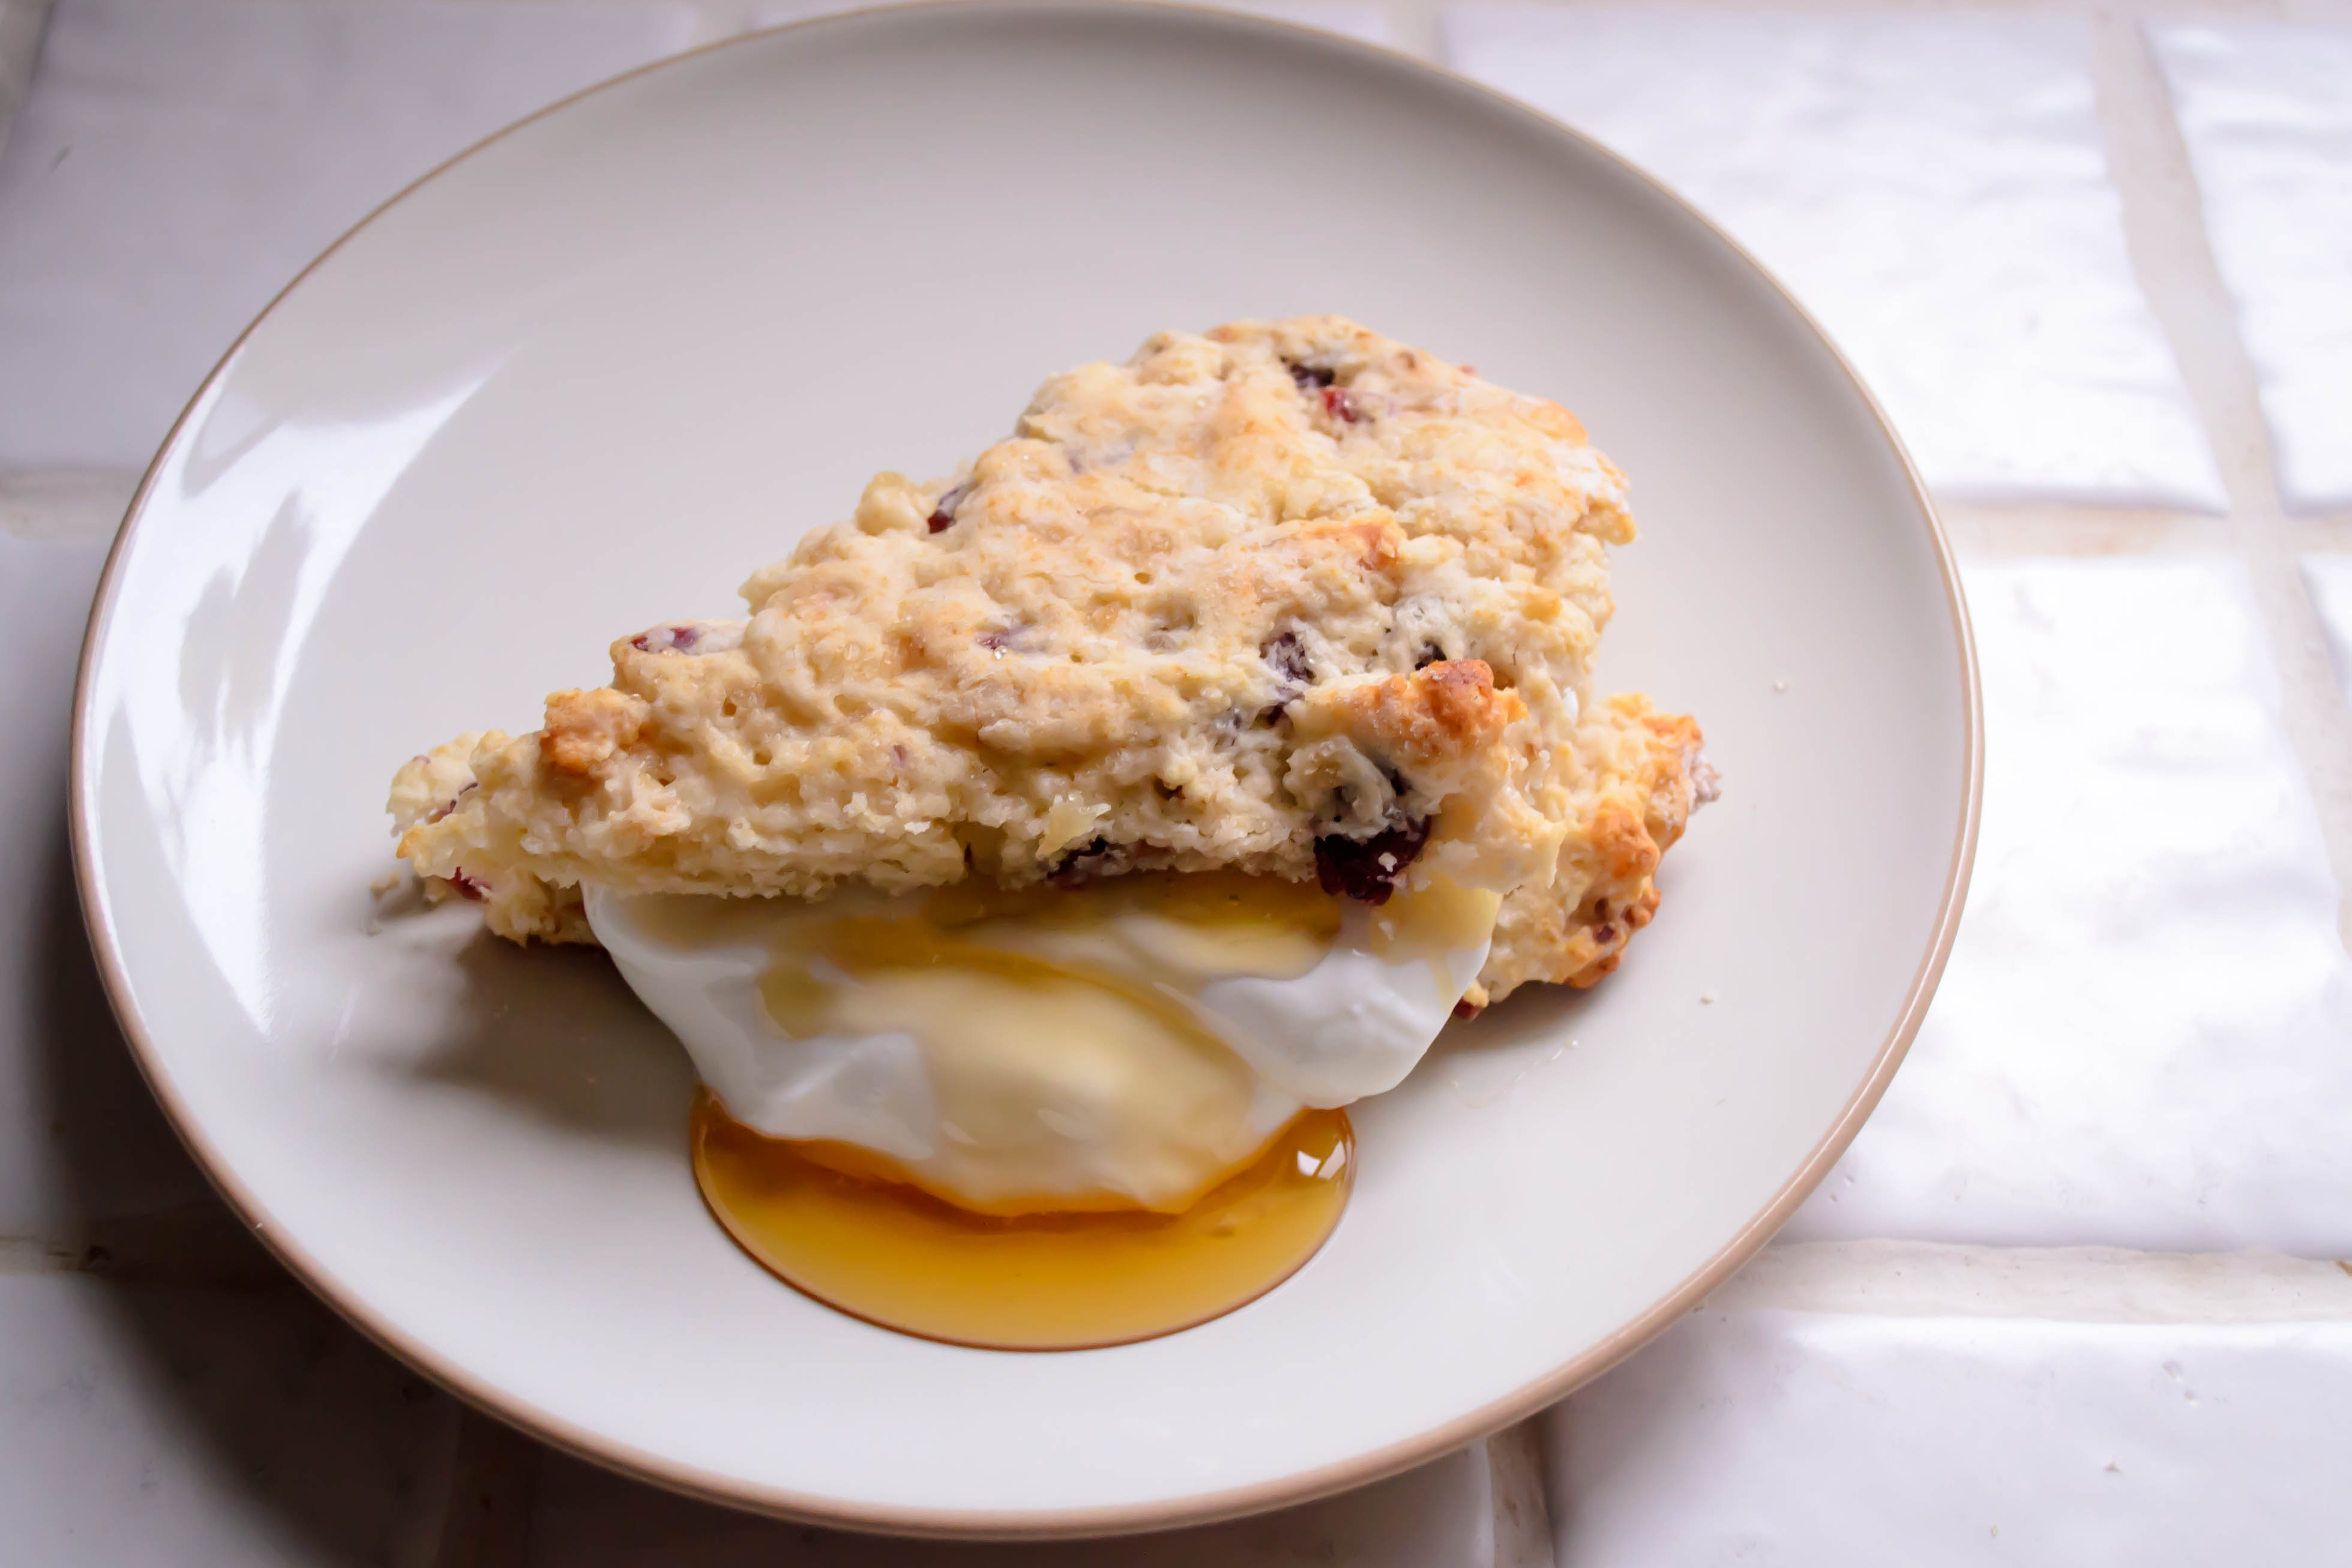
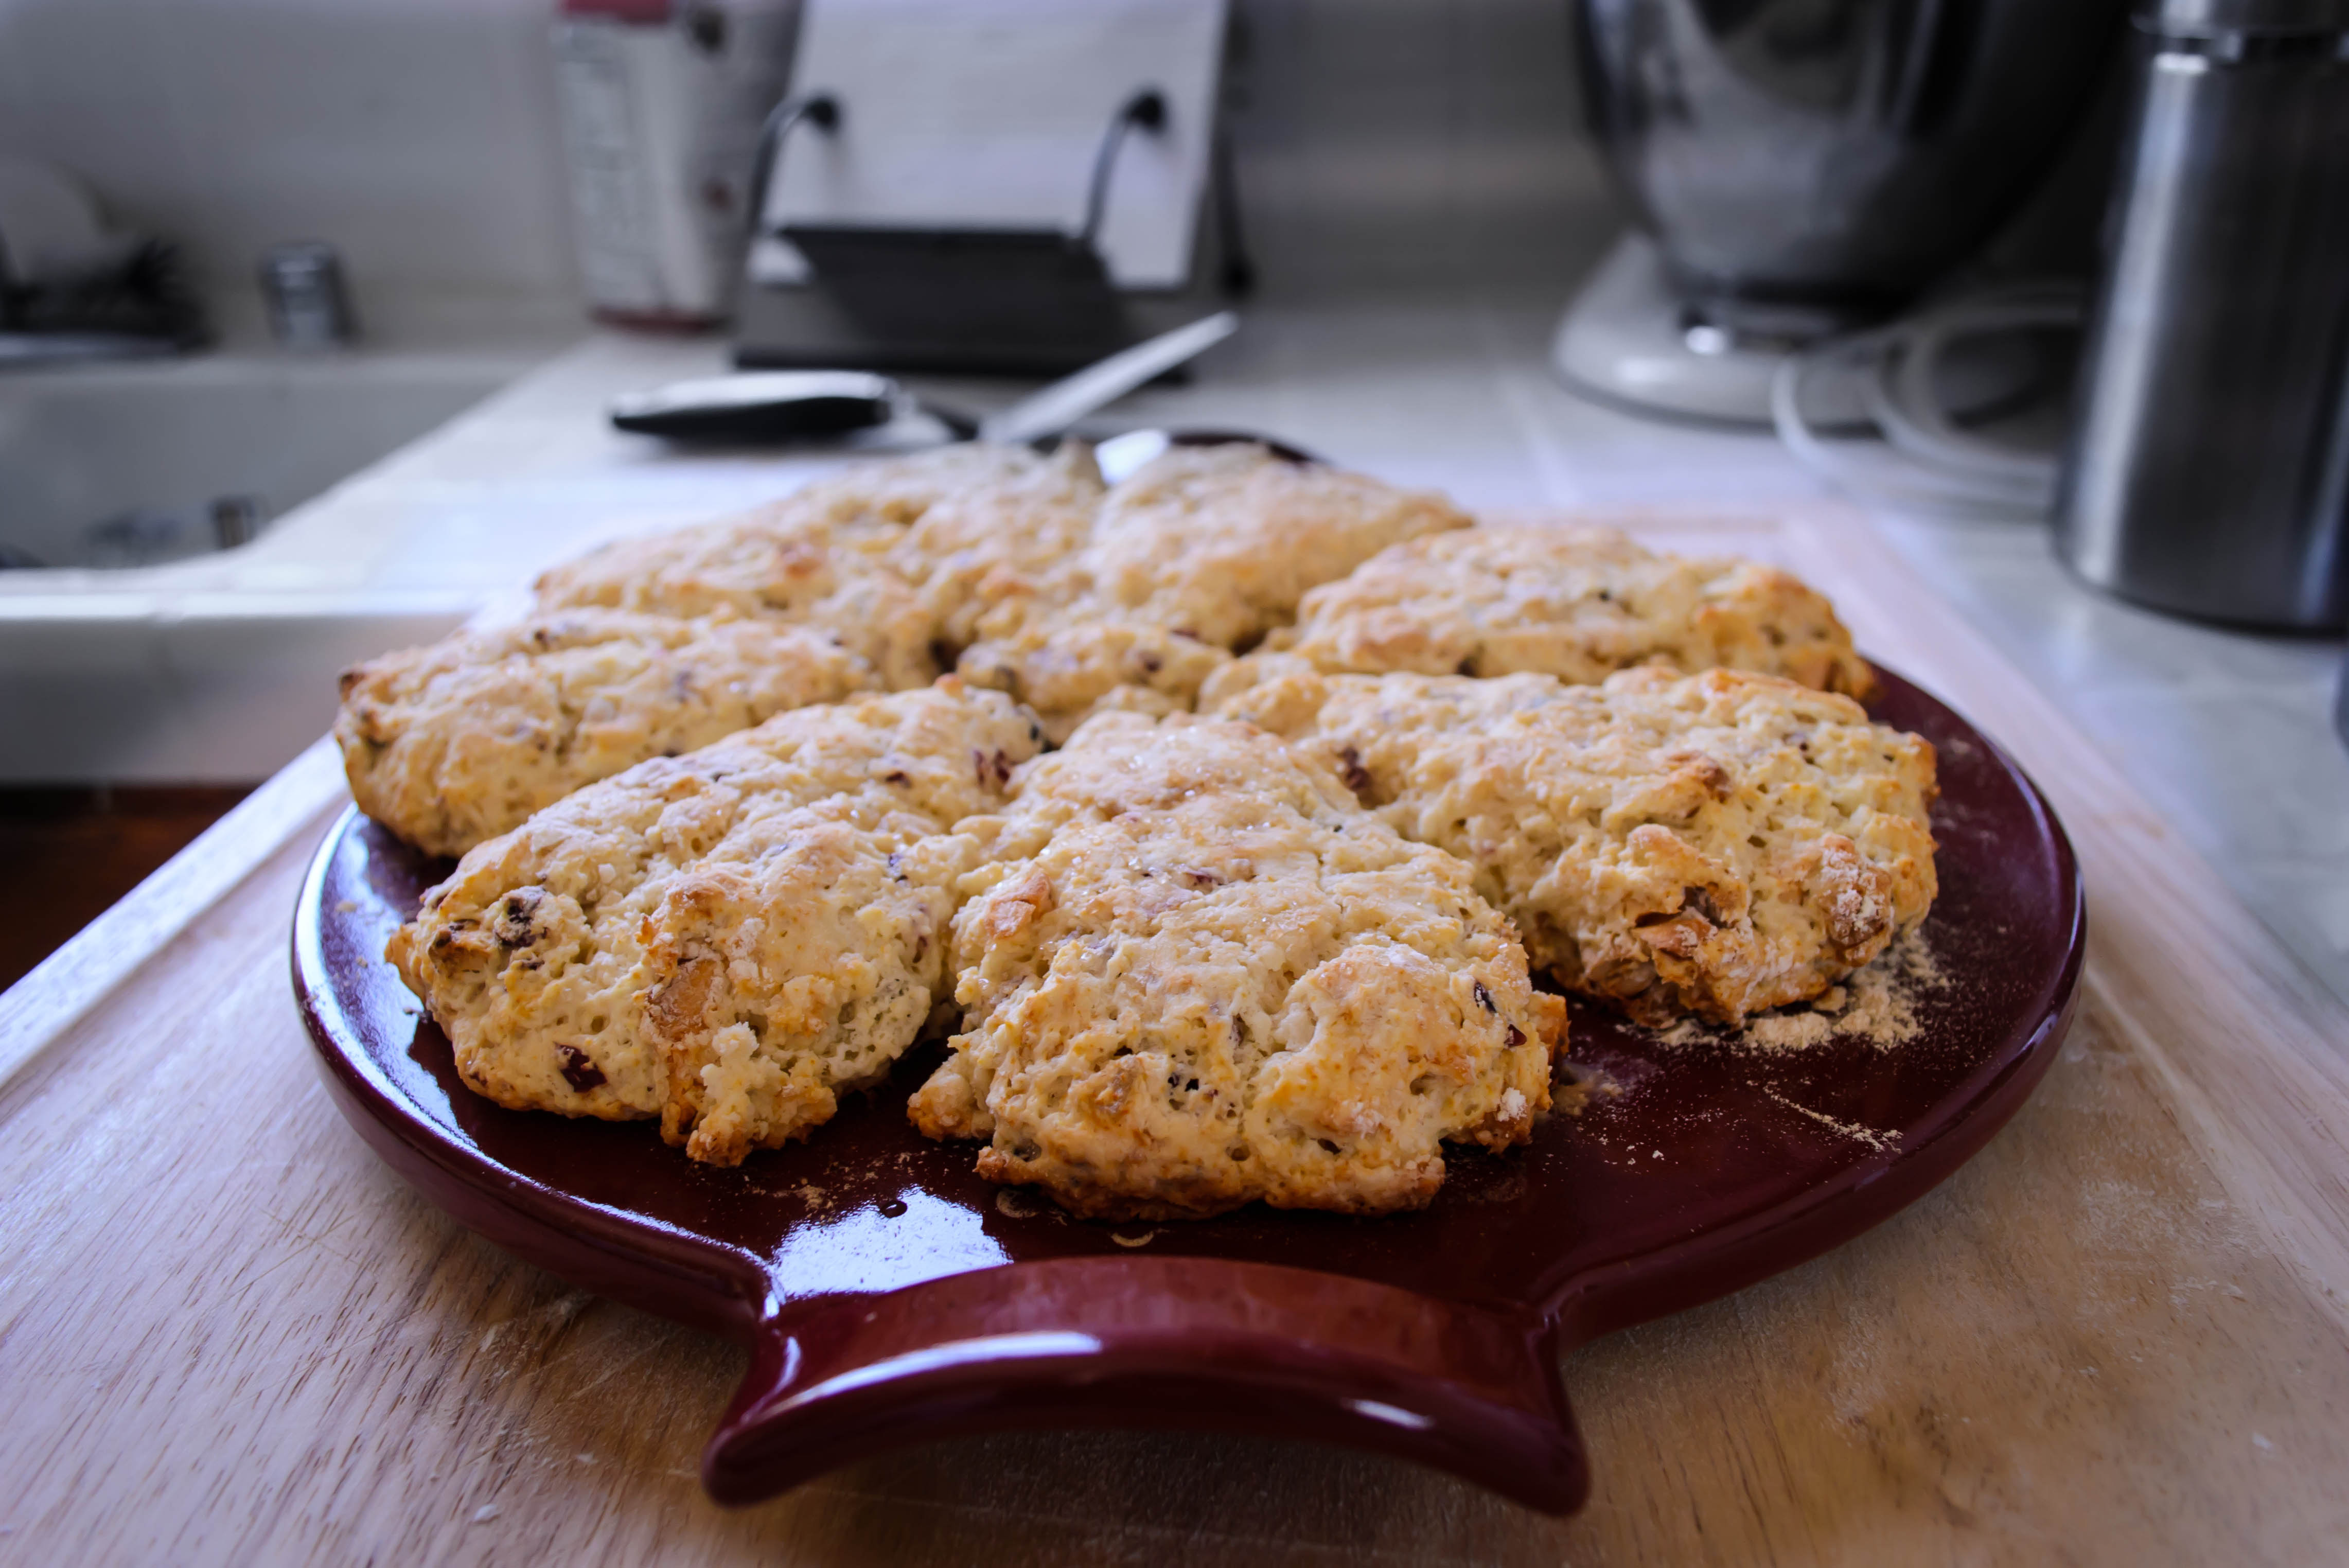
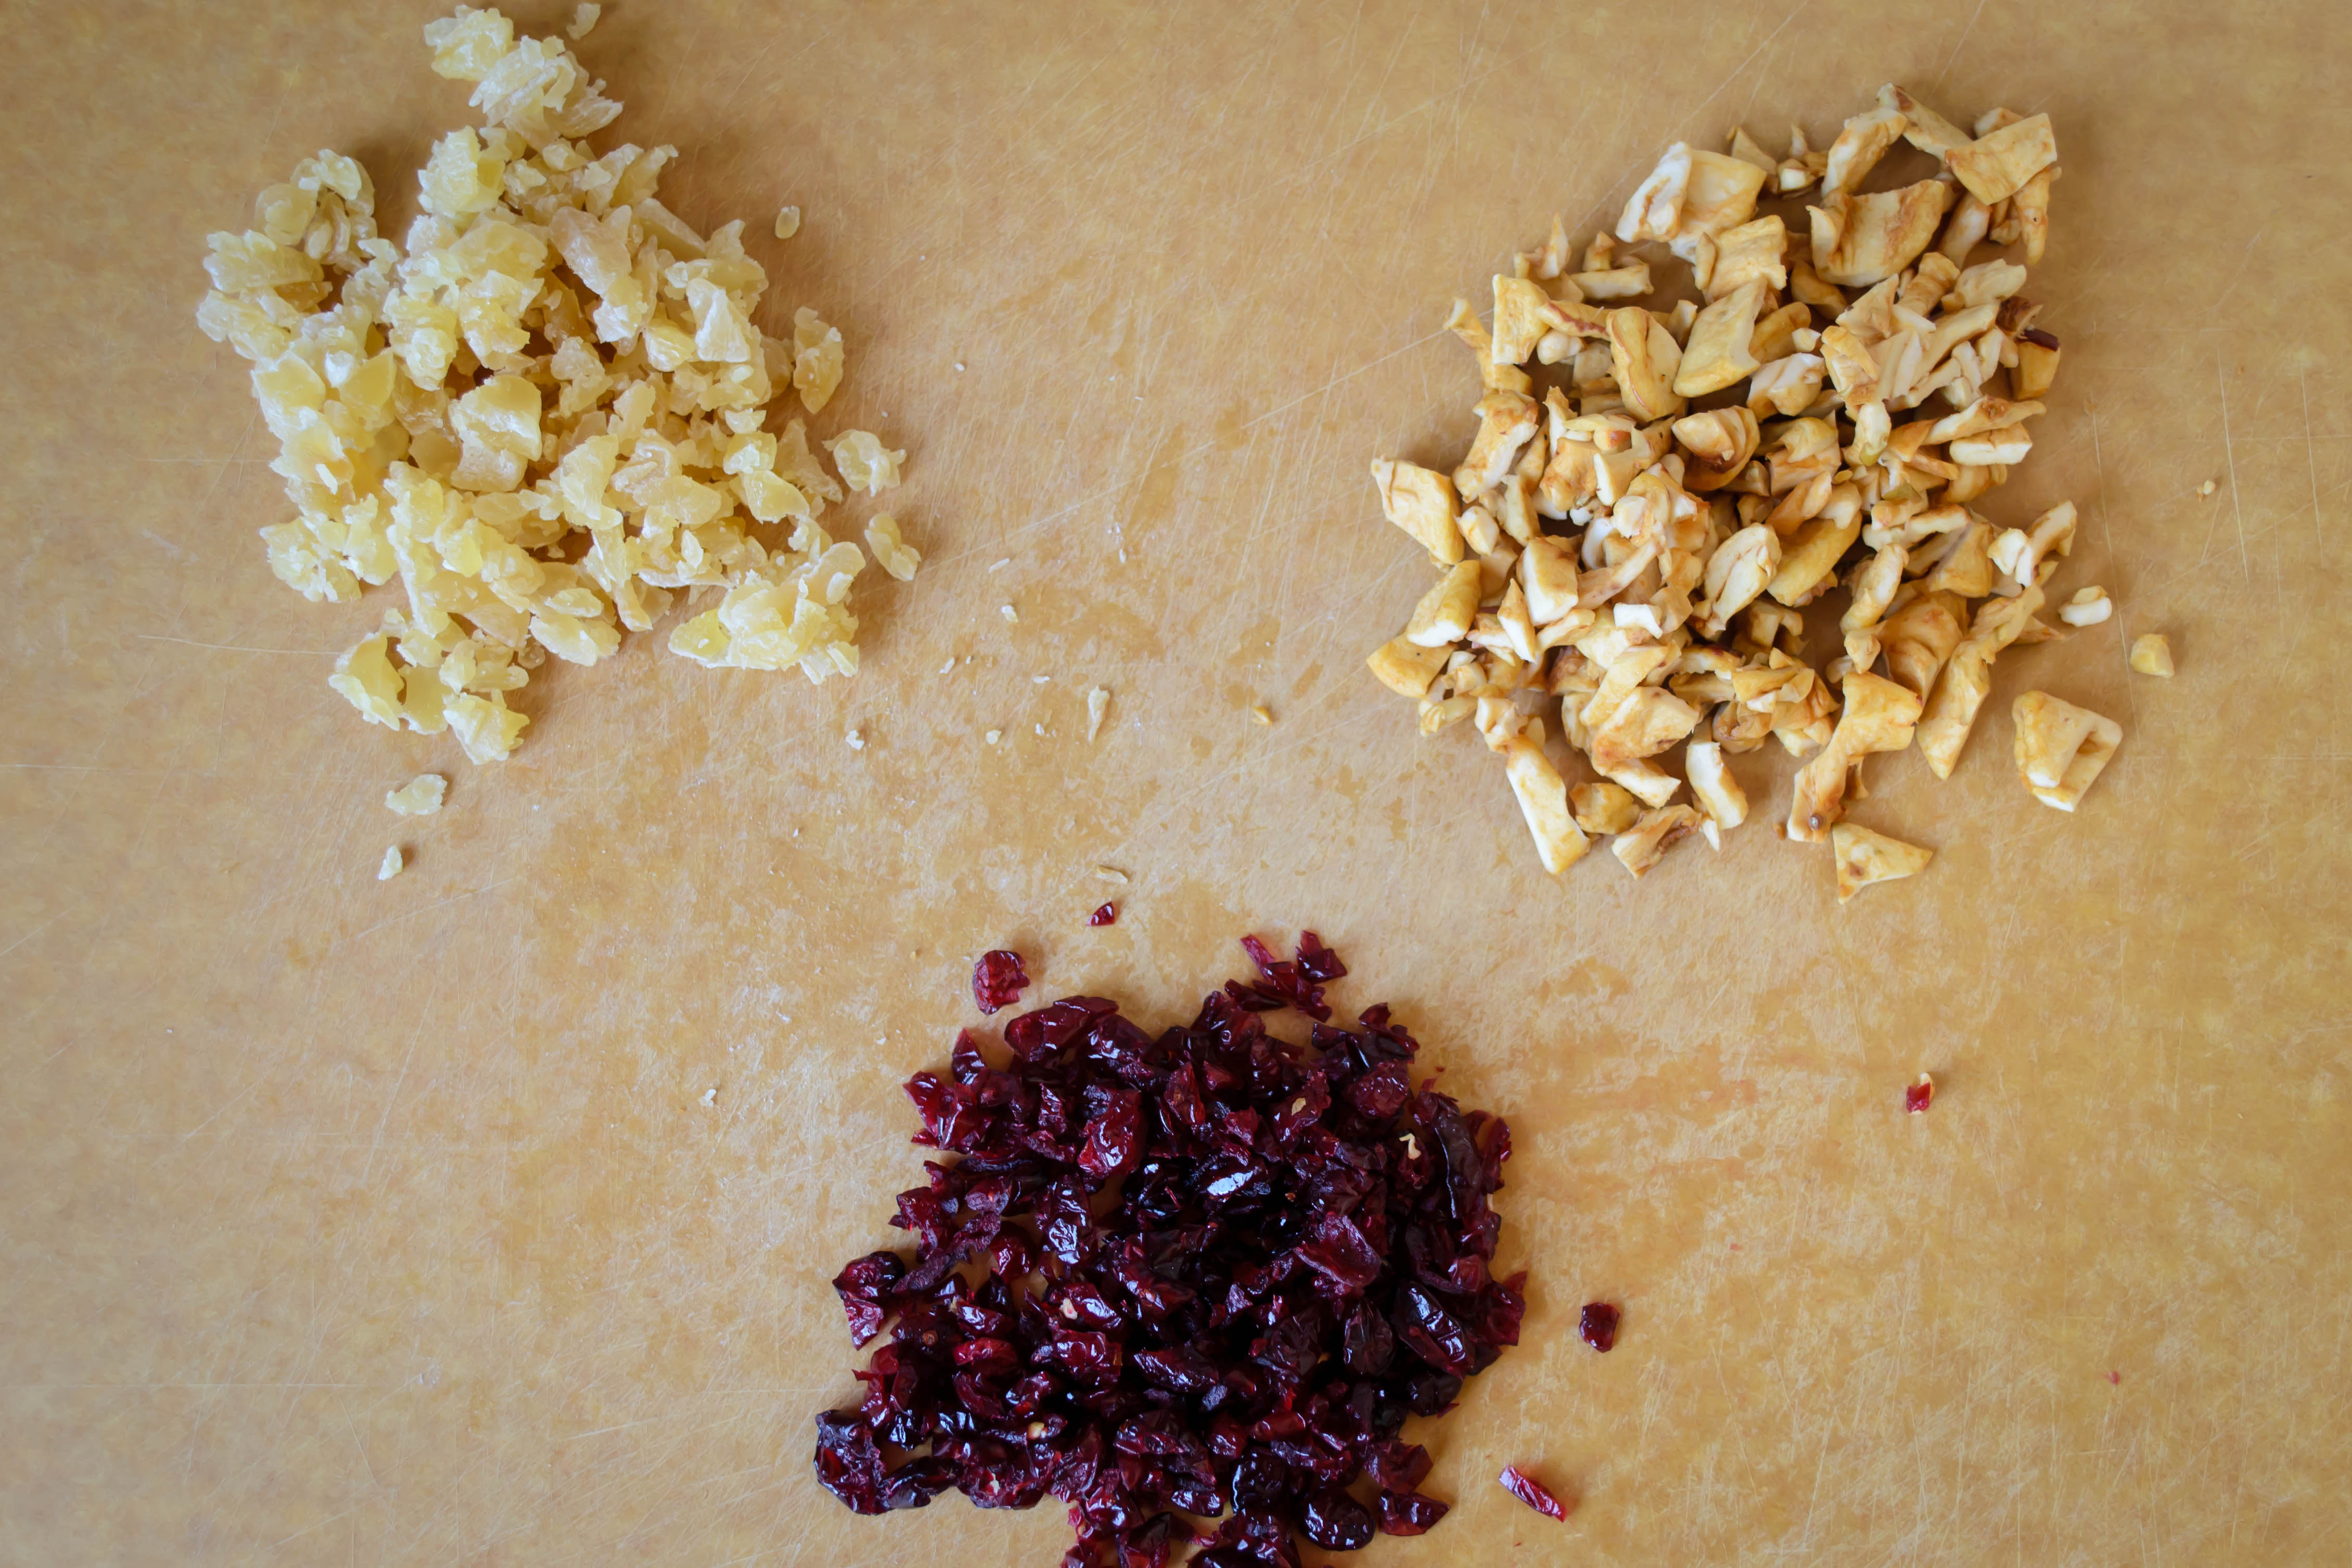
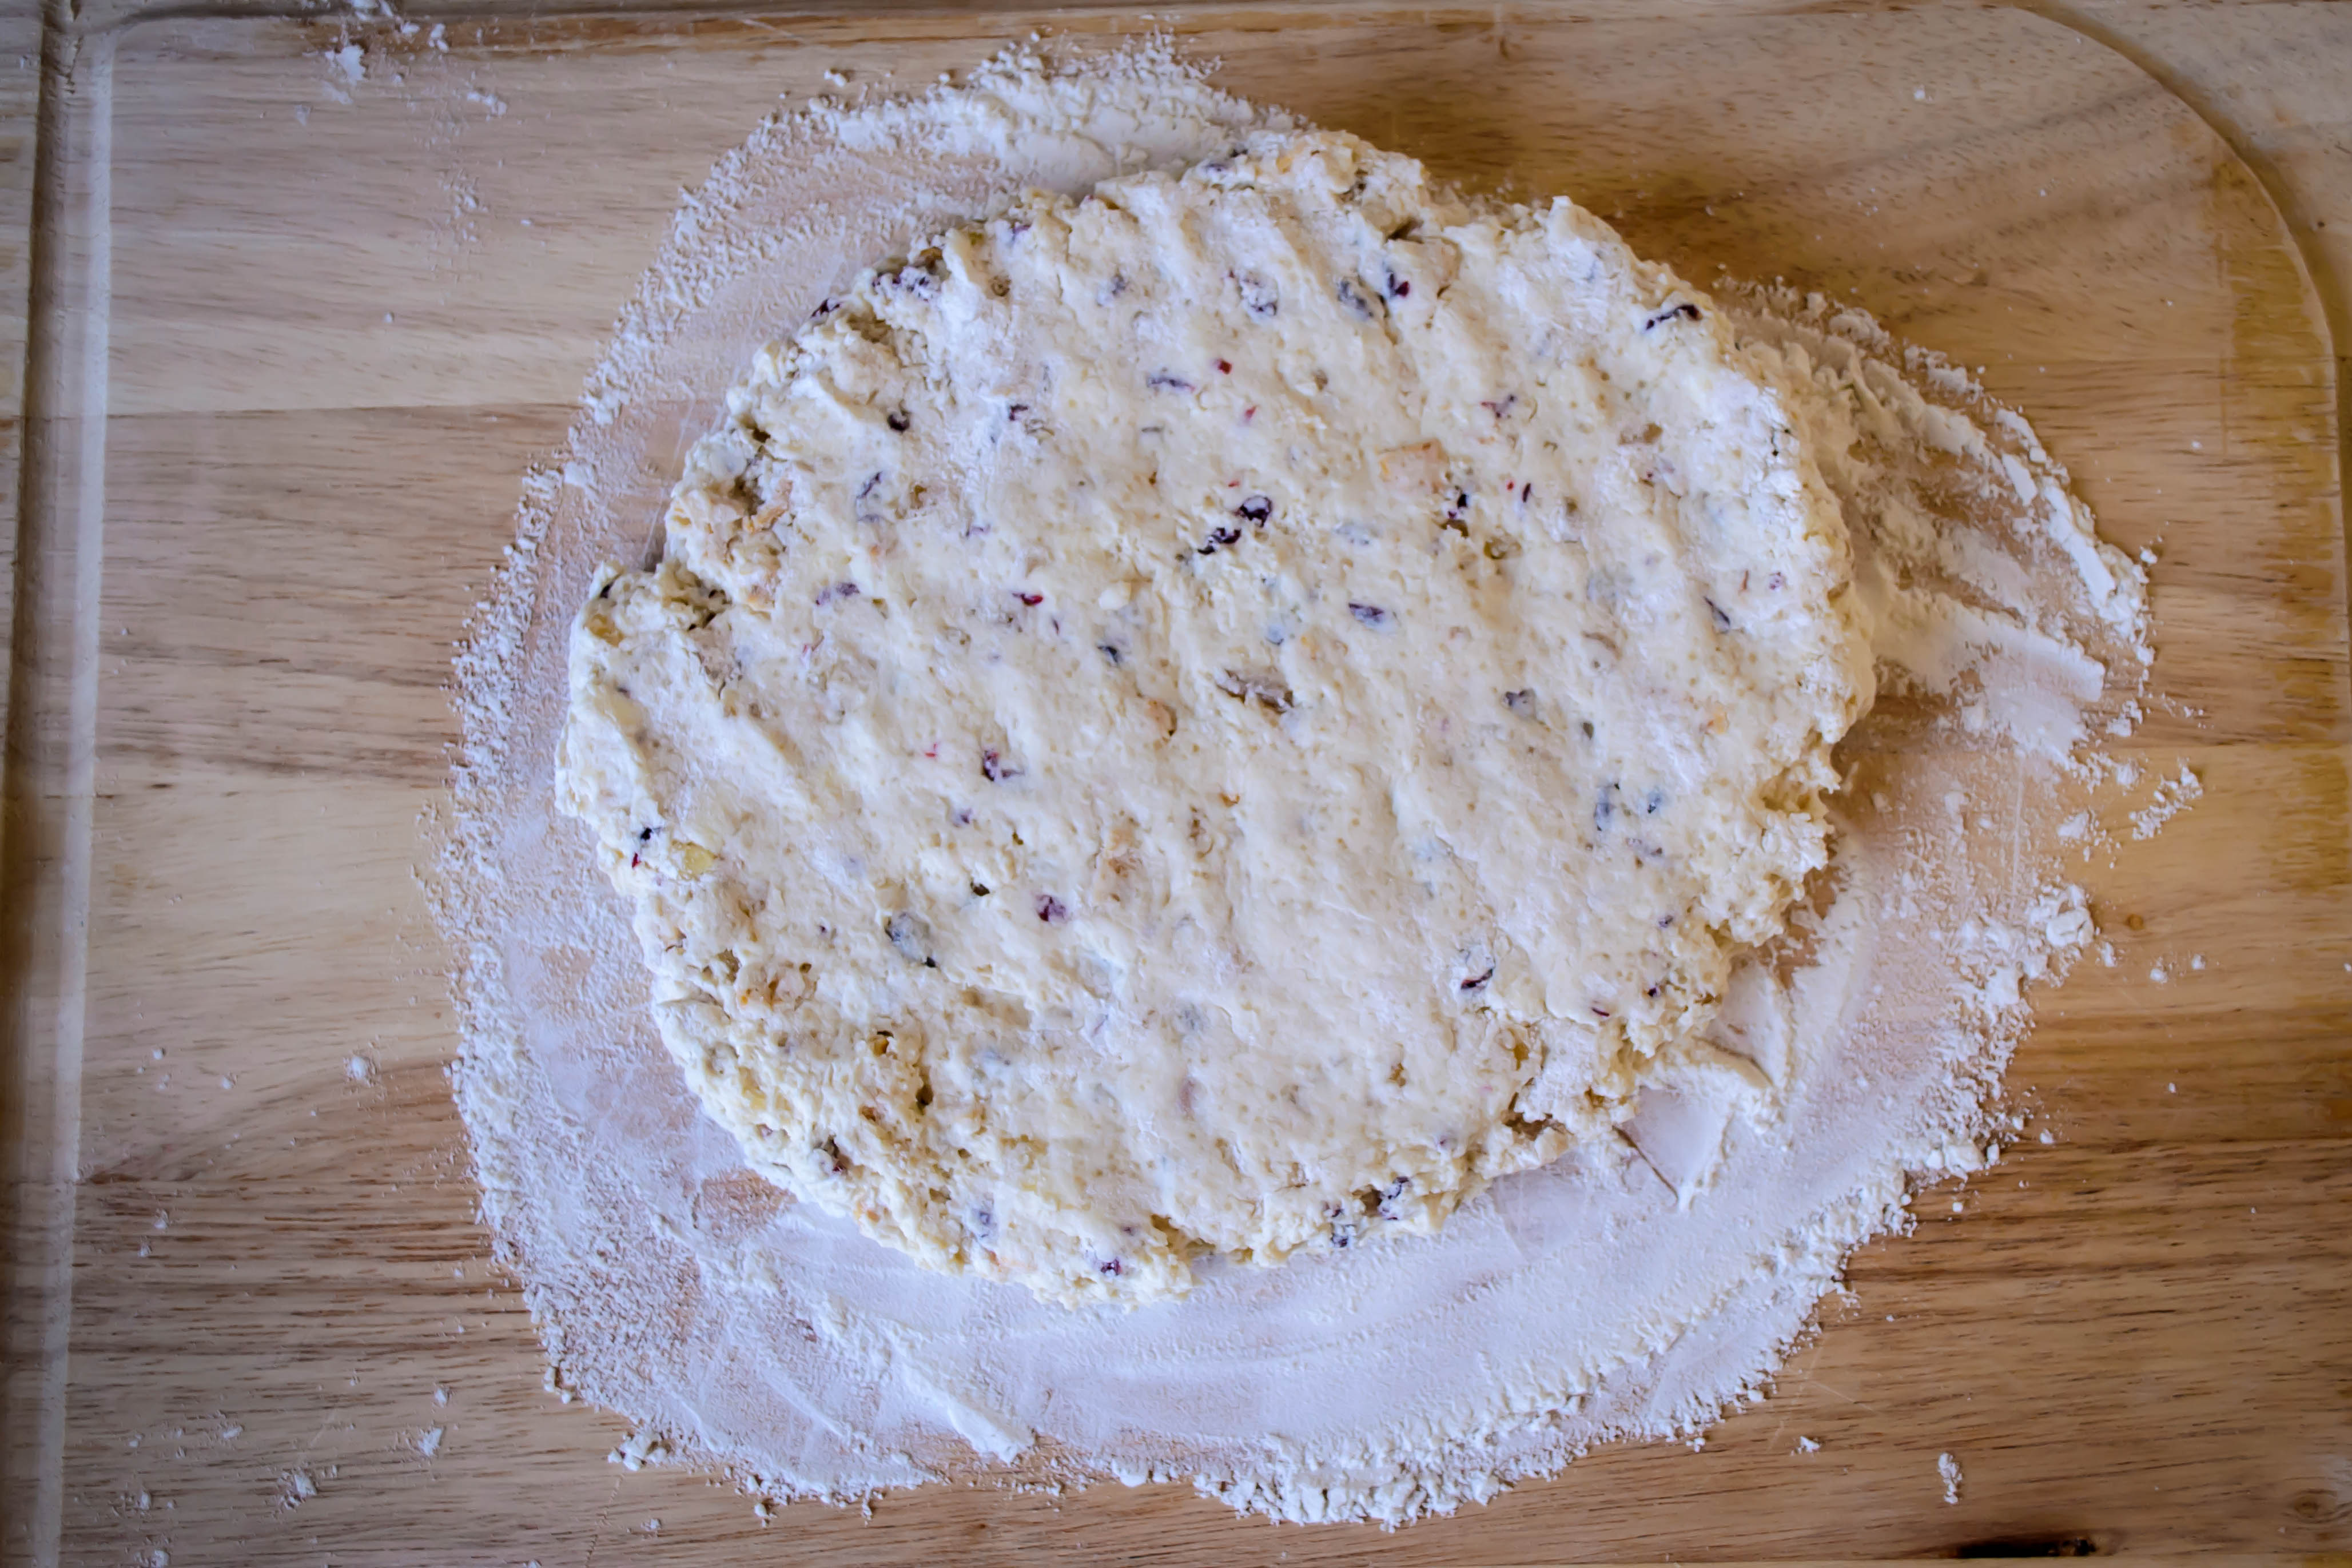
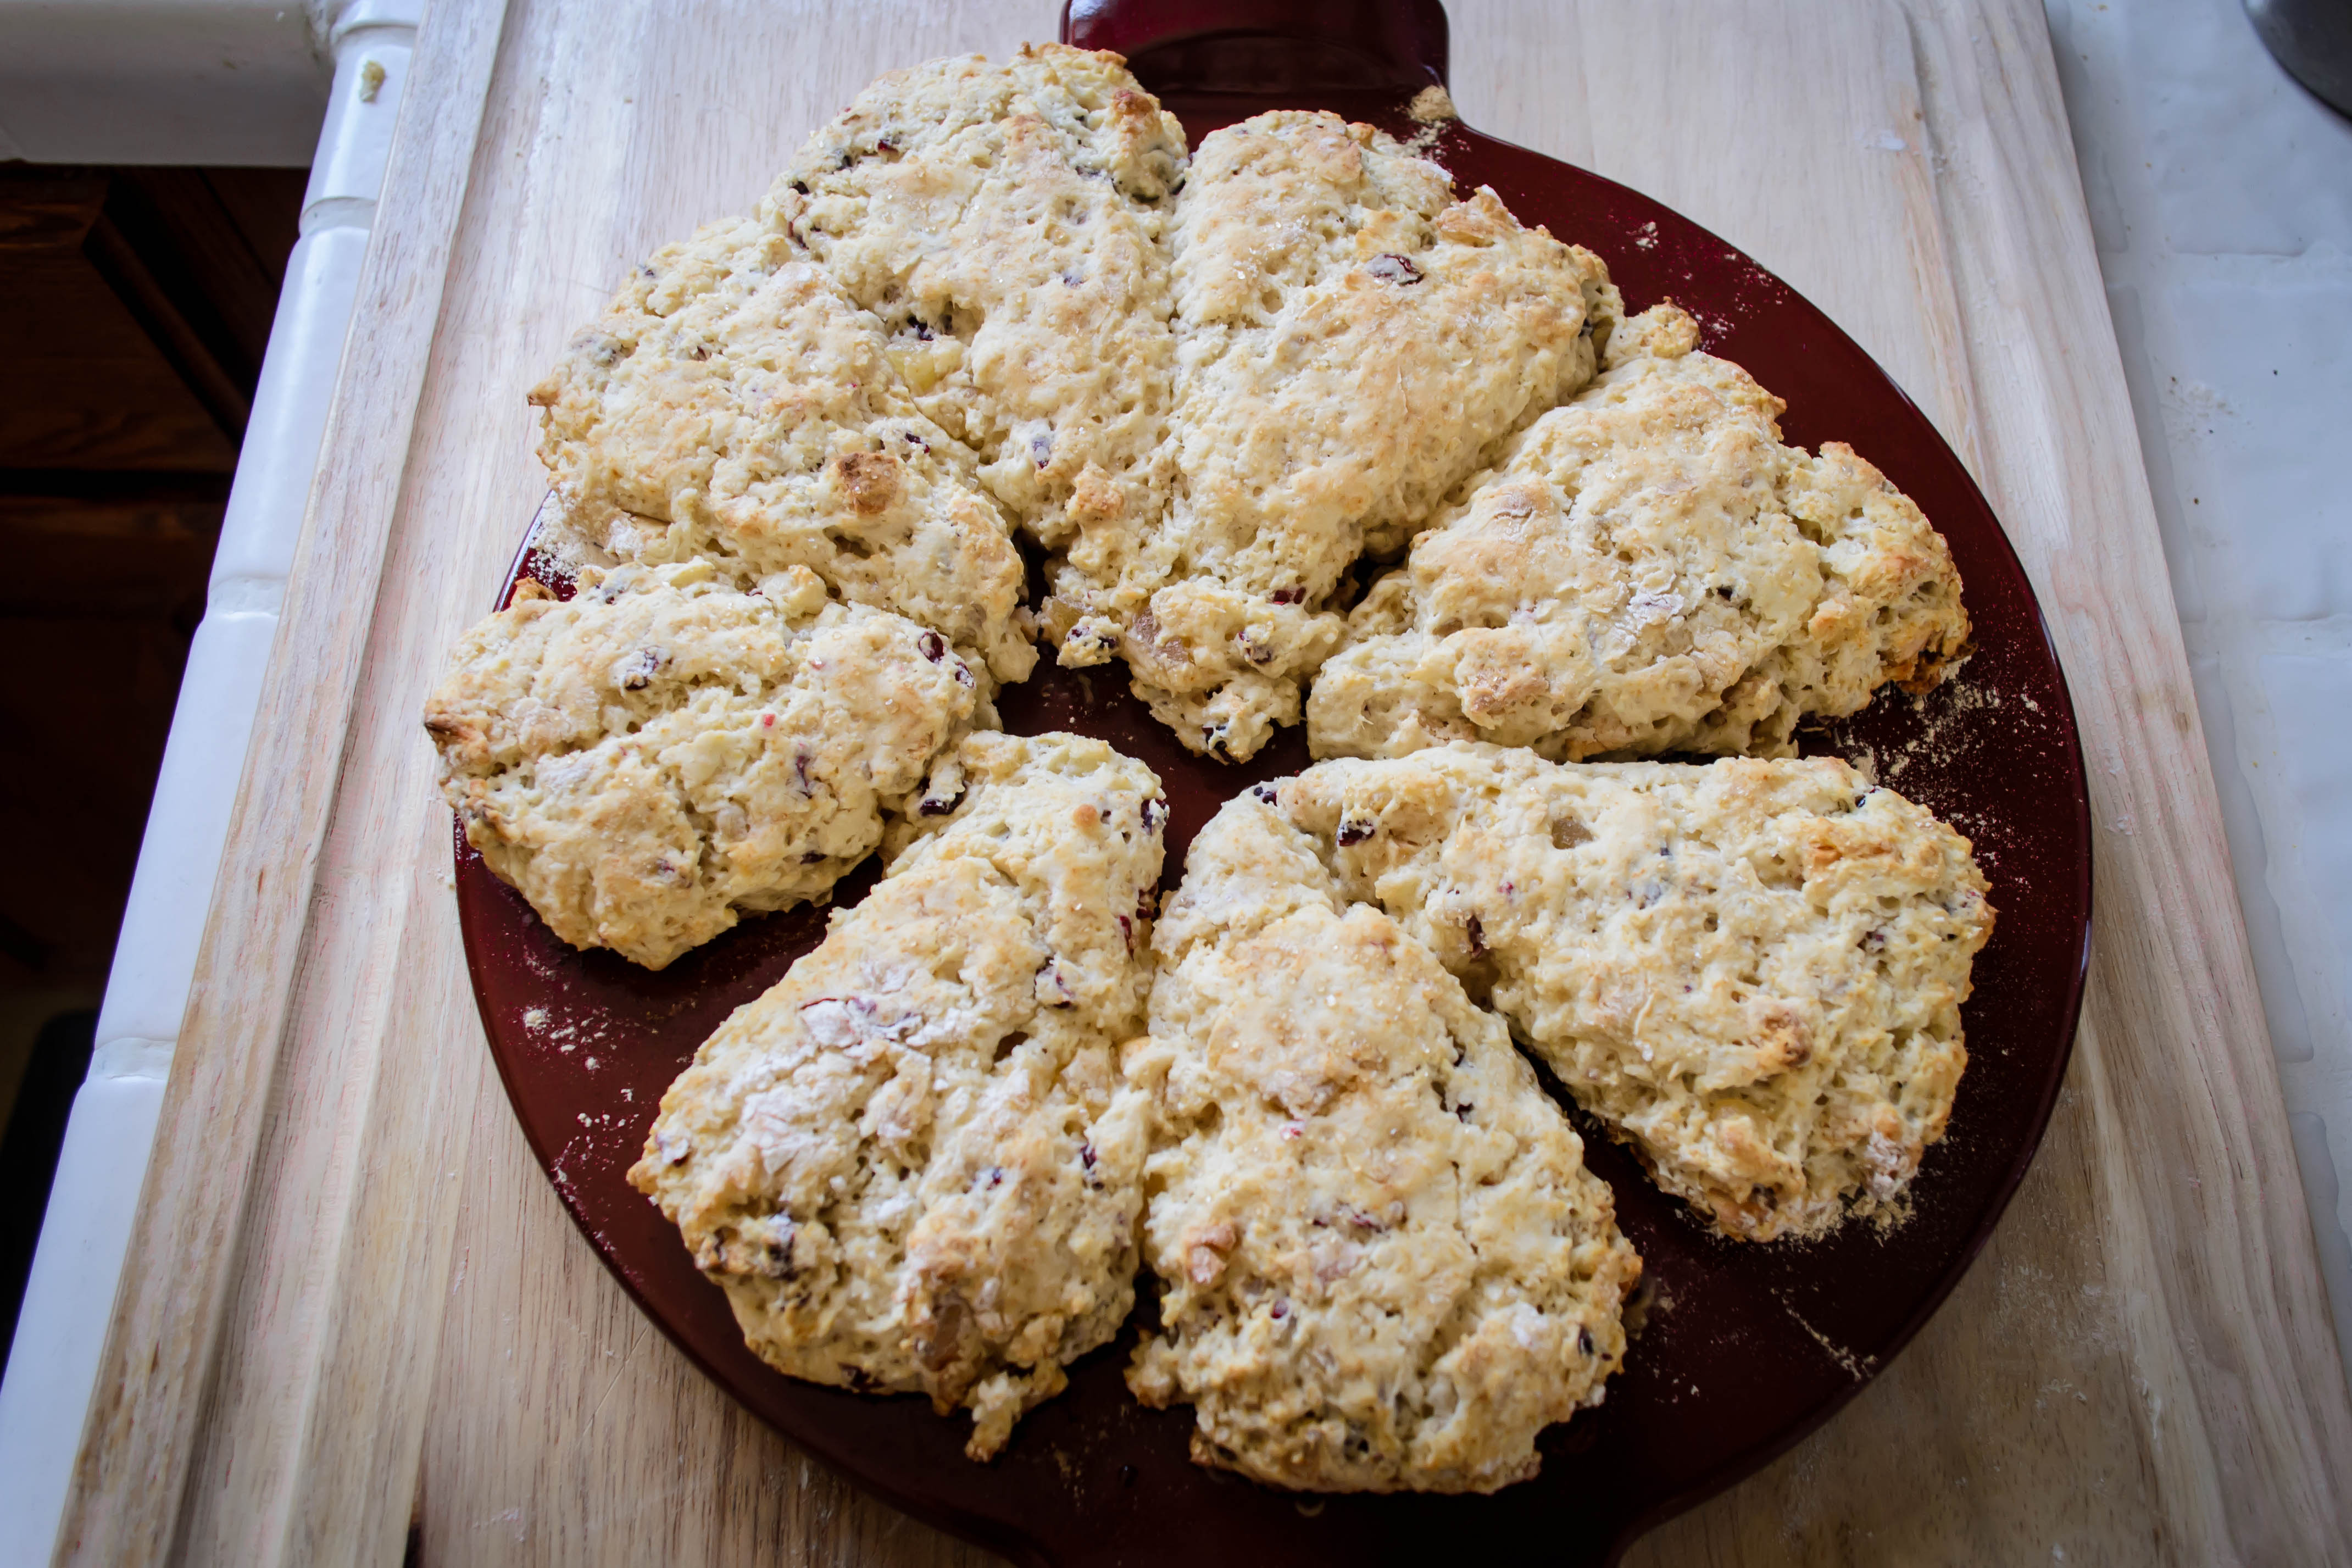
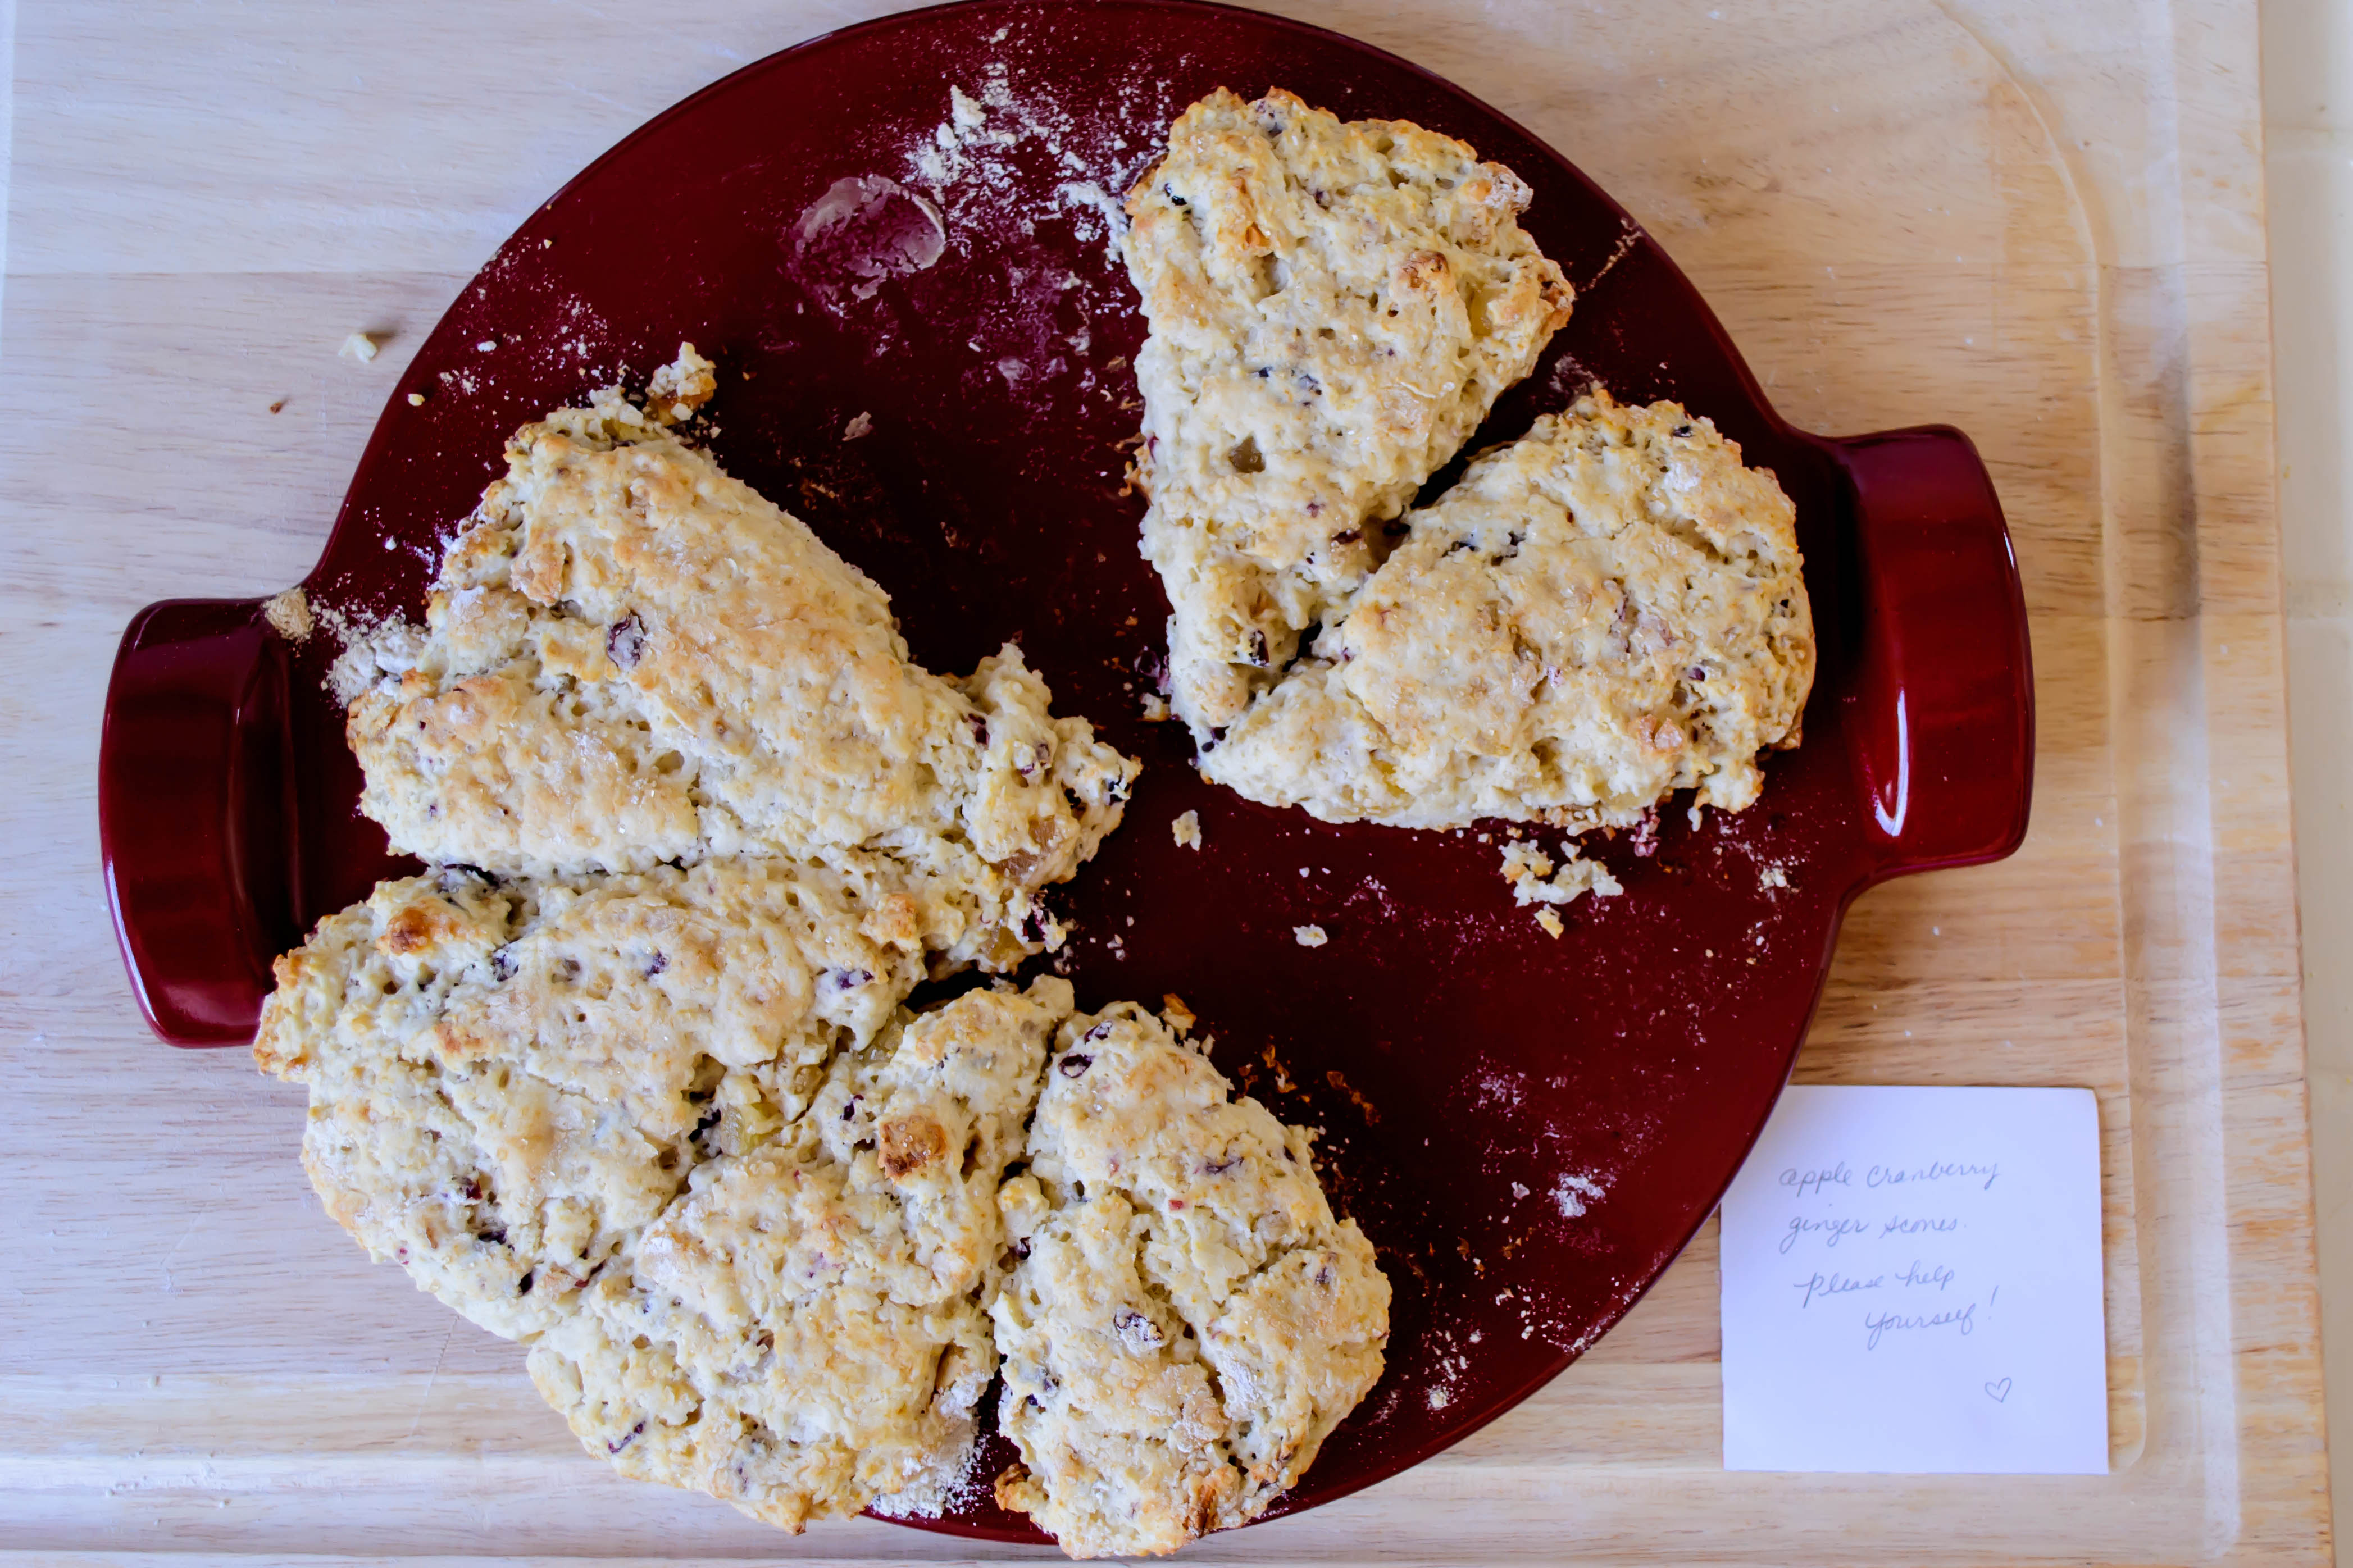
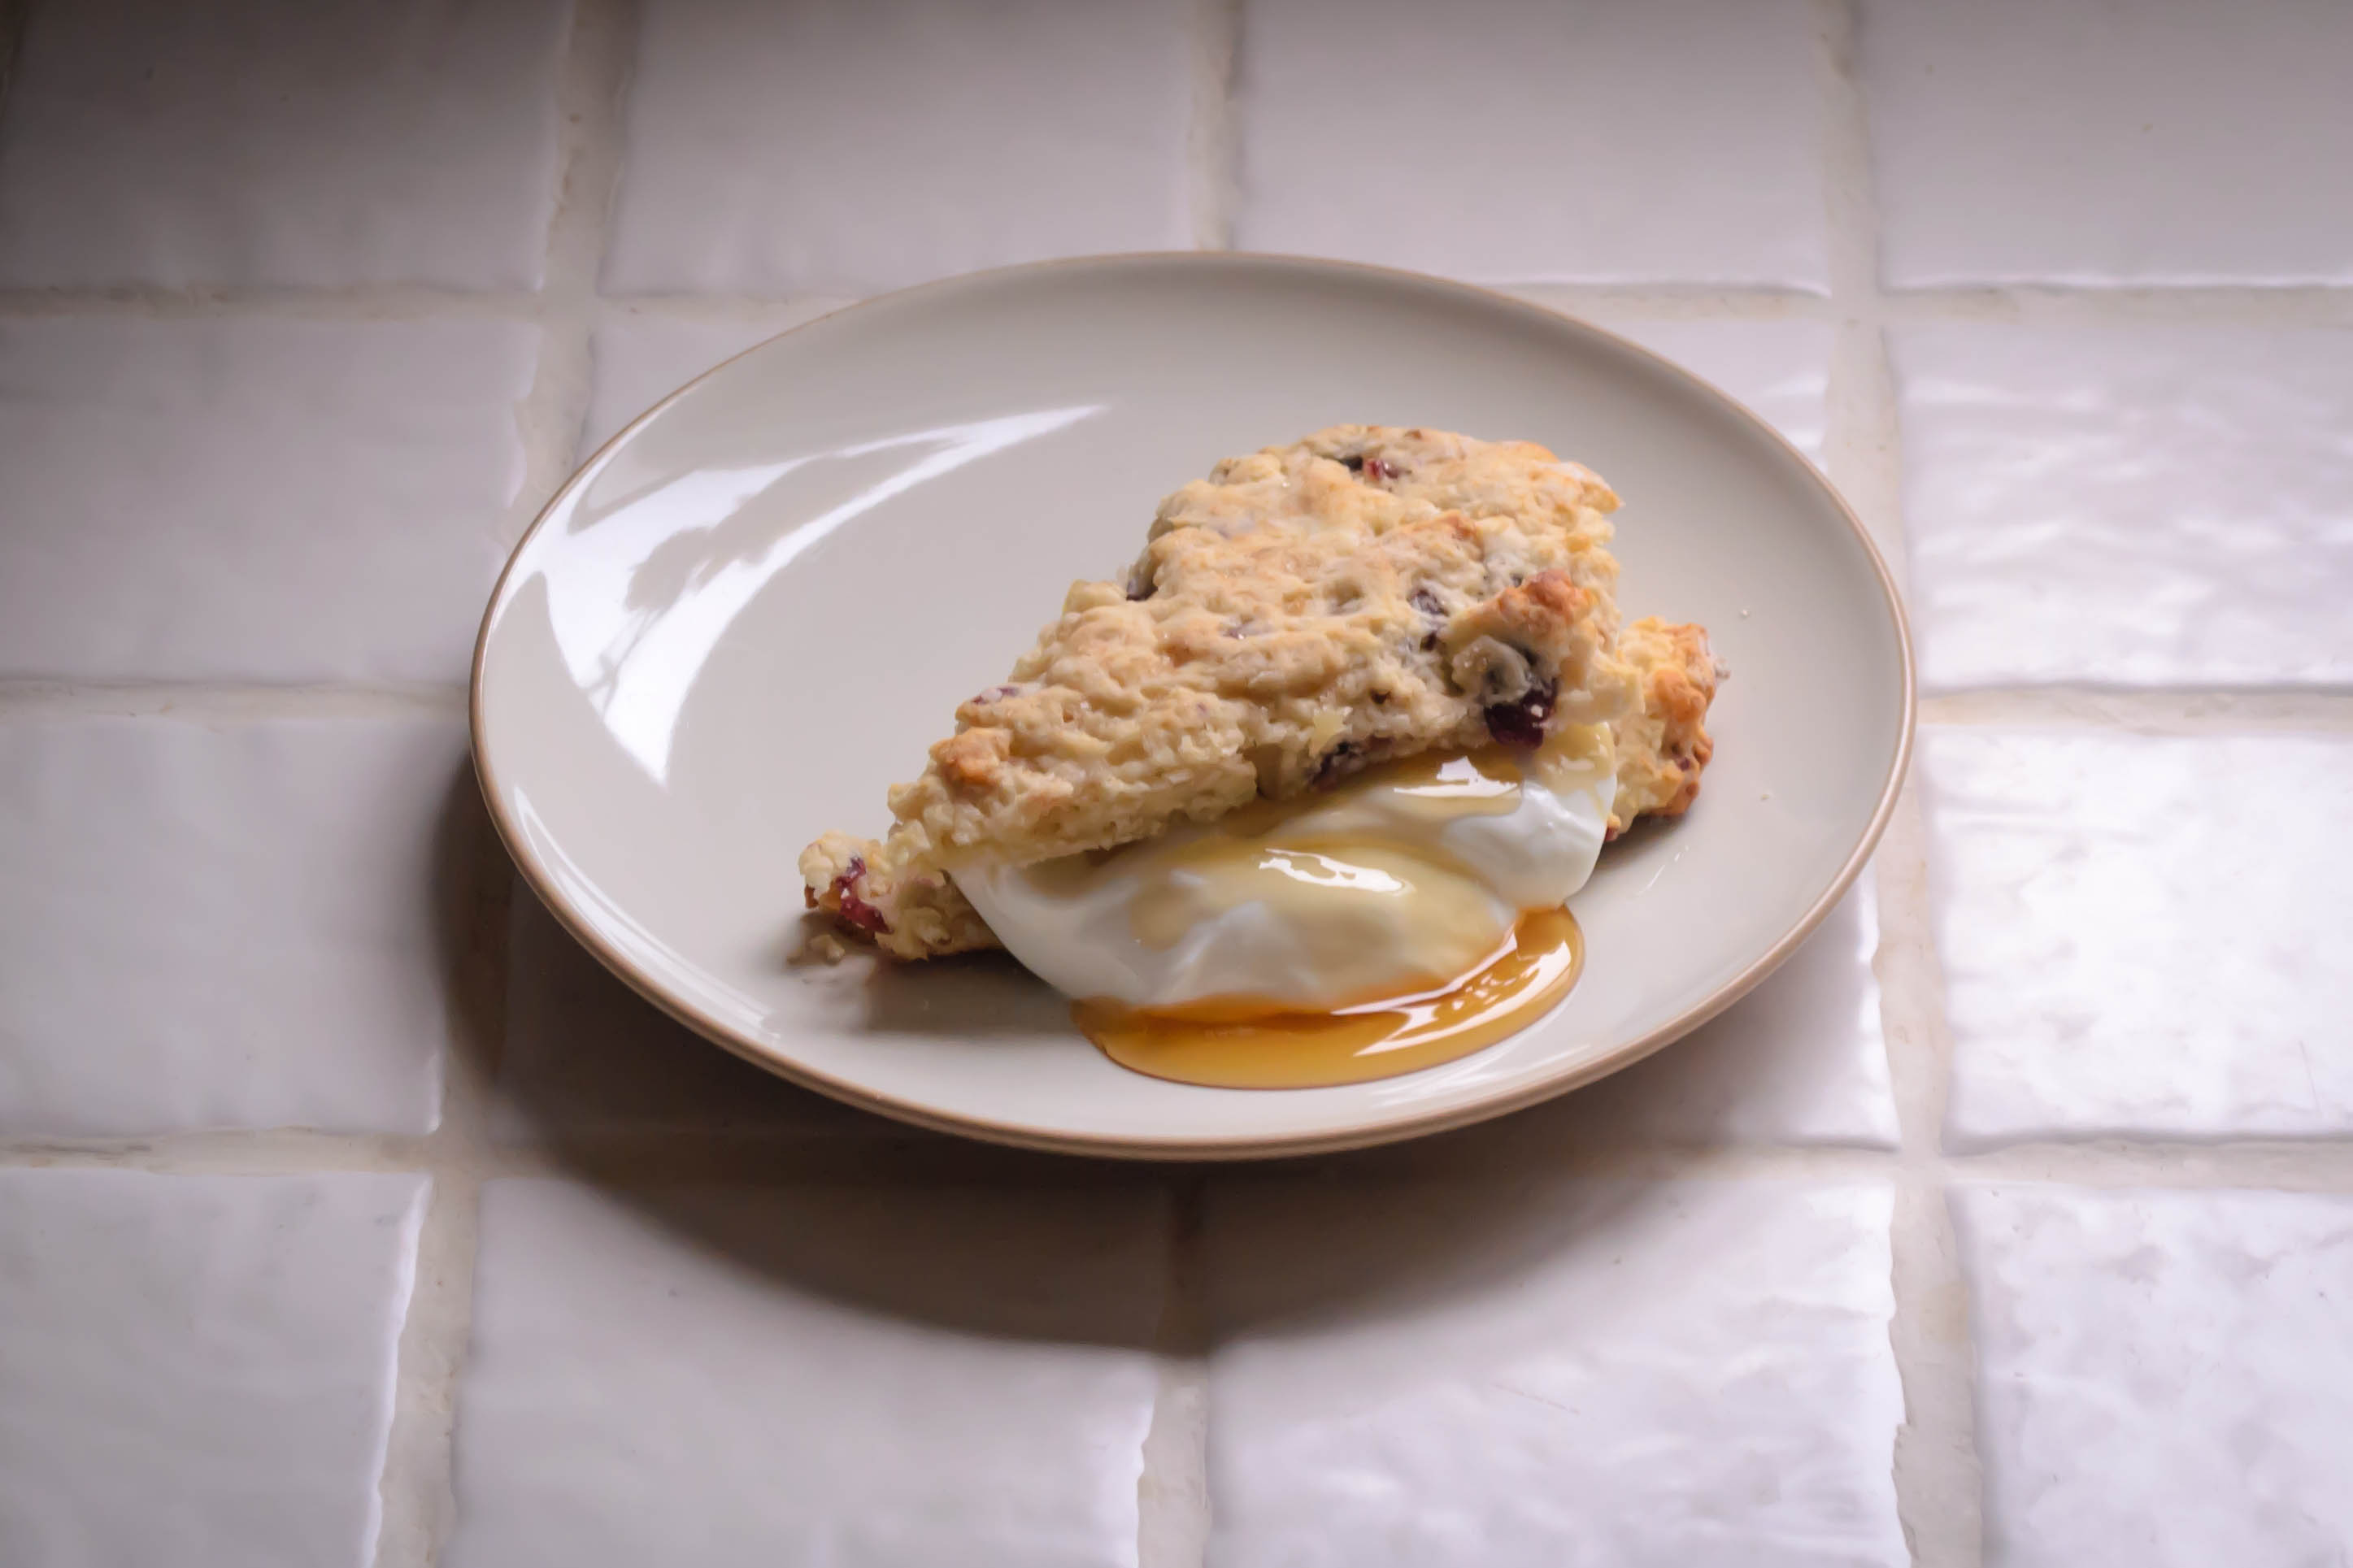
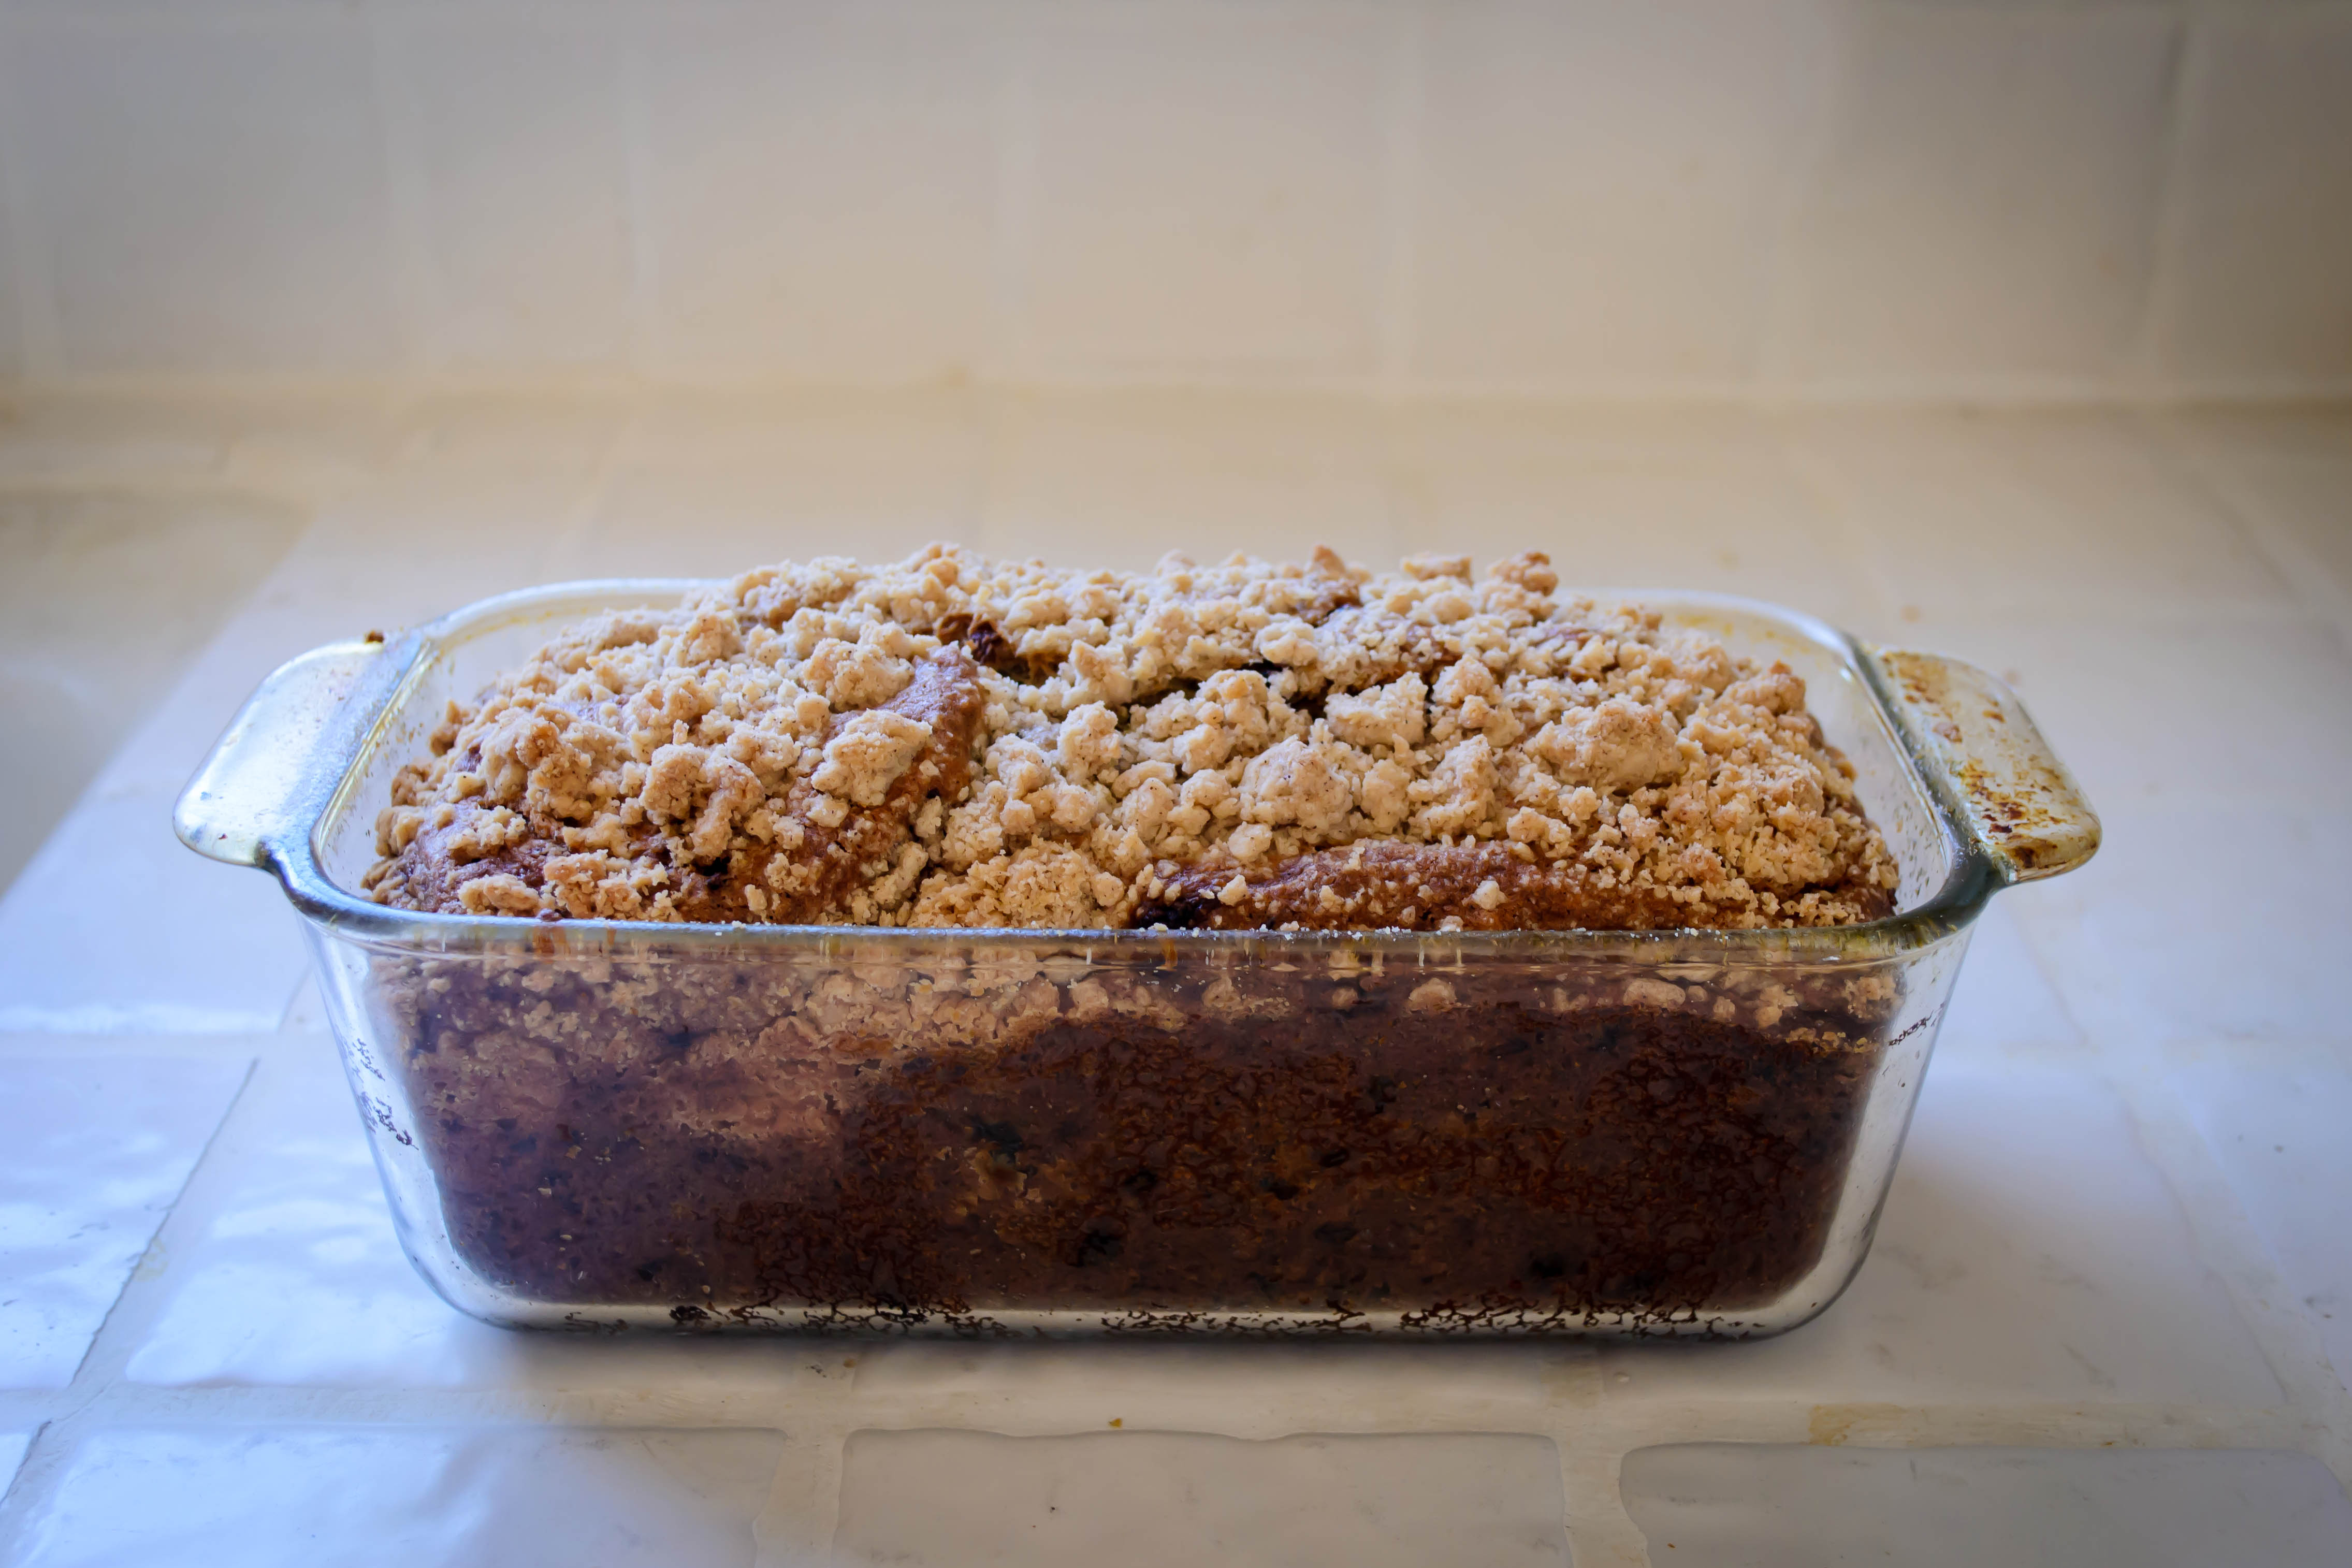
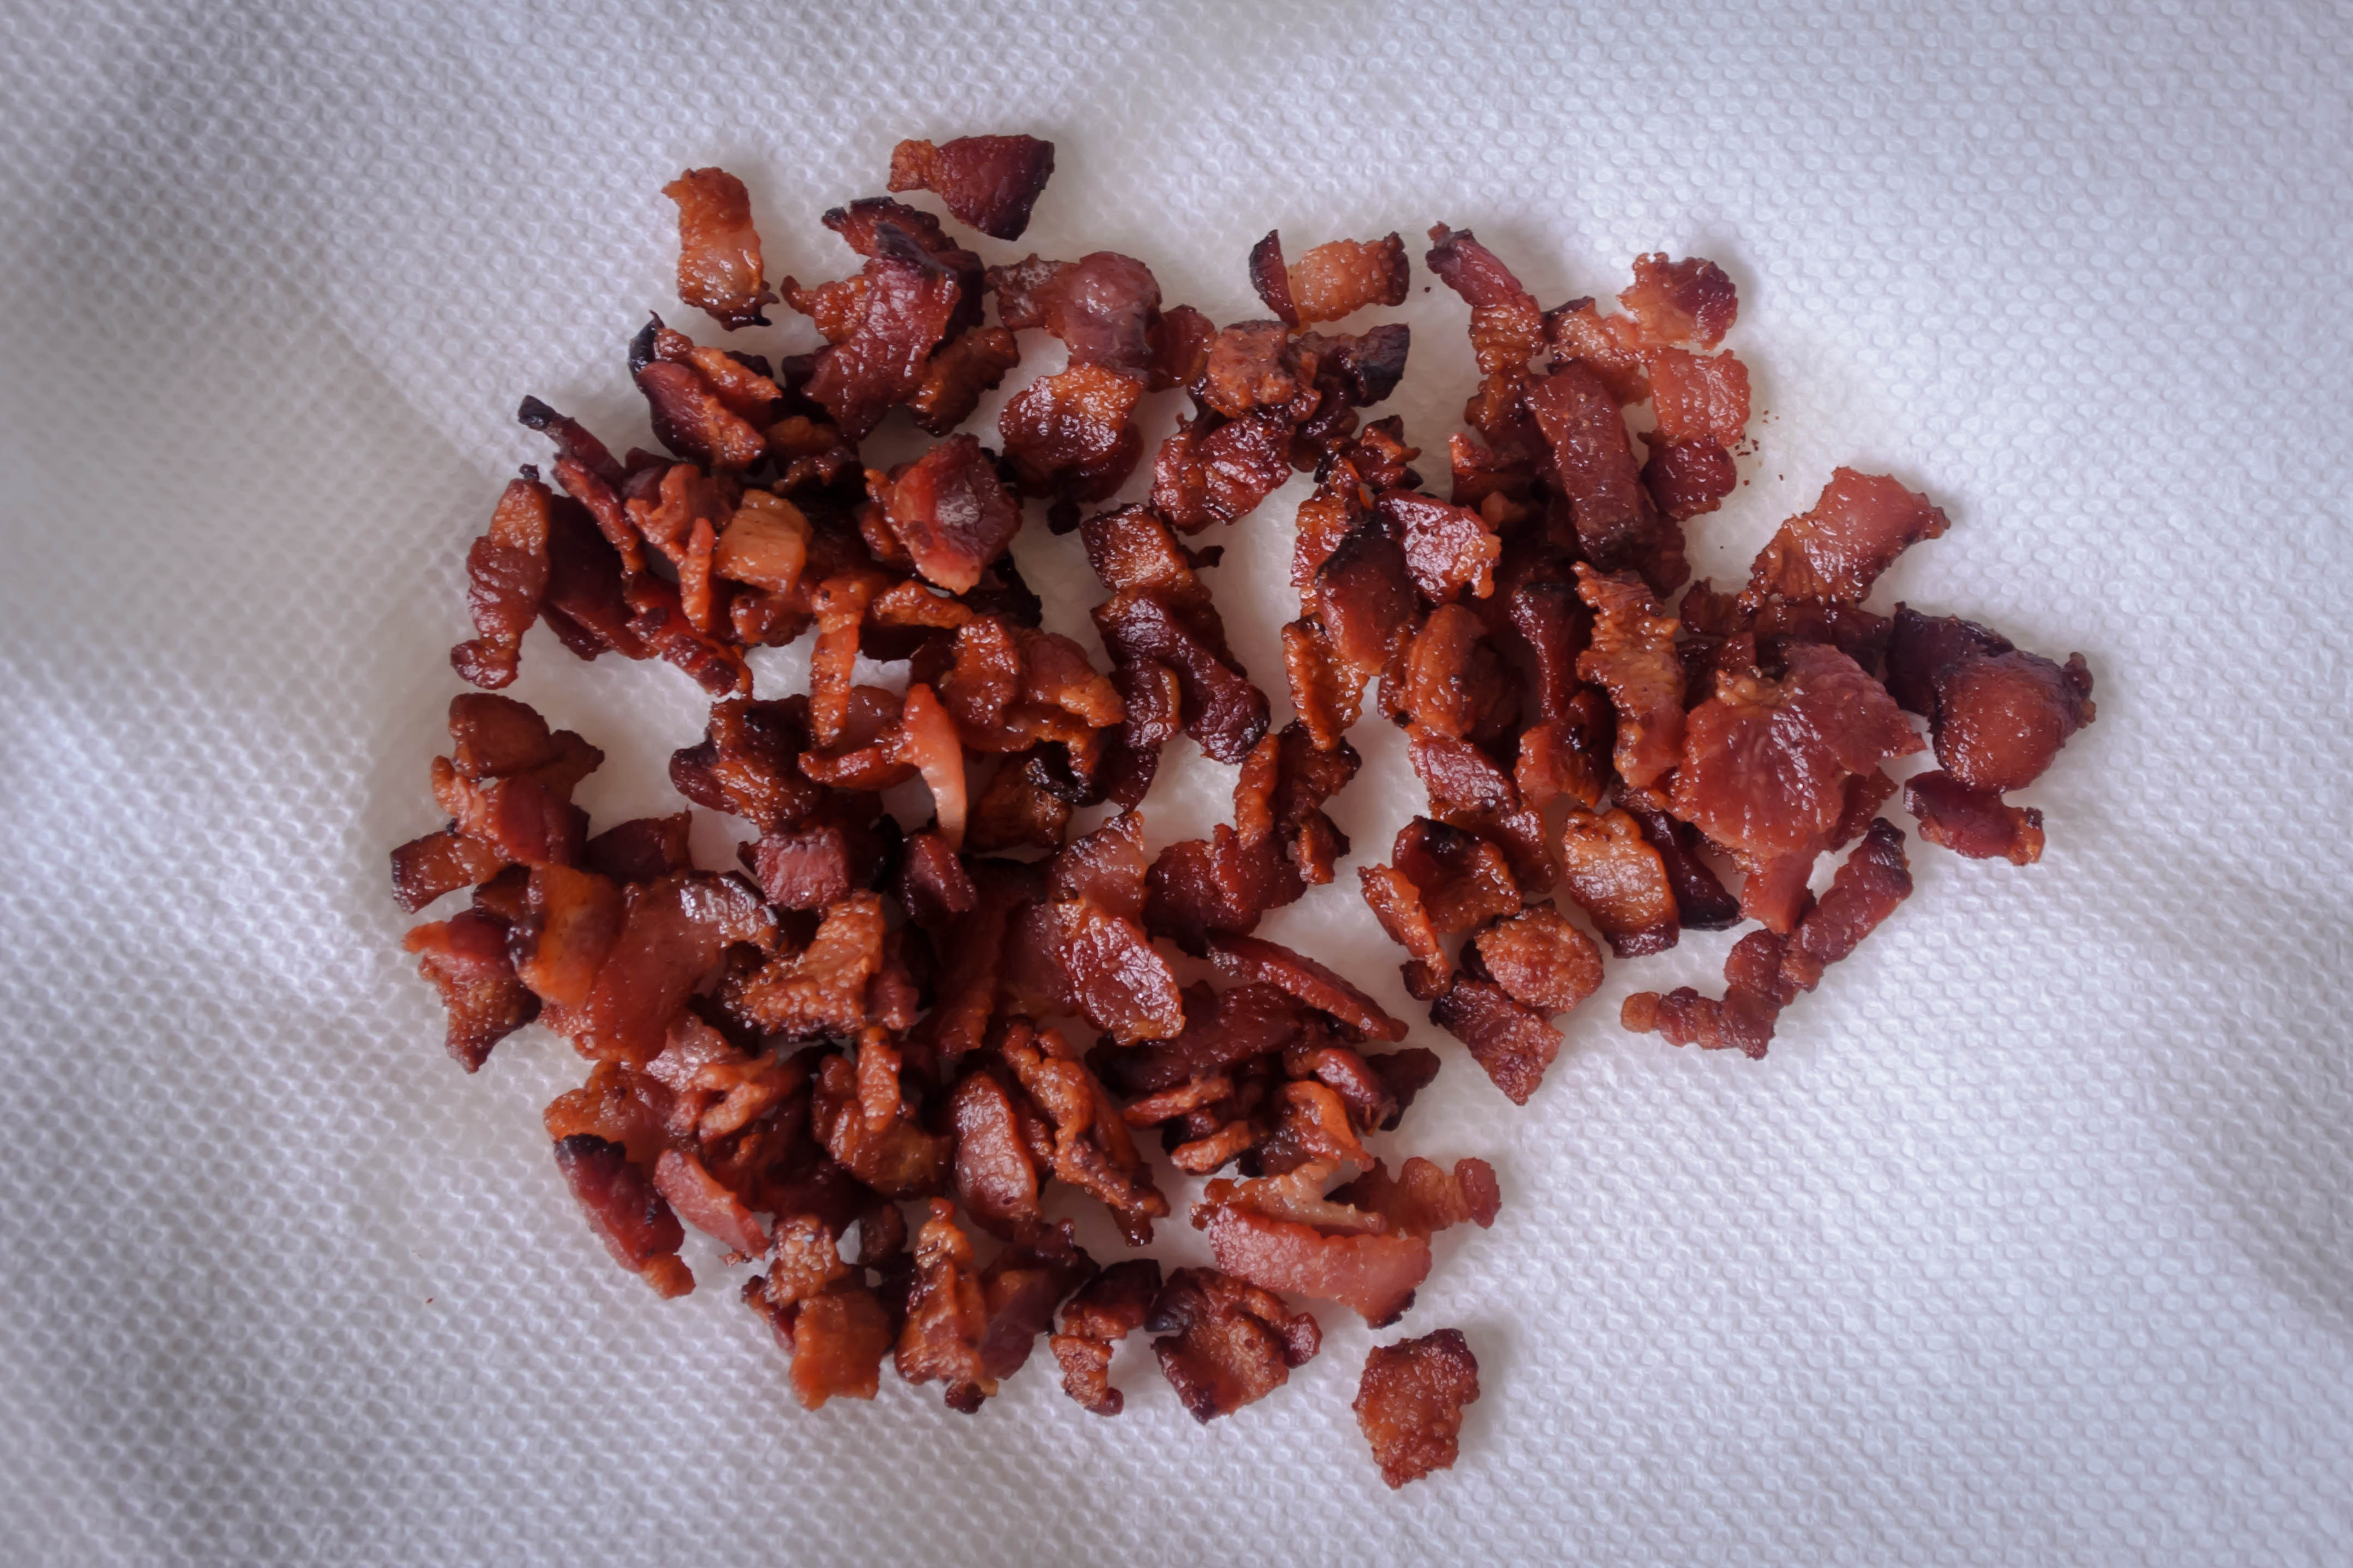
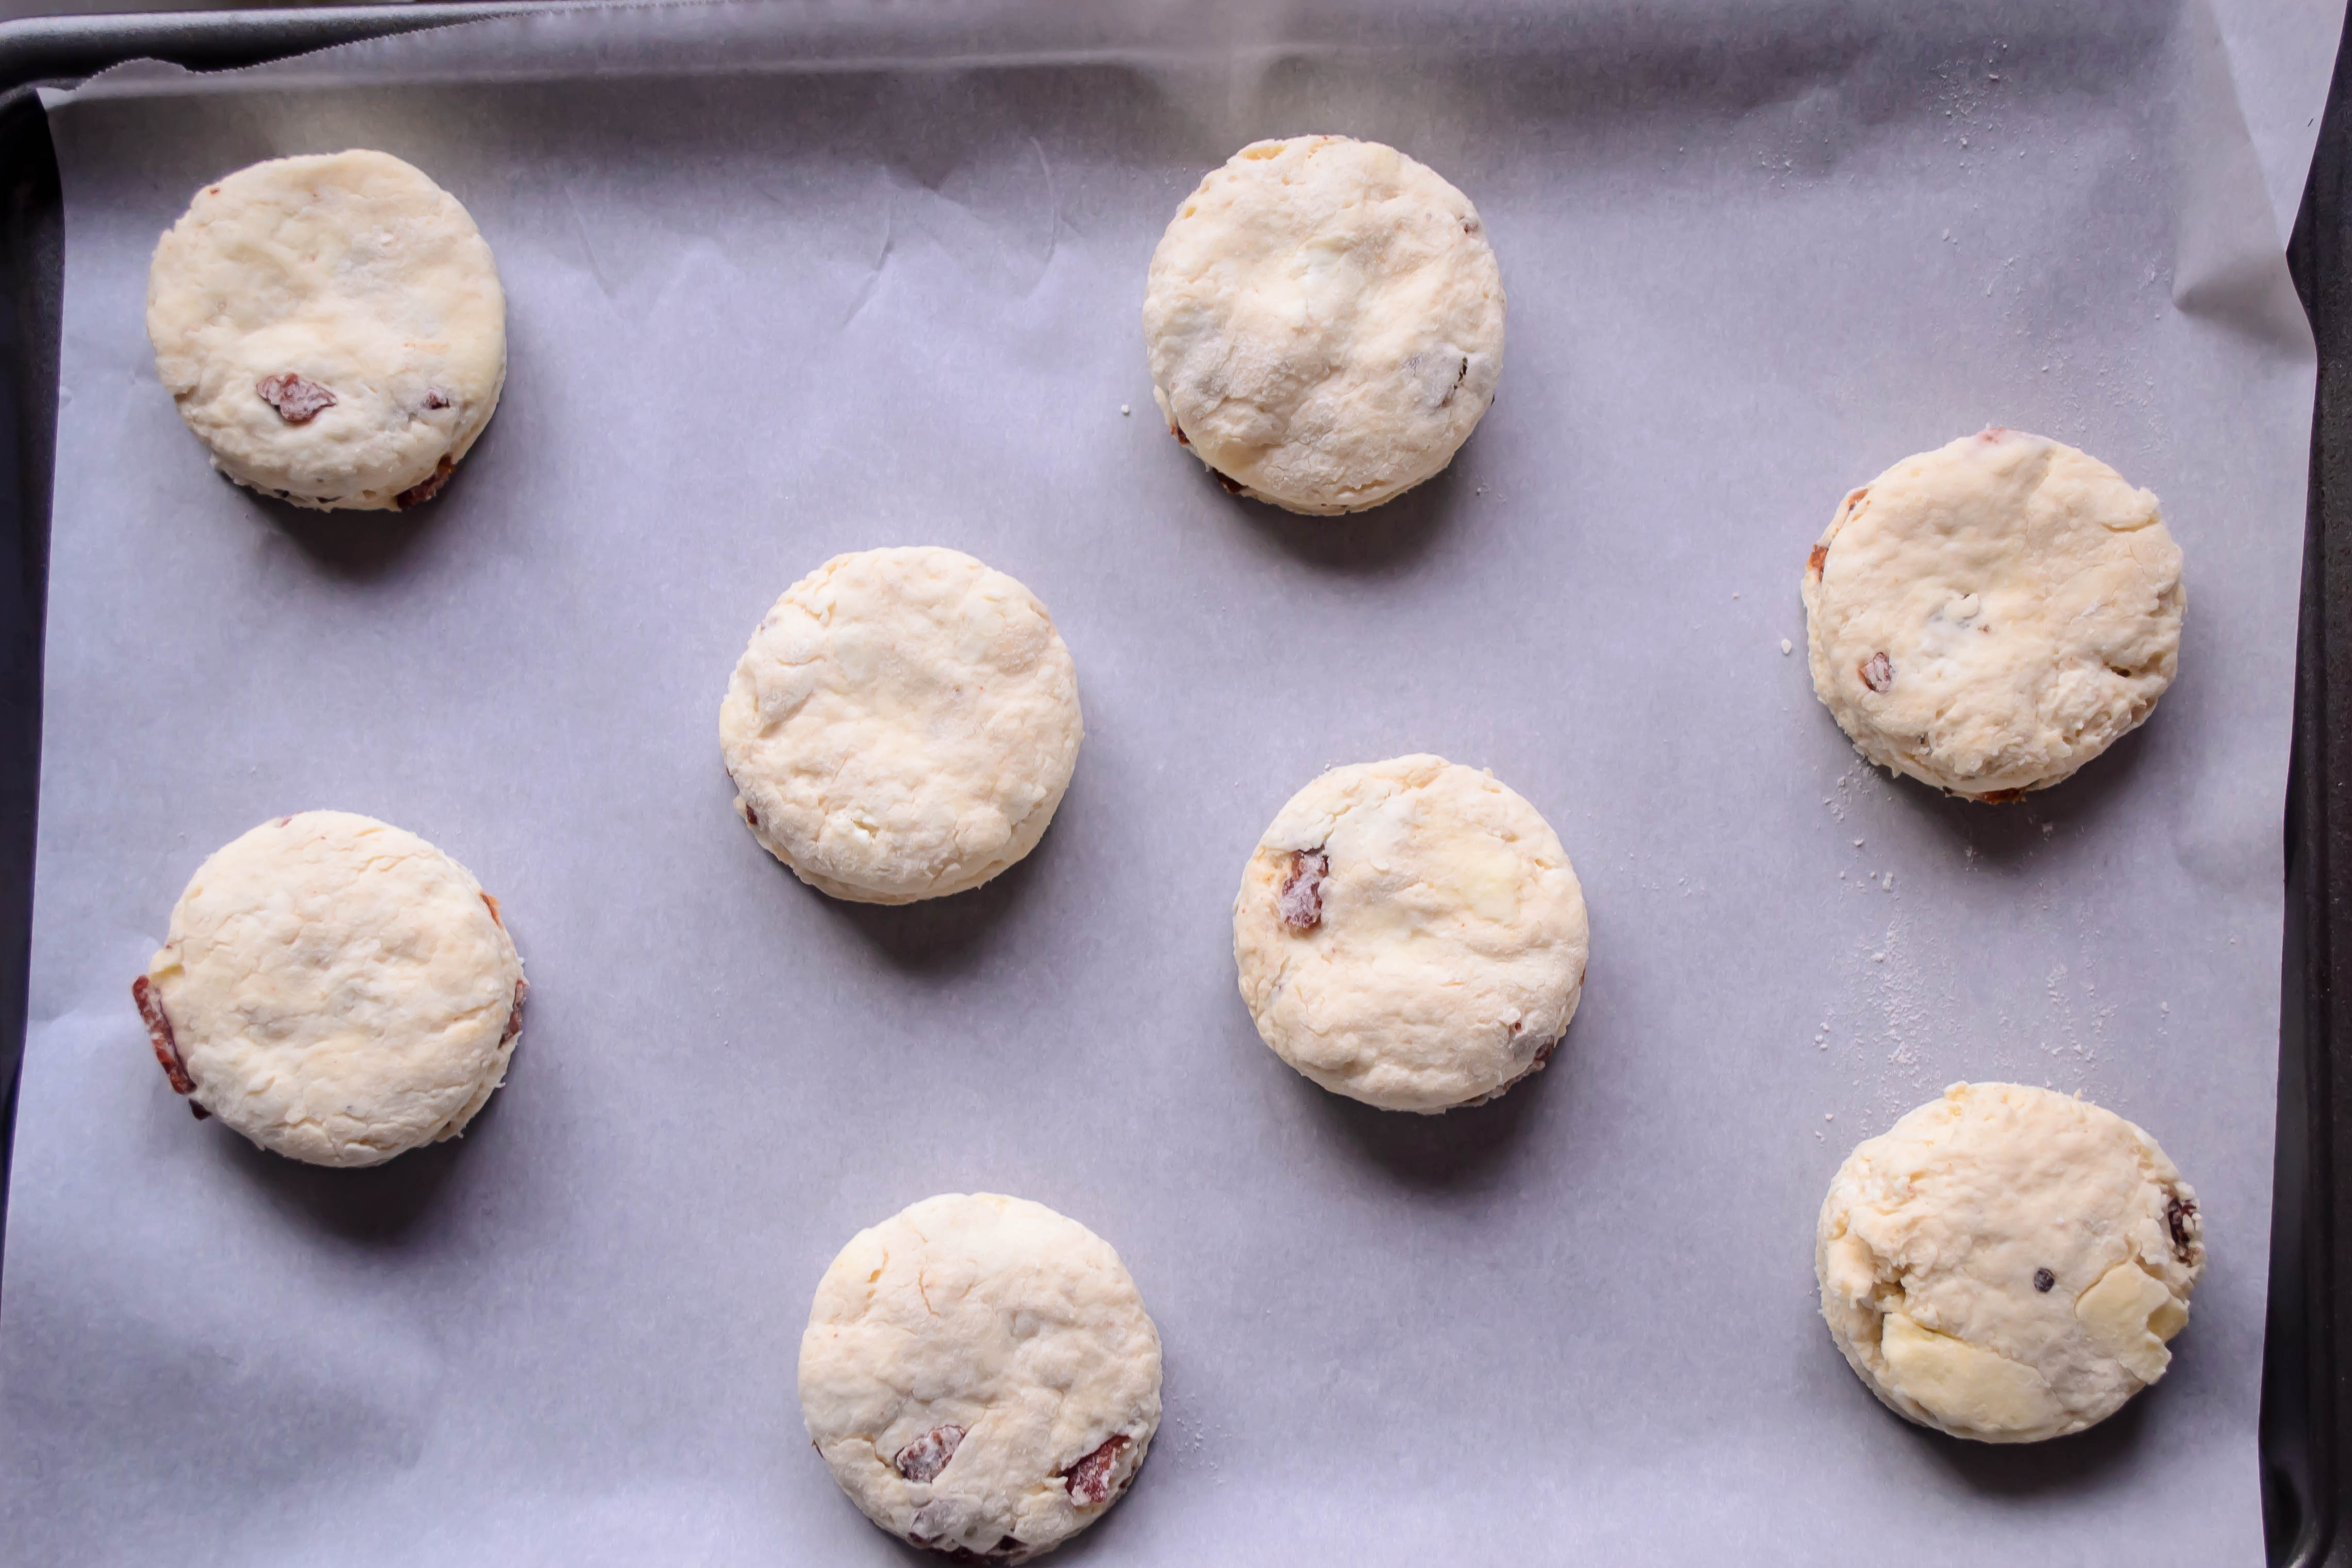
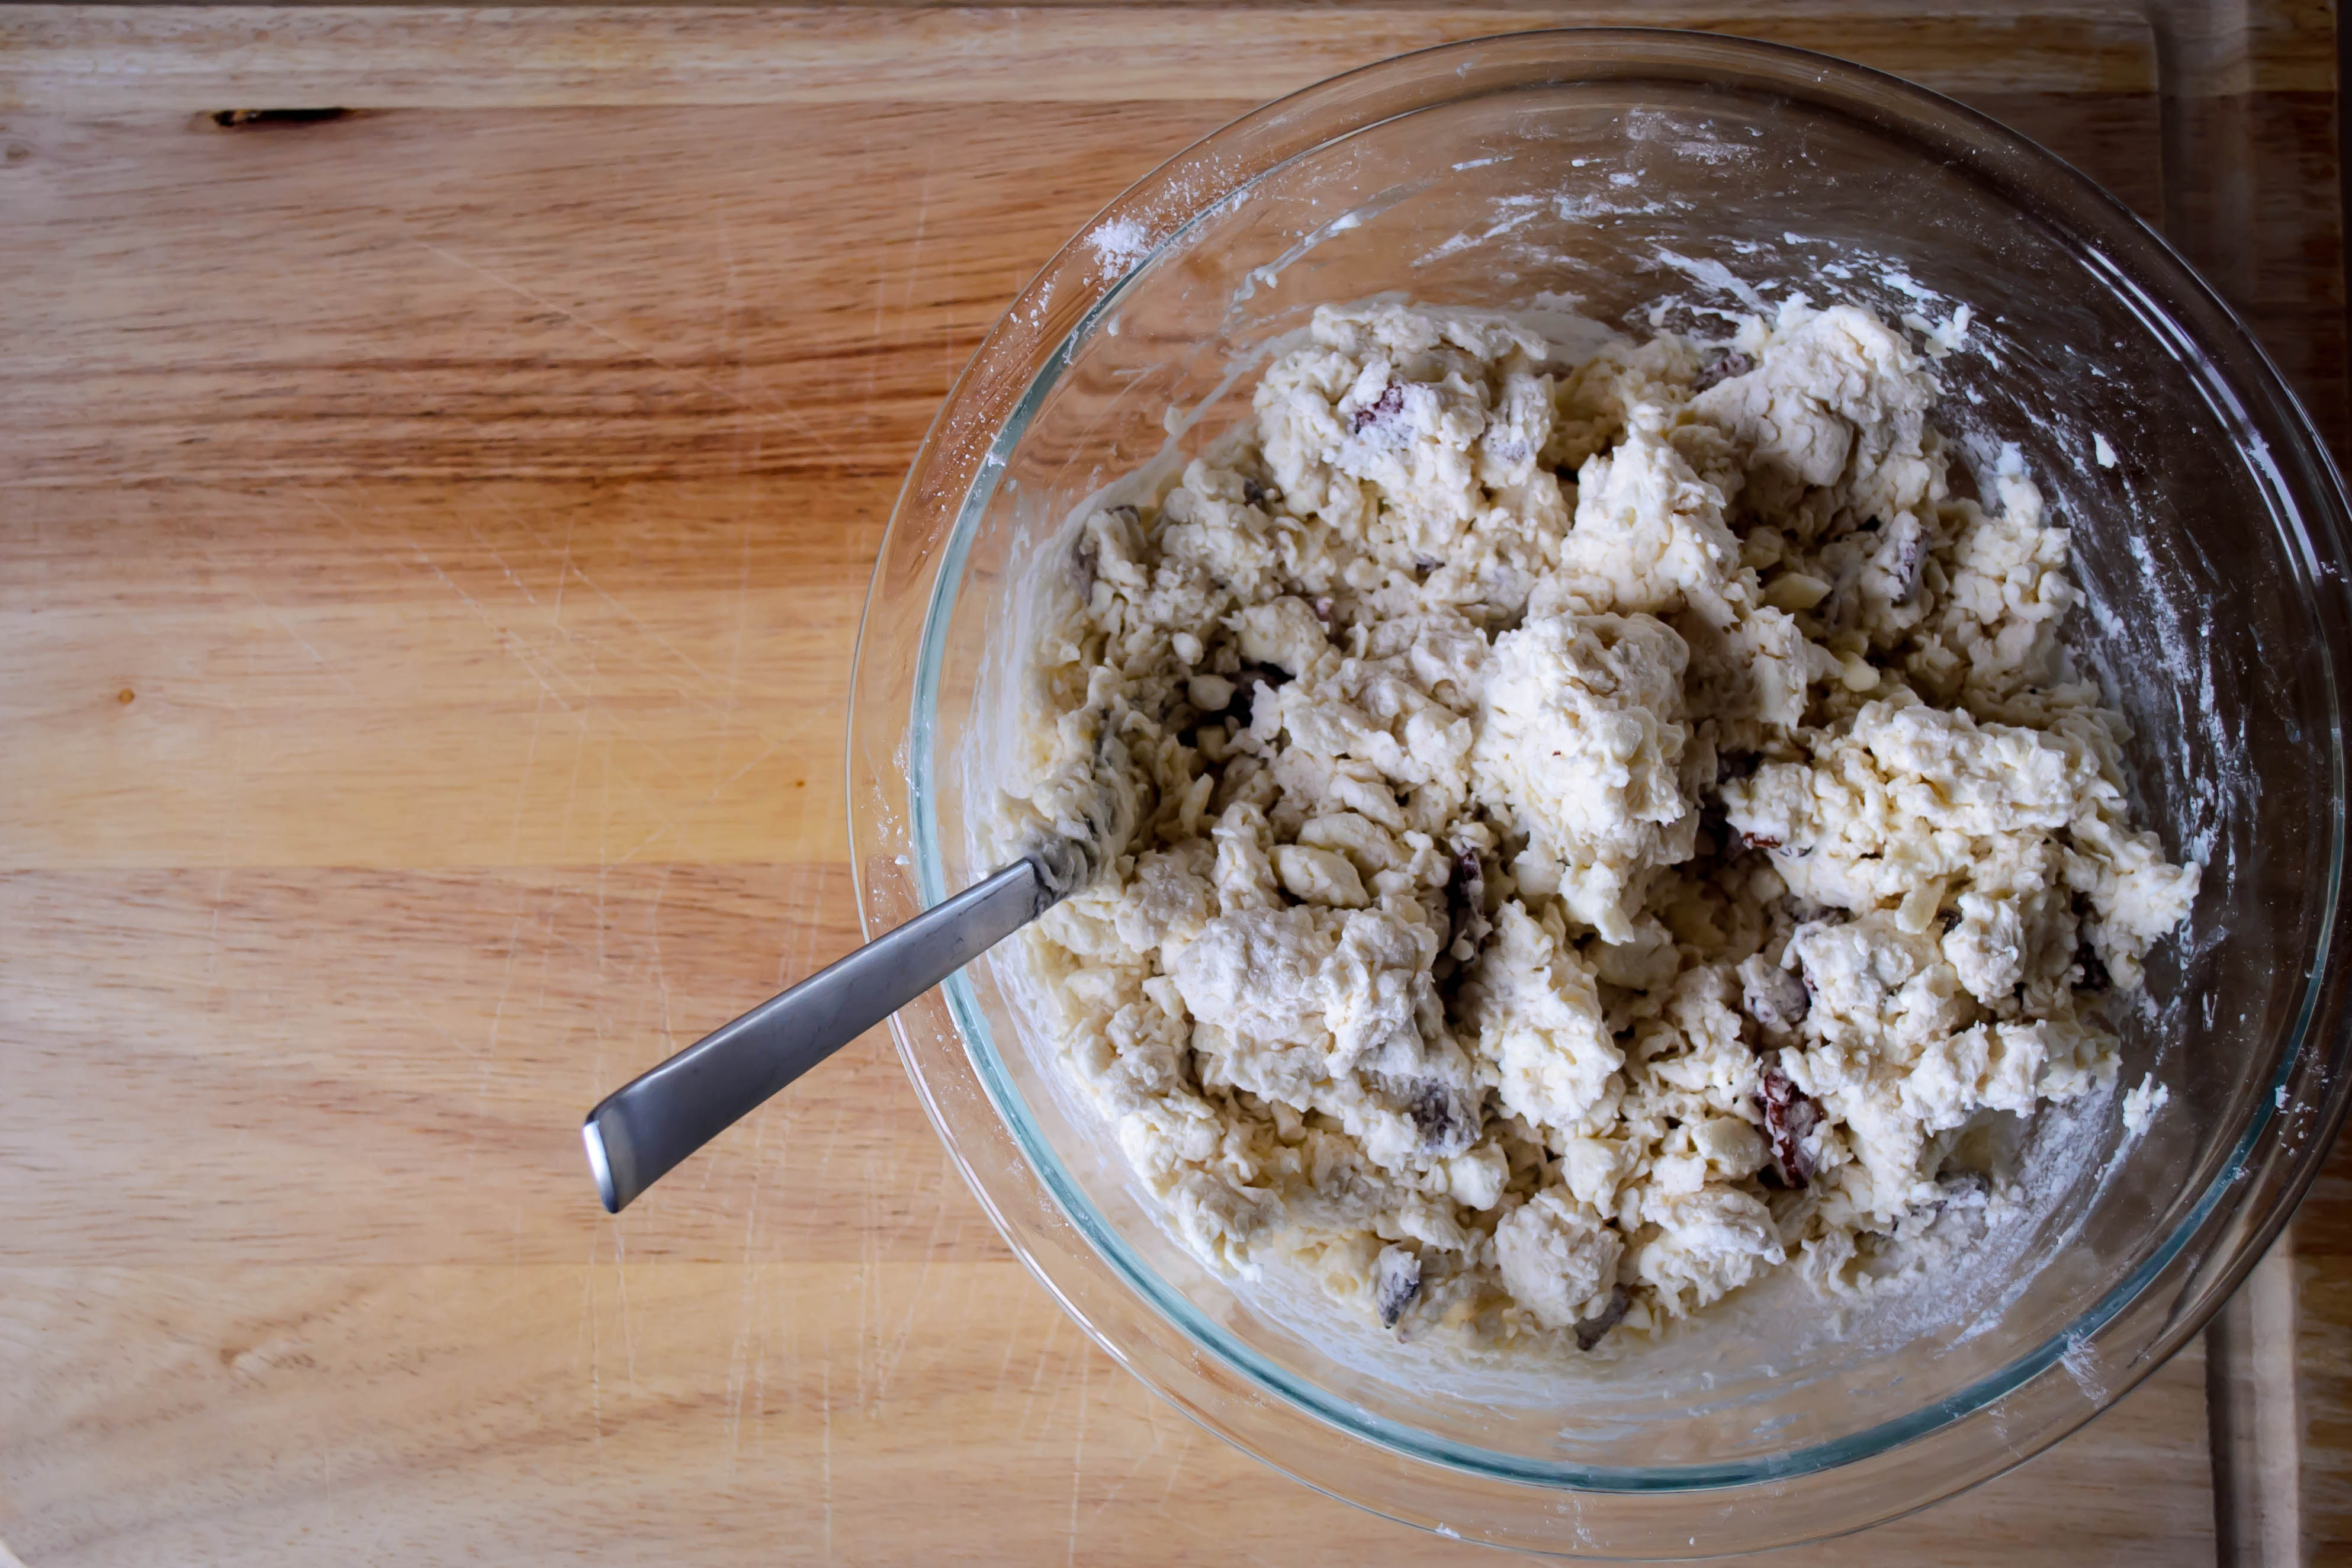
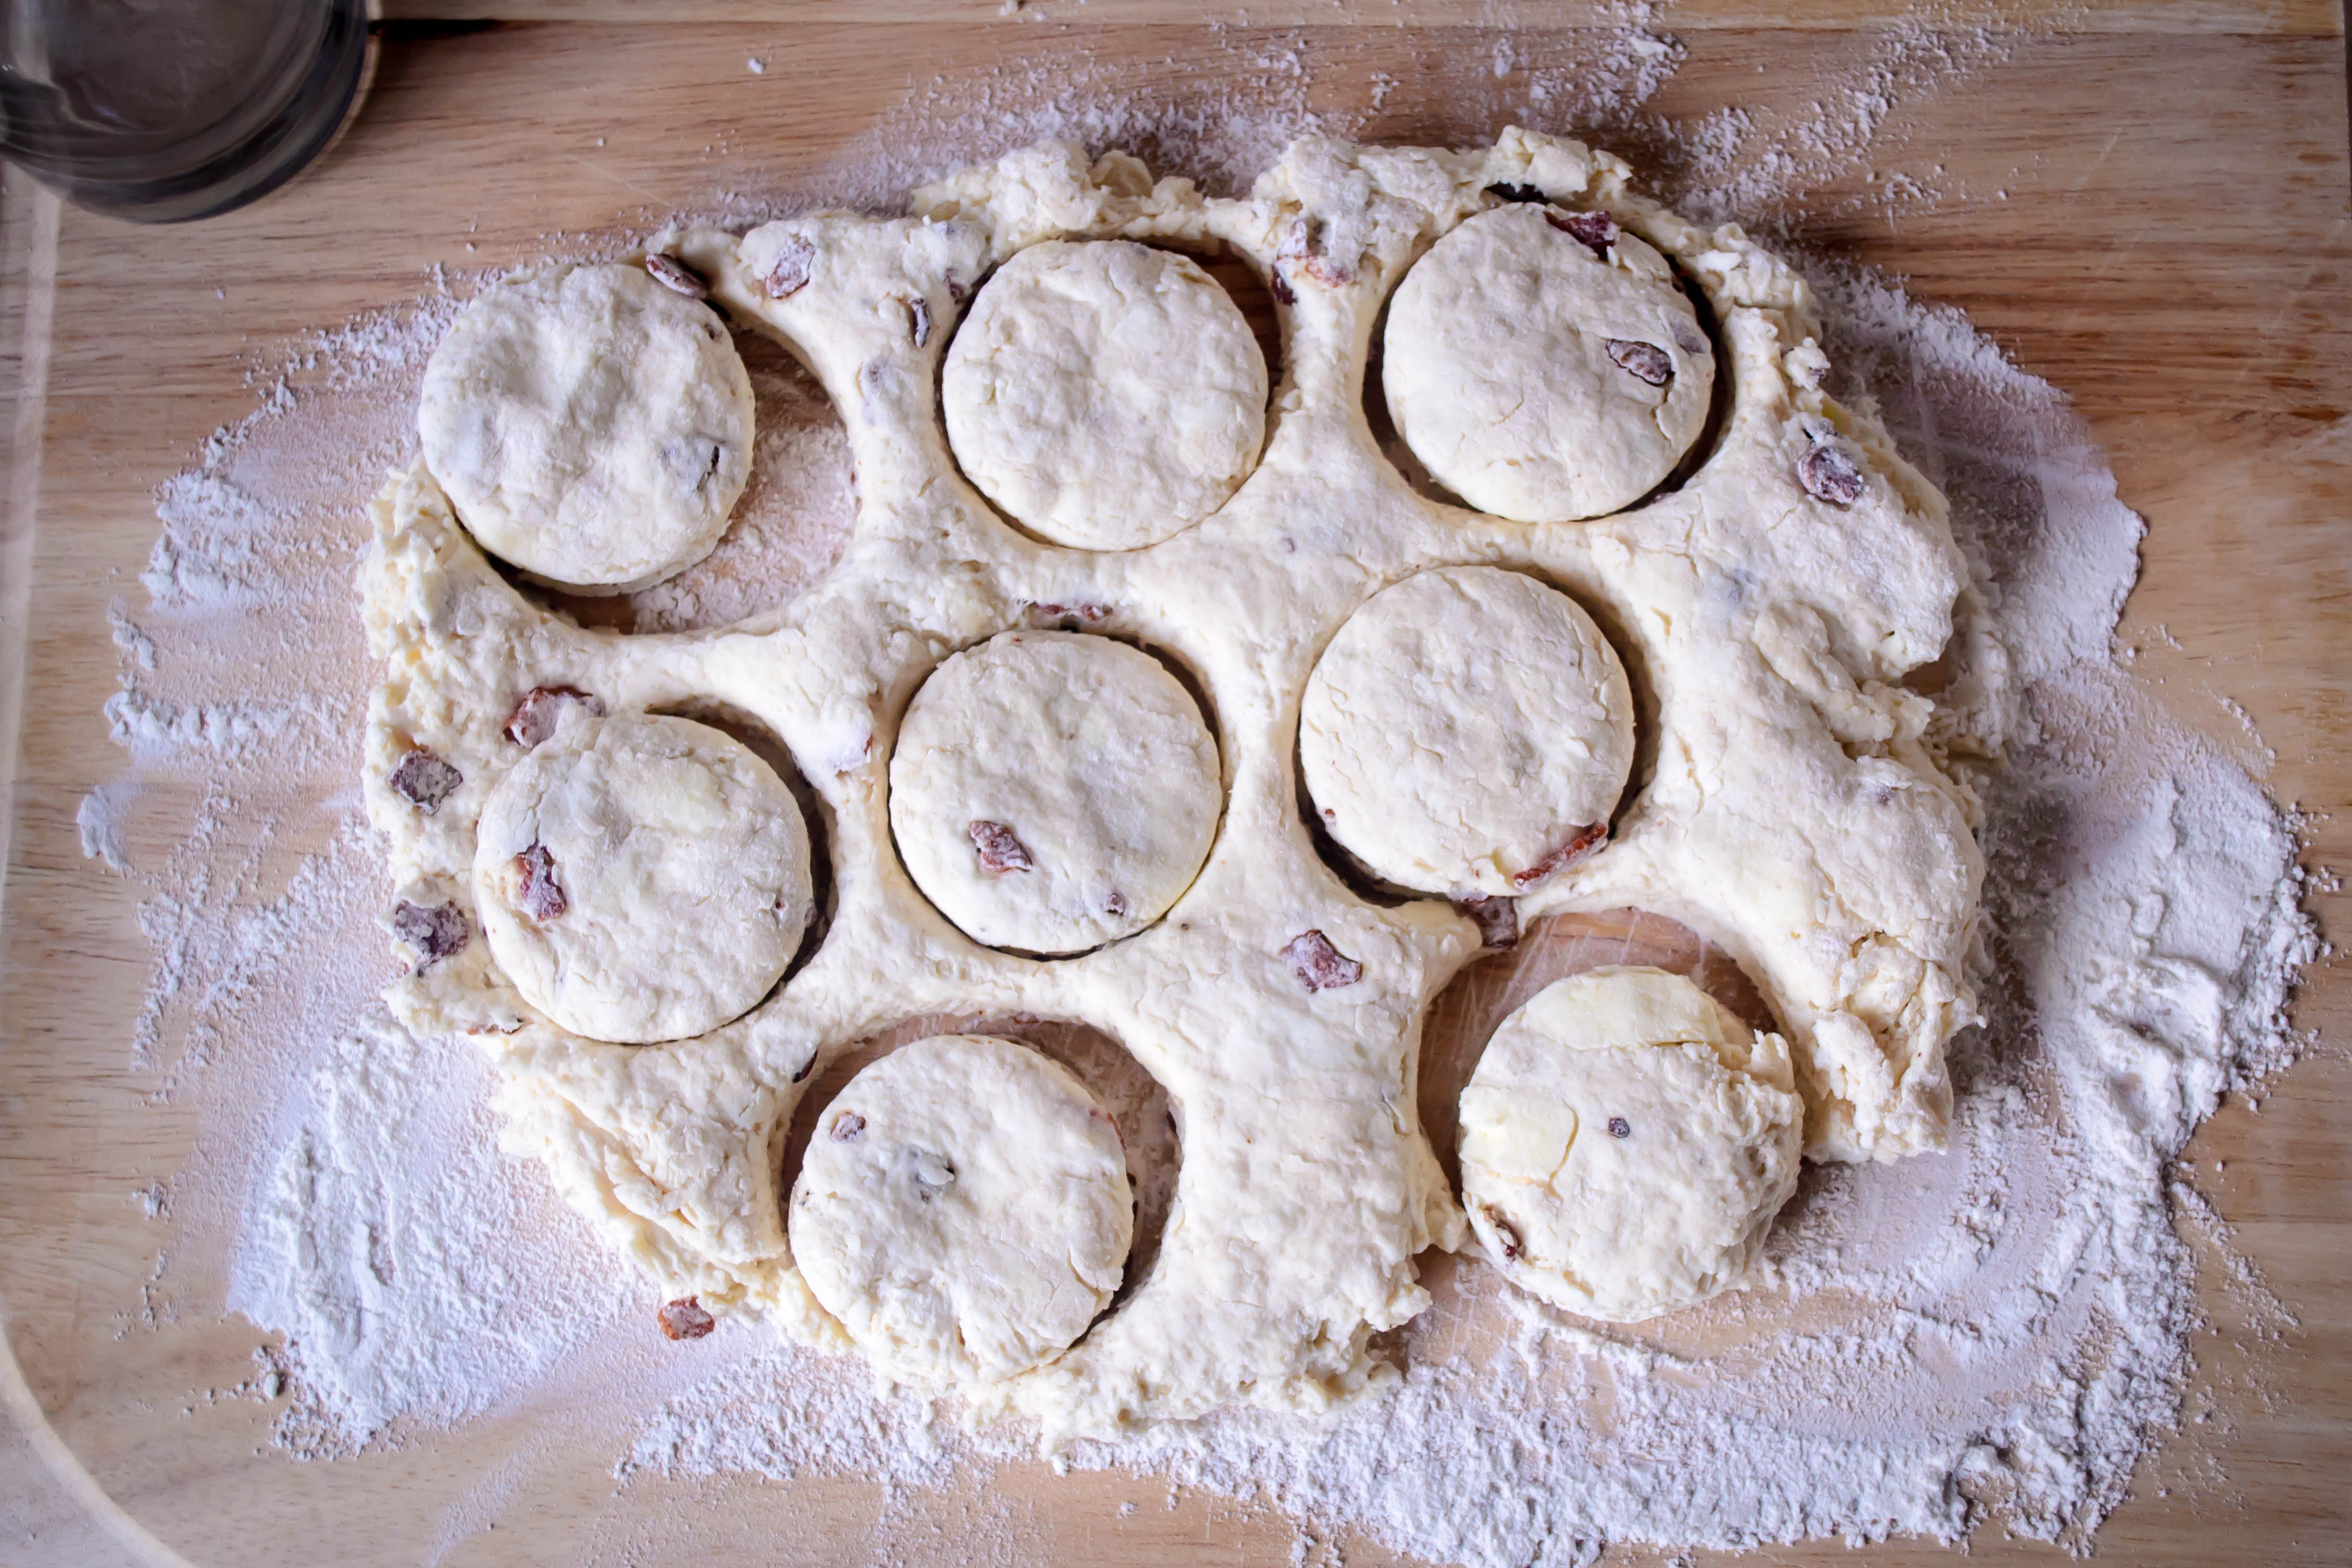
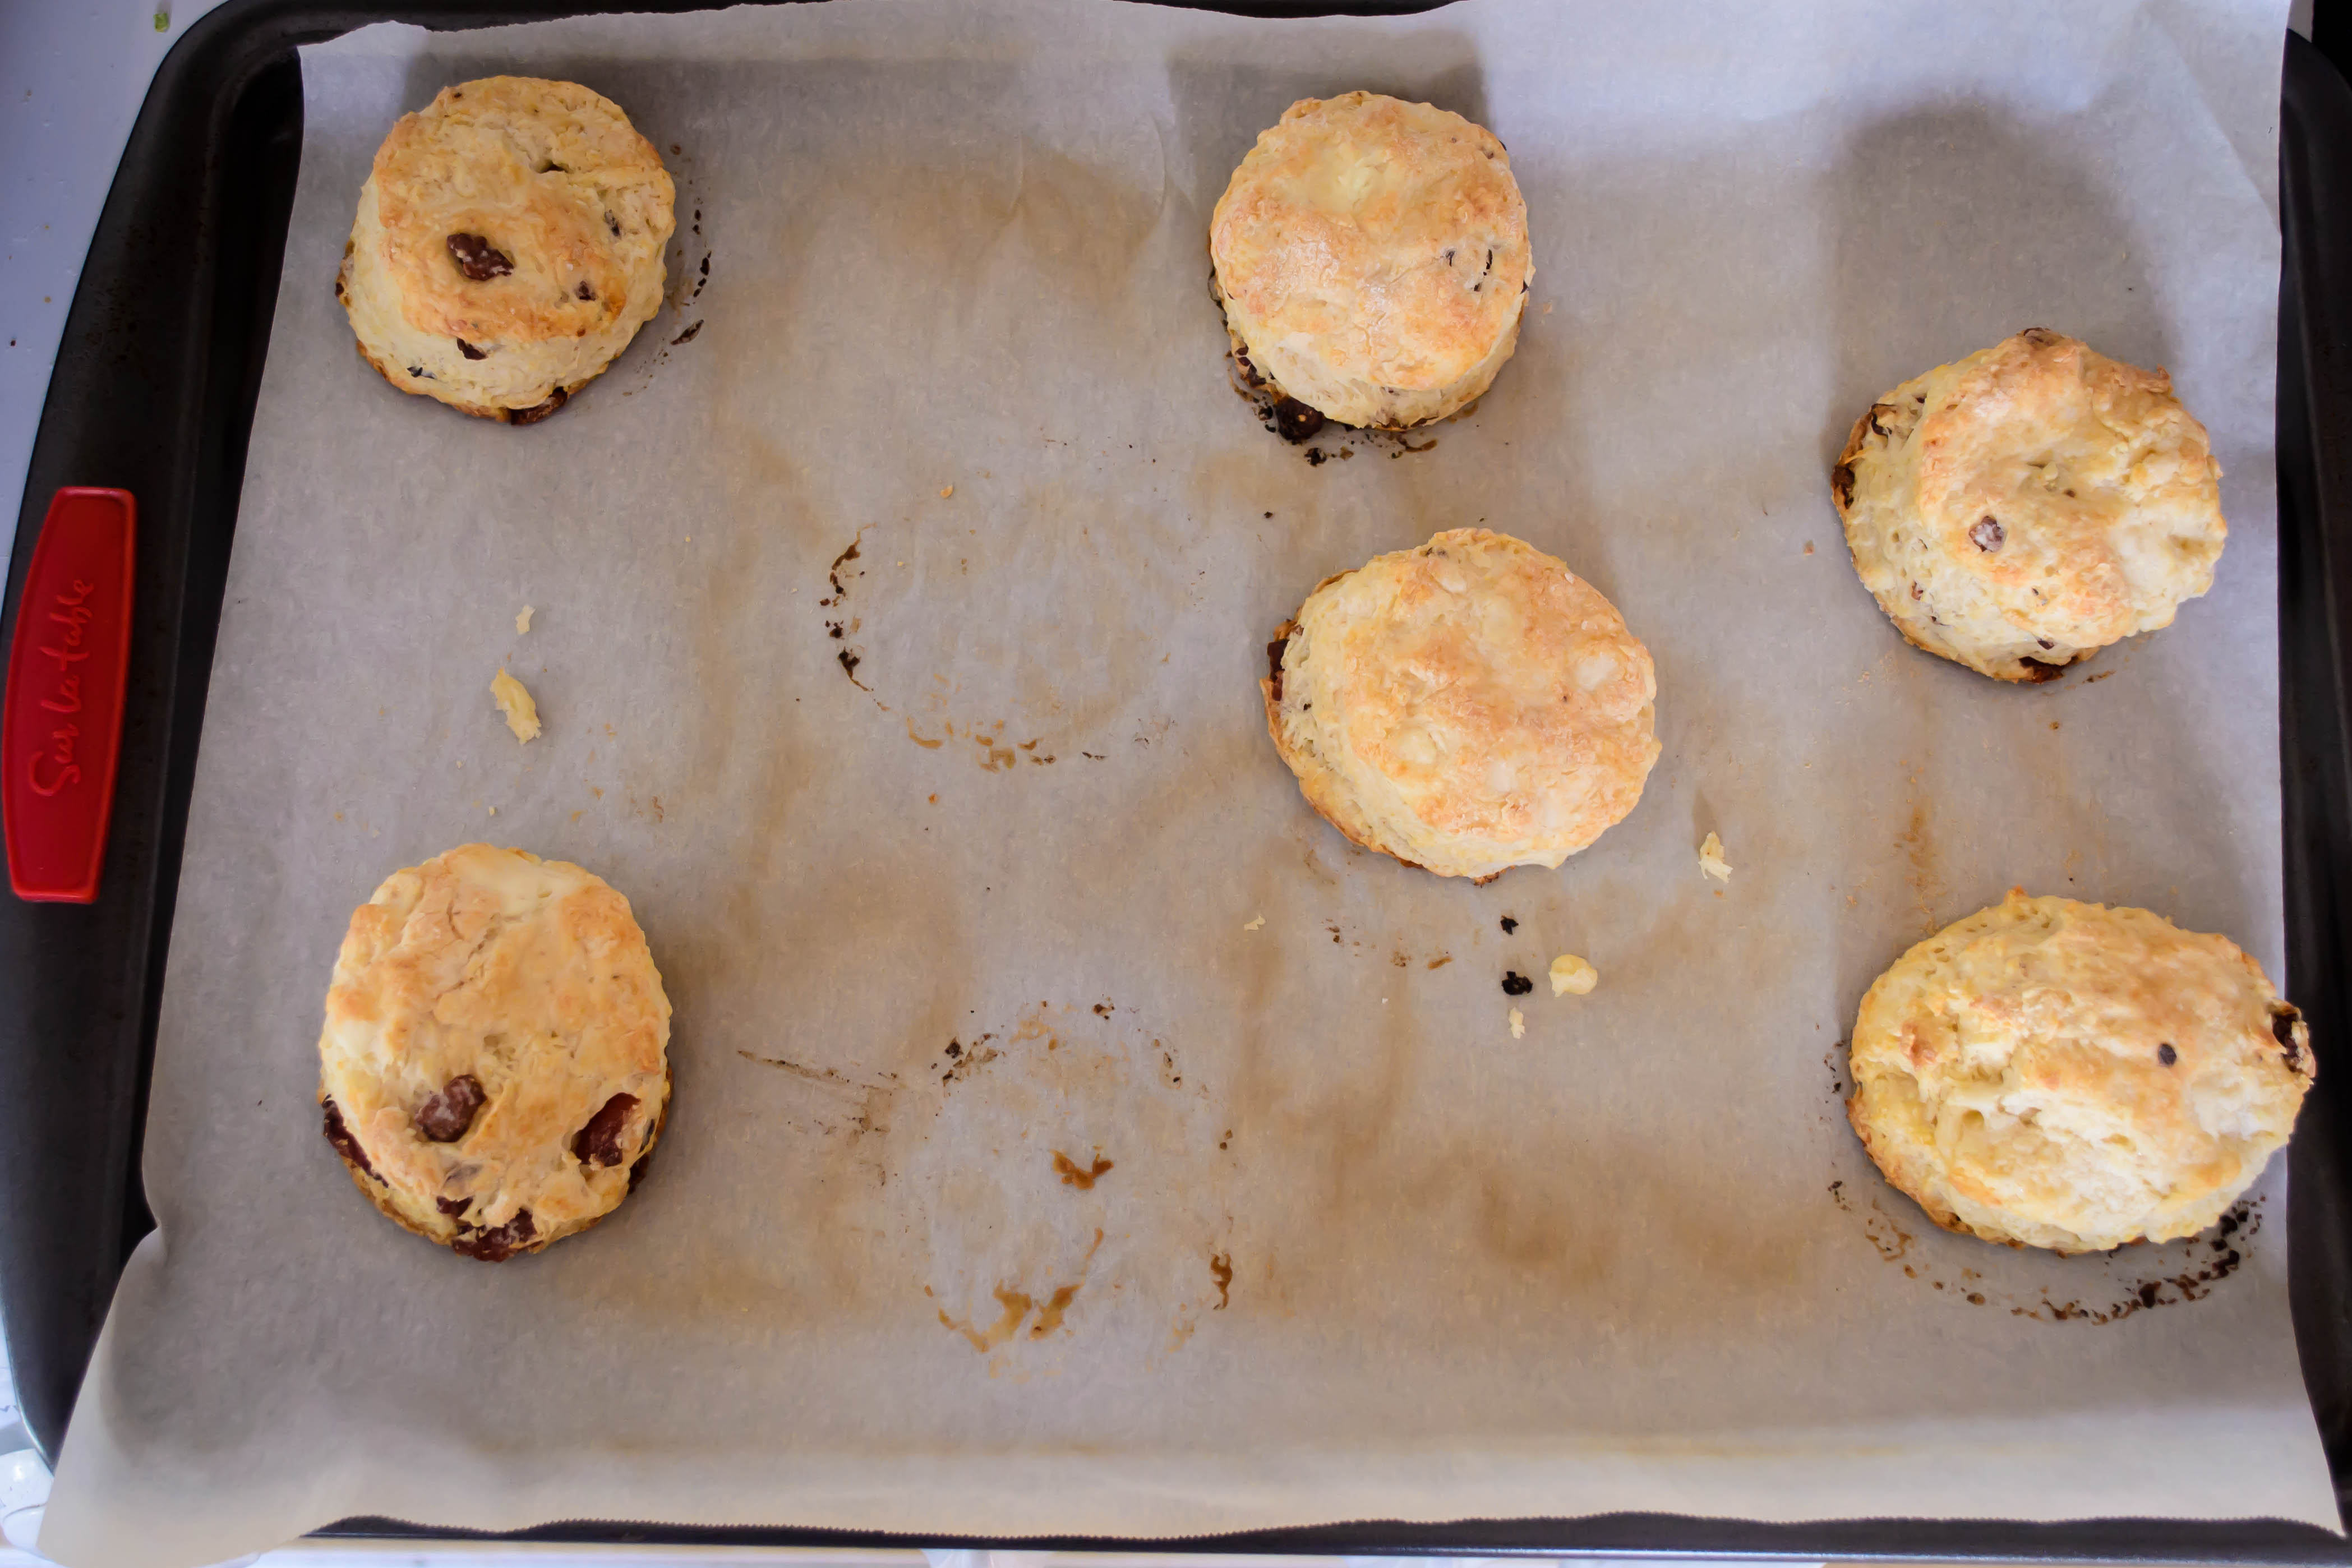
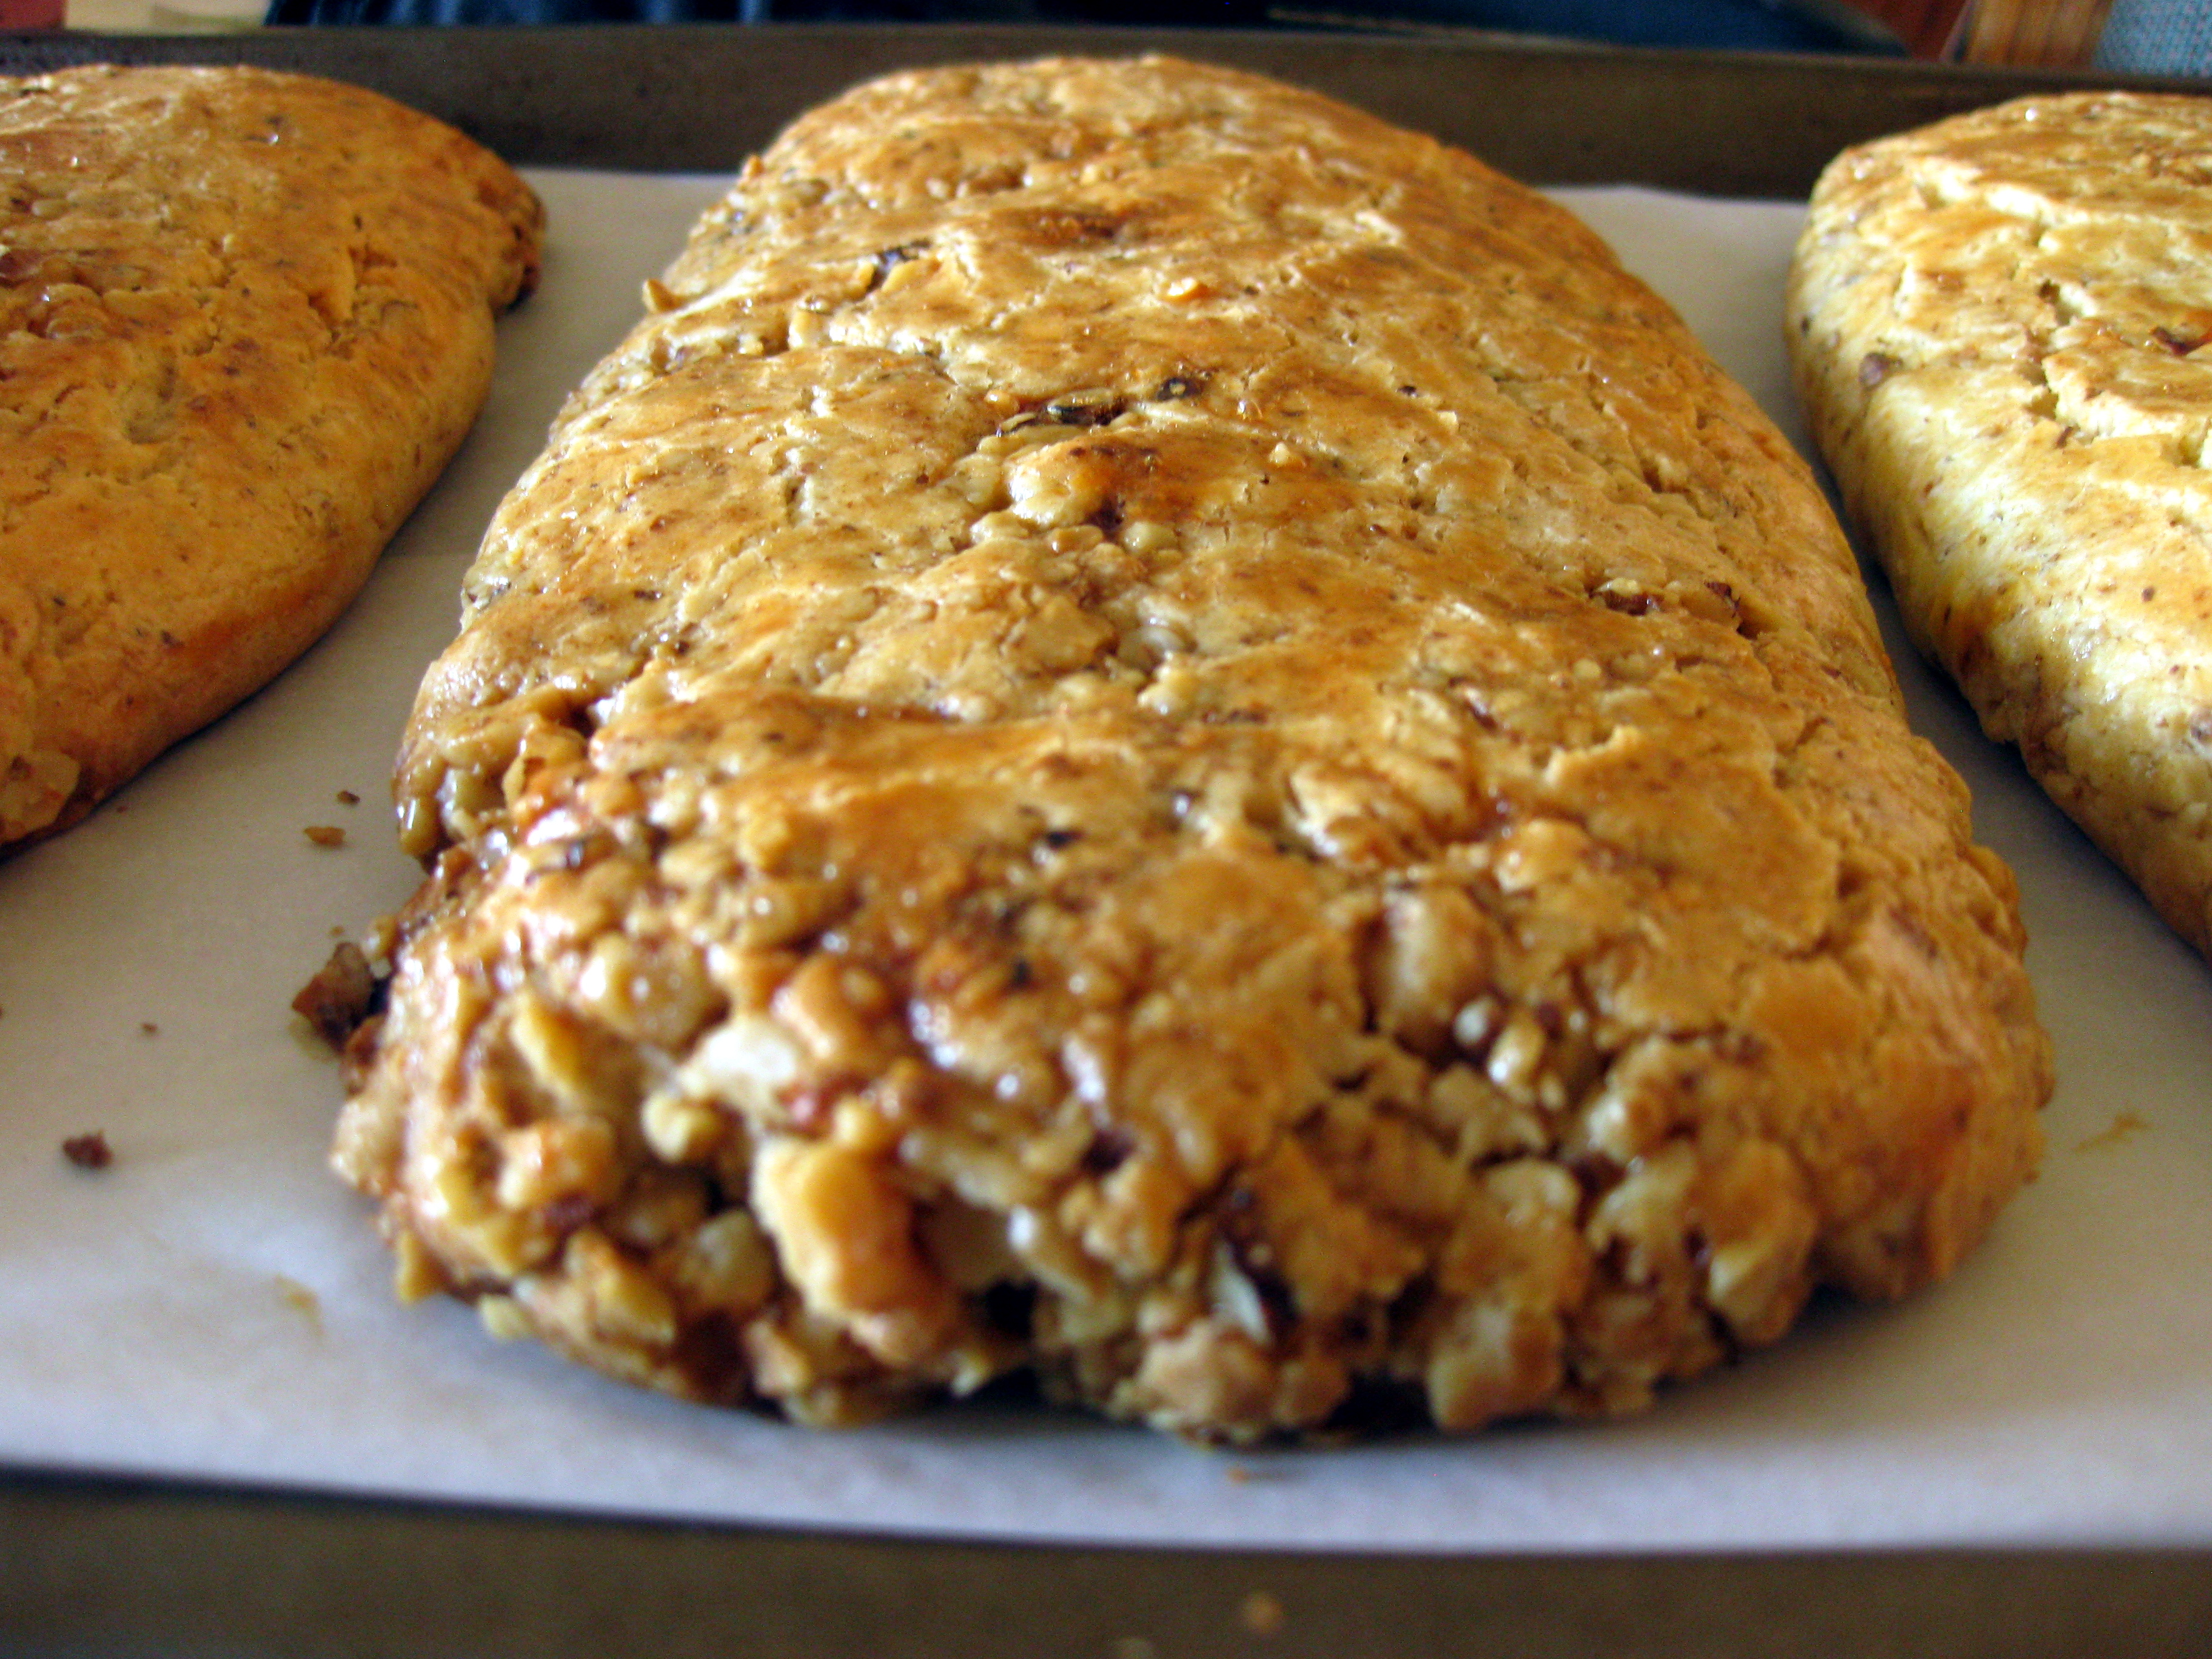
That act of gathering around the table, though, or munching away on the couch, that’s not all dinner is.  At least not for me.  For me, dinner starts in my brain.  Dishes, flavors, raw ingredients that could be combined jostle around, shouting for attention, telling me their stories.  What if I used hash browns instead of tortillas to make a quesadilla?  What would that be like?  What if, for extra texture, I folded kale chips into the hash at the last minute instead of serving them on the side?  What if, oooh, I roasted the mushrooms for stroganoff instead of just sautéing them in a pan?  It’s like the scene in Disney’s The Sword in the Stone where Merlin packs up his traveling bag, except instead of dishes and furniture waltzing through the room, it’s ingredients.  When they seem particularly promising, I jot them down on a legal pad I keep just for the kitchen.  They become pizza and roasted vegetables and frittatas and pastas.  They bake into seed-sprinkled loaves and butter-drenched biscuits, and, at least last week, overly browned sweet potato fries.  They are rarely 3-part plates anymore – six years of meager graduate school stipends forced much of the meat out of our diets – but combine spices and heat in ways I never thought about when I was a teenager struggling to put meals together. DSC_0791

In my kitchen now, as I prepare to start dinner, all of the stress and concerns and aches I’ve had throughout the day get pushed to the sidelines by the creative bubble in my brain expanding out down my arms and into my fingers: time to cook!  My vegetable board comes down from its hook, I hone my knife a few times, just to keep the edge nice, and I’m chopping garlic and mincing ginger and grating lemon zest.  I’m whisking white wine vinegar with mustard and honey to start a salad dressing.  I’m loading a pan with florets of broccoli to roast.

Food Blog February 2013-0682
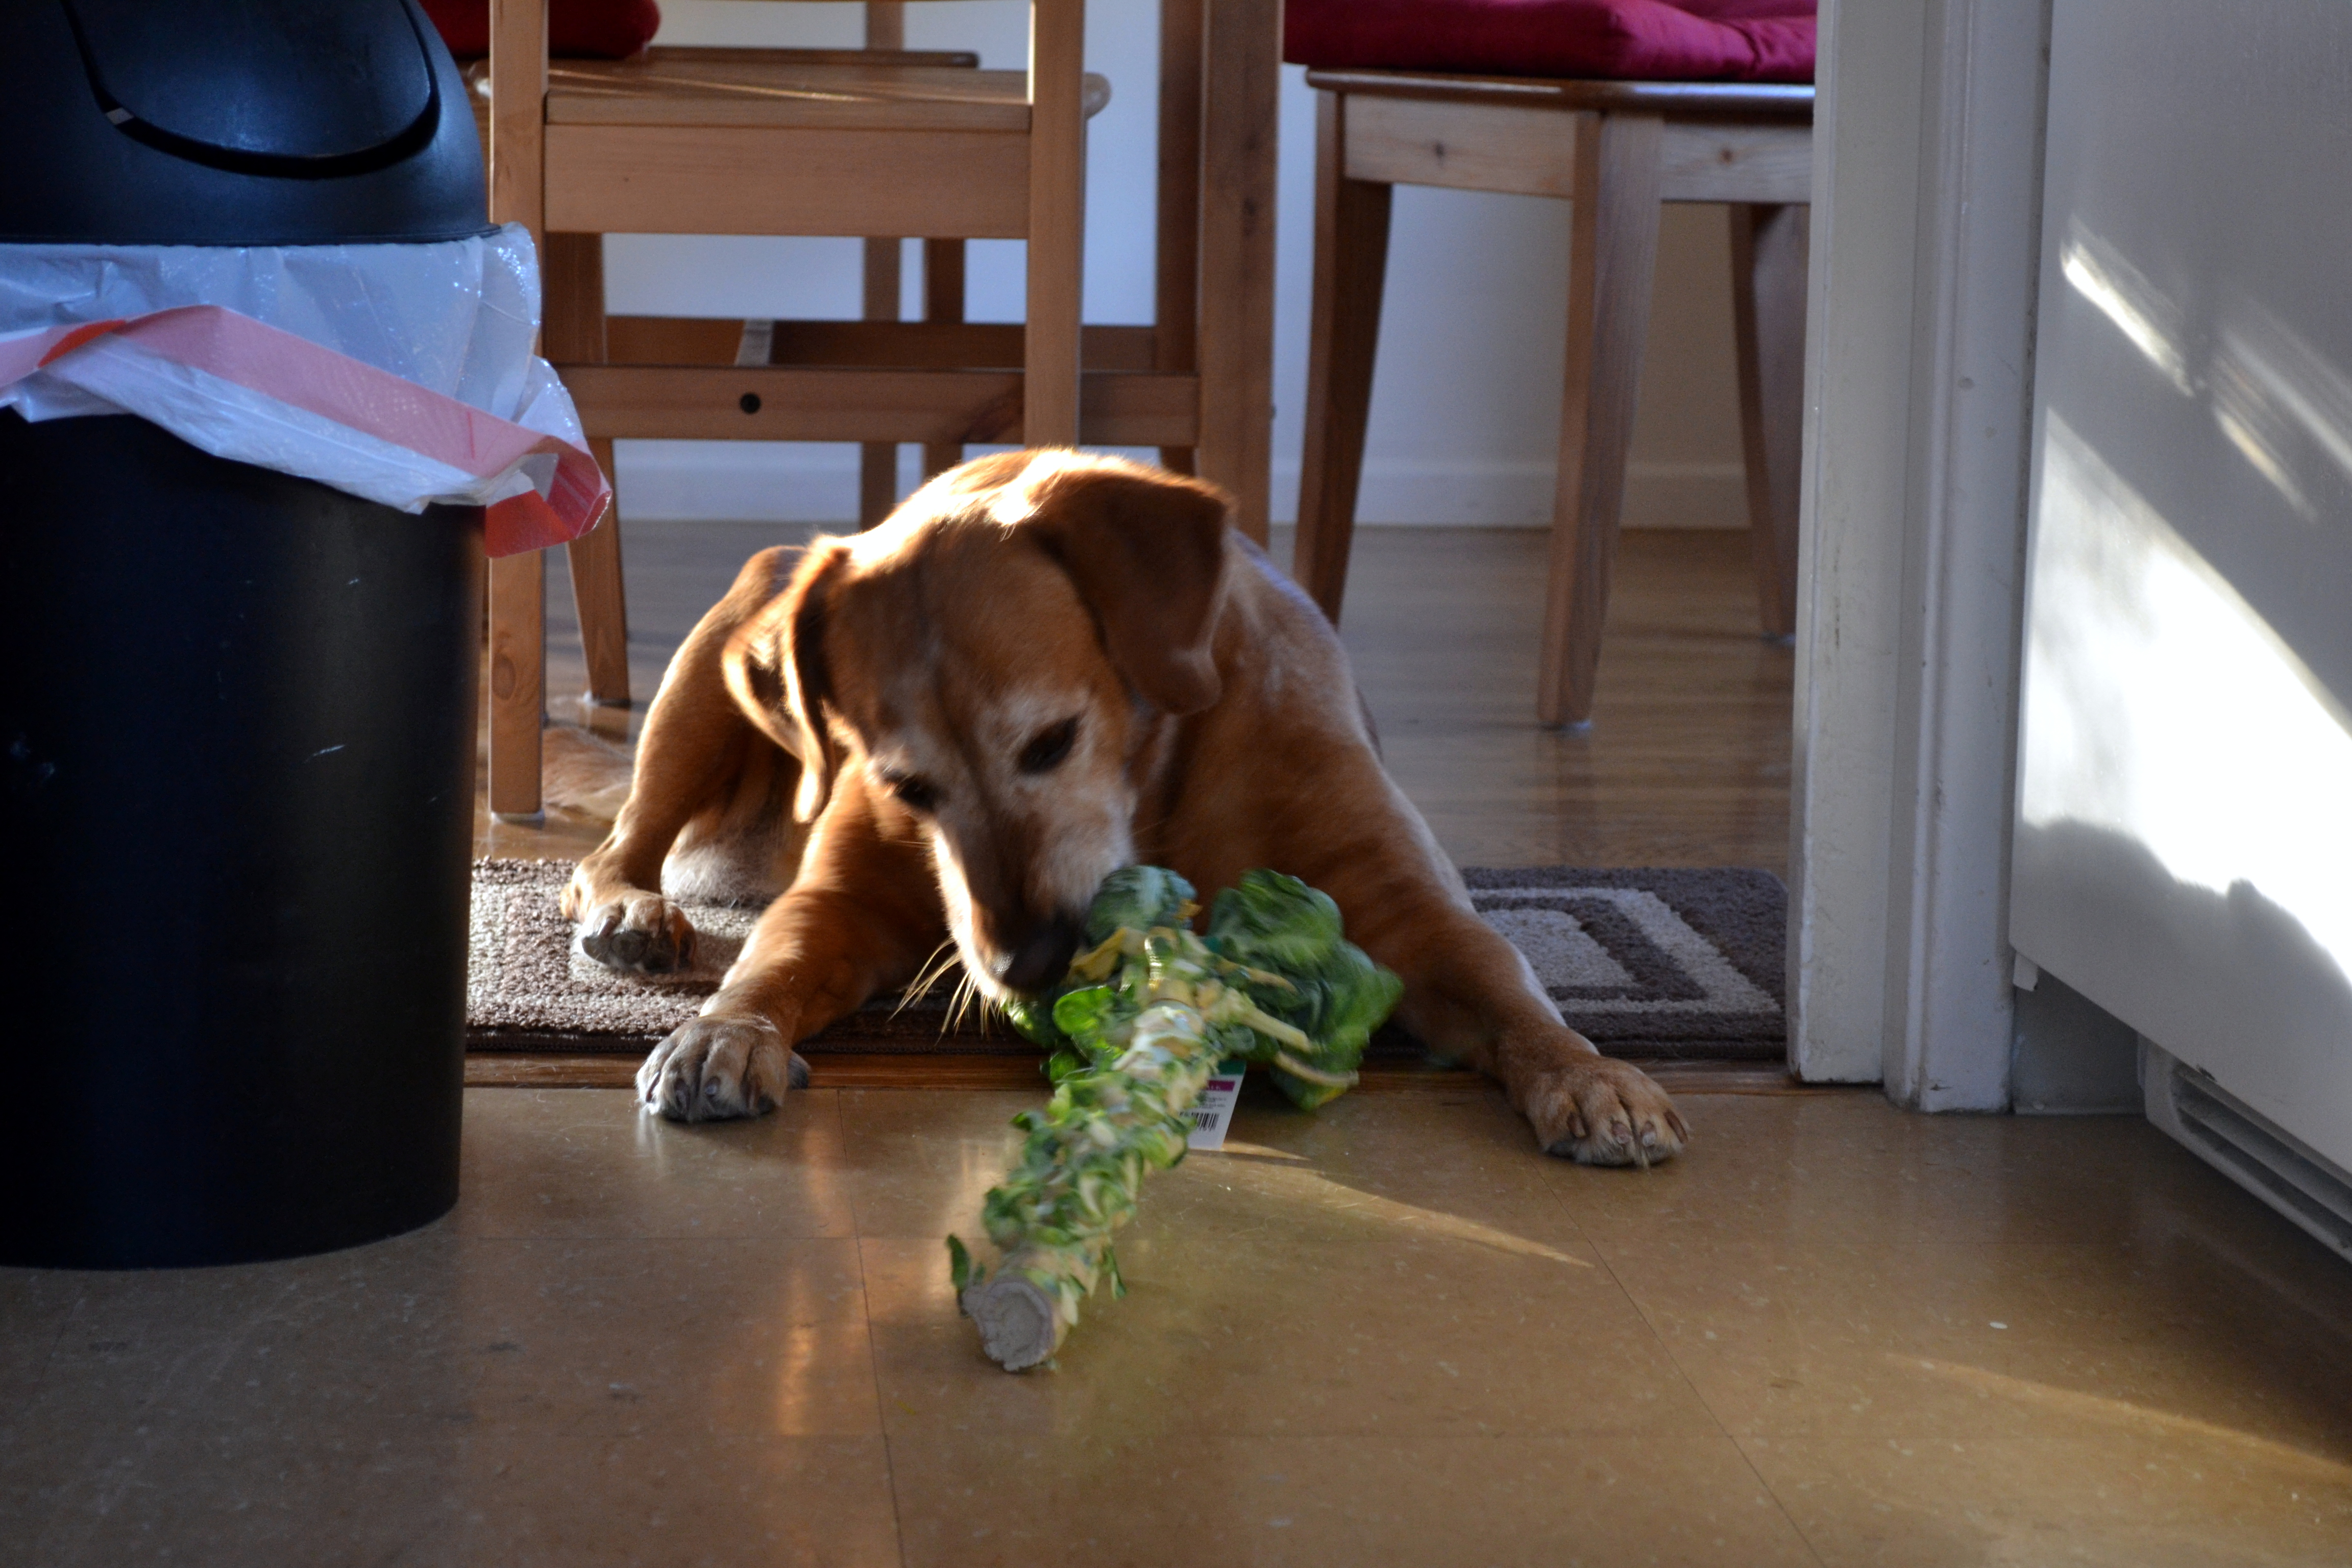
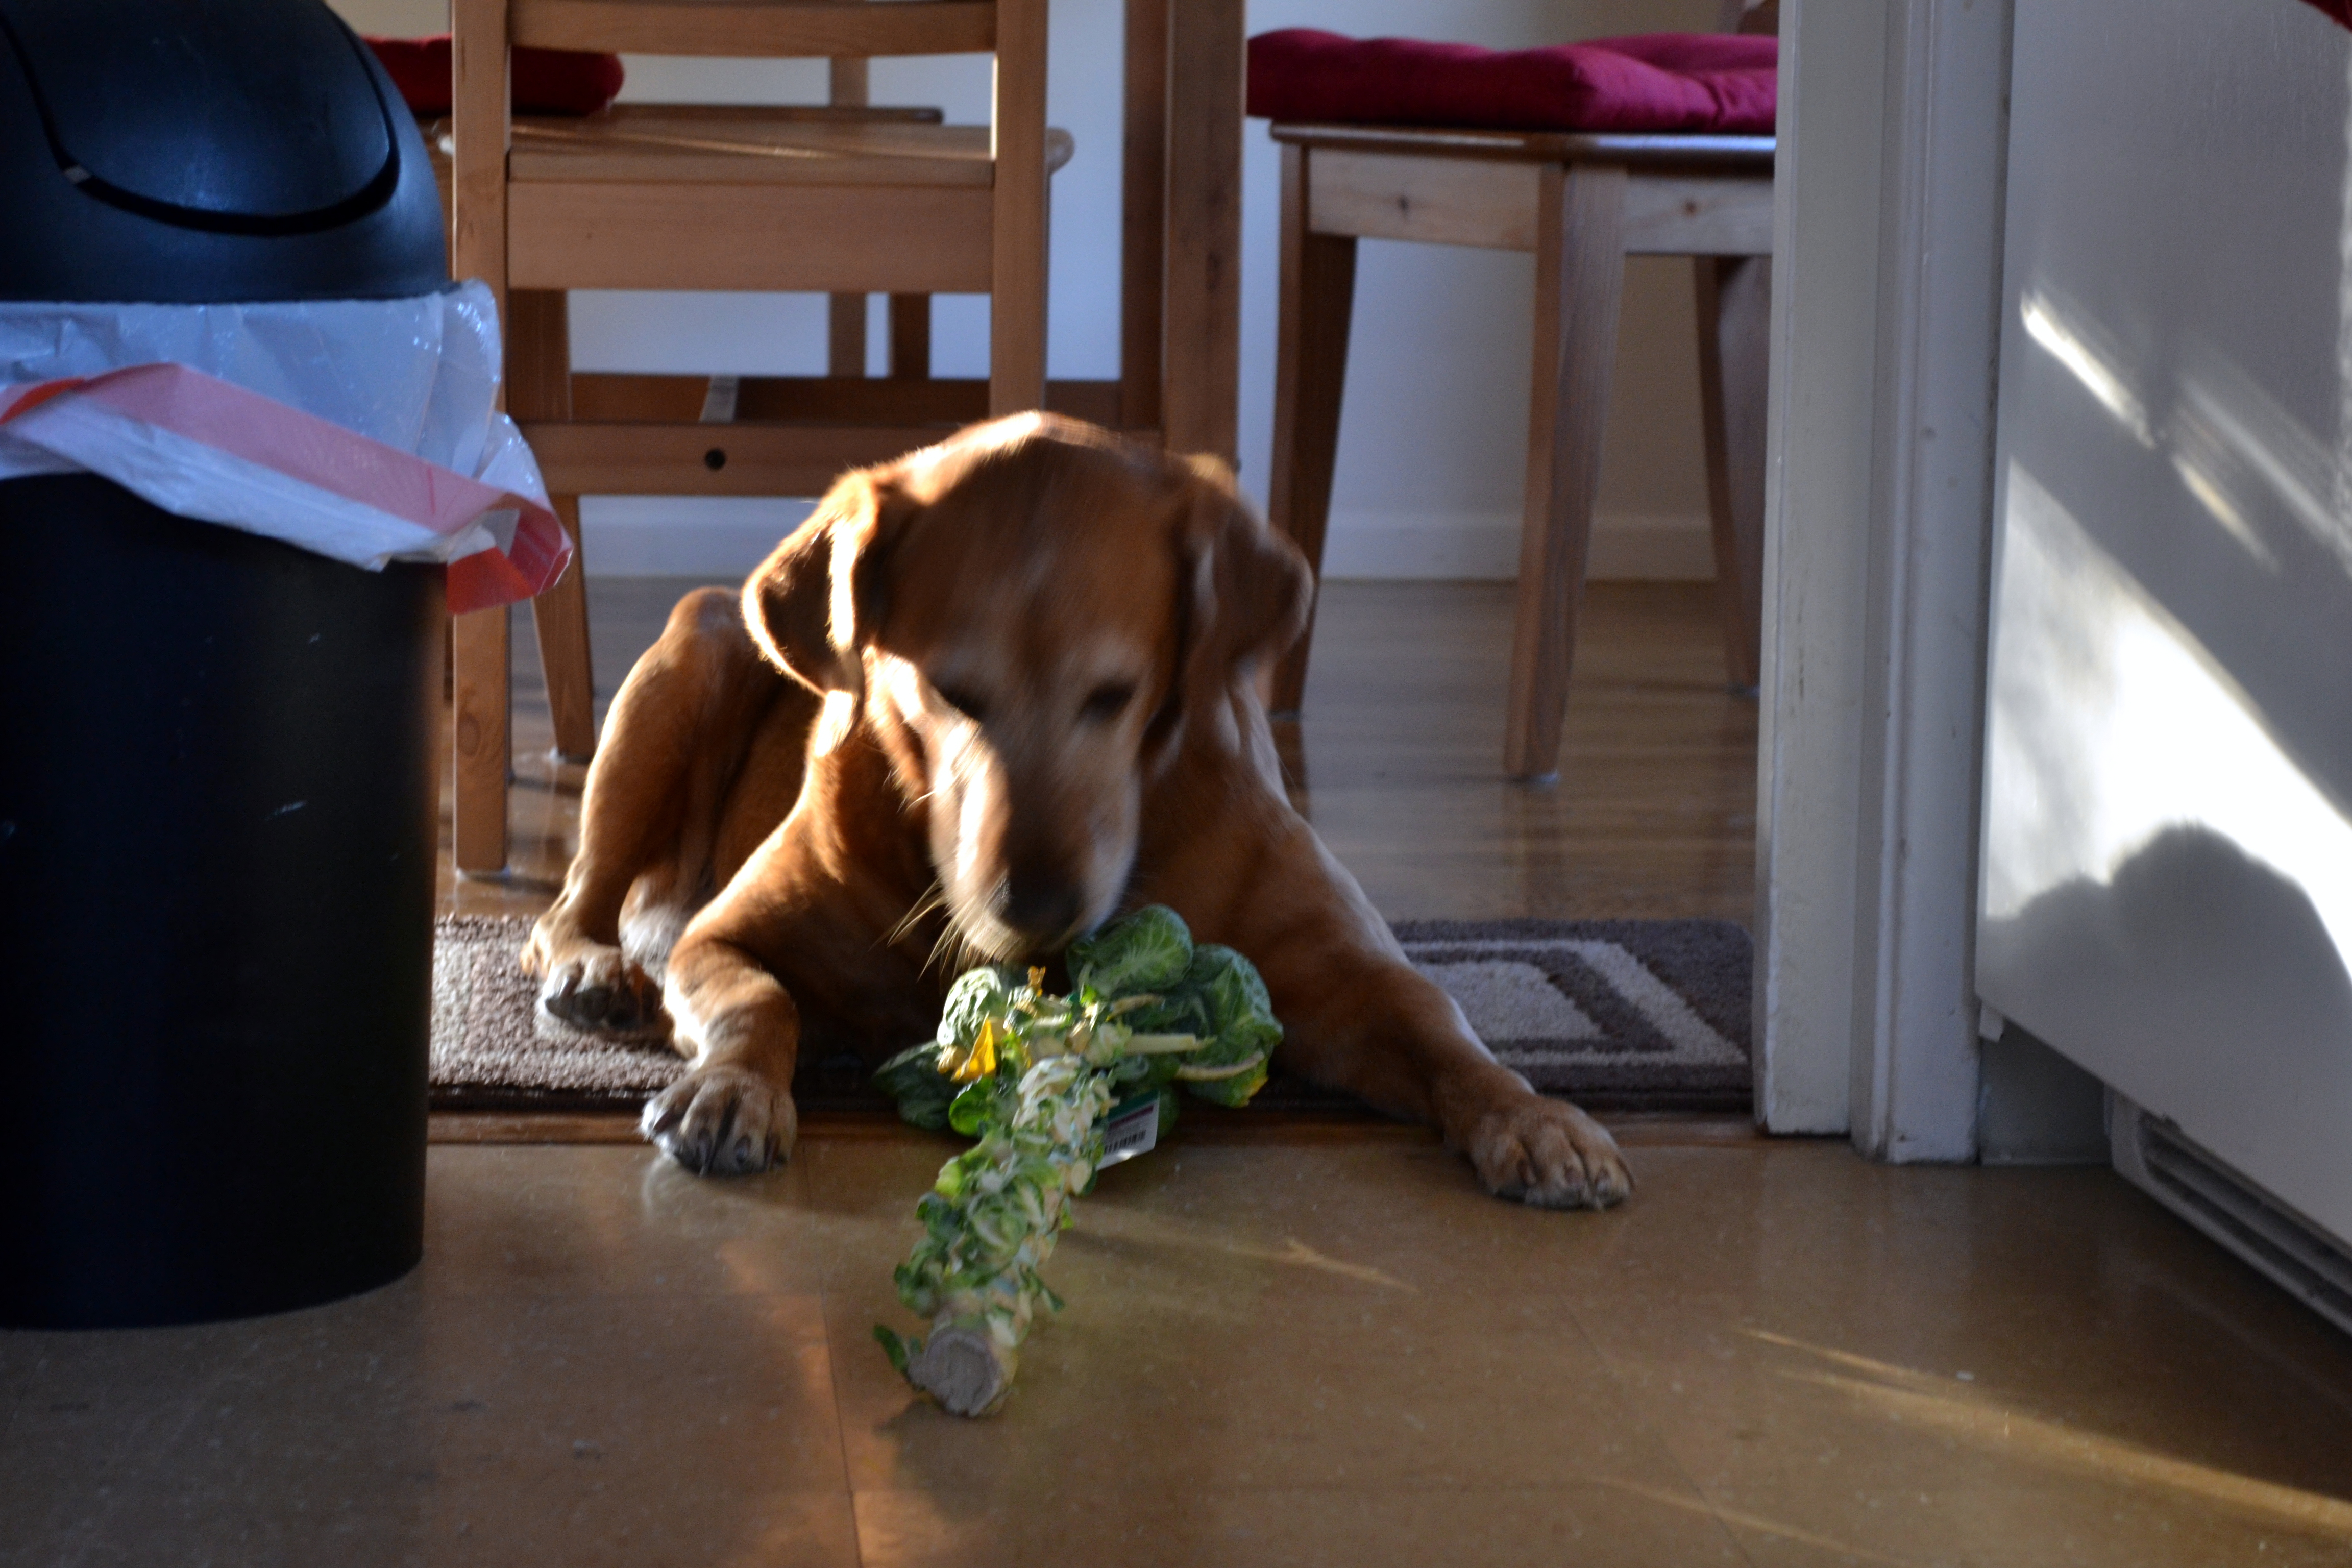
Then Lucy arrives (yes, my “daughter” is a Lucy too!).  Friendly eyes, hopeful wag, up for anything, she stands in the doorway, letting her nose suss out the situation.  I give her a carrot or the thick, stubby stem end of a head of broccoli (her favorite), or once, memorably, a whole Brussels sprouts stalk she was determined to annihilate (I took this away from her fairly quickly).  She hangs around hoping until I light up the stove.  She doesn’t like the gas, so she heads back to the living room where she can’t see the tiny blue flame.

DSC_0986DSC_0985DSC_0984When things start to smell good, N. does a pass through.  He peeks into skillets, examines the counters for ingredients, snags a clump of cheese or a piece of marinating tofu.  Sometimes he’ll watch for a minute as I flip an omelet or deglaze a pan.

Food Blog March 2013-0373That’s how we come together, at dinnertime in my family.  We may not talk much during the meal (though Lucy and her velvet brown eyes have plenty to say about the smells she’s not tasting), but the magic of the kitchen itself pulls us all in.  We serve ourselves, pan to plate, and retreat to the living room, but inevitably find ourselves back at the stove, sneaking seconds.  Lu makes a round of the floor as N. and I eat, just to be sure nothing has fallen from the countertops.  And sometimes, later, as we pack up the leftovers for another night, N. tells me it was the best pizza I’ve made so far, or that I can roast carrots like that again anytime, or that he was really craving comfort food, and those breakfast burritos were exactly what he needed.  And that spurs the ingredient dance to start again, and it reminds me that dinner is maybe my favorite time of day.

IMG_5878

Dried Fruit and Ginger Scones

Food Blog April 2013-1194

This month’s archive makes it look like I’m harboring a bit of a sweet tooth.  Nothing wrong with that, necessarily, but I should tell you this week’s entry is actually at N.’s (indirect) request.  A month or two ago, my beloved aunt sent me some specialty King Arthur flour, and along with the packages of semolina and European style AP blend came a catalog.  Naturally, this has become my bedtime reading (what, you don’t read cookbooks and kitchen magazines in bed?), and on Monday night as I dawdled longingly over a blurb about Double Devon Cream, N. surfaced from internet-land and glanced at the facing page.  “That,” he said, and pointed at a photograph of some cranberry orange scones.  “You want scones?”  A silly question, apparently.  “That.”  So here they are.

Food Blog April 2013-1189

I did some research (i.e. food blogs and recipe comparisons from the other cookbooks stacked on my nightstand) and found, as usual, that Deb has all the answers.  Seriously, is there anything the woman hasn’t made?  I adore you, Deb, but really – a person can only repress the green-eyed monster for so long…   This adapts her recipe for “Creamy, Dreamy Scones,” which she got from the America’s Test Kitchen Cookbook.  I’ve used a combination of cake flour and all purpose flour for a lighter texture, allowed turbinado sugar to stand in for the regular sugar, and replaced some (okay, most) of the cream with whole milk, because I lost my mind this week and, forgetting the intended use of that little container, dumped most of it into an unholy-but-oh-so-heavenly conglomeration of chard, bacon, and bourbon.

These scones take advantage of the bags and bags of dried fruit that inevitably collect in my pantry.  You could probably add other flavors as well, but I thought apples and cranberries, and the candied ginger I’ve been obsessed with for at least a year now, would play well together.  Apricots would probably be beautiful too (unless you are, like one of my family members who shall remain nameless to protect familial harmony, freaked out by dried apricots because they apparently bear an uncomfortable resemblance to mouse ears).

Food Blog April 2013-1170

Scones come together much like biscuits: whisk the dry ingredients, cut in the butter, stir the milk/cream/buttermilk and flavor additions in with a fork.  But then, and this is where things can go awry, you have to pat it into a circle and either punch out rounds with a biscuit cutter, or slice the whole thing into triangles.  I chose the latter.

Food Blog April 2013-1177Food Blog April 2013-1182

This dough is, if we’re honest with each other, an almost unmanageably sticky mess.  Resist the temptation to mix more flour into the dough, because the more flour you add, the less tender the finished scones will be.  But do be prepared to sprinkle flour over everything it will come in contact with.  I used a floured pizza cutter to slice it into eight pieces, which tore up edges and corners even while the dough clung fiercely to the board below.

Food Blog April 2013-1178

Food Blog April 2013-1180

Food Blog April 2013-1185

A bench scraper tool is really helpful for transferring your scones to their cooking vessel – a parchment lined baking sheet would be fine, but I used my brand new enameled pizza stone because I’m so jazzed about it.  This, because I preheated it along with the oven, made the scones sizzle as I levered each one onto its surface, and rather than sticking (which I was dreading, since I realized only after they’d been in the oven for five minutes that I hadn’t greased or floured the cooking surface AT ALL), produced a crisp bottom crust.

Food Blog April 2013-1190

I left my offering on the pizza stone to cool while I took the dog for a walk, and returned to find it had been accepted.

Food Blog April 2013-1191

An hour or so later, it had been accepted again.

Food Blog April 2013-1192

These are best on the first day, but will keep acceptably for two or three days if they are well wrapped in aluminum foil and stored at room temperature.  Chances are – if your family is anything like mine – this short storage period won’t be an issue.  Still warm, these make perfect hand-held afternoon pick-me-ups (the ginger really zings you out of the 3 o’clock slump), but if you want to go the extra mile, I recommend slicing them in half so you have two triangles, stuffing them with Greek yogurt and a decadent ooze of local honey, and attacking with a fork for breakfast.

Food Blog April 2013-1197

Apple Cranberry Ginger Scones

Adapted from Smitten Kitchen, who used America’s Test Kitchen Cookbook. 

1 cup all-purpose flour

1 cup cake flour

1 TB baking powder

4 TB coarse sugar, divided (I used turbinado because that’s what was in my baking cupboard)

½ tsp salt

5 TB butter, cut into cubes

¼ each chopped dried apples, chopped dried cranberries, and chopped candied ginger

¼ cup heavy cream

¾ cup whole milk

  • Position a rack in the middle of your oven and preheat to 425F.  If you will be baking on a pizza stone, put it in the oven to preheat as well.  If you will be using a cookie sheet, line it with parchment paper and set it aside.
  • Whisk together the flours, baking powder, 3 TB of the sugar, and salt in a medium bowl.
  • Cut in the butter using a pastry blender, two knives, or your fingers, until the largest chunks of butter are the size of small peas (sidenote: “peas” seems the universal size for butter chunks – why is that?  Is there no other pea-sized object so regular and recognizable in size that we could call upon?  Ball-bearings?  Corn kernels?  Canine teeth?).
  • Pour in the cream and milk (or just use all cream, if you have it) and mix it around with a fork until an evenly hydrated, extremely sticky dough forms.
  • Add the fruits and mix again until evenly distributed (you may have to work a bit to break up the ginger pieces).
  • Dump the sticky mass out onto a well-floured board.  Sprinkle a little flour on top as well, then pat the dough out into a circle about 1-inch thick.  Try not to add too much flour, lest they become dense and tough.
  • Dip a pizza cutter or other thin, sharp knife into flour, then cut the circle into 8 equal sized pieces.  You may need to scrape off and re-flour your slicing instrument between slices.
  • Using a bench scraper, a thin spatula, or (if you are brave) your hands, relocate your 8 scones to your prepared baking vessel, spacing them a half inch or so apart (they will puff and rise a little bit, but not tremendously).  Sprinkle the tops with the remaining 1 TB of sugar.
  • Bake for 13-15 minutes, or until lightly golden on top and cooked through.
  • Cool at least 10 minutes before removing to a wire rack.  Eat warm or cool.

Blackberry Bourbon Bread (#Twelve Loaves April)

I’m a sucker for alliteration.  Call it having been an English major for so many years.  So when I read on April’s Twelve Loaves challenge that the objective was berry bread, I may have freaked out a little.  And when the idea of blackberries and bourbon zinged into my brain – dark, sultry, tartly perfumed – I may have freaked out a little more.  Food Blog April 2013-1083

Blackberries, bourbon, yogurt, and crumbly pebbly streusel all done up in a quickbread that we’ll pretend isn’t really an excuse for cake.  How could you want anything more?  Well, maybe a warming breath of cinnamon.  Granted.  And maybe some browned butter. Food Blog April 2013-1138

Just as this is barely a bread, it’s also barely a dough.  It only fits into my dough challenge by virtue of its attachment to the idea of bread, which, as I’ve noted, isn’t a very strong attachment at all.  Aren’t “quickbreads” really just desserts that we like to eat at non-dessert hours of the day?  But it is delicious, and warm, and comforting, and I think we could all do with a bit of that after this week.

Food Blog April 2013-1110Yogurt, browned butter, blackberries, bourbon, streusel, and cinnamon all in the same bread sounds a bit overwhelming, but really, all of the components played very well together.  Blackberries and yogurt scream breakfast, and mixed in a thick batter with plenty of melted butter they produce a moist, slightly dense loaf splotched with purple pockets of jammy tartness.  But the addition of bourbon makes this a naughty thing to consider having a slice of too early in the morning (unless you are still up from the night before, I suppose).  When I tasted the batter, I was concerned about how assertively the alcohol came through, but after baking what lingers is a lovely floral aroma – all the peaty, throat-searing headiness fades (and honestly, it left me wondering whether another tablespoon or two of bourbon might be welcome in the recipe).  Really, this is a loaf perfect for that most wonderful of British institutions we are sadly lacking in the U.S: afternoon tea.  And if you slathered a thick slice with clotted cream, I don’t think anyone would complain. Food Blog April 2013-1115

Blackberry Bourbon Bread

Makes 1 large 9×5 loaf

For the bread:
1 ½ sticks butter (12 TB, or ¾ of a cup)
2 eggs
1 ½ cups sugar
1 tsp vanilla
¼ cup bourbon (I like Knob Creek)
½ cup Greek yogurt, though likely any plain, unsweetened yogurt would do
2 cups flour
1 tsp salt
1 tsp cinnamon
1 tsp baking soda
12 oz. blackberries, rinsed and air-dried (I realize this is an odd quantity, but that’s how much was in the container I found.  The advantage here is that it means you can start with two pints [16 oz.], and the inevitable handful you end up eating by sneaking “just one more” at a time will leave you with just the right amount!)
Food Blog April 2013-1123For the streusel:
½ cup flour
½ cup powdered sugar
½ tsp cinnamon
4 TB (½ a stick) cold butterFood Blog April 2013-1124
  • First, you’ll need to brown the butter for the bread.  In a small saucepan, preferably not black (it’s harder to see the browning against a dark background), melt the butter over medium heat.  Continue cooking, occasionally swirling gently, as it foams up.  That’s the water separating and steaming away.  After a few minutes, the solids will start to collect on the bottom of the pot, and begin to darken to gold and then coppery brown.  When that happens, turn off the heat.  It’s amazing how quickly those cooking solids go from perfectly brown to burned.  Set the pot aside to cool while you work with the other ingredients (I stuck mine in the freezer on top of a pot holder to chill down quickly).
  • While your butter cools, preheat the oven to 350F and prepare a 9×5” loaf pan by rubbing the bottom and sides with butter or spraying with a non-stick spray.
  • In a large bowl (or the bowl of your stand mixer), beat the eggs until slightly foamy.  With the mixer running (you could do this by hand with a whisk, I suppose, but an electric mixer of any kind will make it much easier), add the sugar ½ a cup at a time, integrating it completely before the next addition.  When all of the sugar is added, continue mixing for another 2 minutes, or until the mixture has become quite pale in color and increased in volume.
  • Add the vanilla, bourbon, yogurt, and cooled butter, and mix until well combined.  The yogurt may break up a bit and make things look curdled, but don’t worry.  Once you add the dry ingredients everything will be fine.
  • In a medium bowl, whisk together the flour, baking soda, salt, and cinnamon.  Add 1/3 of the dry mix to the wet ingredients, mixing on low speed just until the flour is integrated.  Add another 1/3 of the dry mix and combine again.
  • When you have just 1/3 of the dry mixture left, toss the blackberries in it gently.  This will help keep them evenly distributed in the batter as it bakes, rather than all sinking to the bottom.  Add this final portion of flour, with the berries, to the batter and fold it in gently with a spatula.  This is harder to do evenly, but will keep the berries intact better than using a mixer blade.  The resulting batter will be quite thick.
  • Scrape-pour the batter into your prepared loaf pan.  Mine got tremendously full, and to prevent any chance of overflow during baking, I relocated some of the batter to a 6-inch cake pan instead.  If you are concerned about overflow, I suggest filling the loaf pan only about 2/3 full, and make muffins or tiny cakes out of the rest of the batter. Food Blog April 2013-1116
  • For the streusel, which I insist you use because it adds such a nice textural contrast, combine the flour, sugar, and cinnamon in a small bowl.  Using a fork to whisk them together works nicely.
  • Rub in the butter with your fingers or a pastry blender until it is very well integrated.  Ordinarily I use a pastry blender for this sort of thing, but here I think your fingers really do work best, since you can squash and smoosh the butter more efficiently.  You want tiny pebbles – the biggest should be smaller than peas and the smallest like grains of couscous.
  • Sprinkle the streusel over the surface of your bread in an even, thick layer.  You will probably have a bit extra, but I think that’s hardly a bad thing. Food Blog April 2013-1117
  • Deposit your loaf in the oven and bake for 80 minutes, or until a toothpick or cake tester inserted in the middle comes out with only a few moist crumbs clinging to it.  Since ovens are all different, I recommend you first test for doneness at 60 minutes, just to be safe.
  • Remove and cool in the pan on a wire rack until you can’t stand it any longer.  Then slice and enjoy with tea, with cream, with a dollop of yogurt, or just all on its own. Food Blog April 2013-1160

Honey Mustard Roasted Carrots

If you’re frequenting your Farmers’ Market this spring, you have probably seen the amazing bundles of carrots cropping up everywhere.  Some are knobbly and stubby and round, like little turnips, some are almost wispy-thin and well-whiskered.  The ones that drew me, and made last week’s side dish for our biscuits, were the rainbow bunches: orange and yellow, but also the vibrant, veiny purple that was probably the original color of these funny, beloved roots (orange carrots were reputedly a Dutch development: in the 17th century the color was cultivated to celebrate William of… wait for it… Orange. Harold McGee agrees on the date and location, but he doesn’t mention political motivations).
Food Blog April 2013-0986
The treatment I subjected these little bolts of spring to was so good that rather than dawdling through a lengthy bread recipe, I wanted to share these instead.  I can’t stop thinking about them (we’re probably having them with dinner again tonight), and since it is the perfect season for it, I can’t really fault us for that.
Carrots sometimes seem too straightforward: sweet and crisp, made only marginally complex by a mild grassiness.
Food Blog April 2013-0987
Liberally slicked with a mixture of honey, mustard, and olive oil, then roasted until their skins almost blackened under the heat, ours became intensely savory and yet also caramelized, homely to the eye but stunners on our tongues.  Their taut skins, lacquered with crackly coating, retained a barest crunch while the interiors just slid down our teeth like cold butter.
Food Blog April 2013-0997
(Admission: I did make bread this week: my first attempt at baguettes.  They were okay, but nothing amazing – the interior had a nice spongy crumb but the crust was a bit thicker than I like, with none of the shattering crispness that makes a really good French loaf.  They were bumpy in shape and the deep scores I made across their surface didn’t puff the way they do in bakery cases.  They were far from shameful, and tasty sliced, toasted and spread with salted butter, but still. So pedestrian. You deserved something more exciting.)
 Food Blog April 2013-1015
Honey Mustard Roasted Carrots
Serves 1-2 as a side dish


This is almost too simple to be a real recipe, but a few of those are nice to have in your repertoire.  Note: cooking time and ingredient quantities may differ depending on the number and thickness of the carrots you are using.  Start with these amounts, then adjust as suits your palate and pantry.


2 bunches (12-15 individual) rainbow carrots (though I suspect any carrots would be great). If you are using a Farmers’ Market variety, you won’t even need to peel them.  The skin will caramelize beautifully, and any wispy roots clinging on will gain an addictive roasty crunch.
2 TB dijon mustard
2 TB honey
2 TB olive oil
pinch freshly ground black pepper
scant sprinkle of sea salt
  • Preheat the oven to 400F and line a baking sheet with aluminum foil.
  • To prepare your carrots, remove the greens, scrub them well (if they are dirty), and roll them around on a clean kitchen towel to dry.
  • In a shallow dish, use the tines of a fork to combine the honey, mustard, and olive oil.  If the honey refuses to play nicely, send the mixture through 10-15 seconds in the microwave.  Add salt and pepper to taste, though I recommend under-salting just a tad.  The flavors intensify so much after roasting that you’ll only need a tiny hit of salt.
  • Toss the cleaned, dry carrots in the honey mustard mixture, then tumble them onto your baking sheet and spread them out so none are touching.  If you have too many carrots for that, at least be sure they are in a single layer.  We want as much surface area to be heat blasted as possible.
  • Place the loaded baking sheet in the oven and roast for 30-45 minutes, or until carrots are well-caramelized and tender.  This is a wide range of time, I know, but everything depends upon the size and thickness of your carrots.  Plunge the tines of a fork into your thickest specimen.  If you meet with considerable resistance, leave it in the oven for another 10-15 minutes before checking again.  If the tines slide in easily, or you get only a bit of push back from the flesh of the carrot, it’s probably ready.  Your own preferences also play a role here: roast them until they have the texture you like best.
They will be amazingly hot when they first emerge from the oven, so if they sit for a minute or two before serving, all the better.  But once you start tasting, don’t expect them to last long.

Goat Cheese and Bacon Biscuits

I’m not one of those people who is crazy for bacon in everything.  The idea of pairing it with chocolate still weirds me out a little, and I’ve never tried it in brownies or ice cream.  That being said, bacon is probably the top reason I would have trouble being a vegetarian.  Crisp, sandwiched with some dripping heirloom tomato slices and lettuce on toasted sourdough, and I’m dreamy happy.  Salty fatty fried chunks studding my bowl of baked beans, and my evening is made.
Food Blog April 2013-0990
What I am generally crazy for is breakfast.  But not at breakfast time.  I can’t handle a big savory meal early in the morning.  A fried egg sandwich, okay (and with a little sriracha in the mayonnaise?  Be still my heart!).  A pancake or three, maybe on occasion.  The big, multi-course breakfast is, for me, wasted on the morning.  I’m a breakfast-for-dinner kind of girl.
This week, in need of comfort as spring break drew to a close and allergy season burst wide open, we decided breakfast sandwiches were just what we needed.  Eggs, bacon, fluffy buttery biscuit, and why not, a little goat cheese?!  But layering these components together would not suffice.  Thick slices of bacon smashed against a cloud of scrambled egg and crumbles of goat cheese seemed like a mess waiting to happen.  I’ve incorporated cheese into biscuits before with great success, why not do the same with the bacon?
Food Blog April 2013-1002
The result: goat cheese bacon biscuits.  A simple revelation, but let me tell you, a spectacular base for a scrambled egg sandwich.  Crisp squares of bacon, cold cubes of butter, crumbles of chevre, and a healthy glug of buttermilk.
These are pretty cinchy to make, though thanks to the addition of the goat cheese your biscuit dough will be a little stickier than usual.  Try not to add too much flour – you don’t want them to get dense.  They bake up into lovely little puffs, and the bacon stays crisp against the soft dough.  The goat cheese wasn’t as strong a flavor as we were expecting, though after the biscuits cooled a bit we did pick up a pleasant tang from the larger crumbles.  Loaded up with a simple layer of scrambled egg, and you have a perfect, three-bite sandwich with all the right trimmings.  And because it’s only three little bites, you can have two or three without any guilt to speak of.  Or four… or…
 Food Blog April 2013-1013
The funny, blackened stakes lying in a pile in the background of this photo are roasted rainbow carrots.  They were incredible.  And don’t just take my word for it – I knew they were the real deal when N. carefully sampled one, turned to me, and said “wow.”  If you’ve been reading this blog for any length of time you will know that N. is not intentionally grudging when it comes to food praise; he’s just not particularly effusive about it.  A “wow” is like fireworks.
Breakfast-for-dinner slam dunk, then.  What’s your favorite?
 Food Blog April 2013-0993
Goat Cheese Bacon Biscuit Sandwiches
2 cups flour (All-Purpose is fine)
2 tsp sugar
1 tsp salt
2 TB baking powder
4 slices bacon, diced and fried until crisp, drained and cooled (do this a bit ahead of time so the bacon has time to cool off – if you toss it into the mixture hot, you’ll heat up the butter and your biscuits will be less fluffy)
6 TB cold butter, cut into chunks (chunking it isn’t absolutely necessary, but it does make it easier and quicker to incorporate)
½ cup crumbled goat cheese
6 oz. buttermilk
 Food Blog April 2013-0995
  • Preheat your oven to 400F and line a baking tray with parchment paper.
  • In a medium bowl, combine the flour, baking powder, sugar, and salt.  Whisk in the cooled, crisp bacon.
  • Add the butter and incorporate using a pastry blender or your hands.  When the chunks are about the size of lima beans, tumble in the goat cheese and blend it in until there are no more large pieces.  The pebbles of butter should be about the size of peas when you are done.
  • Pour in the buttermilk and fold it into the dry mixture.  I find using a fork works best for this – the tines pick up and jostle around the flour mixture better than a spatula or wooden spoon.  Don’t overmix, but be sure the buttermilk is well incorporated.
  • When your mixture is evenly damp, abandon the fork.  You can turn the whole mess out onto a floured board, or you can just reach in with flour dusted hands and knead the dough a few times in the bowl until it comes together.
Food Blog April 2013-1000
  • Pat the dough into a plump something-like-a-rectangle on a floured board.  The thickness and therefore the size of the rectangle is really to you, but mine was probably just under an inch thick.  Using a biscuit cutter or the floured top of a glass, punch out biscuit rounds by pushing straight down all the way through the dough.  Don’t twist your cutter as you go down; you’ll disrupt the craggy layers in the dough and the biscuit won’t rise as high or as evenly.
Food Blog April 2013-1001
  • When you’ve punched out as many rounds as the rectangle of dough will allow, place them on your parchment lined baking sheet at least an inch apart, gather the dough scraps, knead them together a bit, and pat them back into a new rectangle.  Continue punching out biscuits and reshaping the scraps until you run out of dough.  Given the small size of cutter I chose, I managed 16 sweet little biscuits.  You will have more or less depending on size and thickness.
Food Blog April 2013-1007
  • For a small biscuit (2 inch diameter), bake at 400F for 12-14 minutes, or until the layers have puffed and the top is golden.  Larger or extremely thick biscuits will take longer; try 15 minutes to start.
Food Blog April 2013-1011
If you just want to eat them as is – and I’d sympathize completely if you did – you’re all set to go.  Dig in.  If, however, you want them as sandwiches, split them down the middle of the puffy, buttery layers and insert a fold of softly scrambled egg.
Food Blog April 2013-1003
Food Blog April 2013-1004
These are best the day they are cooked, so I’d advise only baking as many as you and your dinner partner(s) are going to eat.  The remaining biscuits can be frozen, still unbaked, and enjoyed another day.  To freeze them, set them on a piece of wax paper or parchment in a single layer on a plate or baking tray.  Wait until they are frozen, then relocate them to a zip-top freezer bag.  They don’t even need to be defrosted, just pop them into a preheated oven for a few extra minutes (maybe 15-18 for a small biscuit) and dinner – or breakfast – is served!
Food Blog April 2013-1010