Pasta Puttanesca

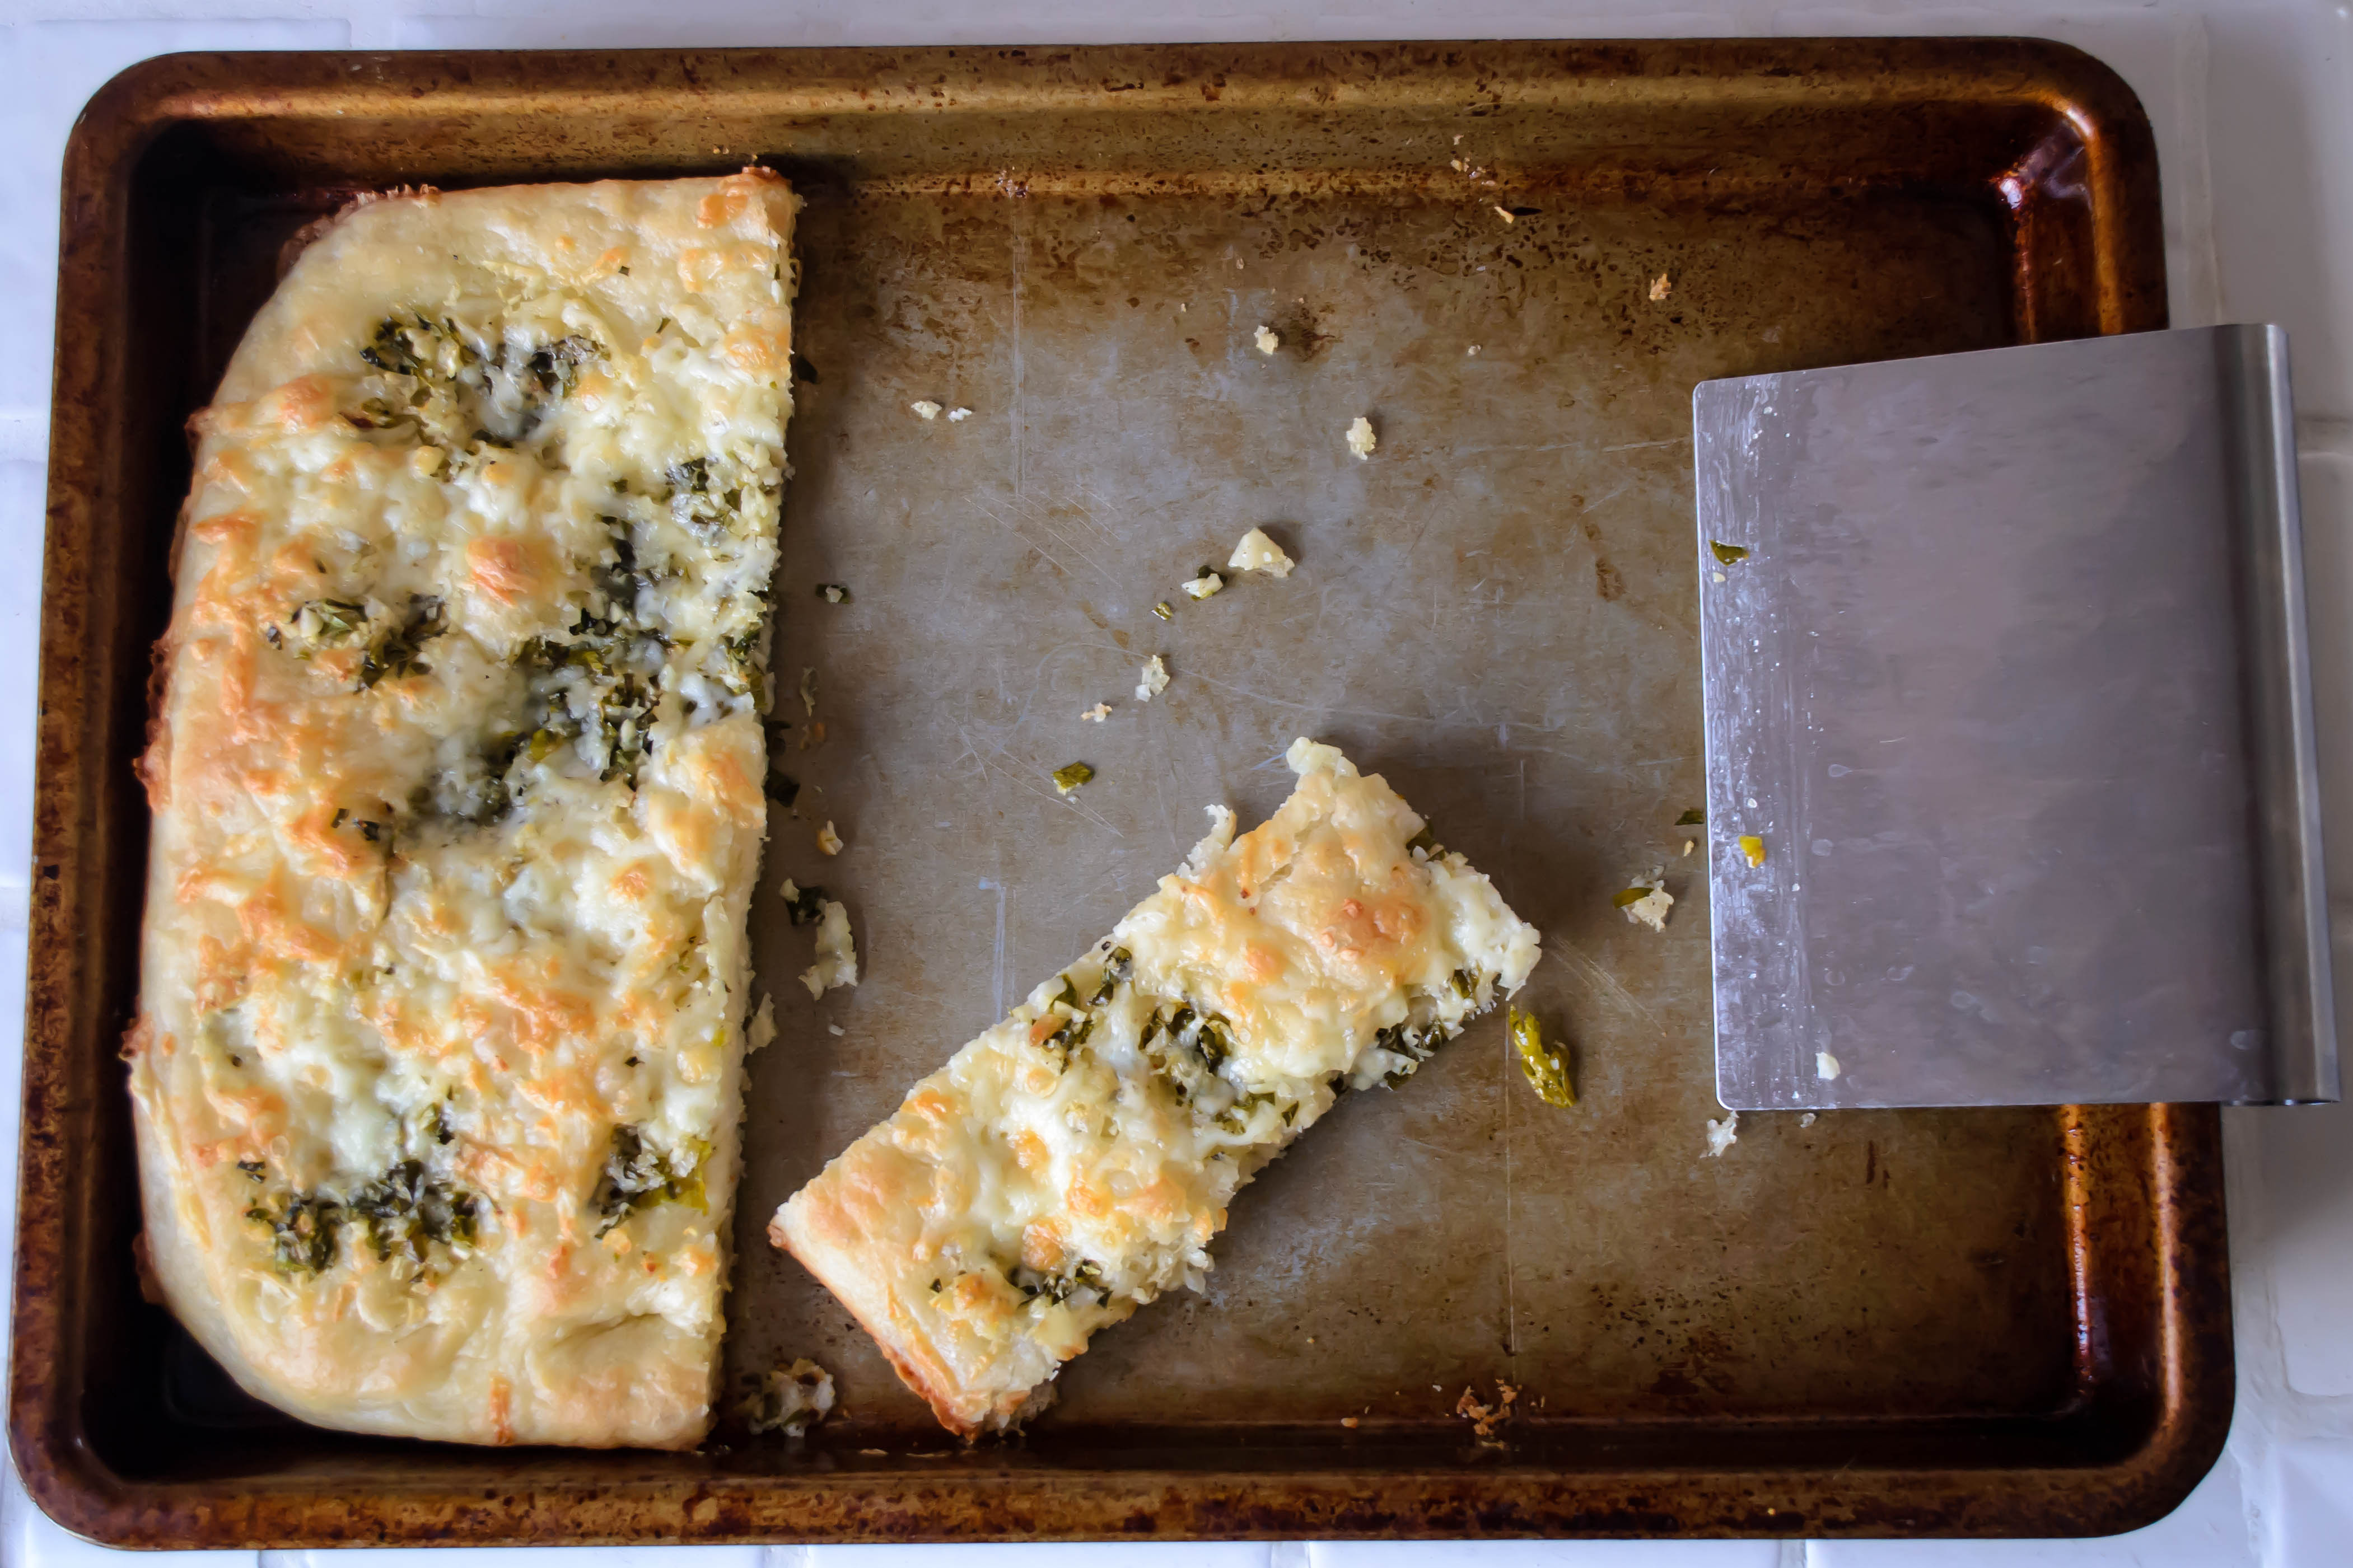
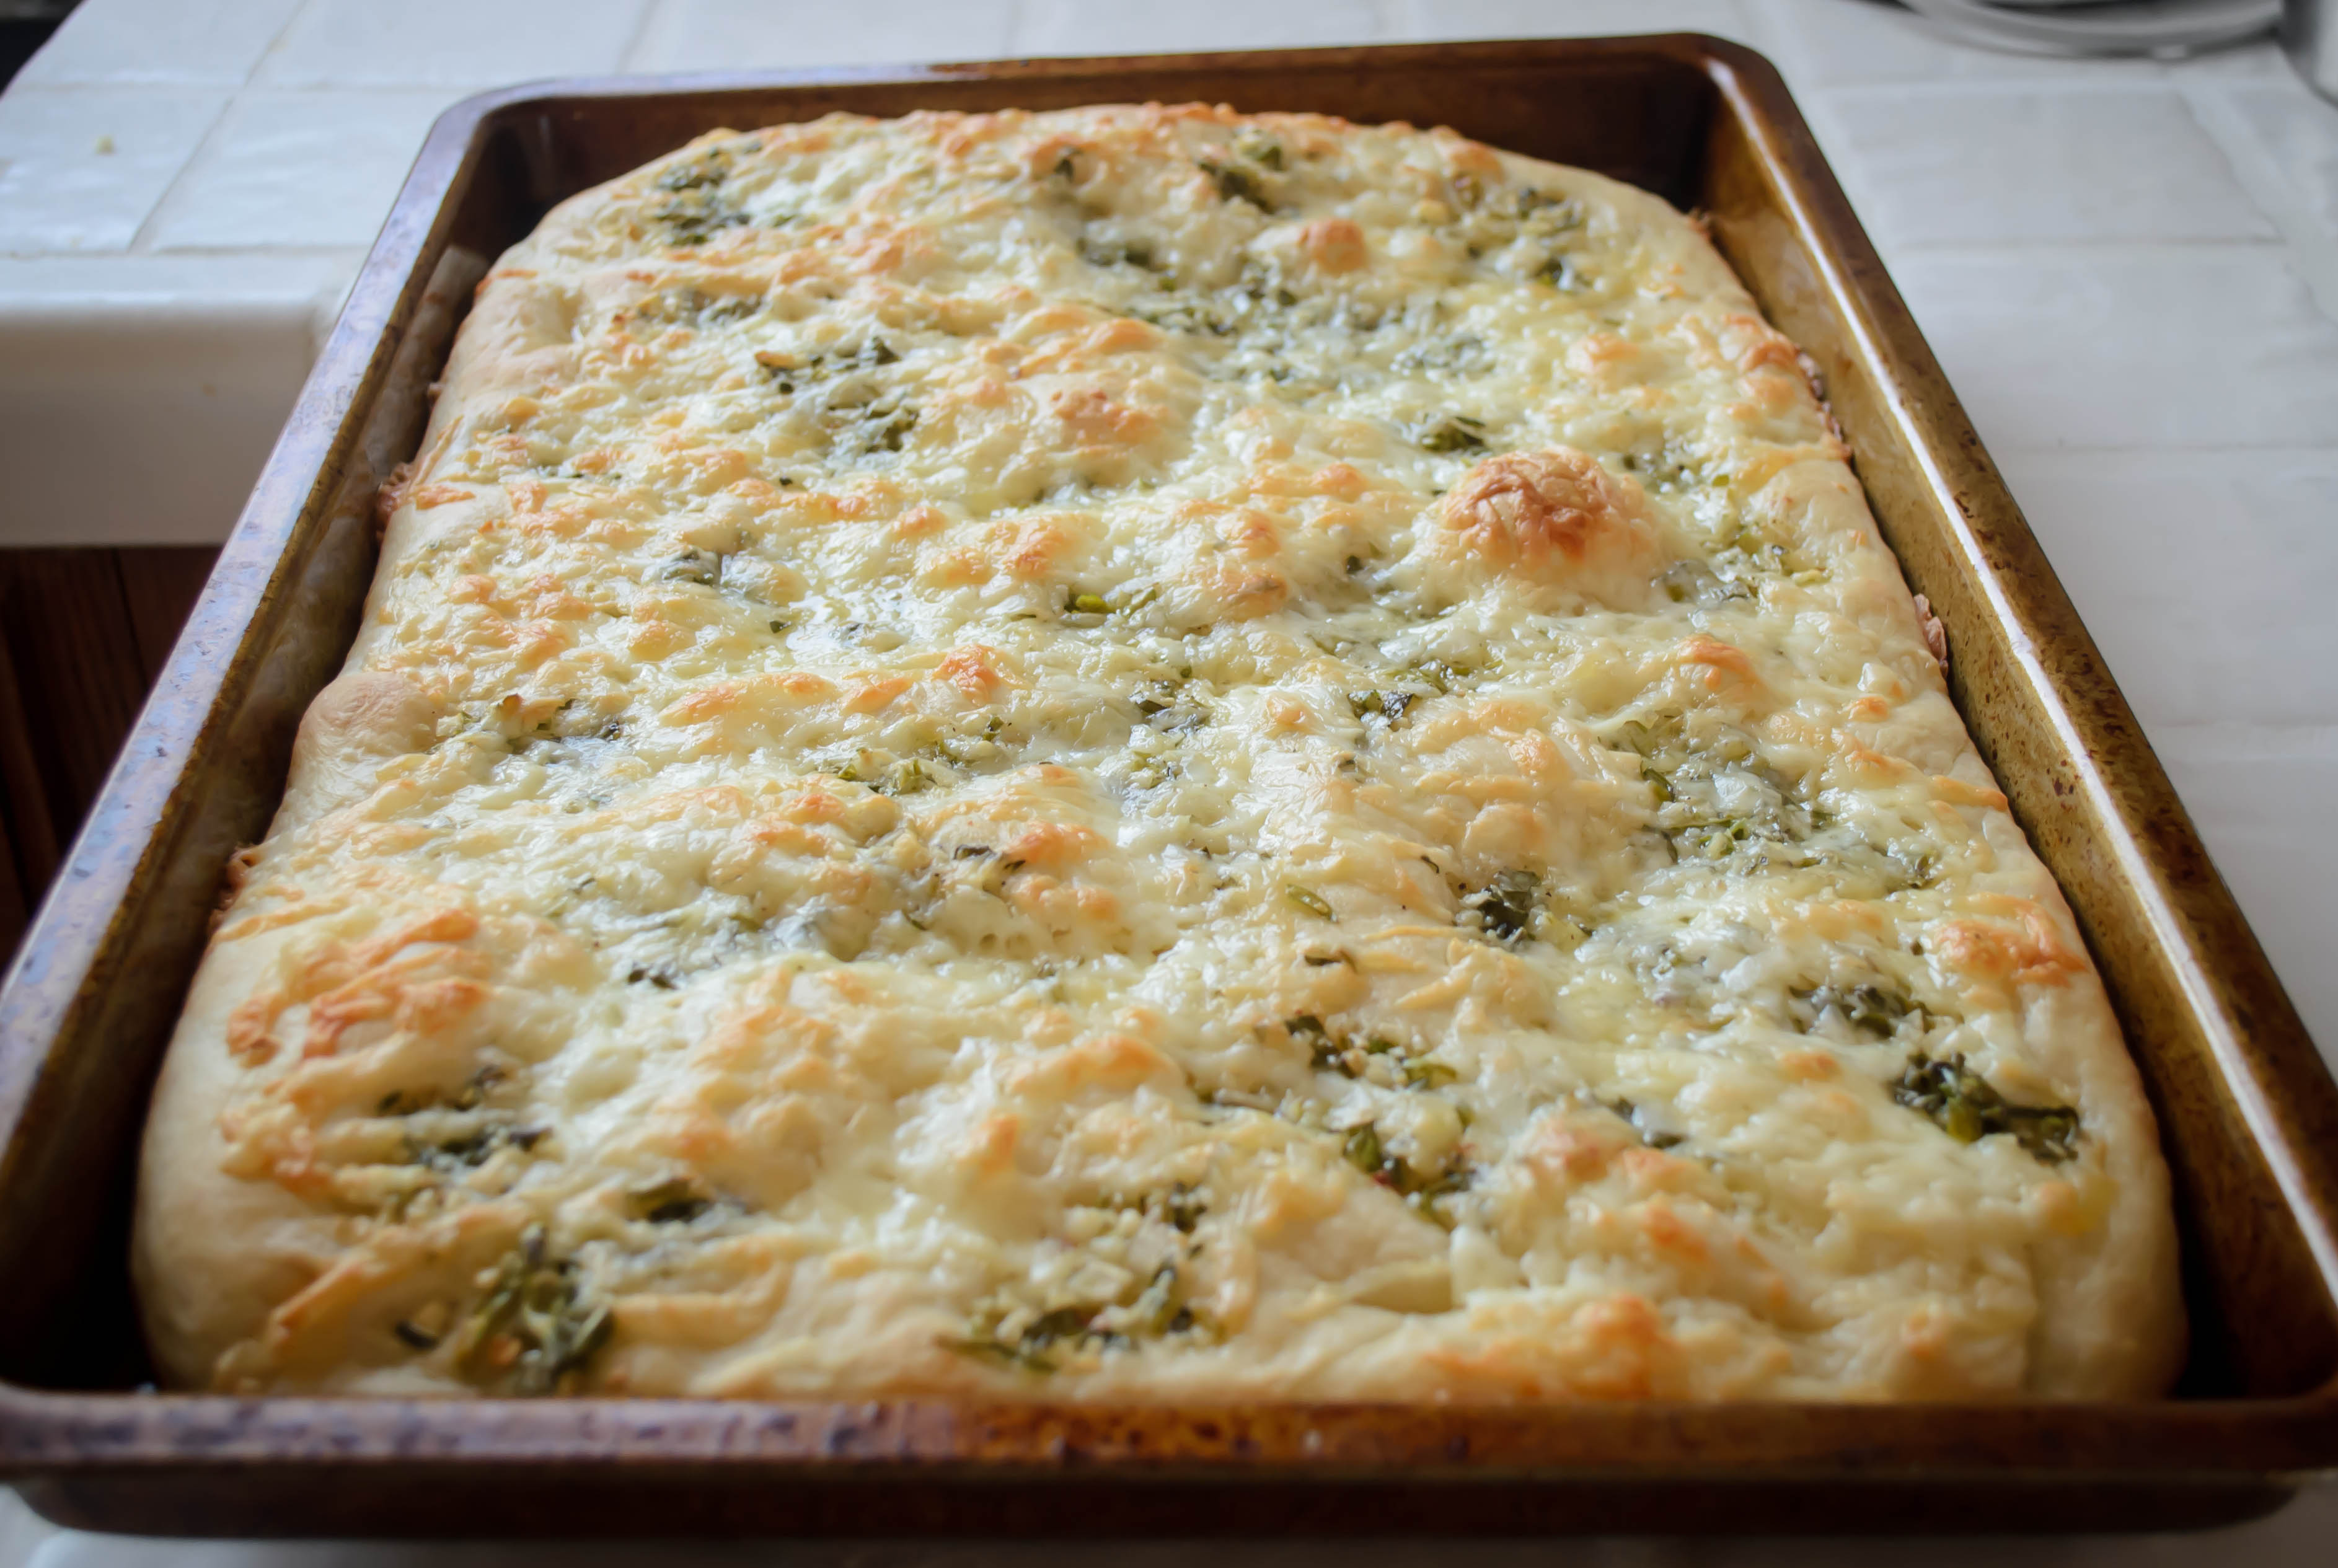
At about age fourteen, I stopped being able to eat much tomato sauce. There was something about the combination of sugar and acidity in processed pasta or pizza sauce that left my stomach roiling uncomfortably and my taste buds dissatisfied. This made some dinners difficult: pizza had to be dissected, scraped mostly dry, and put back together. Spaghetti with marinara and meatballs was a thing of the past. Lasagna was off the menu. In many ways this was a good thing, because it introduced me to novelties like pesto and alfredo and, when they became popular, white pizza and fresh pasta sauce. To this day, I’d rather have my pizza crust drizzled with olive oil and rubbed with fresh garlic than drenched in tomato sauce. I rarely miss it because the alternatives taste so much better.

Food Blog September 2013-2618But sometimes you just want the tang of tomato with your pasta. Since the processed option was out of bounds (and really, I don’t use many pre-prepared items like that anymore anyway), I decided I’d have to make my own. I’m not sure what it says about me that my entrée back into the pasta-with-red-sauce scene was spaghetti alla puttanesca, which translates charmingly to whore’s style spaghetti, but there it is. Olives, capers, obscene quantities of garlic, anchovy paste, red pepper flakes, all cooked down with diced tomatoes into a robust, aromatic sauce. It’s my favorite red sauce these days, and since all of the ingredients are basically pantry staples, I usually have the supplies to make this at a moment’s notice.

Food Blog September 2013-2613A number of stories make up puttanesca’s history. It is attributed to Naples, and though it was probably invented in the mid 20th century as a use-what-you-have kind of dish, its colorful name has spawned a variety of other origin stories. In one version, this briny, sharp, attention-getting sauce was cooked in brothels near the docks, and the smell was so strong that it attracted customers, who came looking for a bite to eat and left having paid for something more. By extension, the aroma of the sauce gave these sad customers away to their wives, who knew by the smell of the ingredients where their husbands had been. Some versions of the story twist this around, attributing its invention to these anxious wives, who hoped the savory aroma would lure their husbands back home.

Food Blog September 2013-2615
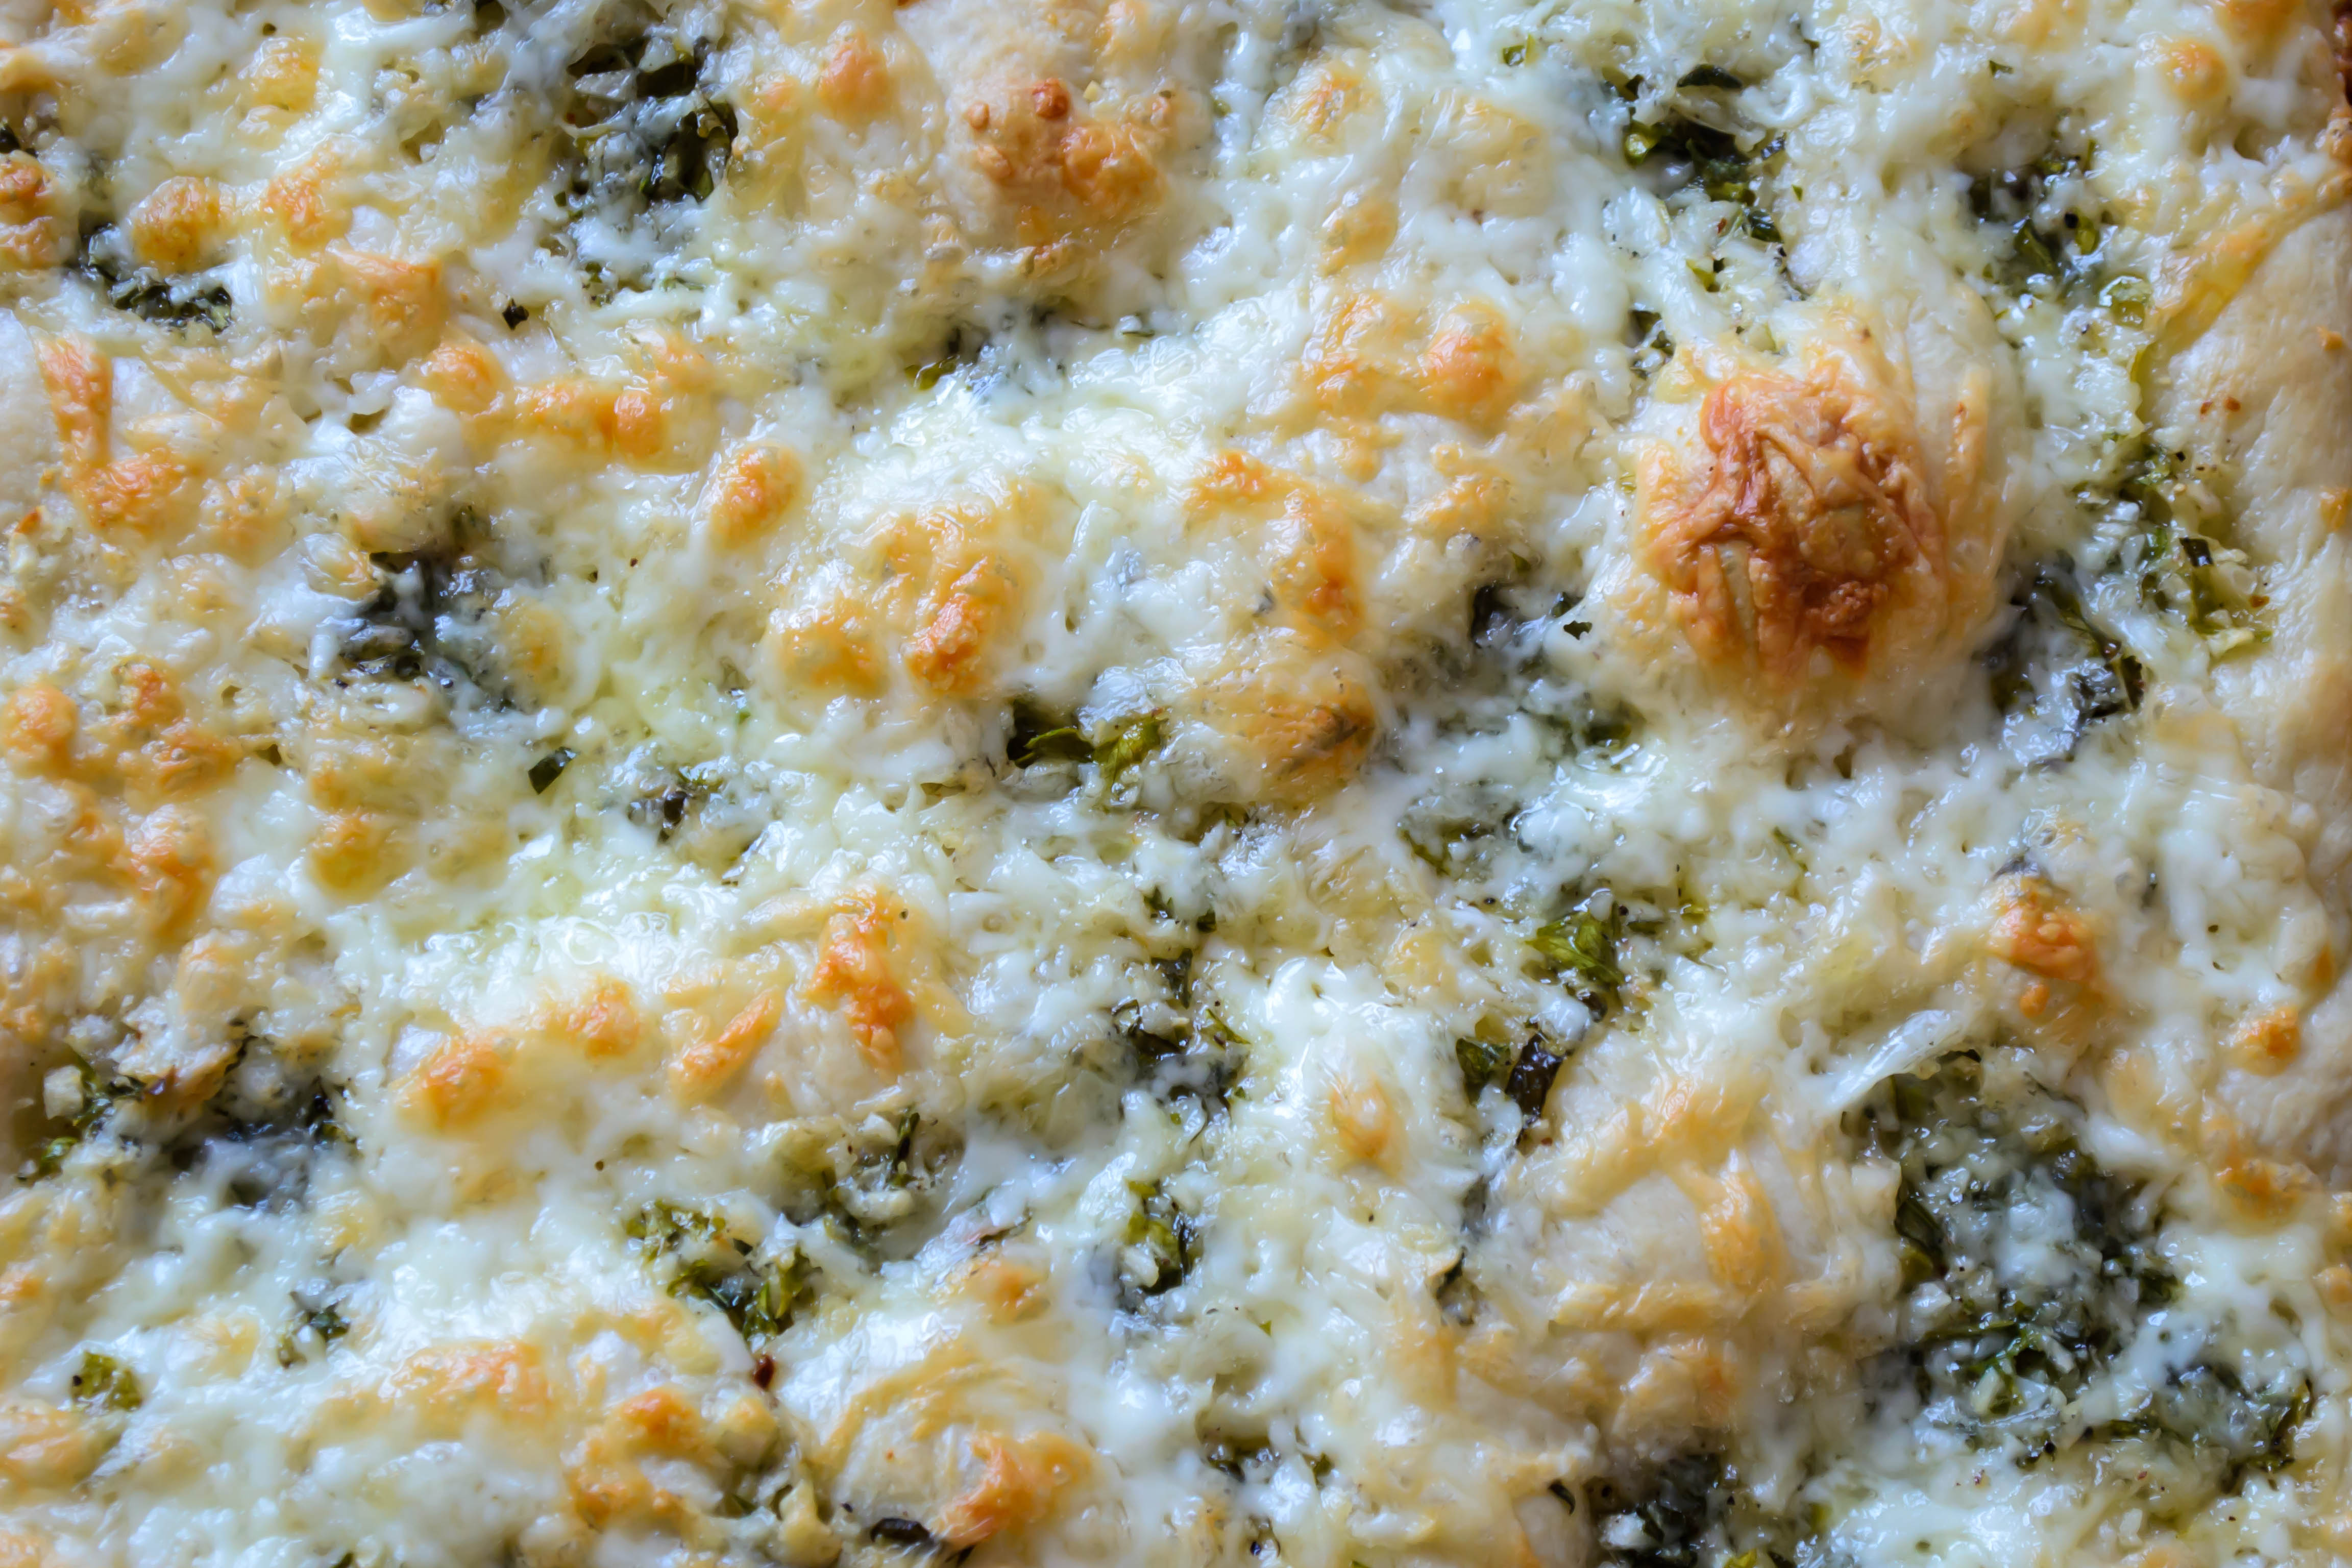
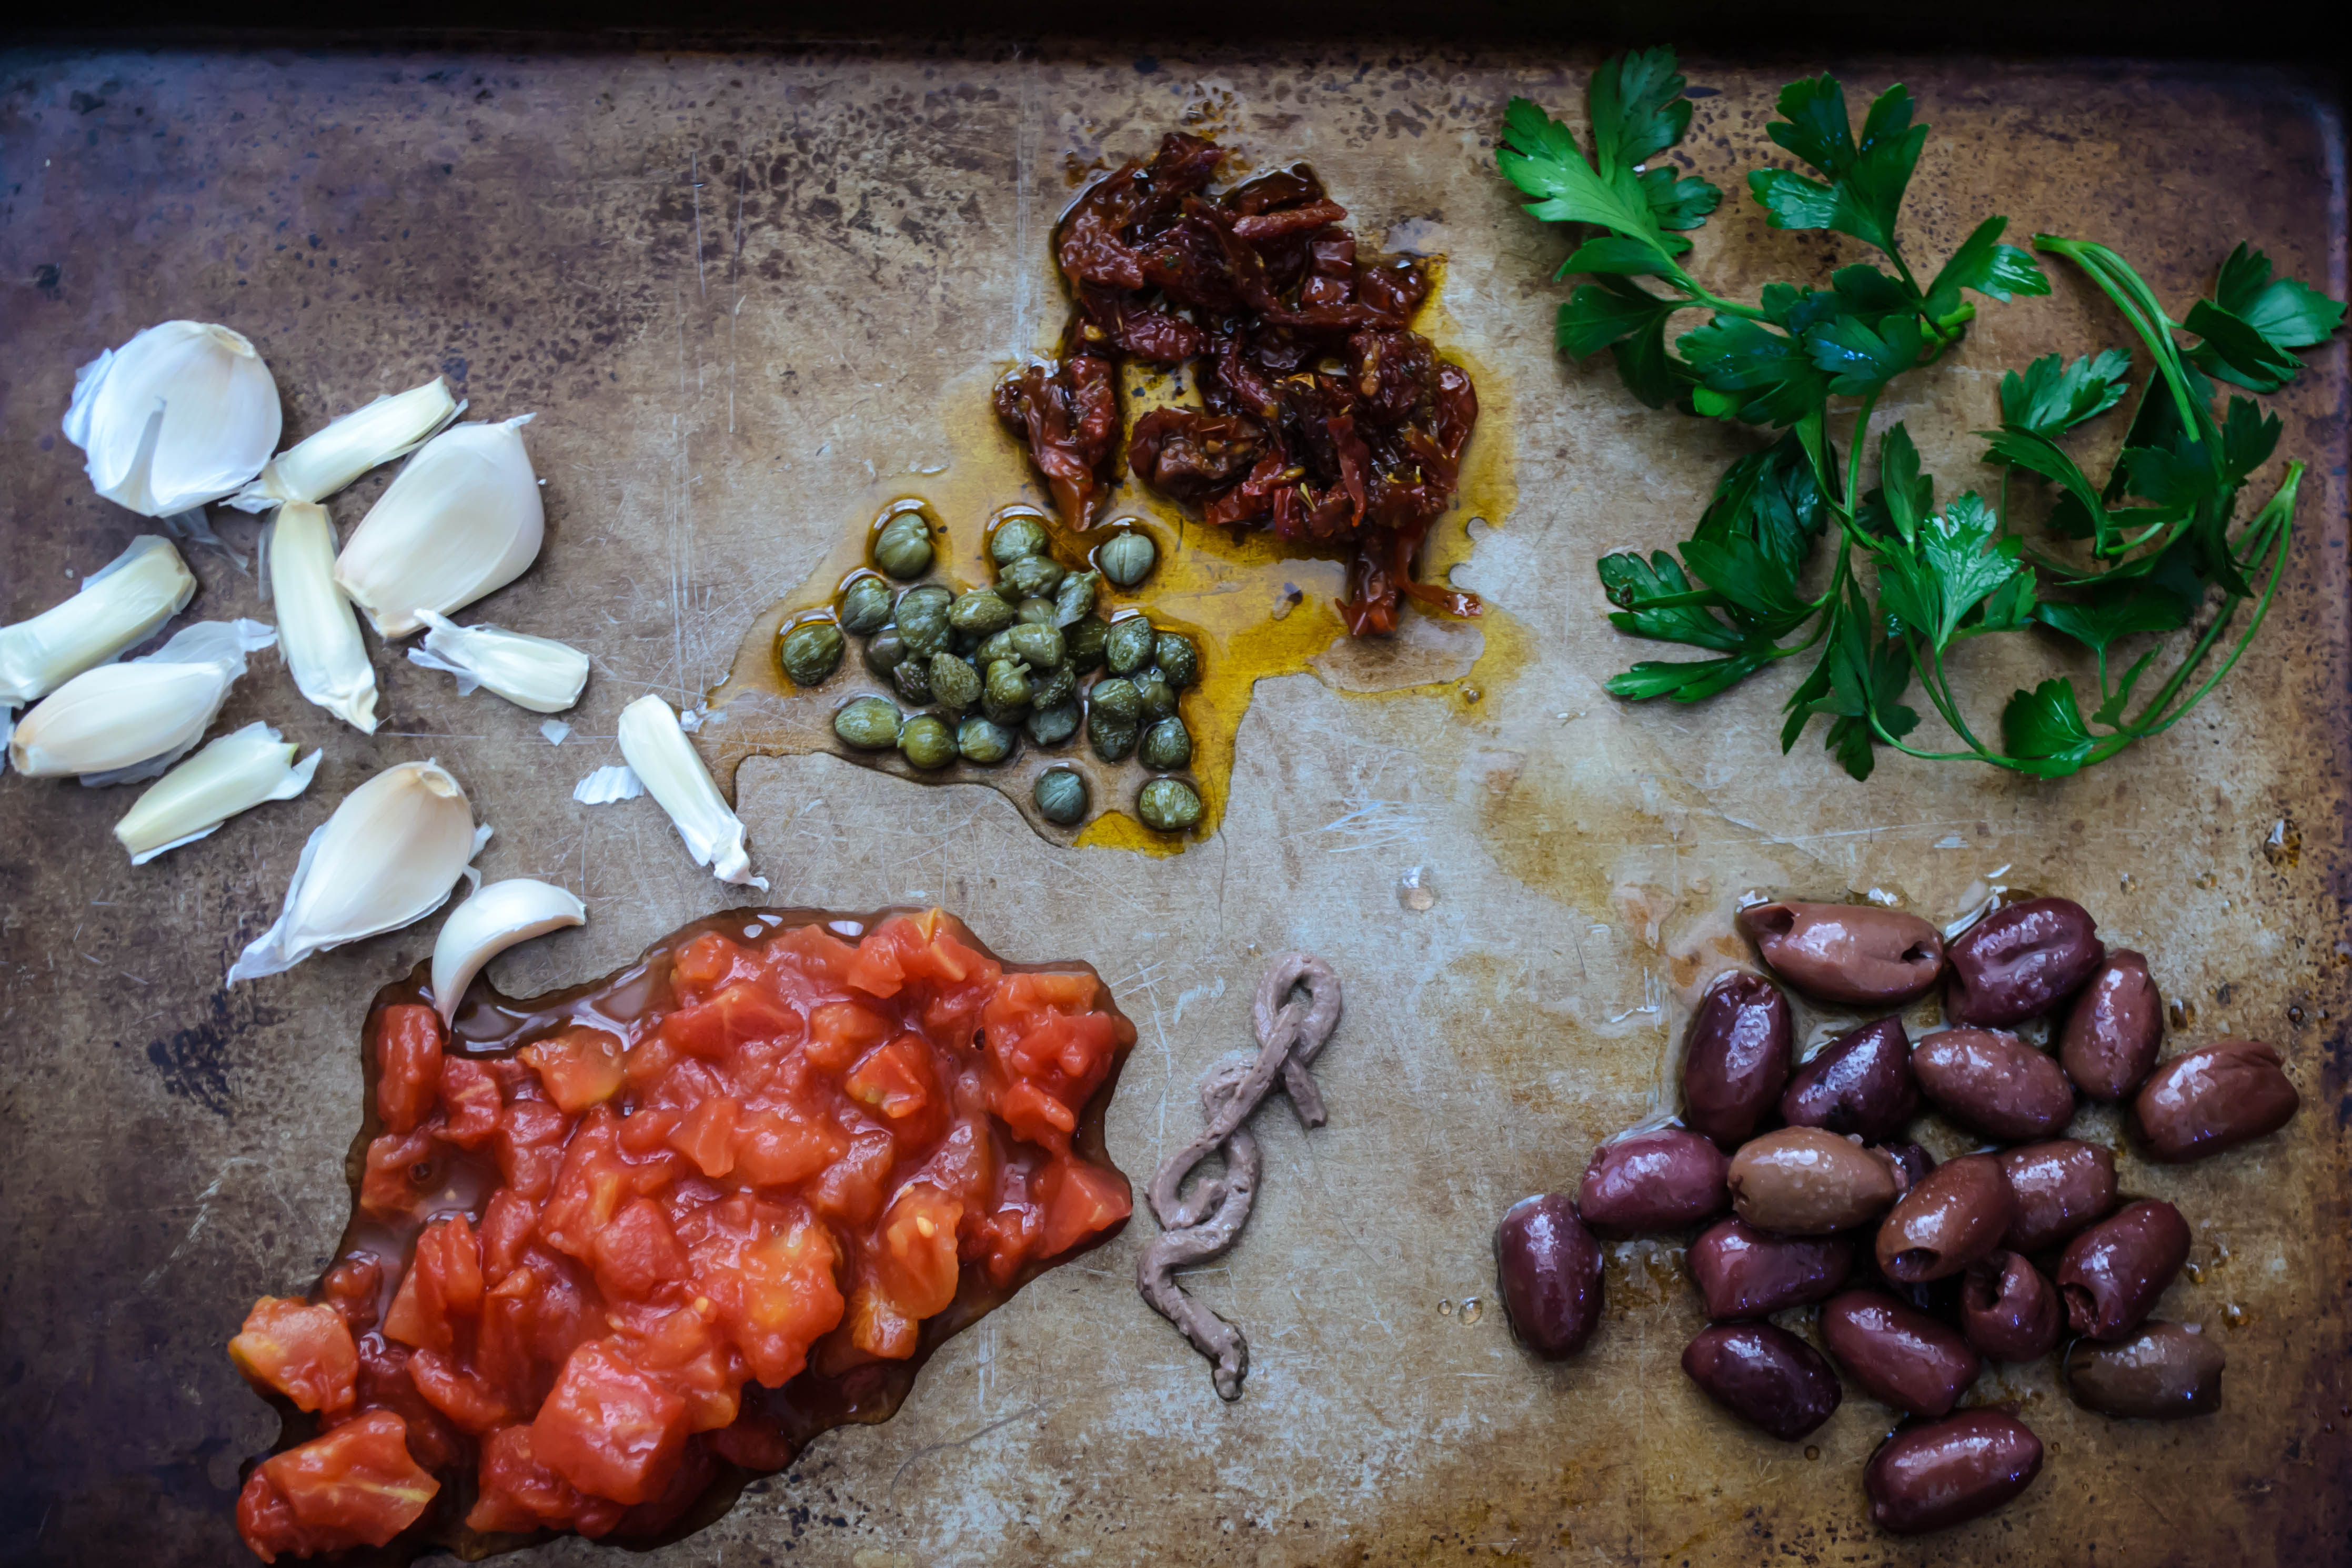
Puttanesca is typically a topping for spaghetti, but here I used gemelli – the delightfully chewy, subtly DNA-shaped twirls – because I like how much closer in size they are to the other ingredients. The texture thrills me as well and, if we’re honest, it’s easier to avoid the dangerous splatter of tomato sauce on my favorite tank top when I’m dealing with, well, basically anything but long fickle strands of spaghetti. My version also includes red wine, which I use to deglaze the pan after lightly, lightly browning the garlic with the anchovy and capers, and some sundried tomatoes for a bit of extra tang. You can add whatever combination of dried herbs you like – basil and oregano are both delicious – although oregano is probably the most traditional.

Food Blog September 2013-2622Pasta Puttanesca
Serves 4
2 tablespoons olive oil
6-8 cloves garlic, finely minced
¼ teaspoon red pepper flakes
2 teaspoons anchovy paste, or 2-3 anchovy fillets
2 tablespoons capers
¼ cup kalamata olives, roughly chopped if you like, or left whole
¼ cup sundried tomatoes, drained and roughly chopped
½ cup dry red wine
14.5 ounce can diced tomatoes
½ teaspoon dried basil or oregano
12 ounces dry pasta; we like gemelli, but spaghetti is more traditional for this sauce
Water and salt for the pasta
¼ cup chopped parsley


  • Add olive oil and garlic to a cold pan. Turn the heat on to medium, and slowly warm the oil and garlic together. This will flavor the oil and cook the garlic gently, so it doesn’t burn or become bitter.
  • When the garlic is dancing a bit in the warm oil, add the red pepper flakes, anchovy paste or anchovy fillets, capers, olives, and sundried tomatoes. Stir gently with a flat-bladed wooden spoon.
  • At this point, your garlic should be golden. Add the red wine all at once. It will sizzle madly. Use your flat-bladed spoon to scrape any bits that have adhered to the bottom of the pan back into the sauce you are now creating. This is deglazing the pan, and it adds incredible flavor.
  • Simmer for 5 minutes, to let some of the alcohol flavor cook out of the wine.
  • After 5 minutes, the quantity of wine will have reduced a bit, and the smell will be amazing. Add the diced tomatoes and the dried herbs and turn the heat down to medium-low.
  • Simmer for 30 minutes, stirring occasionally and gently.
  • While the sauce is simmering, cook pasta of your choice in salted water until just al dente.
  • When the pasta still has a slight bite to it, drain it, then add it to your sauce and stir or spoon it around gently to evenly distribute it through the sauce. Cook pasta and sauce together for 1-2 minutes.
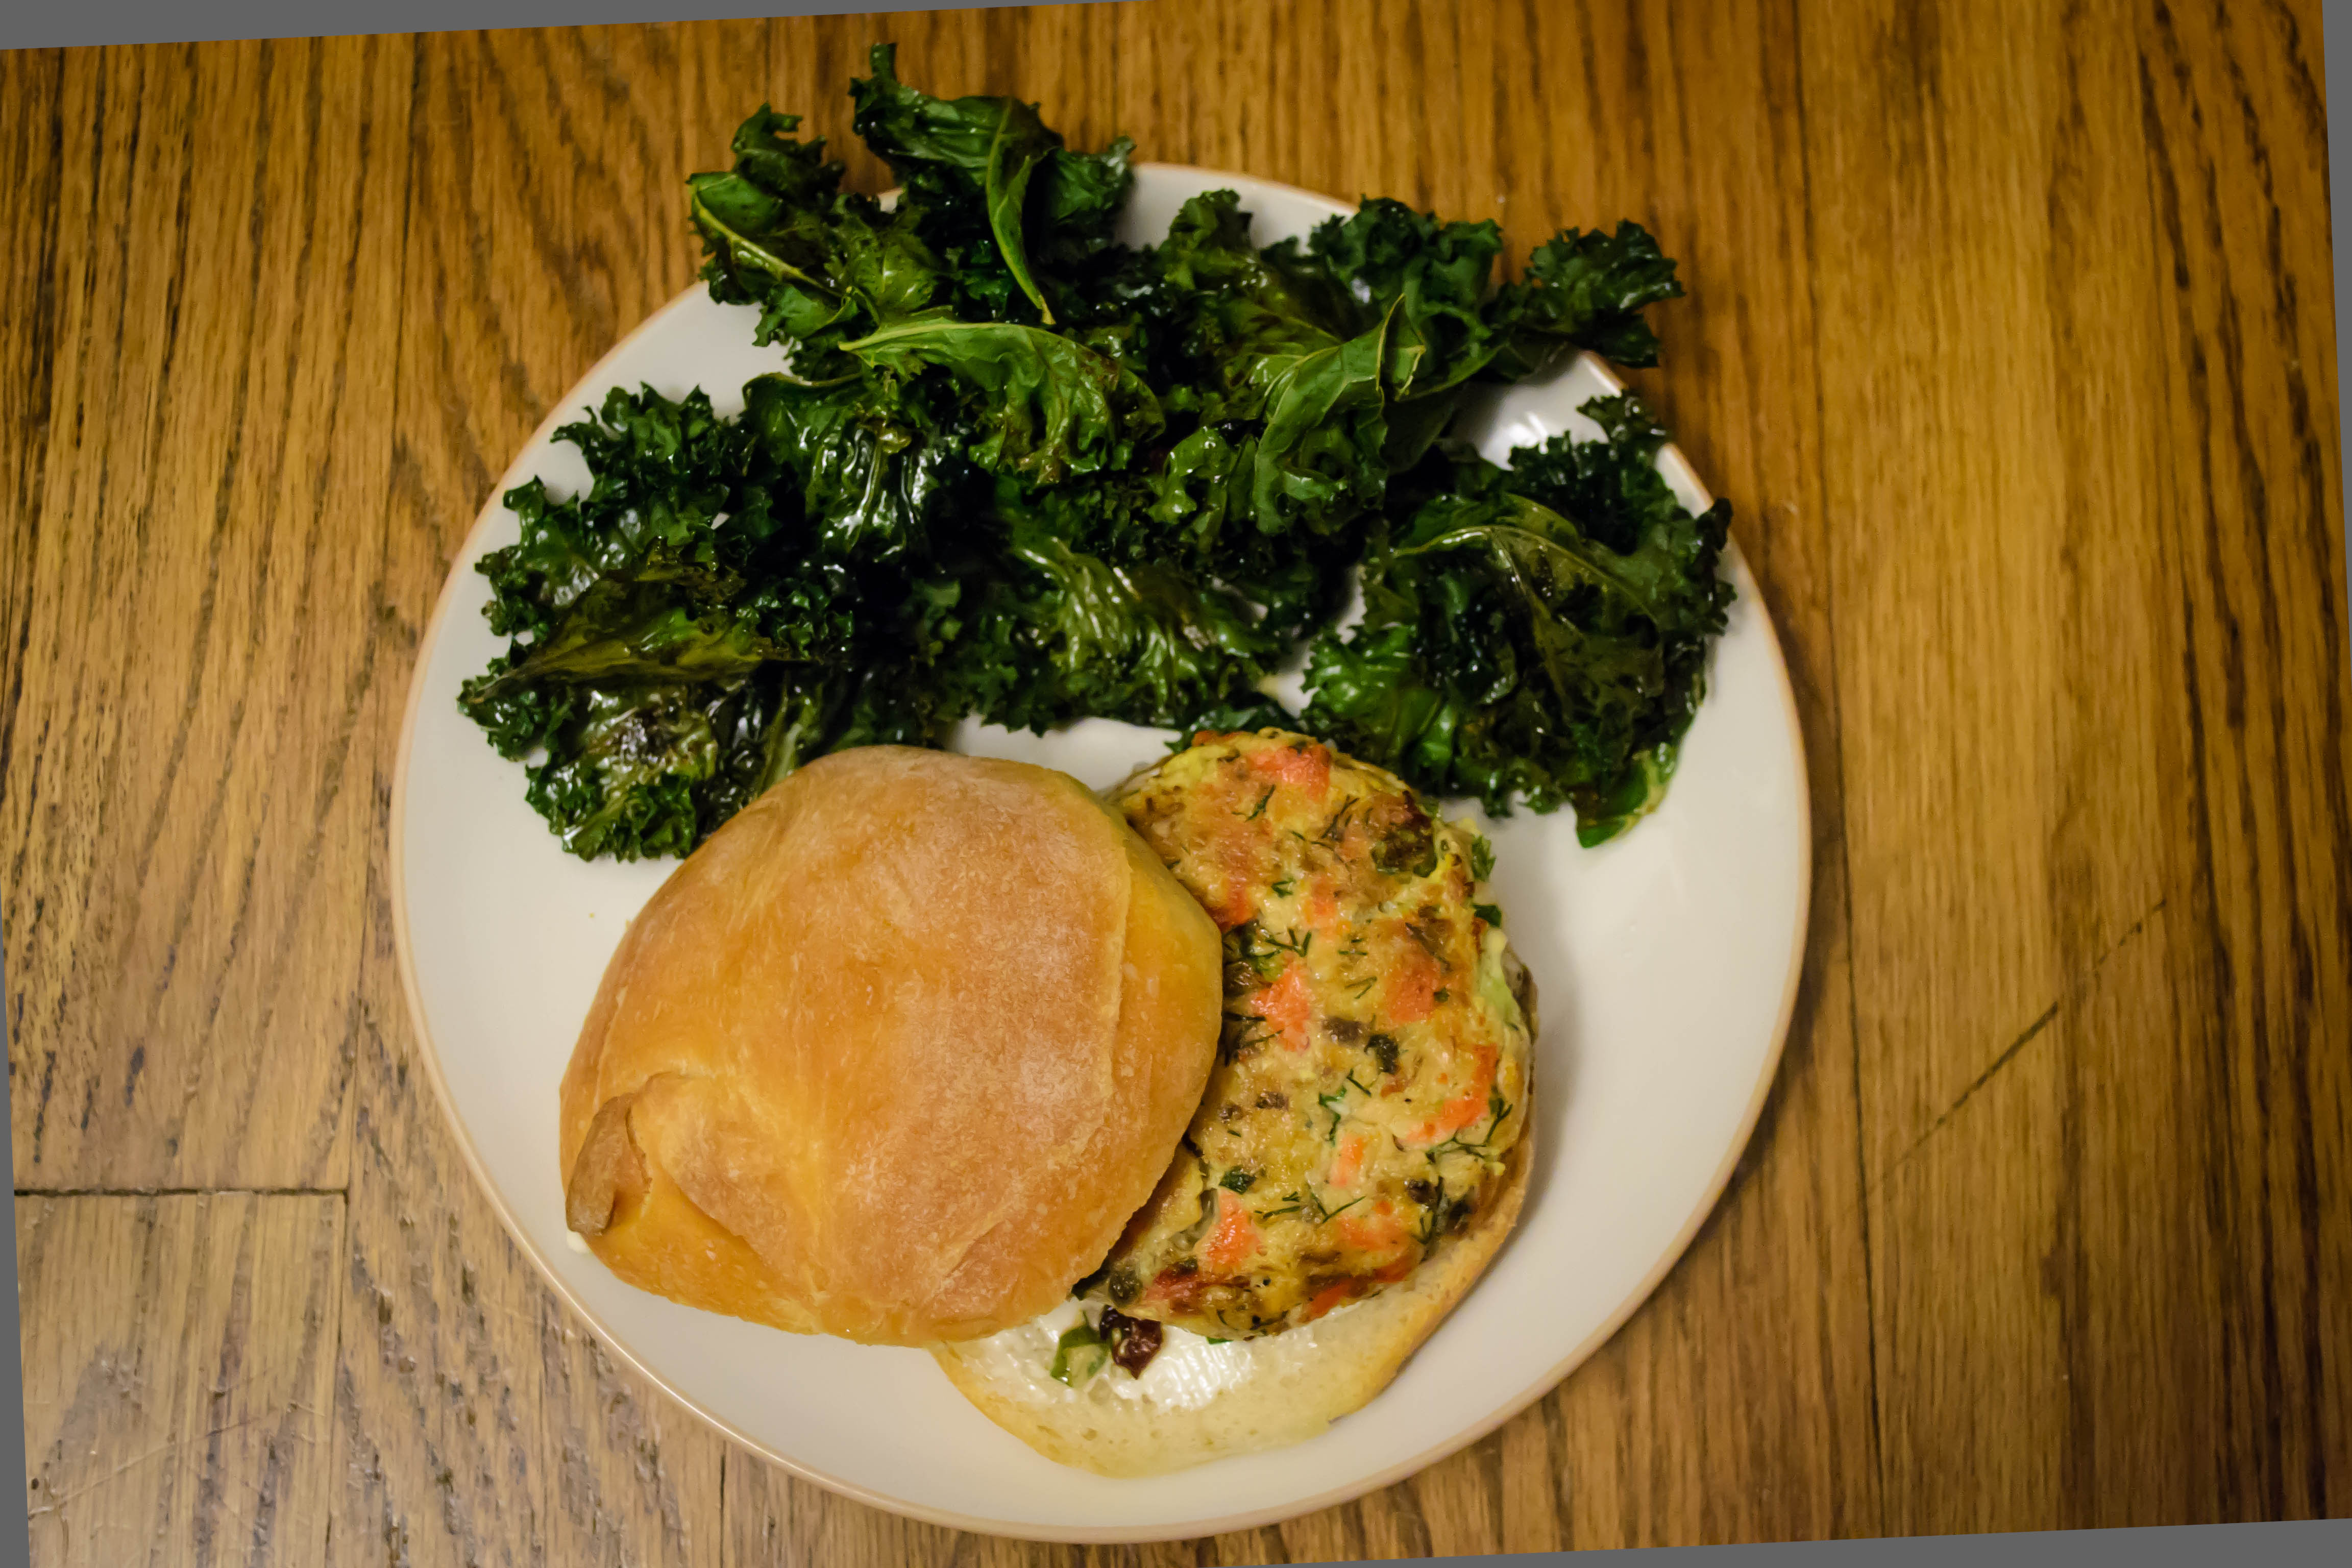
  • Add parsley and serve. We like ours with a loaf of good bread, sometimes toasted, sometimes anxiously torn into pieces, to mop up any lingering sauce.

Photo Fridays!

New feature: Photo Fridays!

I’ve been itching to post for you more often, but you know how life gets in the way… not to mention, having more than one delicious, visually appealing recipe every. single. week. is, for me, an intimidating prospect.  So I’m going to try this instead: part of blogging about food (in my case, at least) is being able to take beautiful photographs of it.  I’ve been working hard at this, spurred along by helpful tools like my Nikon D3100 (man I love this thing), and Adobe Lightroom, but what I need more than anything else is practice.

This is going to help me practice.

I will still do recipe posts on Mondays, but every Friday I will try to do a photo post – just a shot or two of something food related, to practice my skillz.  I hope you enjoy it.

Here’s the first one: such delicious promise in just lemon and garlic…

Food Blog Photo Fridays 2013-0771Have a wonderful weekend!

Garlic Fontina Flatbread

Food Blog May 2013-1256I have a thing about garlic bread.  Achingly soft butter, a scattering of herbs, pungent, sharp garlic paste, spread thickly on sourdough baguette and broiled until the butter bubbles and browns and the garlic takes on a toasty depth; what’s not to love?  I make it in the oven, I make it on the grill, I’ve even tried turning it into a sandwich.  But all too often, the process of toasting leaves the edges of the bread blackened and the crust just too crunchy for my taste.  I want crisp toastiness, but I don’t want mouth-scraping shards of bread shrapnel.

Food Blog May 2013-1233Enter flatbread.  I don’t mean the dry, cracker-like stuff carelessly sprinkled with toppings and served up as an appetizer.  I mean something a little puffier, a little richer, a little cheesier.  A few months ago, I dabbled with a Food Network recipe for Spinach and Cheese Flatbread, and was delighted by the elastic dough that bubbled up into a soft-but-crisp rectangle.  It is chewy and golden, but not quite as sturdy as a pizza dough.  The bottom, slapped against a well-oiled sheet pan, gets just crisp enough to support all but the most ridiculously sized slices (don’t ask me how I know this.  Thank you), so you aren’t left with a square that wilts as you hold it.

Food Blog May 2013-1236As soon as I ate the FN version, I realized this was the answer to my garlic bread dreams.  The dough would be smeared with a loving, excessive layer of garlic-butter-herb-are-you-drooling-yet?-paste, sprinkled with fontina, which melts beautifully and has a mild funk I really enjoy, and baked until crispy toasty nirvana resulted.

Food Blog May 2013-1238My results approached sublimity, and the shortcomings were entirely human error, which seems fitting.  The paste didn’t spread very evenly because this is a soft dough: it threatened to tear when I applied a spatula, so I ended up smearing and dolloping my mixture with my fingers.  You could easily solve this by melting your butter instead of just softening it, and then pouring the mixture evenly over the dough.  Then, because I was afraid the butter and garlic would burn at pizza-cooking temperatures, I was pretty liberal with my cheese application, which meant that the toasty roasty golden color I was expecting didn’t quite happen.  Another minute or two in the oven might have helped, but we were hungry.  A little less cheese might have helped too, but seriously, less cheese?  Totally unreasonable.

Food Blog May 2013-1229Food Blog May 2013-1231Food Blog May 2013-1232In any case, the bread itself was puffy and buttery and decadent.  The garlic loses some of its pungency during baking, but retains that addictive sharpness and bright tingly aroma that makes it so good.  The dollops of butter became dimples of puddly richness that, upon reflection, reminded me a little bit of the center of a really good bialy.  The bottom of the crust is like an old-style pan pizza: golden with burst air bubbles and just oiled enough to leave your fingertips in need of a napkin.

Food Blog May 2013-1251This is a great happy hour snack.  Since it heats up the house, it gives you a great excuse to sit out on your patio, or deck, or picnic blanket, or camp chair.  It pairs well with a crisp, summery wine, and equally well with a frosty pint of beer (or maybe, since, you know, Cinco de Mayo, a classic Corona with lime, or a salt-and-cayenne-rimmed margarita).  You can use any combination of herbs you like.  I chose what was happening right outside my back door:

Oregano – I love the fuzzy leaves on this little guy. Food Blog May 2013-1241

Basil – back in late fall, I relocated a few stalks of basil from the supermarket clamshell container to a vase of water, and instead of wilting, they grew roots!  I shook my head, still in Oregon mindset, while planting them – they would never make it through the winter – but this is Southern California, so of course they did, and are now flourishing.  I’ve read that plucking the blossoms off encourages them to keep producing leaves, so every day or so I faithfully scatter the delicate white blooms. Food Blog May 2013-1244

Parsley – my parsley plant is looking a bit wild these days; it has bolted thanks to the heat. Food Blog May 2013-1246

But if you peer down inside, amidst the sunburned jungle, you can see there are still some stems worth serving! Food Blog May 2013-1249

As for additional toppings, you could add sundried tomatoes or thin rings of bell pepper or even jalapeno to the butter paste if you want to get fancy about it, and it would certainly fare well dipped into a bubbly saucer of marinara, if that’s your thing.  Either way, I think you should make this.

Maybe today!

Are you making it yet?

Food Blog May 2013-1255 Garlic Fontina Flatbread

adapted from Food Network’s Spinach and Cheese Flatbread

For the dough:
2 tsp sugar
2 tsp active dry yeast
1 cup warm water (it should feel just slightly warmer than body temperature when you dip your finger in to test it)
2 ¼ – 2 ½ cups bread flour
1 tsp salt (I like coarse sea salt)
1-2 TB olive oil


For the toppings:
8-10 cloves garlic, minced (about ¼ cup in all)
1 stick very soft butter (1/2 cup)
2 TB each chopped fresh parsley and basil
1 tsp chopped fresh oregano
¼ tsp crushed red pepper flakes
1-2 cups grated fontina cheese


  • Sprinkle the sugar and yeast over the warm water, stir gently to combine, and set aside to proof for 5 minutes or so.  The yeast will begin to bubble and smell like warm bread.
  • In a large bowl (I use the bowl of my electric stand mixer), combine 2 ¼ cups of flour, the salt, and the olive oil, and whisk together briefly.  The olive oil will create little streaks of moistness, like barely dampened sand.
  • Once the yeast mixture is bubbly, pour it into the flour and mix with the paddle attachment or a wooden spoon just until a sticky dough comes together.  Then, if you are using a stand mixer, switch to the dough hook and knead on medium speed for about ten minutes.  If the dough is still relentlessly sticky by minute six, smearing tackily across the sides of the bowl and schlopping stubbornly on the bottom, add an additional ¼ cup flour to make it more manageable.  If you don’t have a stand mixer, plop your dough out onto a floured board and knead by hand.
  • After about ten minutes, the dough should be smooth and elastic, though still fairly sticky.  That’s okay.  That stickiness will keep it moist and supple and lovely.
  • Place the dough – more or less sticky as it is – into a lightly oiled bowl and cover with plastic wrap.  Set it aside in a warm place until doubled.  This may take about an hour and a half, but my kitchen was about 80 degrees on the day I made this, so it only took mine an hour to puff triumphantly.
  • Gently deflate the dough and let it rest for ten minutes.  Then, stretch and spread it carefully on a well-oiled baking sheet.  If it stubbornly snaps back against itself and refuses to form a nice rectangle, let it rest another ten minutes and try again.  The gluten needs to relax a bit after all that rising work it has done.
  • When you have the shape you want, cover the dough with a clean kitchen towel and leave it to rise again for half an hour, until it has doubled yet again.
  • While the dough rises, preheat your oven to 450F and prep your toppings.
  • In a medium bowl, combine the butter, garlic, herbs, and red pepper flakes into a chunky paste.  I haven’t added any salt here, because the cheese is salty, but if you are a sodium fiend sprinkle in some salt to taste.
  • Approach your risen dough with caution: you may be able to smear on the garlic butter paste with a spatula, but you may have to carefully coat the surface with just your hands.  It will depend on the texture and elasticity of your dough.  If it won’t spread the way you want and you get frustrated with it, microwave the paste for a few seconds until the butter is melty, then pour the mixture on instead of smearing.
  • Top your buttered dough with an even sprinkle of cheese, keeping in mind that where the cheese completely covers the buttery garlic paste, not much toasting will occur.  I’ll leave determining quantities and coverage up to you and your preferences.
  • Place your topped flatbread into the oven and bake for 15-18 minutes, until the edges of the dough are puffed and nicely browned, and the cheese has turned golden and sizzles.  Let it cool on a countertop for 5-10 minutes, just to let the cheese cool from molten temperatures a bit, then slice and serve.

Food Blog May 2013-1252


Smoked Salmon Burgers and Not-Ciabatta

In 2009, as N. and I were working through the Oral Examination phase of our graduate program – one of the most difficult aspects, as far as I’m concerned – a little restaurant opened on the south side of town.  Sharing space with a small bakery called the Humble Bagel, and run by the bagel shop owners’ daughter Anni and her husband Ari, the Humble Beagle quickly became our favorite restaurant in Eugene.  The feel is an intriguing blend: casual neighborhood gastropub, seasonal local food, layered with Israeli influence.  Macaroni and cheese, Caesar salad with amazingly lemony dressing, or penne with fresh pesto share menu space with shakshuka, house made pita, and lamb pizza dolloped with labneh.  In the summer, weekly specials are determined by what is producing best in Ari and Anni’s backyard garden.  In the winter, Ari makes his own pastrami and quick pickled cabbage for their take on a reuben.  The beers on tap are mostly from Oregon, and even the soft drink selection is carefully chosen for its local, natural ingredients.  The check comes with homemade, sugar dusted shortbread cookies.  It’s a pretty good example of the slow food movement in delicious action.  If you want a quick meal, don’t bother.  You’ll be there at least two hours.  If you want a place to bring your sixteen unannounced relatives, don’t show up without reservations.  This is a small, local pub, not a diner or high volume chain.  If you want tasty, thoughtful, belly-warming food at a relaxed pace, get in your car right now.  For a while, as N. and I neared the dates of our respective exams, we were going to the Beagle every Friday evening for dinner.  Almost without exception, I got the Fisherman’s Stew, a lovely collection of shellfish and moist, flaky halibut in a tomato and fennel broth with garlic aioli melting achingly over the top.  We could barely afford the luxury of these weekly visits, but we also couldn’t stay away.

The Beagle entertained us for the next three years.  We went there for birthdays – N.’s 30th, when Ari let me bring a cake I’d made at home, gave me the biggest chef’s knife I’ve ever seen to slice and serve it, and then took a leftover piece back to the kitchen where he shared it with the cooks.  We went there for the yearly day-after-Thanksgiving meal with my family.  One year, fifteen minutes into the meal we were the only patrons, and it was like our own private restaurant.  Ari came out and told us stories about his family’s holiday, and we were suddenly not in a restaurant anymore, but in the home of our friend.  We went there for dinner after my dissertation defense too, and even though we ended up being an annoying group – people arriving late and leaving early, special menu substitutions and requests, perhaps slightly-too-boisterous behavior – our server said it was okay, and that Ari had told him we were royalty.

On their Summer 2010 menu, the Beagle introduced an item I was instantly drawn to and still haven’t gotten enough of: the Smoked Chinook Patty.  This was a salmon burger on fresh ciabatta (made in the bakery next door), but what pulled me in was its blend of fresh and smoked salmon.  It’s immediately richer, deeper, brinier than any other salmon patty I’ve tasted.

This week, needing both a new dough challenge and a taste of that chilly, rain-soaked, allergen-laden city I still think of as home, I decided a recreation was in order.

Food Blog January 2013-0478

The Beagle’s patty comes on freshly made, perfectly crusted, well-toasted ciabatta rolls.  Looking in Ruhlman’s Ratio this week, I noted that the only difference he gives between ciabatta and a standard baguette or boule is the shape and cooking time.  This seemed promising and so, despite my claims last week about fear and being unready, I decided to dive in.  What else is a Thursday morning for?

Food Blog January 2013-0439

I dutifully mixed, then kneaded, bread flour, water, yeast, and salt.  I tore off a chunk to perform the windowpane test, and I cuddled my ball of smooth, elastic dough in an oiled bowl to rest and rise.

Food Blog January 2013-0446

Ruhlman doesn’t give any suggestion of how long to bake individual ciabatta rolls, only a full loaf, so I went to the internet for help.  I quickly discovered that what I was making wasn’t going to be the bread I’d had in mind: the tremendous bubbles that bake into cavernous holes, the flour-dusted, almost gravely crunch of the crust, and the soft, perfectly chewy texture of the interior are achieved through a slightly different ratio of ingredients, and a more involved process, as this article on The Kitchn depicts.  Since I was starting on the day of baking and didn’t have a biga waiting in the wings, I was just going to have to work with my mix.

Food Blog January 2013-0449

Ultimately, though what resulted was more like a super crunchy, slightly flat mini boule, it was crisp and buttery golden delicious and an excellent vehicle for the smoky/briny/rich/tastes-like-home burger it enclosed.

Food Blog January 2013-0456

Not-Ciabatta

10 ounces bread flour (or 2 cups)

6 ounces warm water

1 teaspoon salt

½ teaspoon active dry yeast

Sprinkle the yeast over the surface of the water and set it aside for five minutes or so to come back to life.

While you wait, whisk flour and salt in a mixing bowl.  Make a little well in the center and pour in the yeasted water.  If using a stand mixer, beat with the paddle attachment just until things come together, then switch to the dough hook and knead at medium speed for 10 minutes.  I had never executed this switch between tools before, but it worked really well.

After 10 minutes, the dough should be stretchy and lovely and firm, and all traces of unincorporated flour on the sides of the bowl will be gone.  Do the windowpane test to see if the bread is ready.  If it’s not, continue kneading.  If it is, transfer the ball of dough to a lightly oiled bowl and place in a warm, draft-free place to rise.  I like to put it in an oven that’s been warmed for five minutes, then turned off for five minutes.

Let the dough rise until doubled in size – mine took 1 hour and 45 minutes.

Punch down the dough gently and then knead it on a floured board for a minute or two to deflate it a bit.

Let it rest for 15 minutes.

At this point, divide the dough, shape it into the bun shapes you want, and let it rise on an oiled baking sheet for another 1½ – 2 hours.  I ended up with seven mismatched, homely little balls, but I lovingly covered them with a clean kitchen towel and went about my business.  (I think I went about my business a bit too long – 2 hours became almost 3½, and the resulting buns didn’t puff much during baking because they’d expended so much of their rising power as they sat on my counter.)

Food Blog January 2013-0448

When the buns have risen again, drizzle them with olive oil and bake in a preheated 450F oven for 10 minutes, then turn the heat down to 375F and continue baking for another 20 minutes, or until golden brown and done in the center (with a full-size loaf you can thump the bottom and if it sounds hollow it’s done, but I suspect these are too small to yield satisfying results with this method.  Since I had 7, I just tore into one to see if it was done, and when it was, I ate it.  No one else has to know).

Food Blog January 2013-0461

Set aside to cool while you make the salmon patties.


Smoked Salmon Burgers

These are robust in flavor but, especially if you are using canned salmon, must be handled with some delicacy to prevent breakage.  They are, I think, a perfect blend: rich, fatty salmon, salty smoky deepness, and the sour zesty bite of capers and lemon.  If you don’t want to bother with the buns, you could certainly encase these in crisp leaves of butter lettuce.

15 oz. canned salmon, picked through and bones removed, or about 1 lb. fresh, finely chopped

4-6 oz. smoked salmon, flaked with a fork

2 cloves garlic, *pasted with salt or grated

3 green onions, finely diced

1 TB capers, minced

1 TB fresh dill, minced

1 tsp each lemon zest and lemon juice

Pepper to taste

1 egg, lightly beaten

If you are using canned salmon, combine all ingredients except the egg and taste for seasoning.  That way your mixture is perfectly seasoned before adding raw egg to the party.  You will likely not need any additional salt, because the smoked salmon and capers are briny already, and if you paste your garlic you will already be adding salt to the mixture.

Food Blog January 2013-0463

If you are using fresh salmon, combine all ingredients, mix well, and then fry about a tablespoon of the mixture until cooked through to taste for seasoning.

*To paste the garlic, mince cloves, then sprinkle with salt.  Using firm pressure, draw the blade of your knife across the garlic on the board several times.  It will begin to lose its integrity as the salt breaks it down, until you are left with a paste that is much easier to incorporate into your salmon mixture.

When it is seasoned to your liking, quarter the mixture and form four equal sized patties of 3-4 inches in diameter.  Pop these in the refrigerator for at least half an hour to let them firm up and meld – they will hold together in the pan much better this way.

Food Blog January 2013-0470

Before cooking, let your refrigerated patties stand at room temperature for about 10 minutes, just to take the chill off.

Food Blog January 2013-0468

Warm olive oil in a skillet over medium heat and gently fry the patties.  They should take 5-8 minutes per side.  Cooking time will depend upon whether you have used canned or fresh salmon and how plump your patties are.

To serve, enclose in buns lovingly with some spring mix and your choice of condiments.  I suggest horseradish or wasabi mayonnaise.  If you had homemade mayonnaise that would be a lovely splurge here.

Food Blog January 2013-0474

We had ours with paprika spiced kale chips, but to really get the Beagle experience you would need to serve with garlic French fries.

Food Blog January 2013-0479

Finish line

The problem with cramming for final exams – as many of my students were doing only a few weeks ago – is that you end up trying to process too much information, and just as quickly as you learn new things, the old things you thought you knew start sliding away. That’s the glory and the power of writing. Once it’s on the page, it’s solid. No matter how many holiday dinners you eat (I’m onto my third or fourth at this point), those words will still tell you exactly what you did and (sometimes) how you felt about it.

I feel like I’m cramming for my final. Last week, before the holiday, before the family time, before the outpouring of memories and laughter and swallowed tears of all kinds and barking and yelling and joy, I made three Bittmans in a desperate bid to stay on top of the project.

42. Brussels Sprout Sliders: Trim and halve large brussels sprouts, toss with olive oil and roast at 400 degrees until tender but not mushy. Using the brussels sprout halves as you would hamburger buns, sandwich them around a piece of crispy bacon or ham, maybe a little caramelized onion, and a dab of whole grain mustard. Keep everything in place with toothpicks.”

I always intended to make this one for a Halloween party. It seemed fitting: for some, brussels sprouts are a frightening, disdained vegetable. But this new perspective on them makes them fun and perhaps even appetizing to those disbelievers who see them only as a bitter waterlogged grenade of disappointment. But I never did. So they became an appetizer for two:

6 brussels sprouts, trimmed and halved

2 strips bacon, cut into eight even pieces (you’ll use six for the brussels. Eat the other two, or share with a tall, handsome somebody who shows up in the kitchen when the smell becomes too enticing to ignore)

dab (maybe 1 tsp total?) whole grain mustard

Preheat the oven to 400F.

Line a small baking dish (I used a 9” cake pan) with aluminum foil and drizzle the foil with olive oil. Brush or rub the olive oil into an even layer so every millimeter of foil is covered.

Set the sprouts, cut side down, on the oiled foil, spacing them evenly so none are touching. This will ensure even roasting rather than steaming.

Food%2520Blog%25202011-2013-0204

Roast for 15 minutes, until the cut edges are browned and just crisp. Using tongs, flip over each sprout so they teeter on their curved sides. Roast for another 15 minutes.

While sprouts are roasting, cook the bacon. Mine was already cooked – saved from another porky occasion – so during the last five minutes of sprout roasting I added the bacon pieces to the pan to heat them up a little.

When the sprouts are browned and lightly tender, set them aside until they are cool enough to handle. As soon as you can bear to touch them, add a tiny spread of mustard across one cut edge, seat the bacon atop it, and place another sprout half on top to complete the sandwich. Drive a toothpick through the whole thing and serve as an hors d’oeuvre.

Food%2520Blog%25202011-2013-0205

We gobbled these down like we hadn’t eaten in weeks. They were delightful and I highly recommend them as a party item: crisp bacon, zesty mustard, and the nutty crunchy slight bitterness of roasted brussels sprouts, all collected together in one perfect bite. Perhaps a New Year’s Eve treat to help the hours pass.

Food%2520Blog%25202011-2013-0210


Soup and bread seemed like a good meal to follow our sprouts.

82. Cornmeal Flatbread with Onion and Sage: Mix 1 cup cornmeal with 1 teaspoon salt; slowly whisk in 1½ cups water. Cover and let sit for an hour (or up to 12 hours in the refrigerator). Put ¼ cup olive oil in a 12-inch ovenproof skillet along with a thinly sliced red onion; stir. Heat the skillet in a 400-degree oven for a few minutes, then stir and pour in the batter. Bake at 375 degrees until the flatbread is crisp at the edges and releases easily from the pan, about 45 minutes.”

I followed these directions fairly exactly, with the exception that I used only half an onion. The olive oil and onion went into the oven for five minutes at 400F, at which point the onion slices were sizzling and the oil was shimmering beautifully.

Bittman neglects to note where and when to add the sage, so I stirred a tablespoon of finely chopped fresh sage into the batter just before adding it to the skillet.

Food%2520Blog%25202011-2013-0203

This concoction baked for 45 minutes, until it was set, the onions were crisp-tender, and the whole thing loosened easily from the skillet and slid almost gracefully onto a serving tray.

Food%2520Blog%25202011-2013-0212

We cut large wedges and tasted. It was unlike any other bread I’ve come across – more like baked squares of polenta than anything else, which made sense when I stopped and thought about it. Were I renaming this dish, I think I would call it Polenta Pizza. It was well oiled and spongy in texture, squishing pleasingly between our teeth and driving us back for additional tastes. N. wasn’t sure he liked it at first, but then he went back for a second slice and then a third. When I ribbed him about this, he said he was still deciding what he really thought, and needed more samples to truly make up his mind.

Food%2520Blog%25202011-2013-0214

This odd little bread course could easily be dunked in saucers of warmed marinara sauce, or sprinkled with mozzarella or parmesan for a pleasing salty bite. Though the onions and sage were good, you could probably saute almost anything in that skillet before adding the batter: sausage, peppers, mushrooms… anything you’d put on a pizza.

A decadent appetizer and a well-oiled pizza/bread need a sober, sensible kind of soup to balance them out.

19. Saute chopped onions, garlic, celery and carrots in olive oil, then add chopped tomatoes (boxed are fine) with their juice, lentils and stock or water to cover. When everything is soft, add a squeeze of lemon juice or a splash of red wine vinegar. Garnish with parsley.”

Since we were leaving town the next day, I didn’t want huge quantities. (This still made enough for four, but I froze the leftovers so nothing was lost)

½ red onion (left from the flatbread, so convenient), diced

4-6 small cloves garlic, minced

1/3 cup each celery and carrots, sliced

¾ cup lentils

13.5 oz can petite diced tomatoes

2½ cups chicken broth (or vegetable broth, or water)

1 TB lemon juice

2 TB fresh, finely chopped parsley

salt and pepper to taste

I heated 2 TB olive oil over medium heat, then tossed in the onions to sweat for a minute or two before adding the garlic and the other vegetables. When the onions were translucent and tender, I added the tomatoes, lentils, and broth and turned the heat up to medium high until the whole pot came to a boil.

Once boiling, I gave it a healthy stir and then turned the heat down so the soup would just simmer, letting the lentils soften gently and the vegetables tenderize.

Simmer for at least 35 minutes, then taste the lentils to see if they are tender enough for your taste. We like them soft but not mushy, with minimal resistance but still able to hold their shape.

Just before serving, squeeze in the lemon juice, stir gently, and dip into serving bowls. Scatter the surface with a grassy sprinkle of parsley.

Food%2520Blog%25202011-2013-0215

We liked this, though it wasn’t the best lentil soup I’ve ever had. The flavors were enticing and the lemon juice made it a bright, rather than heavy, soup. The problem with it was that I like my lentil soup more like a stew or a chili. The brightness of the lemon made the shower of shredded pepperjack cheese I was considering adding seem extraneous and out of place, and I tend to get crotchety when denied cheese. But alongside the flatbread and the richness of the brussels sprouts, it was hearty but didn’t weigh us down.

2012 is fading like the last sheen of daylight across the hills in winter. 2013 charges toward us, all mystery and sharp promise. I thought about cheating and saying I was done; these three dishes are the final three, I made it, all boxes are checked, all questions answered, funtoosh, kaput (extra points if you can name my source!), but I just can’t. I’m too close. This final exam is too important. This resolution needs to be one I keep. I have two dishes left. I have two days, one of which will be spent driving from the Sierra Nevada foothills where N.’s parents live back to Los Angeles and my little house. I hope I’m going to make it. The finish line is in sight. Now I just have to stagger across it.

Cold Comfort

Tragedy, when it strikes, whether it be national and sweeping or personal and held tight against you – and I have experienced both this week – plunges you into strangeness.  There is shock, there is disbelief, there are weighty moments of contemplation, there is knowledge of helplessness.  There is the feeling of being alone.

When I feel the chill and the incomprehensible wounding of tragedy, I want my belly full of warmth and familiarity and comfort.  And while it may seem trivial or even juvenile to want to write about food in the aftermath of gut-twisting pain, I think there is an important connection to be made.  As Shauna said shortly after Hurricane Sandy, one of the ways food is important is that it brings us together.  Her post moved me deeply, and made me feel that it’s not trivial or disrespectful to feel the need to talk about humble little food in the aftermath of disaster.  The loneliness and helplessness of pain can be beaten back by community.  When we come together, we are able to offer one another comfort, even if it is slight, and the metaphorical warmth of our togetherness can often eclipse physical heat.  Food bridges that gap.  It offers a physical warming, yes, in that it nurtures us and fills us and helps us carry on as individuals.  But it also links us – we eat together, we break bread, and in eating together we share ourselves with each other in meaningful ways, even if we didn’t realize that sharing took place.  It binds us in communities, however small, and having fellows in a bad situation, whether they are fellow mourners or whether they are comforters and supporters, gives us the opportunity for light and warmth, if we are able to feel that connection.

So when I talk about food today, I want to talk about food that warms us.  I want the fullness of soup and the richness of dessert.  I want the clinking of spoons and the sprinkling of spice that stabilizes and relaxes and envelopes us.  I want us to be able to feel the warmth of love which, to me, is most easily expressed through a transfer of food: if I feed you, it’s a good bet I care about you.  It’s a small thing, and you may think it’s a silly thing or an unimportant thing, but it is perhaps the only thing I can do in this moment to reach across the feeling-less blips of the net-scape and offer you warmth.  But I mean it.  Take this warmth.

“95. Indian Pudding: Combine 3 cups of milk and 1/3 cup of cornmeal in a saucepan over medium heat. Bring to a simmer; stir in 1/3 cup of molasses, 1 tablespoon sugar, ¼ teaspoon salt, 1 teaspoon ginger and ½ teaspoon cinnamon and simmer, stirring occasionally, until thick. Add 1 tablespoon of butter and stir until melted. Pour pudding into buttered baking dish and bake at 300 degrees for about 2 hours, uncovered, until golden brown and set in the middle. Serve with ice cream or whipped cream.

Food Blog 2011-2013-0169

Stirred sternly, this mixture took on the texture and the color of pumpkin pie filling.  It began to spit and burble like a pot of grits (which, in a somewhat removed way, it was), and I decided it had done its time.  Into the oven with it.

I think I overbaked this.  Just the barest firmness across the top, like a good cheesecake, is what is needed.  Mine was stiffly set.  I also think I chose the wrong cooking vessel.  I used a glass pie dish.  Serviceable, sturdy, but too wide.  The pudding came out an odd inch or so thick.  A deep mass of wobbly richness would have been preferable.

Food Blog 2011-2013-0172

Despite these fallbacks, it was still very, very good.  Perhaps it was the color and the texture, but it really did remind me of crustless pumpkin pie.  The cornmeal and milk became a custard, and the rich deepness of molasses and autumnal spices left me wanting to douse this with a healthy dollop of Reddi-whip.  I settled for vanilla ice cream instead.

Food Blog 2011-2013-0174

“18. Hot and Sour Vegetable Soup: Sauté chopped onions and garlic in vegetable oil until soft. Add chopped or shredded carrots, cabbage, and daikon or turnip, frozen corn, chopped boxed tomatoes with their juice and stock to cover; bring to a boil. Simmer for 15 minutes, then finish with about a tablespoon of rice wine vinegar per 2 cups of soup and loads of black pepper.”

Soup warms the belly like very little else.  This one, with the copious quantities of black pepper and the inevitable sour burn of the rice vinegar, promised a cauldron of comfort.  Quantities listed here make enough for two large bowls – quite enough for a deep December lunch.

2 TB vegetable oilFood Blog 2011-2013-0179

¼ large onion, diced

4 cloves garlic, minced

1 carrot

½ medium turnip

8 napa cabbage leaves

½ cup frozen corn kernels

14.5 oz can of petite diced tomatoes

2-3 cups chicken or vegetable broth

2 TB rice vinegar

½ tsp salt

½ pepper to start – add more to your liking

Heat the vegetable oil over medium heat and sauté the onion and garlic for a few minutes, until the onions just begin to pick up color.

Meanwhile (or beforehand, if you are not speedy with your vegetable prep), peel the carrot and turnip.  Once you have disposed of the scraps, continue to peel the carrot into thin strips with your vegetable peeler.  Cut the pile of ribbons in half or in quarters to create bite-sized pieces.

Cut the turnip in half from root to tip, then crosswise into thin slices.  Julienne each thin slice so you have slim matchstick pieces.

Stack the napa cabbage leaves, then roll into a thick cigar and slice as thinly as possible.

Add the vegetables to the onion and garlic.

Add the corn kernels and the broth and simmer the whole pot for 15-20 minutes, or until all vegetables are tender and everything is warmed through.

Add the rice vinegar, salt, and pepper, stir gently, and serve.

I loved everything about this soup except the tomatoes.  They weren’t a bad addition, there were just too many of them.  Were I making this again, I might decrease the quantity, or just drain the can and add only the liquid for the color and acidity.  The strings of carrot and turnip kept a minimal bite, and the combination of vinegar and pepper was near perfect.  The puckering sourness played against and contributed to the bland crunch of the vegetables, and alongside a hastily prepared hunk of garlic toast, this was a satisfying lunch on a chill day: it was heat, and comfort, where both were needed.

Food Blog 2011-2013-0178

Be well, all.