Garlic Fontina Flatbread

Food Blog May 2013-1256I have a thing about garlic bread.  Achingly soft butter, a scattering of herbs, pungent, sharp garlic paste, spread thickly on sourdough baguette and broiled until the butter bubbles and browns and the garlic takes on a toasty depth; what’s not to love?  I make it in the oven, I make it on the grill, I’ve even tried turning it into a sandwich.  But all too often, the process of toasting leaves the edges of the bread blackened and the crust just too crunchy for my taste.  I want crisp toastiness, but I don’t want mouth-scraping shards of bread shrapnel.

Food Blog May 2013-1233
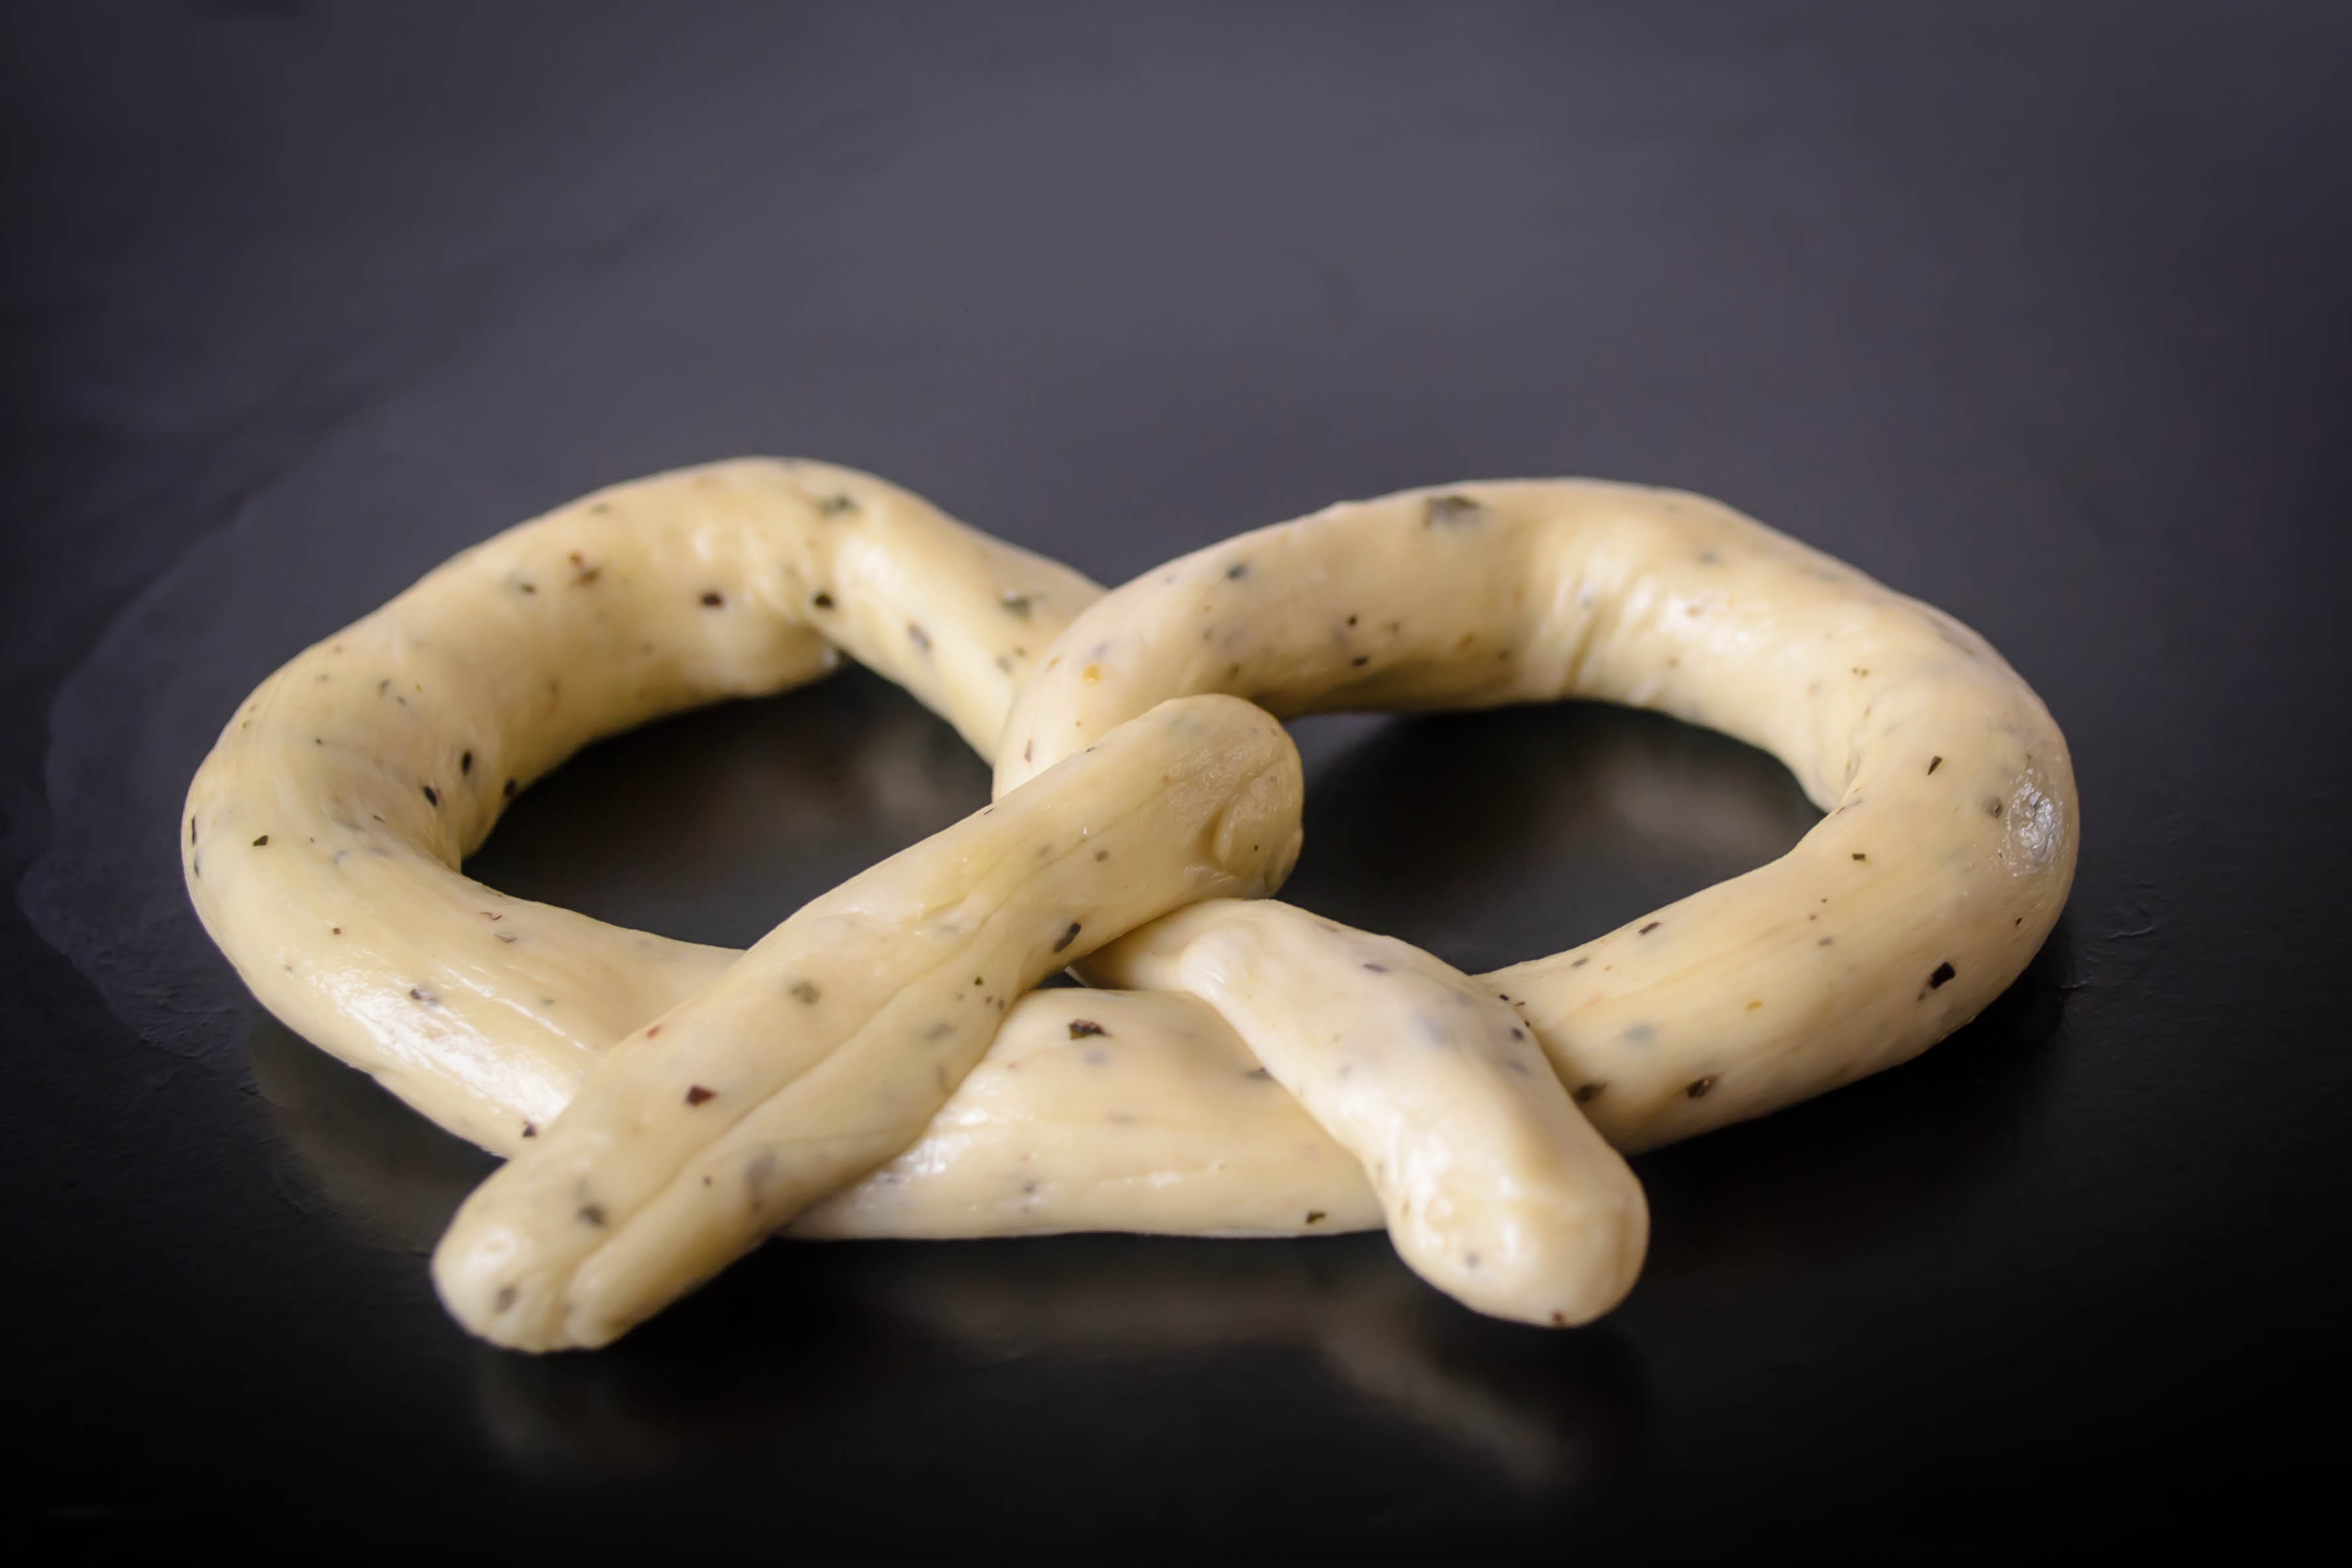
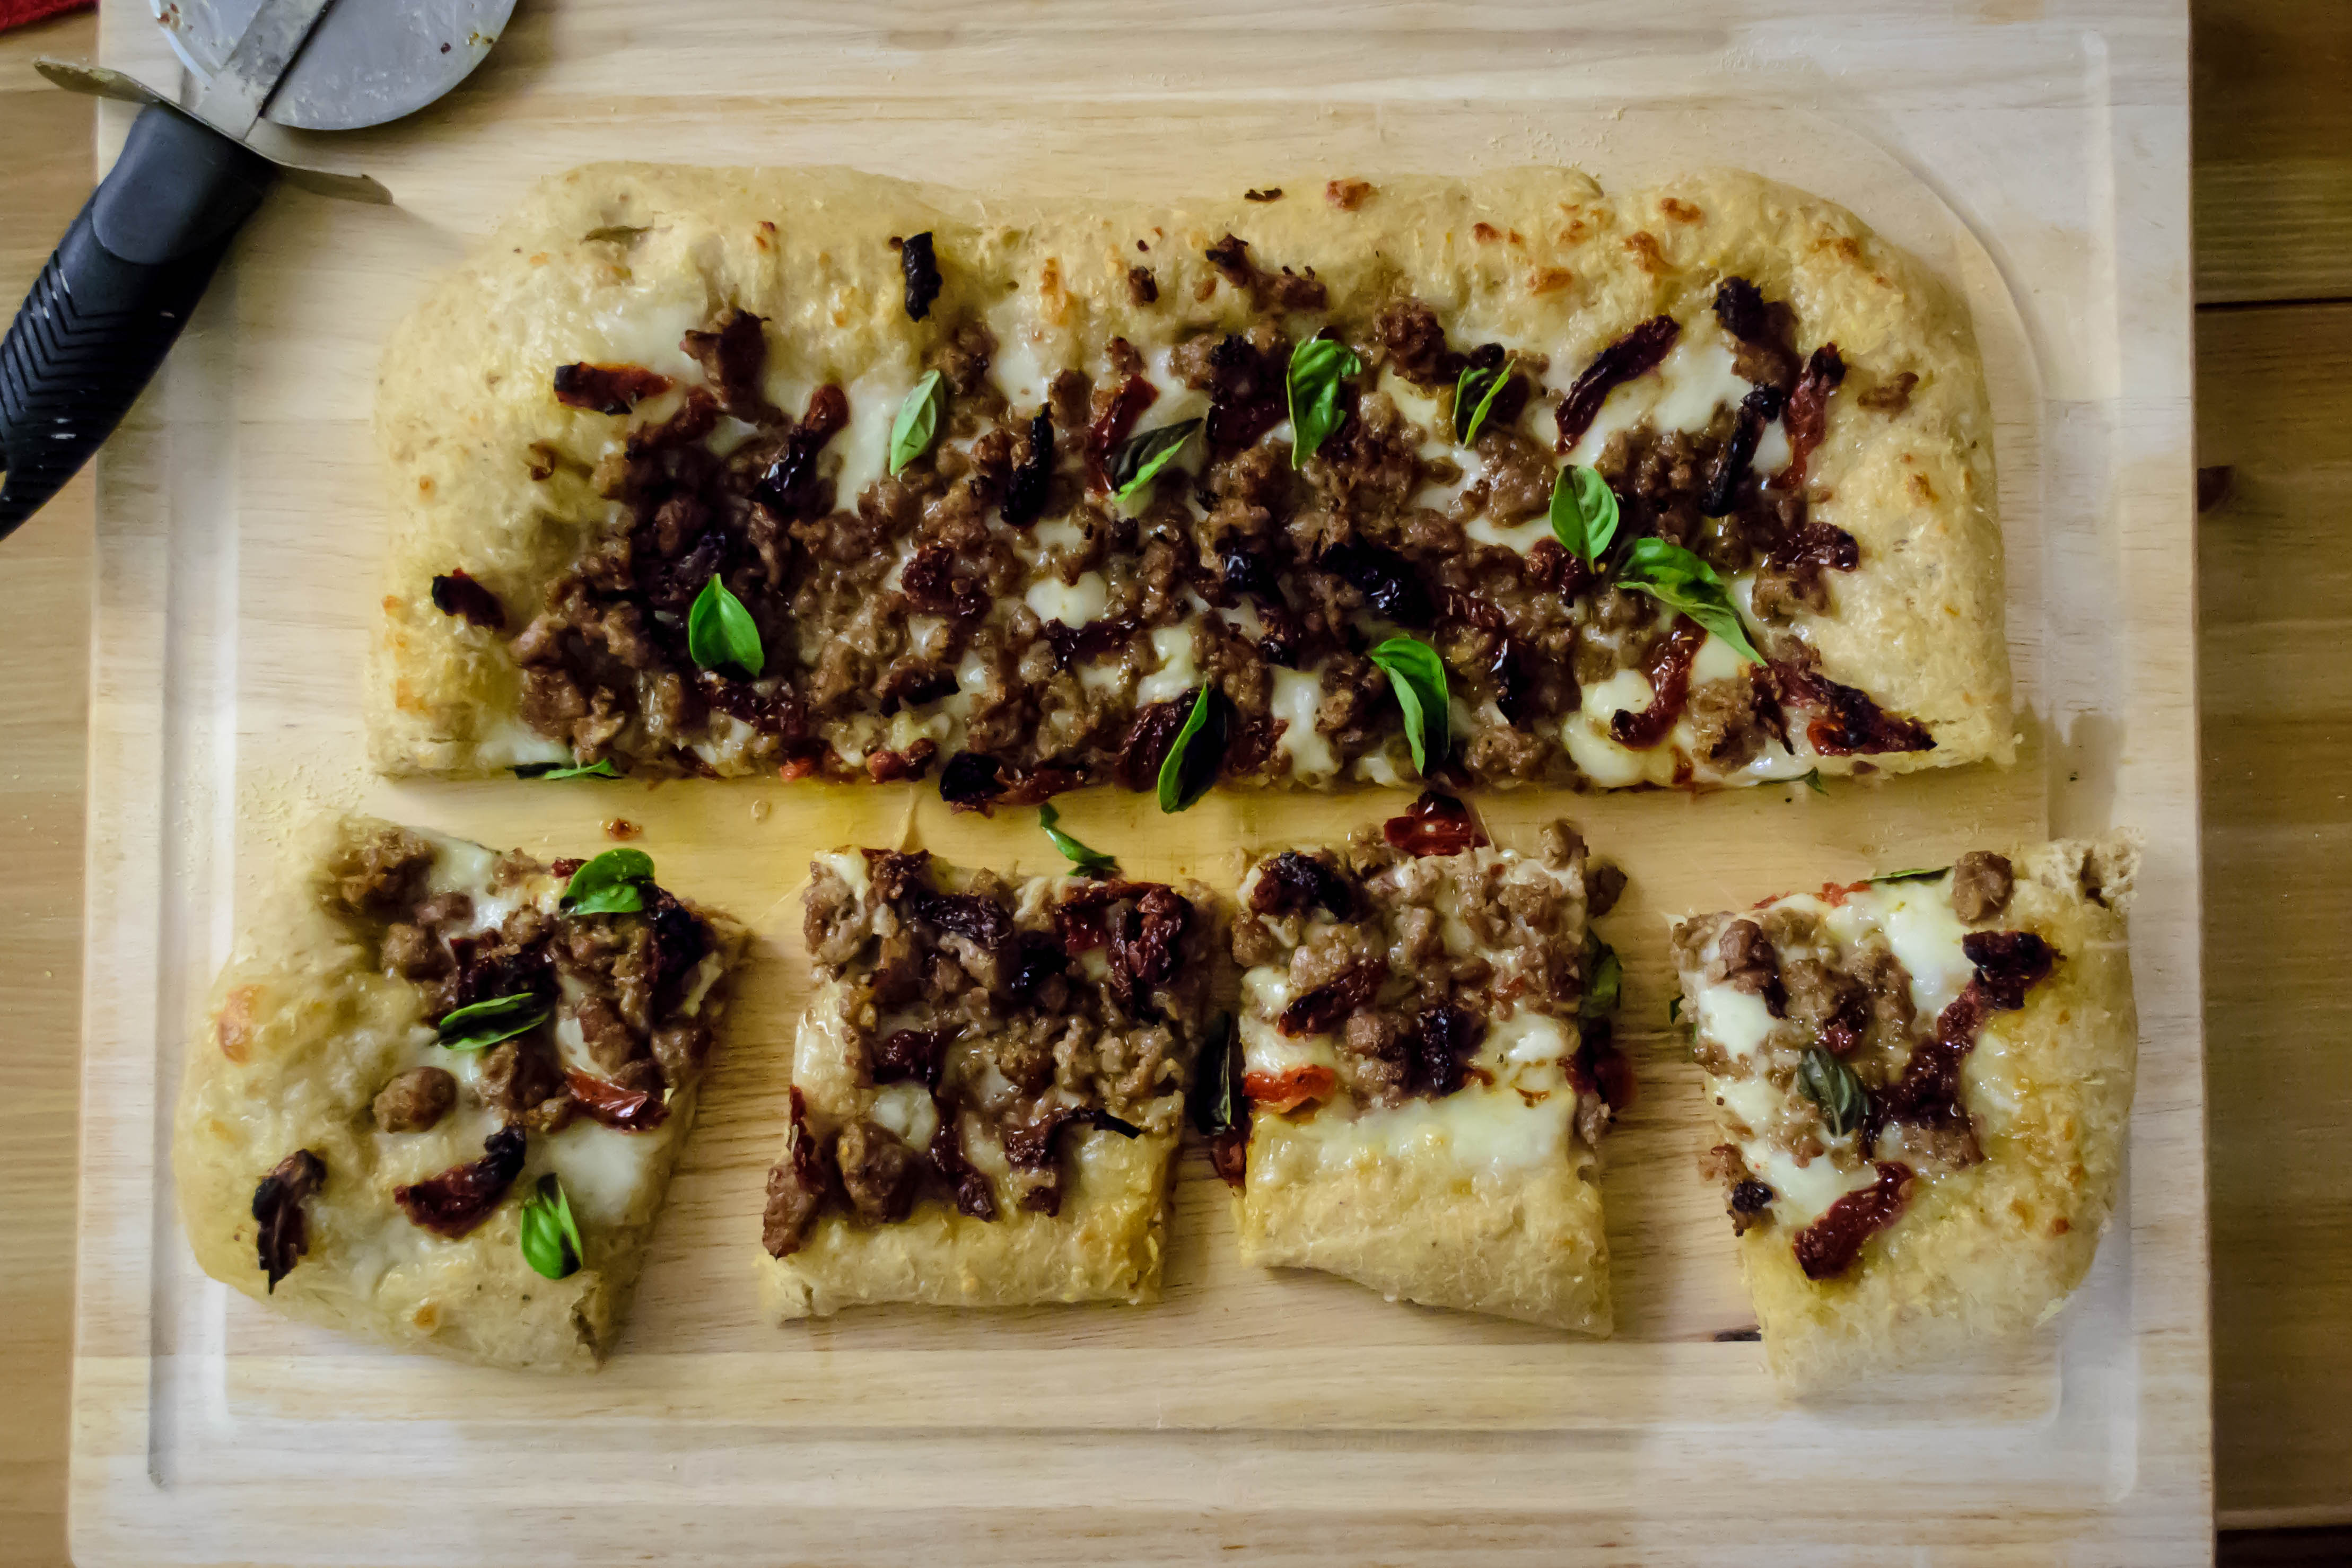
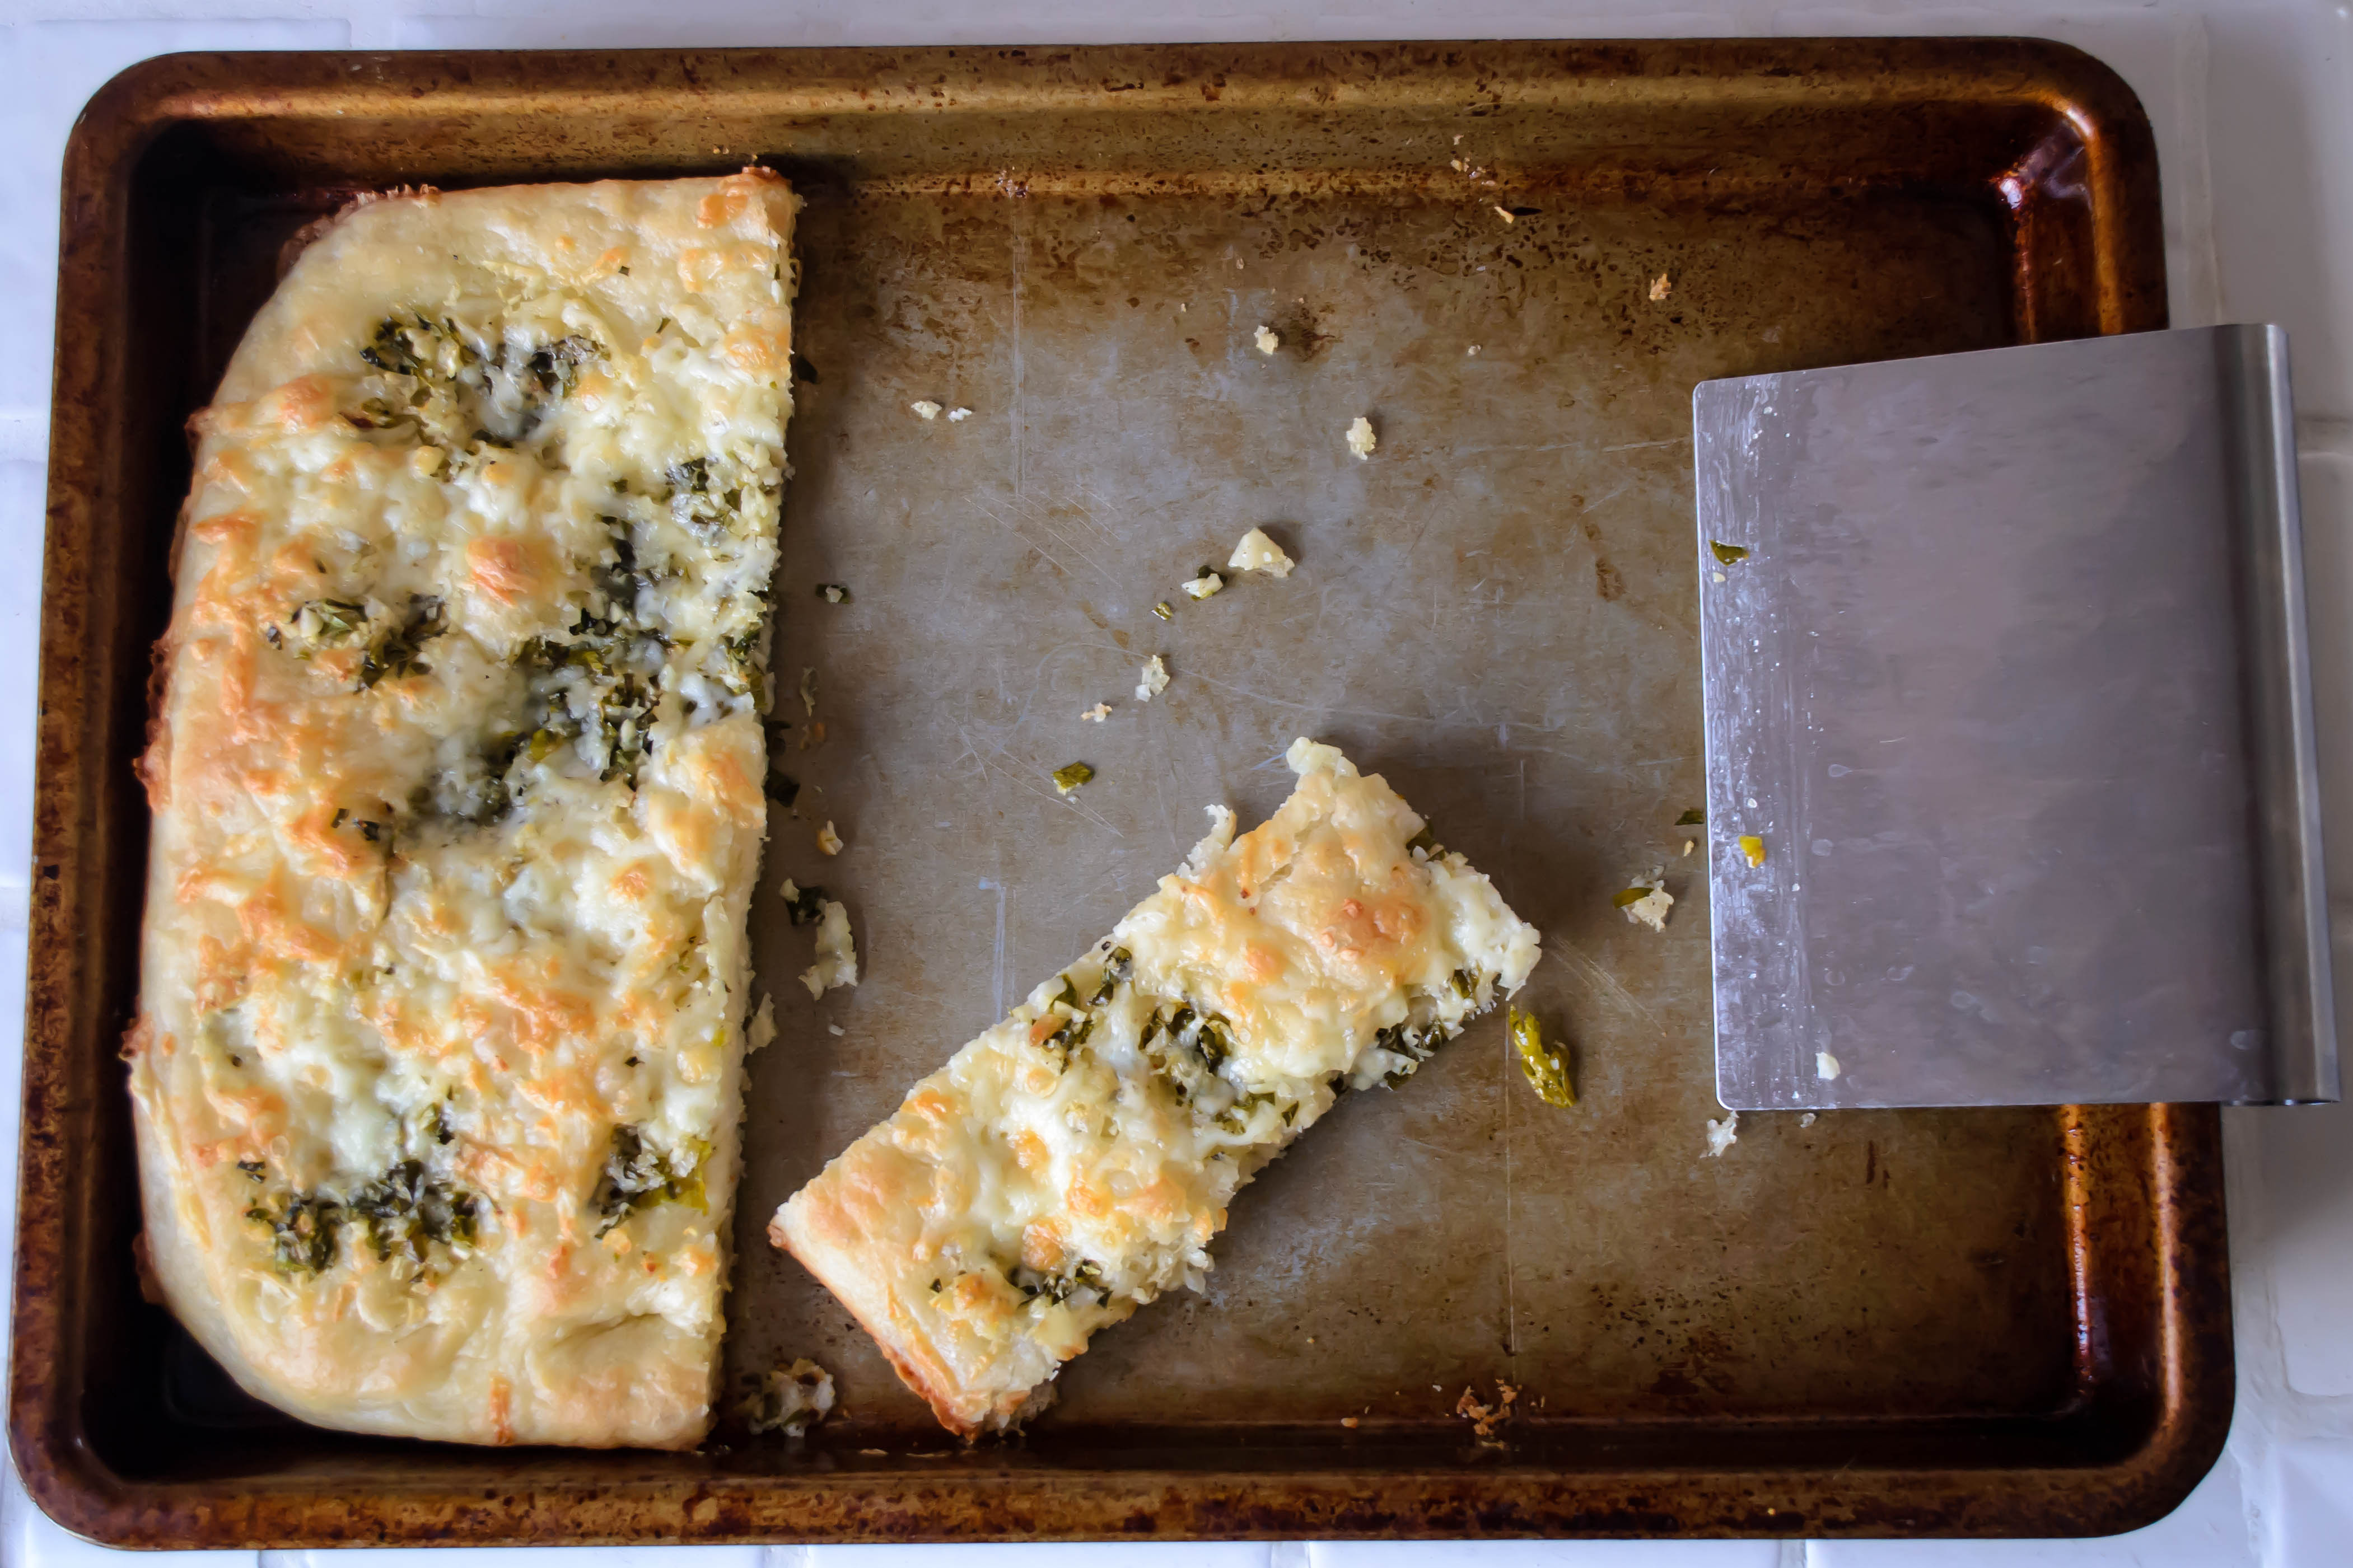
Enter flatbread.  I don’t mean the dry, cracker-like stuff carelessly sprinkled with toppings and served up as an appetizer.  I mean something a little puffier, a little richer, a little cheesier.  A few months ago, I dabbled with a Food Network recipe for Spinach and Cheese Flatbread, and was delighted by the elastic dough that bubbled up into a soft-but-crisp rectangle.  It is chewy and golden, but not quite as sturdy as a pizza dough.  The bottom, slapped against a well-oiled sheet pan, gets just crisp enough to support all but the most ridiculously sized slices (don’t ask me how I know this.  Thank you), so you aren’t left with a square that wilts as you hold it.

Food Blog May 2013-1236As soon as I ate the FN version, I realized this was the answer to my garlic bread dreams.  The dough would be smeared with a loving, excessive layer of garlic-butter-herb-are-you-drooling-yet?-paste, sprinkled with fontina, which melts beautifully and has a mild funk I really enjoy, and baked until crispy toasty nirvana resulted.

Food Blog May 2013-1238
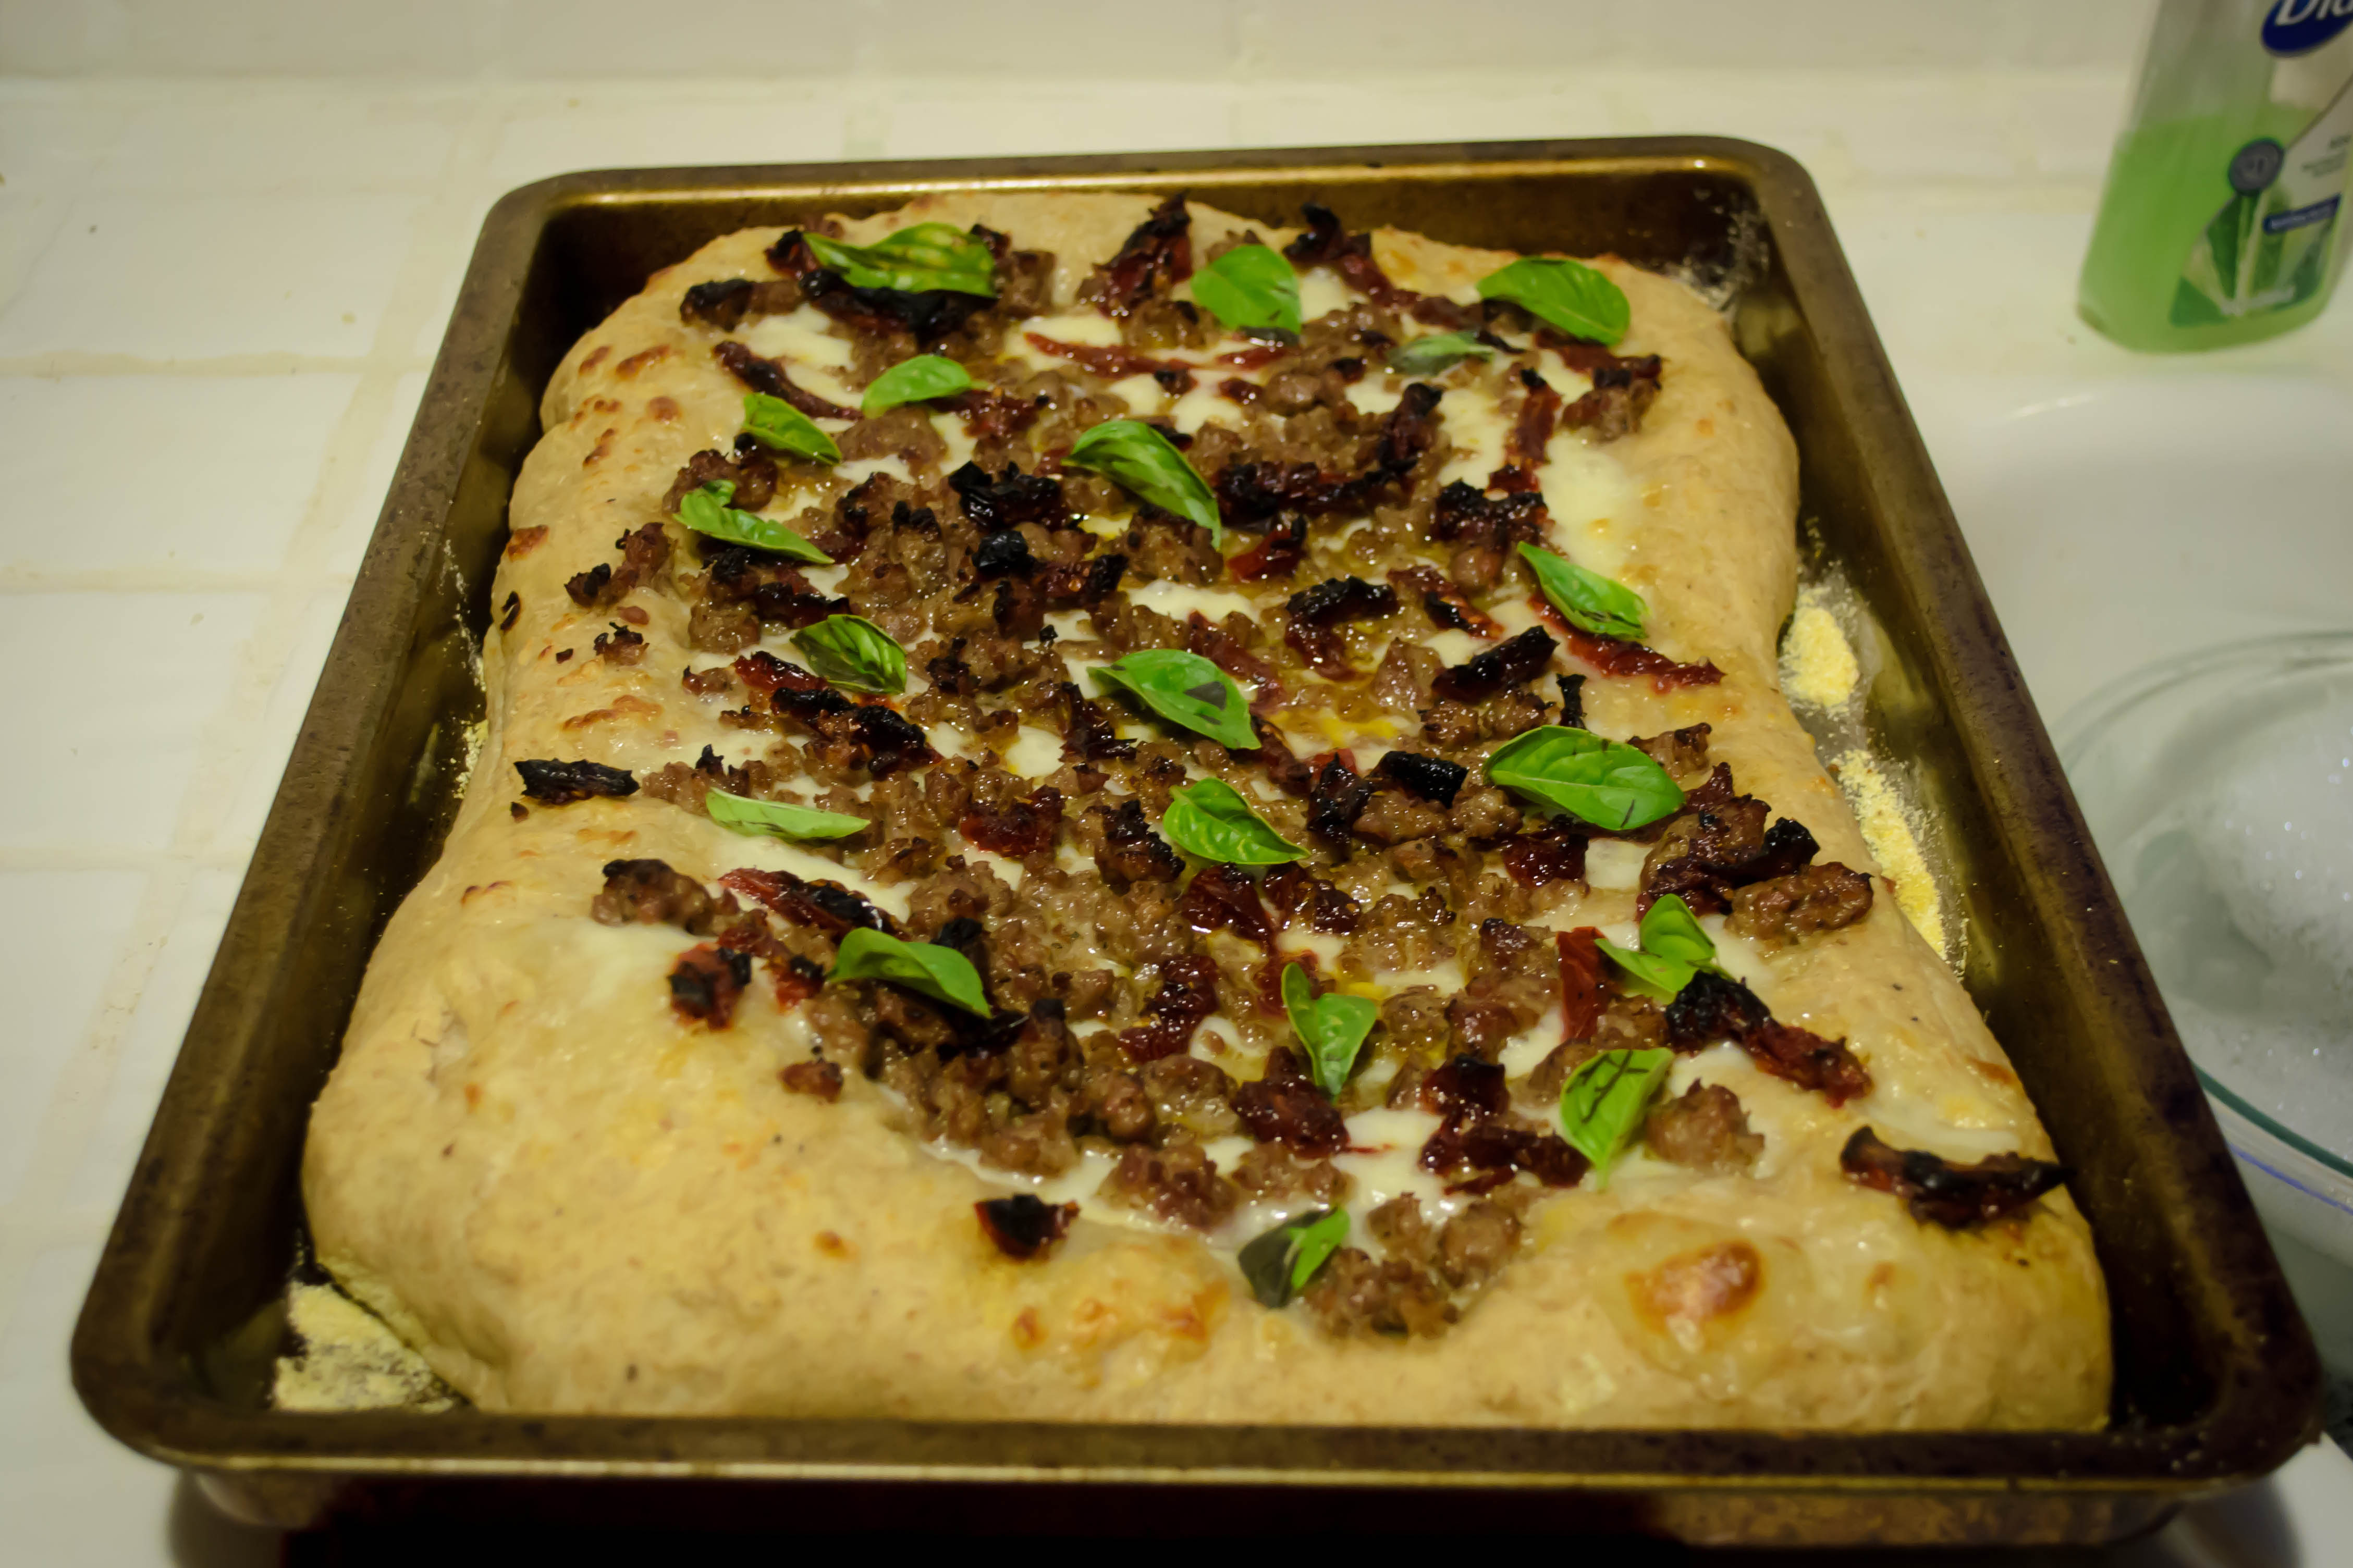
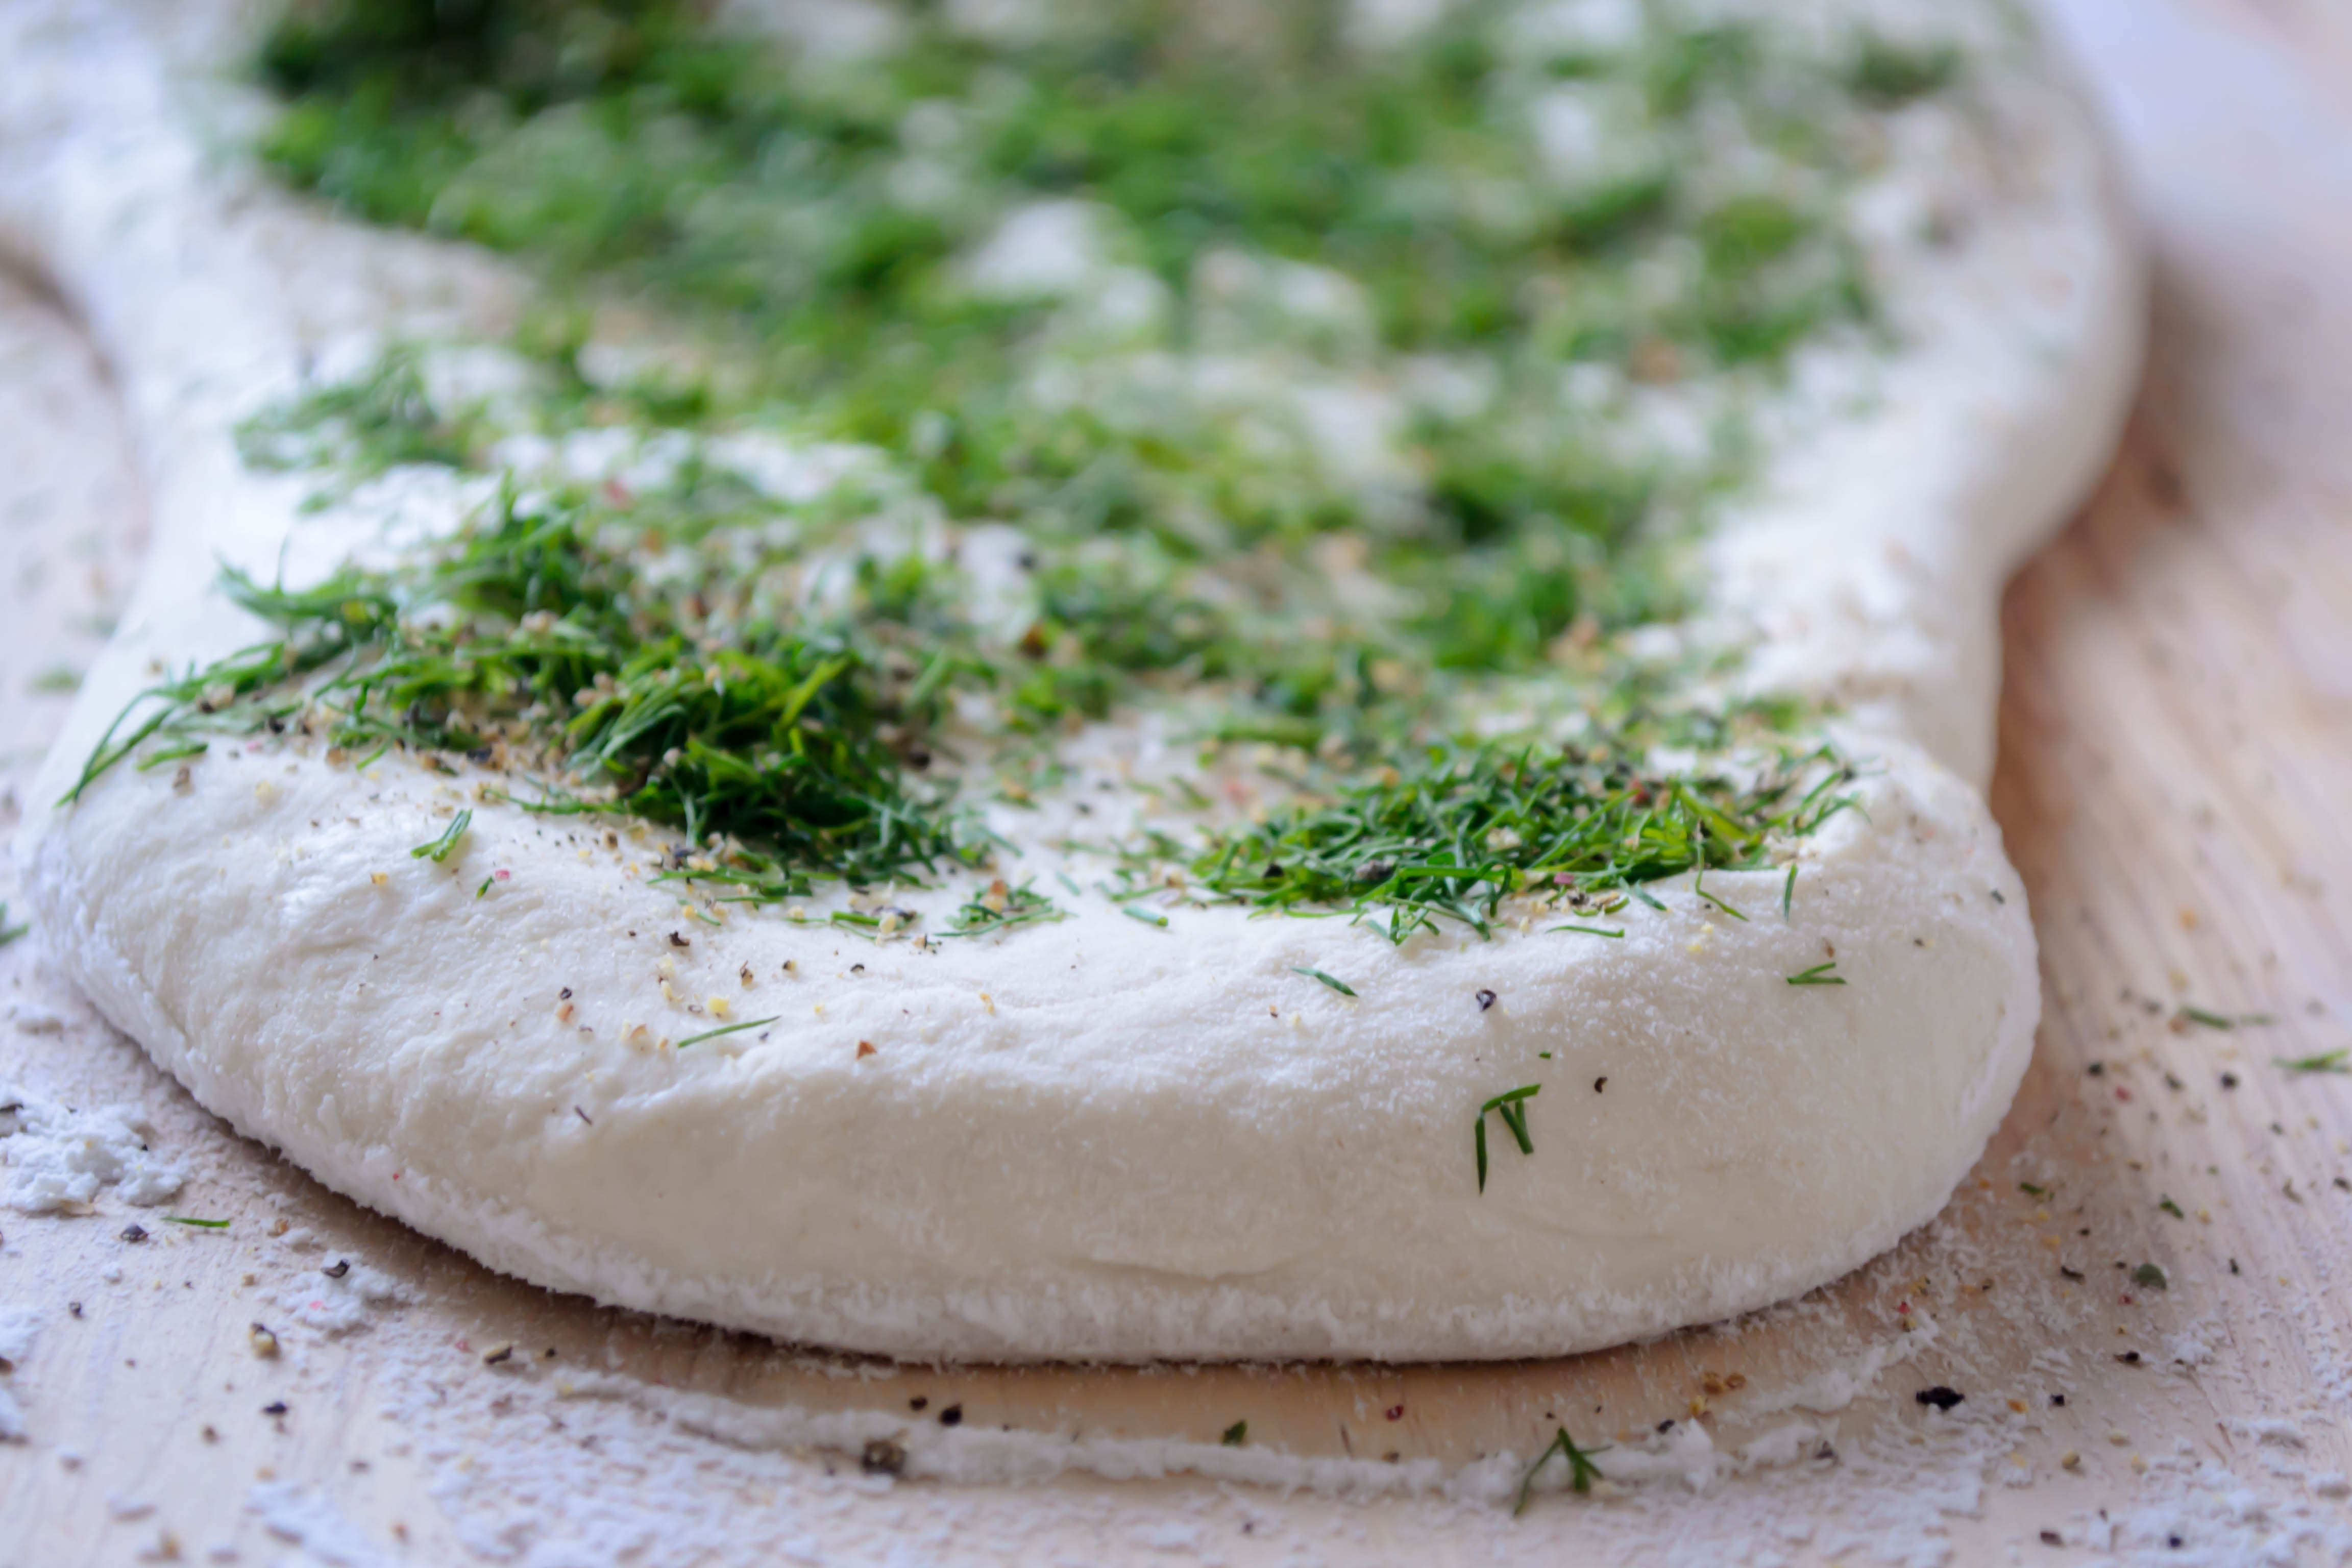
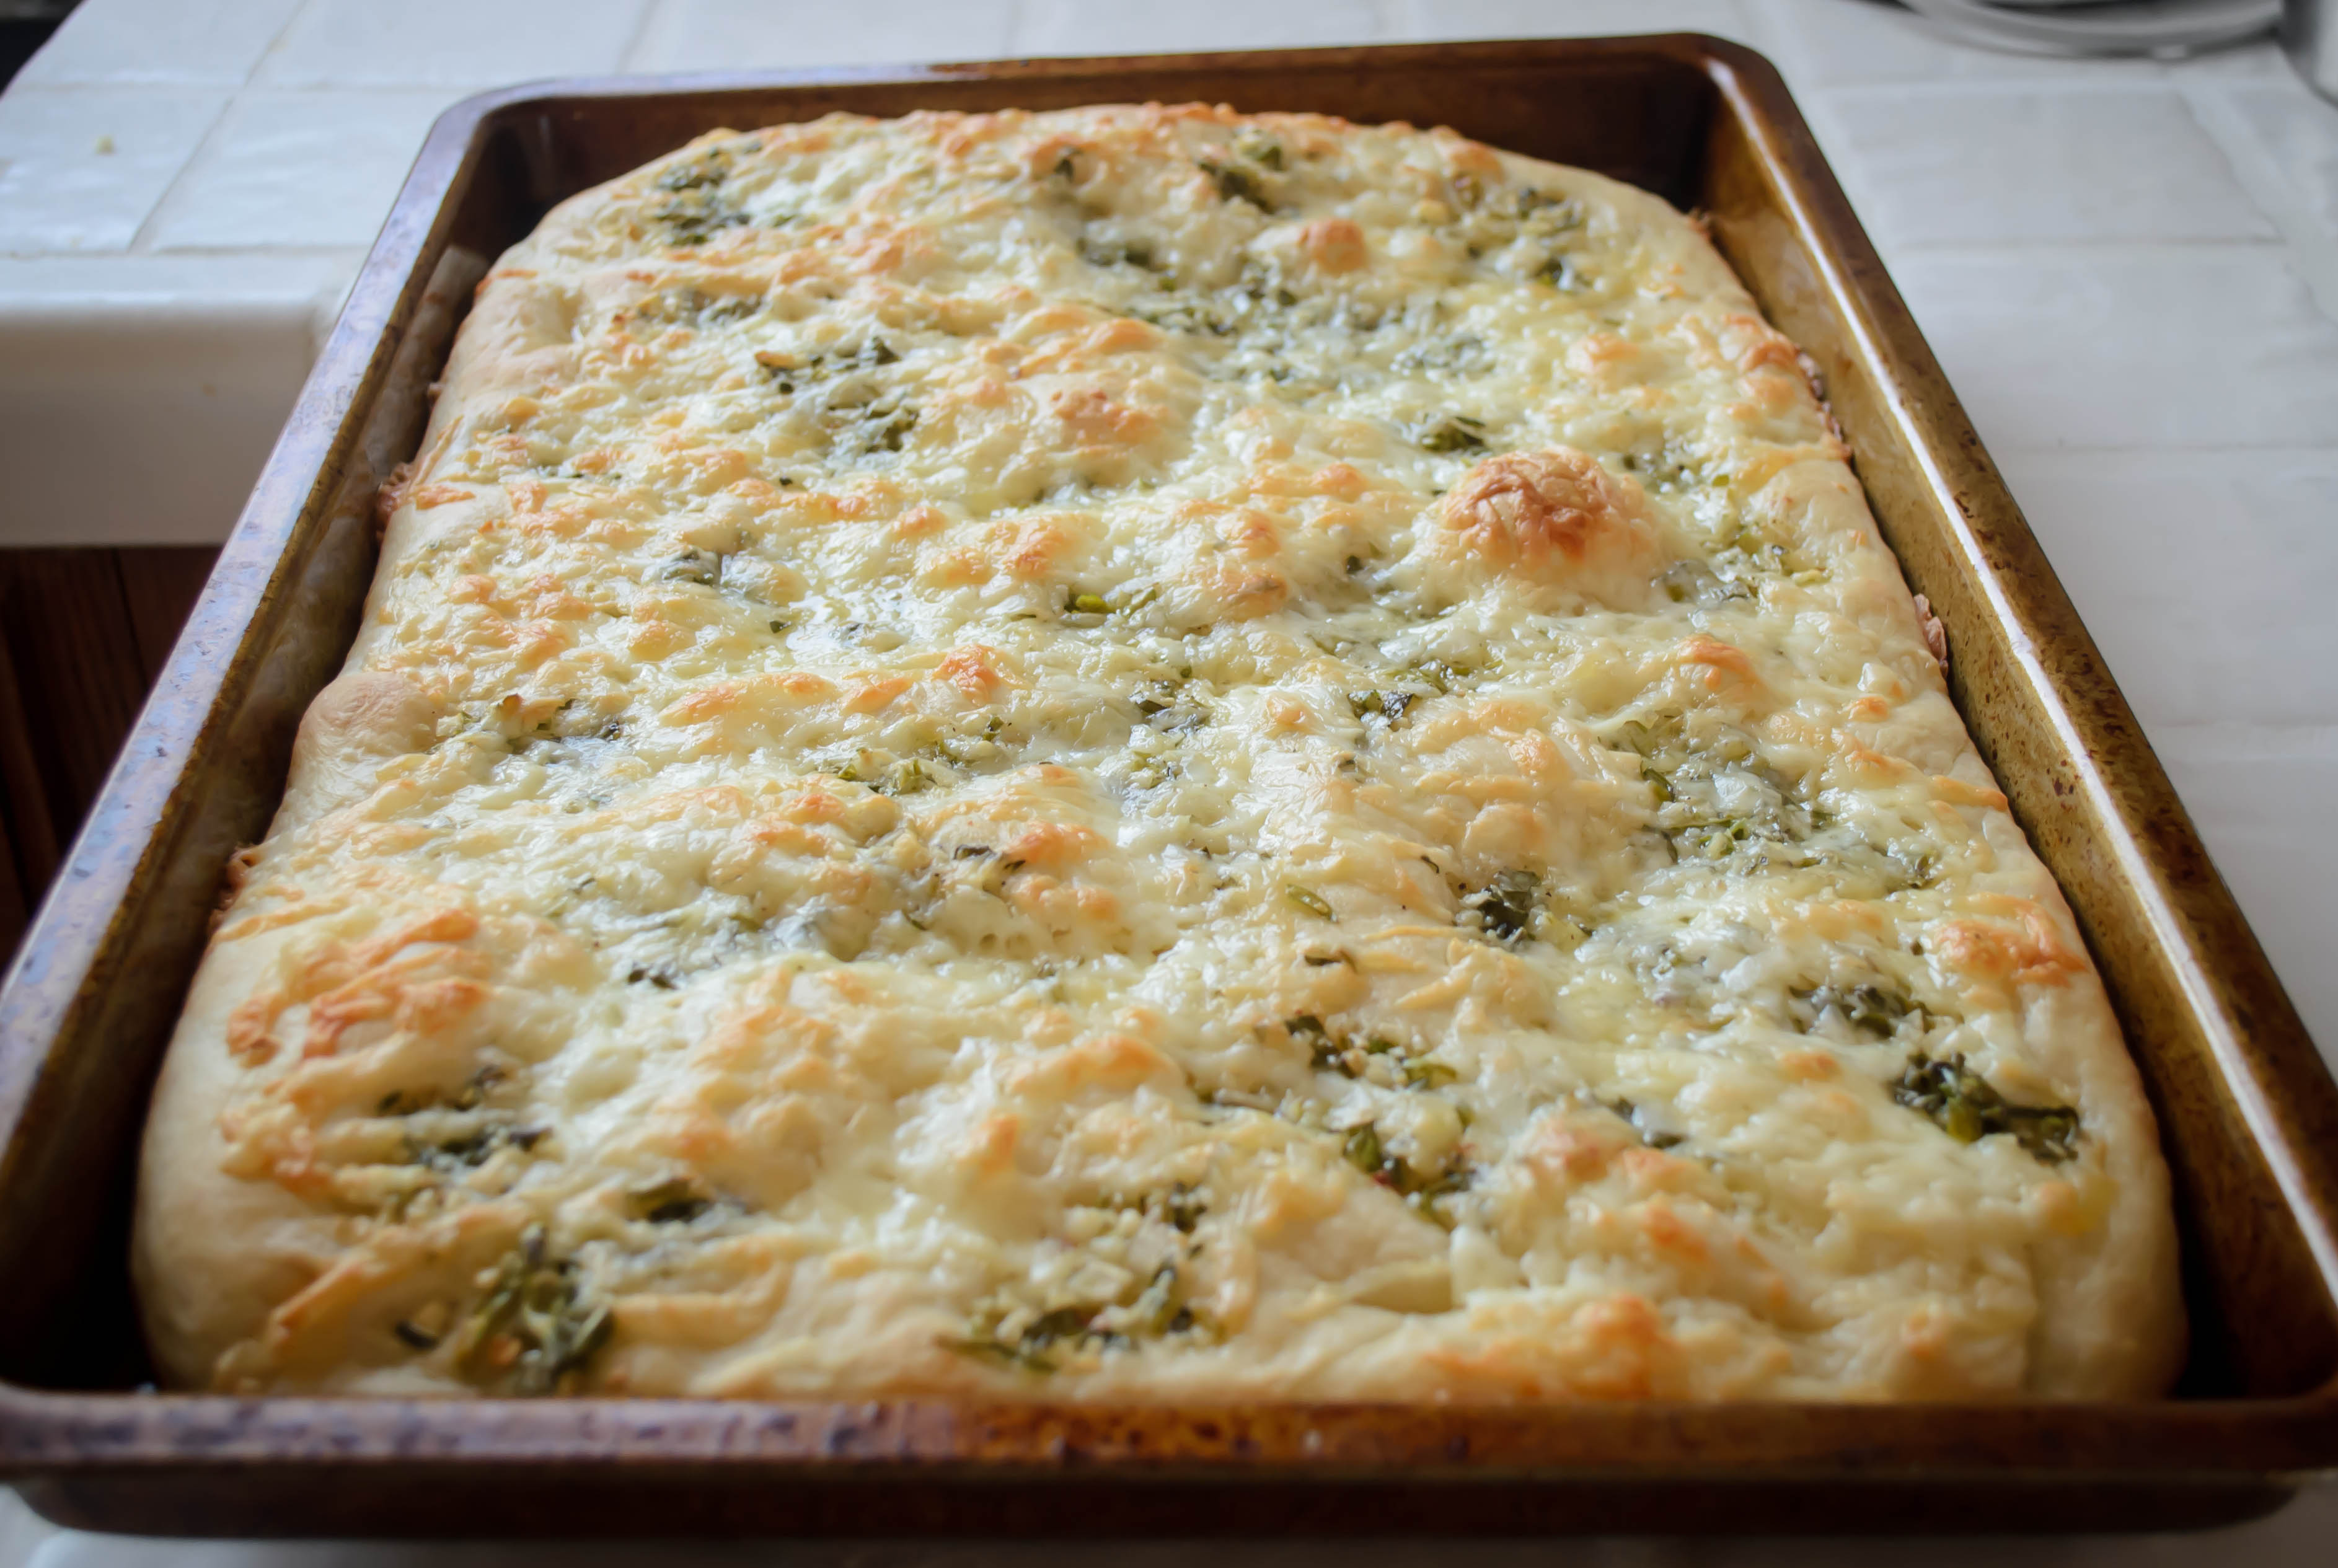
My results approached sublimity, and the shortcomings were entirely human error, which seems fitting.  The paste didn’t spread very evenly because this is a soft dough: it threatened to tear when I applied a spatula, so I ended up smearing and dolloping my mixture with my fingers.  You could easily solve this by melting your butter instead of just softening it, and then pouring the mixture evenly over the dough.  Then, because I was afraid the butter and garlic would burn at pizza-cooking temperatures, I was pretty liberal with my cheese application, which meant that the toasty roasty golden color I was expecting didn’t quite happen.  Another minute or two in the oven might have helped, but we were hungry.  A little less cheese might have helped too, but seriously, less cheese?  Totally unreasonable.

Food Blog May 2013-1229Food Blog May 2013-1231Food Blog May 2013-1232
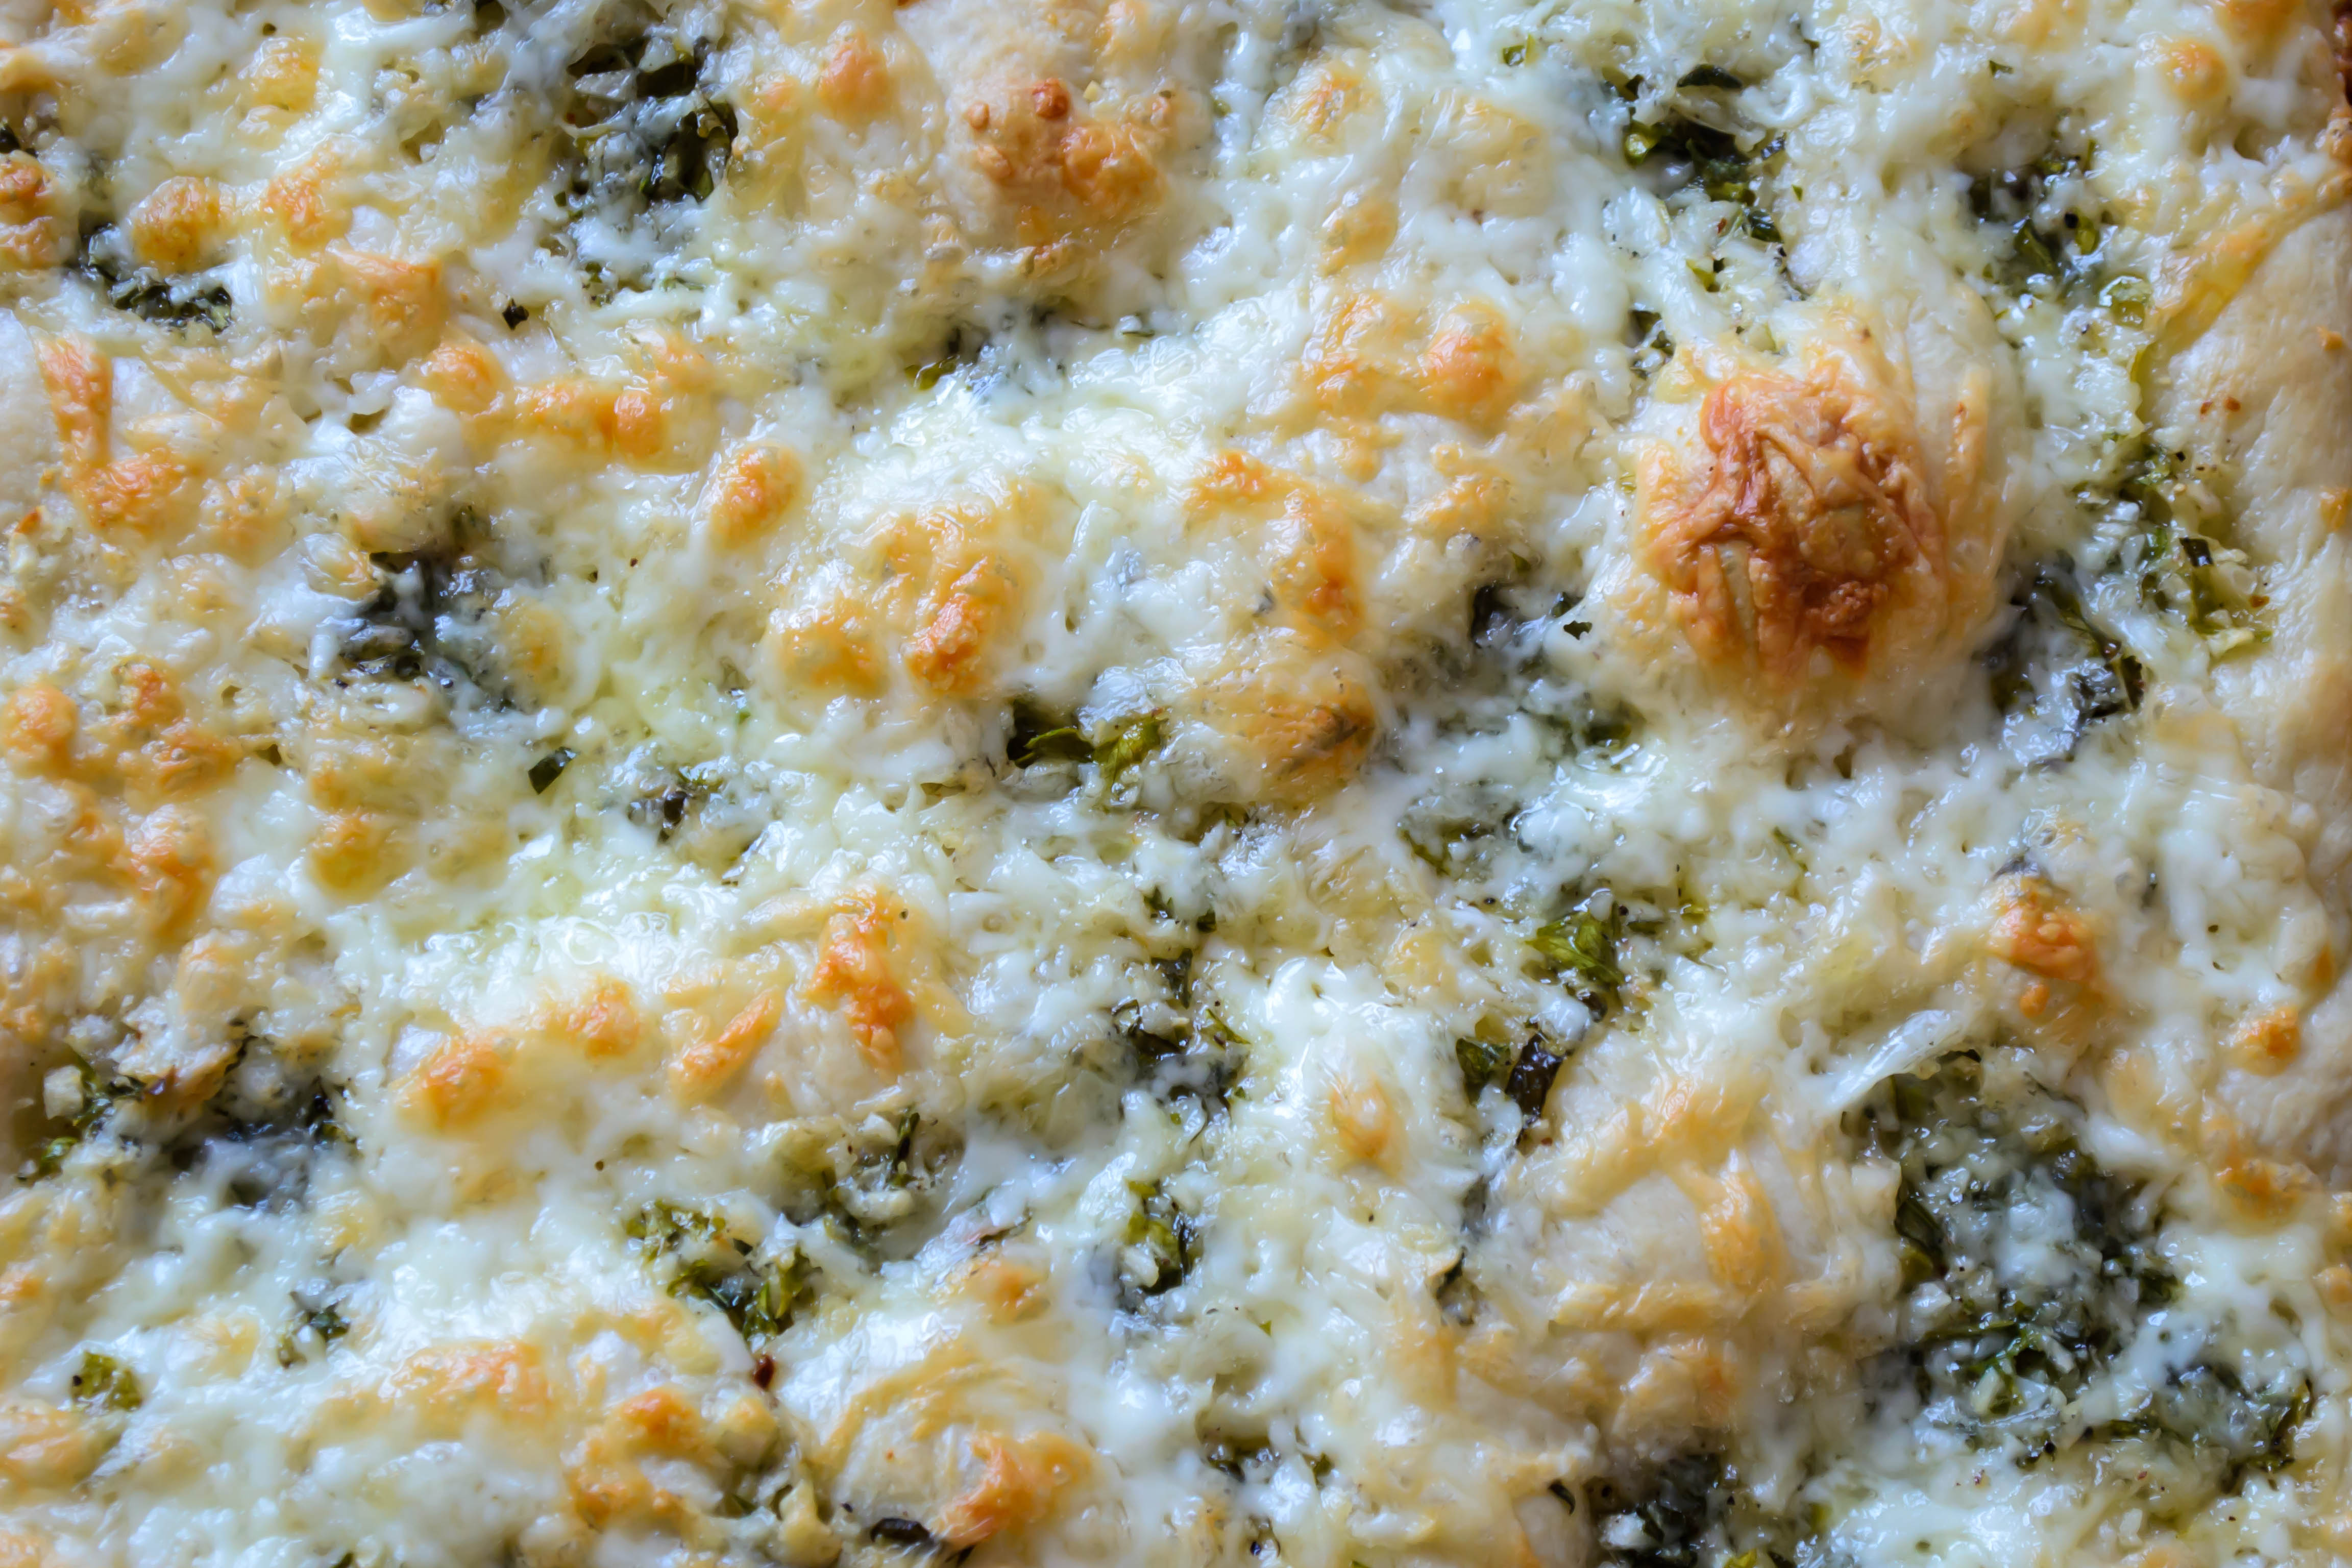
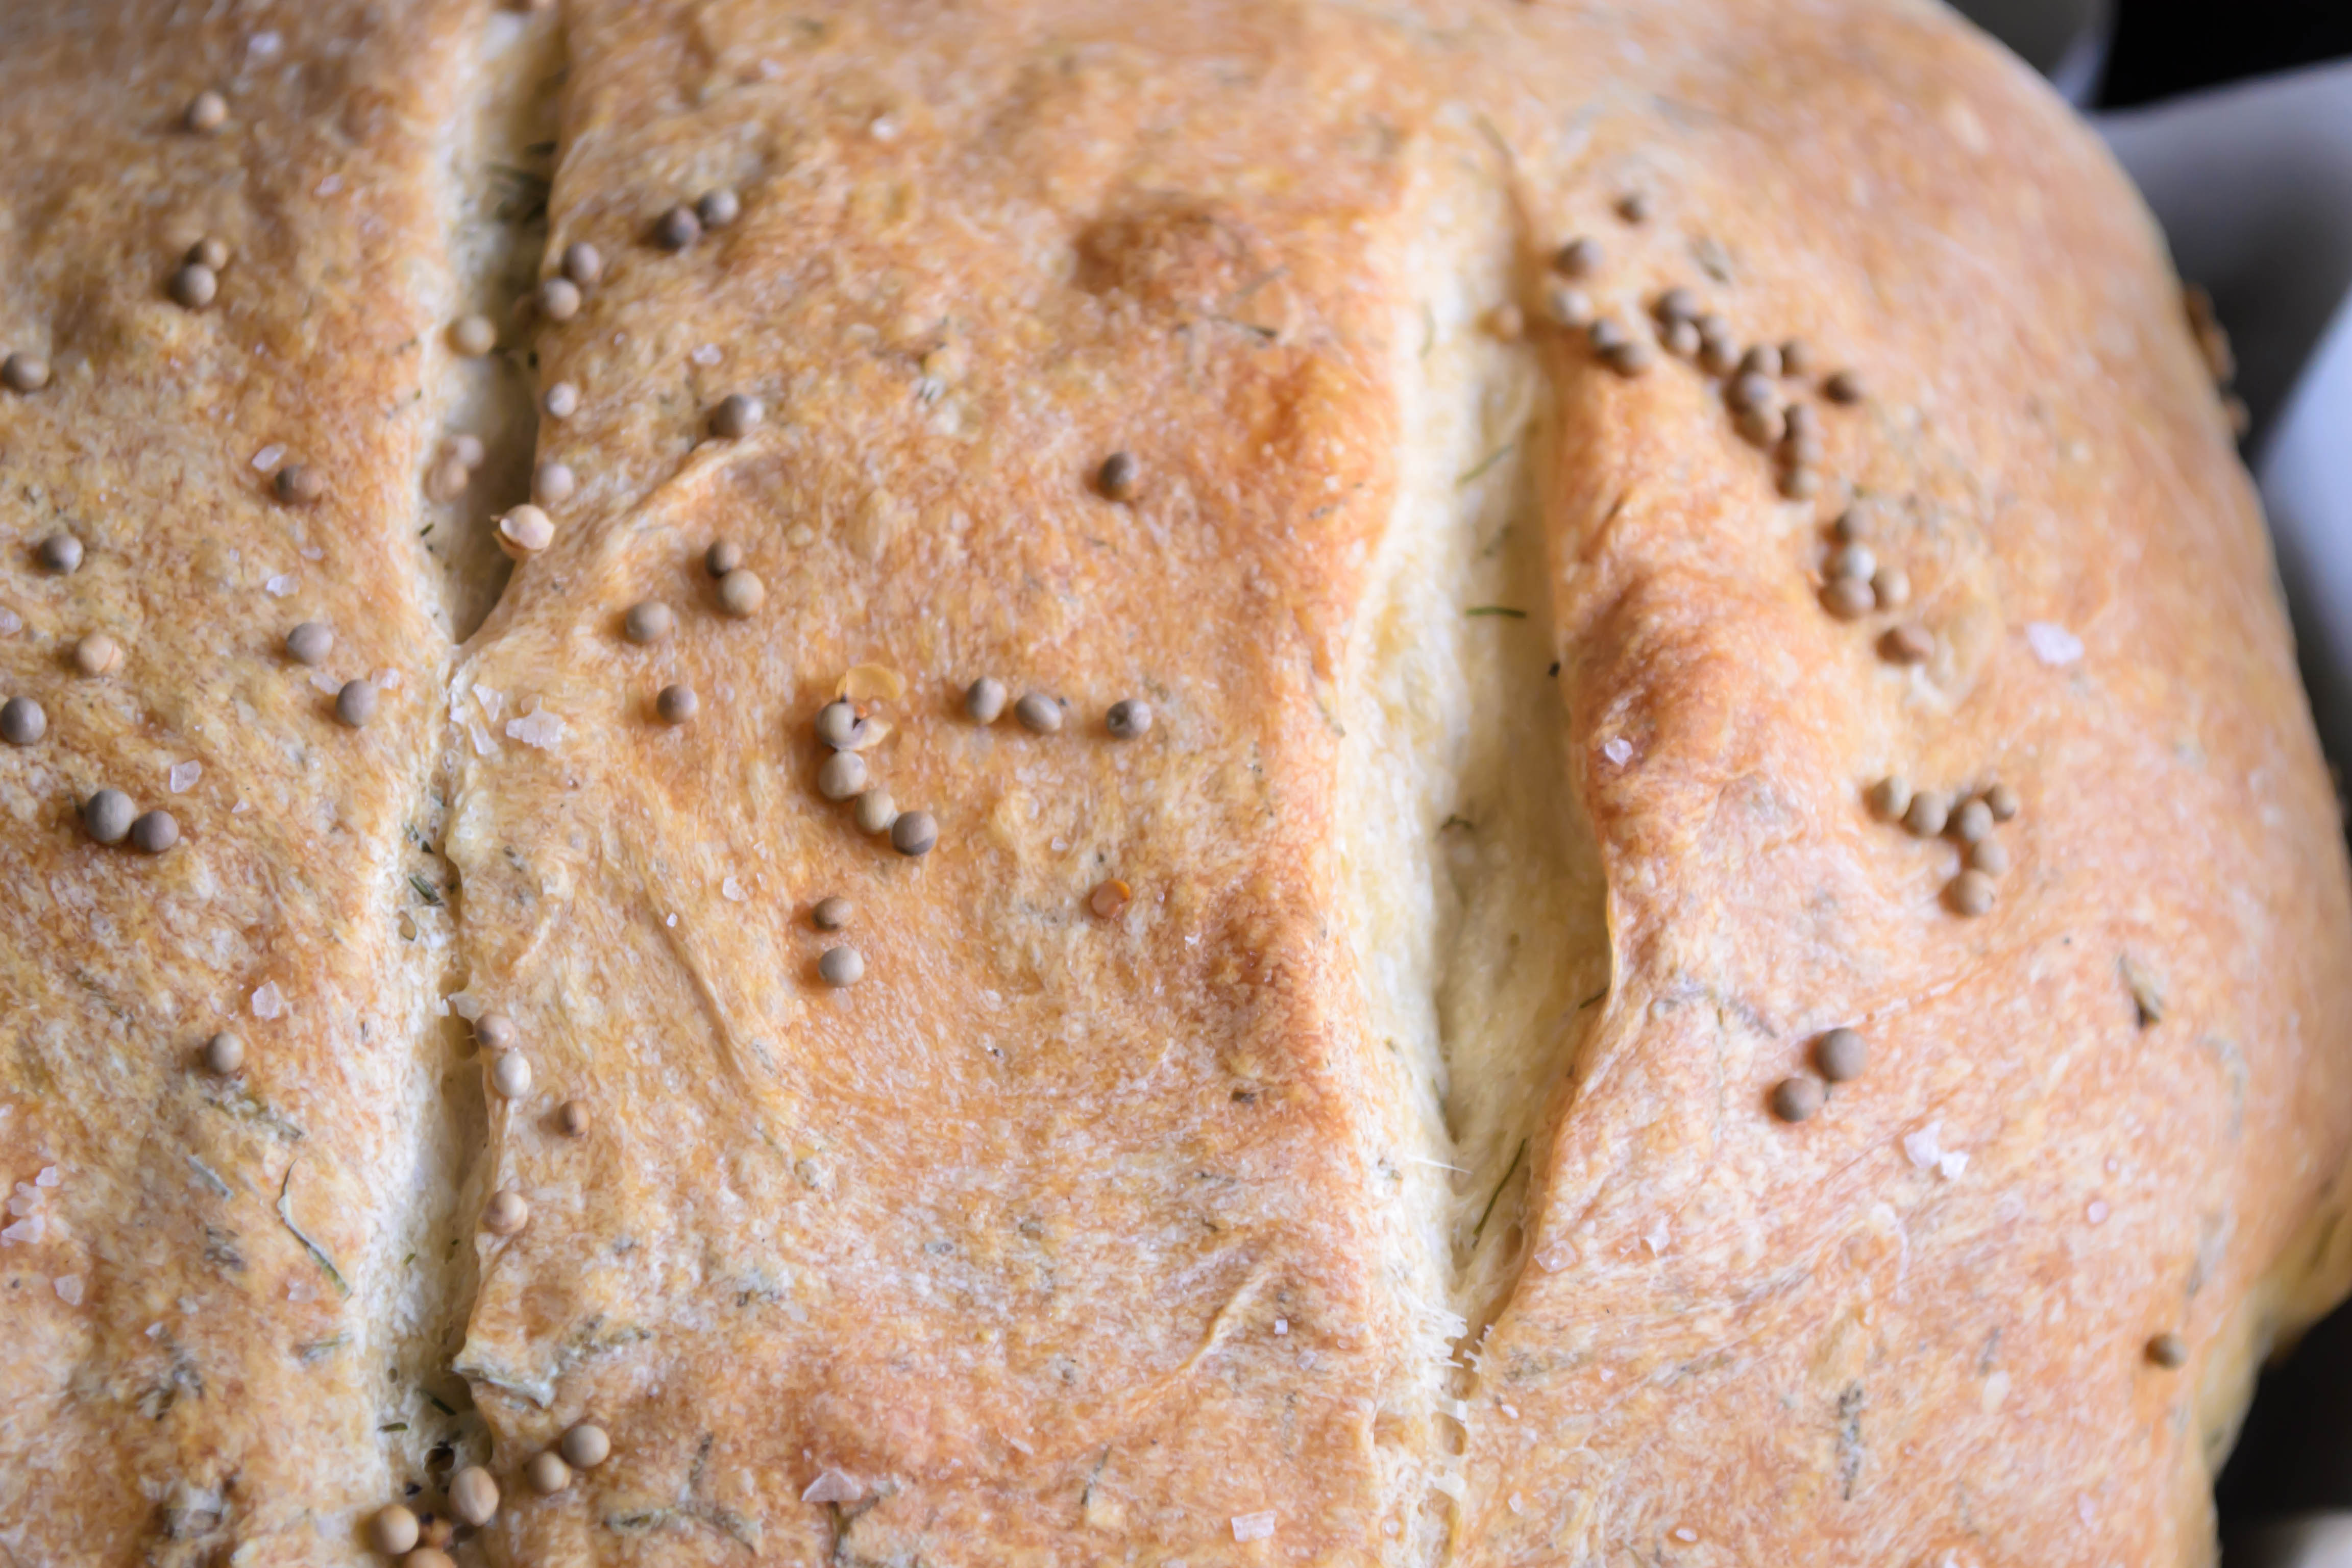
In any case, the bread itself was puffy and buttery and decadent.  The garlic loses some of its pungency during baking, but retains that addictive sharpness and bright tingly aroma that makes it so good.  The dollops of butter became dimples of puddly richness that, upon reflection, reminded me a little bit of the center of a really good bialy.  The bottom of the crust is like an old-style pan pizza: golden with burst air bubbles and just oiled enough to leave your fingertips in need of a napkin.

Food Blog May 2013-1251This is a great happy hour snack.  Since it heats up the house, it gives you a great excuse to sit out on your patio, or deck, or picnic blanket, or camp chair.  It pairs well with a crisp, summery wine, and equally well with a frosty pint of beer (or maybe, since, you know, Cinco de Mayo, a classic Corona with lime, or a salt-and-cayenne-rimmed margarita).  You can use any combination of herbs you like.  I chose what was happening right outside my back door:

Oregano – I love the fuzzy leaves on this little guy. Food Blog May 2013-1241

Basil – back in late fall, I relocated a few stalks of basil from the supermarket clamshell container to a vase of water, and instead of wilting, they grew roots!  I shook my head, still in Oregon mindset, while planting them – they would never make it through the winter – but this is Southern California, so of course they did, and are now flourishing.  I’ve read that plucking the blossoms off encourages them to keep producing leaves, so every day or so I faithfully scatter the delicate white blooms. Food Blog May 2013-1244

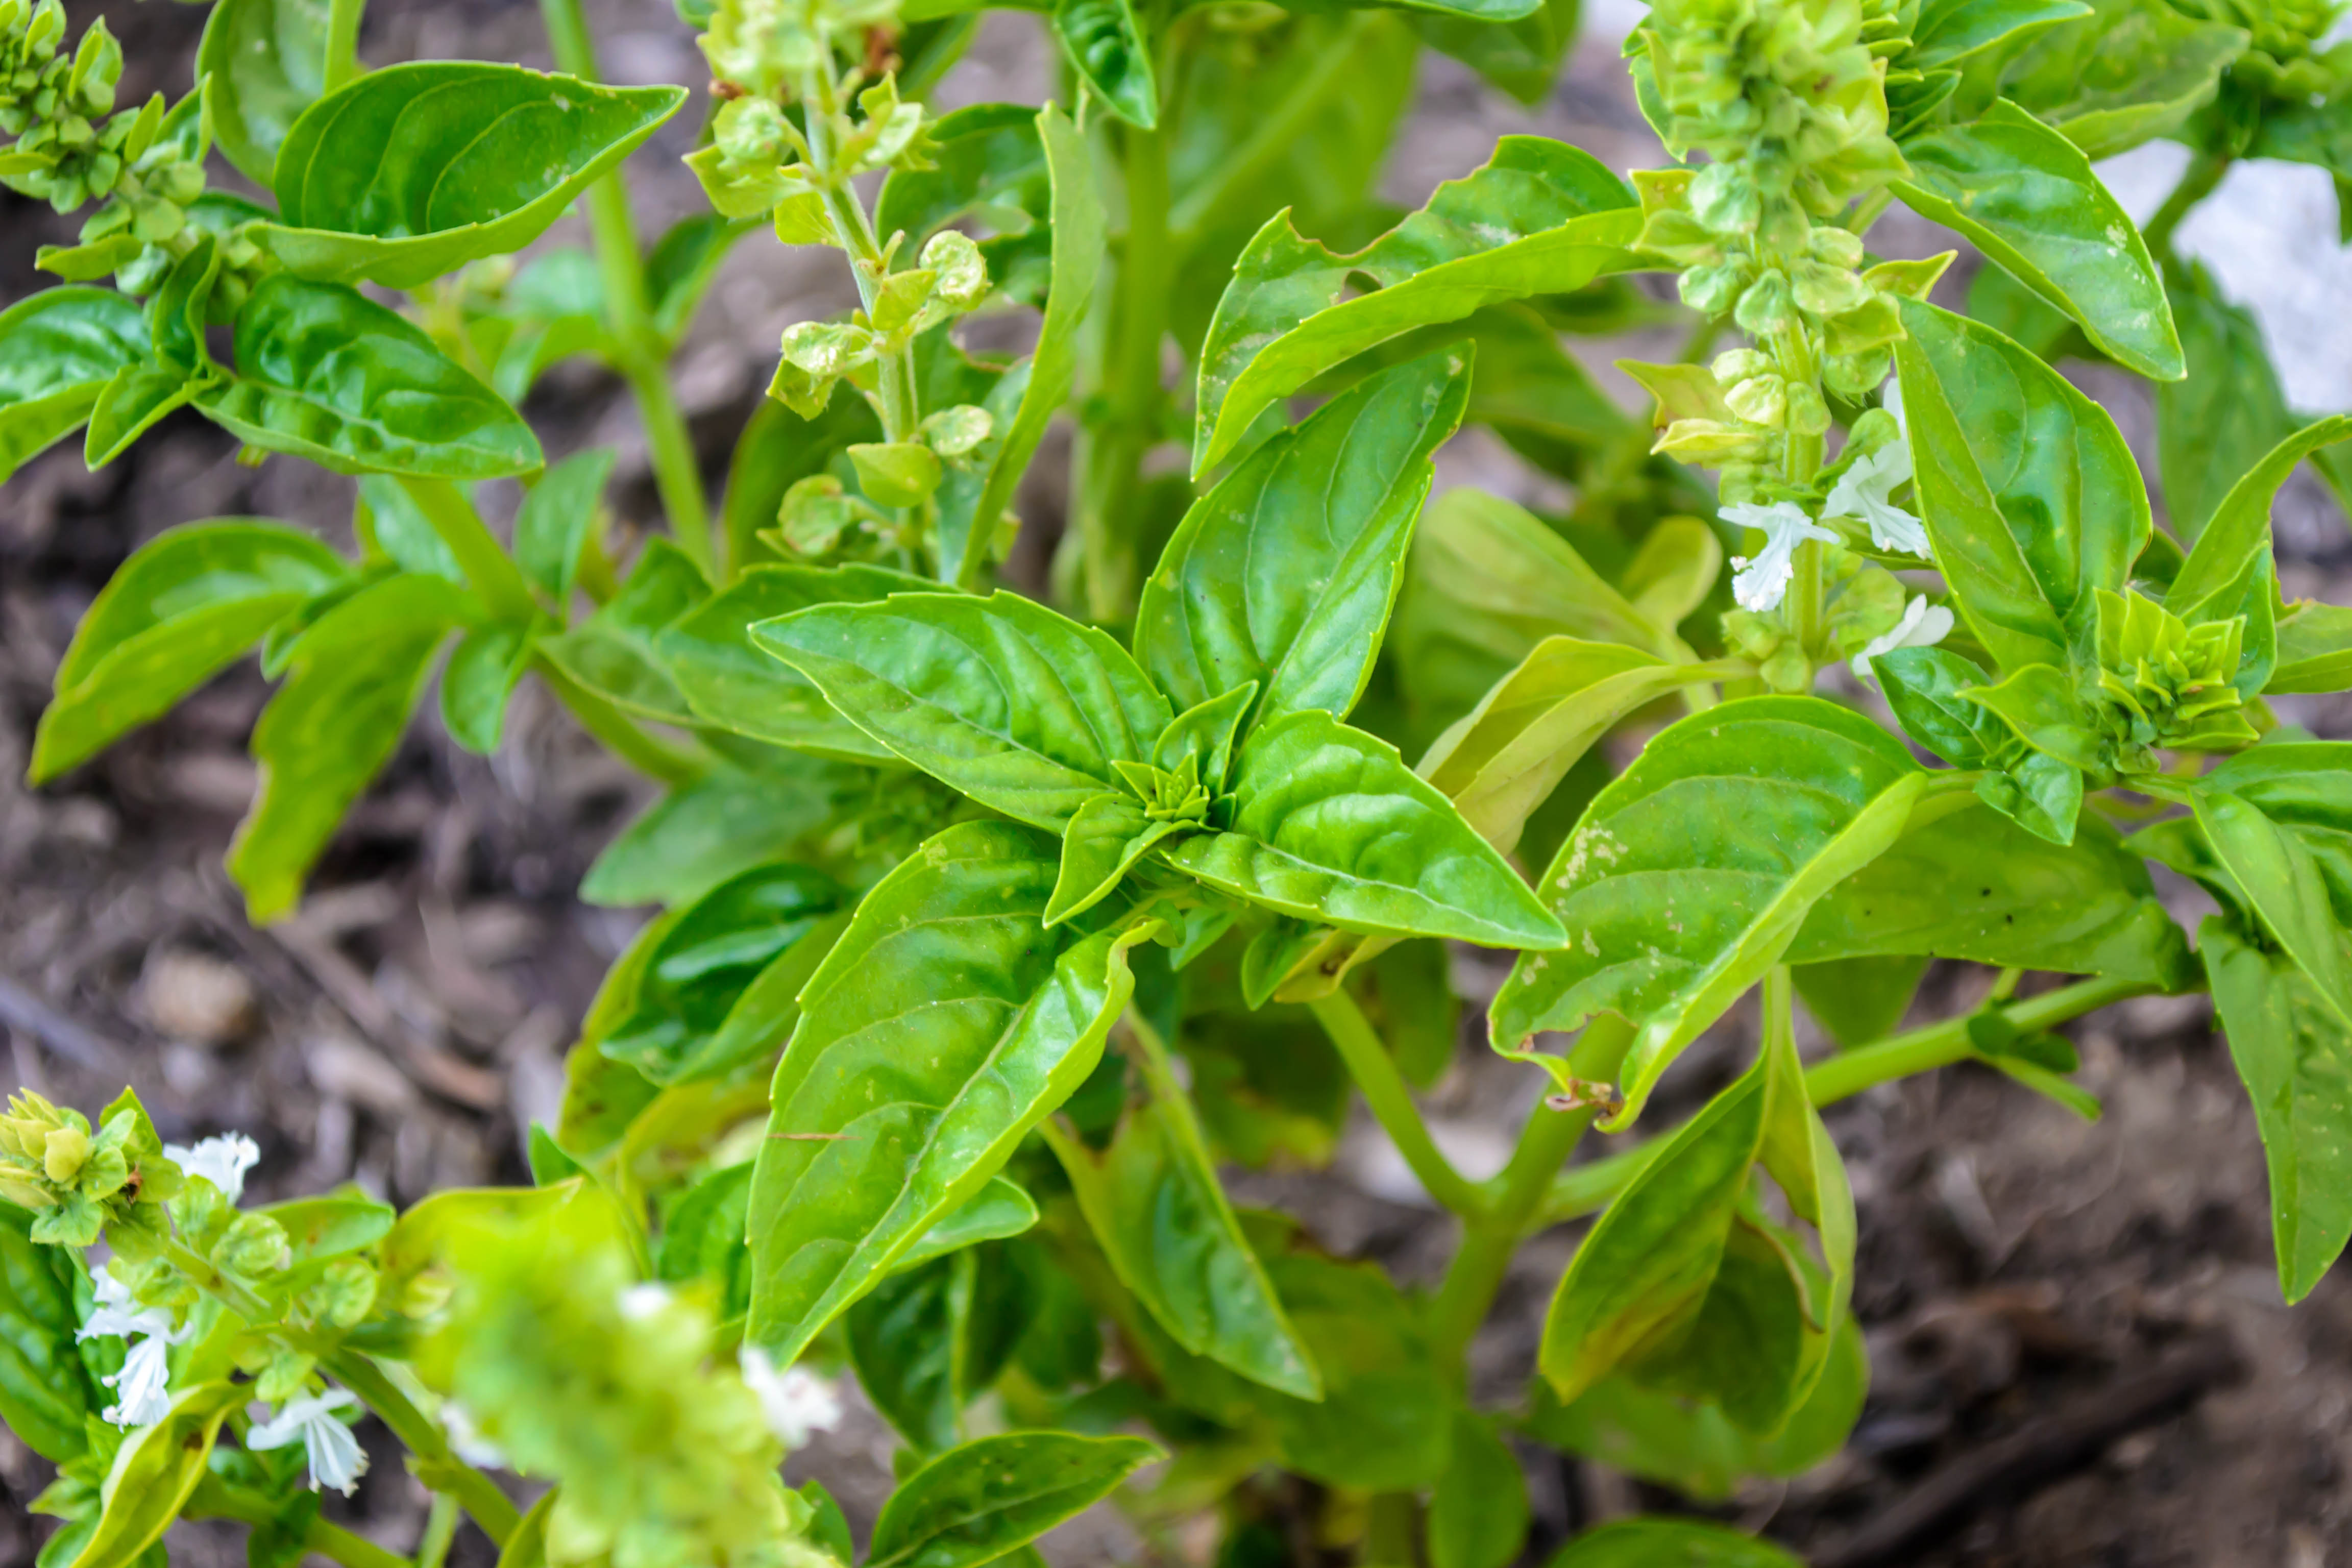
Parsley – my parsley plant is looking a bit wild these days; it has bolted thanks to the heat. Food Blog May 2013-1246

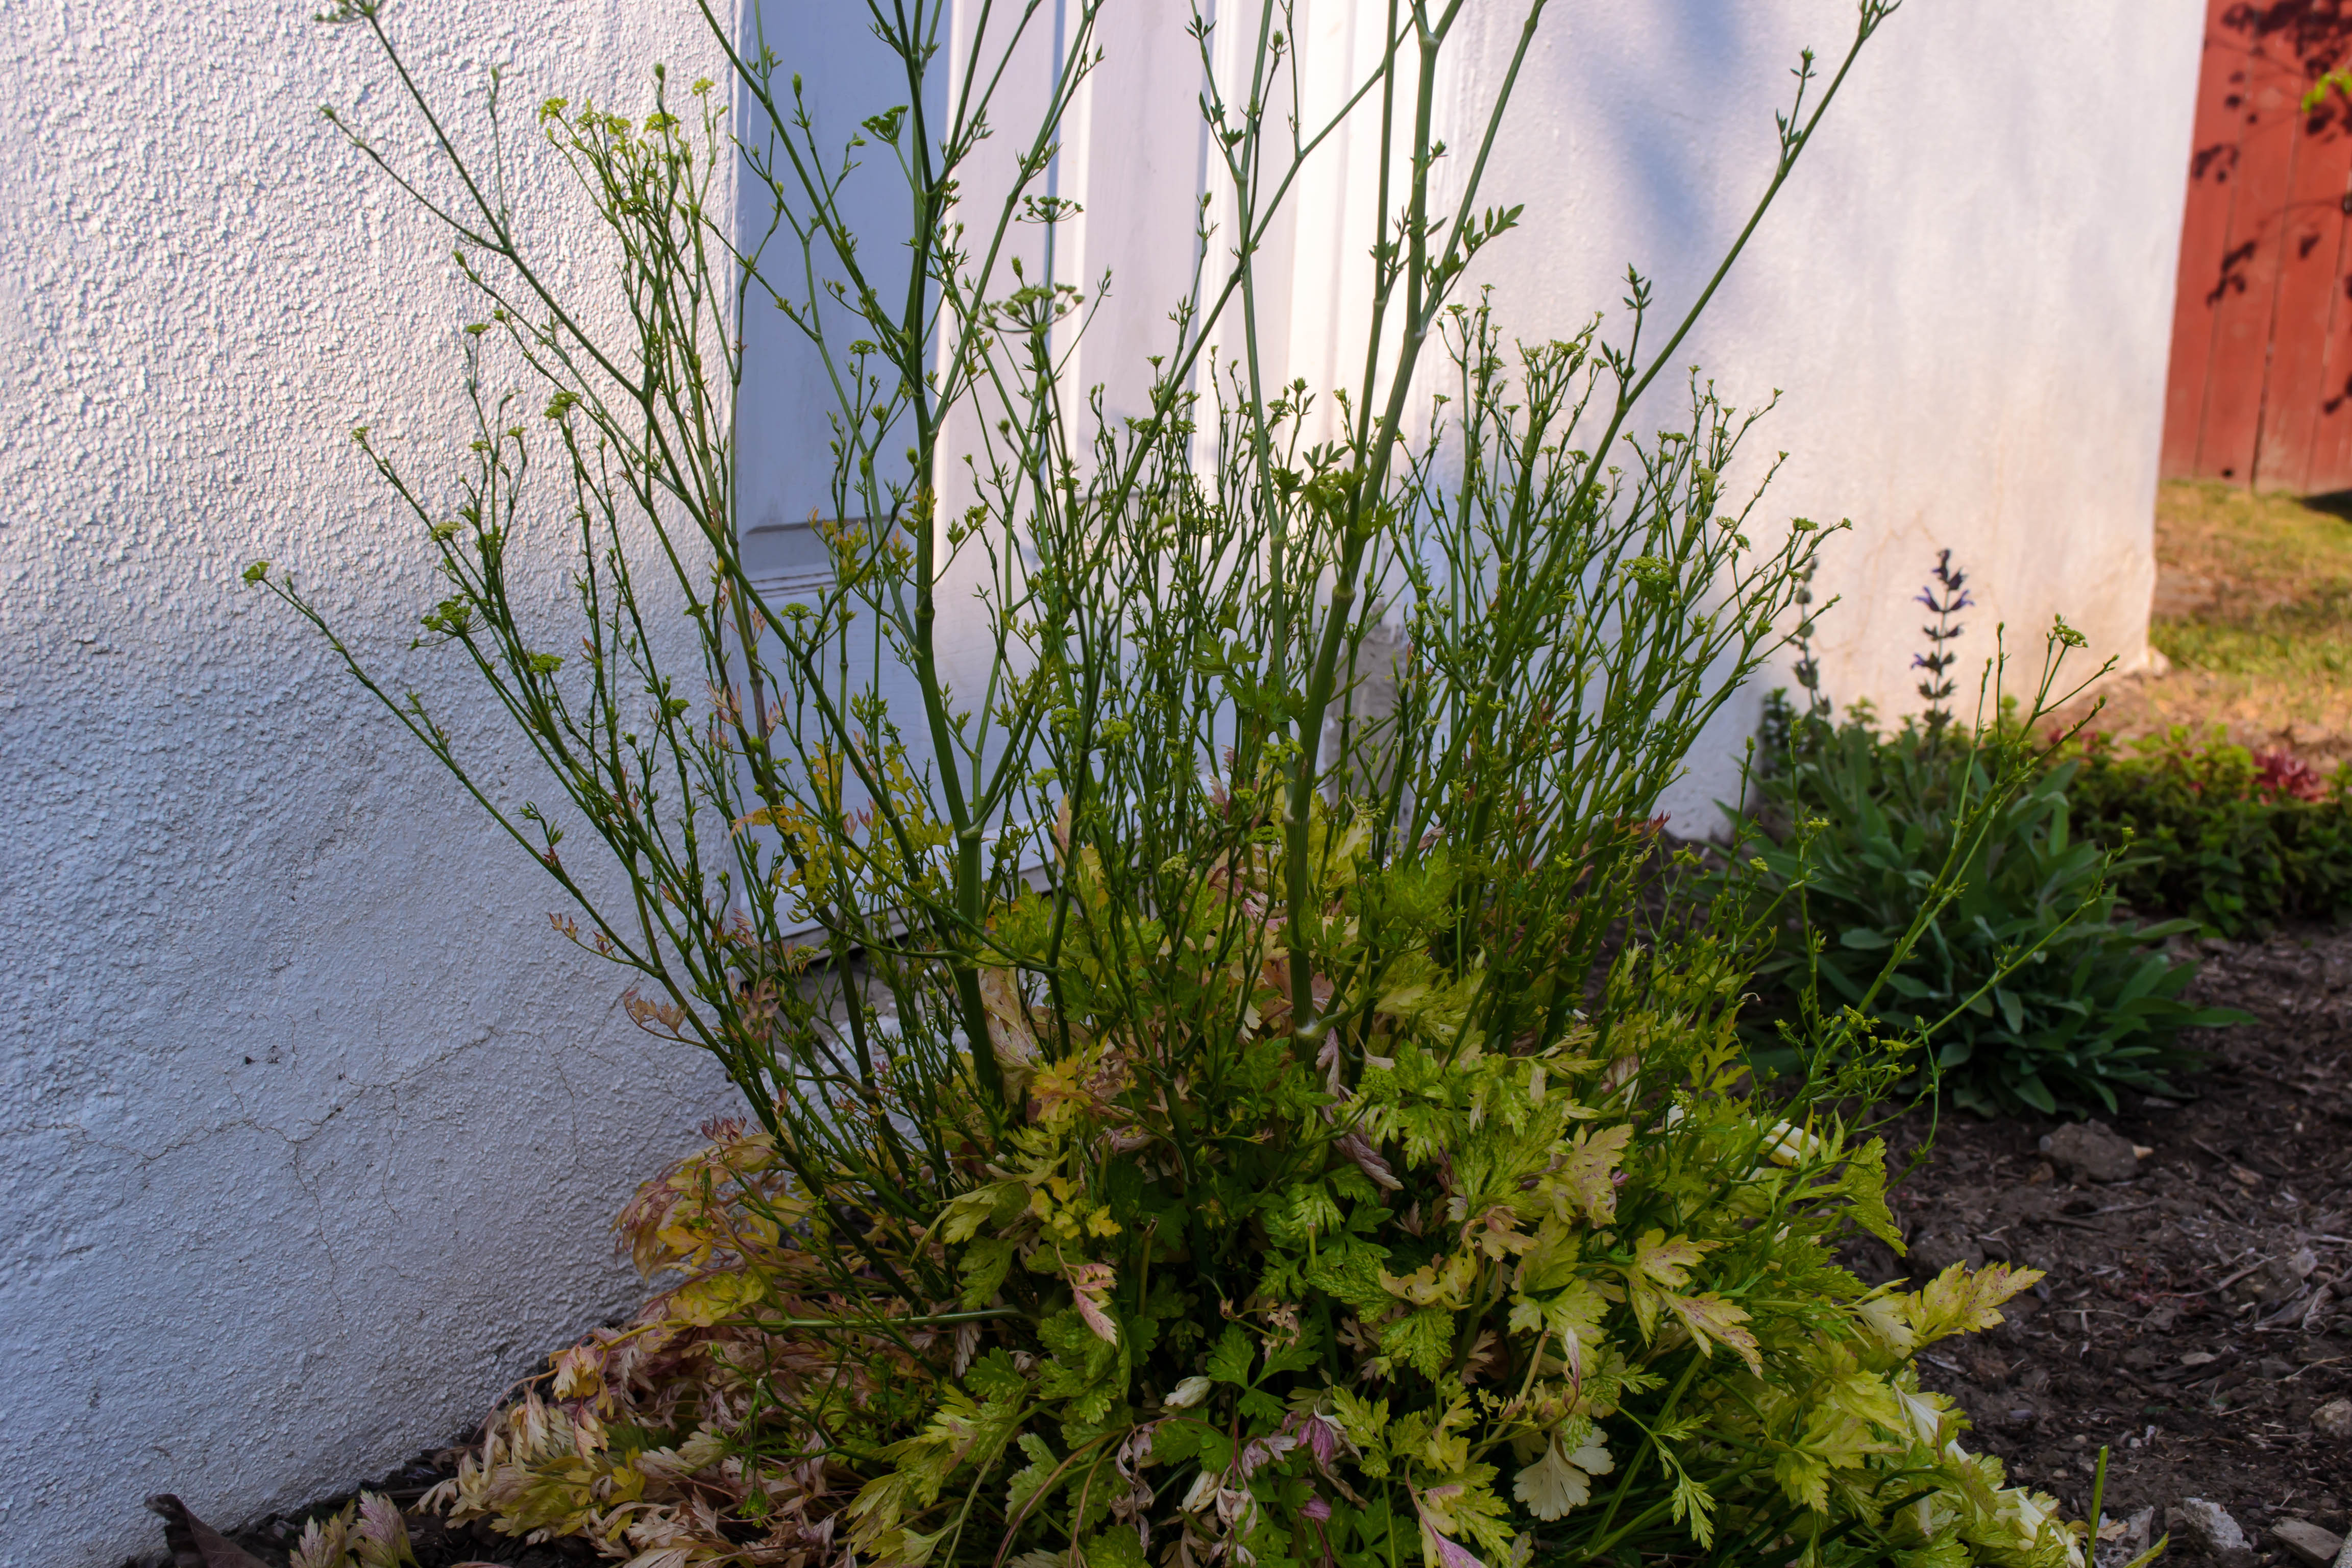
But if you peer down inside, amidst the sunburned jungle, you can see there are still some stems worth serving! Food Blog May 2013-1249

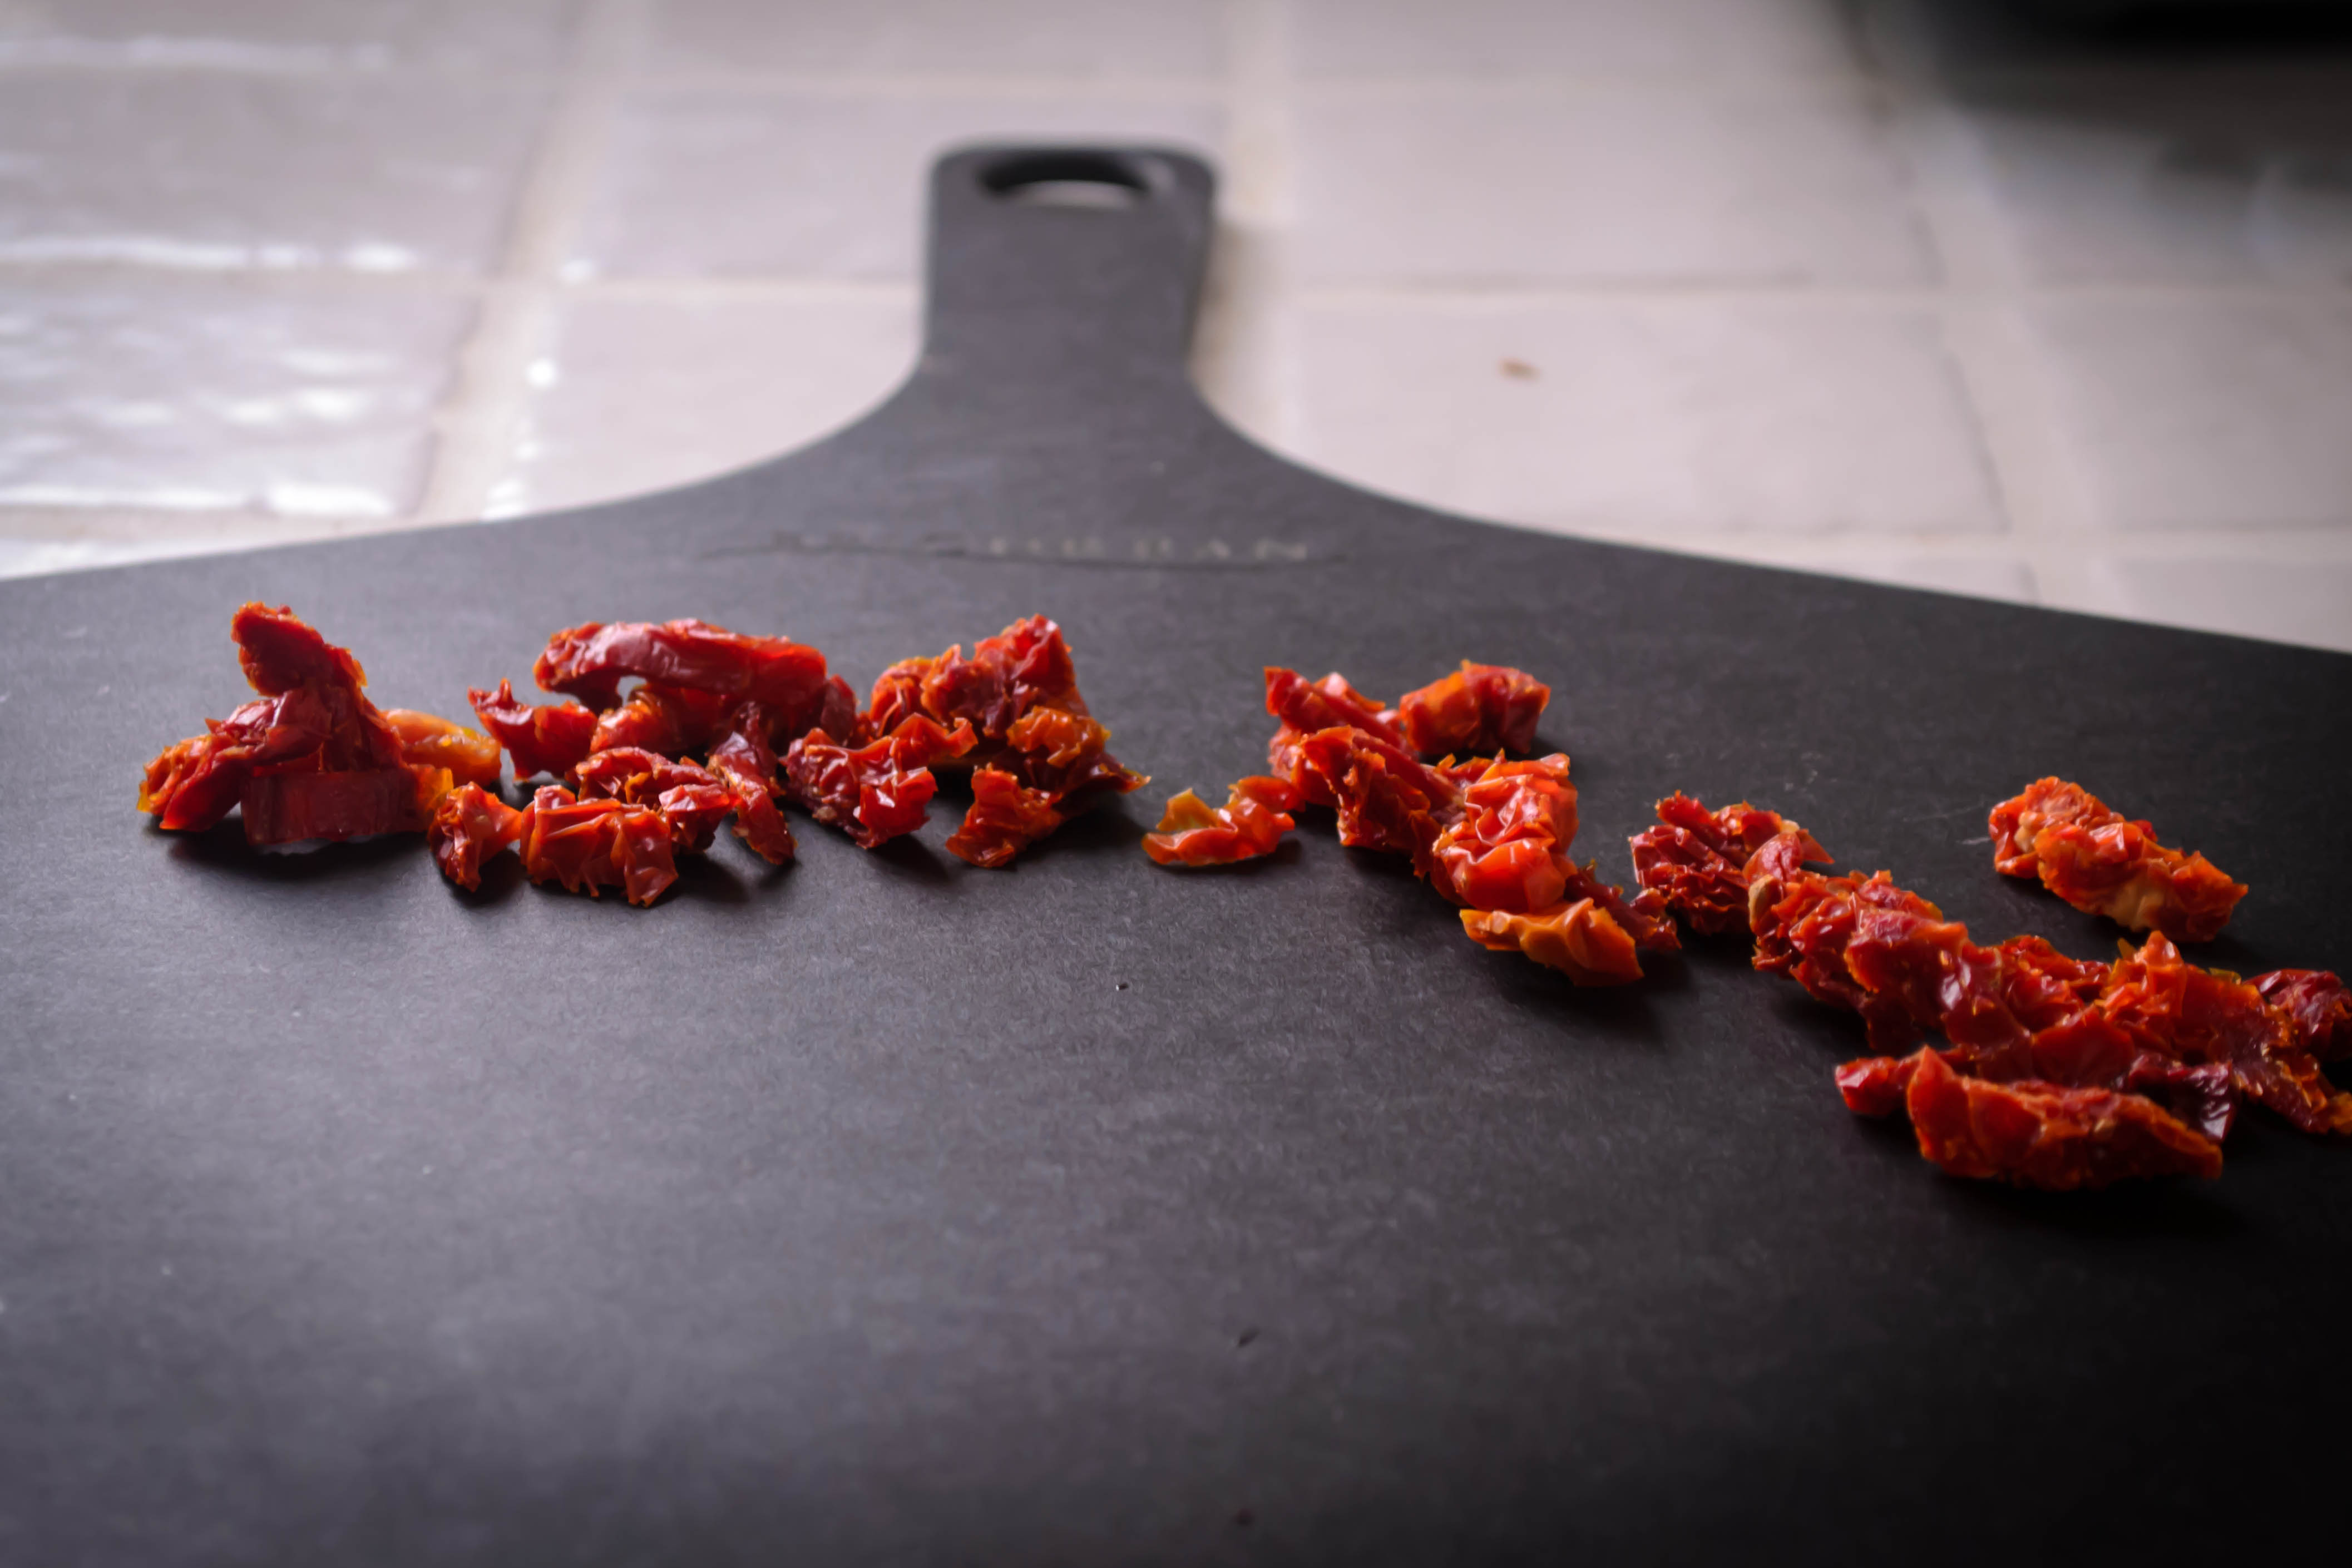
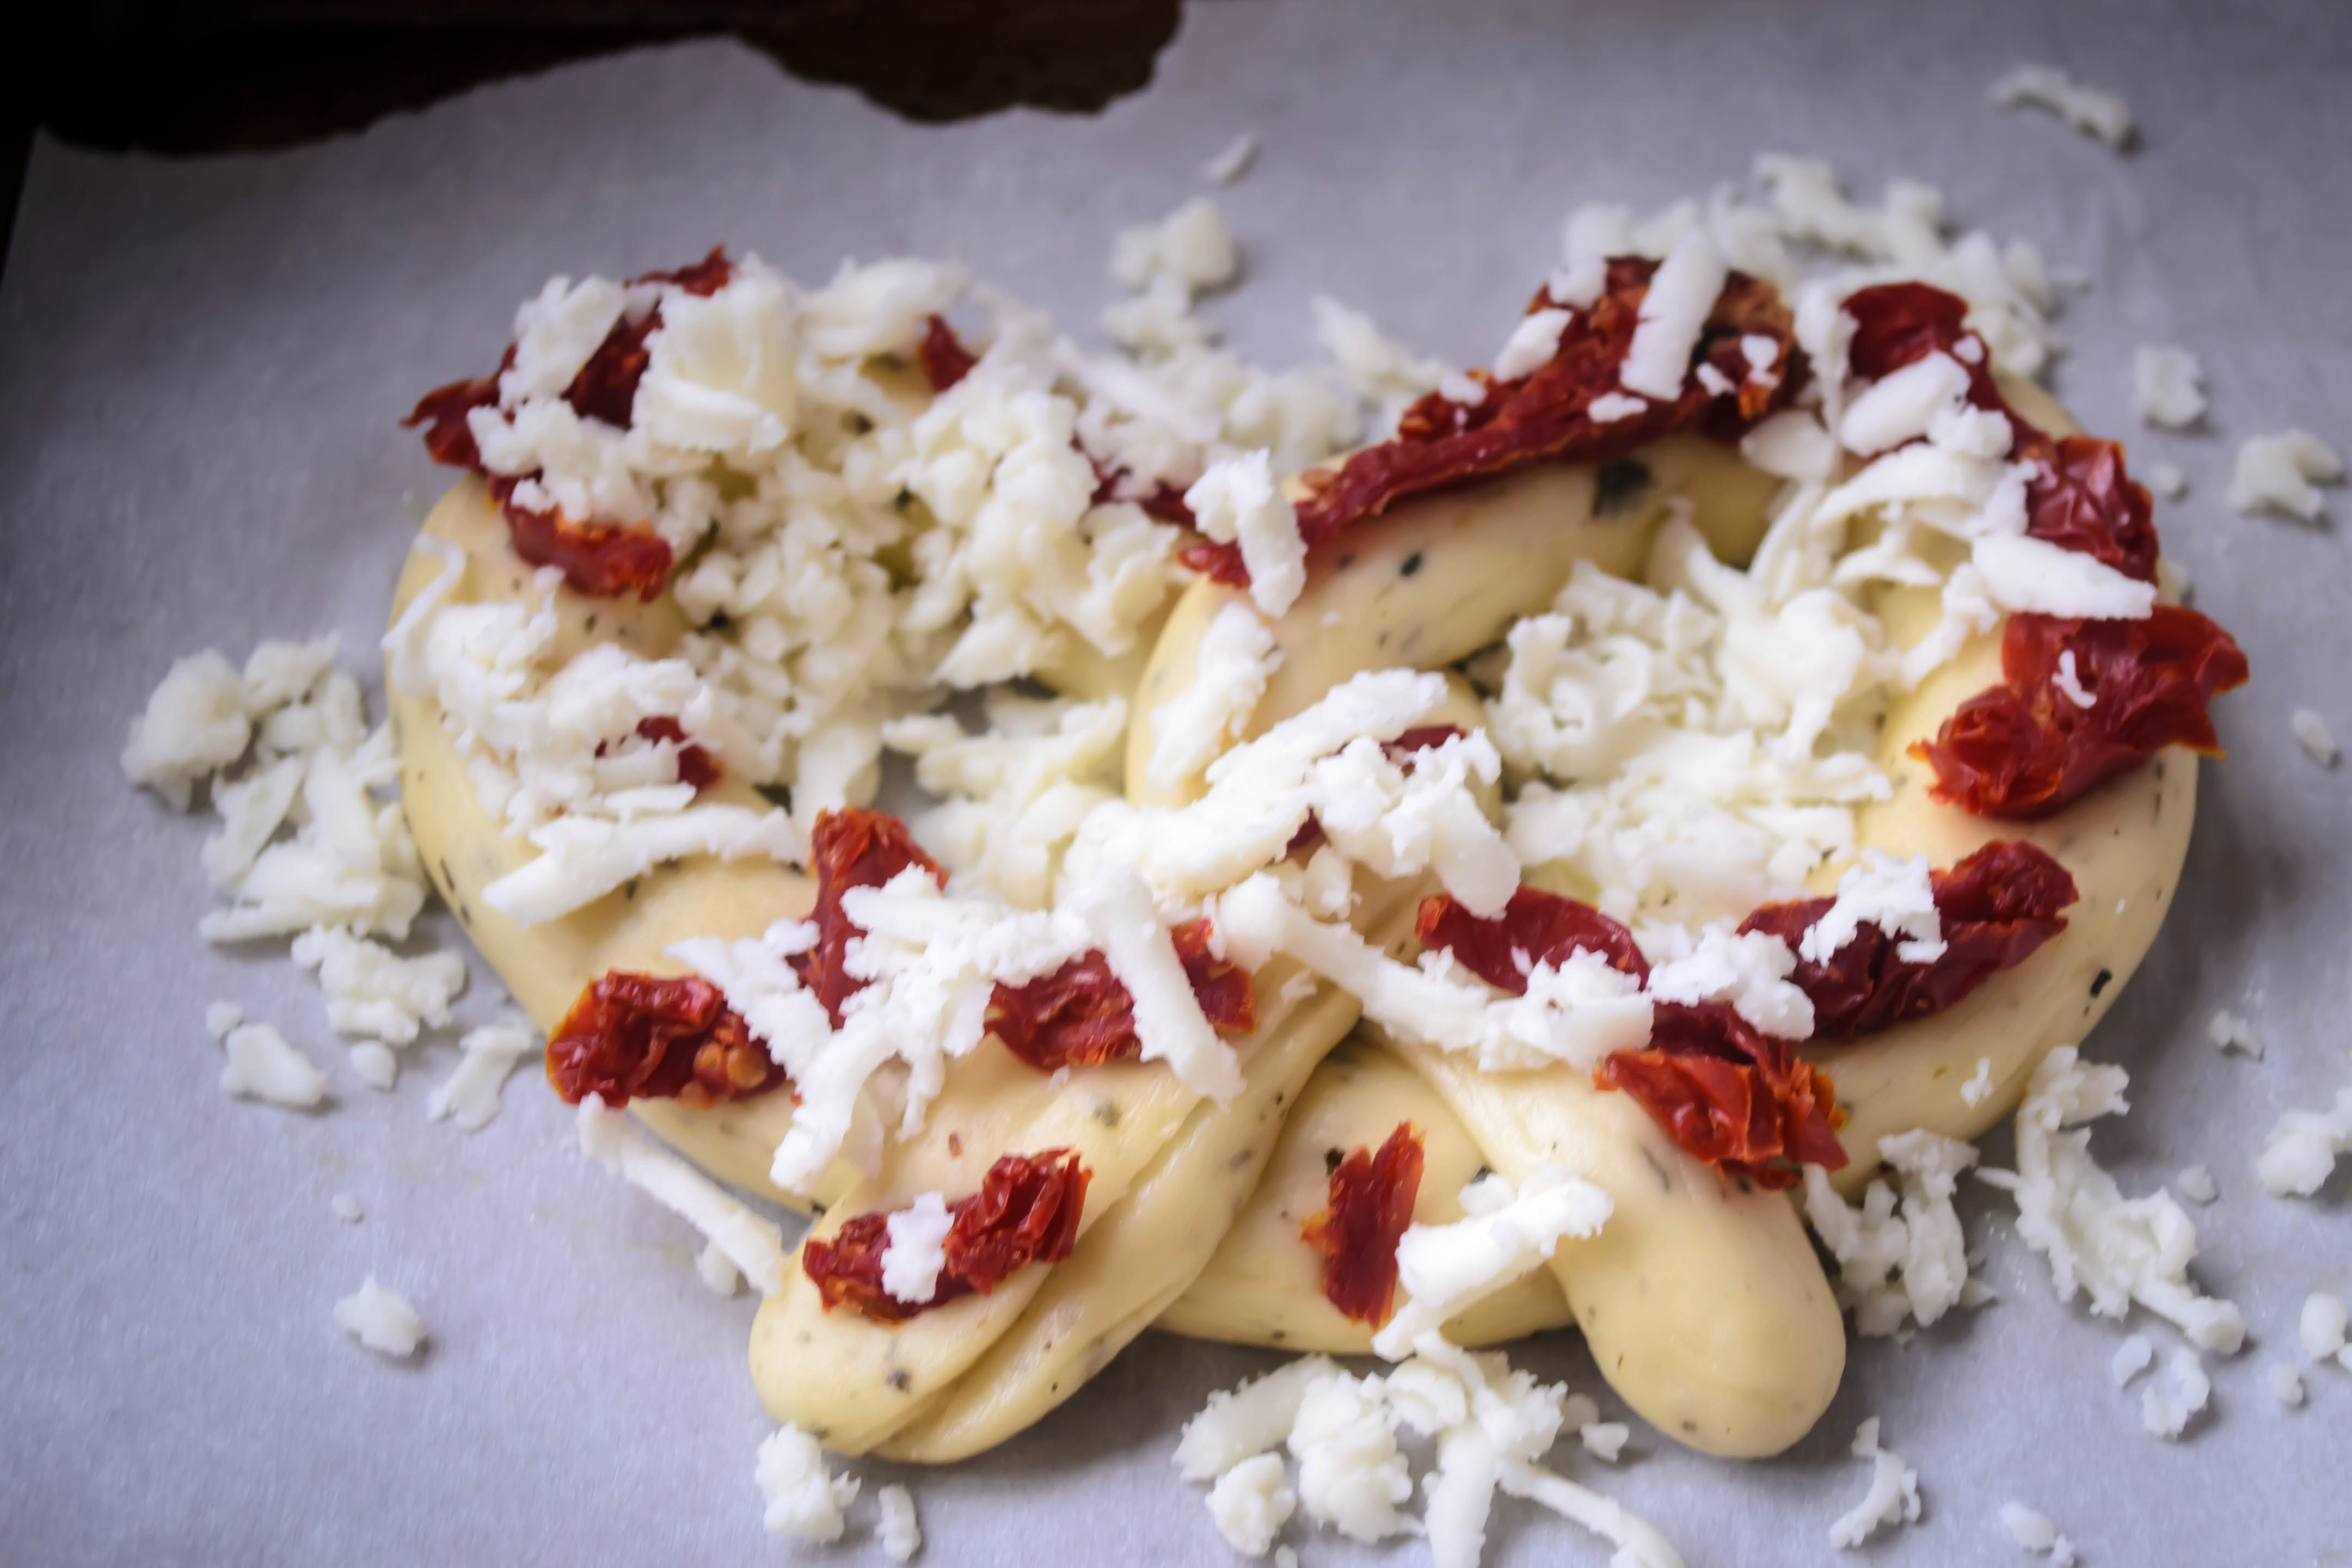
As for additional toppings, you could add sundried tomatoes or thin rings of bell pepper or even jalapeno to the butter paste if you want to get fancy about it, and it would certainly fare well dipped into a bubbly saucer of marinara, if that’s your thing.  Either way, I think you should make this.

Maybe today!

Are you making it yet?

Food Blog May 2013-1255 Garlic Fontina Flatbread

adapted from Food Network’s Spinach and Cheese Flatbread

For the dough:
2 tsp sugar
2 tsp active dry yeast
1 cup warm water (it should feel just slightly warmer than body temperature when you dip your finger in to test it)
2 ¼ – 2 ½ cups bread flour
1 tsp salt (I like coarse sea salt)
1-2 TB olive oil


For the toppings:
8-10 cloves garlic, minced (about ¼ cup in all)
1 stick very soft butter (1/2 cup)
2 TB each chopped fresh parsley and basil
1 tsp chopped fresh oregano
¼ tsp crushed red pepper flakes
1-2 cups grated fontina cheese


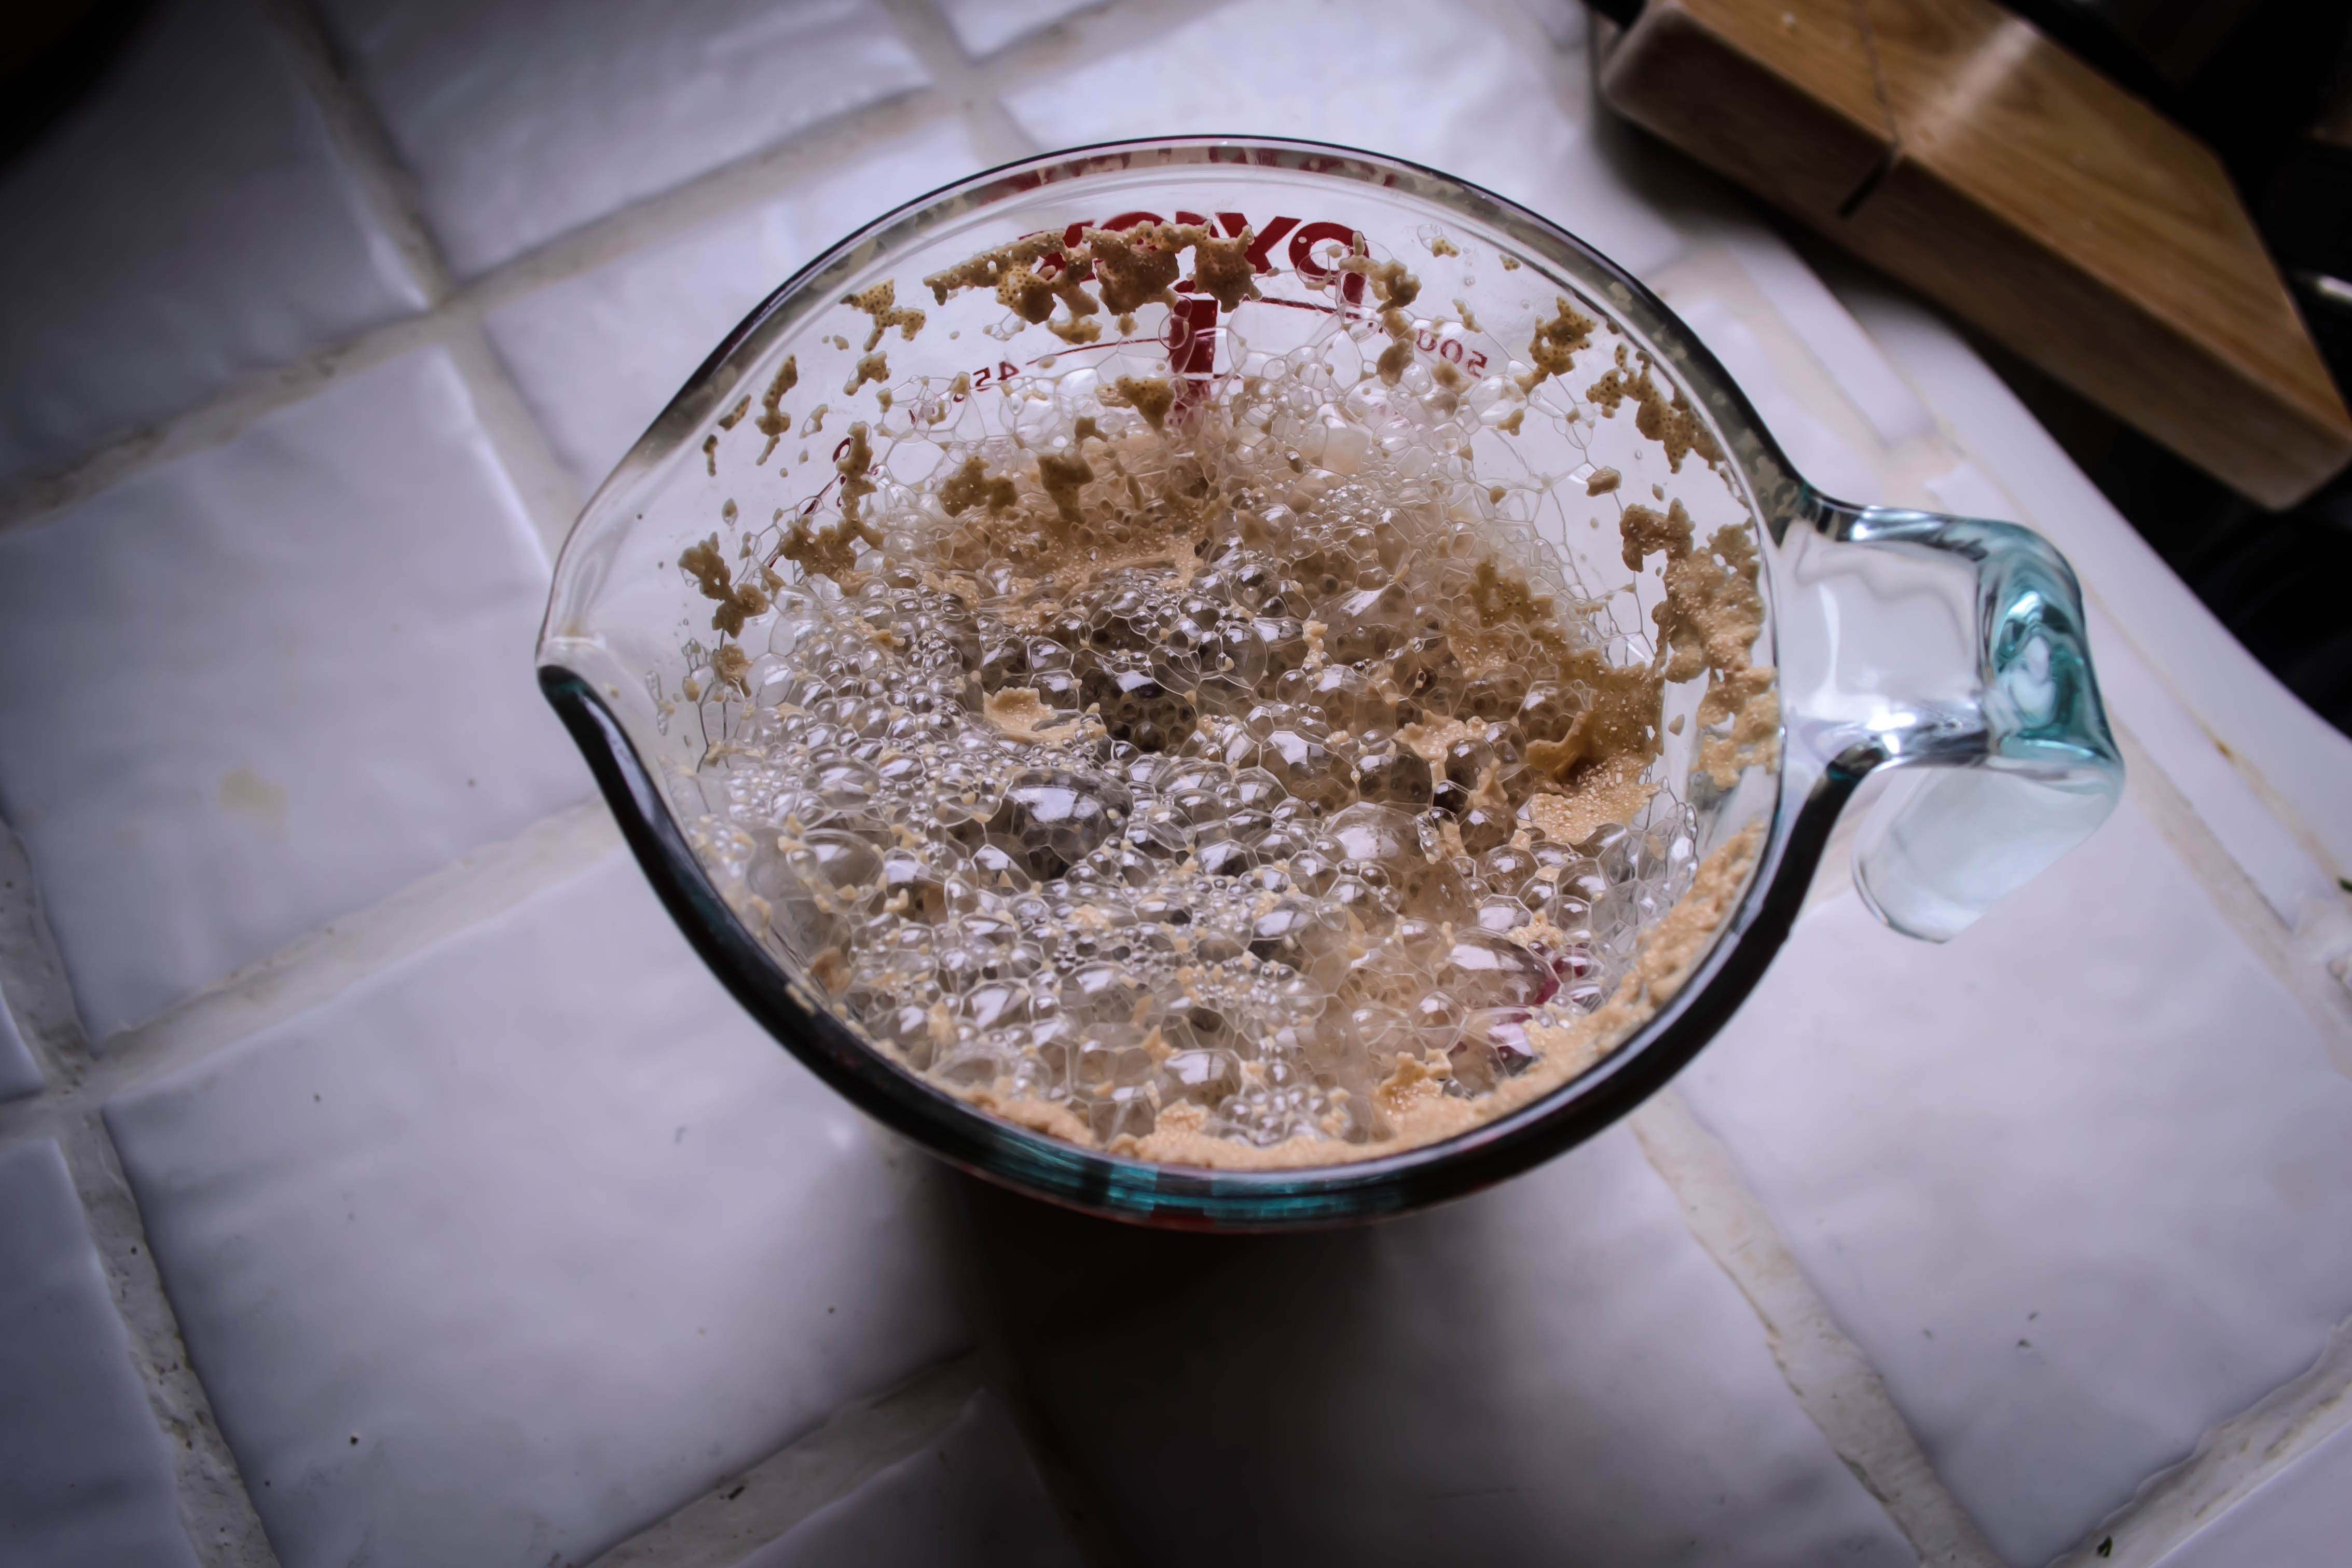
  • Sprinkle the sugar and yeast over the warm water, stir gently to combine, and set aside to proof for 5 minutes or so.  The yeast will begin to bubble and smell like warm bread.
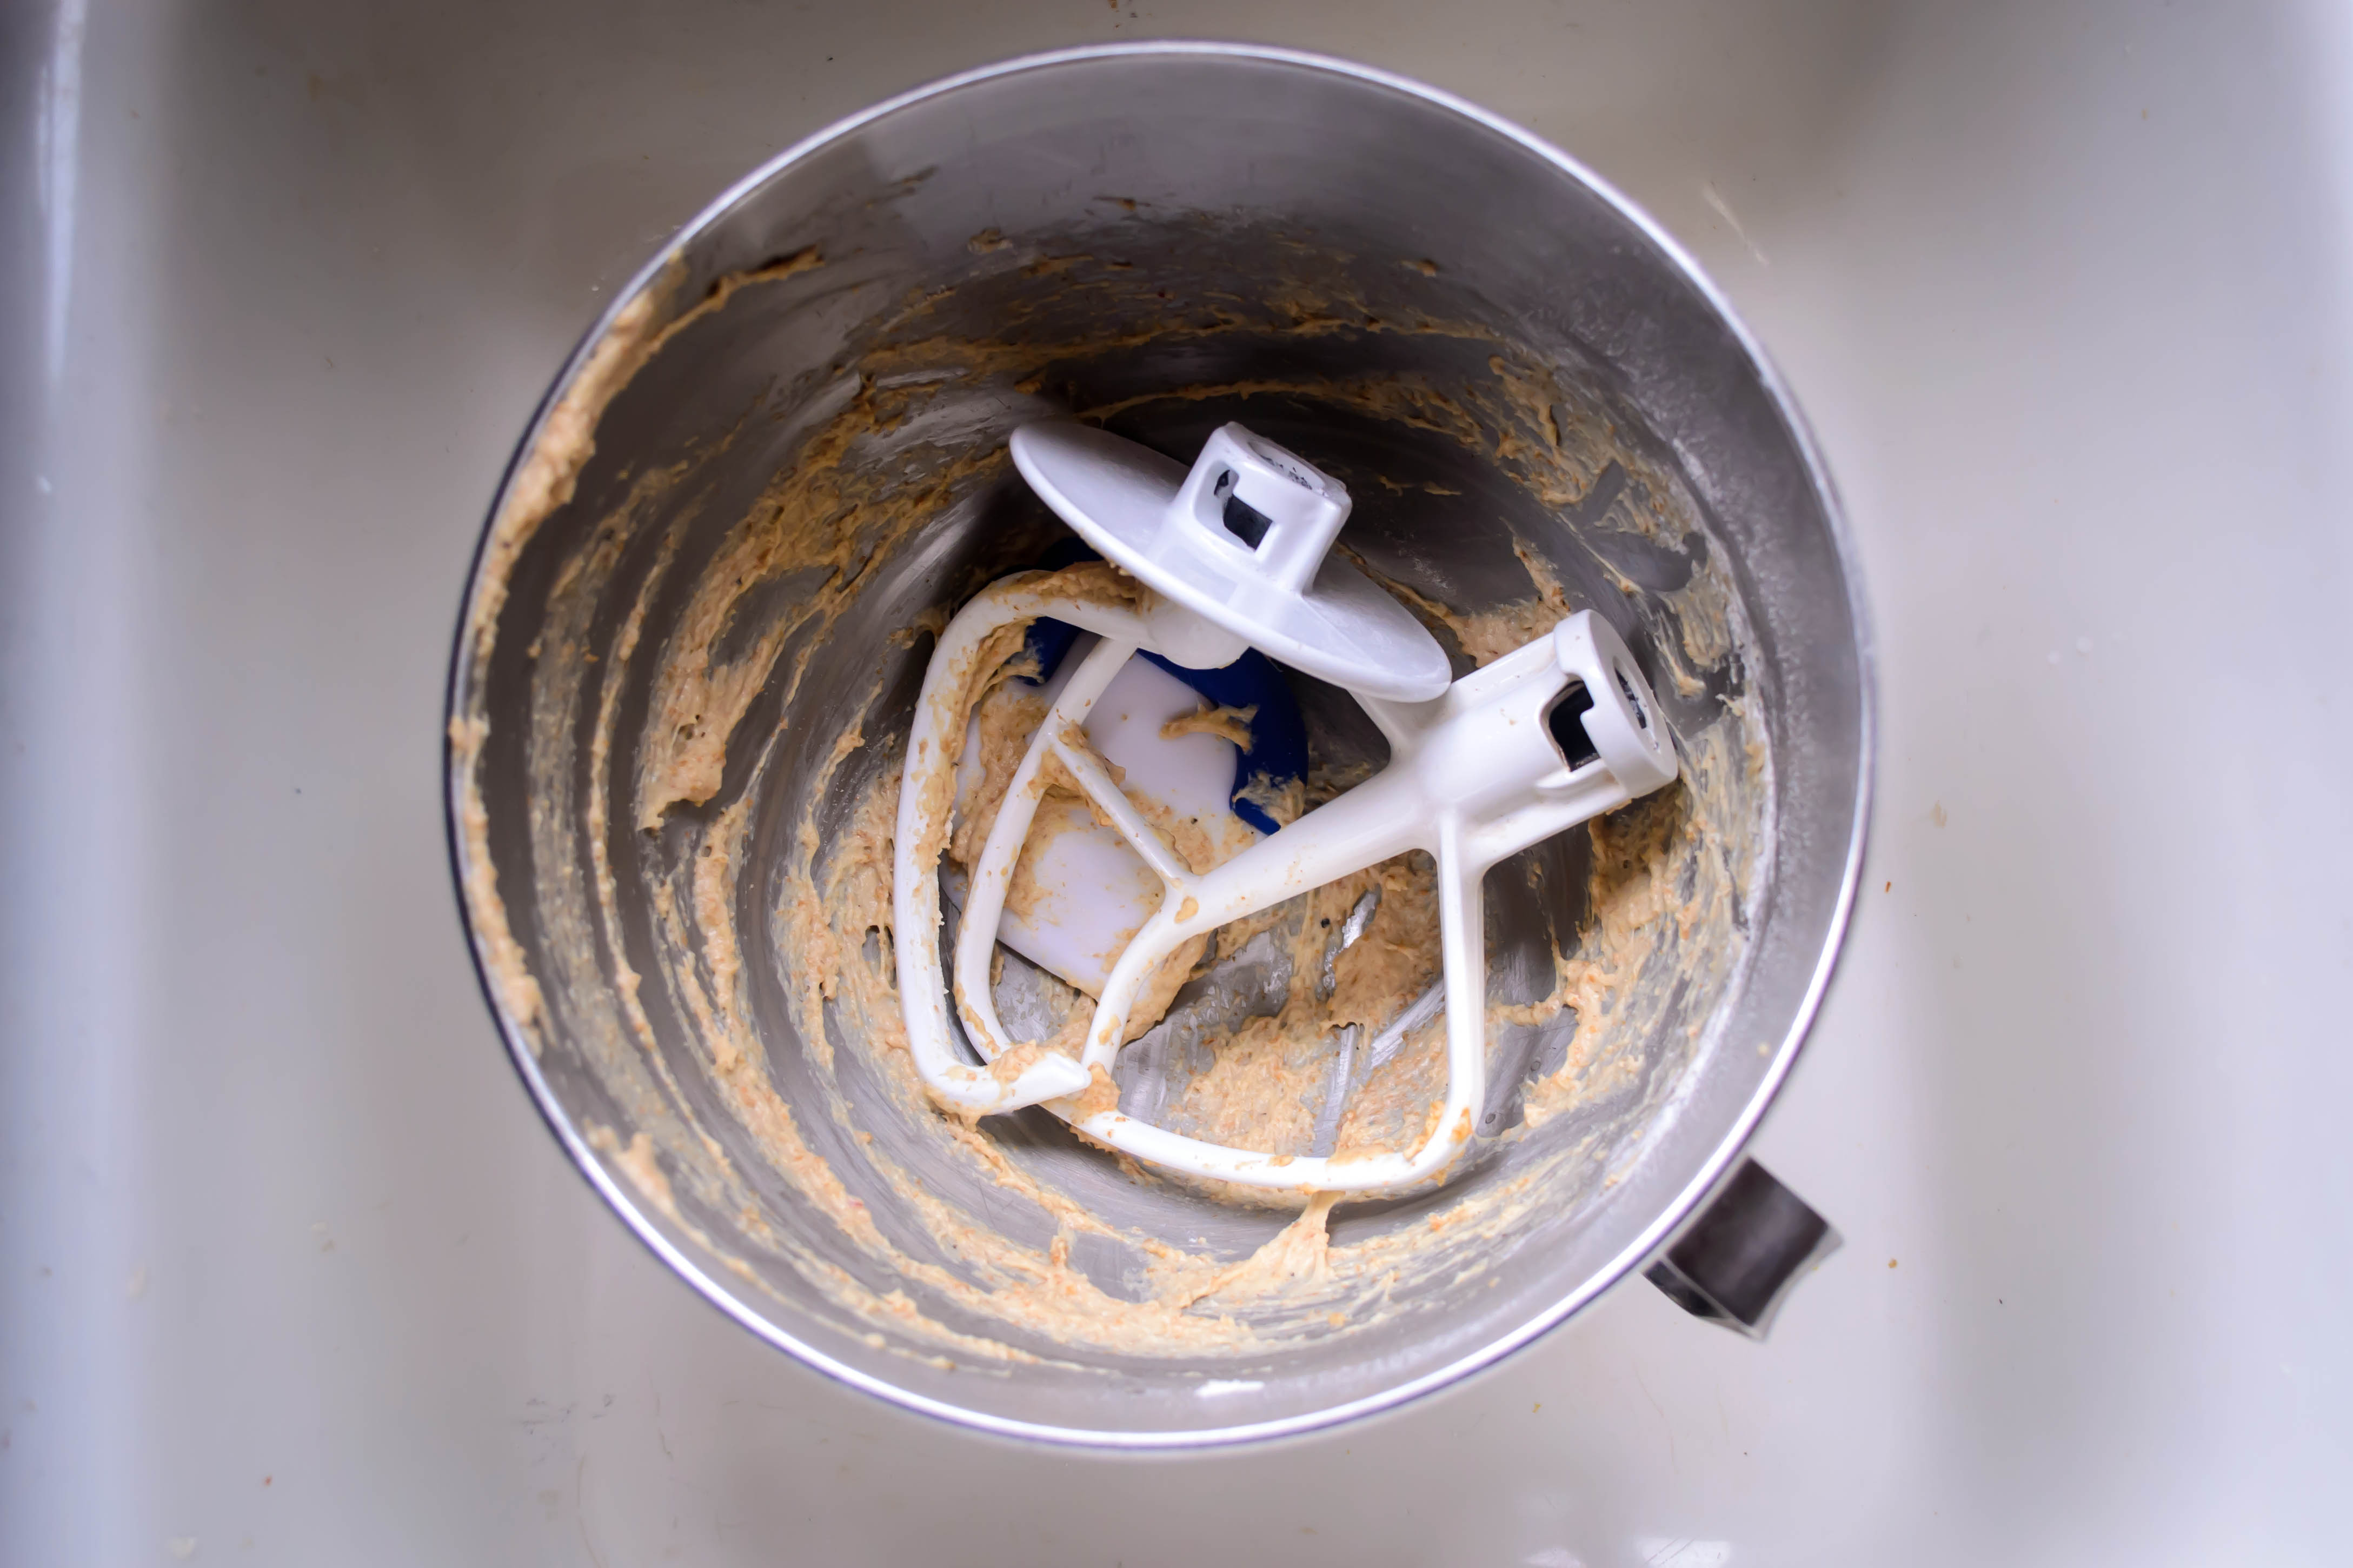
  • In a large bowl (I use the bowl of my electric stand mixer), combine 2 ¼ cups of flour, the salt, and the olive oil, and whisk together briefly.  The olive oil will create little streaks of moistness, like barely dampened sand.
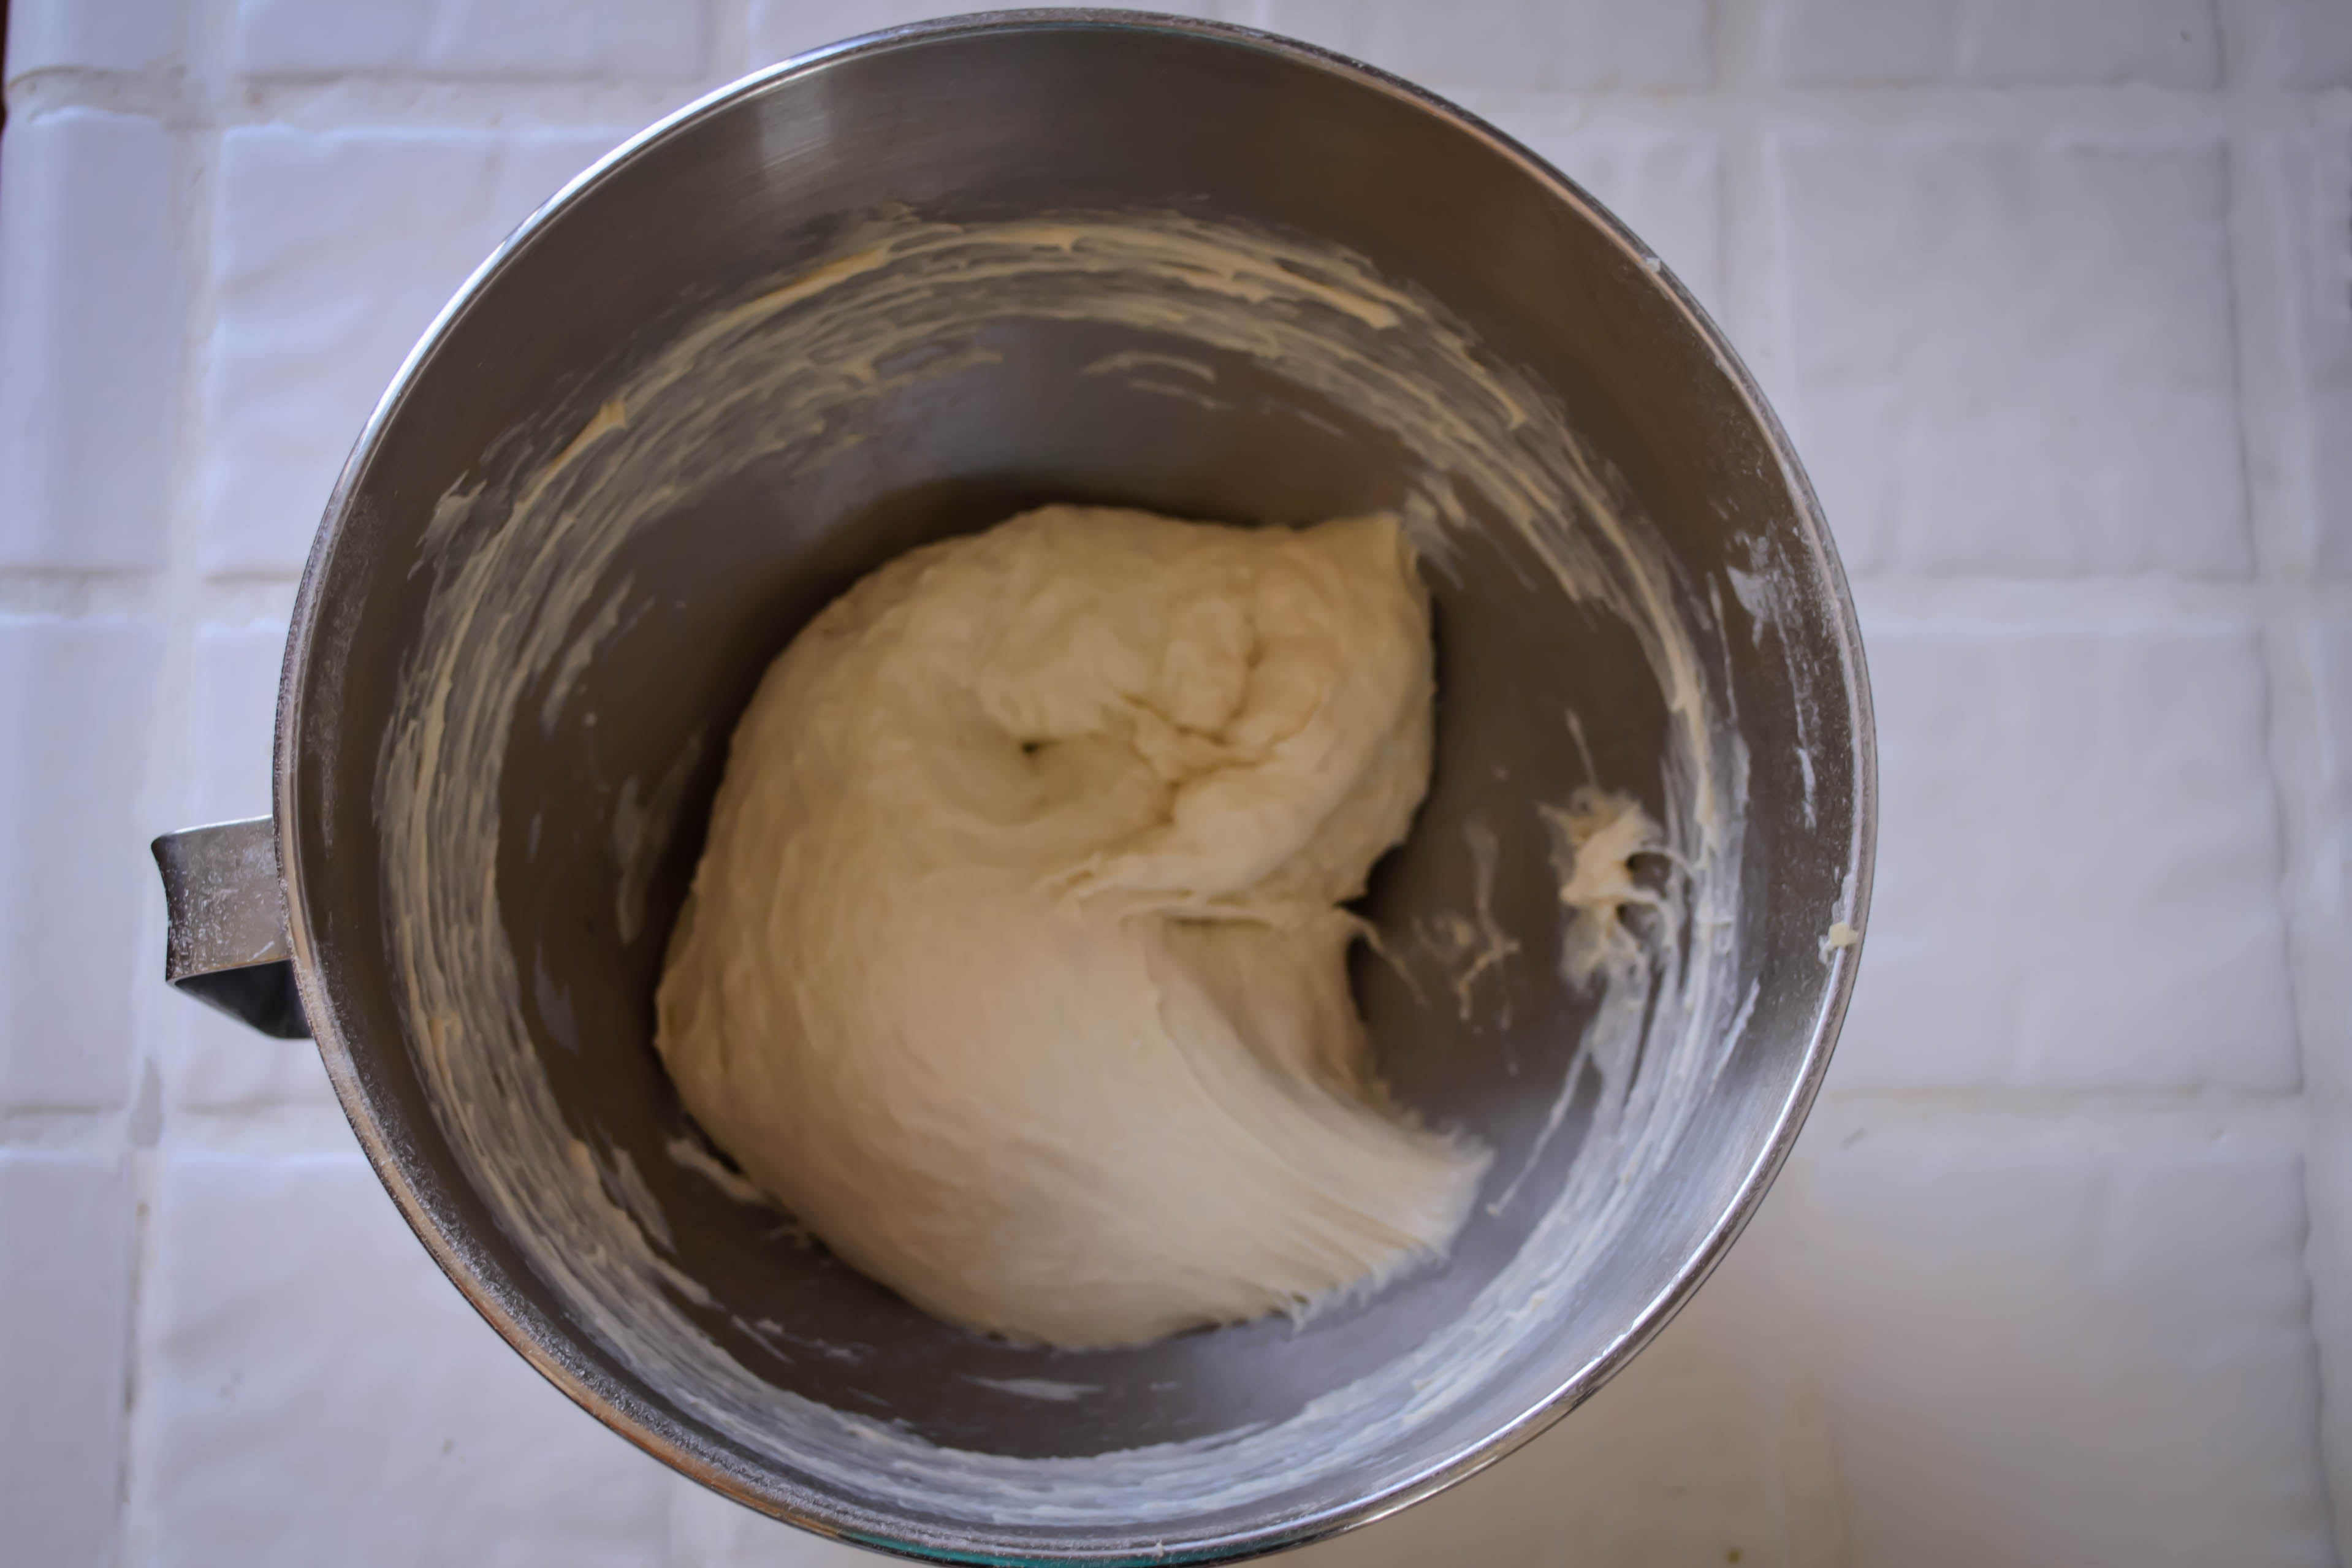
  • Once the yeast mixture is bubbly, pour it into the flour and mix with the paddle attachment or a wooden spoon just until a sticky dough comes together.  Then, if you are using a stand mixer, switch to the dough hook and knead on medium speed for about ten minutes.  If the dough is still relentlessly sticky by minute six, smearing tackily across the sides of the bowl and schlopping stubbornly on the bottom, add an additional ¼ cup flour to make it more manageable.  If you don’t have a stand mixer, plop your dough out onto a floured board and knead by hand.
  • After about ten minutes, the dough should be smooth and elastic, though still fairly sticky.  That’s okay.  That stickiness will keep it moist and supple and lovely.
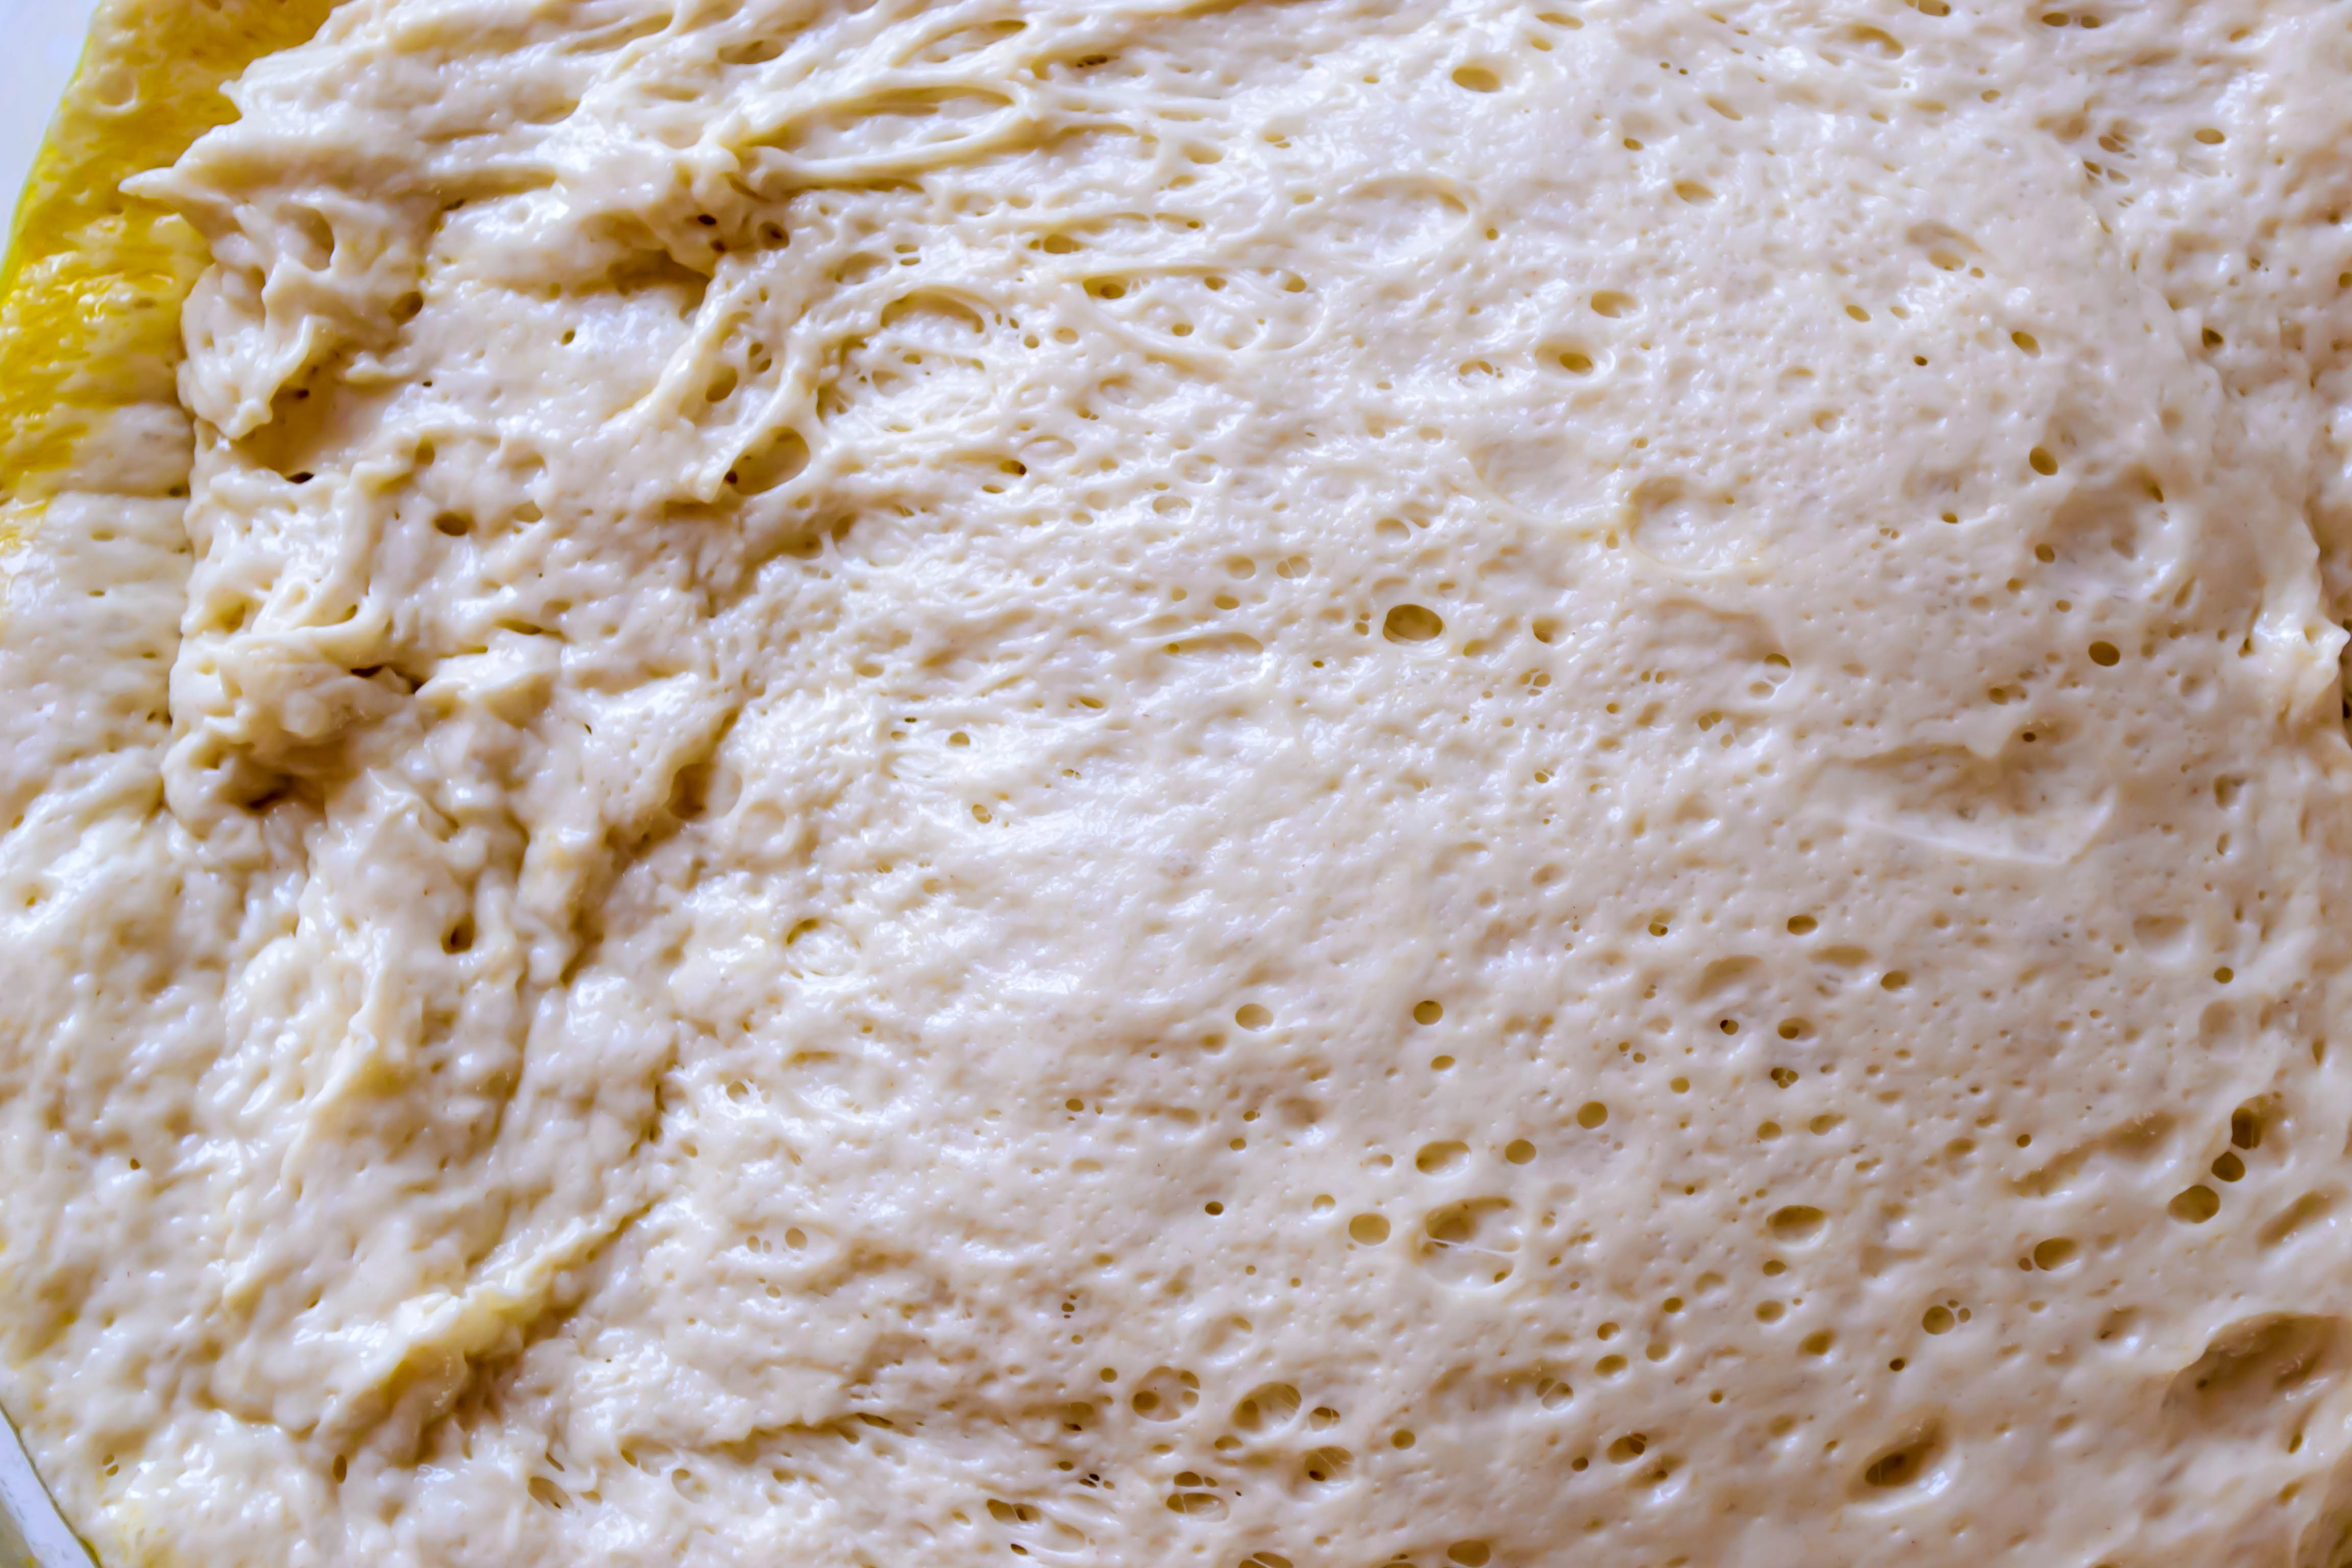
  • Place the dough – more or less sticky as it is – into a lightly oiled bowl and cover with plastic wrap.  Set it aside in a warm place until doubled.  This may take about an hour and a half, but my kitchen was about 80 degrees on the day I made this, so it only took mine an hour to puff triumphantly.
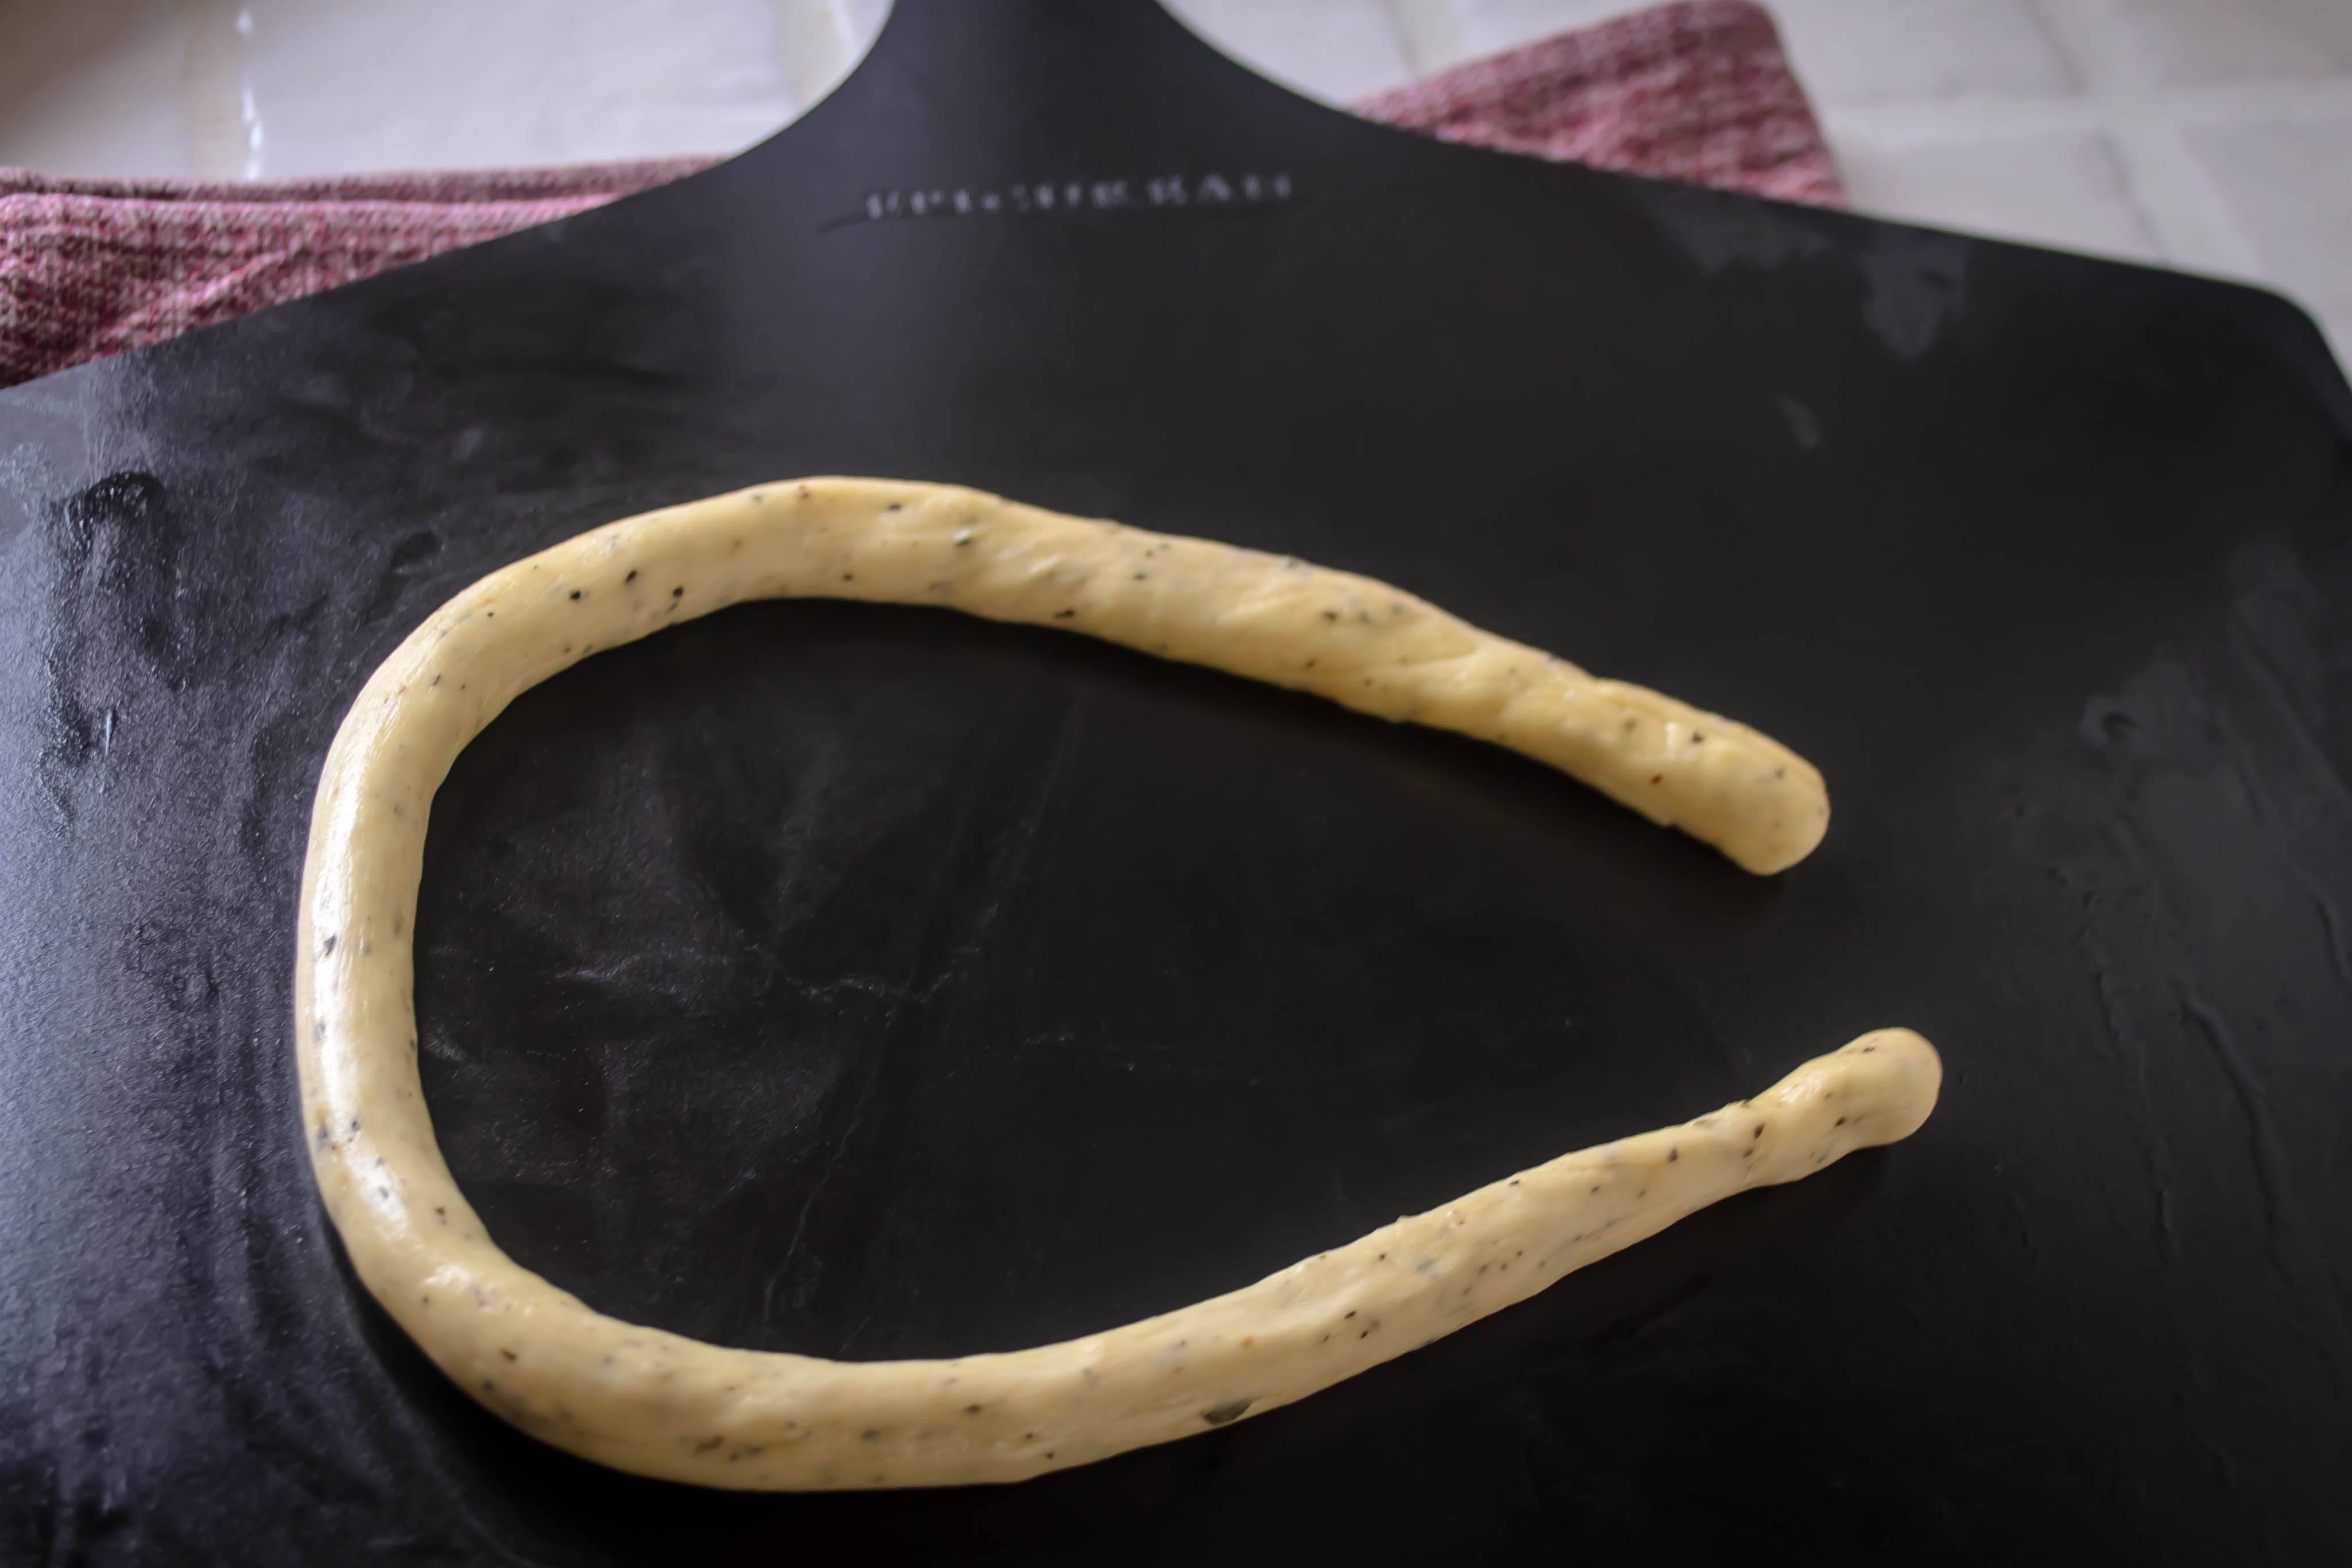
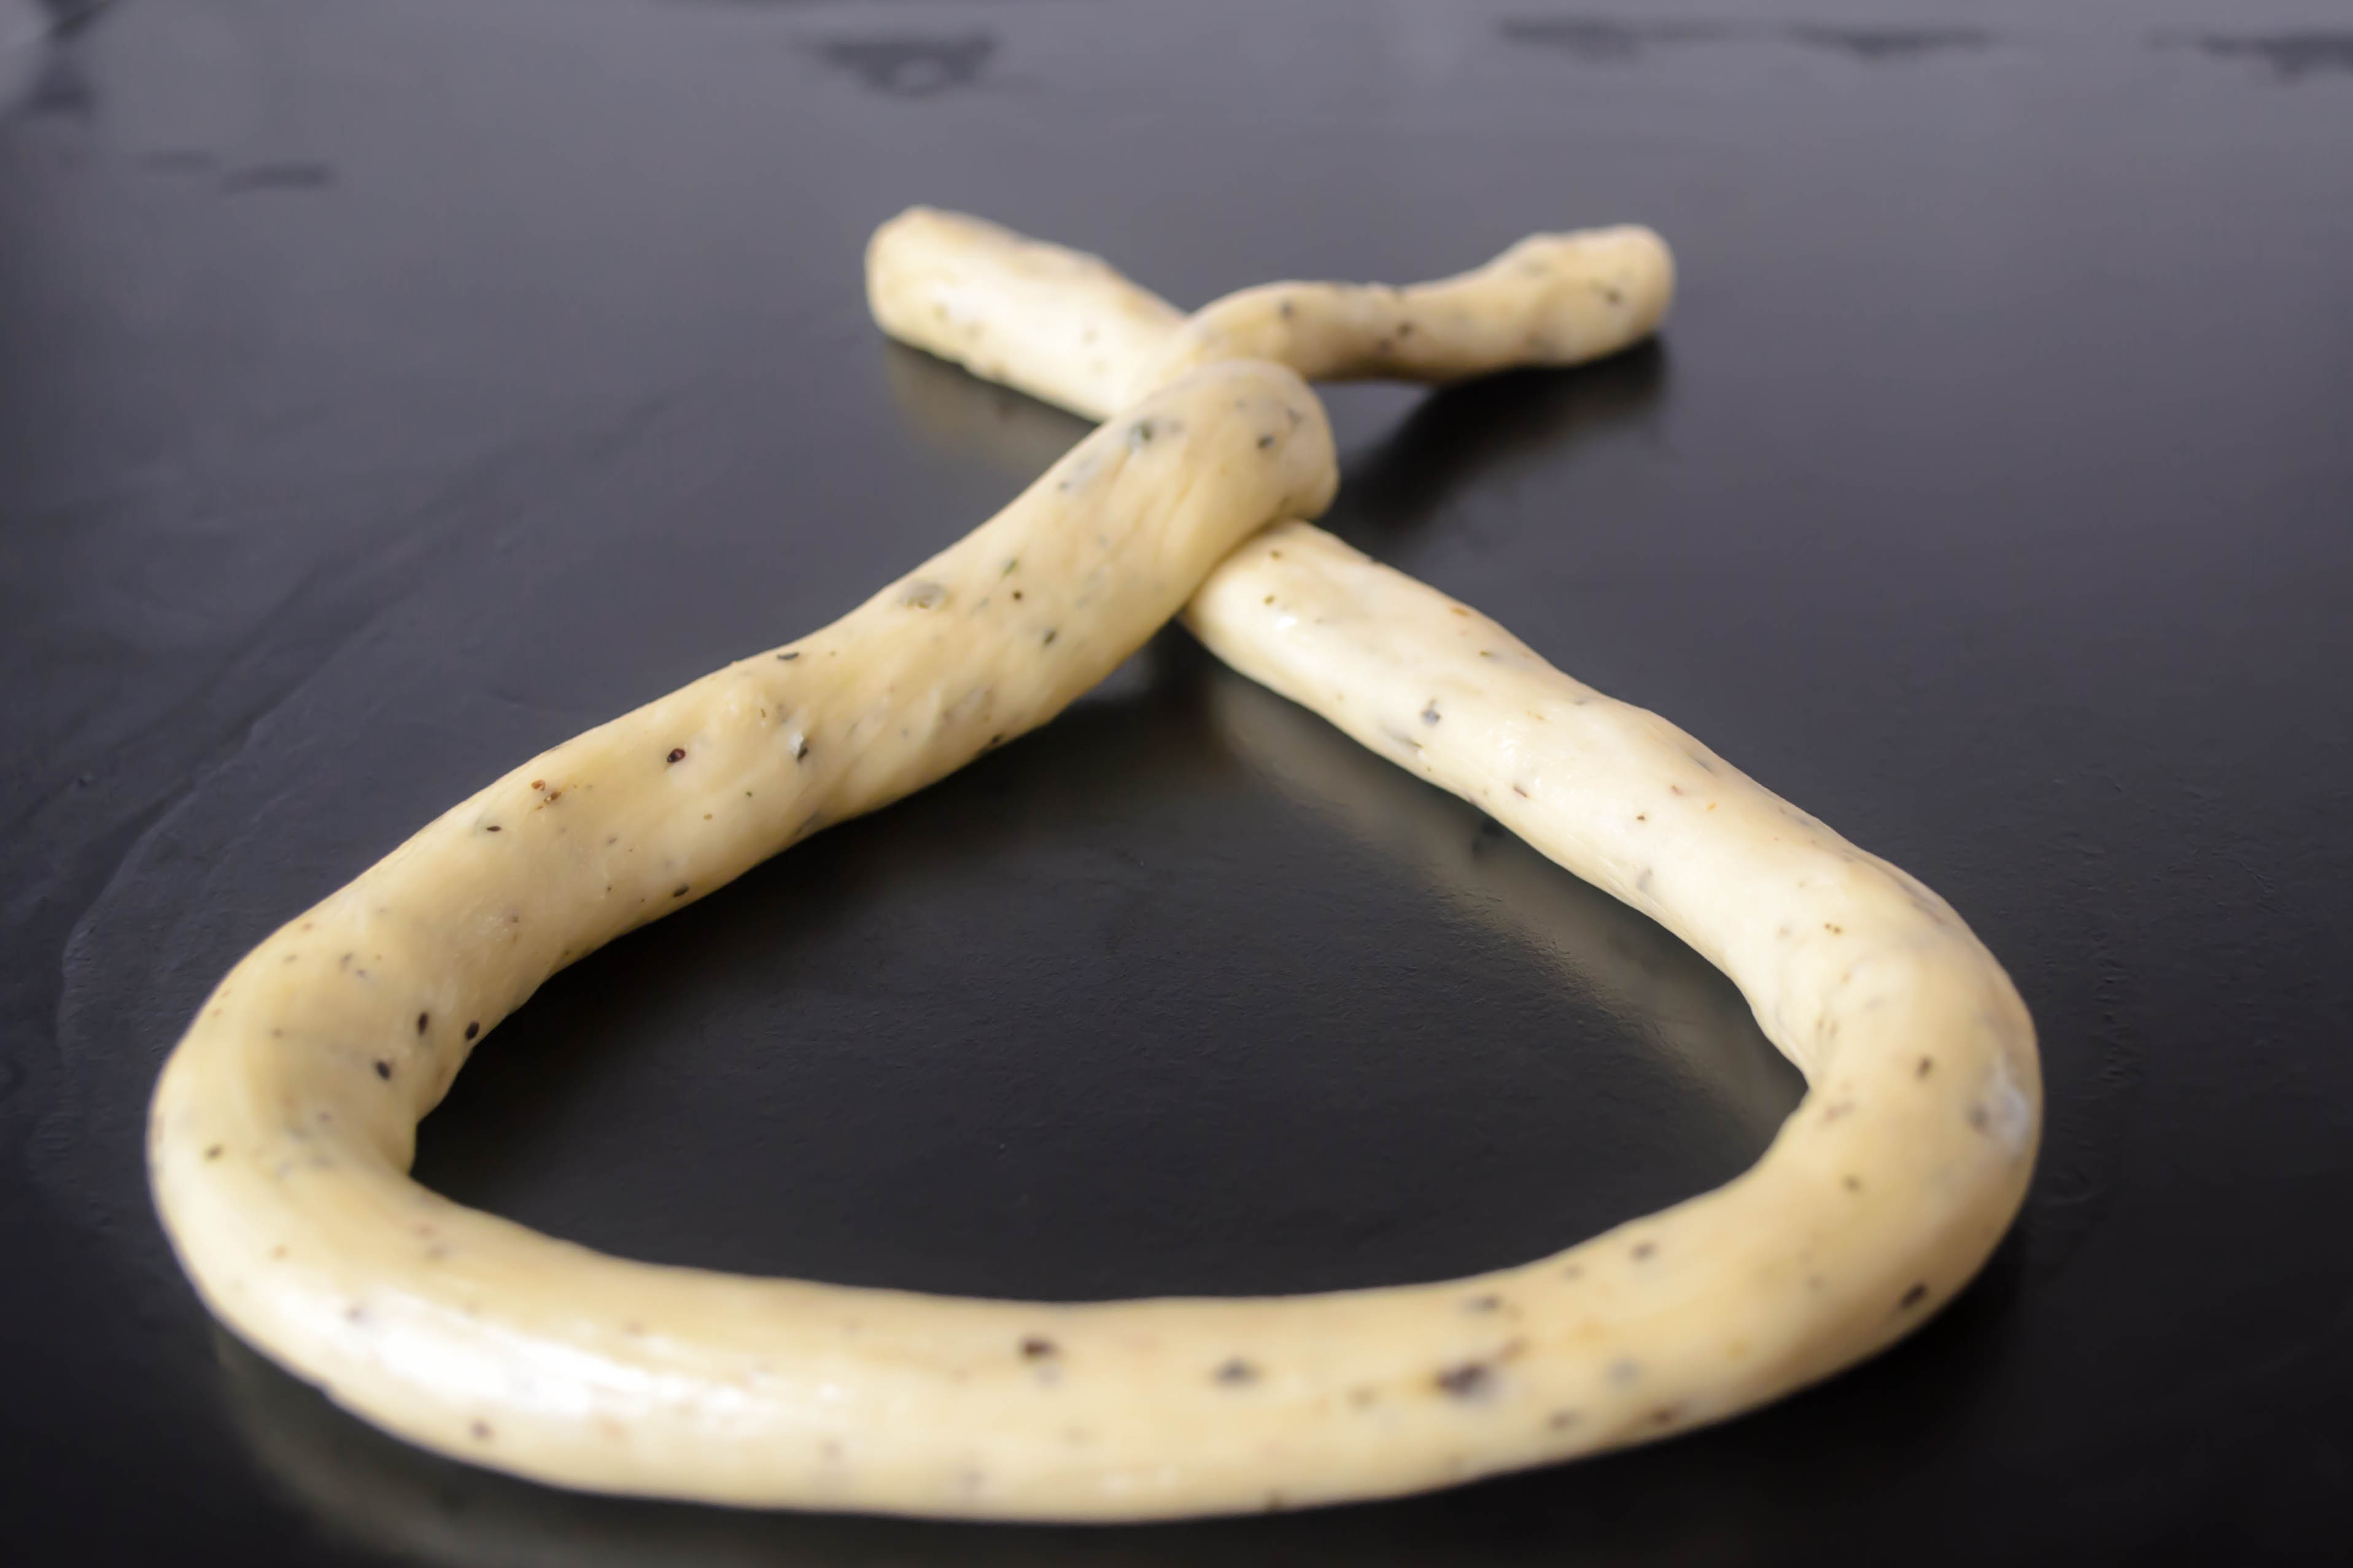
  • Gently deflate the dough and let it rest for ten minutes.  Then, stretch and spread it carefully on a well-oiled baking sheet.  If it stubbornly snaps back against itself and refuses to form a nice rectangle, let it rest another ten minutes and try again.  The gluten needs to relax a bit after all that rising work it has done.
  • When you have the shape you want, cover the dough with a clean kitchen towel and leave it to rise again for half an hour, until it has doubled yet again.
  • While the dough rises, preheat your oven to 450F and prep your toppings.
  • In a medium bowl, combine the butter, garlic, herbs, and red pepper flakes into a chunky paste.  I haven’t added any salt here, because the cheese is salty, but if you are a sodium fiend sprinkle in some salt to taste.
  • Approach your risen dough with caution: you may be able to smear on the garlic butter paste with a spatula, but you may have to carefully coat the surface with just your hands.  It will depend on the texture and elasticity of your dough.  If it won’t spread the way you want and you get frustrated with it, microwave the paste for a few seconds until the butter is melty, then pour the mixture on instead of smearing.
  • Top your buttered dough with an even sprinkle of cheese, keeping in mind that where the cheese completely covers the buttery garlic paste, not much toasting will occur.  I’ll leave determining quantities and coverage up to you and your preferences.
  • Place your topped flatbread into the oven and bake for 15-18 minutes, until the edges of the dough are puffed and nicely browned, and the cheese has turned golden and sizzles.  Let it cool on a countertop for 5-10 minutes, just to let the cheese cool from molten temperatures a bit, then slice and serve.

Food Blog May 2013-1252


Pizza Pretzels

I have these moments when I realize I’ve just said something.  I don’t mean this to sound like I’m unaware of or not in control over my own speech, but I am a classic case of speaking before I think, at least when it comes to food.
Food Blog March 2013-0882A few weeks ago, N. and I were on the verge of no longer enjoying our morning errands.  On Sundays, we frequently run errands before going to our local Farmers’ Market, and because one of us is occasionally a bit of a lazy slouch on weekend mornings (I’ll leave the guessing up to you), we often don’t hit the shops until after 10am.  This is not a huge problem, except that my body is programmed to begin its hinting that “lunch would be nice, please” at about 11:30.  By noon it’s more of a demand, and by 12:15 you’d better feed me, because I’m about to devolve into full-on hangry (which I remain convinced is one of the best portmanteaus ever invented.  It’s right up there with spork).  N. is keenly aware of this schedule, and yet for several weeks in a row we’ve found ourselves food-less during the half hour that takes me from peckish to crotchety to downright unpleasant.
Despite this, I retain a sense of snobbishness when it comes to choosing what I will eat to relieve this condition.  We play a game when it comes to choosing food, especially when the choices are undesirable; I affectionately call it the “bleh” game.  It consists of one or the other of us facetiously offering “we could eat there…” which inevitably engenders the titular response.  This game was in full effect as, plagued by my hangriness, we walked past one of those soft pretzel stands at the mall we were ambling through and N. suggested it.  I looked in at the pizza pretzels – studded with cheese that looked painted on, pepperoni grease slowly cooling and solidifying, and declared, loudly, “psssh, I could MAKE those.”
Food Blog March 2013-0904Suddenly, I was beholden to it.  N. isn’t always taken in by my crazy food schemes, but apparently the idea of a homemade pretzel masquerading as pizza was something he’d never known he always wanted.  It fell to me to create a version that wasn’t sodden with grease, wasn’t packed with questionable preservatives, and wasn’t luke-warm and pressed behind plastic with its sad, sorry brethren.  My typical response to this would be to turn to the internet.  This time, however, I had Nana’s sweet roll dough to guide me, and I wondered whether I could achieve my objective by creating a savory version of her lovely elastic dough.
Food Blog March 2013-0894
Removing the sugar and adding savory Italian herbs to the mix was a successful experiment.  The kitchen smelled like foccaccia while my dough rose, and I was thrilled with the flavor in the piece I pinched off to sample.  I divided my dough into eight little balls, rolled them into long stringy ropes, and surprised myself when careful looping and twisting resulted in a pan full of something that actually looked like pretzels.
But here’s where things started to go a bit imperfectly.  I topped my plump little pretzels with chunks of sundried tomatoes, mounded them with shredded mozzarella, and draped slices of pepperoni over the top.  They lost their definition and looked more like piles of cheese than like pretzels, but that didn’t bother me much.

Food Blog March 2013-0900

Upon baking, however, a bit of their charm dissolved.  In the time it took to bake the dough, the cheese didn’t brown or bubble they way I’d hoped.  Further baking time led to overly charred edges on the tomatoes, and the cheese that had fallen onto the parchment paper I’d laid down as extra insurance went from bubbling to black.  N. ate them with gusto anyway, devouring several for dinner that night and taking foil-wrapped leftovers to work for the next few days.  But I wasn’t satisfied.  Not only were there overcooked elements, but the result didn’t taste quite like a pretzel.  It was good, but lacking in that toasty, crunchy exterior that makes a soft pretzel great.  I’m going to give you the recipe I used, but first consider these alternatives and, if you try any, let me know how they work out.
Next time, I’m going to mix the sundried tomatoes right into the dough along with the herbs.  Their flavor will still be there, but I think they will stay chewy and moist instead of burning.  I’m also toying with the idea of stuffing the pretzels with the cheese rather than sprinkling it on top – this would result in an oozing, melty, stringy core to each pretzel, and it would allow you to boil the pretzels before baking them, which contributes to the classic texture of the exterior my version was missing.  I would flatten each individual dough ball into a rectangle, sprinkle it lightly with cheese (leaving a generous border on all sides to prevent leakage), then roll and pinch tightly before making a rope and twisting as before.
I’d then boil the pretzels (Alton Brown has a recipe that looks really promising, no surprise there), drape them with pepperoni or olives or onion, and bake as before.  This would, I suspect, eliminate charring, create a better texture, and perhaps introduce a more successful alternative to the travesty that is stuffed crust pizza.*
These would be delightful dunked in some garlic butter, or basil spiked marinara, or even seasoned and pureed roasted red peppers, if you’re into any of those sorts of things.  But either way, you’ll have a remedy for the sneaky Sunday afternoon hangries that far excels anything you’ll find at a food court.
 Food Blog March 2013-0896
Pizza Pretzels
Makes 8 sweet, slightly stubby 4-inch pretzels
2 tsp active dry yeast
¼ cup warm water (stick your fingertip in; the water should be about body temperature)
1-2 tsp honey
¼ cup scalded milk, cooled
¼ cup melted or very soft butter
1 egg
1 tsp salt
1 tsp garlic powder
1 tsp dried basil
1 tsp dried oregano
2 ¼ cups bread flour
1 3oz. package sun dried tomatoes (not packed in oil – these would be, I suspect, too wet for this recipe)
½ – 1 cup shredded mozzarella cheese
24 slices pepperoni
  • Combine yeast, honey, and warm water in the bowl of your stand mixer (or in a medium bowl) and set aside for 5 minutes, or until the yeast is bubbly and smells like bread.
  • Meanwhile, heat the milk and combine with the butter, swirl until the milk is cooled and the butter is melted.
  • Add cooled milk, melted butter, and egg to the bubbling yeast and mix on low speed with the paddle attachment until the egg is broken up a bit and things are slightly combined.
  • Add flour, spices, and salt (you could probably add any combination of spices you like, including crushed red pepper for some heat, or rosemary for a woodsy flavor.  I’d stick with dry spices, though, for easier distribution and that classic pizza flavor) and mix with the paddle attachment until a wet, sticky, uneven dough forms.  You could also add the tomatoes at this point, if you want to incorporate them directly into the dough.
  • Scrape clean the paddle attachment and switch to the dough hook.  Knead at medium-low speed for 5-8 minutes or until dough is smooth, elastic, and willing, if you pinch a bit between your thumb and finger, to stretch out about an inch without tearing.
  • Dump your ball of dough into a glass or ceramic bowl greased with olive oil and turn it over once or twice until it is coated in oil, then cover with a clean kitchen towel and stow in a warm, draft-free place for 1½ hours, or until it has puffed and doubled in size.
  • When you return to your dough, after you admire its impressive swell and the way it already smells of pizza, gently deflate by pressing your knuckles into the center of the puff.  Let it sit for a few minutes to get its breath back.

Food Blog March 2013-0885

  • Turn the dough out onto a barely oiled surface (I don’t have a marble stone or anything fancy like that, but I do have a pizza peel, which was a little small but otherwise worked just fine) and divide into eight even pieces.
  • If you want to stuff the centers of your pretzels with cheese, roll each dough ball out into a thin rectangle and sprinkle a few tablespoons of mozzarella over the surface, leaving a wide margin on all edges to prevent the shreds from escaping.  Then wind it up tightly and pinch the edges to secure.

Food Blog March 2013-0888

  • Whether you are stuffing with cheese or not, now is the time to roll the ball (or coil) of dough into a long skinny rope 18-24 inches in length.  The best way to do this, I found, is to use the palms of your hands and start in the middle.  Push the rope of dough firmly away from you, then back toward you, starting in the very middle and then, as the dough bulges toward the outer edges, follow it along moving outward until the rope is even in thickness and at least 18 inches long.
  • To form your pretzels, bring the ends of each rope toward each other into a horseshoe shape.

Food Blog March 2013-0889

  • Then, about a third of the way down each end of the horseshoe, make a twist.  Take one end of the rope and twist it fully around the other (that is, the left side of the rope should end up back on the left side once you’ve twisted it completely around the right end).
Food Blog March 2013-0891
  • Gently grab the ends above the twist and flip them over, pressing them into the bottom of the horseshoe loop to adhere.  You’ve made a pretzel!
Food Blog March 2013-0893
  • Place all eight of your formed pretzels on parchment lined baking sheets (I found I needed two), cover them with a kitchen towel, and let rise for 30 minutes.  During this time, you should preheat your oven to 375F.
Food Blog March 2013-0895
  • When the pretzels have risen again – it won’t be a dramatic change, but they will get a bit plumper – add your toppings.  If you’ve integrated the tomatoes and cheese already, just drape a few slices of pepperoni over them and you’re done.
Food Blog March 2013-0901
  • If you haven’t integrated the tomatoes or cheese, stud the tops of each pretzel with the tomato pieces, sprinkle with cheese, and then add the pepperoni on top.  Be careful not to get too much cheese on the parchment paper, as it will burn and lend an acrid taste to your pretzels.
Food Blog March 2013-0903
  • Bake your topped pretzels at 375F for 20-25 minutes, or until the cheese has melted and the dough is fully cooked.  The cheese won’t get quite as brown as it does on a pizza, but it will still be melty and delicious.
Food Blog March 2013-0910
  • Let cool for 5 minutes before eating, so the dough has a chance to firm slightly.
We had ours with a salad inspired by pizza toppings: spinach, artichoke hearts, olives, tomatoes, and some pine nuts for crunch, tossed with mustard lemon vinaigrette.
 Food Blog March 2013-0911
* I love, love the idea of stuffed crust pizza.  Forcing more cheese into an already cheese-laden dish?  Yes, please!  But the reality of it is so disappointing: a thick block of semi-melted sludge inside a soggy crust, like someone wrapped a stick of string cheese that had been lying in the sun for an hour in some sandwich bread and called it a day.  It’s a worthy notion, but the execution just hasn’t been perfected.

Pizza and Beer

Food Blog March 2013-0802Sometimes, a week calls for pizza.  But you don’t want the delivery variety dripping with grease and lazy with a smattering of mix-n-match toppings.  You want something fresher.  Better.  You want the feel of dough you can stretch under your hands and control over the size and shape of the pie and choice in the quality and variety of ingredients.

Homemade pizza.

N. and I have often talked about pizza memories, and how, when we were kids, pizza just wasn’t the same without a side of root beer.  It had to be in one of those hard plastic molded glasses, and it had to be with a clear straw.  And sometimes, you forgot you’d ordered root beer instead of Coke or Pepsi, and that first gulp with its spicy depth would be a tremendous surprise.

As we got older, the “root” part of the equation melted, and suddenly it was pizza and beer, plain and simple, one of the mother food and beverage combinations (is that a thing?  Like mother sauces?  It should be.  After all, beer is the third most popular beverage worldwide, and variations on pizza have been around since ancient Greece).

As I thought my way through this pizza plan this week, I wondered whether they had to be separate.  I mean, yeast makes bread dough and beer possible.  Beer is liquid, and there seemed no logical reason why it couldn’t be substituted for the water I’d ordinarily use to make a pizza crust.

Once this idea was lodged in my head, it wouldn’t go away.  This just seemed too perfect.  Beer and pizza, kneaded together – a truly complete meal.

Even though beer is essentially water with yeast and flavorings, I wasn’t sure what would happen when I mixed the two.  I heated a bottle of amber ale in the microwave with a couple teaspoons of honey, just until it was body temperature.  When I added the yeast and engaged the lightest of stirs, the whole measuring cup erupted with bubbles and I had a head at least three inches high.  This slowly collapsed, but I took it to mean the yeast was satisfied with its new spa treatment.

Food Blog March 2013-0772I used a combination of bread flour and whole wheat flour, and produced a spectacularly nutty tasting dough that was also the stickiest I’ve ever worked with.  It slithered and dripped off of my stand mixer’s dough hook and plopped thickly into the oiled bowl I coaxed it into, and I crossed my fingers and hoped that after its six hour chill in the fridge it turned into pizza crust.

Food Blog March 2013-0777When I liberated it and faced it again, it wasn’t the easiest dough to work with, but it did work.  It wouldn’t deign to be tossed like a pizzeria pie, but I stretched and spread and pushed it across a cookie sheet liberally spread with cornmeal, and it turned into a rustic, bubbly, delicious crust.  Topped with mozzarella, sausage, and sun-dried tomatoes, it baked into a glorious symphony of assertive flavors.  We sprinkled on a few leaves of fresh basil while it was still steaming hot, and declared it one of my best homemade pizzas. Food Blog March 2013-0780This is a sticky, wet dough, but it works.  I’m going to make it again and tweak the quantities of flour and olive oil, but trust me: this is worth fooling with for the flavor alone.  The beer comes through right at the end of each bite as a deep yeasty earthiness.  It lends the tiniest bit of bitter flavor that contrasts really well with the fatty sausage and tart sun-dried tomato.  And really, why shouldn’t it?  It’s beer, and this is pizza.  They were made to be together.

Food Blog March 2013-0797

Beer-crust pizza

12 oz. beer (I used an amber ale.  I think a darker brew would be even better)

2 tsp honey

2 tsp yeast

¼ cup olive oil

2 ½ cups bread flour

1 cup whole wheat flour

2 tsp salt

¼-½ tsp black pepper Food Blog March 2013-0774

Heat the beer and honey in the microwave (or a small saucepan) until the liquid is body temperature – you should feel only the slightest heat when you dip in a curious finger.  This took about 45 seconds in the microwave for me.  It will take longer if your beer has been refrigerated.

Swirl the mixture to distribute the honey, then sprinkle the yeast over the surface and set it aside for 5 minutes.  If you stir the yeast in, you will get a tremendous amount of foam on the surface, so in case of overflow I think it’s better to just let it sit.

While you wait for the yeast to perk up, combine the flours, salt, and pepper in a mixing bowl or the bowl of your stand mixer.

When the yeast and beer have married to create a thick foam, stir in the olive oil, then add the liquid mixture to the dry ingredients.  Using the paddle attachment (if you are using a stand mixer), combine at low speed just until ingredients come together into a rough, uneven dough.  Replace the paddle attachment with the dough hook and knead on medium-low speed for 5-7 minutes.

This dough will not pass the windowpane test.  It will not even stay together particularly well.  It will seem like an exercise in futility and disaster, and you will be sorely tempted to add more flour.  But if you resist, and plop it into an oiled bowl, and cover that bowl with plastic-wrap and leave it in the refrigerator for 6-8 hours, it will turn into something more like normal pizza dough.  I promise.

Food Blog March 2013-078390 minutes before you intend to bake, take the bowl of dough out of the fridge and set it on the counter to finish rising and come to room temperature.  After this time has passed, and the dough is considerably increased in size (it may not quite double, unless your counter is quite warm), stretch it to your desired shape – it easily makes a thick 9×13” rectangular crust, and might be coaxed into 2 medium sized, somewhat thin round crusts – on a cornmeal or flour speckled board or tray.  I just doused my cookie tray with cornmeal and pressed and pushed the dough directly on it until I was happy with the shape.

Food Blog March 2013-0789Food Blog March 2013-0786Food Blog March 2013-0792When adequately stretched, add toppings and bake in a preheated 450F oven for 12-15 minutes, or until puffed, crisp, and golden.  Wait 5 minutes before you cut it, to give the cheese time to congeal just a little.

Food Blog March 2013-0804We ate this in embarrassingly large squares and left enough in leftovers to serve as lunch the next day.  Cut slightly smaller and for slightly less voracious eaters (or if you add a side salad), this would be an adequate dinner for 4.

Go-to Dough III – Orange and Rosemary loaf

First, thank you.  Thank you to you lovely people and the lovely way you responded to last week’s post about my sweet rolls and my Nana.  Old friends, new friends, family, it warmed me to see your comments.  I so appreciate you making yourselves known and sharing your own experiences and memories – I’m motivated to delve into more old family recipes and more new experiments.  That probably sounds a little cheesy, but I mean it.


Food Blog March 2013-0755
So I suppose you could call this a thank you loaf.  It was delicious, it was easy (well, as easy as baking bread can be, I suppose), and I made it for you.
I wanted, as I’ve noted, a basic recipe, though I can’t resist adding a tweak or two to keep things interesting.  My first boule was overbrowned; my second utilized an overnight leavening procedure I didn’t think added all that much to the final product.  So the third had to be just right – the charm, you might say – and I really do think it was.  Goldilocks bread.


Food Blog March 2013-0761
I went back to Ruhlman’s directions for cooking the loaf in a pot.  This strategy for maintaining the shape and for holding in moisture by using a lid makes so much sense, and I wanted to give it another shot.
This time I decided to add some fat to the bread in the form of olive oil.  This made the crumb a bit moister and I think it kept the bread tasting fresh longer.  To make the yeast extra happy, I proofed it (them?  Is yeast grammatically plural?) with a few tablespoons of honey.  This didn’t contribute noticeable sweetness to the final product, but it did make for an extra foamy yeast party.  You could probably increase the honey if you wanted a sweeter end product.  Since I was still on a high from the orange marmalade triumph, I decided this bread would benefit from some orange zest and, just for fun, some fresh rosemary too.  I ended up with a really beautiful loaf: puffed, thin but crisp crust, moist dense crumb.  The orange and rosemary creep up on you – perfumed subtlety lingering in the background until you’re almost finished chewing.  Then they suddenly become present.  It’s not a punch, it’s a slow sloping into flavor.
This was perfect for sopping up sauce from baked beans (it would make stellar toast for beans on toast), complementing the sweetness and the fatty bacon flavor with its subtle herbaceousness.  I could see adding some dried cranberries to the dough for a wintry take on a breakfast slice.  It dances well with a slick of salted butter, plain and simple, but its shining moment this week was as an open faced sandwich spread thickly with cream cheese and fig preserves.  The orange and rosemary played beautiful back-up to the cream cheese and the fig, and I bolted it before I even considered taking a photo to share the triumph.  If you make this bread – and you should, oh you should – don’t miss this combination.


Food Blog March 2013-0738
Orange and Rosemary loaf
12 oz. warm water
2 TB honey
2 tsp yeast
2 TB olive oil
20 oz. bread flour (or 4 cups, give or take)
2 tsp salt (I’m currently obsessed with a gray French sea salt, which I found at Cost Plus World Market)
2 TB fresh rosemary leaves, minced
zest from 2 oranges


Food Blog March 2013-0740
Combine the warm water, honey, and yeast in a small bowl or a measuring cup, and stir lightly.  Set aside for 5 minutes or so to let the yeast revive from its hibernation.


Food Blog March 2013-0741
In a medium bowl (I use my stand mixer), combine the flour, salt, orange zest, and rosemary.
When the yeast is bubbly and smells of bread and beer and awesome, add the olive oil to the wet mixture and stir lightly.
Pour the wet yeast mixture carefully into the dry ingredients, then stir to combine until you have a wet, shaggy mixture (if you are using a stand mixer, try the paddle attachment.  I know it’s one extra thing to wash, but it brings the mixture together much more quickly than a dough hook).
Once the dough is shaggy but workable, knead for 8-10 minutes or until a small knob can be stretched gently between your fingers to a point of translucency.  This is called the windowpane test.  If you’re getting help from a stand mixer, use your dough hook and knead on medium speed, checking after 6-7 minutes.
Your dough should be warm, elastic, and smooth.  Turn it into an oiled bowl and flip it around until all sides are lightly oiled.  Let it rise in a warm, draft-free environment until doubled, 60-75 minutes (My preferred method is to turn my oven on for five minutes, turn it off, wait for five minutes, and then put the dough inside.  This creates an environment warm enough to help it rise, but not warm enough to start it cooking already).
After the dough has doubled in bulk, push it down gently with your fist to release the gasses trapped inside, then let it rest for 10 minutes to get its breath back.
On a floured board, shape your bread.  Since we are going for a round loaf, spin the dough in a circle, pushing it away from you with one hand, and using the other hand to tuck it under so you form a smooth, round ball.  (There are a lot of videos and complex step-by-step series for this procedure, involving pinching seams, smoothing and pulling, spreading and folding and turning the dough, and a host of others to prevent the loaf from spreading rather than maintaining its round shape.  Letting it rise and then baking it in a round pot takes care of many of these concerns.  I haven’t been particularly firm about pinching seams, and my loaves have turned out nicely rounded.)


Food Blog March 2013-0746
Transfer the loaf to a dutch oven or similar lidded pot and let it rise for another 90 minutes.  I lined my baking vessel with parchment paper this time so I wouldn’t have to use olive oil, which I suspect made my previous attempt too brown on the bottom.  This seemed to work fairly well.
When your dough has risen again, it will be puffed and pushing against the sides of the pot.  It’s now time to score it with a sharp knife, drizzle it with olive oil and sprinkle it with salt, then bake it with the lid on in a preheated 450F oven for 30 minutes.  Keeping the lid on traps some of the moisture inside, so you don’t have to bother with flicking or spraying the inside of the oven, or even with adding a pan of water.
After half an hour, remove the lid and continue baking for 15-30 additional minutes, or until the bread is done (it should register 180-200F on an instant-read thermometer and sound hollow when you tap the bottom).  Mine only took an additional 15 minutes before it tested done.


Food Blog March 2013-0751
Let the bread cool for 10-15 minutes, if you can stand it, before slicing.  This gives the center time to cool a bit and helps it stay together better.


Food Blog March 2013-0760
Or, you know, just tear off chunks and eat them blisteringly hot.  I won’t tell anyone.


Food Blog March 2013-0764

Go-To Dough 2

Because my little house sits smack between the concentrated skyscrapers of downtown Santa Monica and the constant ascent path from LAX, because I can hear the freeway from my backyard and see, from just down the block, the Hollywood sign in the distance, it sometimes slips my mind that I only live a few miles from the ocean.  Los Angeles is a funny place: loud, boisterous, urban, crowded, and yet along its edges it’s a beach town, where it’s just as loud and crowded, but people seem to move just a little slower.
Hard to remember, sometimes, but this past week we were treated to afternoons that reminded me I’m only a few minutes from the water.  Warmth gave way to brisk, fresh breezes heavy with the smell of salt.  Fog rolled over and it felt like a summer day on the Oregon coast.  These reminders of the Pacific Northwest made me want to call on ocean flavors: smoked salmon, crunchy salt crystals, and the grassy headiness of fresh dill.
Food Blog February 2013-0621There are so many different methods for making bread that it’s a wonder anyone becomes a master at it.  This week I decided to try a process slightly more complex than Ruhlman’s basic boule, working with a recipe for French Boule from the Feburary 2009 issue of Cuisine at Home.  The process for this round loaf starts the night before, with a sticky, soggy, tasteless combination of flour, yeast and water called a poolish.  C@H tells us this came from the French pronunciation of “Polish,” from whom they learned this technique (19).  The long, slow fermentation time allows for plenty of yeast development and supposedly contributes a nuttier flavor to the end product.  It is supposed to look like pancake batter, and when you pull it out the following morning and add more water, it is supposed to be very thin.  Mine was, when I put it in the fridge for its overnight chill session, more like the texture of silly putty.  When I added water the following morning, it refused to combine evenly, its sticky strands getting soggier and stickier at the same time.  I was skeptical about this, but followed procedure anyway, and once it had been kneaded aggressively into my dough it didn’t seem to matter.
With the starter crises resolved, I considered flavorings.  Thanks to the overcast coastal feeling of our afternoons and a recent episode of Top Chef, dill sprang to mind as the most logical choice.  It would pair perfectly with our dinner: gemelli pasta draped with smoked salmon and vodka cream sauce.  Black pepper sounded like a nice foil for the dill – pungent and dry where the dill was fresh and mild.  I sprinkled them onto the flattened dough, then rolled the whole thing up into a long tube and kneaded through before letting it rise.  You could certainly add other flavor combos – kalamata olives and cloves of roasted garlic sound incredible – and gently roll and then knead them through the dough.

Food Blog February 2013-0611

Food Blog February 2013-0608
The usual procedure followed: rise, shape, rise again, and prepare for baking.  Olive oil, mustard seeds, and a good sprinkle of coarse salt seemed like the right things to add.
This time, instead of using a Dutch oven, I opted for my cast iron pan.  I was nervous about the bread sticking, which is probably silly, but what can I say?  I’ve lost several chunks of flatbread to that pan because I get anxious and rush the cooking process, so I took out some insurance and settled my loaf onto a layer of parchment paper sandwiched between it and the surface of the pan.
My recipe called for a heavy misting of water over the bread and into the inside of my preheated oven.  I didn’t have a spray bottle on hand with which to mist, so I just flicked droplets in with the tips of my fingers.  The sizzle was tremendous, but seemed to work well.  The resulting loaf was not as big as my first boule attempt, but it was lighter and not overbrowned on the bottom.  The crust was thin but crisp, and we loved the flavor combination.  The mustard didn’t do much besides providing a fun crunchy-pop texture on the edges, but the dill and black pepper were the right contrast of fresh and sharp and incredibly aromatic.  We each took a slice to eat in the car on the way to a soccer game at my husband’s school – had to make sure it was suitable for dinner, after all.  We ate thick slices with our pasta, running them around our plates to pick up every drop of sauce.  We ate more the next day, spread with salted butter, and were surprised and saddened the following morning to find that the loaf was nearly gone.  Dreaming of this bread again, I could see it toasted lightly, smeared with artisan goat cheese and topped with a luscious slice of smoked salmon: the Oregon coast in one bite.
Food Blog February 2013-0615
Dill and Black Pepper Boule
(adapted from Cuisine at Home, February 2009)
For the poolish starter:
1¼ cups bread flour
¾ cup room-temperature water
¼ tsp yeast (I used active dry yeast)
Rehydrate the yeast by combining it in a small dish with 1 TB of the water you’ll be using for the starter.  Let it sit for a few minutes.
Combine the flour, water, and yeast mixture in a bowl or a large measuring cup.  Stir well; the mixture should come together into a texture somewhere between pancake batter and silly putty.
Cover your mixture with plastic wrap and let it sit at room temperature for 3-4 hours, then move to the refrigerator and leave it alone overnight.
The next day, take it out about an hour before you intend to start, so it can return to room temperature and the yeast can wake up a little.
For the bread:
2 cups all-purpose flour (I’m not sure what the advantage is of combining bread flour and AP flour here, but I followed the directions anyway…)
1½ tsp salt
½ tsp yeast
½ cup room temperature water
Poolish starter
2 TB chopped fresh dill
½ tsp (or to taste) fresh ground black pepper
1 TB mustard seeds
1 TB coarse salt
Olive oil for drizzling
Fit your stand mixer with the paddle attachment and use it to combine the flour and salt (you could likely add the dill and pepper here too).
Rehydrate the yeast with 1 TB of the ½ cup water.  Add the remaining water to the room temperature poolish starter and combine.  Mine did not become very thin, as my recipe said.  In fact, mine refused to combine particularly well (read: at all) with the poolish, but it seemed to work out just fine anyway.
Add rehydrated yeast and poolish mixture to the dry ingredients and stir with paddle attachment until the whole mess comes together a bit.  It will be quite sticky.
Scrape sticky mass of just-barely-dough onto a well-floured board and work it with a bench scraper, adding more flour in small sprinkles until some of the stickiness abates and it seems like it could be worked by hand.
At this point, let the dough rest for 10-15 minutes.  The recipe suggests turning a bowl over it (I presume to prohibit drafts), but I think draping on a clean, dry kitchen towel would work just as well.
After the dough has rested, it’s time to knead.  You can do this by hand for 10-15 minutes, or in a stand mixer with the dough hook for 8-10 minutes, until it passes the windowpane test.
Food Blog February 2013-0606
When the dough is smooth, elastic, and stretchy enough to pass the test, if you haven’t added your flavor extras already, flop it onto a floured board and push, pull, or roll out into a rectangle.  Sprinkle on the toppings, then roll up lengthwise and knead together until the dill and pepper are distributed; you’ll be able to see green and black flecks throughout.  I don’t think it matters much when you add something finely chopped like dill, but if you are using a more delicate addition like olives or even sundried tomatoes, be sure to add it this way so it doesn’t get bashed up during the kneading.

Food Blog February 2013-0612

Set the dough in an oiled bowl and let it rise for an hour in a warm, draft-free place (like a briefly heated, then switched off oven).  It should double in size.
Once the dough has risen, remove it from the bowl and shape it into a boule by spinning it away from you with one hand and tucking the dough under with the other.  Let it rise for another hour.
While the dough rises, preheat your oven to 475F and put a cast iron skillet inside (mine is a 9” skillet).  If you are worried about the loaf sticking or getting too brown, prep a piece of parchment paper by cutting or tearing it to cover the bottom and sides of the skillet (don’t be too fussy about this – mine was a square that protruded above the sides of the pan and it was just fine).

Food Blog February 2013-0614

Turn the dough out onto the parchment paper, then pull the skillet out from the oven and set the loaf – on parchment paper if you are using it – into the center.  Slash the top, drizzle with olive oil, and sprinkle liberally with mustard seeds and salt.  Using the tips of your fingers or a spray bottle, mist or dribble the top of the loaf with water.
Place the laden skillet back into the oven, spritz the inside of the oven with ten flicks or so of water, and shut the door.  Wait 30 seconds and repeat the spritzing process.
Reduce heat to 450F and bake for ten minutes.
Reduce heat to 425F and bake for ten more minutes.
Finally, reduce the heat to 375F and bake another twenty minutes.  Remove from oven and cool on a rack for 45 minutes before slicing and devouring.

Food Blog February 2013-0619

Go-To Dough 1

Grading weeks are always busy.  This week my students turned in a paper examining local Farmers’ Markets, questioning this business model’s relationship to sustainability, and assessing whether, in practice, it seems to meet its own perceived goals.  They talked to vendors, they talked to shoppers, they peered at and smelled and tasted local fruit, and they shared their experiences during class.  And now I have to grade their work.  It seemed like a good idea, as I contemplated sitting down with a pen in hand and my editor glasses on, to have the smell of fresh bread in the background.

Food Blog January 2013-0548

Bread is, if you’ll excuse my torturing a metaphor for a moment here, a bit like how writing a paper should be.  You poke around a bit at your idea to see if it is viable – this is the yeast proofing stage.  You mix together your ingredients: idea, observations, quotes and facts from outside sources, and then you work and work and work your thoughts.  You knead them together until they are smooth but still elastic: one of the great and the frustrating things about writing is that you’ve got to be willing to see room for change in your product, always.  Your ideas need to stretch and flex as you read and understand more, or your work will never be as deep or sophisticated as you want it to.

And then, like dough, you have to let it rest.  You have to be patient, and plan ahead enough that your little work in progress has time to sit and develop.  When you return to it, hours or days later, if you’re lucky your perception of it will have shifted.  This gives you fresh perspective and lets you see what new avenues could be pursued, or what new angles need examining.  And so you work with it again, reshaping and adjusting, pulling and folding.  And then you let it rest again.

When it’s finally ready to submit, kneaded, shaped, risen, baked, you’ve spent time on this project.  It is yours.  Your voice rings out, your thoughts are fully developed, and the flavor is something original and pure.

Things don’t always happen that way, especially in college.  There’s not enough time or the ideas don’t flow or the method isn’t perfect.  But they don’t always happen for bread either.  You have to have patience and time, and you have to know how to work with your materials.

I wanted to a go-to recipe – a standard to work with.  I can play with additions and flavors and quantities all I want, but to become a good bread baker I think I need to solidify my technique.  So I’m auditioning basic recipes.  This week I decided to go with Ruhlman’s ratio for a boule, one of the most basic-sounding in his book.  But because I can’t leave well enough alone, I added some honey for the yeast to gobble, and some crushed dried rosemary for a little wake-up in flavor.  I also, at his suggestion, baked my loaf in a dutch oven (well, my non-stick 5 qt. version of a dutch oven – I suspect the original or enameled cast iron incarnation would be far superior), which made good sense.  It’s exactly the right shape, and having walls to hold in the diameter probably makes the resulting loaf climb a little higher.

Food Blog January 2013-0546

But somewhere in the mix things went awry.  My loaf, though it was beautifully golden and crusty on top, got a little dark on the bottom.  I suspect the non-stick cookware along with the layer of olive oil I doused on anyway had something to do with this.

Food Blog January 2013-0554

Once the unfortunate burnished bottom was removed, this loaf was delicious.  It was crusty and chewy, though a little bit dense, and a very welcome accompaniment to pasta.  It sops up alfredo sauce like a champ.  It also worked well as leftovers, toasting up beautifully and offering no resistance to my demands that it be slathered in butter, drizzled with honey and then sprinkled with lemon zest.

It wasn’t perfect, but if I can figure out the singed bottom problem, this loaf would certainly be in the running for a go-to dough recipe.

Basic Boule, adapted slightly from Michael Ruhlman’s Ratio

12 oz. warm water

1 tsp active dry yeast

2 tsp honey

(I might add a few tablespoons of olive oil for additional flavor and fat, but I haven’t tried this yet)

4 cups flour (or 20 oz., if you’re doing this properly)

2 tsp salt

2 tsp dried crushed rosemary

Combine the water, yeast, and honey in a small bowl or measuring cup and set aside for 5 minutes or so.  This is the proofing stage.  The yeast comes out of hibernation and starts to foam and smell beer-y.  Supposedly it likes the extra hit of sugar to chomp on, and I thought the honey might be a welcome background flavor.  It’s not necessary, but it’s nice.

While the yeast is waking up, combine the flour, salt, and rosemary in a medium bowl.  I used my stand mixer with the paddle attachment.

With the paddle attachment still in place, pour in your yeasted water mixture and run the mixer on low speed just until things start to come together.

Replace the paddle attachment with the dough hook and let the mixer do its thing for 10 minutes, or until the dough is smooth, elastic, and passes the windowpane test.  I kept mine on a medium-low speed, because my dough kept poking up above the edge of the bowl, and I was afraid of it escaping and rampaging the counter, blob-style, if I increased the speed.  If you are kneading by hand, this will take at least 10 minutes.

Food Blog January 2013-0530

Once the dough has undergone this change in character, becoming a smooth ball with the barest remnant of stickiness, move it to a lightly oiled bowl and stow it in a warm, draft-free place for an hour.  I like to set my oven at 200F for five minutes, then turn it off and wait five minutes before putting the dough inside with a clean kitchen towel draped over the bowl.

Food Blog January 2013-0533

After an hour, check the dough – it should have doubled or be close to doubling in size.  When it has doubled, remove it from its bowl and punch it down gently on a floured board.  I’m coming to realize that “punching down” is more like “softly press your fist into the dough, which will deflate like a feather pillow as the gas releases from inside it.”  It’s like the punch you give a friend you’re pretending to pummel, where the action begins quickly but ends with a relaxed push against his shoulder.

Food Blog January 2013-0534

Let the dough rest for a few minutes, as if to get its strength back.

Shape the dough into a round.  Ruhlman explains this procedure as “pushing the dough back and forth on the counter in a circular motion until you have a round, smooth ball” (10).  I tried this, unsure of exactly what I was doing, but really my dough was in almost the right shape already so I decided to leave well enough alone.

Oil the bottom of a dutch oven and pop the ball of dough inside.  Cover it with a towel and let it rise for another hour.  Depending on the size of your dutch oven (mine is a 5 qt.), your dough will expand to cover the bottom of the pot and maybe even begin to push its way up the sides.

Food Blog January 2013-0536

When it has risen again, carefully score the domed top of the bread with a very sharp knife, drizzle with olive oil and sprinkle with coarse or flaky salt.  I used Maldon.

Food Blog January 2013-0542

Place in a preheated 450F oven with the lid on for 30 minutes.  This holds in some water vapor and creates a crisper crust.  Remove the lid and continue baking for about 20 minutes, or until the internal temperature reaches 200F.  The loaf will slip easily out of the pot and the bottom will sound hollow when you tap an inquisitive knuckle against it.

Food Blog January 2013-0545

Let cool at least until it is comfortable to handle, then slice and serve as desired.

Food Blog January 2013-0559

This is best on the day it is made, but it makes very good toast a day or two later.