In celebration of the lateness of this post, I’ll just say… it’s 5 o’clock somewhere… 😉


In celebration of the lateness of this post, I’ll just say… it’s 5 o’clock somewhere… 😉
Things are getting busy around here. I’m coursing toward midterms, which means piles upon piles of grading, as the students need to know where they stand at the halfway mark. Spring break approaches, and papers must be returned, research topics and methods must be interrogated, and evaluation work must be completed. There’s little time for a mellow afternoon at home, punctuated by soft cheese oozed onto crackers at an impromptu happy hour, rather than the locomotive “just-one-more, just-one-more” echoing in my head as I face thirty-five opinions about whether Beowulf’s choice to take on a dragon single-handed was admirable or foolhardy.*
 So I’m thinking back to my winter break, when I cracked the spines of two new cookbooks (does that make you cringe? It makes N. just ache inside, but dammit, I want them to lie flat!) to devour their offerings. One, Yotam Ottolenghi’s Jerusalem, has convinced me our refrigerator should never be devoid of homemade hummus again. The other, Suvir Saran and Stephanie Lyness’s Indian Home Cooking, is a beautiful and fairly accessible interpretation of some classic and some entirely original Indian and Indian-inspired dishes that leave me alternately drooling and scribbling feverish grocery lists to take to my nearest Indian market.
 In the vegetable section, Saran and Lyness take on green beans in several ways, almost always doctoring them with chilies and deeply toasted spices. In one, the addition of coconut stopped me in my proverbial tracks. In fact, I’ve now made this recipe three times, as though it’s not possible to turn the page anymore because this one was just too good.
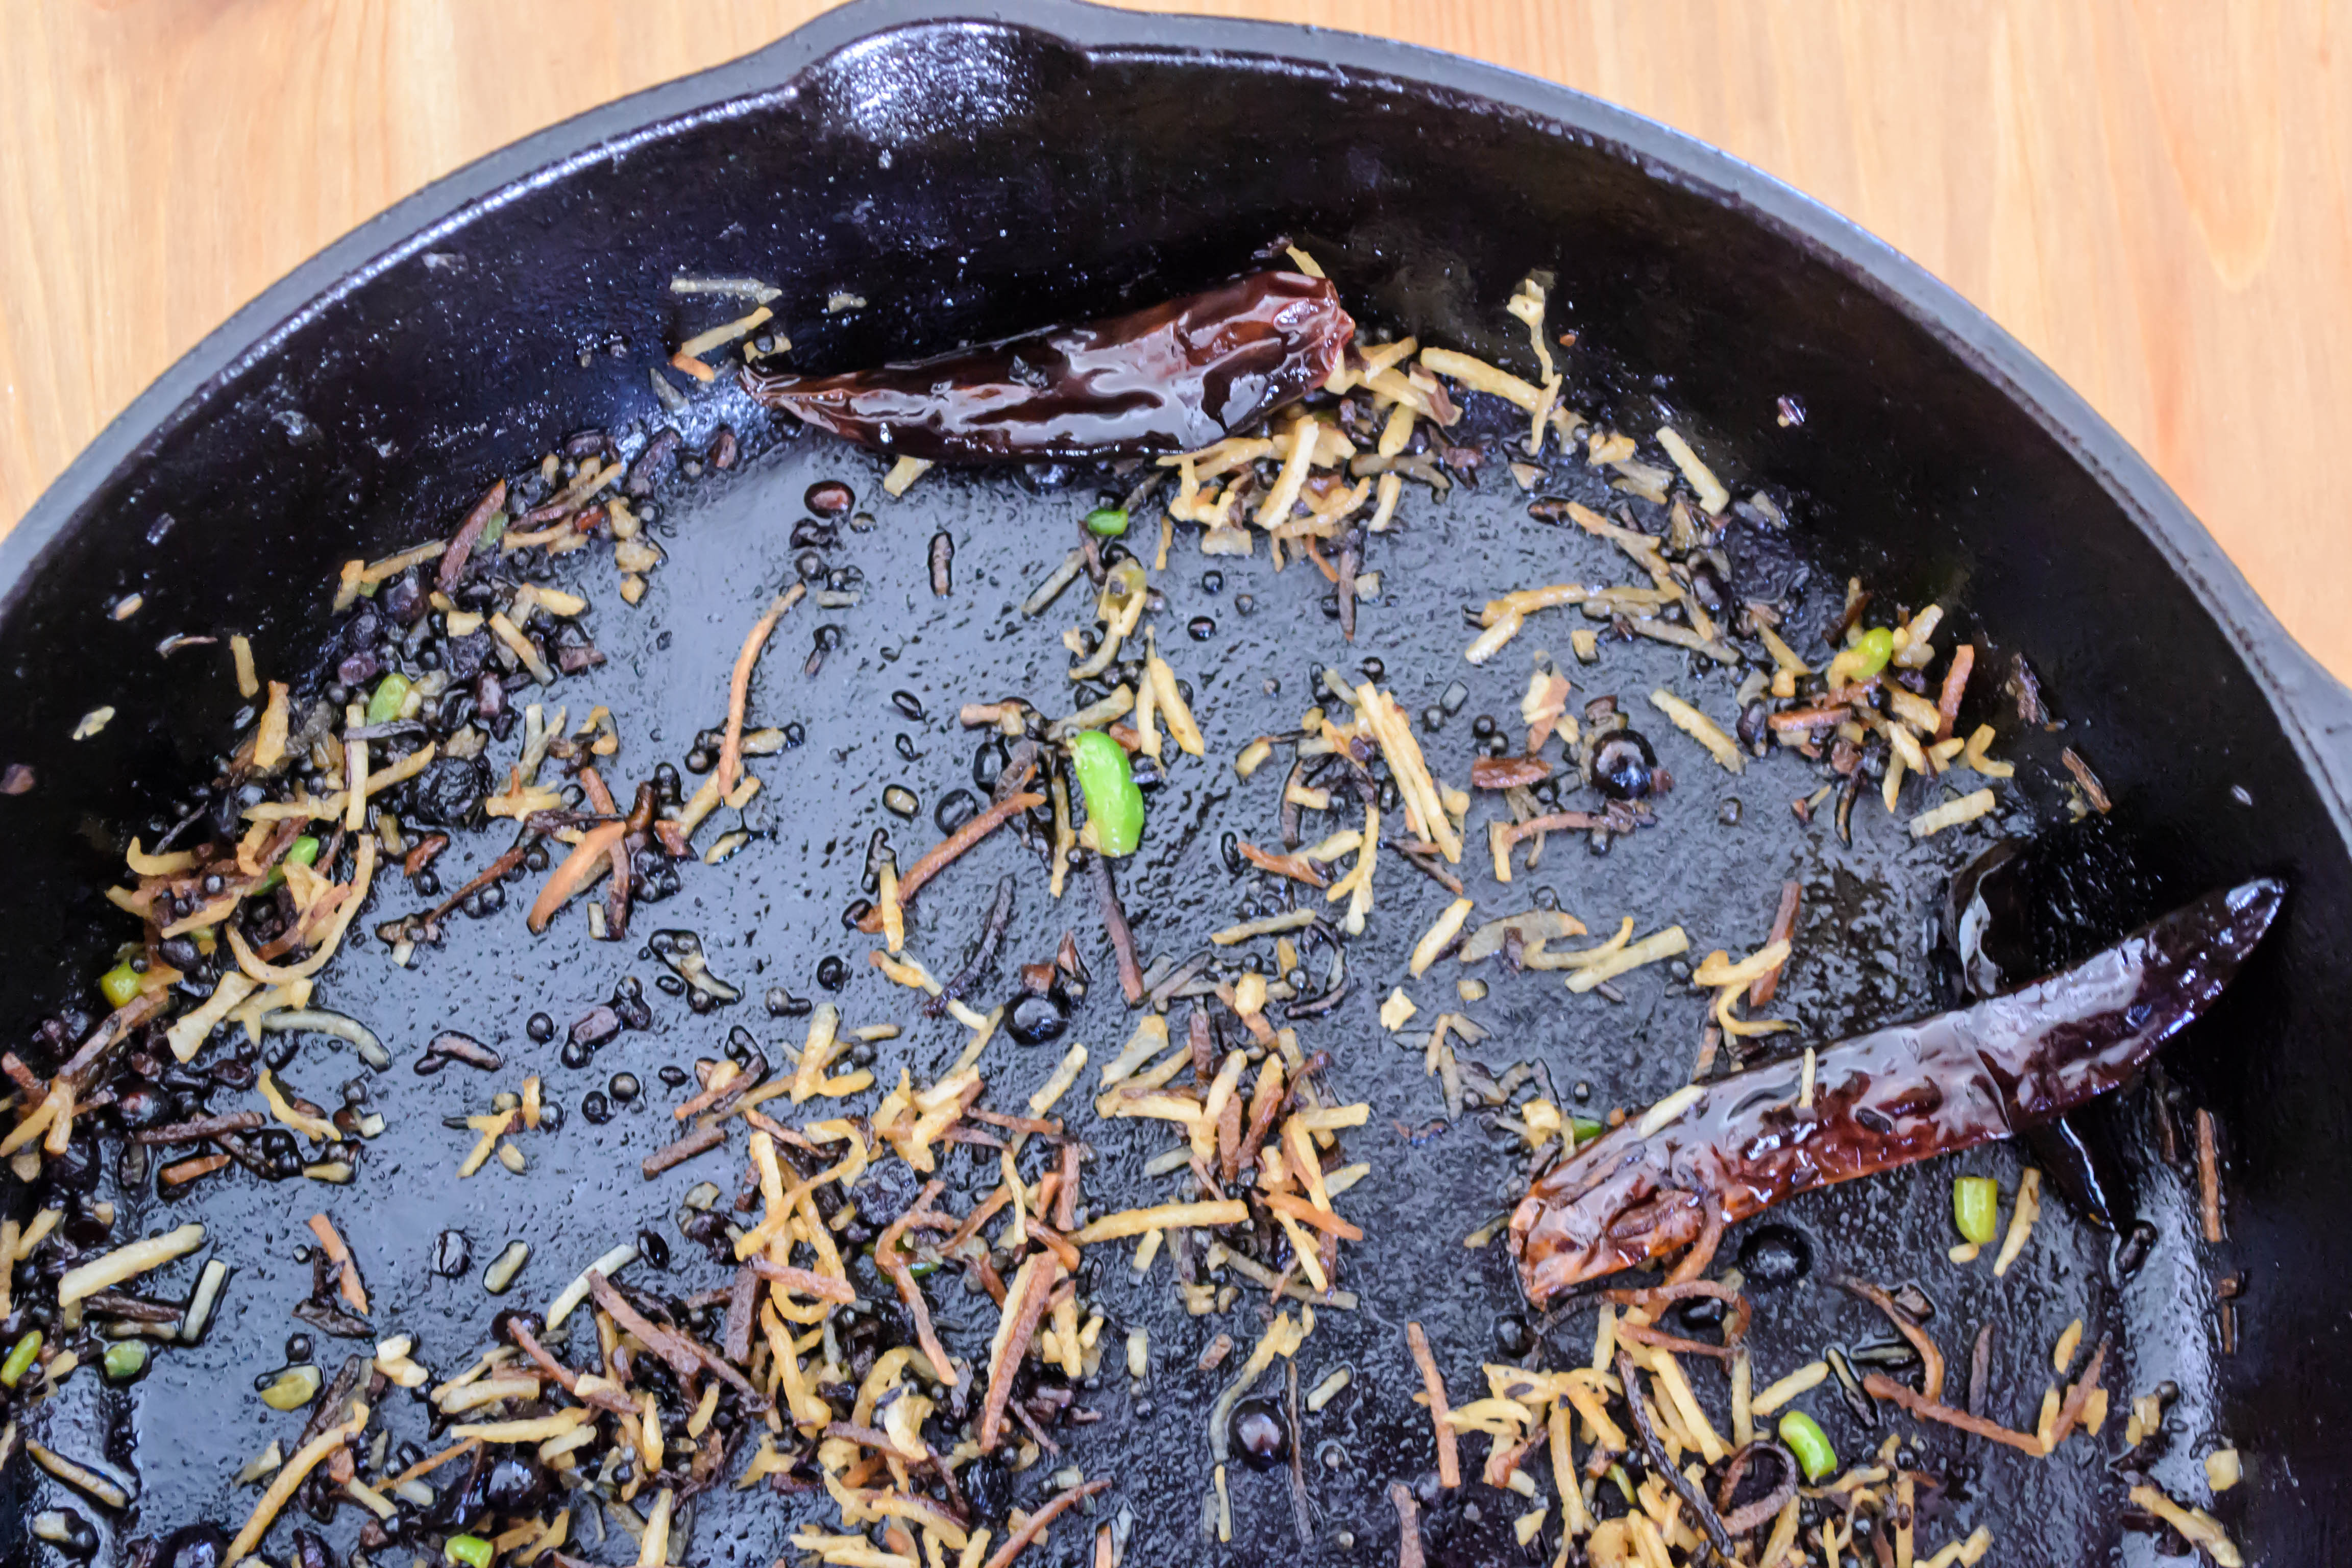
 Despite this overwhelmingly positive review, I had my qualms when I first approached the recipe. This dish is called a poriyal in the Tamil language, and as I understand it, this means a stir fry or sauté of vegetables. This one happens to have coconut, split peas, urad dal (black gram beans) and numerous warm, earthy spices along with some dried chilies competing together in a beguilingly spicy umami flavor bath. But the original directions in the recipe call for sautéing the beans for five minutes, then simmering them for ten, and then evaporating the water and stir-frying again for another five – twenty minutes of cook time for green beans! I was horrified by the potential for overcooked, mushy limpness.
 But I tried, I really did, to follow the directions, at least as much as I could stand it. I shortened up the cooking time for the green beans a tiny bit, but otherwise left the procedure essentially the same. To my surprise, I ended up with meltingly tender, sublimely flavored beans, with none of the unappealing mushiness I’d feared. They give up any sort of dental resistance, yes, but this is ultimately not a bad thing. The toasty split peas and chewy, deeply bronzed coconut provide sufficient texture, and the beans just give a kind of unctuous, vegetal goodness.
 Still, though, there’s something about green beans sautéed until just crisp-tender, and so I revisited the recipe, this time adding the beans later, simmering them a shorter time, and ending up with a just-toasted, still fresh pile of vegetables I couldn’t help but demolish. Though the ingredient list is the same, I’m giving you both sets of procedures, so you can choose how you like your beans. However you want them, though, meltingly tender or still a bit crisp, this combination is worth stopping over.

* Not really. My students have written on a number of intriguing topics, this only one among them. But sometimes, when I look at my “to be graded” tray, it feels that way.
For meltingly tender green beans:
For crisp-tender green beans:
Last week, I met Shauna and Danny from Gluten-Free Girl and the Chef at a potluck party they hosted in the Silverlake neighborhood of Los Angeles. This was the California segment of their American Road Trip, a voyage that has encompassed numerous regions of the country, which they are using as fodder for their newest cookbook project. They’ll be presenting gluten-free options inspired by home cooking from across the country.
I’ve been a fan of Shauna and Danny’s for some time now, participating in a few of their cookbook projects, and it was a delight to meet them and get to hang out. I brought along my warm lentil and kale salad as an offering, one of my most recent favorite gluten-free dishes.
What follows are some of the images I caught during this gathering.

AMAZING pumpkin chiffon pie. Chewy, crispy, perfect chocolate chip cookies in the background, all gluten-free

Addictive little puffs
I’m pretty sure these little puffs, offerings from Erin at The Sensitive Epicure, are Brazilian pao de queijo, which she talks about here. No one could stop eating them.

Nice shirt, Danny.

Locals, hoping to score some gluten-free snacks
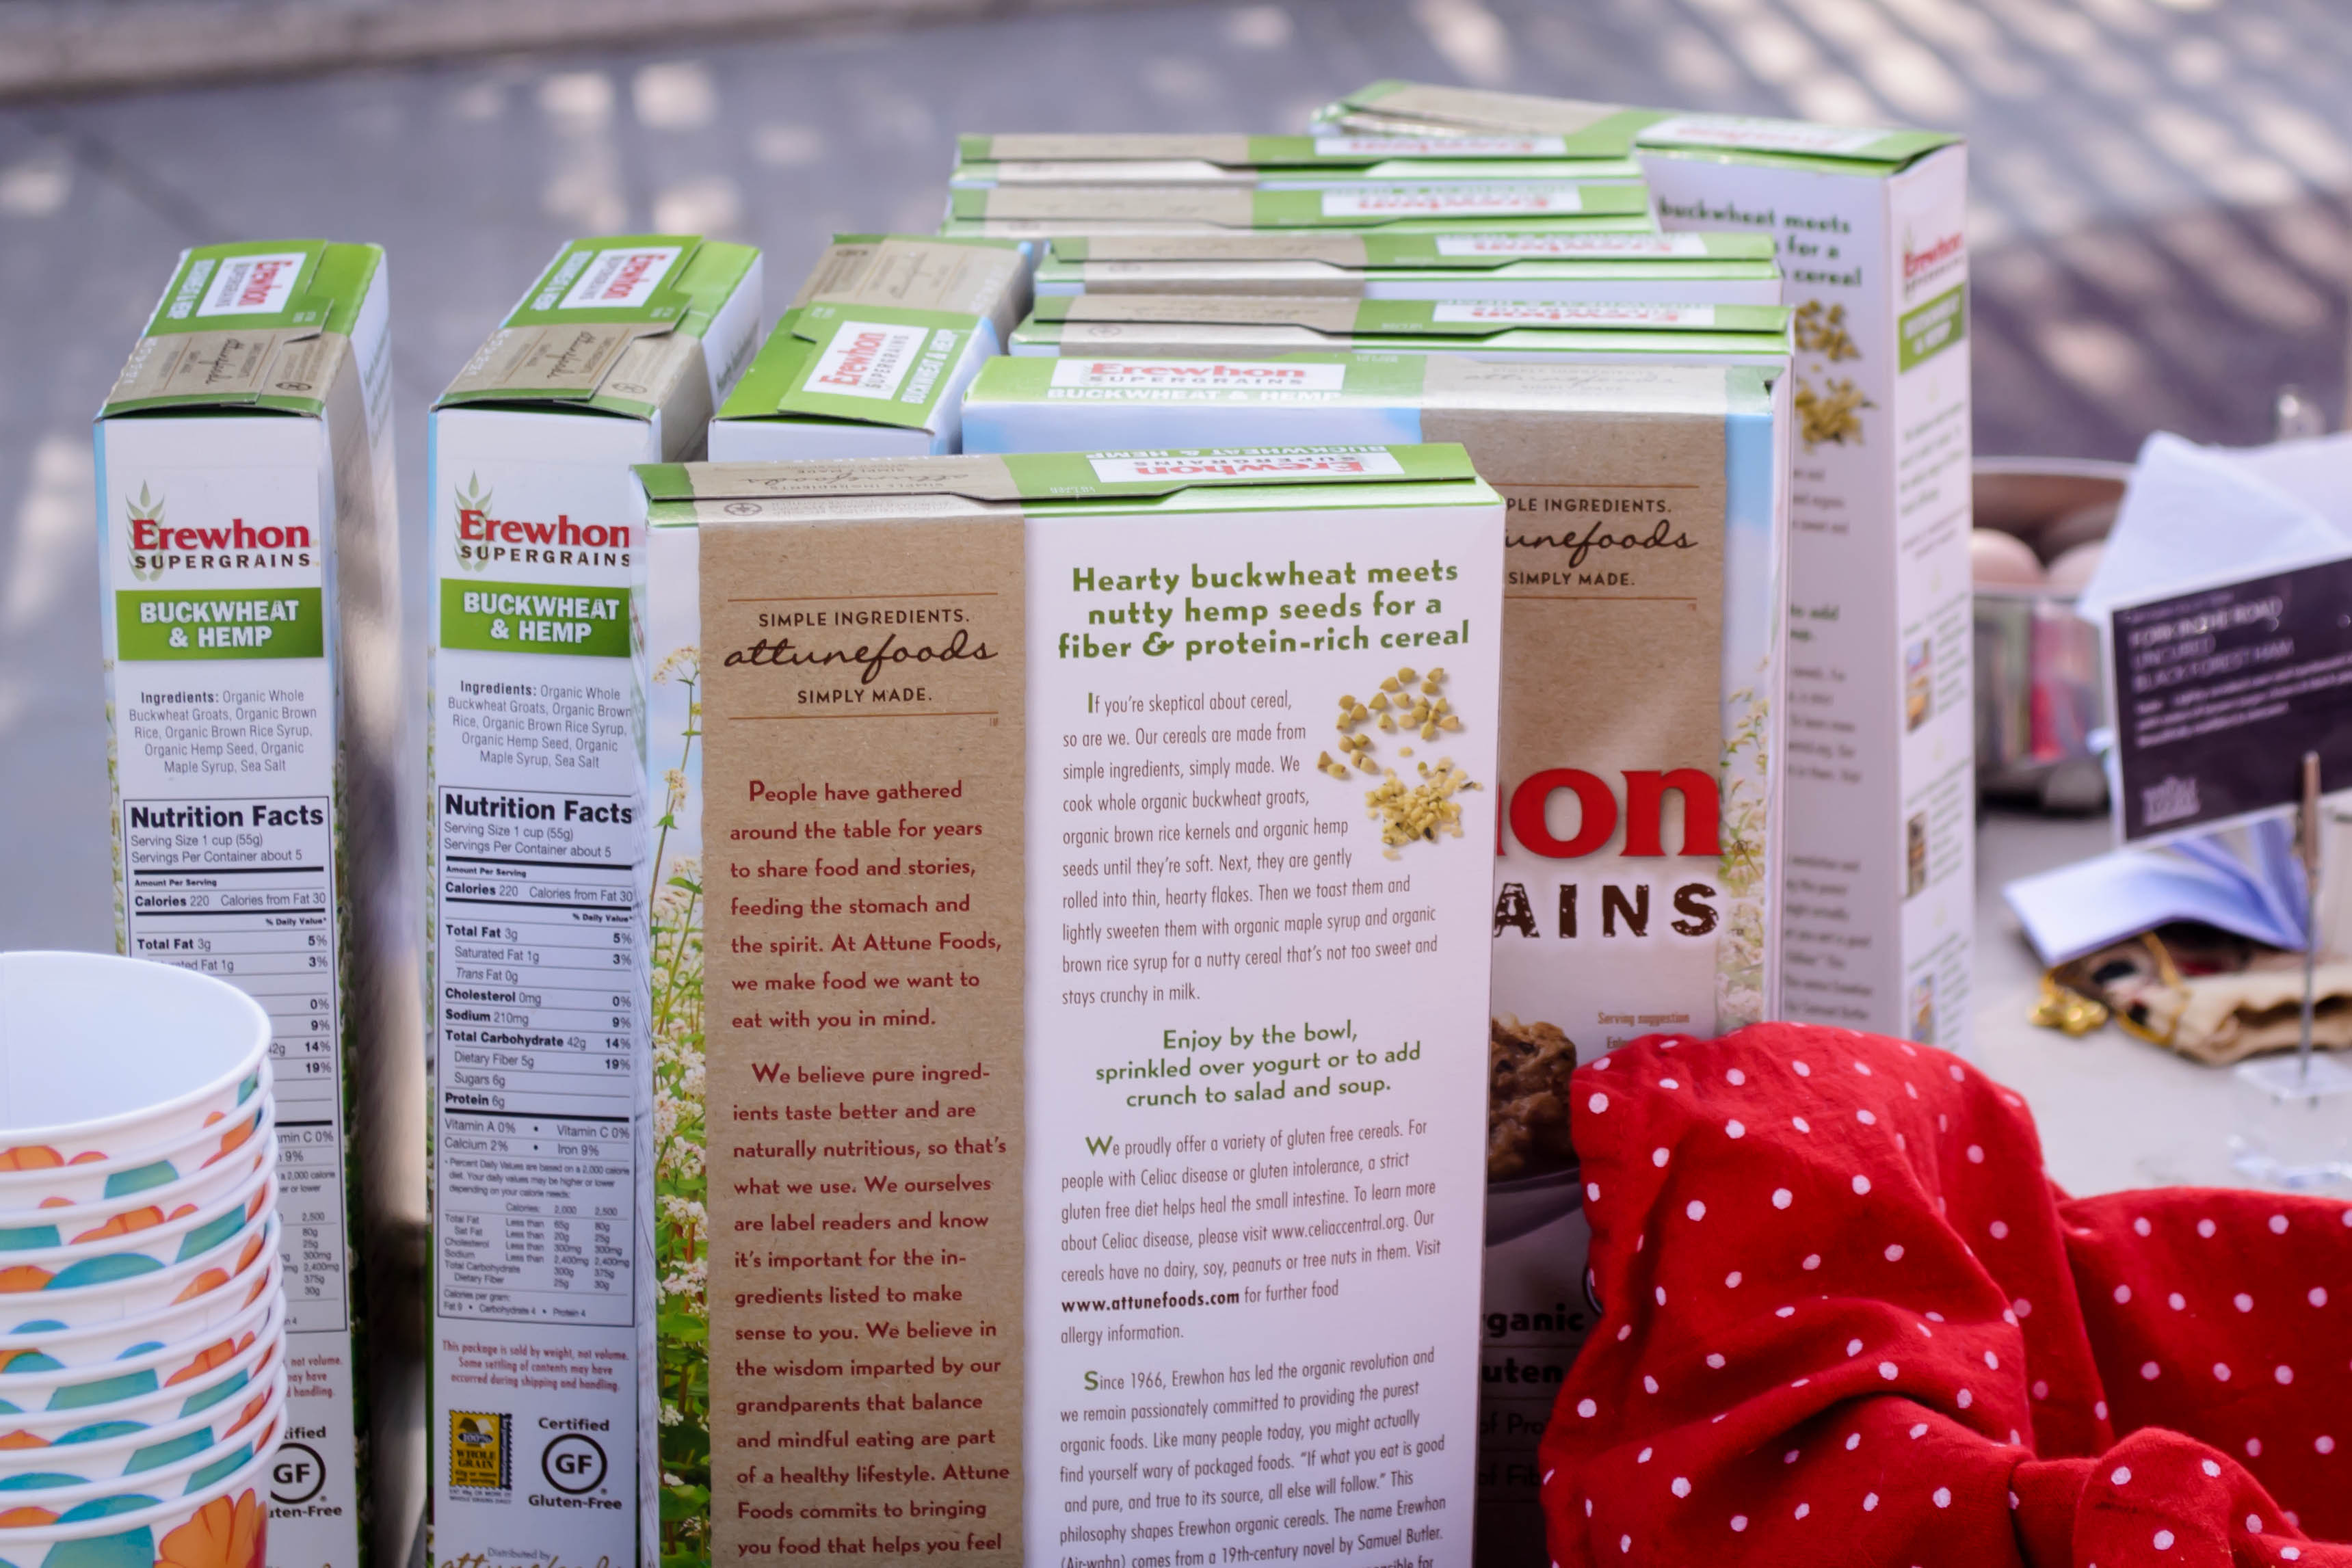
We even got party favors! Marvelous buckwheat and hemp cereal.

Sweet little father daughter moment

Me with Shauna, wheeee!
 I think a lot about what I put on this blog – the content, the recipes, the types of food – and this often leads me down a rabbit-hole of consideration about what kind of blog this is. Perhaps because I’m an academic, or maybe just because I watch an awful lot of food TV, this frequently kindles an urge in me to categorize what I do here, to define myself and my food. This is not a baking blog, though I produce a lot of baked goods. It’s not a dessert blog or a gluten-free blog or a vegan blog or a comfort foods blog, and it’s certainly not an “easy and fast” blog… what is it? To figure out if I’m doing what I’m doing well, I feel I have to know what it is that I do.
 And yet at the same time, that same academic part of me that studied too much post-structuralism in graduate school screams “No! Don’t limit yourself! Don’t draw yourself into a box! Categories are restricting. Categories are unnecessary. Categories are a lie.”
 True enough. Too often, categories are a lie. They lead me into grandiose, Walt Whitman-esque resistance. And yet, because blogging is, by being essentially writing, an experiment of selfness, in order to better understand myself, I have to better understand what I do here.
 And maybe that’s it. Rather than stating what this is, blocking myself into a stationary category that may someday become too small for my own swelling and developing, maybe it’s better to talk about what I do, and what this blog does.
 Here’s my latest approximation: I re-imagine classics. Not the most original or most creative, I assure you, and not always strictly true, but I think it’s a pretty good explanation for most of the recipes that end up here. Discontent with as is, I poke around and try anew. Ignoring, in some respects, the idea that a classic is a classic for a reason, I demand that it learn flexibility and try on new styles, metamorphosing, growing, moving. Do, don’t just be.
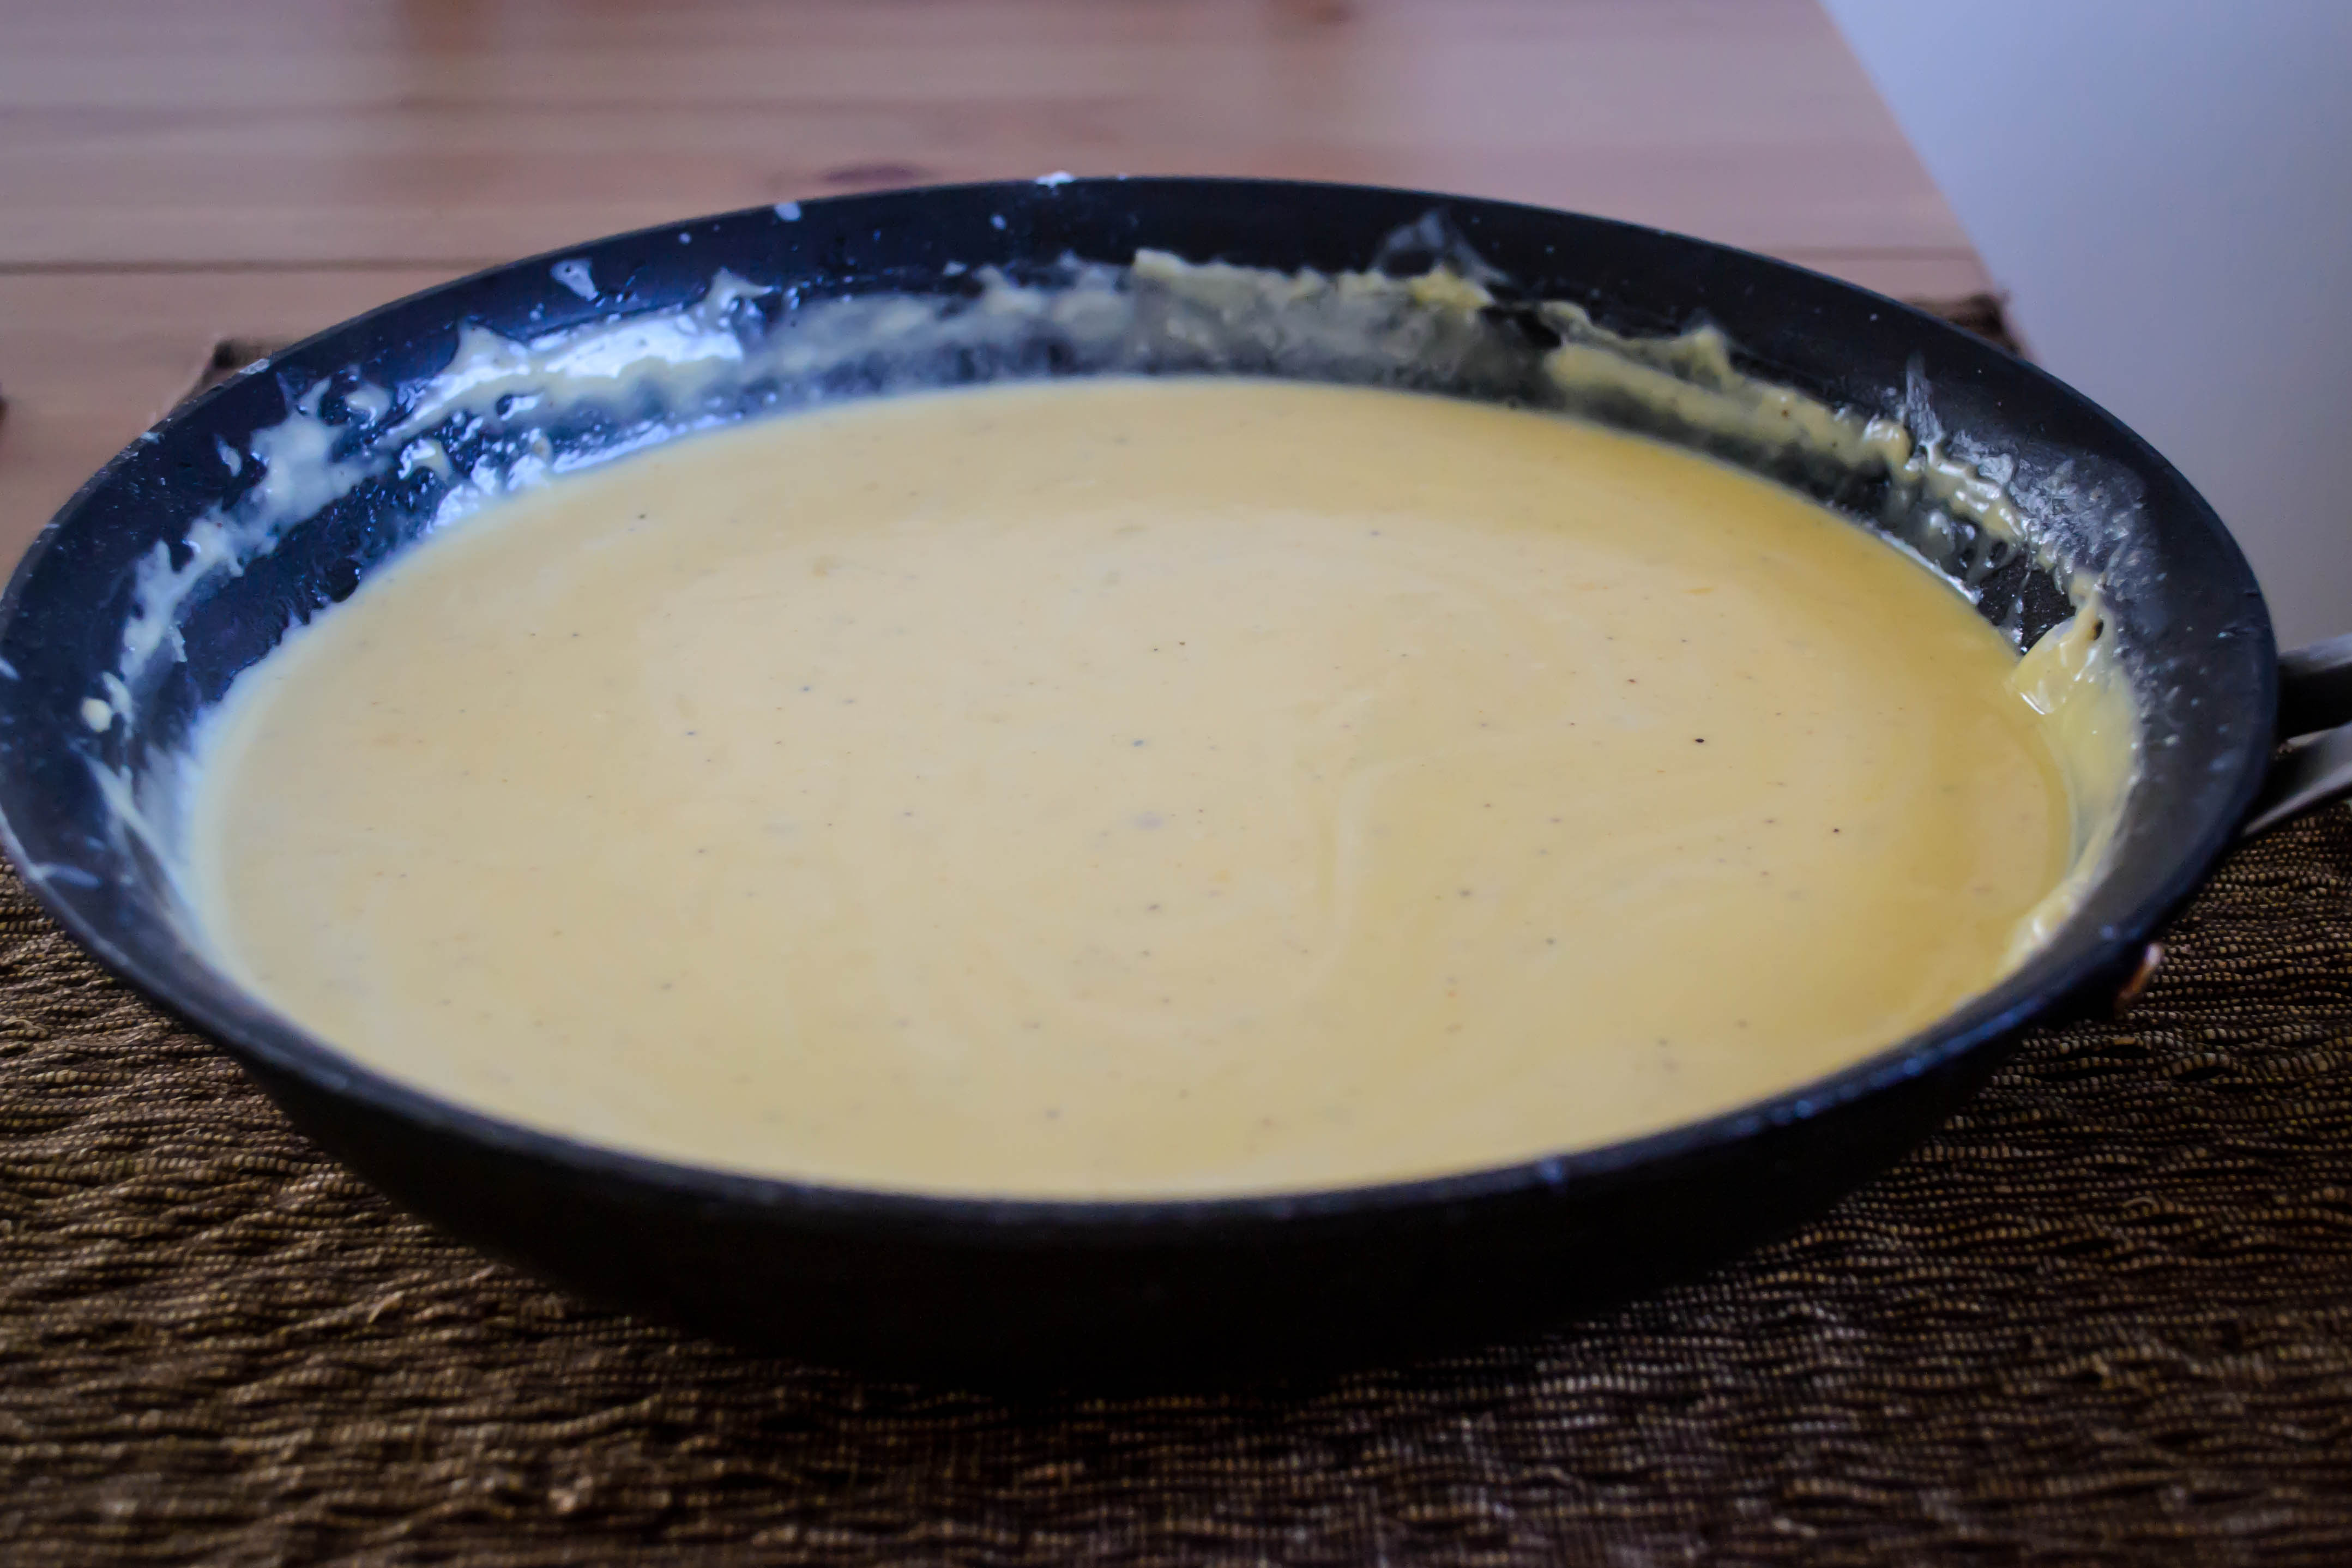
(Obligatory, shamelessly decadent sauce-pouring pictures)
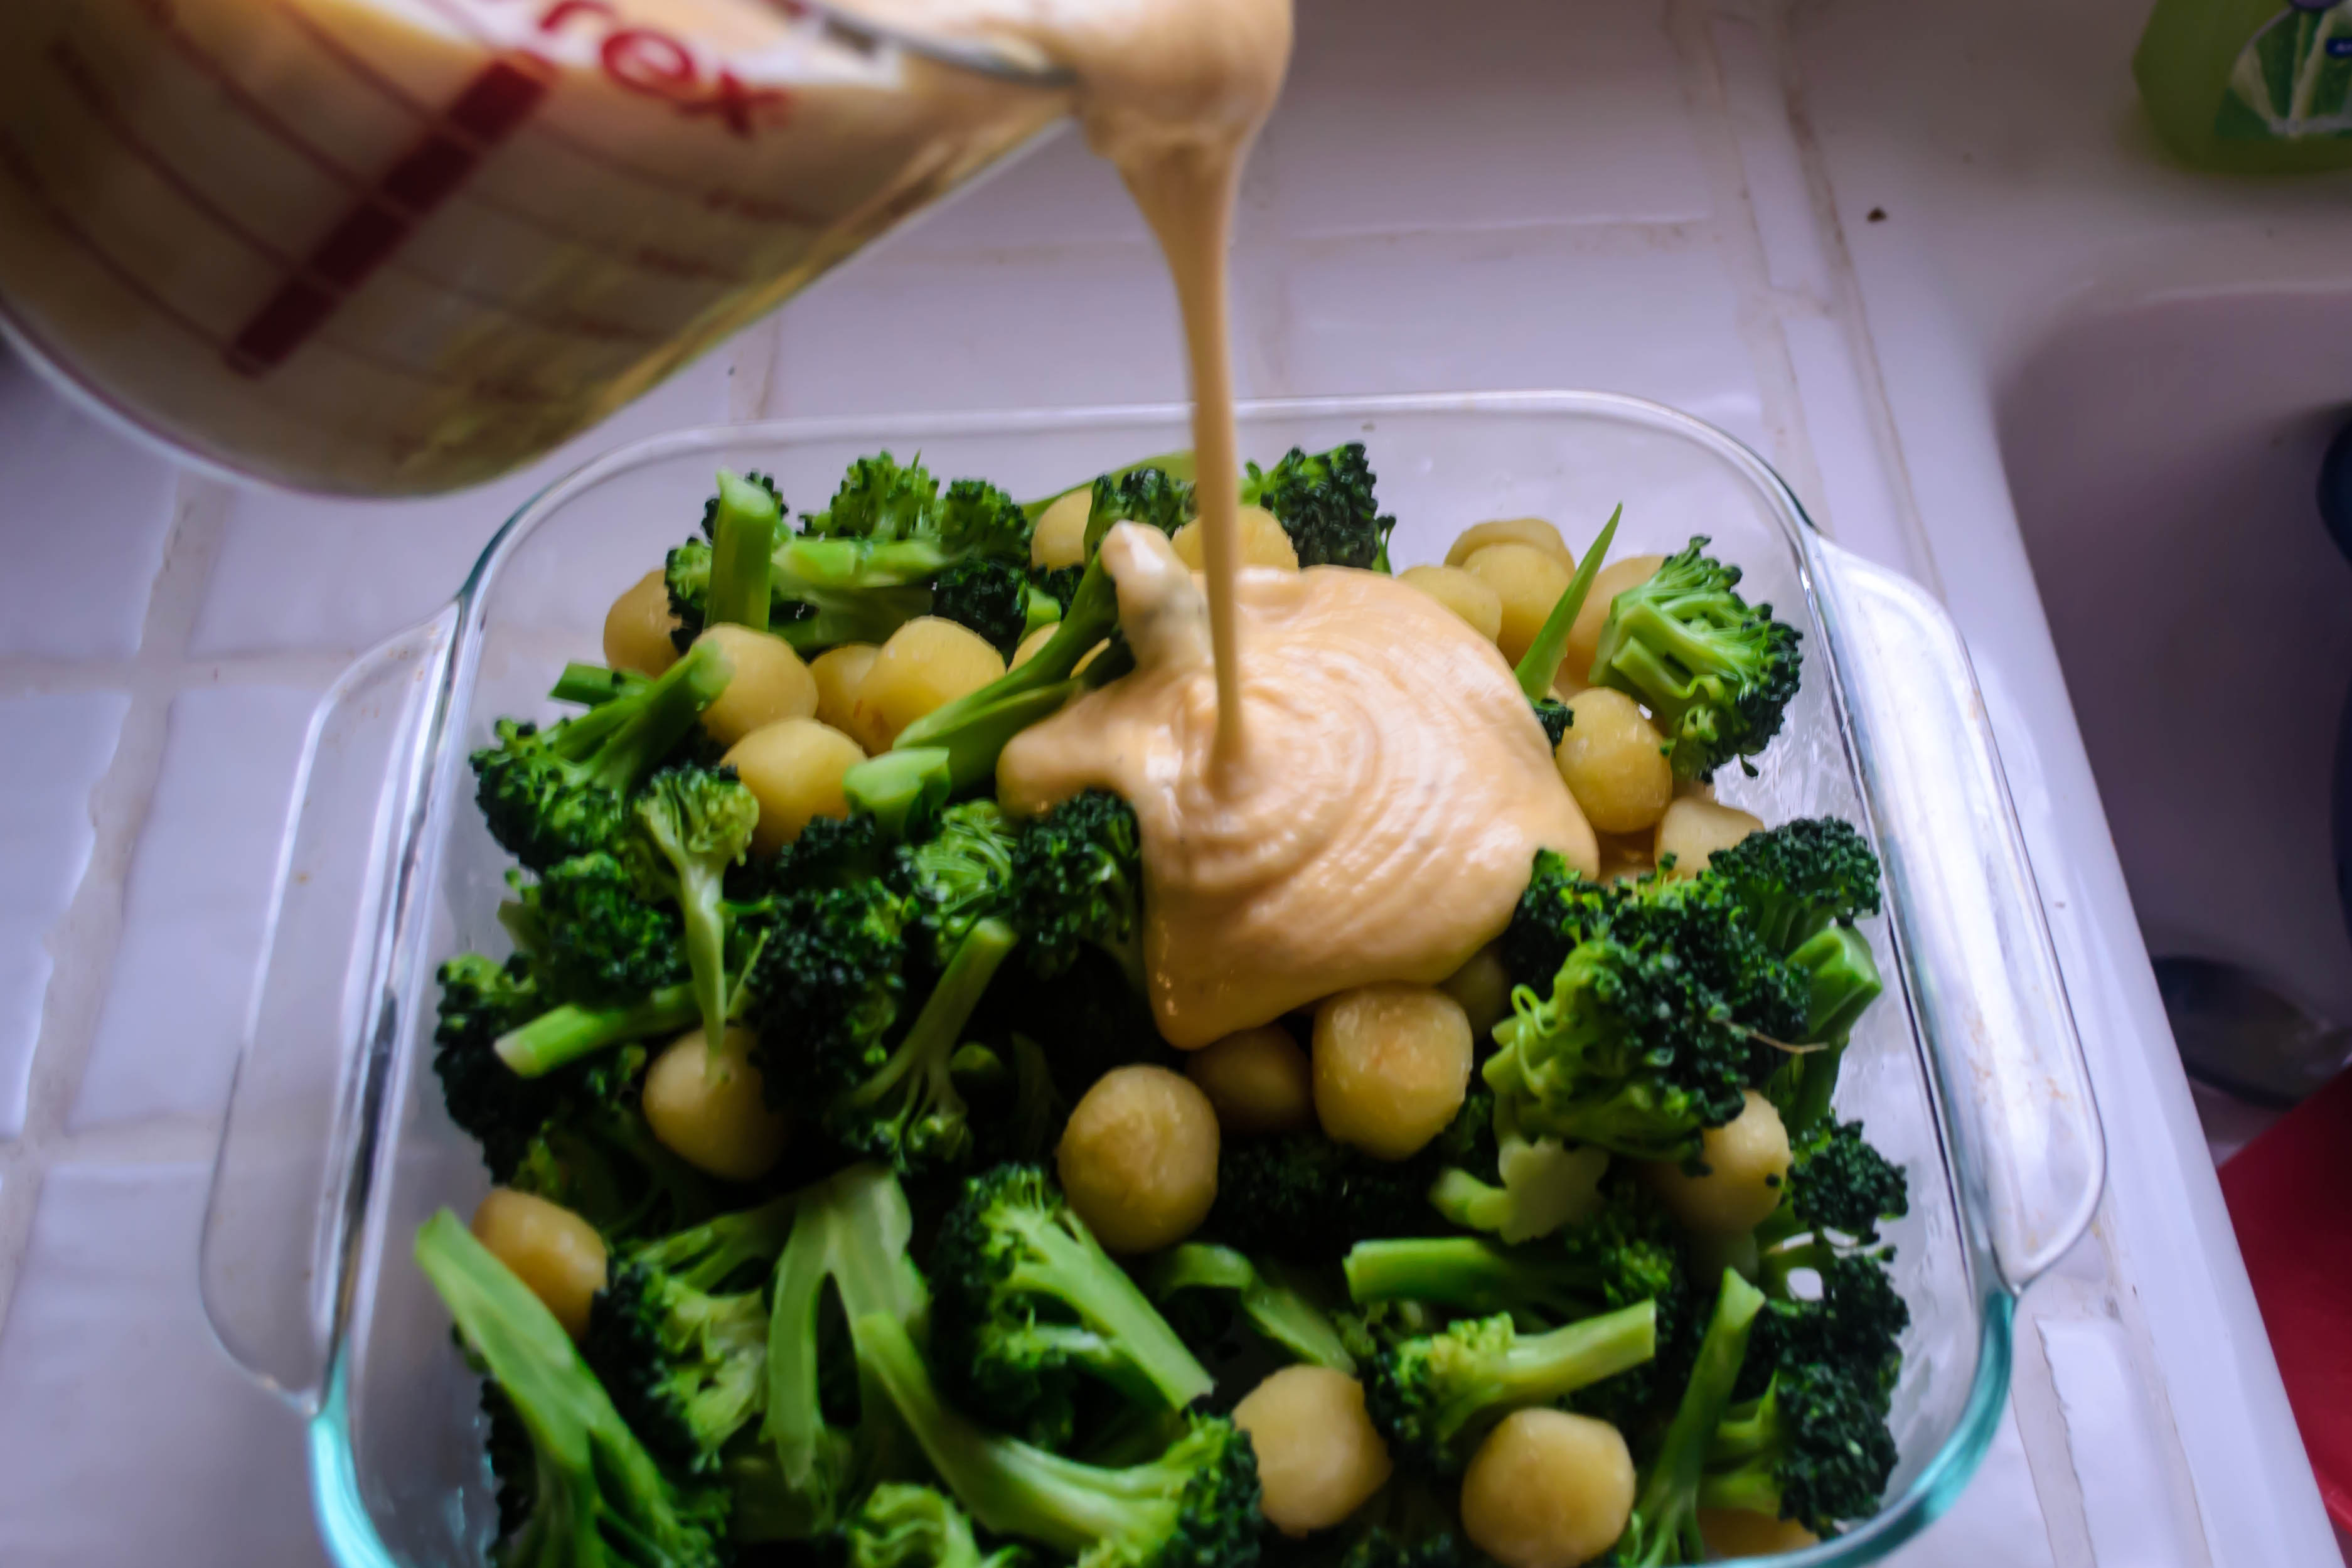
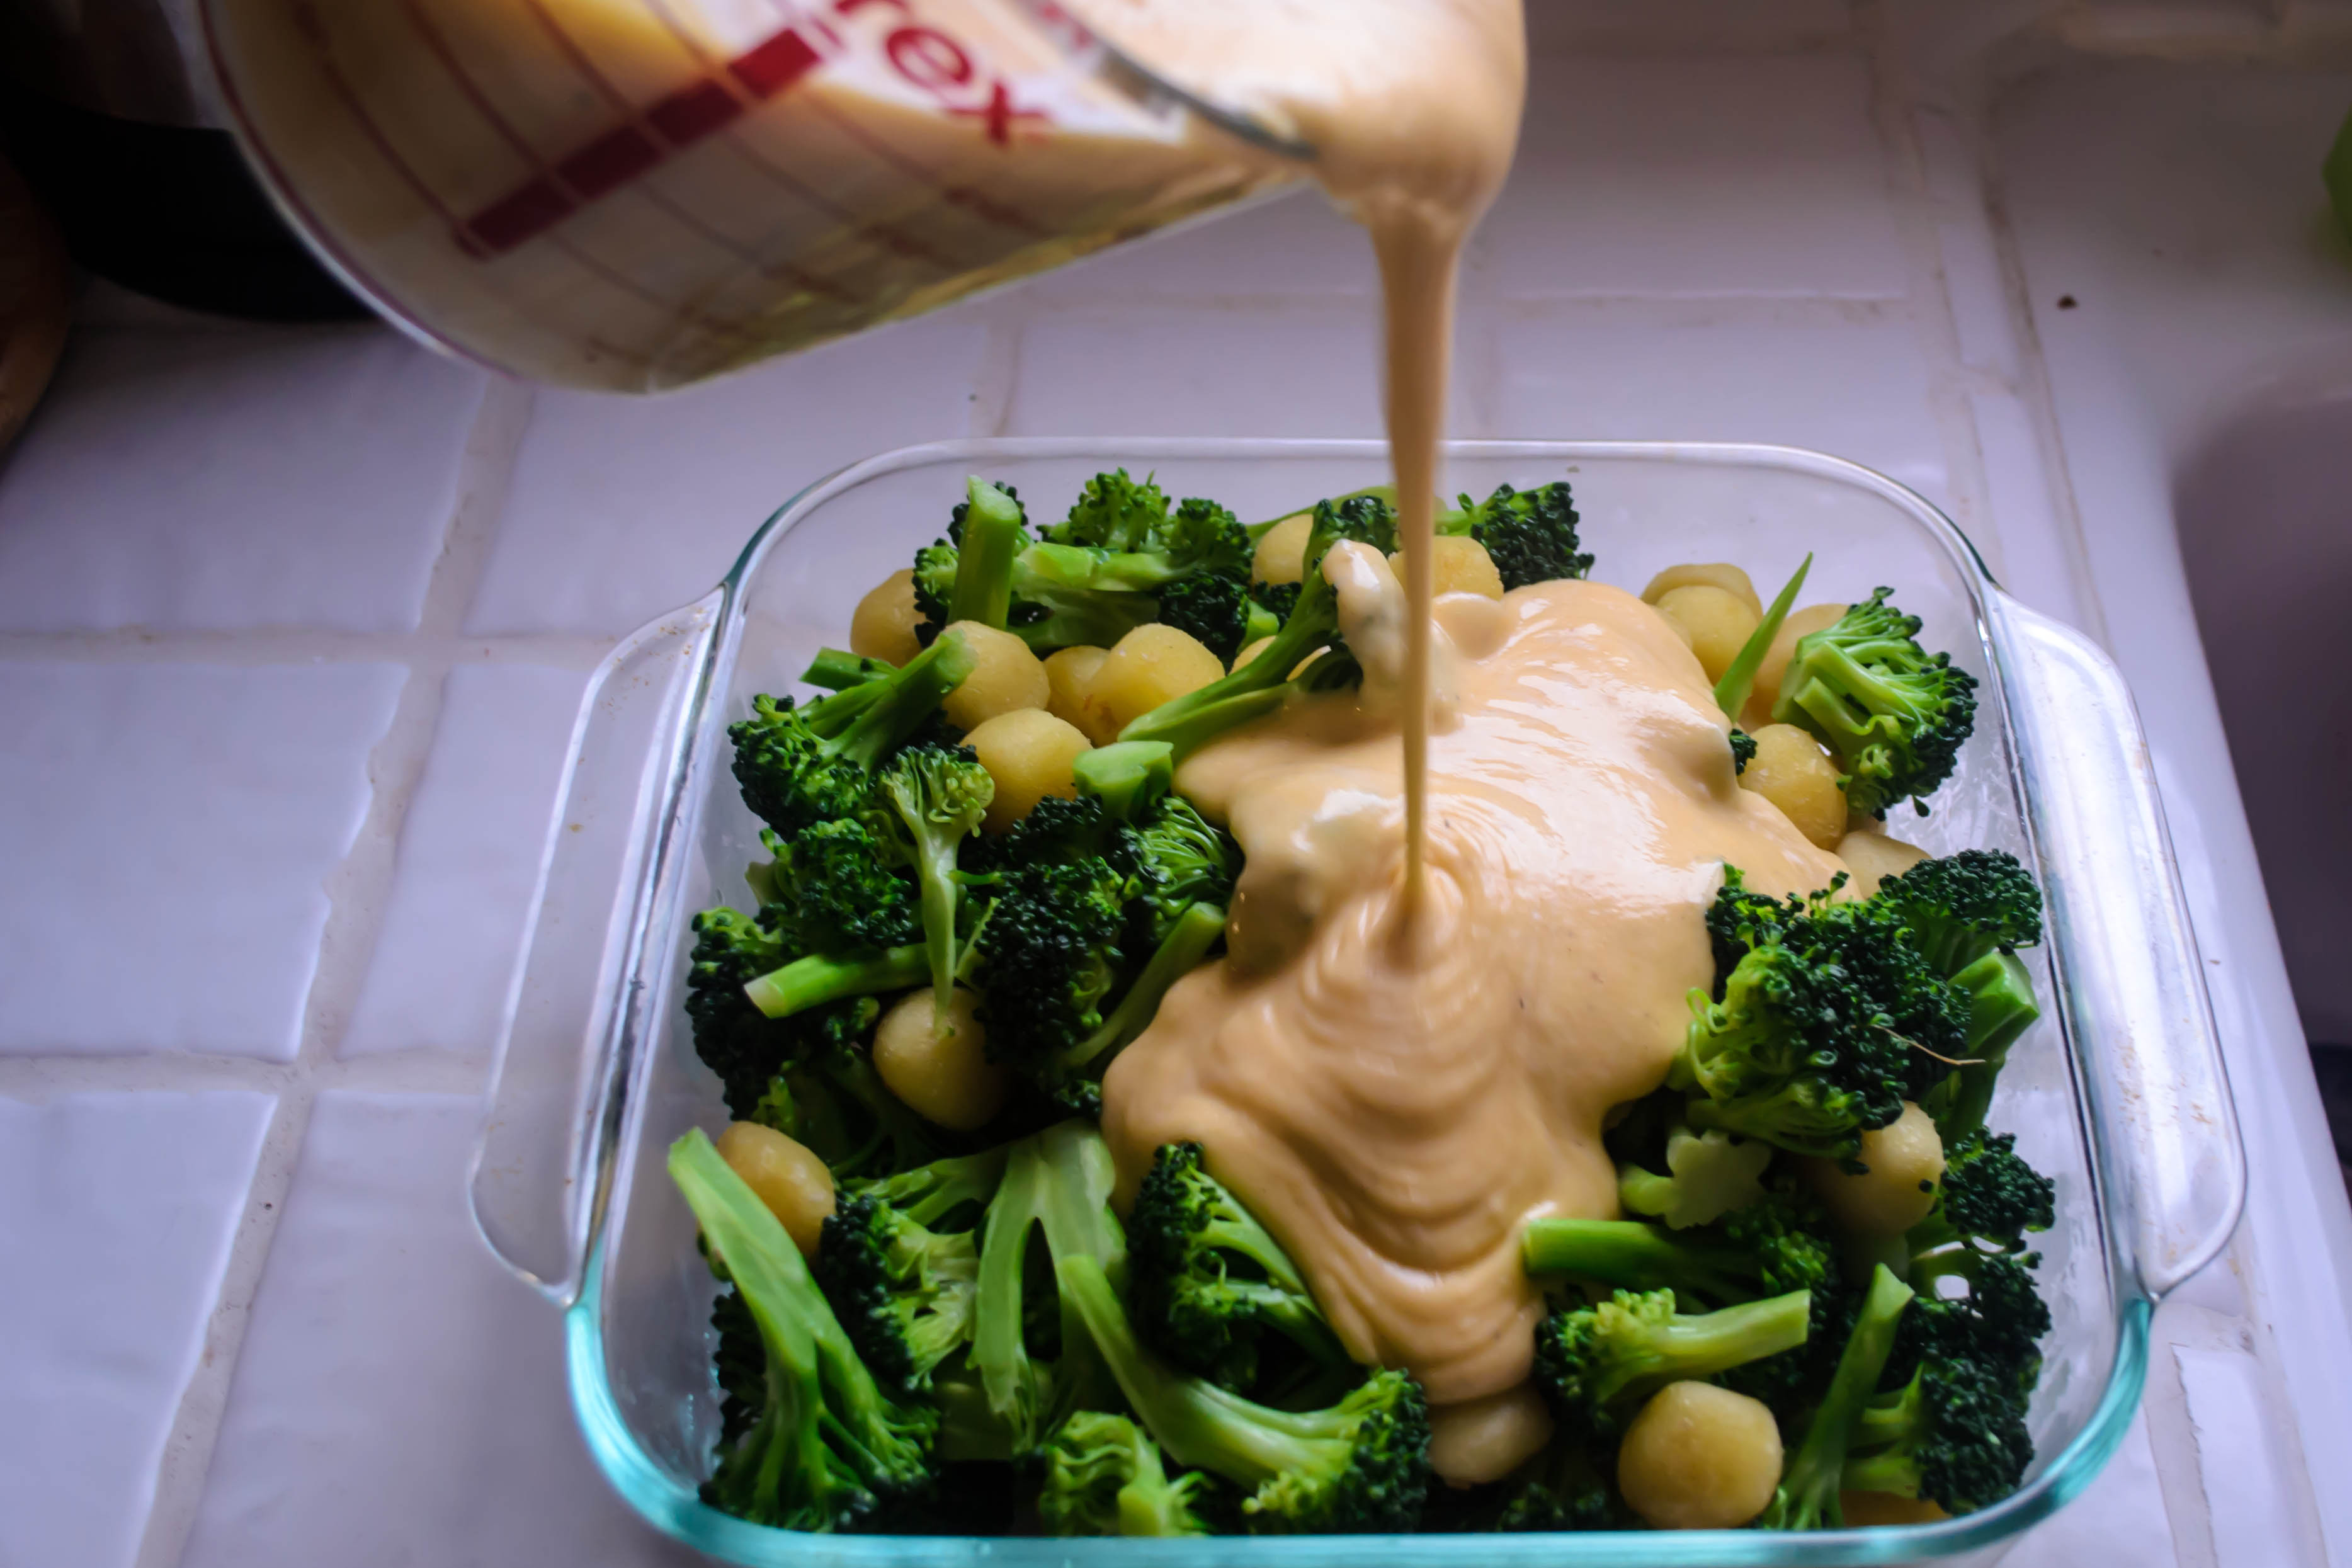
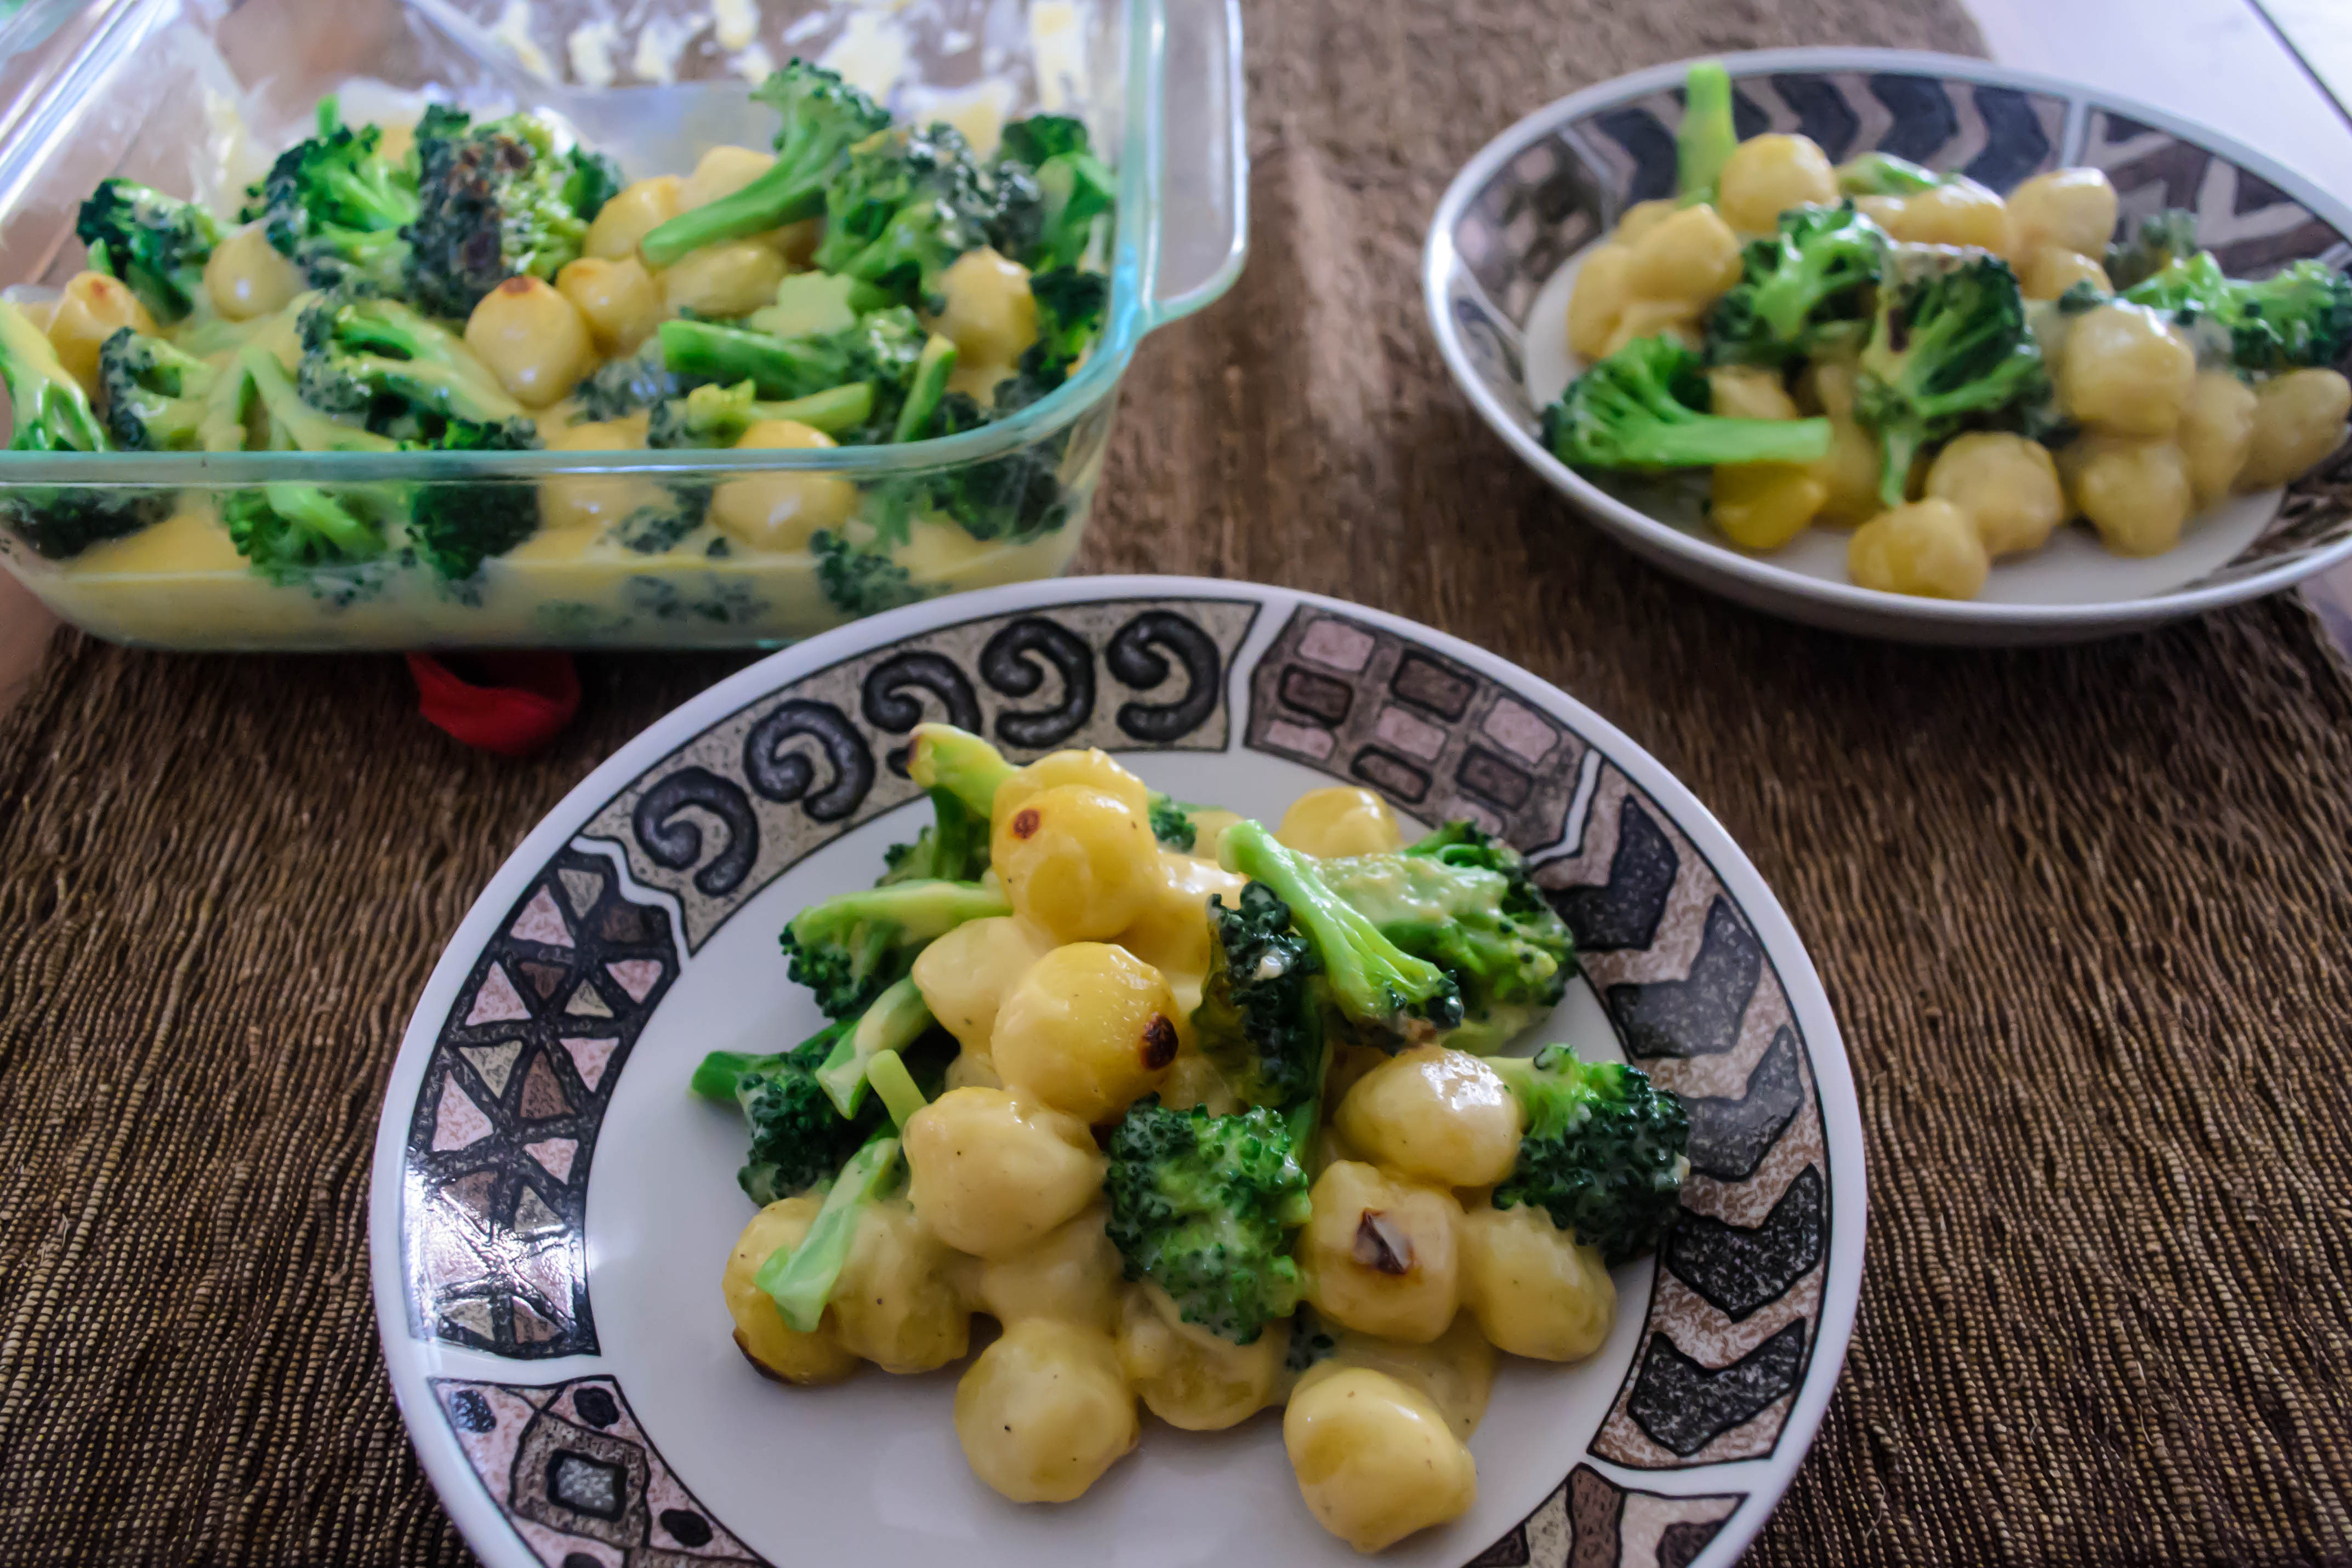
 This week’s recipe is definitely one of those that define what I do here. Furthering our exploration into the sauce world, I take a classic, simple, comfort food: broccoli cheese potatoes, and turn its world over, draping thick, cheddar-laden robes across a dish of pan-fried gnocchi and lightly blanched broccoli, letting the cheese sauce sink gracelessly into the crannies between before blistering the whole top under the broiler for a few minutes. It’s a revelation. But then, that shouldn’t be so surprising, because the classic combination it pulls from is already so good.
 Sauce mornay is basically a béchamel that’s been dressed up with the addition of cheese. It is French, as so many of them are, and in application can be used to add gooey goodness to everything from crepes to vegetables to macaroni and cheese. Not a fan of cauliflower? Roast it and drench it in a mornay sauce. I can almost guarantee you’ll be a convert. Making a cheese-y potato soup? The base to which you add broth or stock will likely be something very similar to a mornay. Fondue and Welsh rarebit are other closely related preparations, though whether they are offshoots, coincidences, or legitimate progenitors is likely not provable.
 Traditionally, the cheese added to a mornay is a blend of parmesan and gruyere, a particularly nutty variety of Swiss cheese. I like extra sharp cheddar in mine, though, the sharper the better. My mornay sauce, it’s only fair to tell you, is thicker and has a much higher proportion of cheese in it than is strictly traditional. My reasons for this, as I’ve mentioned before, are largely that I like the taste of cheese more than I like the taste of the sauce it becomes. This seems a bit silly – why make the sauce if what you’re really after is the cheese? – but this creation is so velvety and thick and luxurious that it’s worth tinkering with until you get the consistency and cheese percentage you are happy with.
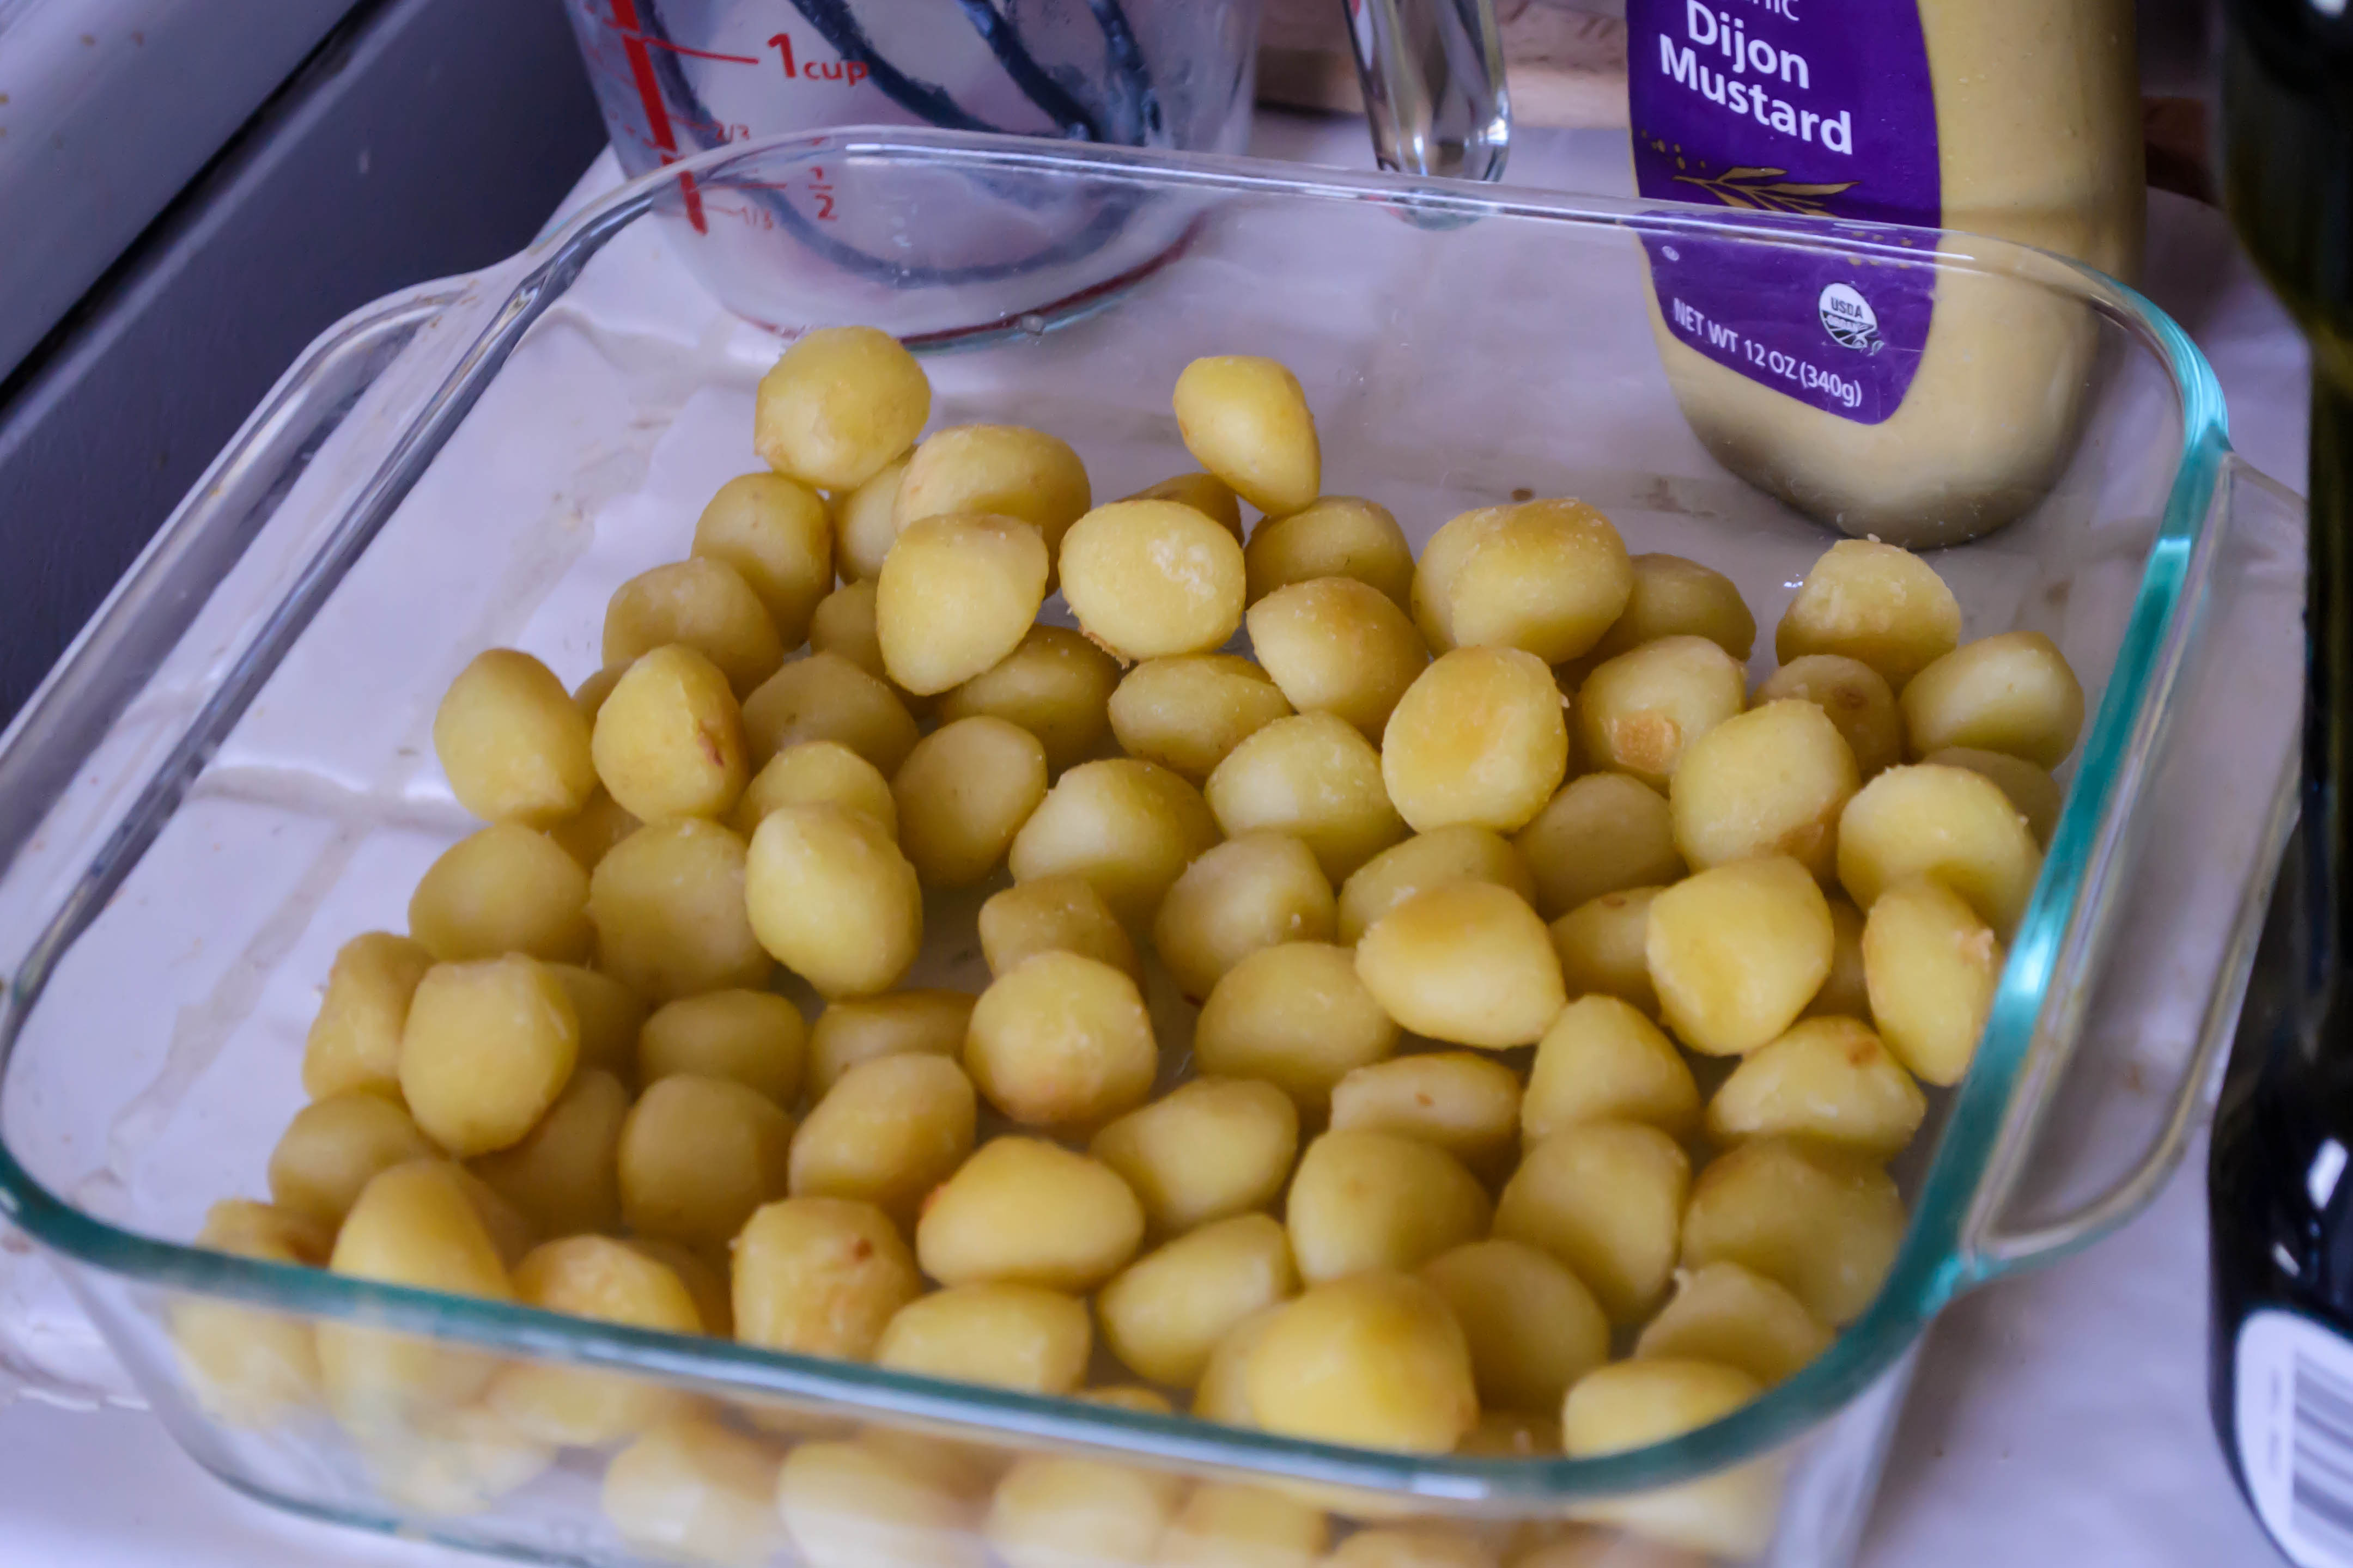
 As for the rest of the dish, I can’t take ultimate credit. The inspiration for pan frying the gnocchi comes from Nigella Lawson, the (for me) true domestic goddess. Rather than boiling them and risking gumminess or spongy bits falling about, she sautés them until golden and crisp, as I’ve done here. They are then ready – anxious even – to suck up the lush cheddar velvet we’re going to douse them in. Adding the broccoli, blanched in salted water just until crisp-tender, is my attempt to make this a complete meal and dislodge some of the guilt you might feel about the amount of cheese you’re going to consume. Plus, who doesn’t love broccoli with cheese sauce? Again, classics, but jammed together in a fresh way that I hope will delight you.
 I’m giving you two versions of my sauce mornay recipe here – one quite pared down and basic, though, as I noted above, cheesier than what is typical (many mornays call for only a few tablespoons of cheese) – one “kicked up” with the integration of some more complex, exciting flavors. Use and play at your own discretion.
We are studying alliterative poetry in my British Literature class, and apparently I’m feeling inspired by it…
 Sometimes simple is superior: soup and a sandwich.
 It’s a good thing I acknowledged and made fragile peace with my own status as an imperfect individual last week, because this week’s cookery was a series of thinly veiled almost-disasters, The sauce mornay I tested for February’s sauce entry was too thin (fix: more cheese!). The battery on my camera pooped out on me just as I was photographing the assembled components for the dish I was testing to go with the mornay (perhaps not a terrible thing after all: see above). I made hummus from scratch using Yotam Ottolenghi’s recipe (it was phenomenal) to add to another Ottolenghi recipe: a “mumbo-jumbo,” as he calls it, of fresh crisp salad, hard boiled eggs, and fried eggplant atop a warm toasty pita. The eggplant was brown and soft through the center. Not my fault, true, but still discouraging. It’s a week that has left me feeling more attracted to the idea of eating cheese and crackers for dinner than storming into the kitchen to whip up a grapefruit glaze for some unknowing salmon filets.
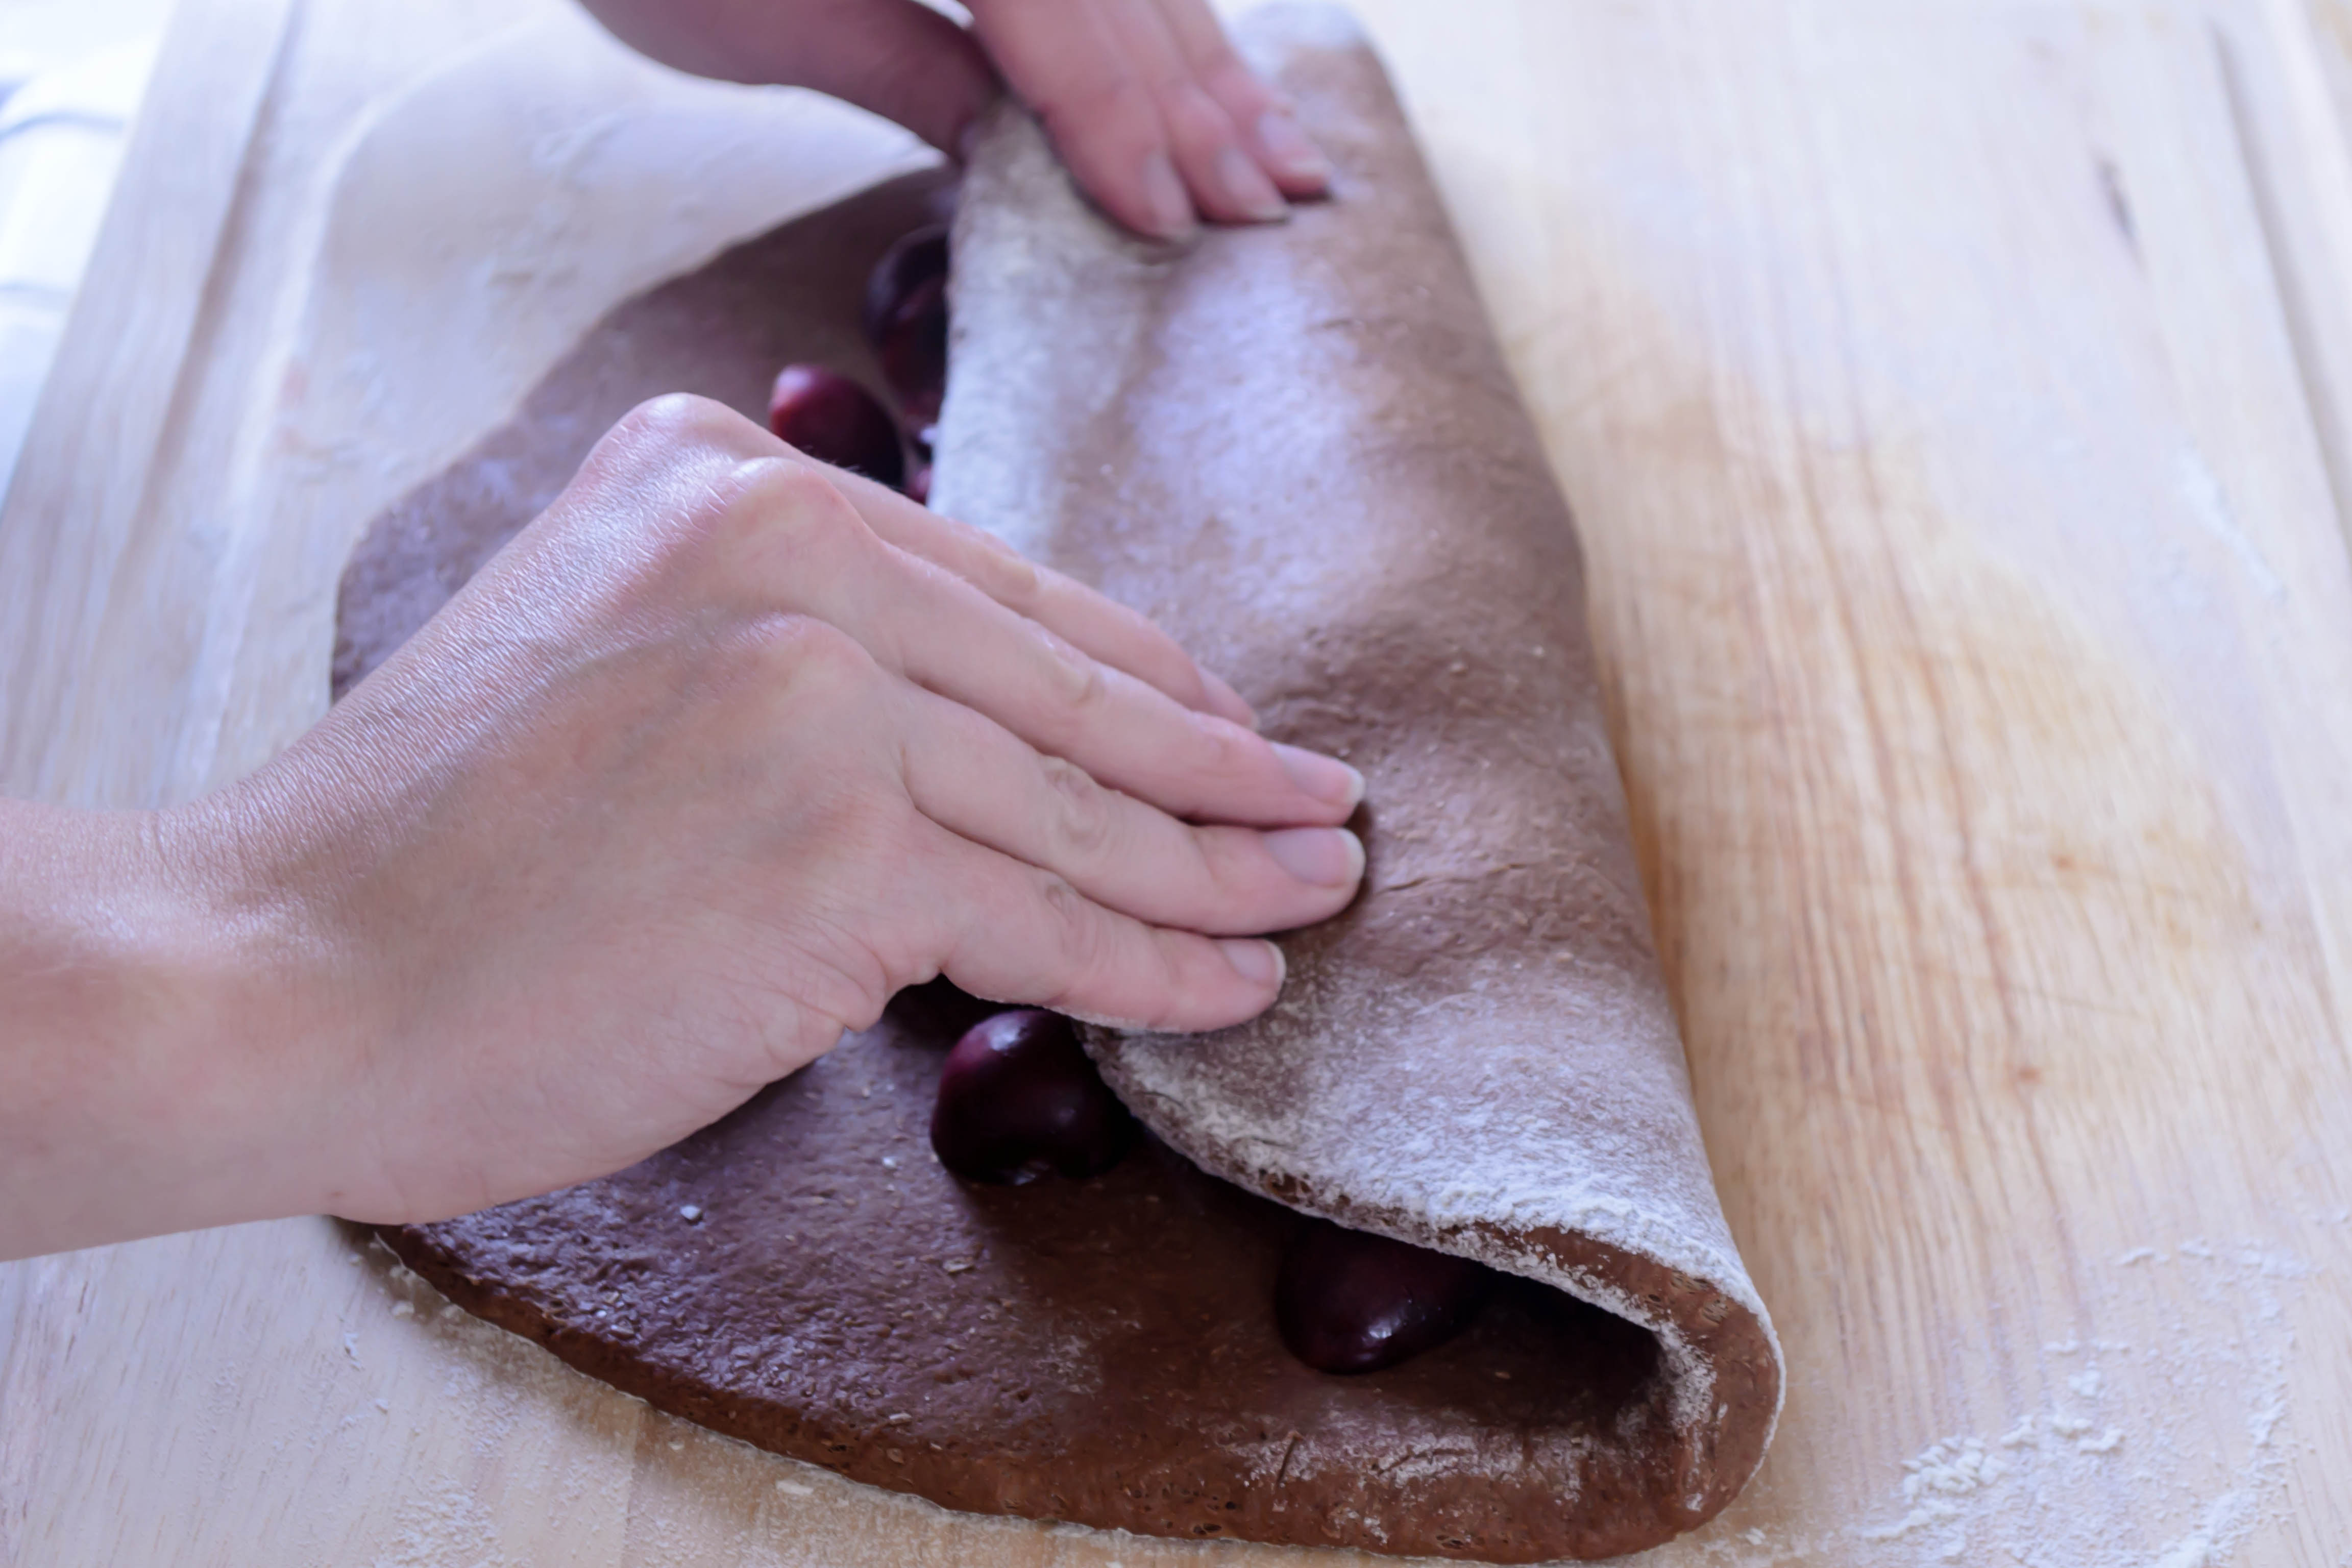
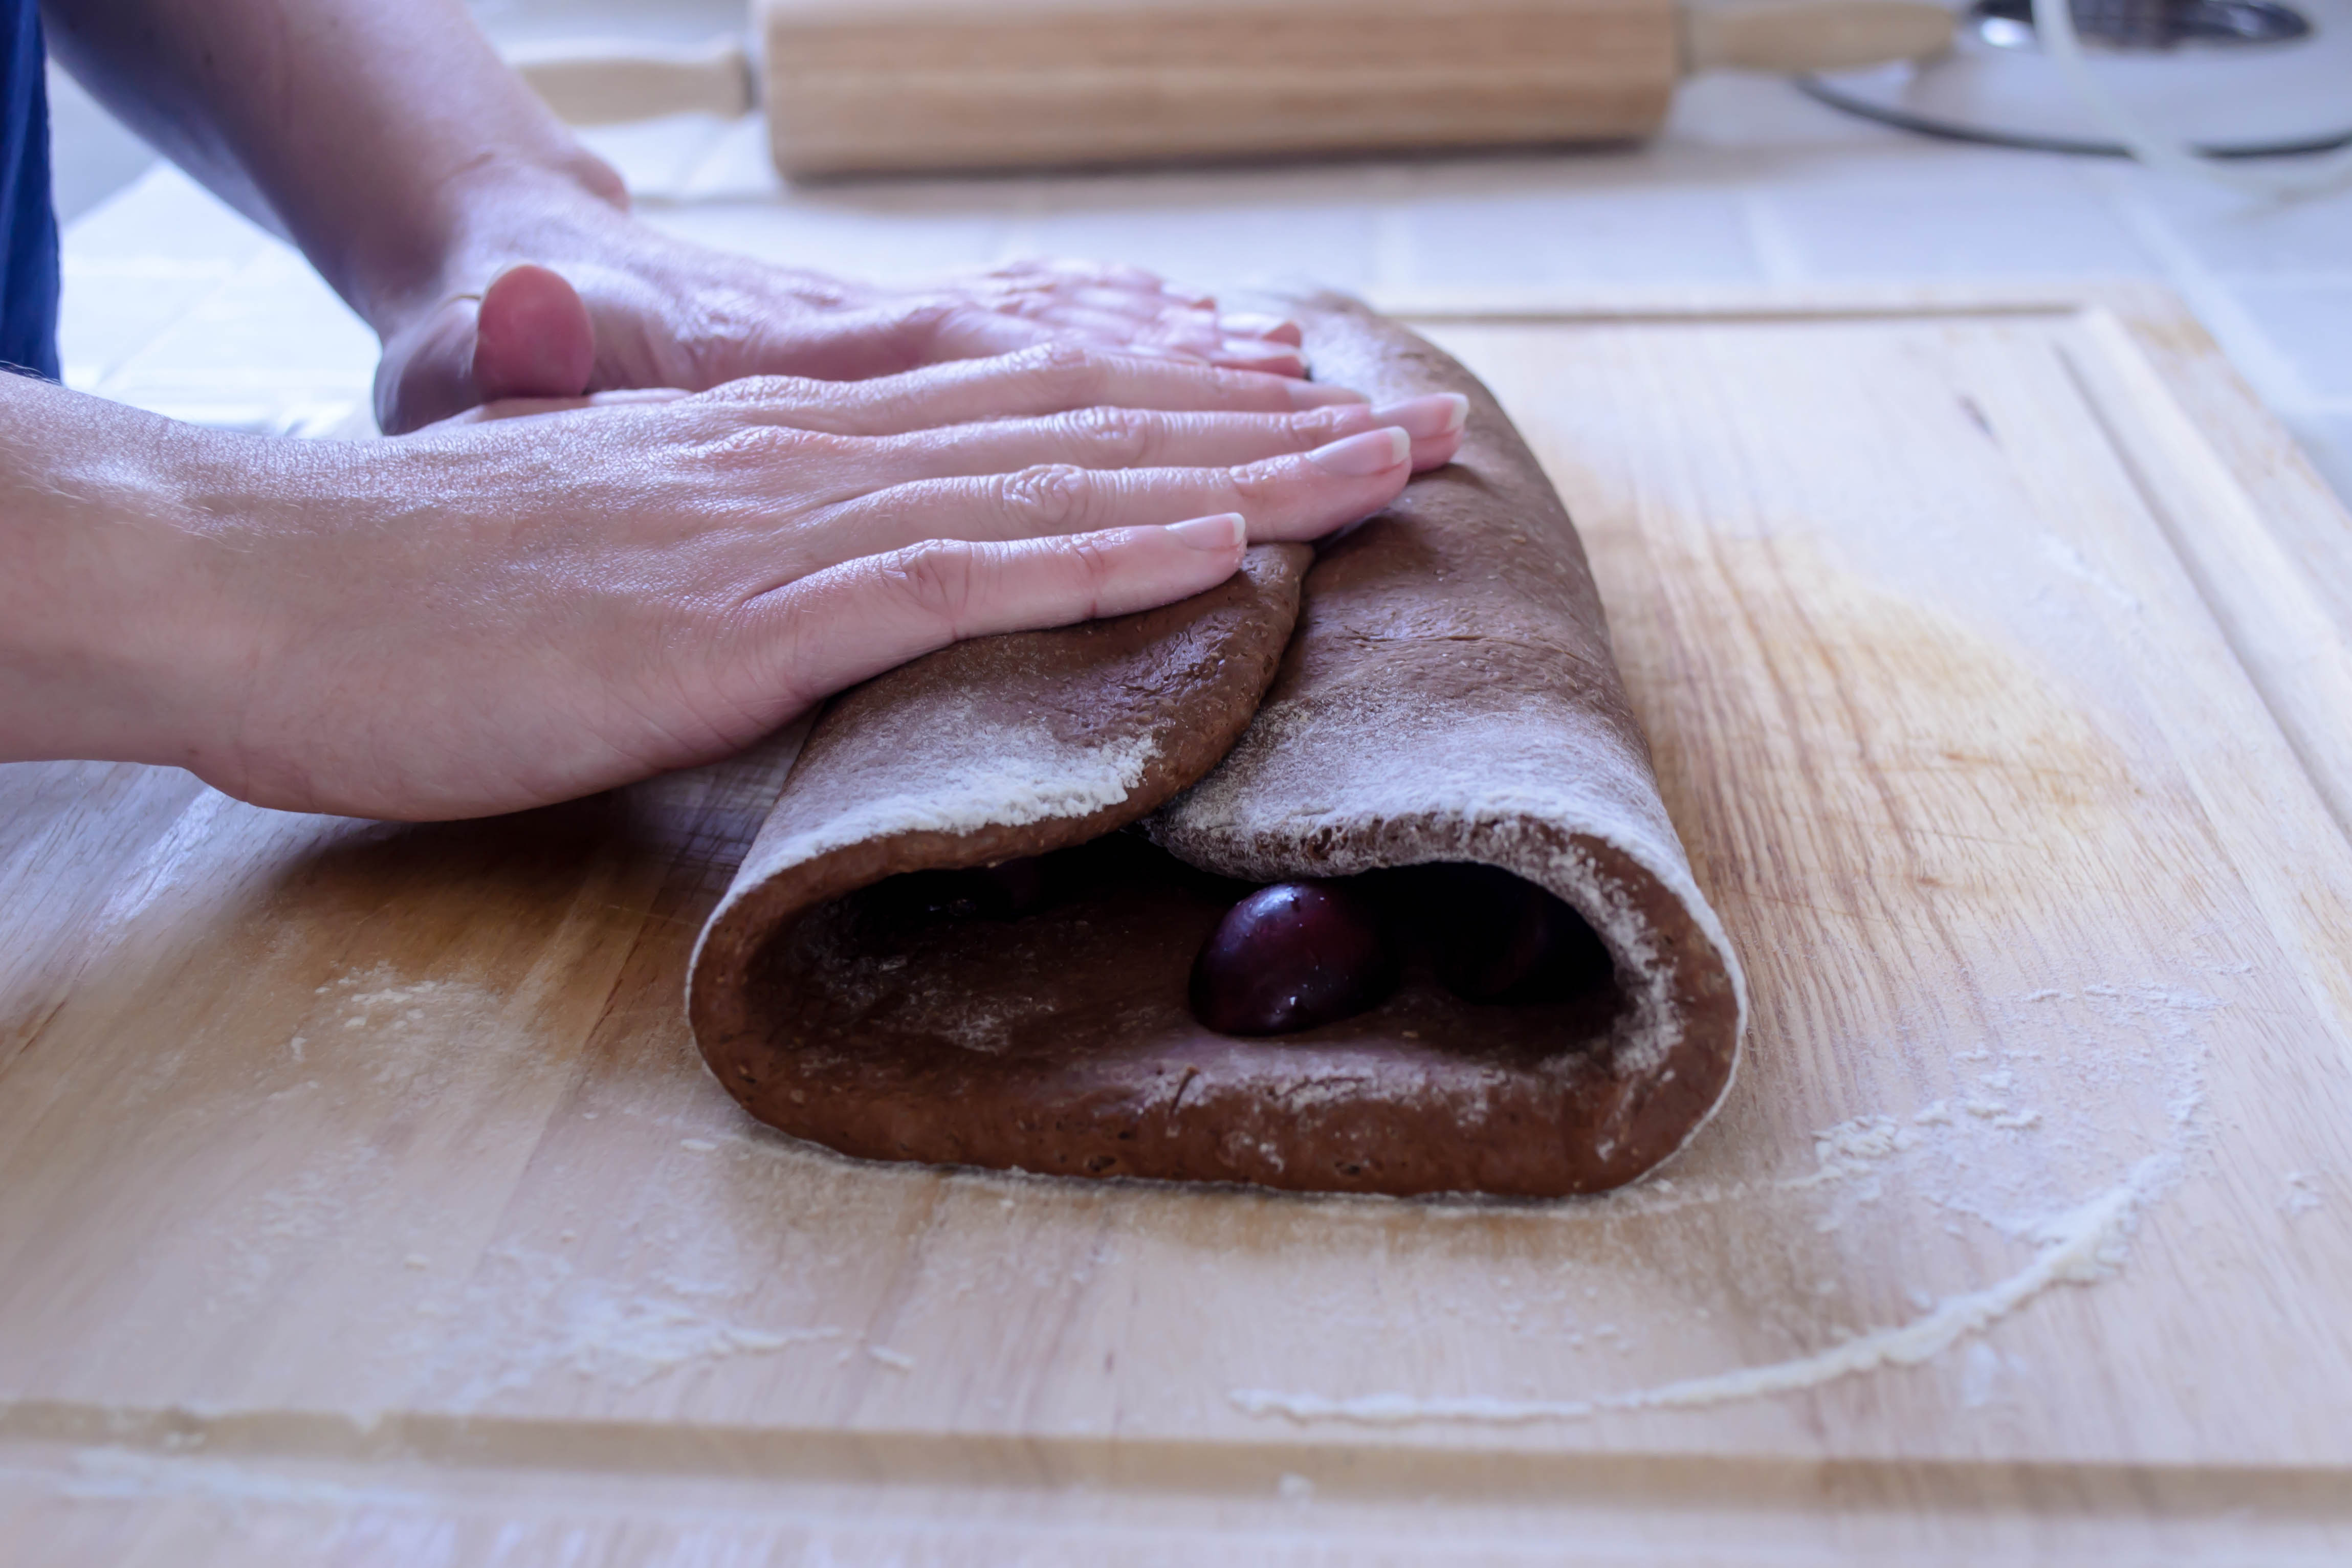
 Even this recipe I’m about to share left me feeling challenged. To comply with this month’s entirely apropos Twelve Loaves theme of chocolate, I decided I wanted to make a chocolate cherry bread – a rich, moist loaf studded with halved juicy gems and redolent of cocoa, as I’d tried once at a Farmers’ Market in Eugene, Oregon. In text-chatting with my mom, I discovered she’d just made a marvelous chocolate rye bread that sounded like the perfect starting recipe for my February loaf.


 Except.
I was out of rye flour.
The cherries I bought were less than spectacular (it’s not the season, I know. When will I learn?!).
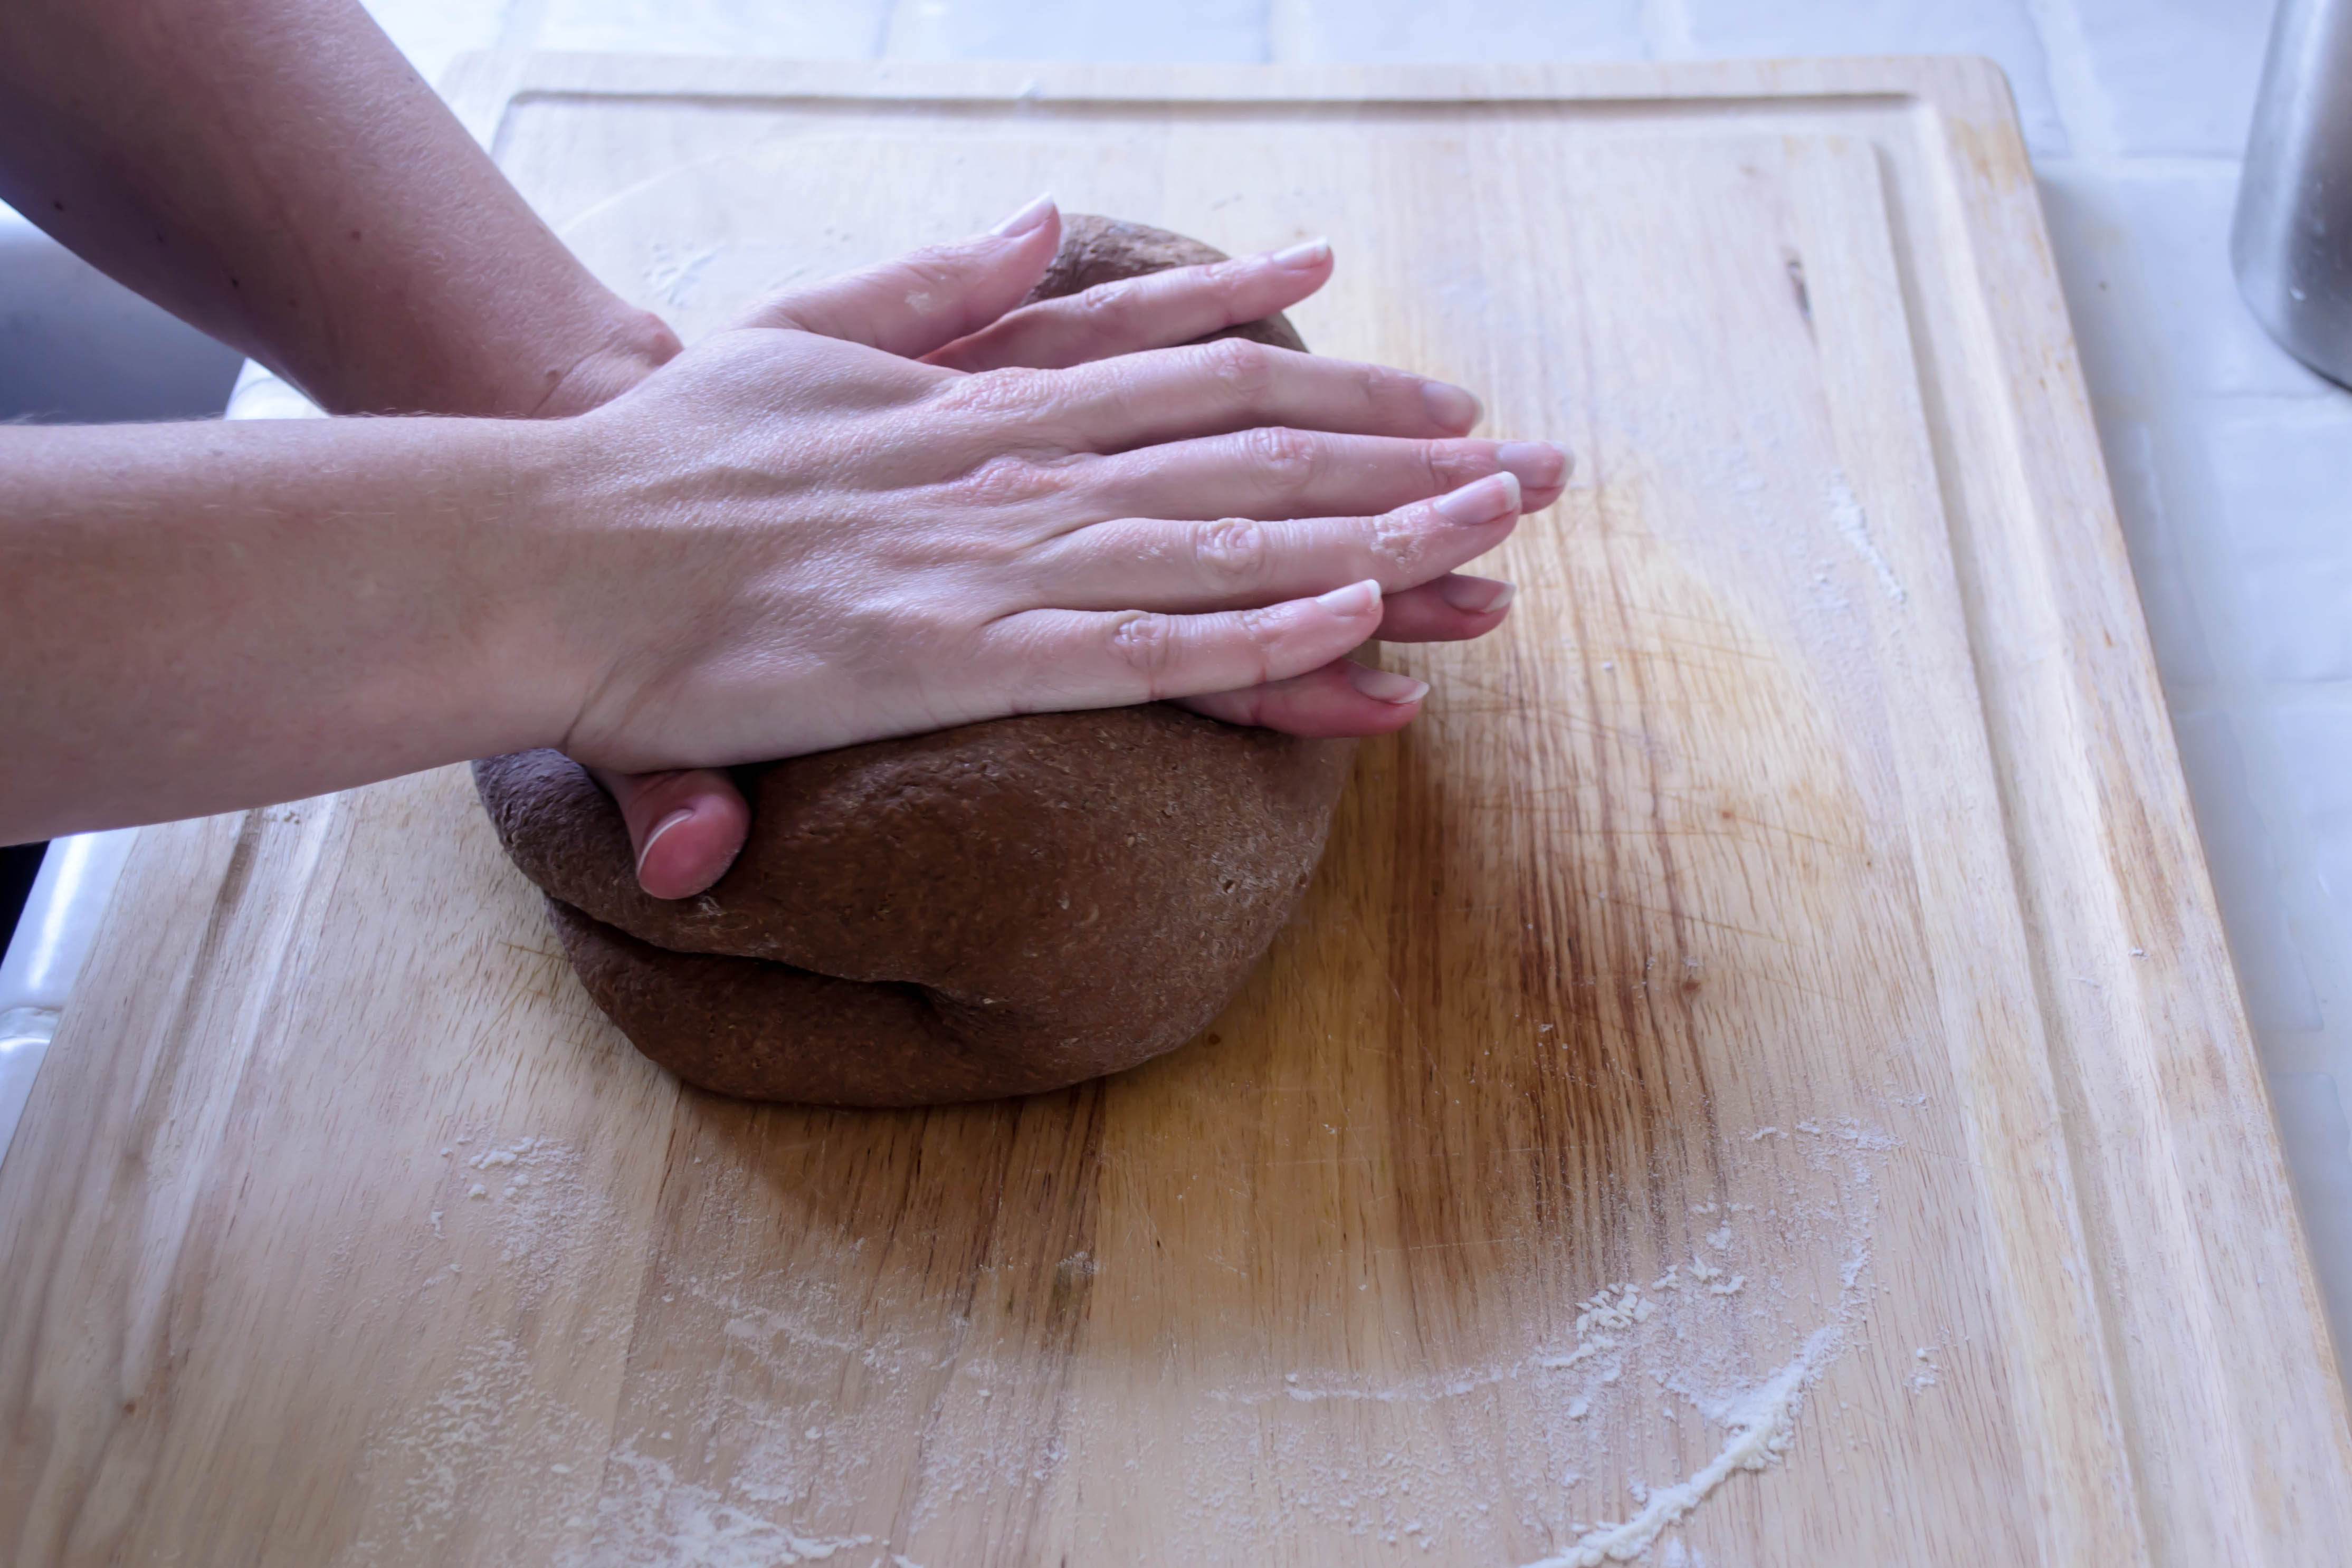
 I didn’t let the loaf rise long enough, or bake long enough, ending up with something a bit doughy in the center and dense (but moist!) besides. Oh, and it’s pretty funny-shaped, isn’t it? I know. And to add insult to injury, I couldn’t even get it together enough to post at my regular morning time.
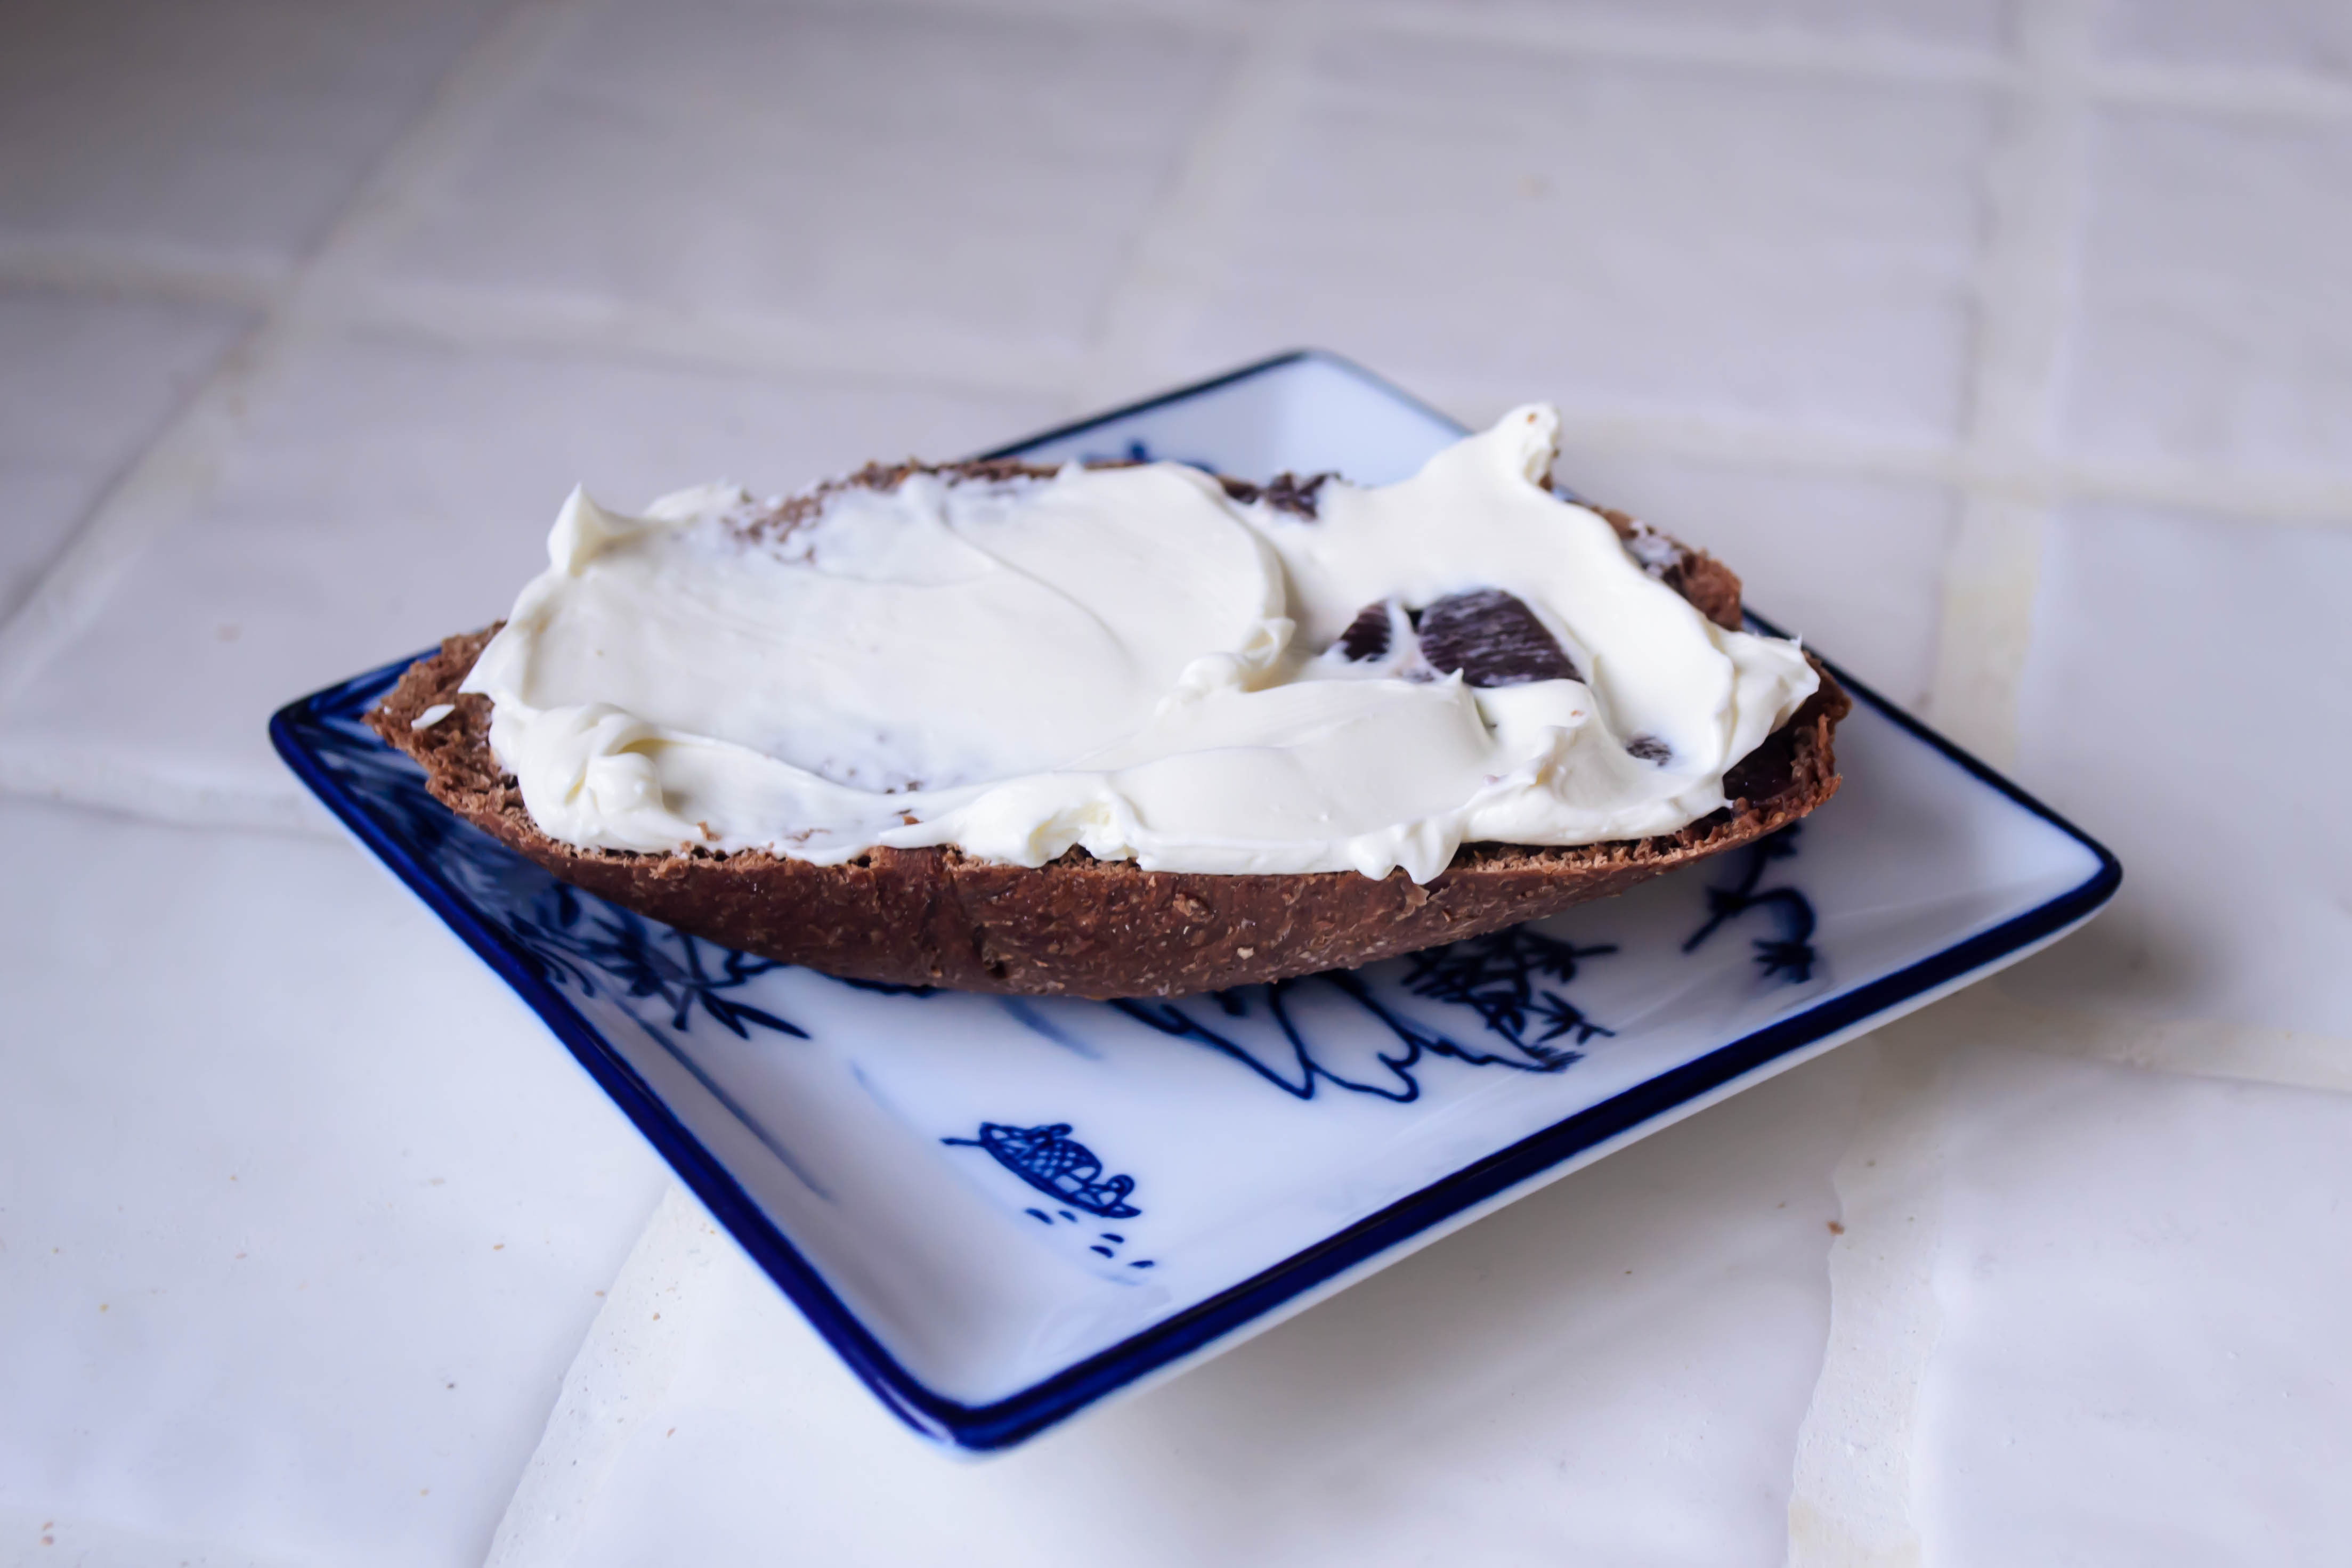
 And yet ten minutes after I’d finished eating my first piece, I found myself back in the kitchen slicing another. And when I got home from a warm, dusty walk with Lucy yesterday morning along a trail that runs just below the grounds of Loyola Marymount University (where other dog owners don’t understand what “all dogs must be leashed” means, apparently), all I wanted was a piece of this bread, toasted, slicked with a layer of cream cheese. And now, I’m thinking it probably won’t spoil my dinner if I saw off a thick slice…
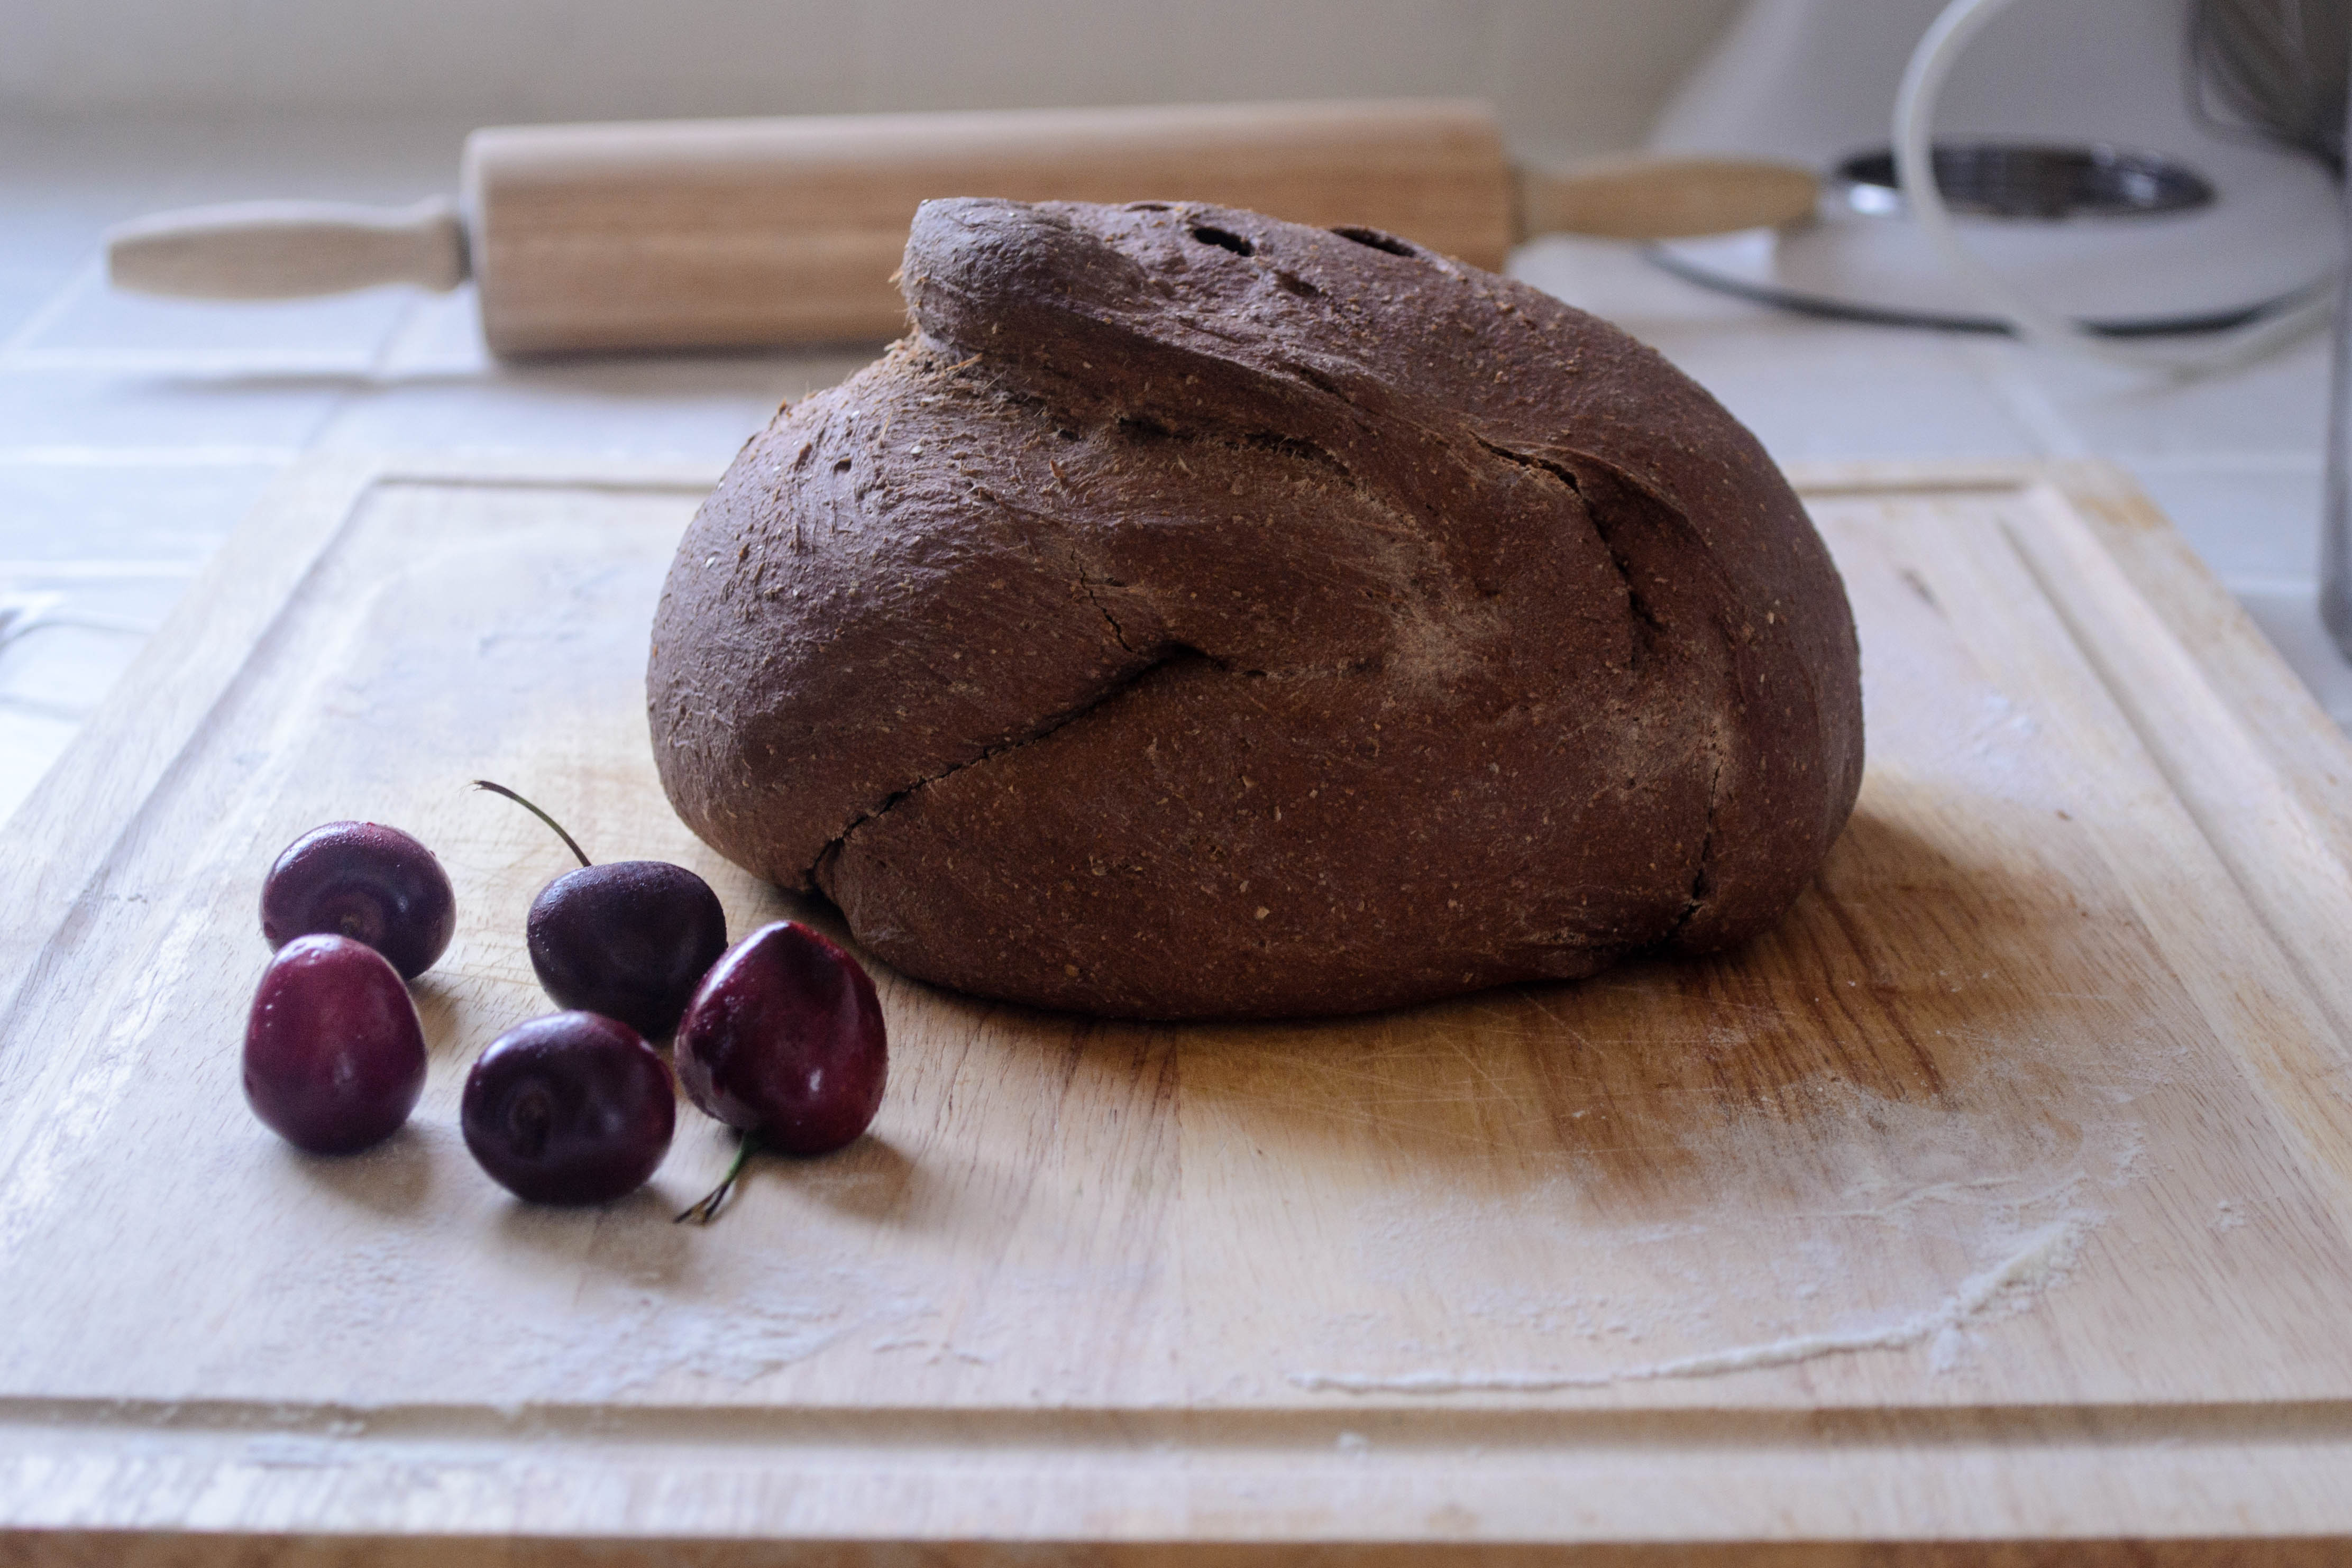
 This is not a sweet bread. It is bright with cherries and moist, but barely sweetened with a mere ¼ cup of molasses for that dark, treacle roastiness. The cocoa powder makes it a deep, dark brown and offers a strong flavor, but it doesn’t taste like dark chocolate (somewhat unfairly, I think, since it smells like nothing else!) because it isn’t highly sweetened.
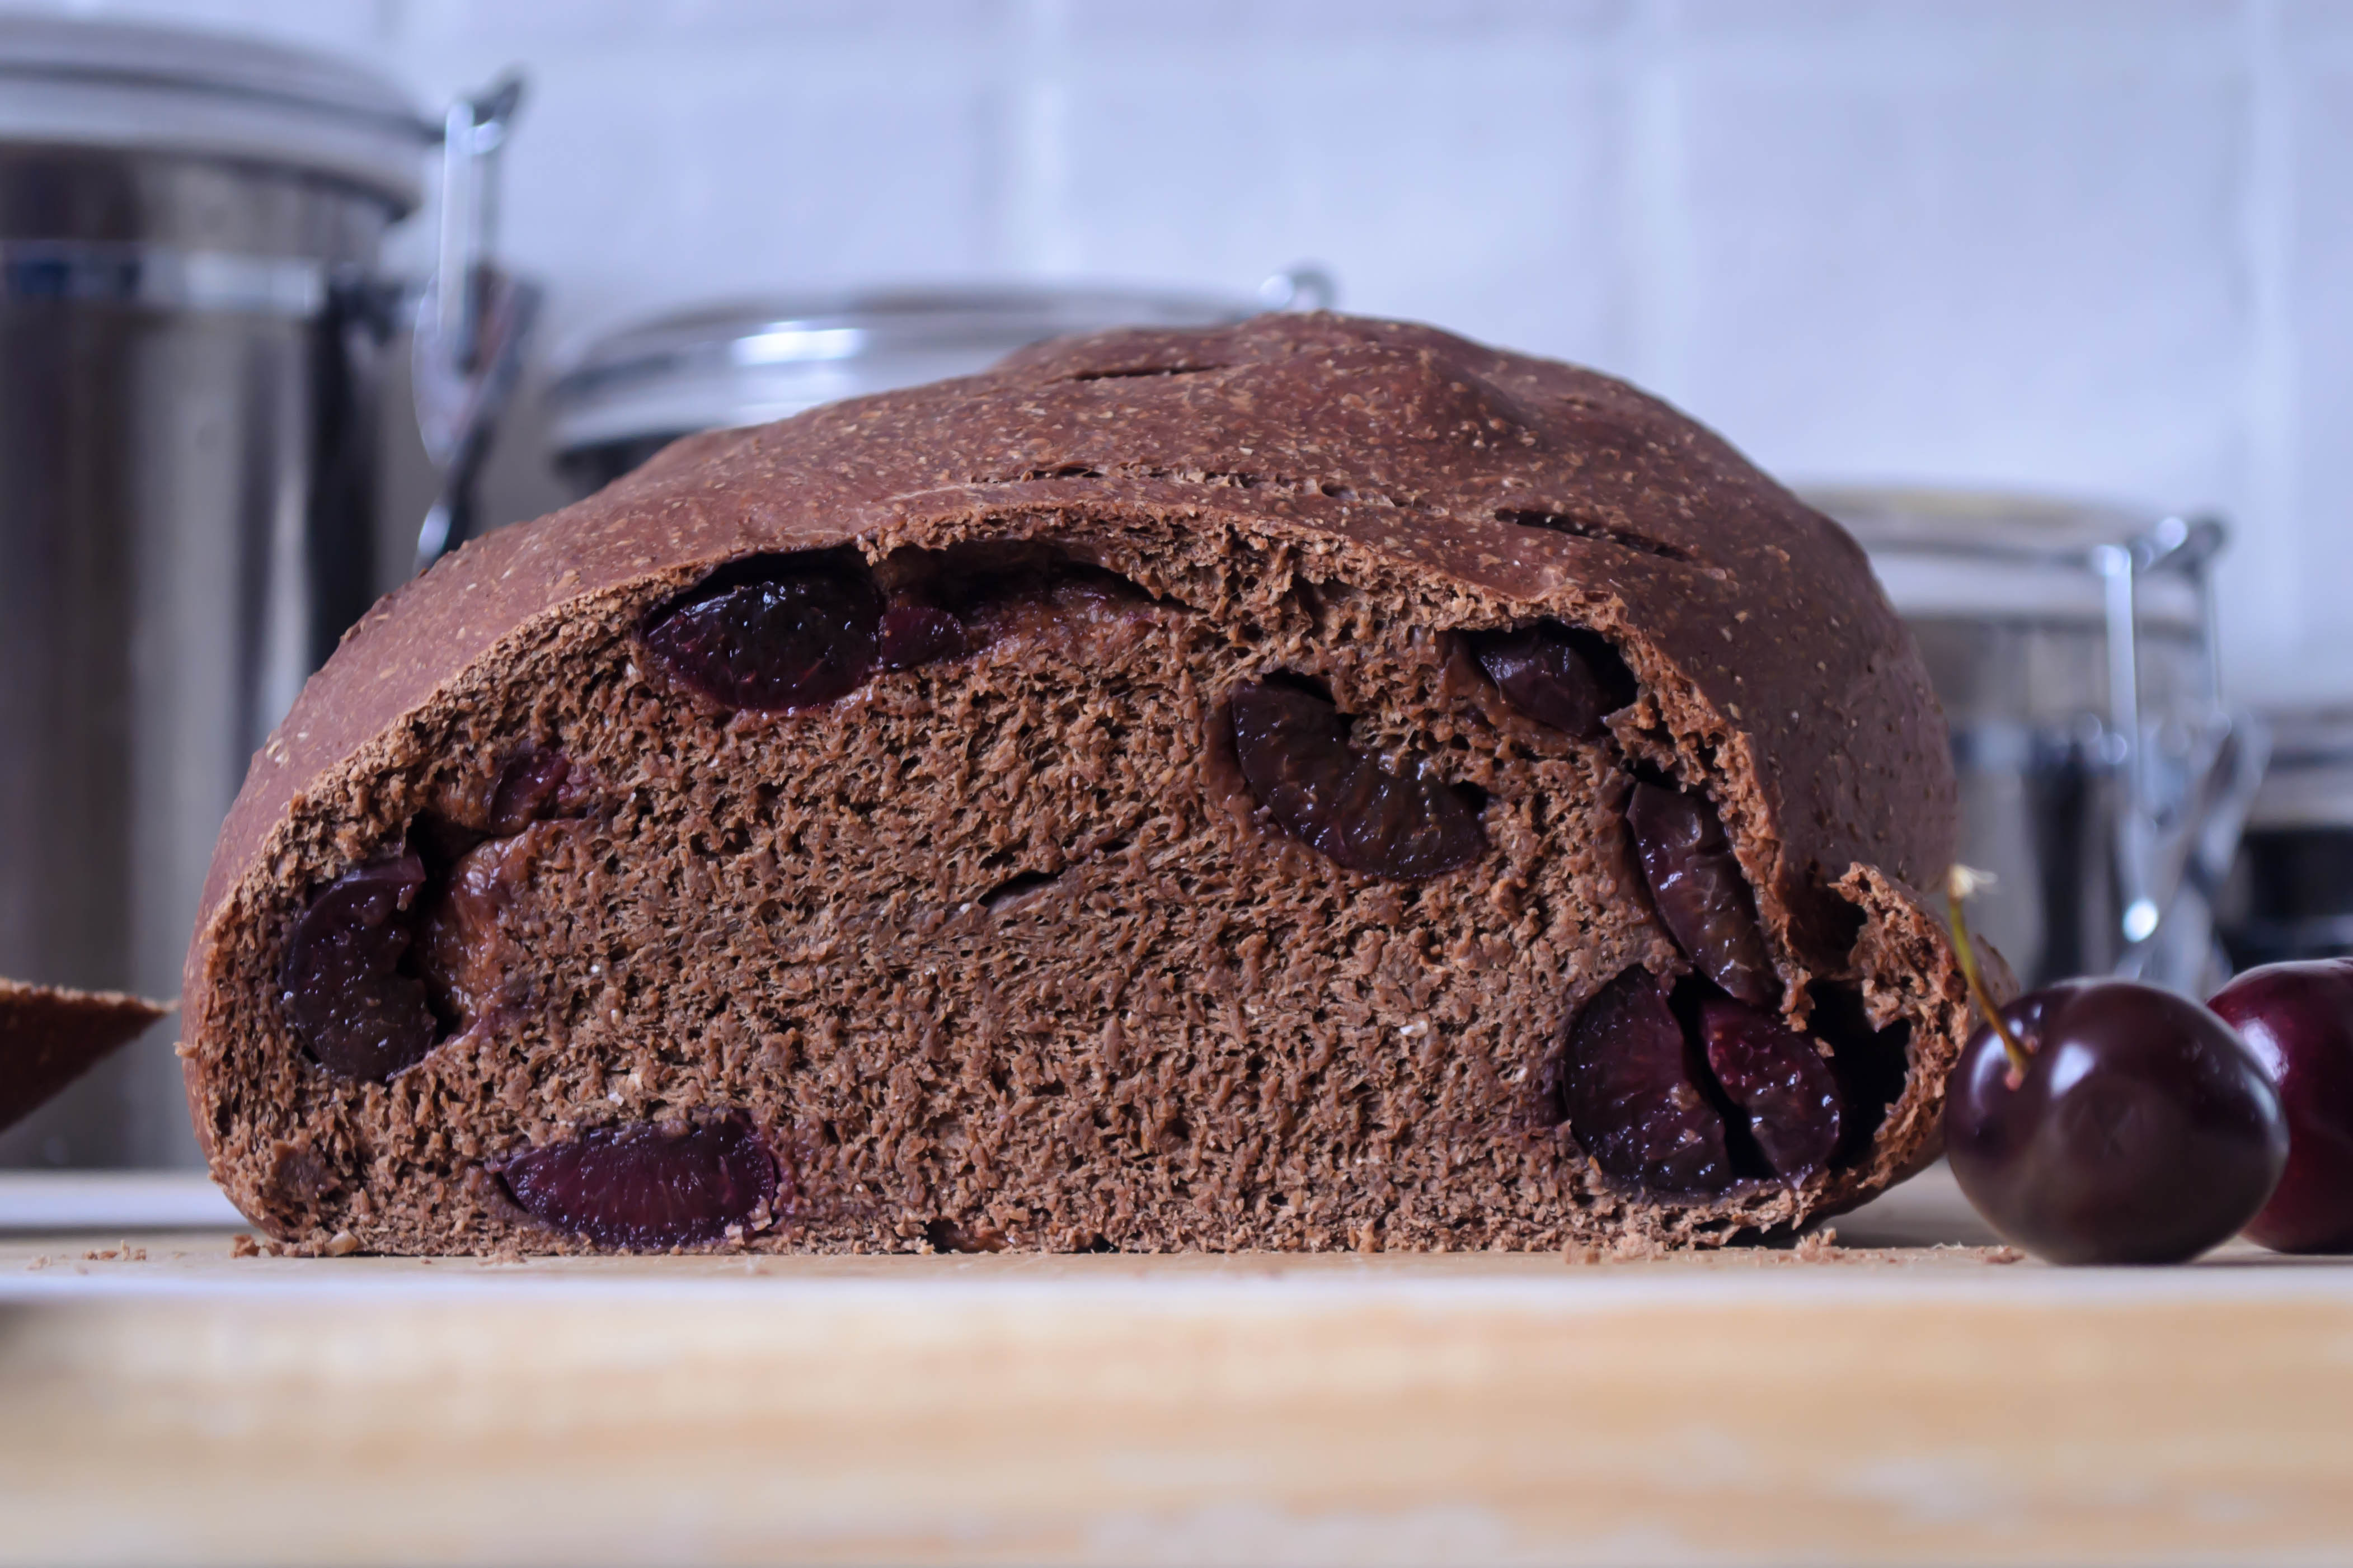
It is, in fact, a good bread for February. It is hearty without being too filling or too rich. It’s a good vehicle for something creamy, to satisfy your need for comfort. It has a perky little reminder of springtime buried inside in little mines of sweetness. If you’re not a fan of the admitted heaviness of the whole wheat flour I’ve used here, you could use more (or even all) bread flour instead. If you don’t like cherries, I suppose you could use blueberries or cranberries or even strawberries, but I do think there is something special about the chocolate and cherry combination that I wouldn’t want to replace.
 I think it only fair to tell you that am going to revisit this bread, because I think it deserves some fiddling. I am going to gift it with better cherries. I will try a higher ratio of bread flour to whole wheat, and maybe add some of that rye flour I was missing back in. I might up the sweetness quotient with additional molasses. But in any case, give it a swing through your kitchen and see what you think. Because there’s nothing wrong, when it comes to chocolate, with a little experimentation.
A fabled land of farmers, farm shares, fancy (and not so fancy) restaurants, family meals, food projects and more.
cooking my way through my dissertation, one egg at a time
Fearless cooking from a tiny NYC kitchen.
food, in so many words.
Recreating the famous dishes of famous writers. Part recipe blog, part historical discussion, entirely unabashed love of books.
Epicurean Adventures from Eugene, Oregon
Celebrating the Harvest
Modern Iranian aka Persian Food & Culture Blog - Cuisine, Recipes, Stories , Photos, Pictures, DIY tutorials
Exploring Culinary Traditions of Africa, African America and the African Diaspora
food, in so many words.
food, in so many words.
food, in so many words.
Food-Stories-Recipes-Love
WordPress.com is the best place for your personal blog or business site.
