Plum Upside Down Irish Soda Bread Cake #TwelveLoaves

Food Blog July 2013-1940
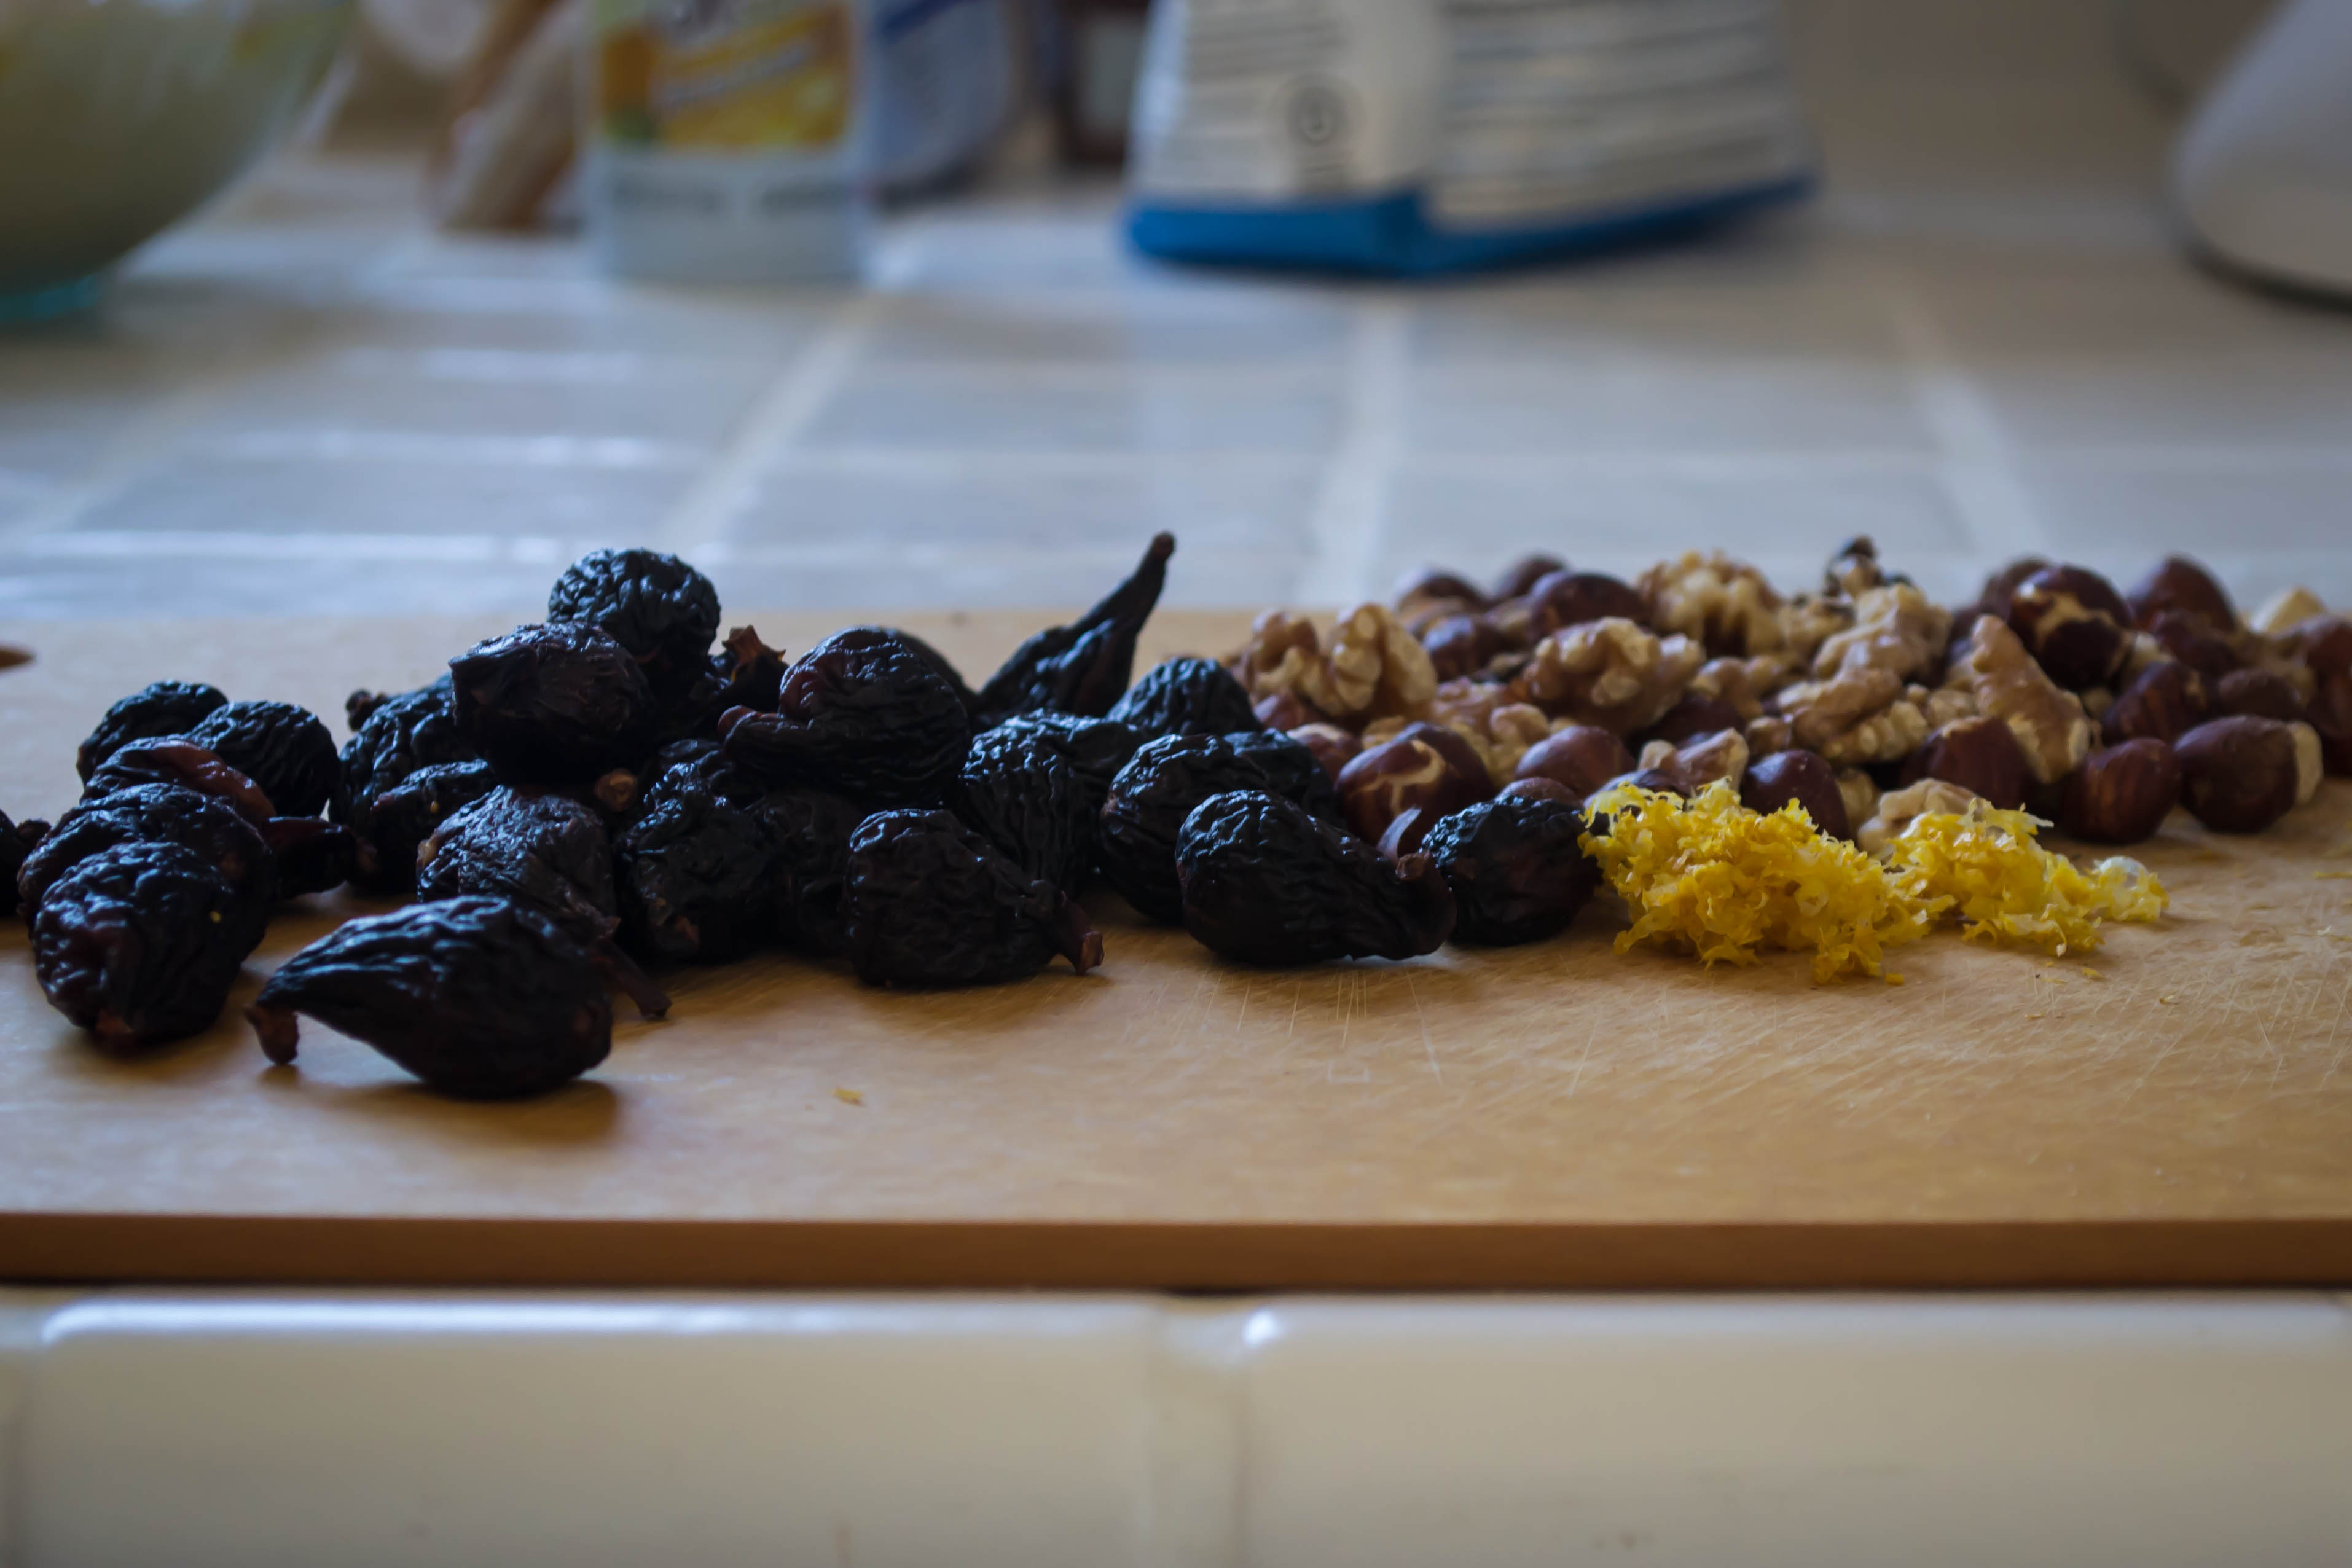
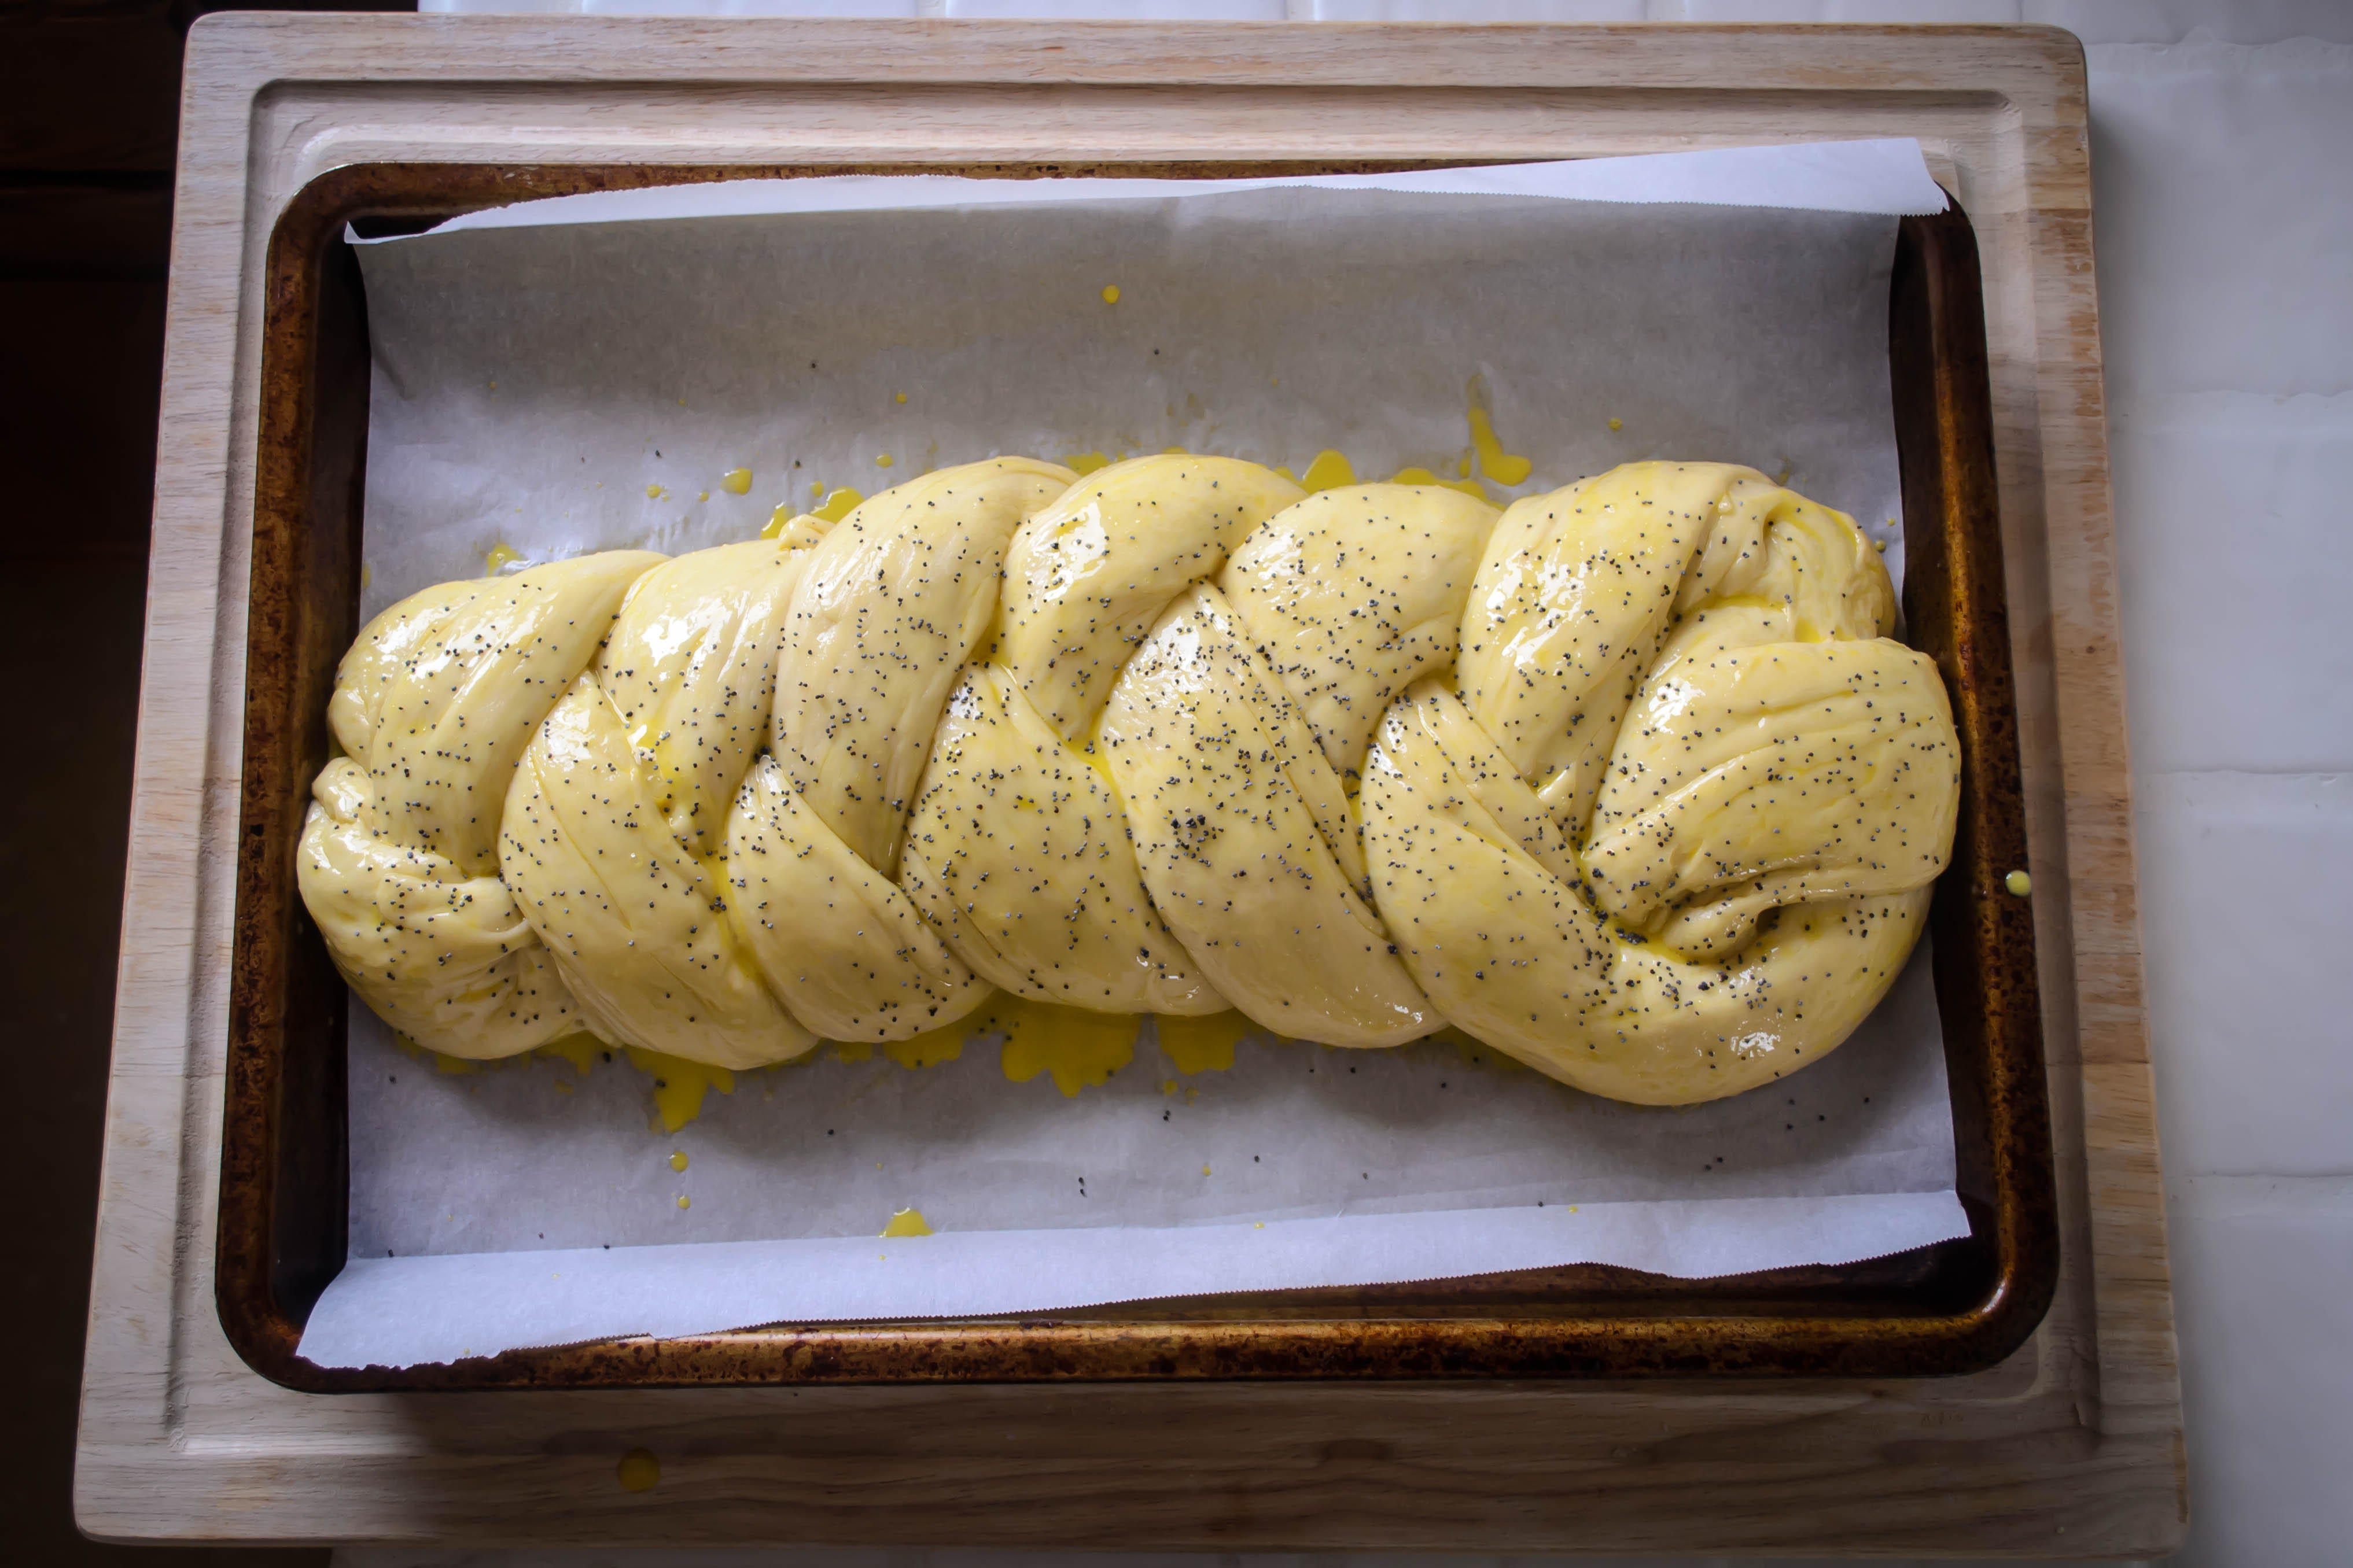
As you can perhaps intuit from the title of this post, this month’s Twelve Loaves challenge was just that for me: a challenge.  Called upon to incorporate stone fruit into a bread item, my mind went in a thousand directions at once and came up blank.  For me, stone fruits belong in pies and cakes.  The idea of combining cherries, or peaches, or apricots, or nectarines with the slow, yeasted rising of a bread was an odd one (although now that I’ve considered it, chocolate and cherry bread sounds fantastic.  Inspiration, if anyone still needs an idea for this month?).  So I struggled.  I wrote down ideas that sounded like madness:

Caramelized apricot yeasted mini loaves, baked in muffin tins  too weird.

Plum cobbler  not really a bread.

Peach upside down cake  not a bread at all!

Irish soda bread with… stone fruit… somehow…

And that was where I landed, nibbling at the edges of this idea.  It would be, I decided, a skillet bread: fruit caramelized in the bottom of a cast iron skillet, soda bread dough mounded atop it and then baked and flipped, like the weirdest version of a pineapple upside down cake bread you’ve ever heard of.

Food Blog July 2013-1919Once this weirdness was determined, I settled immediately on plums as my fruit choice.  I always forget how much I love plums as a cooked component.  None of the insistent fuzziness of peaches to deal with, but bursting with juice, brightly veined, and hiding just the right hit of tartness in that secret microscopically thin layer between skin and flesh.  I love that part.

Food Blog July 2013-1923Food Blog July 2013-1926Food Blog July 2013-1929I envisioned bubbling slices of that sweet tartness in a slick of butter and brown sugar, mounding on heaps of gussied up Irish soda bread dough and baking the whole thing into a puffed, flippable cake/bread to have for breakfast, afternoon “tea” (N. and I rarely drink hot tea in the 3pm hour, but love the idea of stopping for a bit of a snack), or maybe even wedges wrapped up in wax paper to take on the road as we head into vacation.

Food Blog July 2013-1931Food Blog July 2013-1932
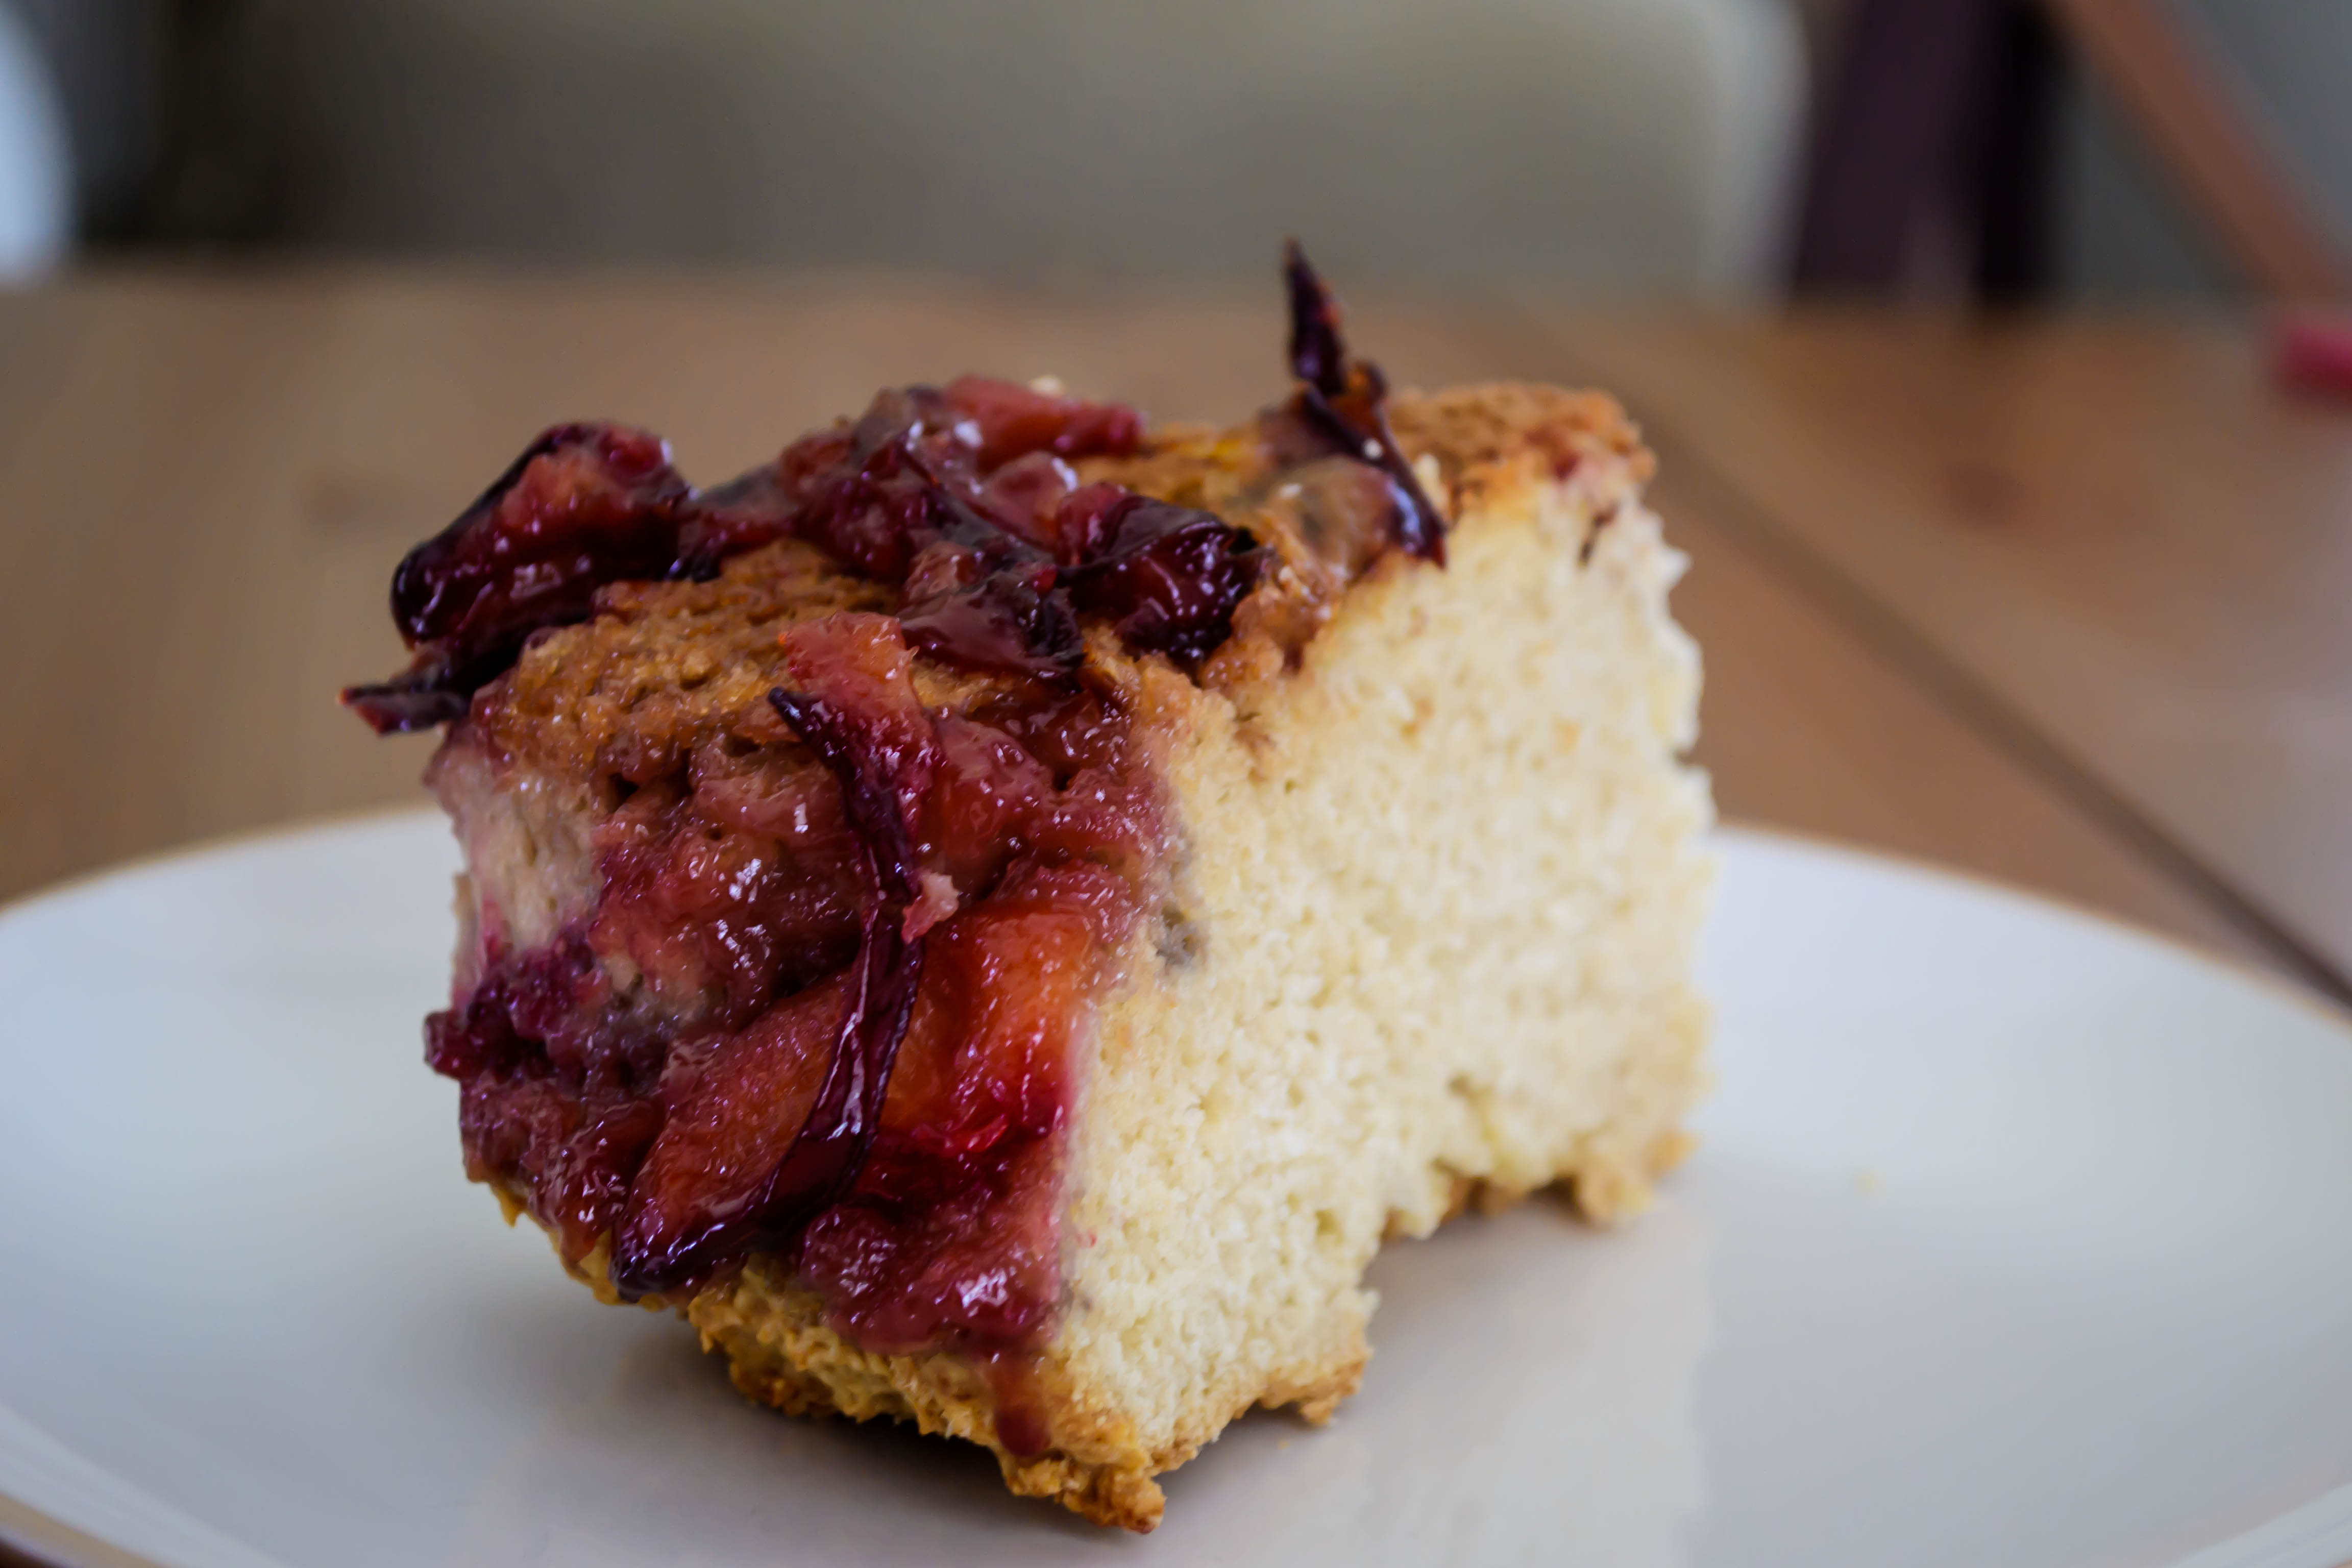
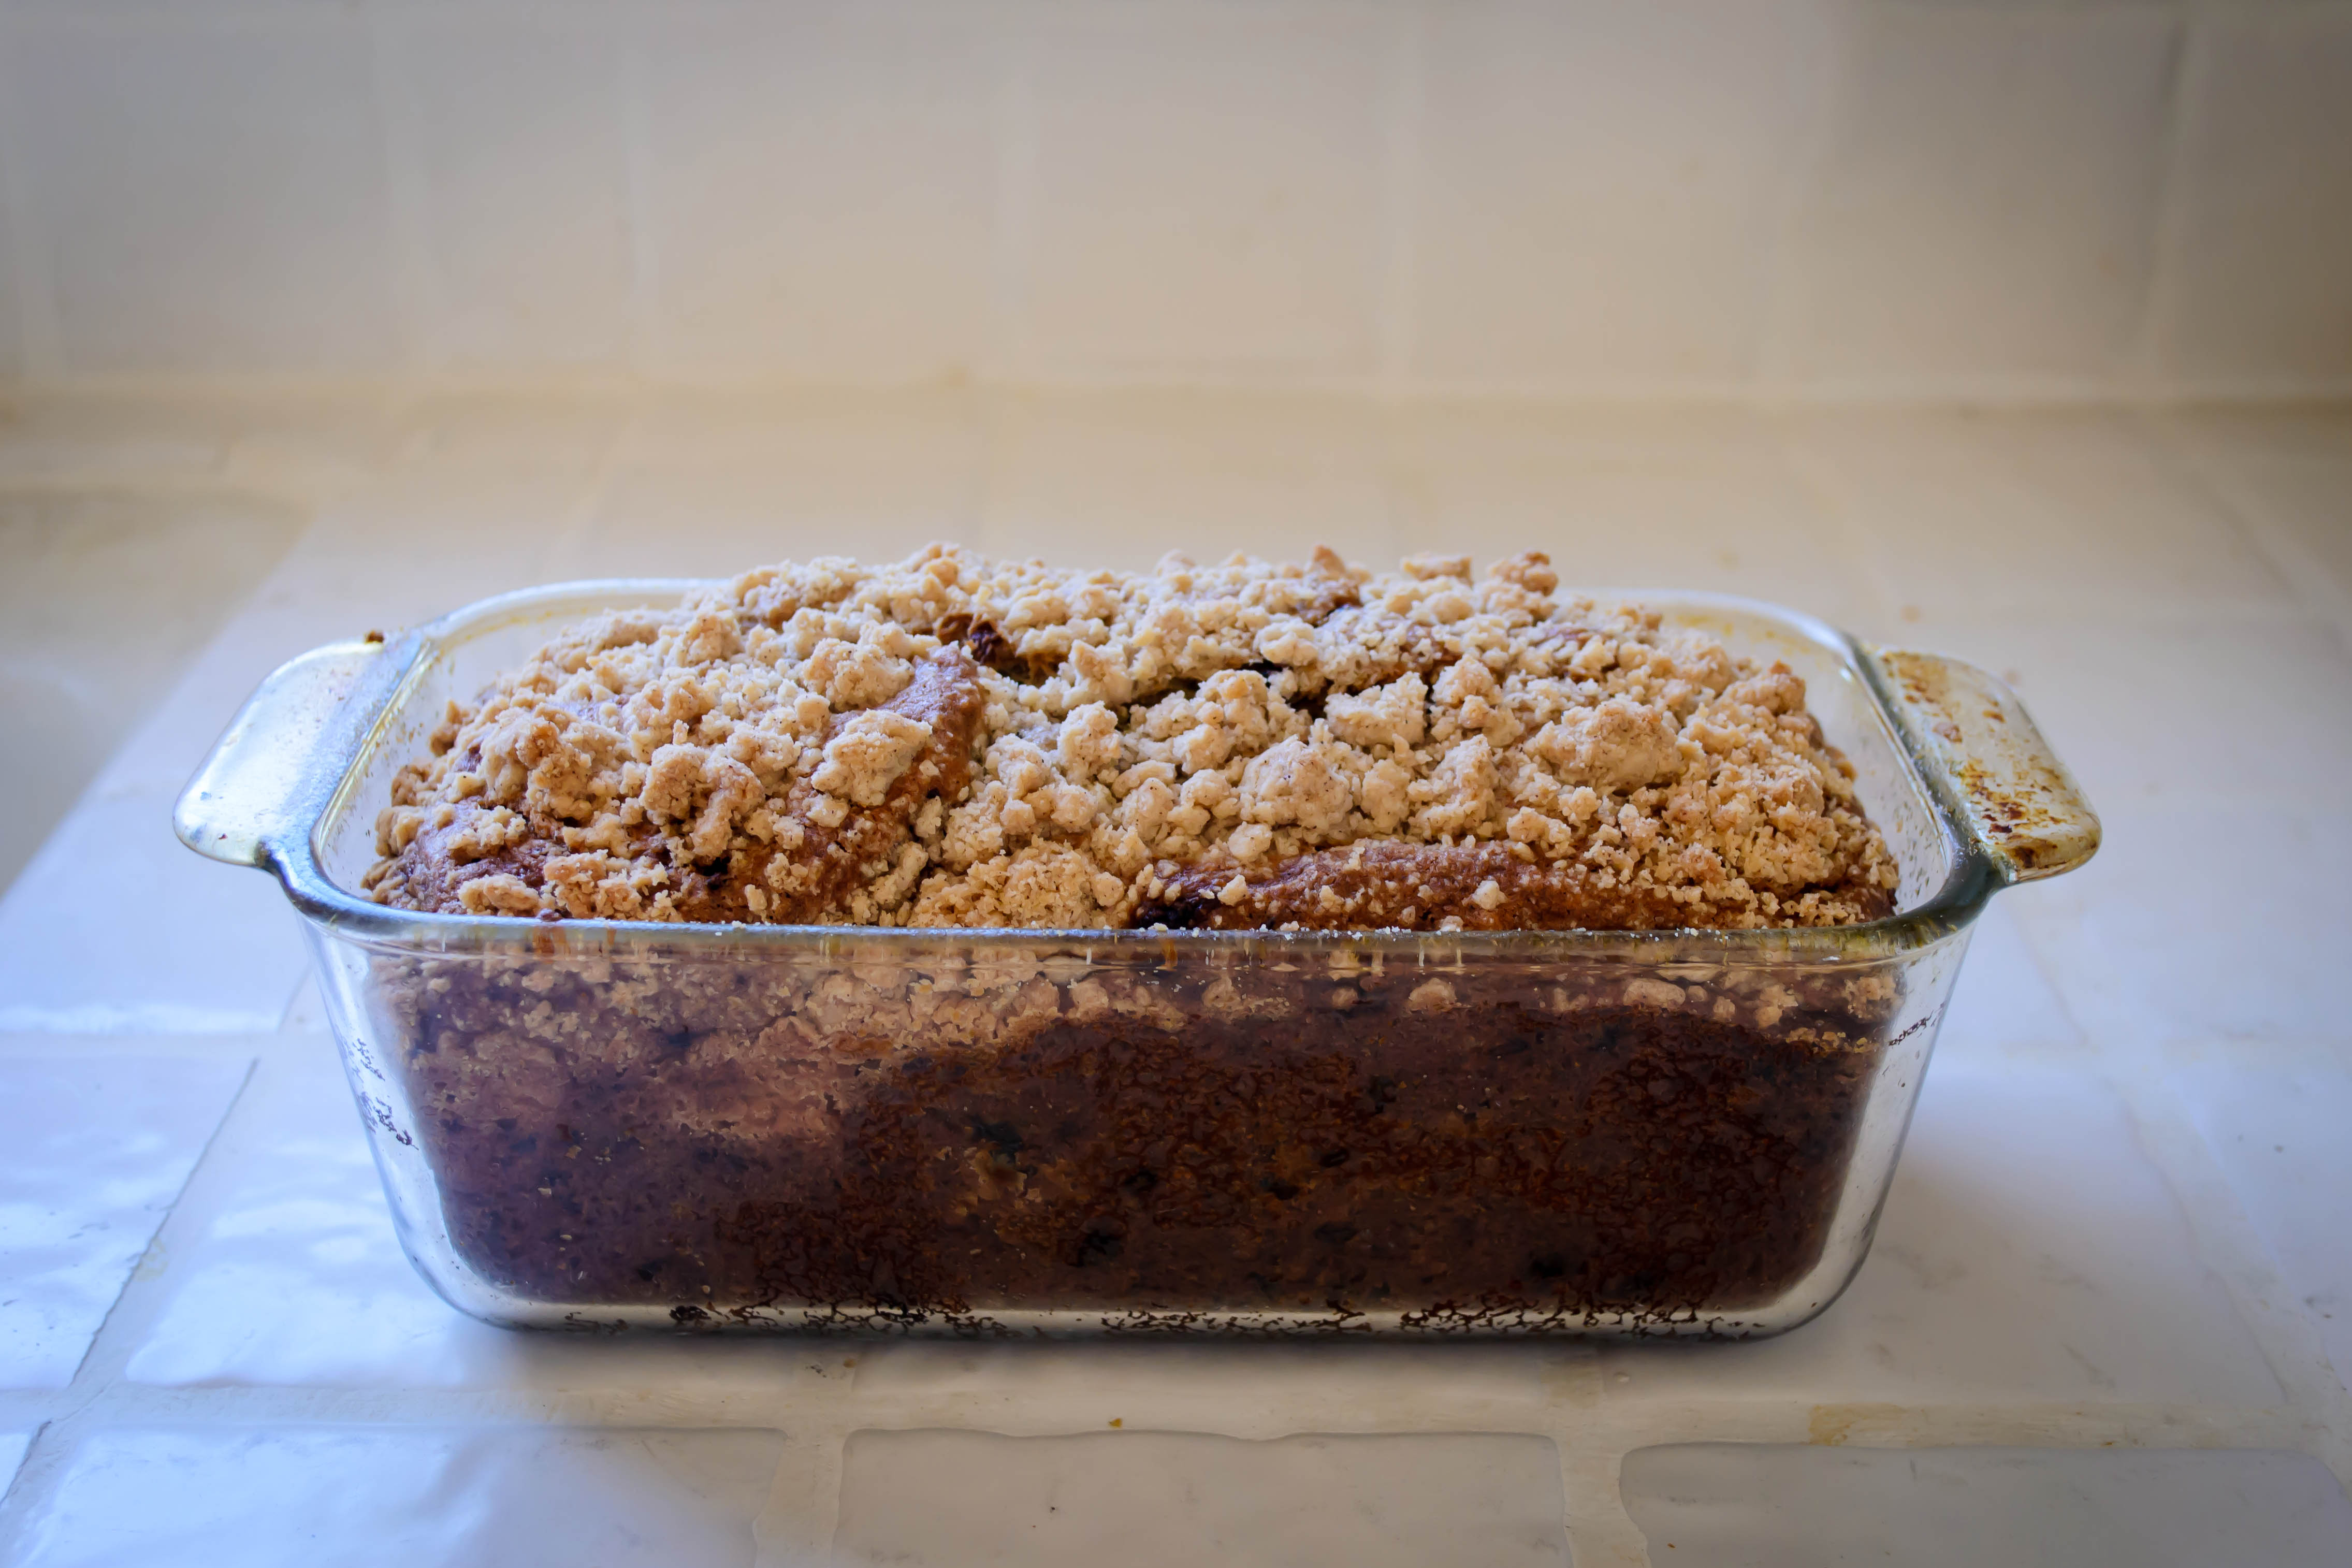
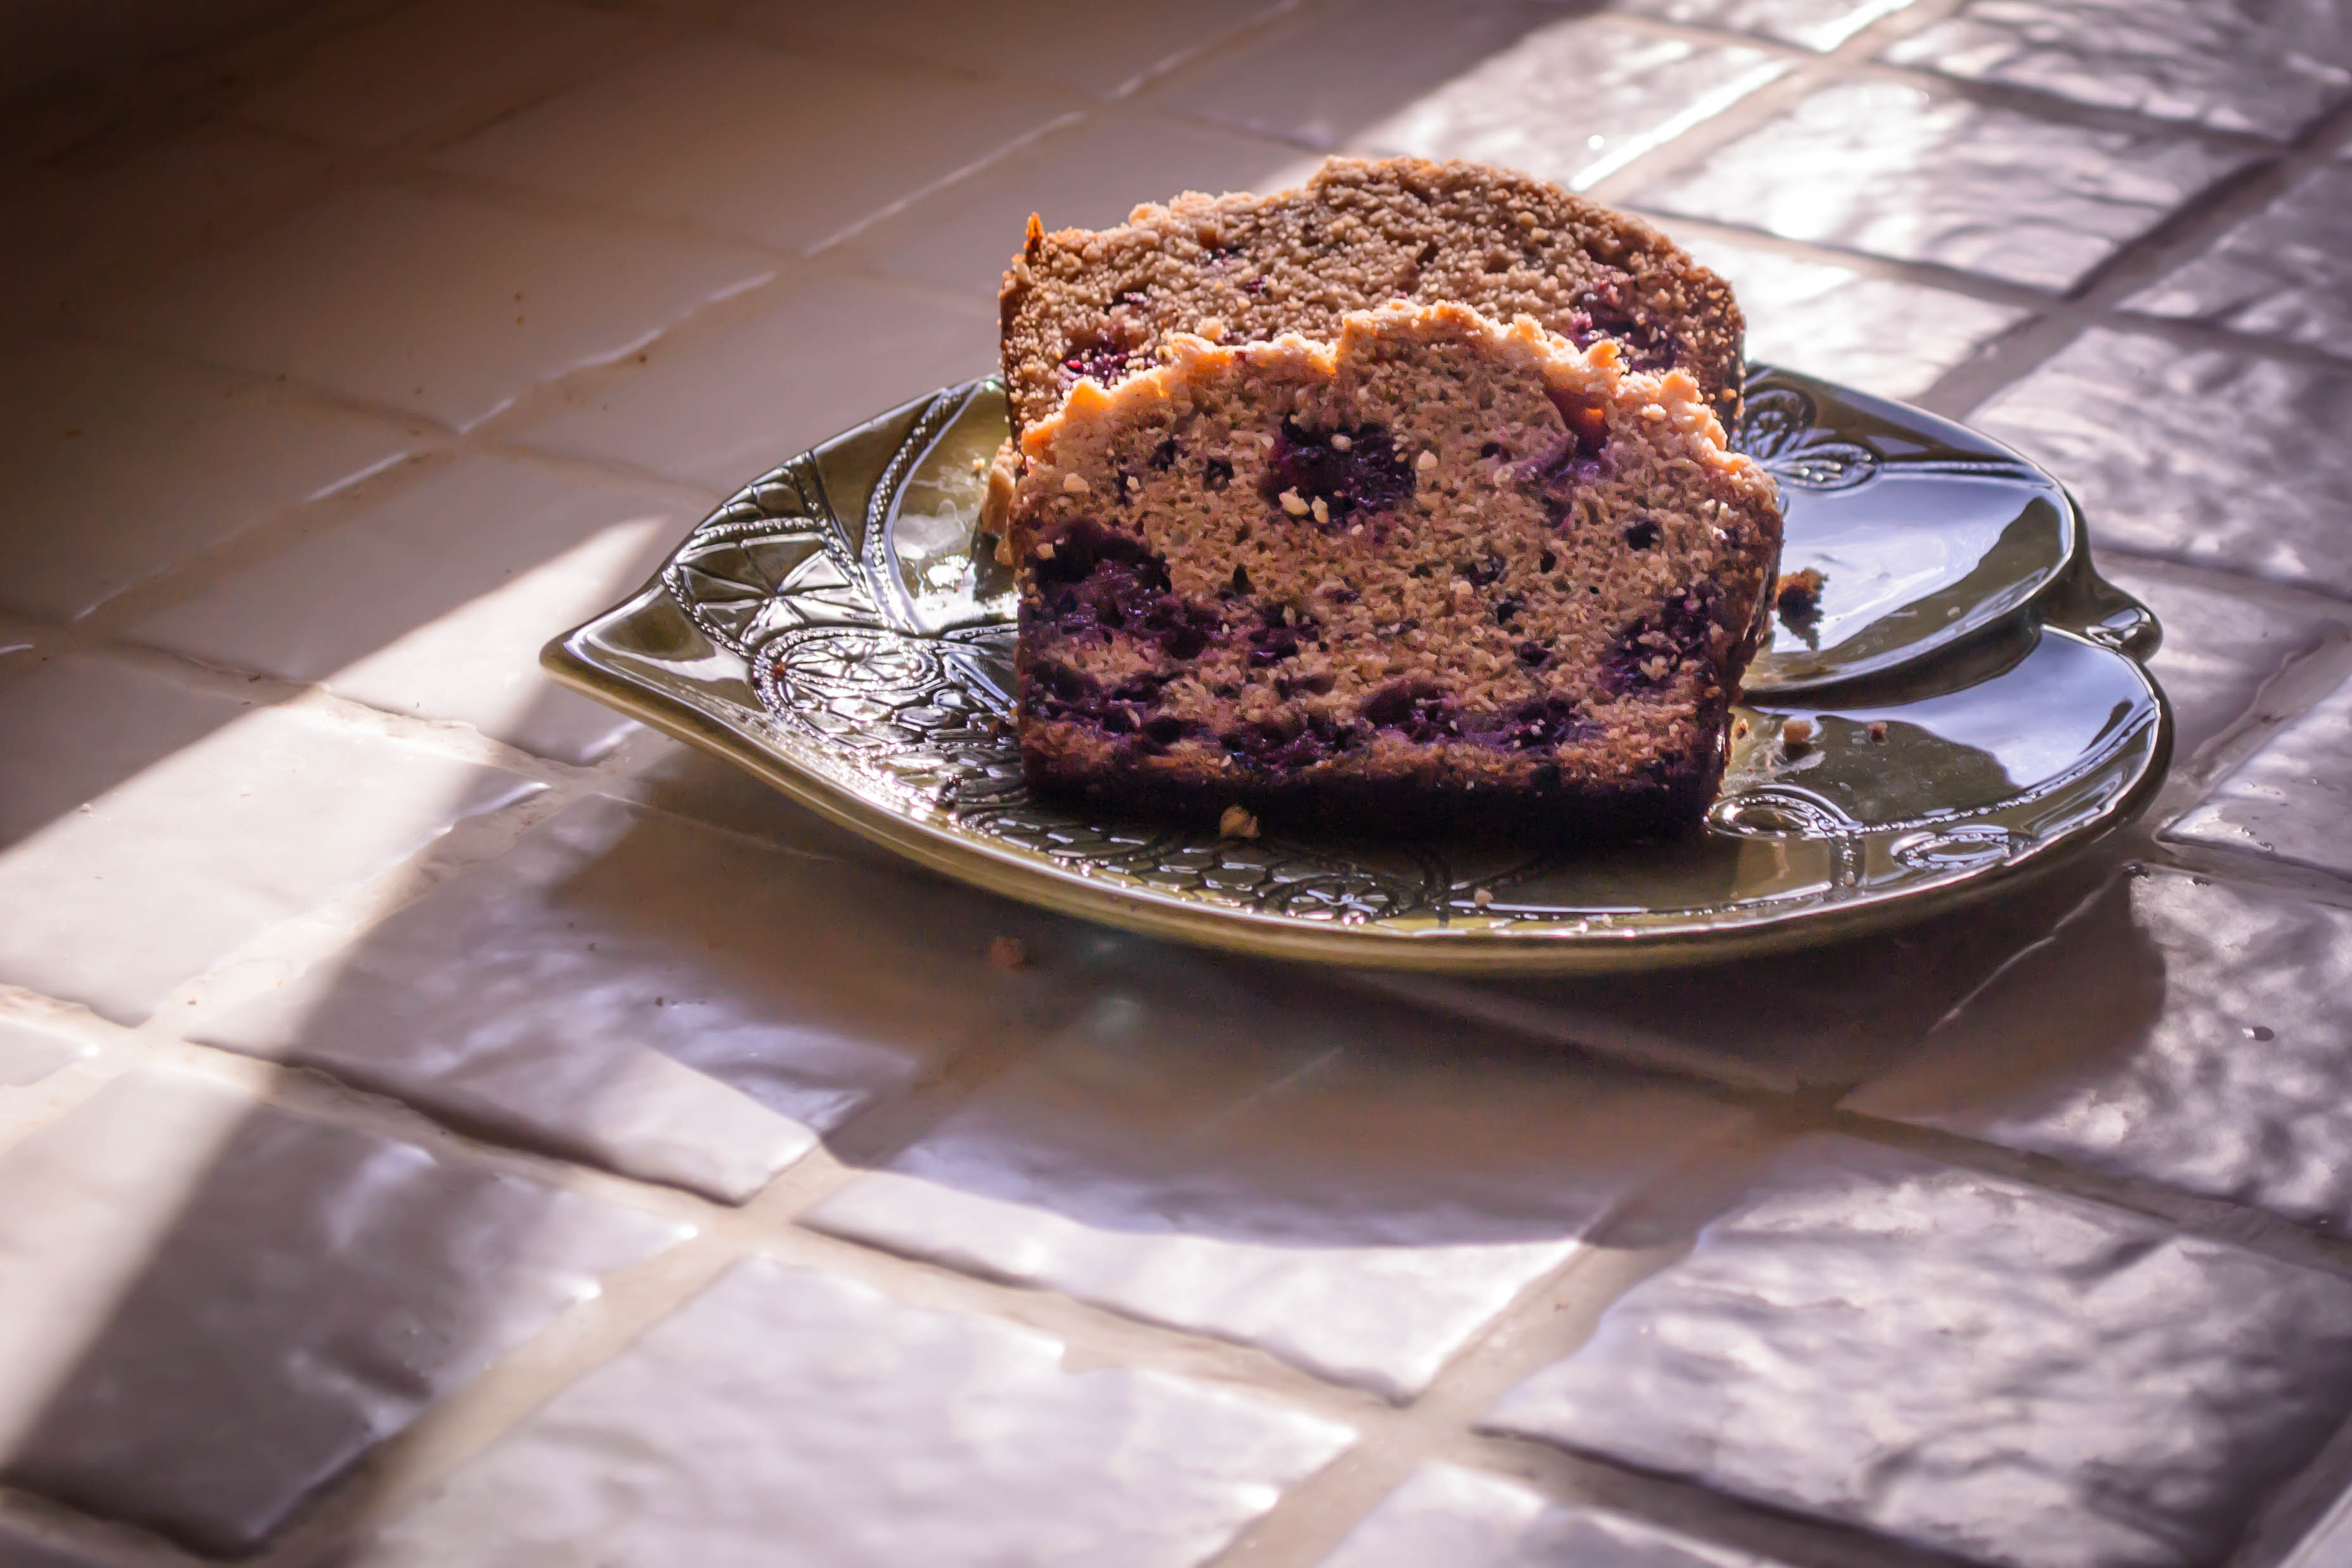
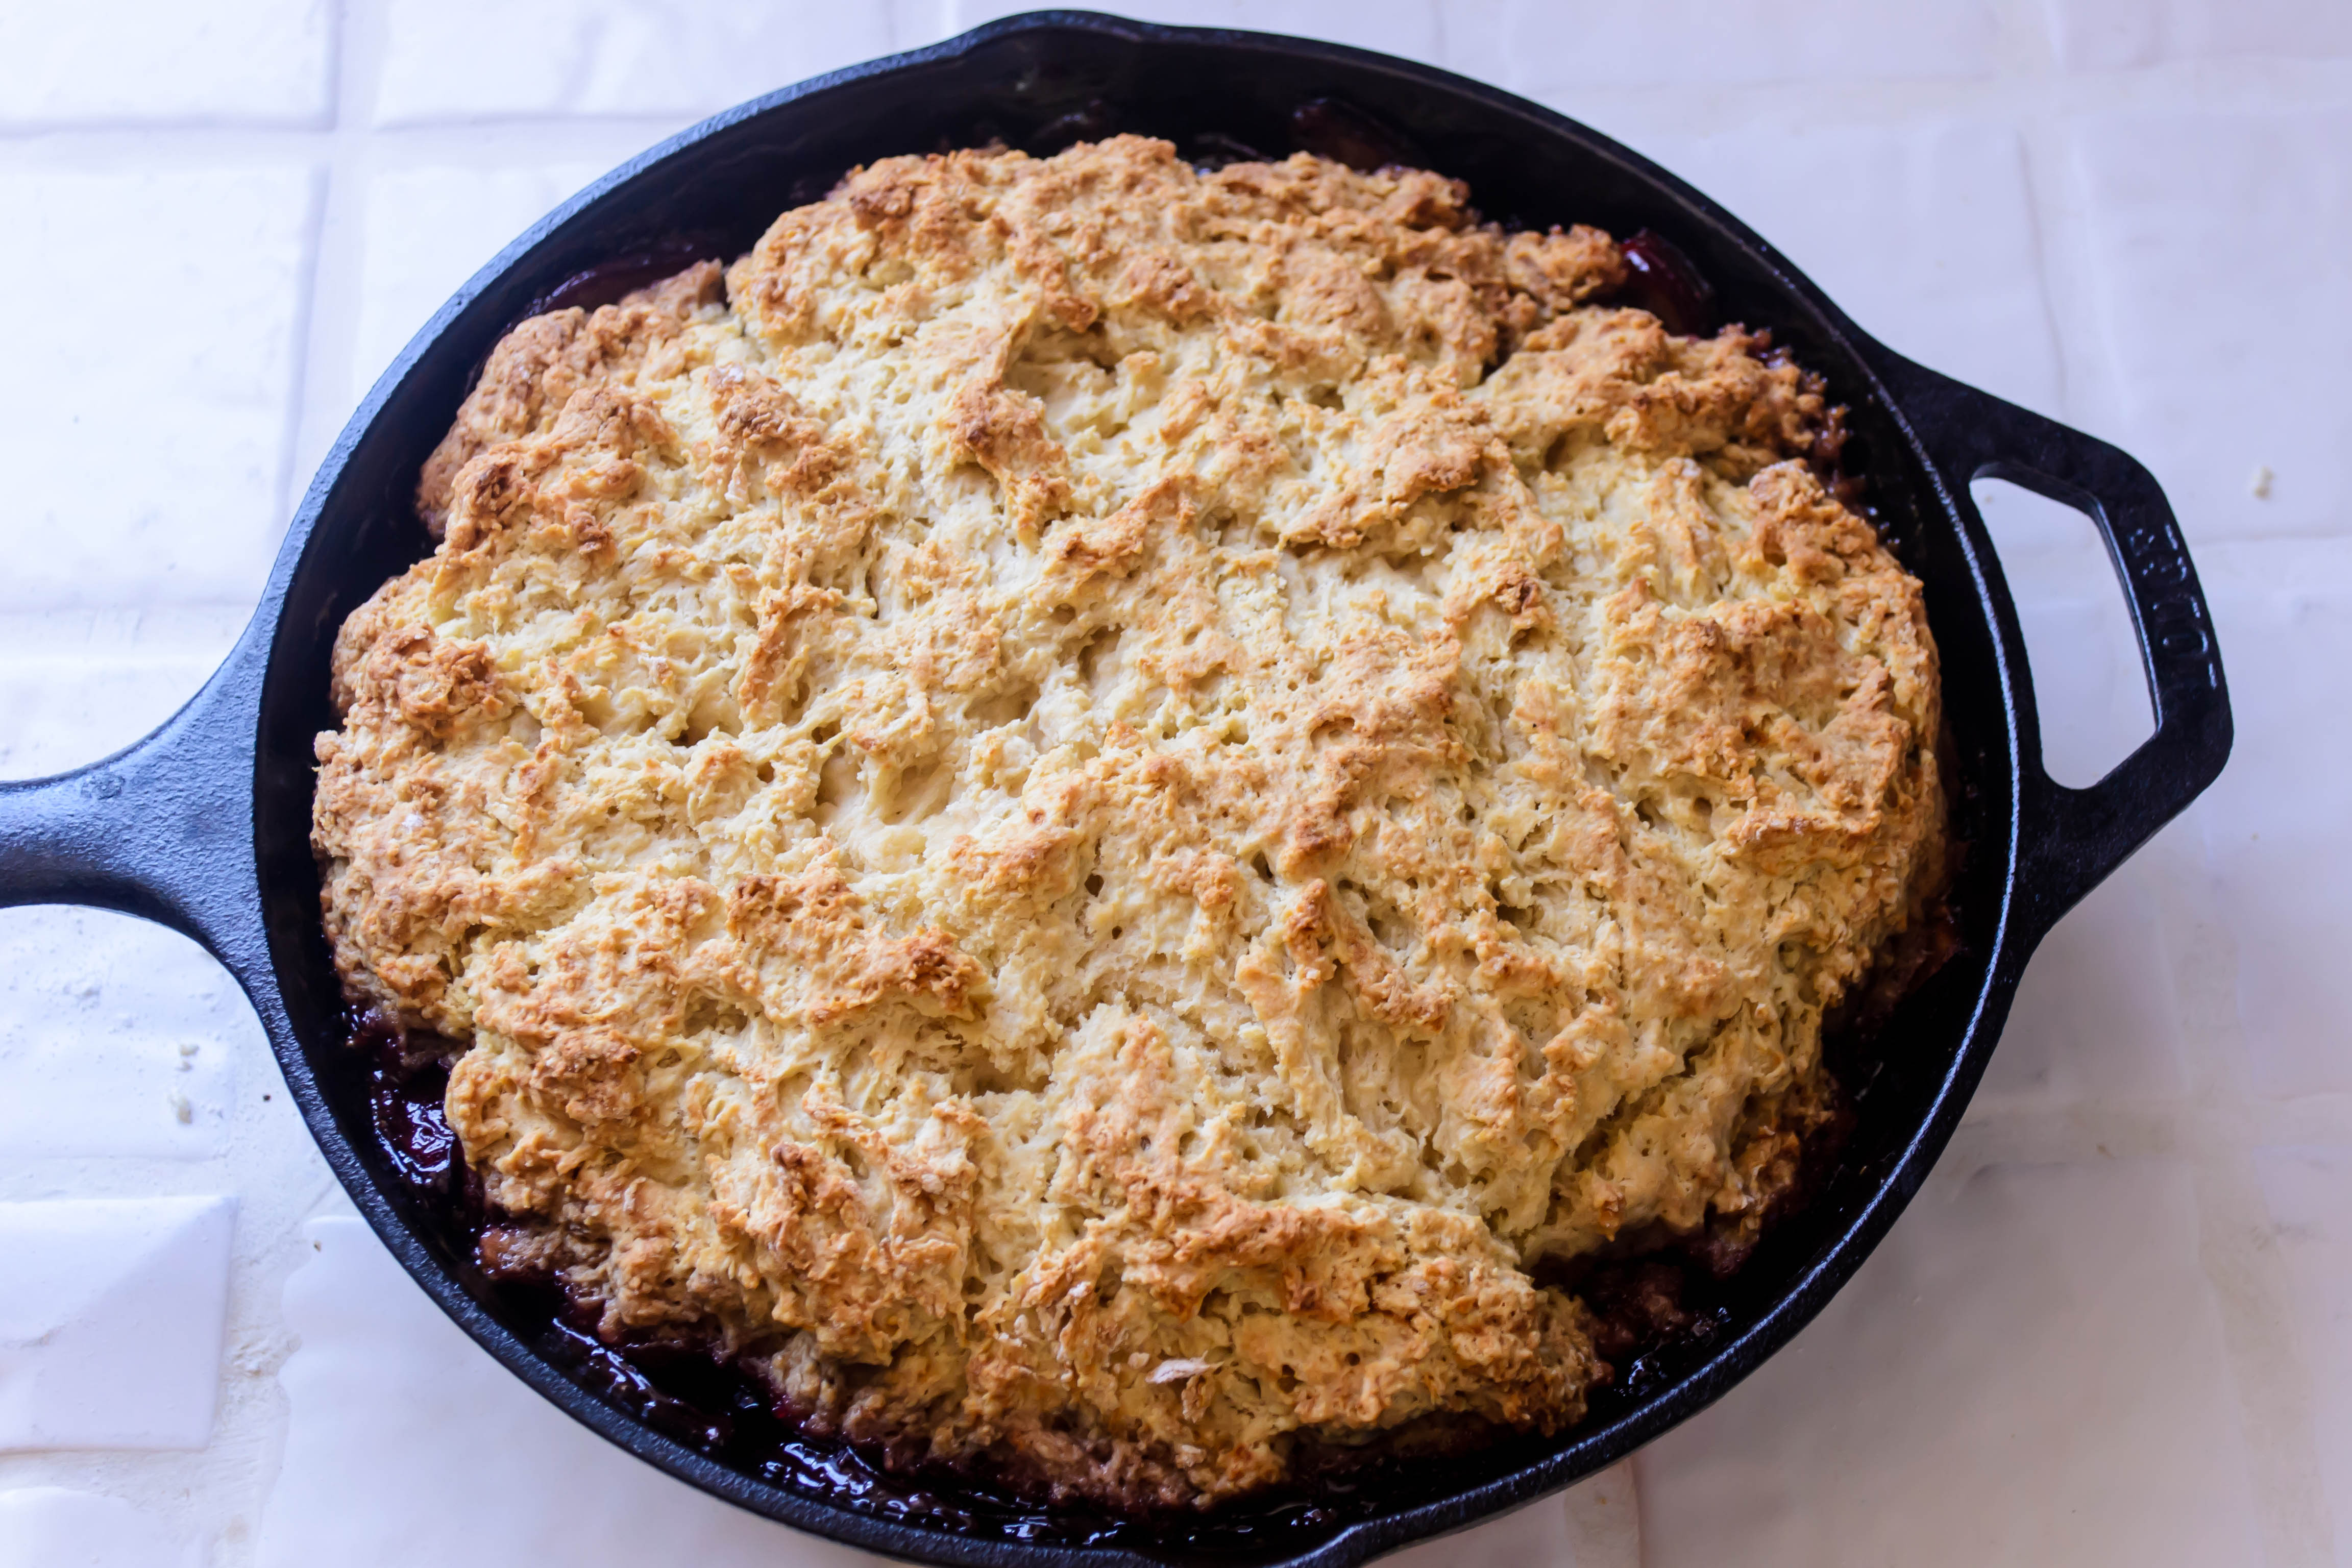
What I got was a stunner-in-progress.  I’m going to give you the recipe for exactly what I made, but I know this is not the final iteration of this dish for me.  The plums were perfect: juicy, melting into the caramel and the bottom of the bread, sticky and jammy and reminiscent of a triumphant batch of plum butter my mom made one summer with pounds and pound of plums delivered to our door in a brown paper bag straight from a neighbor’s tree.  The bread itself was good: solid Irish soda bread, a little richer and a little sweeter from the addition of brown sugar, extra butter, and an egg, perfect for the breakfasts and snacks I envisioned, and better the second day than the first.  But as I dug in, I found myself wanting the bread part to be more like cake: more egg, less flour, a hint of vanilla or nutmeg or maybe cardamom.  The plums were so good, so gloriously gooey and tooth-sticking-ly caramelized, that they deserve a proper dessert – something you can watch a scoop of ice cream melt over.

Food Blog July 2013-1938Make this.  It’s solid and scrumptious: the perfectly not-too-sweet energy boosting slice.  But consider yourself warned: this won’t be the last time you see upside down plum something here…

Food Blog July 2013-1945

Plum Upside Down Irish Soda Bread Cake
Serves 8-10
2-3 plums, thinly sliced
2 TB butter
¼ cup brown sugar
2 cups all-purpose flour
2 cups cake flour (this adds some lightness – if you don’t have cake flour, you can use all AP flour instead with slightly denser results)
¼ cup brown sugar (again)
1 ½ tsp baking soda
1 tsp salt
¼ cup melted butter
1 ½ cups buttermilk
1 egg


  • Preheat the oven to 400F.
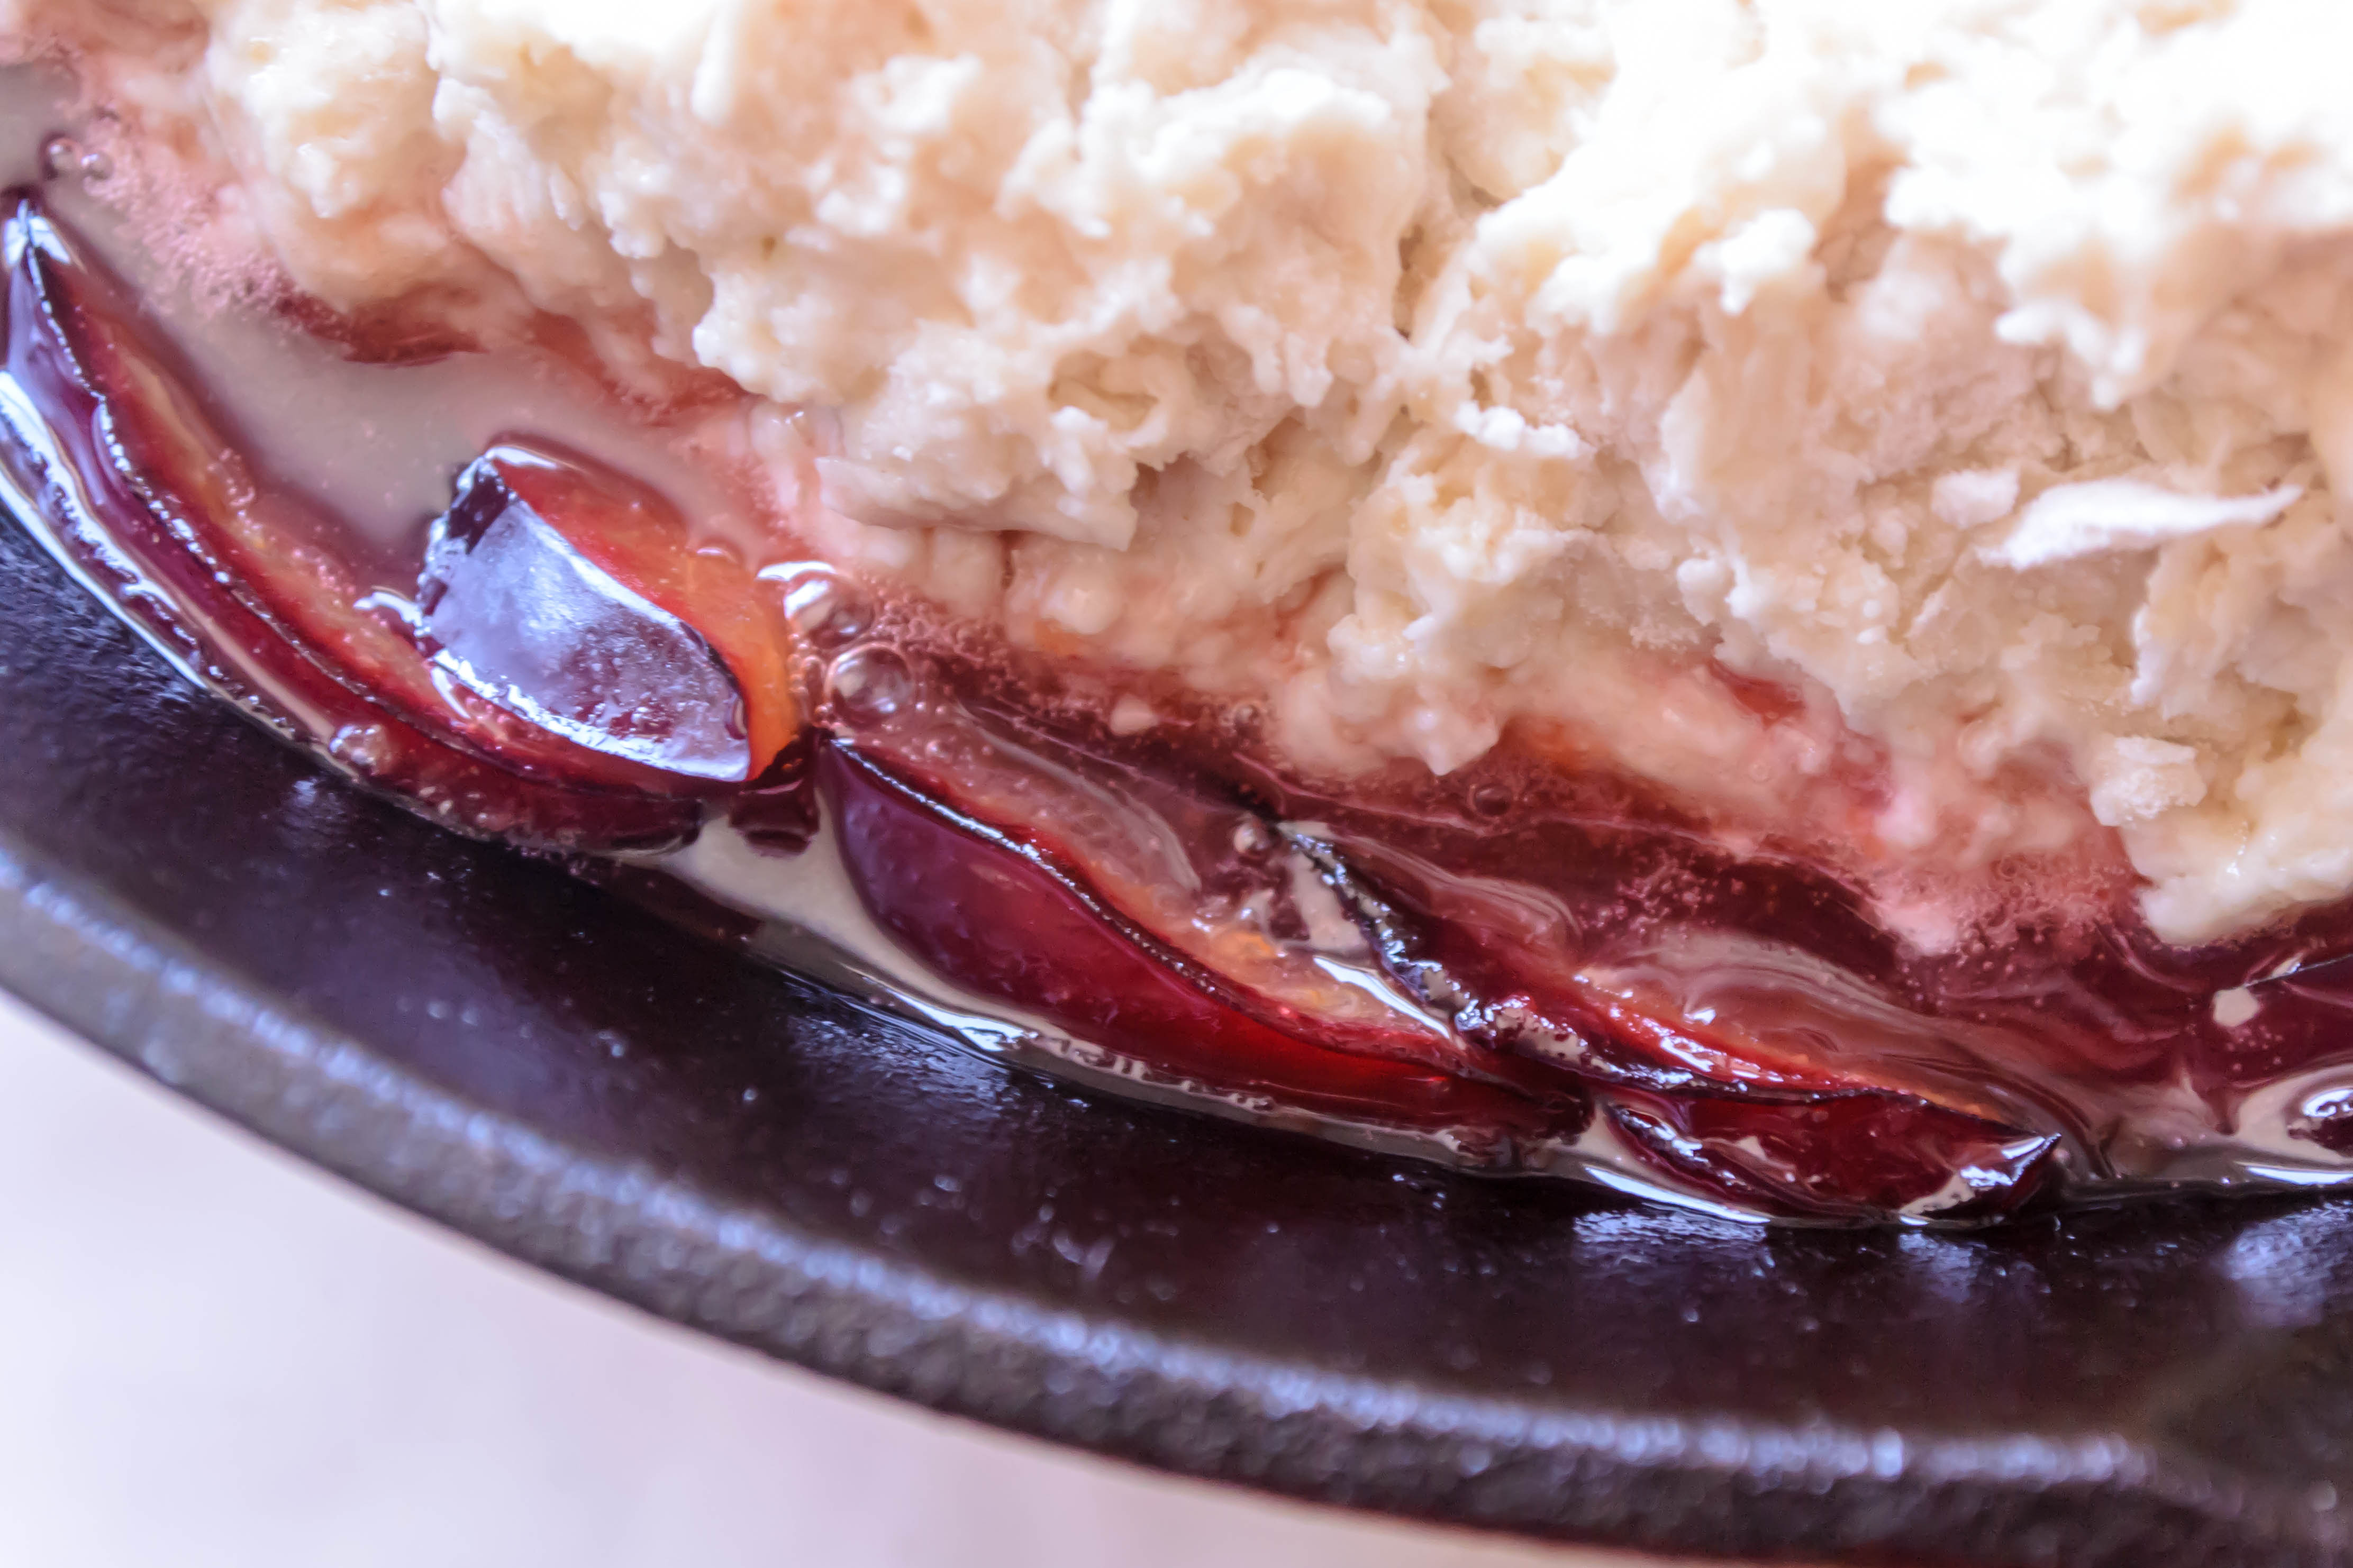
  • In a cast iron skillet (or other oven-safe skillet), melt the 2 TB butter and toss in the first ¼ cup brown sugar.  Stir around until butter and sugar melt together into a sticky, bubbly mass.
  • Pull the skillet off the heat and add the plums in an even, single layer right on top of the caramel you’ve created.  You can place them in concentric rings if you want, for aesthetics, but so long as you have a complete single layer, you’re in good shape.  Set the skillet aside.
  • In a medium bowl, whisk the flours, the remaining ¼ cup brown sugar, the baking soda, and the salt until well blended.
  • In a small bowl or a 2-cup glass measuring cup (I like it easy), combine the melted butter, buttermilk, and egg.  Beat thoroughly with a fork.  Some of the melted butter will solidify again when the colder buttermilk hits it, but that’s okay.  It will all work out.
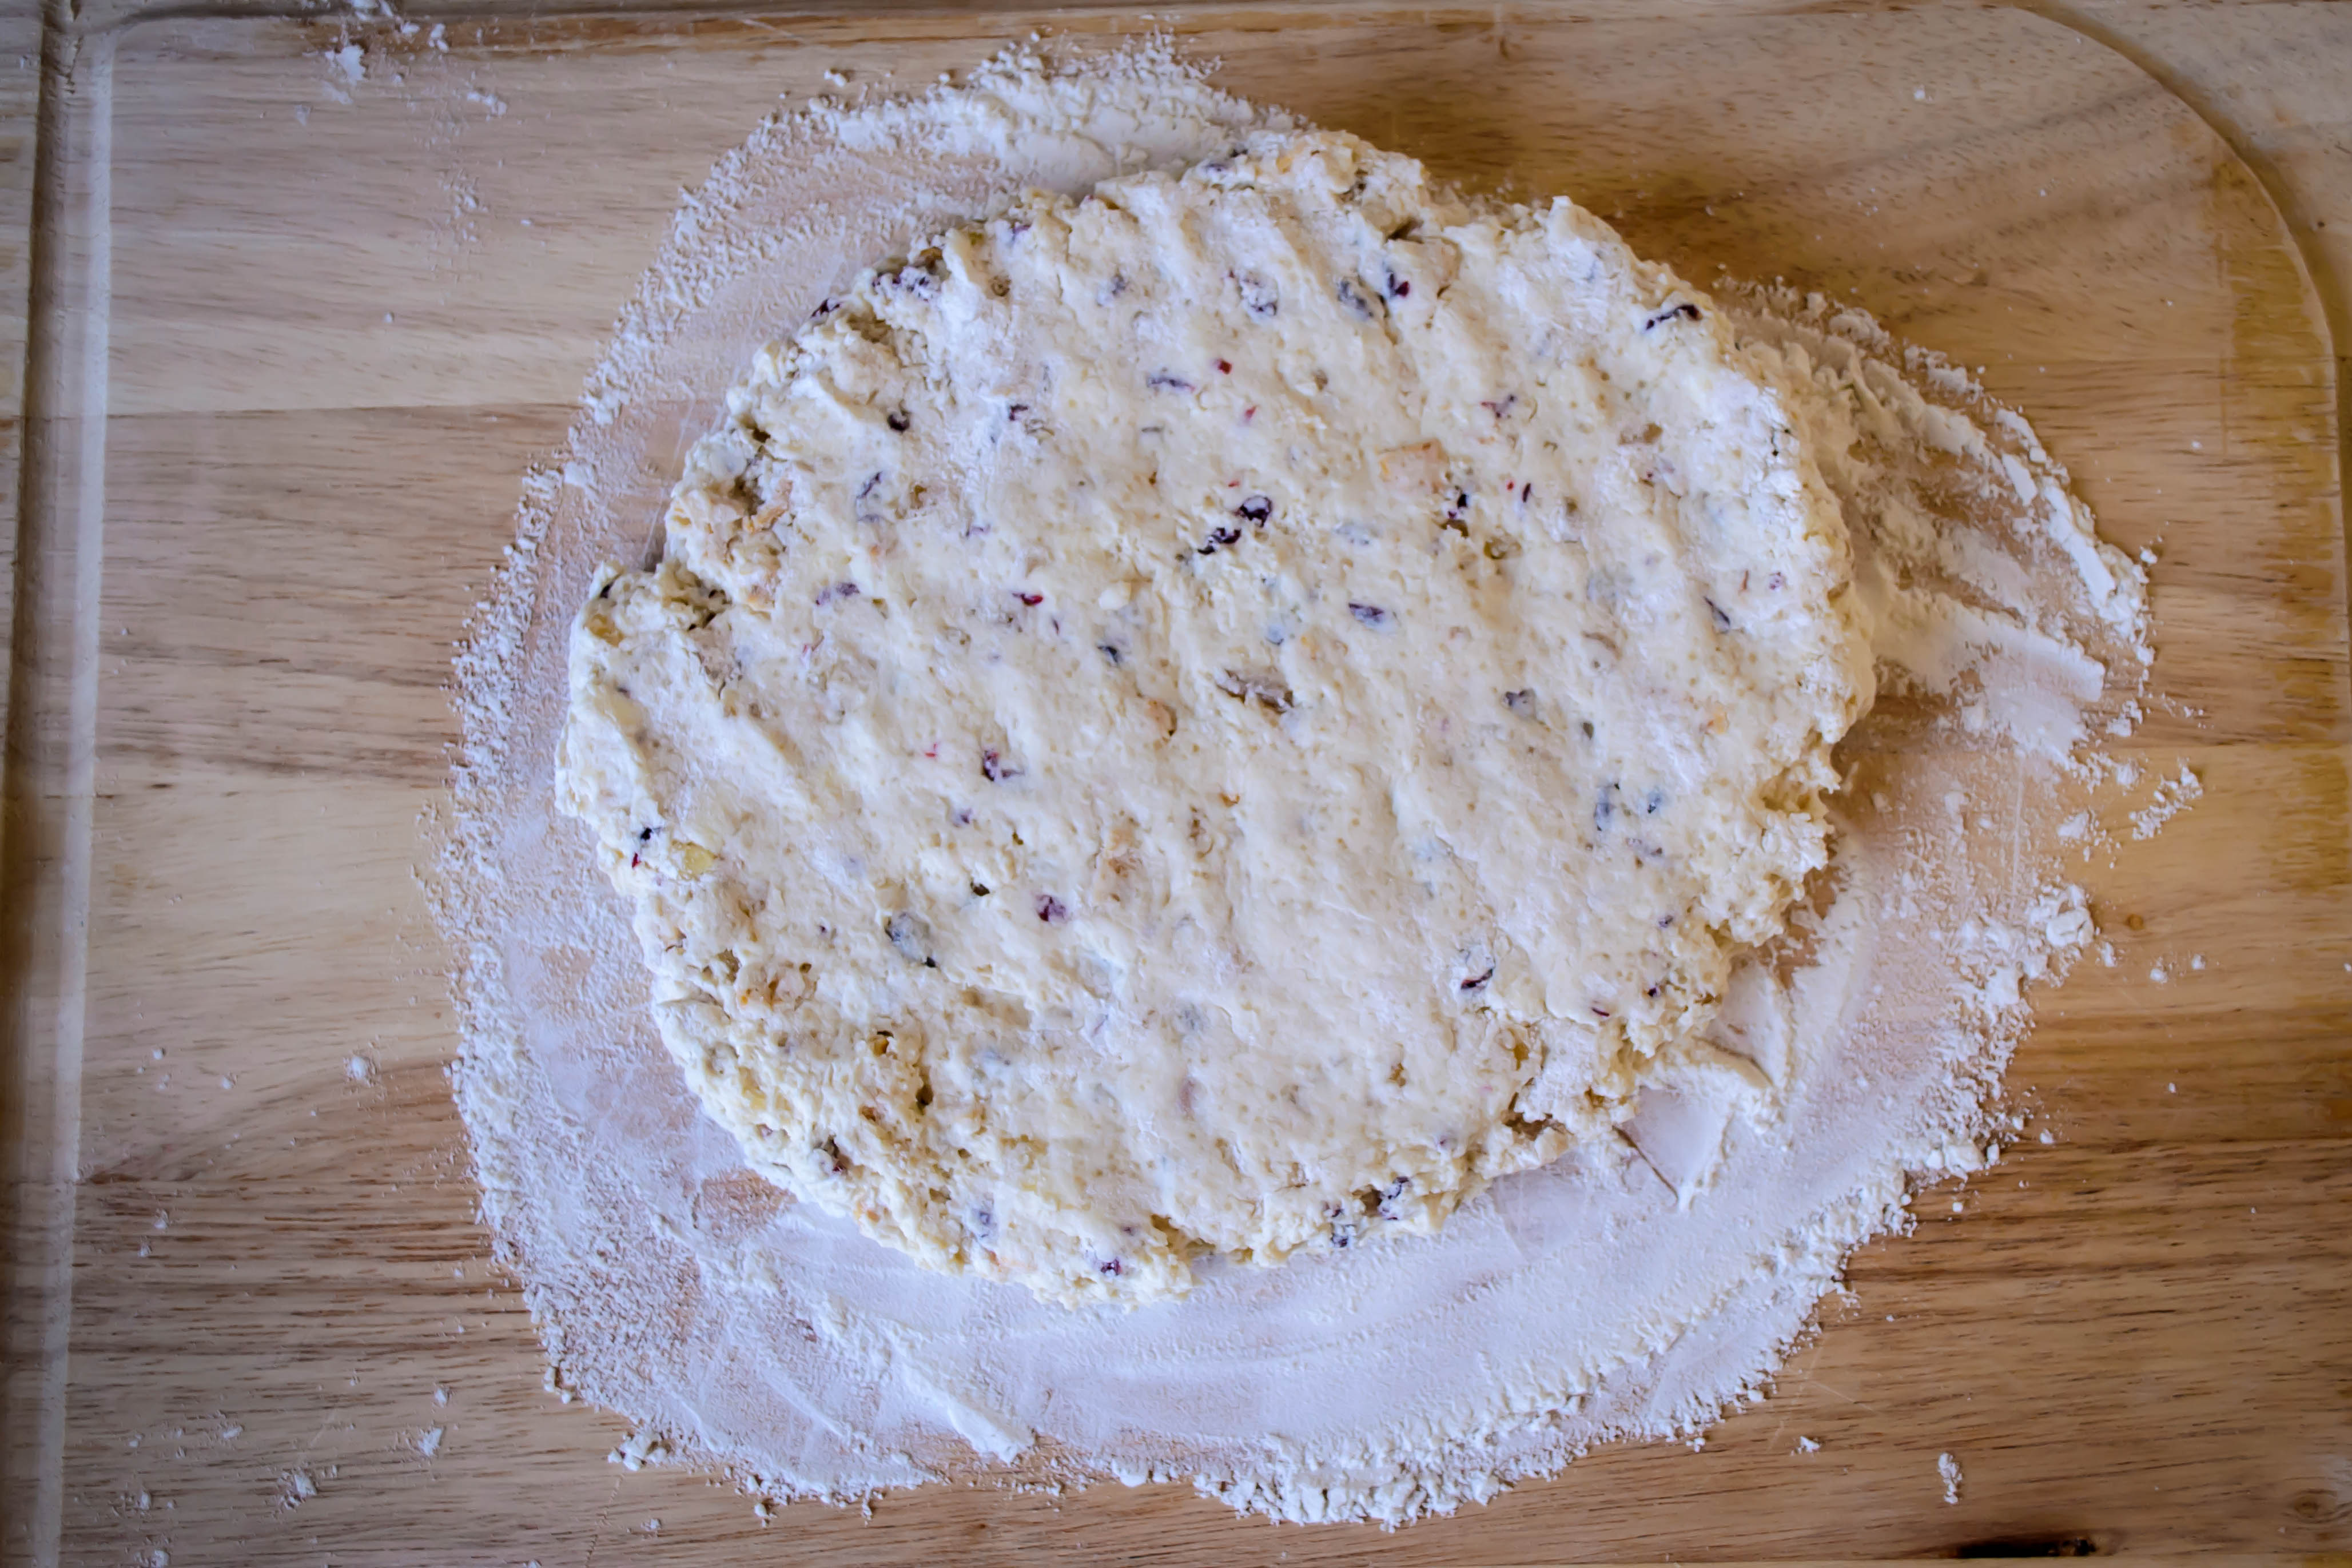
  • Pour the liquid mixture into your whisked dry ingredients.  You can make a well in the center first if you want, but the important thing is just to get them in there.  Combine with a fork, as you would with the liquid in biscuits, just until everything is incorporated into a rough, lumpy heap of dough.
  • Plop the dough onto the layer of plums and use a spatula or your hands to press it down a bit into an even layer that covers the fruit below.
  • Bake in a 400F oven for 30-40 minutes, until the bread is puffed, golden, and reaches an internal temperature of about 180F.
  • When the bread is done, let it cool for 5-10 minutes.  You can use this time to gather your courage, because the step that comes next is a little bit scary.
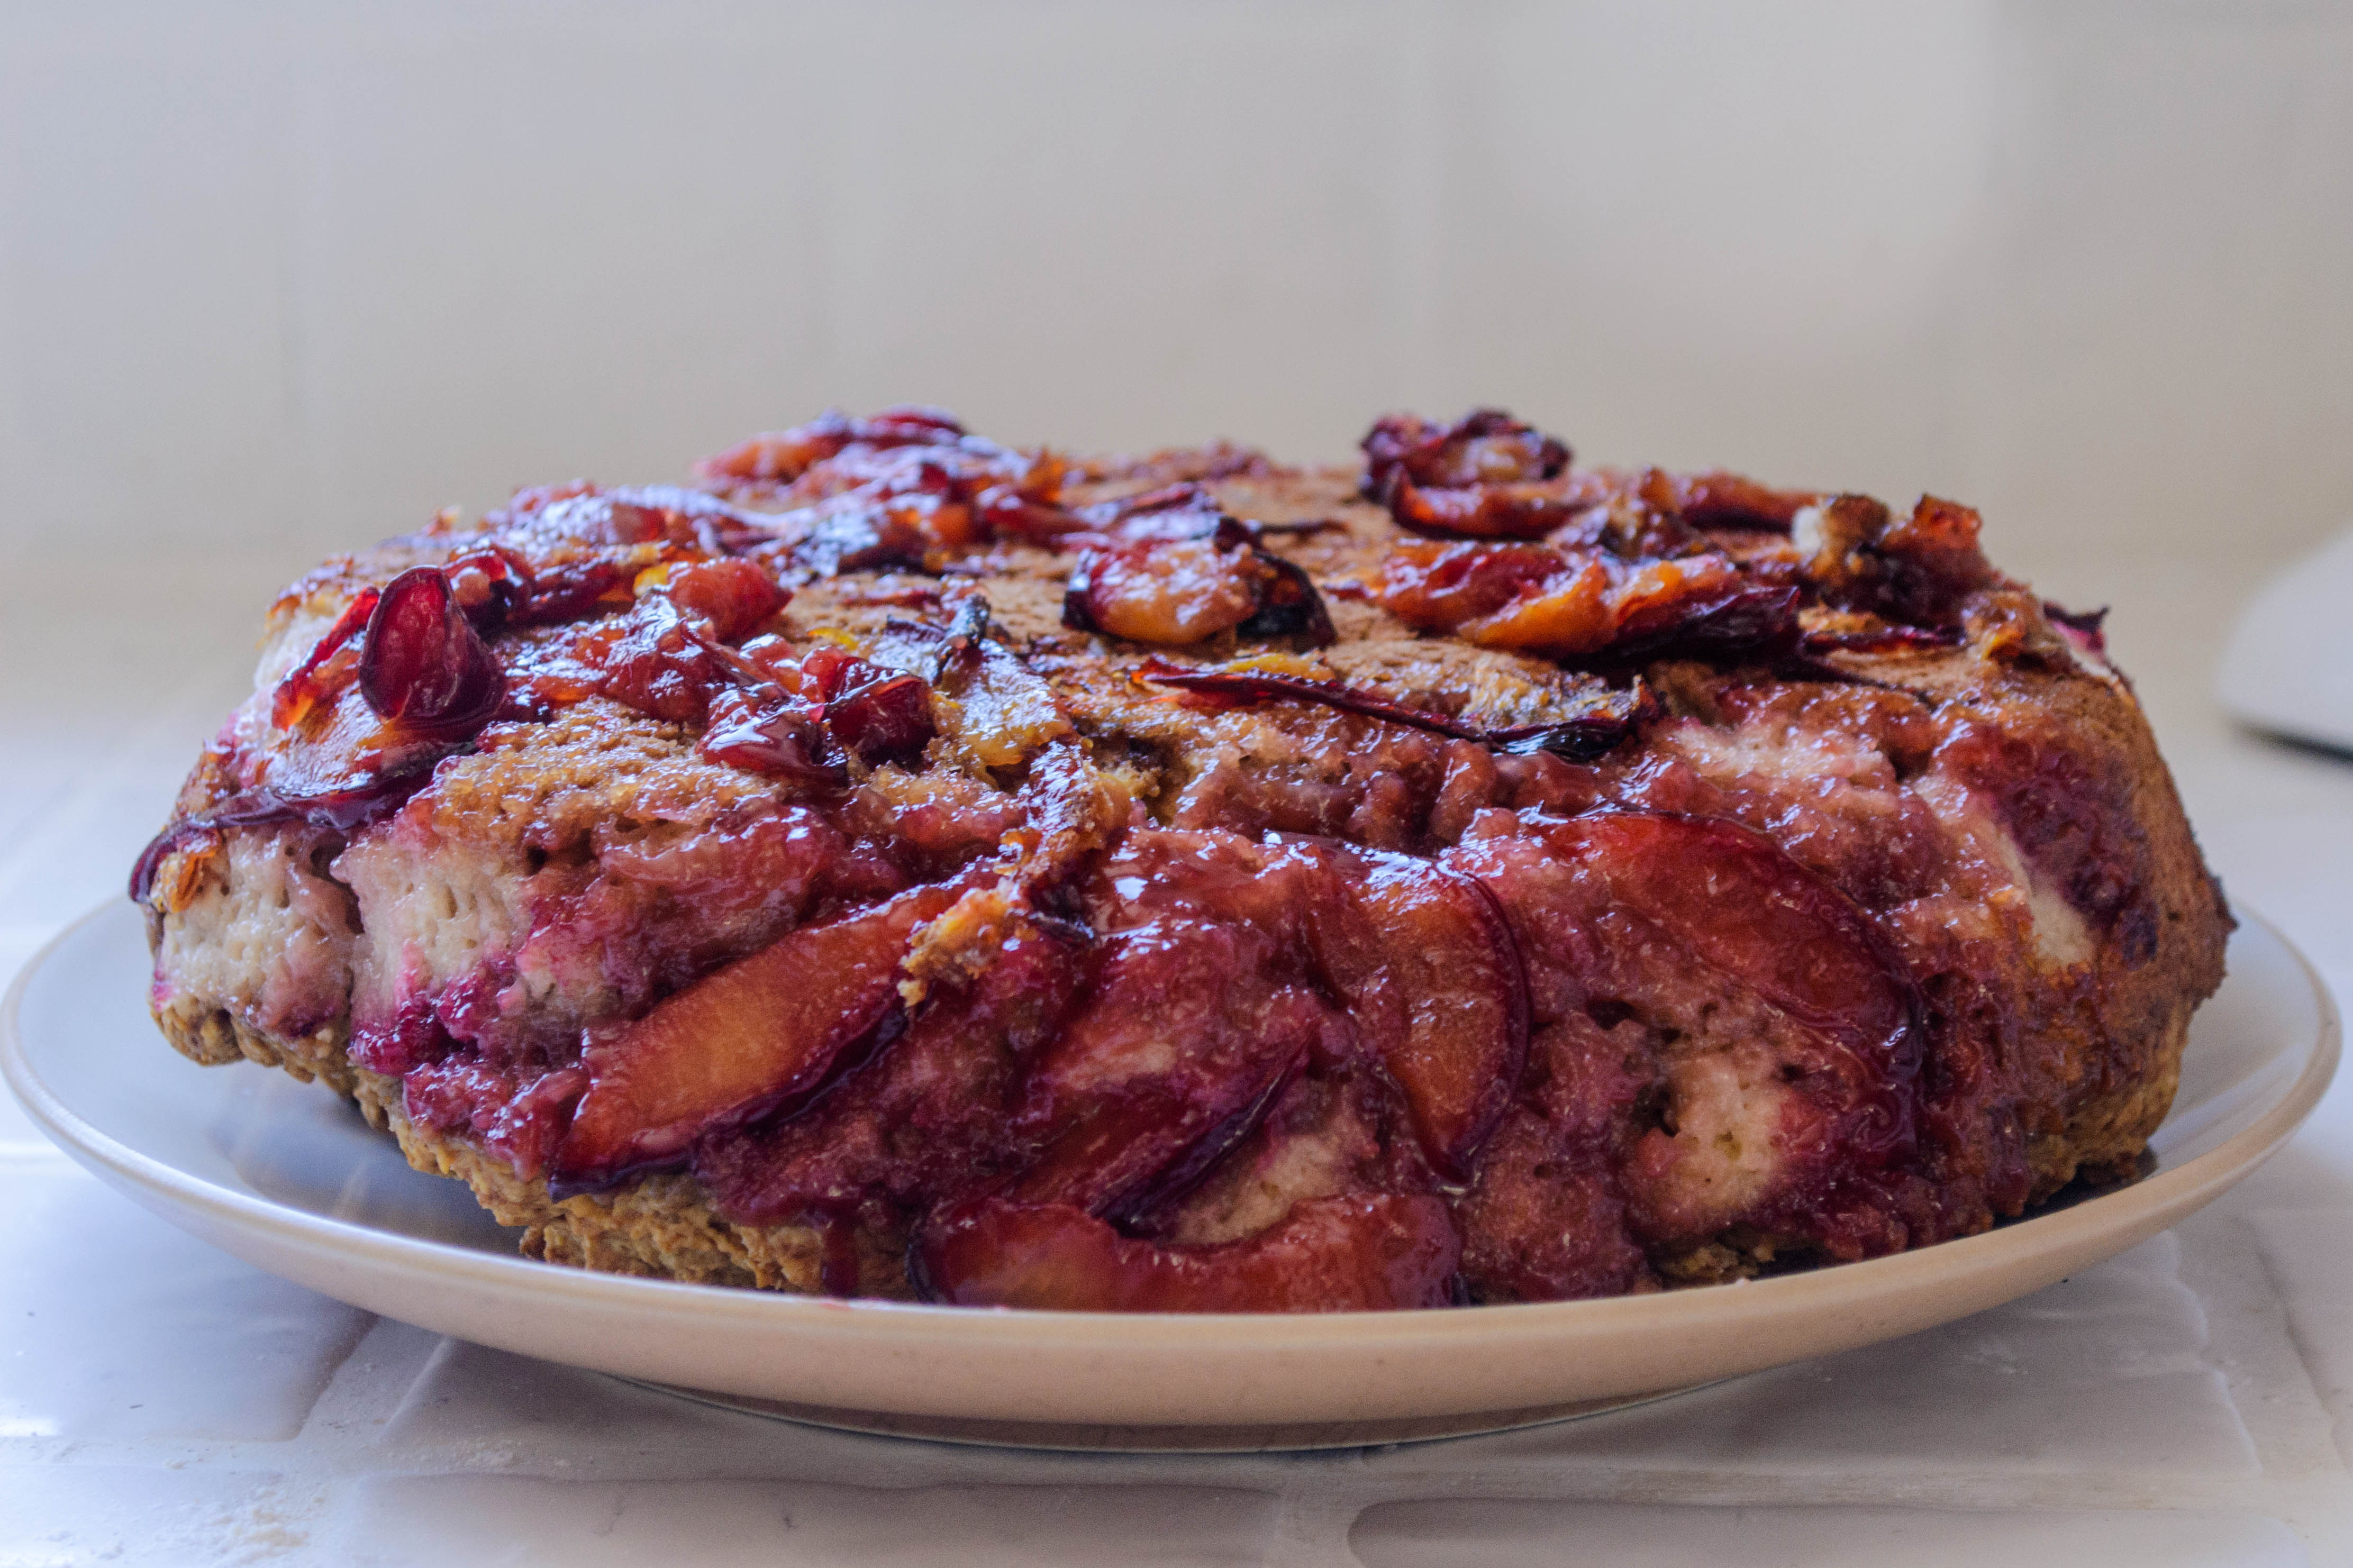
  • Place a large plate over the top of your cast iron skillet.  Being very careful, and using pot holders because that sucker is still smokin’ hot, invert the plate-skillet contraption so that the skillet is resting on the plate, bottom side up.  What we’re after is for the bread to give up its hold on the skillet and drop gently onto the plate with the plum layer on top.  This may take another 5-10 minutes.
  • Once the loaf has unstuck itself from the skillet and landed on the plate, remove the skillet and scrape out any remaining plum slices to add to the top of the cake itself.
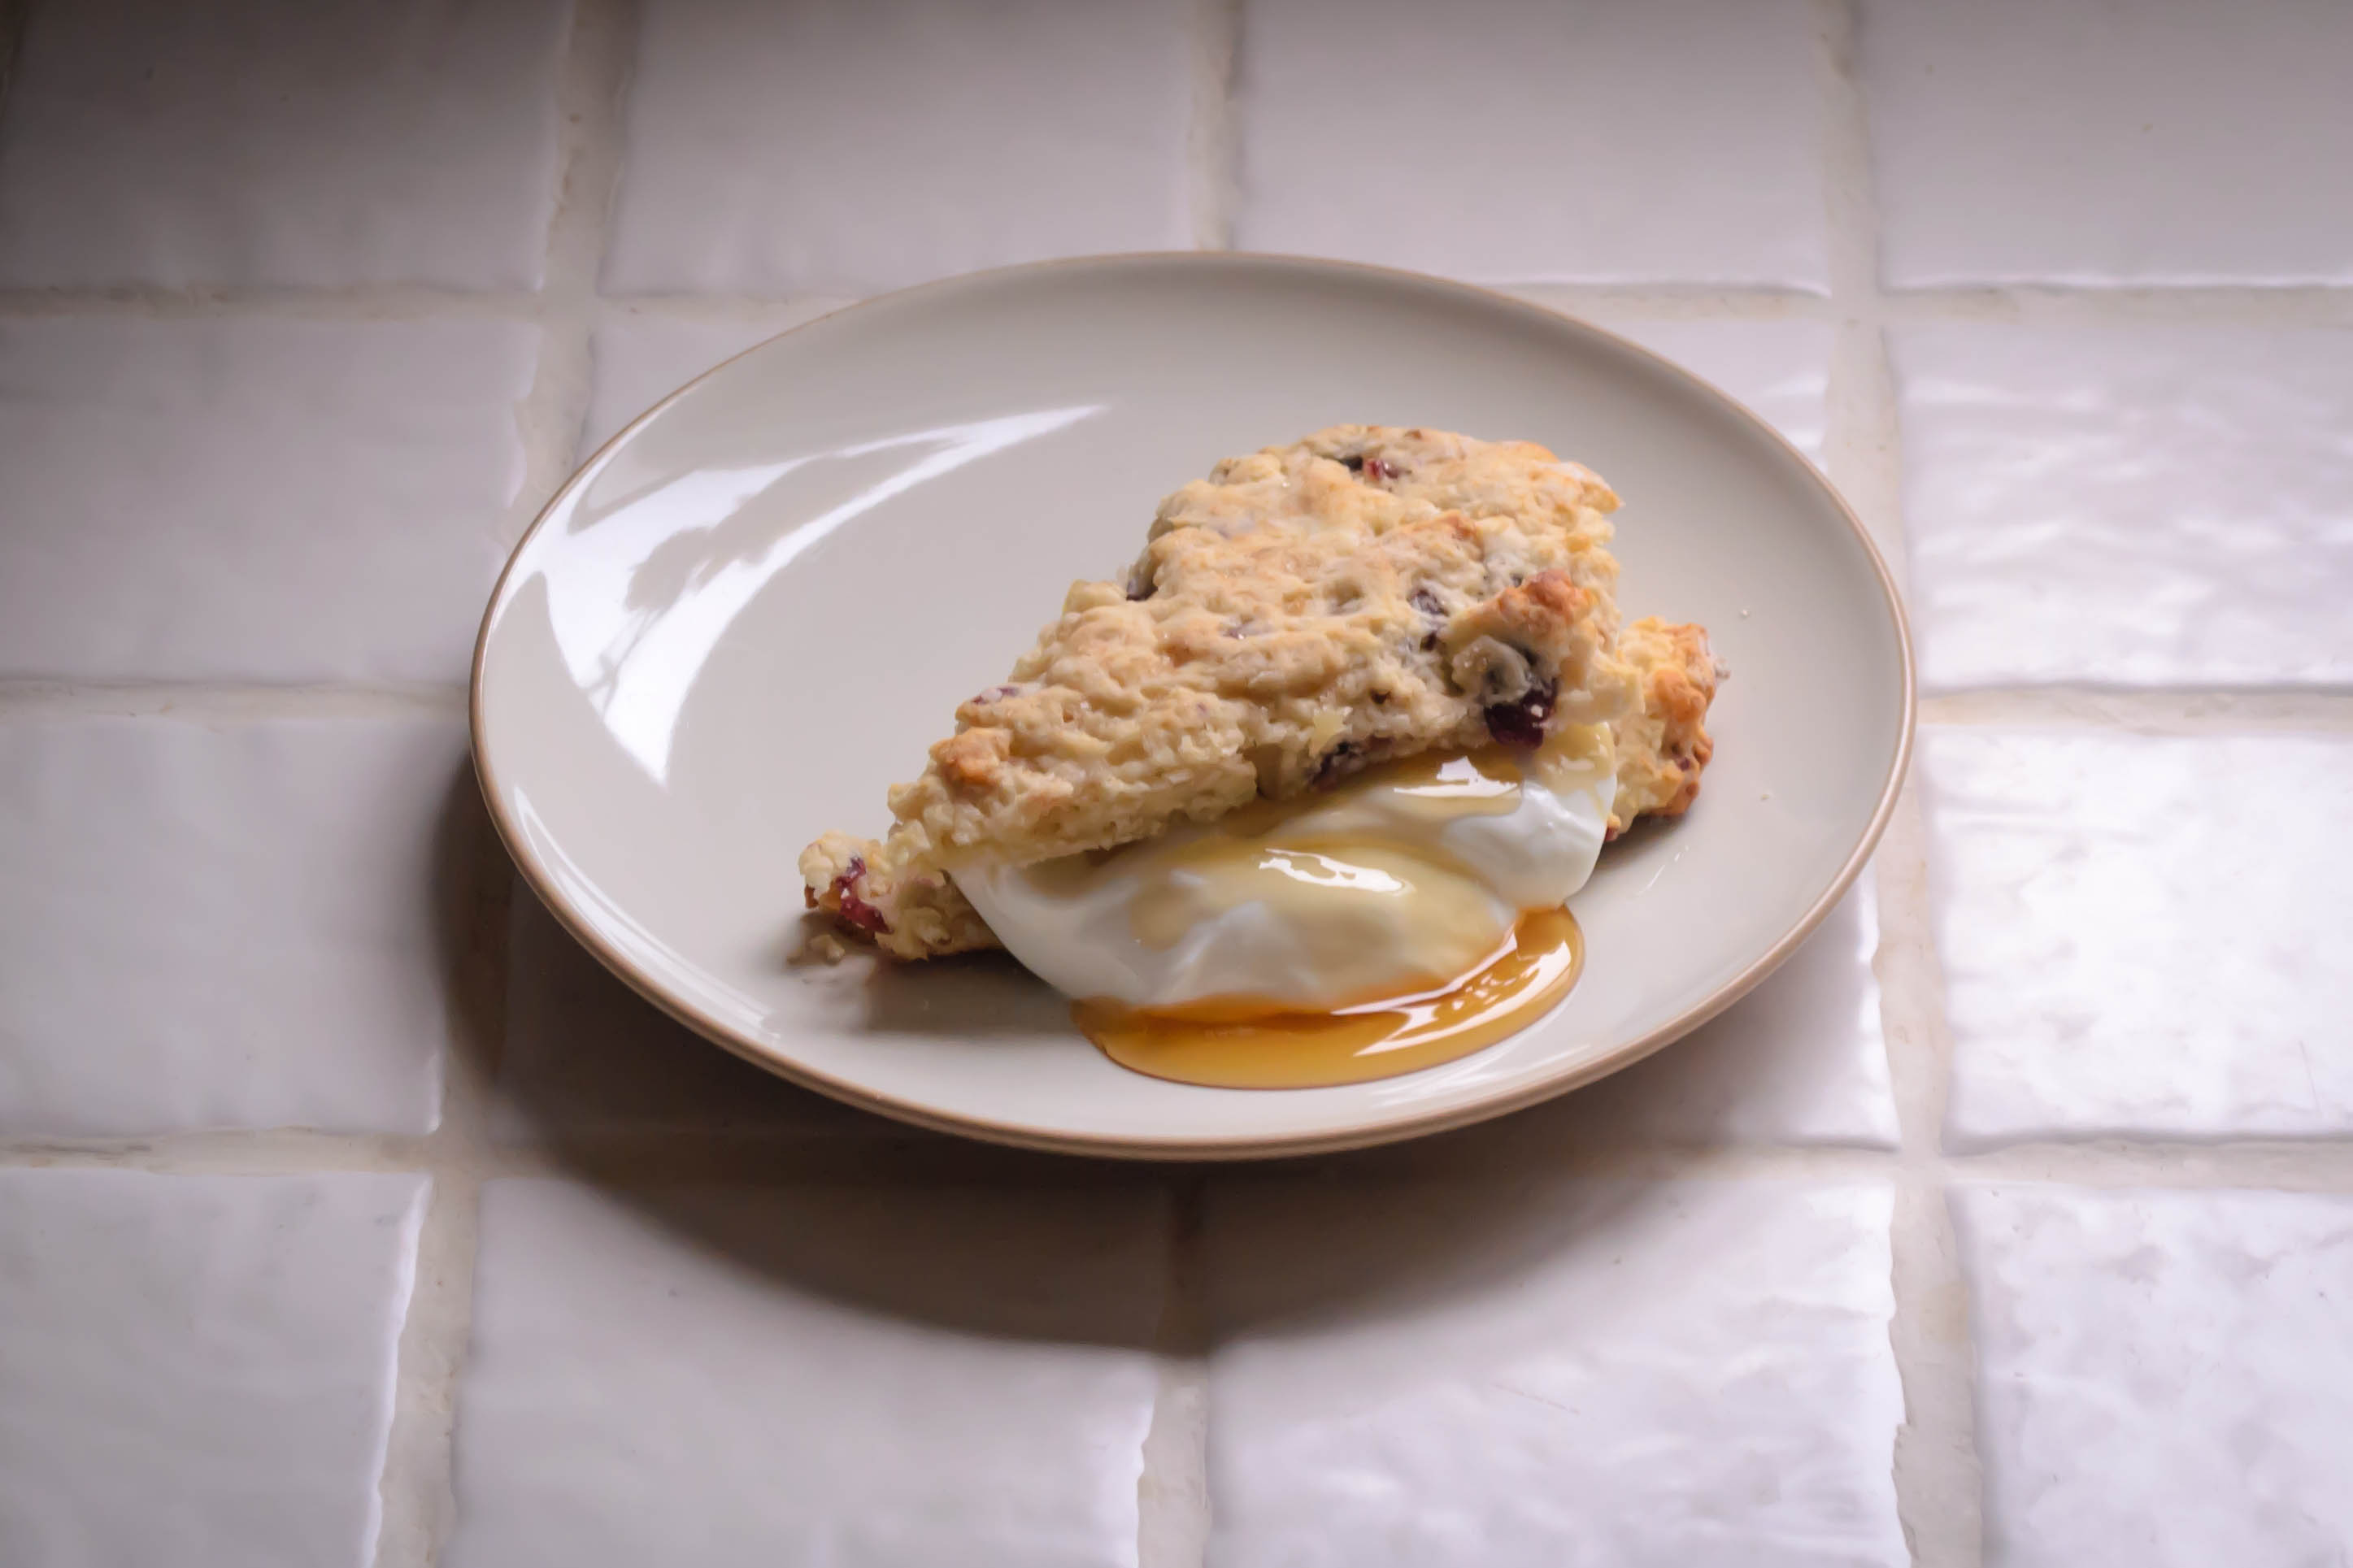
  • Serve warm, room temperature, or cold, but I think this bread tastes better on day two, when the flavors have had time to meld and deepen a bit.

Fig and Walnut Swirl Bread

As I continue to write this blog, I think a lot about the kind of person I am, and the kind of person I seem to be becoming.  I don’t mean this necessarily in a deep, philosophical or metaphysical way (although sometimes those things collide in the expanding corner of brain-space I use to think about food), but in a “what sort of food person am I?” kind of way.

Food Blog June 2013-1596Example: probably about five years ago, I wanted to make fried rice but didn’t have one of those seasoning packets, not even when I dug all the way to the back of my pantry (I can hear you gasping in horror that I ever had one in the first place.  What can I say?  We all have guilty secrets about one thing or another), so I tossed a few things together and ended up with a sauce we really liked.  I haven’t bought one of those seasoning packets since.  From there, I added different spices, different quantities, different ratios of garlic and ginger… and suddenly the bags of frozen stir-fry vegetables we were tossing in weren’t good enough anymore.  Fresh vegetables were now a mandate.  Fried rice used to be a quick and easy dinner!  Now it’s a totally from scratch undertaking.  And that’s the kind of (food) person I am becoming.

Food Blog June 2013-1545Example two: I used to subscribe to a number of cooking magazines.  Though I let my subscriptions run out (their cost made them an unjustifiable luxury during graduate school), I continued to use the collection I’d amassed, restricting myself to cooking recipes only from the current month’s issue: no August recipes in April.  This was an attempt to keep myself seasonal and inspired.  Well, this year it stopped working.  As each new month began, I’d eagerly flip through the appropriate month’s issue looking for something to excite me and drive me into the kitchen.  I’d close each issue with a sigh and toss it to the side.  There were many, many recipes I hadn’t tried before, but there just wasn’t anything in there that felt inspiring anymore.  Well, almost.  Once in a while, I’d find a recipe that I’d consider for a moment and then turn to N. and say something like, “this might be good, if you made it into a pasta dish instead of a sandwich and added some sundried tomatoes and herbed goat cheese.”  And I’d do it, and we’d be pleased with the result.

After a few months of this sort of thing, interspersed with a probably indecent amount of complaining about how I was bored by these recipes, N. finally turned back and said, “I think you’ve leveled up.”  Translation: your imagination has moved beyond what these magazines offer and you are now on to bigger and (we hope, for the sake of our taste buds) even better dishes.  And that’s the kind of (food) person I am becoming.

Food Blog June 2013-1552Example three: since I’ve started baking bread, I’ve been trying to plan meals around a yeasty undertaking once a week or so, to keep myself in practice and find “the best” versions of each type of baked good I undertake.  This has resulted in a development I’m not sure I’m entirely comfortable with: though I have continued to buy a weekly loaf of bread (I really like, oddly enough, the plain old sourdough loaf the bakery department at my grocery store produces) when I go shopping, I haven’t bought hamburger buns, or pie dough, or pizza dough, since beginning this little dough experiment.  Am I really the kind of person who no longer considers store-bought burger buns acceptable?  I’m not sure I’m ready for that kind of commitment, but that seems to be the kind of (food) person I am becoming.

Food Blog June 2013-1543Does that make me a snob?  Maybe.  It certainly makes me one of those “oh, I just made it by hand” kind of people you sometimes feel inclined to secretly snarl at.  But no one in the direct friendly fire of these developments is complaining, so maybe it’s not entirely a bad thing.

Food Blog June 2013-1549But it does make things more complicated, and more difficult to achieve, sometimes.  Like when I decided I really wanted cinnamon-raisin bread for breakfast, but instead of picking up a pre-packaged loaf as we shopped, I was determined to make it myself.

And then I forgot to buy raisins.

What’s a girl to do, with the plan in her head and the taste already in her brain and the soft chew of homemade bread aching in her teeth?

Food Blog June 2013-1555Well, she chops up some figs, and some well-toasted walnuts, and some hazelnuts for good measure, because she was almost out of walnuts.  She whirls together a soft, supple dough laced with brown sugar, cinnamon, and sour cream.  Nutmeg and lemon zest find their way in.  And she rolls up a crunchy crumbly sweet layer of fruit and nuts inside the dough, twists it to dispense the swirl, and lets it rise into a triumphant bulging loaf.

Food Blog June 2013-1564Food Blog June 2013-1569Food Blog June 2013-1570Food Blog June 2013-1573And what results, after it’s been rubbed with butter and cinnamon sugar for good measure and baked until golden and puffy, is something that drives standard cinnamon-raisin bread straight out of her mind.

Food Blog June 2013-1583The sour cream adds a beguiling richness to this loaf, making it almost unnecessary to add a slick of butter or cream cheese to a breakfast slice.  The figs and walnuts are a pleasingly earthy combination, and though I wasn’t crazy about the lemon zest I added at the spur of the moment, you might like the brightness it brings to the filling.

Food Blog June 2013-1594So.  Food snob?  Maybe.  But really, when you’re sitting down to breakfast with a loaf of homemade, fig-filled bread, your mouth is probably too full to complain.

Food Blog June 2013-1592Fig and Walnut Swirl Bread
makes 1 large loaf
For dough:
2 tsp yeast
½ cup warm milk
1 egg
1 tsp vanilla
¼ cup butter, very soft, or melted and cooled
¼ cup sour cream (go on and use the full-fat stuff; don’t deny yourself on such a little bit)
1 tsp salt
1 tsp cinnamon
¼ tsp nutmeg
2 – 2 ½ cups bread flour (see instructions below)
For filling:
½ cup toasted walnuts, chopped, or a mixture of walnuts and hazelnuts
(zest of 1 lemon – optional because I didn’t love it, but you might!)
¼ cup melted butter
¼ cup brown sugar
1 cup chopped dried figs (I like black mission figs, myself)
For topping:
1-2 TB butter, melted or very soft
2 TB brown sugar
1 tsp cinnamon


  • Stir the yeast into the warm milk and let it sit for 5 minutes or so to allow the yeast to wake up.  It will begin to get bubbly and smell warm and bready.
  • While you wait for the yeast, plonk the ¼ cup softened butter, the sour cream, the egg, and the vanilla into the bowl of a standing mixer (or into a large mixing bowl).
  • Add the yeast and milk mixture to the combined wet ingredients and mix them together briefly using the paddle attachment, just enough to combine things and break up the egg (if you are not using a stand mixer, an electric handheld or some elbow grease and a whisk will do nicely here).
  • Add the brown sugar, spices, salt, and 2 cups of flour.  Using the paddle attachment (or a sturdy wooden spoon if you aren’t a stand mixer sort of person), mix just until the flour is moistened and you have created a lumpy dough.
  • Switch to the dough hook (or turn your dough out onto a well floured board) and knead for 5-7 minutes.  The dough will be very sticky – we’ve added a lot of fat and a lot of moisture.  Don’t despair.  Add more flour a tablespoon or two at a time just until the dough cooperates (up to 2 ½ cups of flour, though depending on the relative humidity of the day, you might not need that much).  It will still be a bit sticky, but it will become more elastic and supple and much easier to work with.
  • Once your dough is smooth and stretchy and a bit springy, plop it into a greased or oiled bowl, cover it with plastic wrap, and set it aside in a warm place to rise for 90 minutes, or until doubled.
  • Meanwhile, prepare the filling: in a small bowl, combine toasted nuts, figs, brown sugar, and lemon zest, if using.  Melt the ¼ cup butter to prepare for glossing the dough.
  • Once doubled, punch down the dough to release trapped gas by gently deflating it with your fist.  Turn it out onto a floured board and roll it into a rectangle the width of the long edge of your loaf pan and about twice as long.
  • Now it’s time gloss the dough and add the filling.  Dribble the melted butter over your rectangle of dough and rub it all over the surface, right out to the edges.  I’m calling this “glossing” the dough because it leaves everything shiny and glossy and gleaming.  You might have a little extra butter; save it for the topping.
  • Sprinkle the dough with the fig and walnut mixture, leaving an inch or so border on all sides to prevent overflow.  You will likely have extra.  That is a most excellent thing because it goes so well with oatmeal or with Greek yogurt.  Instant snack.
  • Starting on the shorter side of your rectangle (the side that is the same length as your loaf pan), begin to roll up the dough as you would for a jelly-roll, starting with the middle and moving out to the sides.  Continue rolling until all the filling is enclosed, and then fold up the remaining, bare edge and pinch it firmly against the roll to create a seam.
  • Twist your log of dough a few times to ensure that a pretty swirl of filling is formed as it bakes, then settle it into a buttered or greased loaf pan.
  • Rub the top of the dough with soft or melted butter, then sprinkle it all over with the brown sugar and cinnamon.  Cover it lightly with greased plastic wrap and set it aside to rise again for 30 minutes.
  • During this second rise, preheat your oven to 375F.  When the dough has had half an hour to collect itself, remove the plastic wrap and bake it for 35 minutes, or until the bottom sounds hollow when thumped or the internal temperature is between 180-200F (the thump test is the standard way of checking for doneness on bread, but it seems sort of impossible when you are baking a big loaf in a loaf pan.  I prefer to take its temperature).
  • When it tests done, using whatever is your favorite method, remove it from the oven and let it cool for at least twenty minutes in the pan.  This will allow the structure to firm up so it slices nicely, rather than collapsing and squashing into itself when you so much as approach it with a serrated knife.
  • Slice and consume.  The filling can be a bit crumbly, so we ate it with forks like a slice of yeasted coffeecake.  Enjoy!

Dried Fruit and Ginger Scones

Food Blog April 2013-1194

This month’s archive makes it look like I’m harboring a bit of a sweet tooth.  Nothing wrong with that, necessarily, but I should tell you this week’s entry is actually at N.’s (indirect) request.  A month or two ago, my beloved aunt sent me some specialty King Arthur flour, and along with the packages of semolina and European style AP blend came a catalog.  Naturally, this has become my bedtime reading (what, you don’t read cookbooks and kitchen magazines in bed?), and on Monday night as I dawdled longingly over a blurb about Double Devon Cream, N. surfaced from internet-land and glanced at the facing page.  “That,” he said, and pointed at a photograph of some cranberry orange scones.  “You want scones?”  A silly question, apparently.  “That.”  So here they are.

Food Blog April 2013-1189

I did some research (i.e. food blogs and recipe comparisons from the other cookbooks stacked on my nightstand) and found, as usual, that Deb has all the answers.  Seriously, is there anything the woman hasn’t made?  I adore you, Deb, but really – a person can only repress the green-eyed monster for so long…   This adapts her recipe for “Creamy, Dreamy Scones,” which she got from the America’s Test Kitchen Cookbook.  I’ve used a combination of cake flour and all purpose flour for a lighter texture, allowed turbinado sugar to stand in for the regular sugar, and replaced some (okay, most) of the cream with whole milk, because I lost my mind this week and, forgetting the intended use of that little container, dumped most of it into an unholy-but-oh-so-heavenly conglomeration of chard, bacon, and bourbon.

These scones take advantage of the bags and bags of dried fruit that inevitably collect in my pantry.  You could probably add other flavors as well, but I thought apples and cranberries, and the candied ginger I’ve been obsessed with for at least a year now, would play well together.  Apricots would probably be beautiful too (unless you are, like one of my family members who shall remain nameless to protect familial harmony, freaked out by dried apricots because they apparently bear an uncomfortable resemblance to mouse ears).

Food Blog April 2013-1170

Scones come together much like biscuits: whisk the dry ingredients, cut in the butter, stir the milk/cream/buttermilk and flavor additions in with a fork.  But then, and this is where things can go awry, you have to pat it into a circle and either punch out rounds with a biscuit cutter, or slice the whole thing into triangles.  I chose the latter.

Food Blog April 2013-1177Food Blog April 2013-1182

This dough is, if we’re honest with each other, an almost unmanageably sticky mess.  Resist the temptation to mix more flour into the dough, because the more flour you add, the less tender the finished scones will be.  But do be prepared to sprinkle flour over everything it will come in contact with.  I used a floured pizza cutter to slice it into eight pieces, which tore up edges and corners even while the dough clung fiercely to the board below.

Food Blog April 2013-1178

Food Blog April 2013-1180

Food Blog April 2013-1185

A bench scraper tool is really helpful for transferring your scones to their cooking vessel – a parchment lined baking sheet would be fine, but I used my brand new enameled pizza stone because I’m so jazzed about it.  This, because I preheated it along with the oven, made the scones sizzle as I levered each one onto its surface, and rather than sticking (which I was dreading, since I realized only after they’d been in the oven for five minutes that I hadn’t greased or floured the cooking surface AT ALL), produced a crisp bottom crust.

Food Blog April 2013-1190

I left my offering on the pizza stone to cool while I took the dog for a walk, and returned to find it had been accepted.

Food Blog April 2013-1191

An hour or so later, it had been accepted again.

Food Blog April 2013-1192

These are best on the first day, but will keep acceptably for two or three days if they are well wrapped in aluminum foil and stored at room temperature.  Chances are – if your family is anything like mine – this short storage period won’t be an issue.  Still warm, these make perfect hand-held afternoon pick-me-ups (the ginger really zings you out of the 3 o’clock slump), but if you want to go the extra mile, I recommend slicing them in half so you have two triangles, stuffing them with Greek yogurt and a decadent ooze of local honey, and attacking with a fork for breakfast.

Food Blog April 2013-1197

Apple Cranberry Ginger Scones

Adapted from Smitten Kitchen, who used America’s Test Kitchen Cookbook. 

1 cup all-purpose flour

1 cup cake flour

1 TB baking powder

4 TB coarse sugar, divided (I used turbinado because that’s what was in my baking cupboard)

½ tsp salt

5 TB butter, cut into cubes

¼ each chopped dried apples, chopped dried cranberries, and chopped candied ginger

¼ cup heavy cream

¾ cup whole milk

  • Position a rack in the middle of your oven and preheat to 425F.  If you will be baking on a pizza stone, put it in the oven to preheat as well.  If you will be using a cookie sheet, line it with parchment paper and set it aside.
  • Whisk together the flours, baking powder, 3 TB of the sugar, and salt in a medium bowl.
  • Cut in the butter using a pastry blender, two knives, or your fingers, until the largest chunks of butter are the size of small peas (sidenote: “peas” seems the universal size for butter chunks – why is that?  Is there no other pea-sized object so regular and recognizable in size that we could call upon?  Ball-bearings?  Corn kernels?  Canine teeth?).
  • Pour in the cream and milk (or just use all cream, if you have it) and mix it around with a fork until an evenly hydrated, extremely sticky dough forms.
  • Add the fruits and mix again until evenly distributed (you may have to work a bit to break up the ginger pieces).
  • Dump the sticky mass out onto a well-floured board.  Sprinkle a little flour on top as well, then pat the dough out into a circle about 1-inch thick.  Try not to add too much flour, lest they become dense and tough.
  • Dip a pizza cutter or other thin, sharp knife into flour, then cut the circle into 8 equal sized pieces.  You may need to scrape off and re-flour your slicing instrument between slices.
  • Using a bench scraper, a thin spatula, or (if you are brave) your hands, relocate your 8 scones to your prepared baking vessel, spacing them a half inch or so apart (they will puff and rise a little bit, but not tremendously).  Sprinkle the tops with the remaining 1 TB of sugar.
  • Bake for 13-15 minutes, or until lightly golden on top and cooked through.
  • Cool at least 10 minutes before removing to a wire rack.  Eat warm or cool.

Blackberry Bourbon Bread (#Twelve Loaves April)

I’m a sucker for alliteration.  Call it having been an English major for so many years.  So when I read on April’s Twelve Loaves challenge that the objective was berry bread, I may have freaked out a little.  And when the idea of blackberries and bourbon zinged into my brain – dark, sultry, tartly perfumed – I may have freaked out a little more.  Food Blog April 2013-1083

Blackberries, bourbon, yogurt, and crumbly pebbly streusel all done up in a quickbread that we’ll pretend isn’t really an excuse for cake.  How could you want anything more?  Well, maybe a warming breath of cinnamon.  Granted.  And maybe some browned butter. Food Blog April 2013-1138

Just as this is barely a bread, it’s also barely a dough.  It only fits into my dough challenge by virtue of its attachment to the idea of bread, which, as I’ve noted, isn’t a very strong attachment at all.  Aren’t “quickbreads” really just desserts that we like to eat at non-dessert hours of the day?  But it is delicious, and warm, and comforting, and I think we could all do with a bit of that after this week.

Food Blog April 2013-1110Yogurt, browned butter, blackberries, bourbon, streusel, and cinnamon all in the same bread sounds a bit overwhelming, but really, all of the components played very well together.  Blackberries and yogurt scream breakfast, and mixed in a thick batter with plenty of melted butter they produce a moist, slightly dense loaf splotched with purple pockets of jammy tartness.  But the addition of bourbon makes this a naughty thing to consider having a slice of too early in the morning (unless you are still up from the night before, I suppose).  When I tasted the batter, I was concerned about how assertively the alcohol came through, but after baking what lingers is a lovely floral aroma – all the peaty, throat-searing headiness fades (and honestly, it left me wondering whether another tablespoon or two of bourbon might be welcome in the recipe).  Really, this is a loaf perfect for that most wonderful of British institutions we are sadly lacking in the U.S: afternoon tea.  And if you slathered a thick slice with clotted cream, I don’t think anyone would complain. Food Blog April 2013-1115

Blackberry Bourbon Bread

Makes 1 large 9×5 loaf

For the bread:
1 ½ sticks butter (12 TB, or ¾ of a cup)
2 eggs
1 ½ cups sugar
1 tsp vanilla
¼ cup bourbon (I like Knob Creek)
½ cup Greek yogurt, though likely any plain, unsweetened yogurt would do
2 cups flour
1 tsp salt
1 tsp cinnamon
1 tsp baking soda
12 oz. blackberries, rinsed and air-dried (I realize this is an odd quantity, but that’s how much was in the container I found.  The advantage here is that it means you can start with two pints [16 oz.], and the inevitable handful you end up eating by sneaking “just one more” at a time will leave you with just the right amount!)
Food Blog April 2013-1123For the streusel:
½ cup flour
½ cup powdered sugar
½ tsp cinnamon
4 TB (½ a stick) cold butterFood Blog April 2013-1124
  • First, you’ll need to brown the butter for the bread.  In a small saucepan, preferably not black (it’s harder to see the browning against a dark background), melt the butter over medium heat.  Continue cooking, occasionally swirling gently, as it foams up.  That’s the water separating and steaming away.  After a few minutes, the solids will start to collect on the bottom of the pot, and begin to darken to gold and then coppery brown.  When that happens, turn off the heat.  It’s amazing how quickly those cooking solids go from perfectly brown to burned.  Set the pot aside to cool while you work with the other ingredients (I stuck mine in the freezer on top of a pot holder to chill down quickly).
  • While your butter cools, preheat the oven to 350F and prepare a 9×5” loaf pan by rubbing the bottom and sides with butter or spraying with a non-stick spray.
  • In a large bowl (or the bowl of your stand mixer), beat the eggs until slightly foamy.  With the mixer running (you could do this by hand with a whisk, I suppose, but an electric mixer of any kind will make it much easier), add the sugar ½ a cup at a time, integrating it completely before the next addition.  When all of the sugar is added, continue mixing for another 2 minutes, or until the mixture has become quite pale in color and increased in volume.
  • Add the vanilla, bourbon, yogurt, and cooled butter, and mix until well combined.  The yogurt may break up a bit and make things look curdled, but don’t worry.  Once you add the dry ingredients everything will be fine.
  • In a medium bowl, whisk together the flour, baking soda, salt, and cinnamon.  Add 1/3 of the dry mix to the wet ingredients, mixing on low speed just until the flour is integrated.  Add another 1/3 of the dry mix and combine again.
  • When you have just 1/3 of the dry mixture left, toss the blackberries in it gently.  This will help keep them evenly distributed in the batter as it bakes, rather than all sinking to the bottom.  Add this final portion of flour, with the berries, to the batter and fold it in gently with a spatula.  This is harder to do evenly, but will keep the berries intact better than using a mixer blade.  The resulting batter will be quite thick.
  • Scrape-pour the batter into your prepared loaf pan.  Mine got tremendously full, and to prevent any chance of overflow during baking, I relocated some of the batter to a 6-inch cake pan instead.  If you are concerned about overflow, I suggest filling the loaf pan only about 2/3 full, and make muffins or tiny cakes out of the rest of the batter. Food Blog April 2013-1116
  • For the streusel, which I insist you use because it adds such a nice textural contrast, combine the flour, sugar, and cinnamon in a small bowl.  Using a fork to whisk them together works nicely.
  • Rub in the butter with your fingers or a pastry blender until it is very well integrated.  Ordinarily I use a pastry blender for this sort of thing, but here I think your fingers really do work best, since you can squash and smoosh the butter more efficiently.  You want tiny pebbles – the biggest should be smaller than peas and the smallest like grains of couscous.
  • Sprinkle the streusel over the surface of your bread in an even, thick layer.  You will probably have a bit extra, but I think that’s hardly a bad thing. Food Blog April 2013-1117
  • Deposit your loaf in the oven and bake for 80 minutes, or until a toothpick or cake tester inserted in the middle comes out with only a few moist crumbs clinging to it.  Since ovens are all different, I recommend you first test for doneness at 60 minutes, just to be safe.
  • Remove and cool in the pan on a wire rack until you can’t stand it any longer.  Then slice and enjoy with tea, with cream, with a dollop of yogurt, or just all on its own. Food Blog April 2013-1160

Goat Cheese and Bacon Biscuits

I’m not one of those people who is crazy for bacon in everything.  The idea of pairing it with chocolate still weirds me out a little, and I’ve never tried it in brownies or ice cream.  That being said, bacon is probably the top reason I would have trouble being a vegetarian.  Crisp, sandwiched with some dripping heirloom tomato slices and lettuce on toasted sourdough, and I’m dreamy happy.  Salty fatty fried chunks studding my bowl of baked beans, and my evening is made.
Food Blog April 2013-0990
What I am generally crazy for is breakfast.  But not at breakfast time.  I can’t handle a big savory meal early in the morning.  A fried egg sandwich, okay (and with a little sriracha in the mayonnaise?  Be still my heart!).  A pancake or three, maybe on occasion.  The big, multi-course breakfast is, for me, wasted on the morning.  I’m a breakfast-for-dinner kind of girl.
This week, in need of comfort as spring break drew to a close and allergy season burst wide open, we decided breakfast sandwiches were just what we needed.  Eggs, bacon, fluffy buttery biscuit, and why not, a little goat cheese?!  But layering these components together would not suffice.  Thick slices of bacon smashed against a cloud of scrambled egg and crumbles of goat cheese seemed like a mess waiting to happen.  I’ve incorporated cheese into biscuits before with great success, why not do the same with the bacon?
Food Blog April 2013-1002
The result: goat cheese bacon biscuits.  A simple revelation, but let me tell you, a spectacular base for a scrambled egg sandwich.  Crisp squares of bacon, cold cubes of butter, crumbles of chevre, and a healthy glug of buttermilk.
These are pretty cinchy to make, though thanks to the addition of the goat cheese your biscuit dough will be a little stickier than usual.  Try not to add too much flour – you don’t want them to get dense.  They bake up into lovely little puffs, and the bacon stays crisp against the soft dough.  The goat cheese wasn’t as strong a flavor as we were expecting, though after the biscuits cooled a bit we did pick up a pleasant tang from the larger crumbles.  Loaded up with a simple layer of scrambled egg, and you have a perfect, three-bite sandwich with all the right trimmings.  And because it’s only three little bites, you can have two or three without any guilt to speak of.  Or four… or…
 Food Blog April 2013-1013
The funny, blackened stakes lying in a pile in the background of this photo are roasted rainbow carrots.  They were incredible.  And don’t just take my word for it – I knew they were the real deal when N. carefully sampled one, turned to me, and said “wow.”  If you’ve been reading this blog for any length of time you will know that N. is not intentionally grudging when it comes to food praise; he’s just not particularly effusive about it.  A “wow” is like fireworks.
Breakfast-for-dinner slam dunk, then.  What’s your favorite?
 Food Blog April 2013-0993
Goat Cheese Bacon Biscuit Sandwiches
2 cups flour (All-Purpose is fine)
2 tsp sugar
1 tsp salt
2 TB baking powder
4 slices bacon, diced and fried until crisp, drained and cooled (do this a bit ahead of time so the bacon has time to cool off – if you toss it into the mixture hot, you’ll heat up the butter and your biscuits will be less fluffy)
6 TB cold butter, cut into chunks (chunking it isn’t absolutely necessary, but it does make it easier and quicker to incorporate)
½ cup crumbled goat cheese
6 oz. buttermilk
 Food Blog April 2013-0995
  • Preheat your oven to 400F and line a baking tray with parchment paper.
  • In a medium bowl, combine the flour, baking powder, sugar, and salt.  Whisk in the cooled, crisp bacon.
  • Add the butter and incorporate using a pastry blender or your hands.  When the chunks are about the size of lima beans, tumble in the goat cheese and blend it in until there are no more large pieces.  The pebbles of butter should be about the size of peas when you are done.
  • Pour in the buttermilk and fold it into the dry mixture.  I find using a fork works best for this – the tines pick up and jostle around the flour mixture better than a spatula or wooden spoon.  Don’t overmix, but be sure the buttermilk is well incorporated.
  • When your mixture is evenly damp, abandon the fork.  You can turn the whole mess out onto a floured board, or you can just reach in with flour dusted hands and knead the dough a few times in the bowl until it comes together.
Food Blog April 2013-1000
  • Pat the dough into a plump something-like-a-rectangle on a floured board.  The thickness and therefore the size of the rectangle is really to you, but mine was probably just under an inch thick.  Using a biscuit cutter or the floured top of a glass, punch out biscuit rounds by pushing straight down all the way through the dough.  Don’t twist your cutter as you go down; you’ll disrupt the craggy layers in the dough and the biscuit won’t rise as high or as evenly.
Food Blog April 2013-1001
  • When you’ve punched out as many rounds as the rectangle of dough will allow, place them on your parchment lined baking sheet at least an inch apart, gather the dough scraps, knead them together a bit, and pat them back into a new rectangle.  Continue punching out biscuits and reshaping the scraps until you run out of dough.  Given the small size of cutter I chose, I managed 16 sweet little biscuits.  You will have more or less depending on size and thickness.
Food Blog April 2013-1007
  • For a small biscuit (2 inch diameter), bake at 400F for 12-14 minutes, or until the layers have puffed and the top is golden.  Larger or extremely thick biscuits will take longer; try 15 minutes to start.
Food Blog April 2013-1011
If you just want to eat them as is – and I’d sympathize completely if you did – you’re all set to go.  Dig in.  If, however, you want them as sandwiches, split them down the middle of the puffy, buttery layers and insert a fold of softly scrambled egg.
Food Blog April 2013-1003
Food Blog April 2013-1004
These are best the day they are cooked, so I’d advise only baking as many as you and your dinner partner(s) are going to eat.  The remaining biscuits can be frozen, still unbaked, and enjoyed another day.  To freeze them, set them on a piece of wax paper or parchment in a single layer on a plate or baking tray.  Wait until they are frozen, then relocate them to a zip-top freezer bag.  They don’t even need to be defrosted, just pop them into a preheated oven for a few extra minutes (maybe 15-18 for a small biscuit) and dinner – or breakfast – is served!
Food Blog April 2013-1010

Mom’s Challah

Friends, this is the motherlode.  Or, if you’ll forgive the terrible pun, the Mother loaf.*  In that same red binder of recipes I received as a wedding gift that contains my Nana’s sweet roll dough recipe, my mom included her “secret” recipe for challah (in my recipe collection, Mom promises that she’s only given this challah recipe to one other person.  This, as it turns out, has become a lie.  Both my Aunt Nancy and my cousin Julie have this recipe.  Who knows how many other people do too, by now!).  When she was much younger (read: before two children kept her waking hours a blur of busy), Mom baked bread a lot.  I don’t know where she got this recipe for challah, that wonderful, doughy, braided loaf of egg bread traditionally prepared for Jewish holidays and the sabbath, but even in our gentile household it became a holiday essential for us.
Food Blog March 2013-0971
For the past few years, my sister has taken up the challah mantle and has been preparing it, with Mom’s help, on Christmas Eve so we could slather it with apple butter or cinnamon sugar or honey to enjoy on Christmas morning.  It’s not an easy bread (are any of them, really?).  With an incredibly sticky dough, not one or two, but three rises, and a tendency to overbake, it has always intimidated me.  At any phase of the process, something could go wrong!  If I could master challah, I thought privately, I would really have a handle on this bread thing.
So, a number of loaves under my belt, with Easter coming up, and this month’s Twelve Loaves challenge of holiday breads, it seemed like the right time.  Friday morning, after quizzing my mom on a few details, I pushed my sleeves up, swallowed the disparaging warnings of that little gargoyle of doubt who often sits on my shoulder, and dove into Mom’s recipe.
Food Blog March 2013-0920Food Blog March 2013-0930Food Blog March 2013-0932
This is, as I mentioned above, a sticky dough.  After kneading it becomes elastic and smooth, but there is still a tackiness about it that leaves your bowl streaked with gummy strands and your hands, if not well floured, stringy with delicious remnants.  It takes a long time – with three rises averaging over an hour each, you aren’t starting this loaf in mid afternoon and expecting it to be ready for dinner.
Food Blog March 2013-0933Food Blog March 2013-0935
I’ve seen plenty of recipes suggesting overnight refrigeration time – Michael Ruhlman’s blog, in fact, has a guest post on challah by Marlene Newell that begins the night before it is baked – but Mom has never done it that way.  If you’ve scheduled a lazy day at home, or perhaps a day punctuated by laundry, tidying up, and the odd brief errand carefully placed during a rise, this could just become your best friend.  It’s soft, it’s rich and tasty, it looks impressive (even if, like me, you only do a three strand braid instead of the more traditional six strand), and it keeps fairly well, provided you wrap it well in aluminum foil.  I find plastic storage gives the crust an unpleasing texture.  Of course, it’s so tasty that I can’t imagine it needing to keep well – it will be gone within a day or two.  On that topic, I’ve never understood the comments that it makes wonderful french toast.  In our house, the full loaf has dwindled to half by lunch time, and as the afternoon wears on slice after slice seemingly evaporate, until the bread board contains only a lonely half heel and a small pile of crumbs.  This is the first time I can remember, with only N. and me indulging (Lucy asked with pleading eyes of liquid velvet, but it’s too good to share), that the loaf has made it to day three of existence.
DSC_0910
Despite my lingering doubt, I had only a few moments of anxiety as I put together this loaf.  The stickiness of the dough stressed me out a little – even after adding the full amount of flour in the recipe (as I will note again below, you only incorporate part of the flour at first, adding in additional ¼ cups at a time as needed to work the dough), thick gobbets clung to the sides of my mixing bowl, my dough hook, and my fingers.  One rise down, however, and the stickiness diminished.
Food Blog March 2013-0937Food Blog March 2013-0940Food Blog March 2013-0943
Faced with three thick strands of dough, I forgot how to braid for a moment.  Heavy, stretchy worms of raw dough are a far cry from pigtails or Barbie hair, my braid targets in a past life.  But braid made and ends tucked under, I had something that actually looked like my mom’s longed for loaf.
Food Blog March 2013-0944Food Blog March 2013-0949
A quick glaze of egg wash and a generous sprinkle of poppy seeds, and I started getting excited.  A quick, almost half hour in the oven later (the loaf goes from moist and springy to overbaked in what feels like an instant), and I was staring at a near perfect replica of Mom’s bread.
Food Blog March 2013-0958
It’s hard to wait the requisite 15-20 minutes to let the bread cool and the internal structure solidify, but you should.  It makes slicing much more successful.  And once you have waited, you should cut thick slices, and garnish them with butter or jam or just your own teeth and tongue.  Happy Sunday, whatever you might be celebrating.
Food Blog March 2013-0966
Mom’s Challah
1 tsp + 1/4 cup sugar, divided
½ cup warm water
2 tsp active dry yeast (or 1 package, which contains 2 ¼ tsp)
½ cup vegetable oil
½ cup warm water (again)
2 tsp salt
2 eggs, lightly beaten
3 ¾ – 4 cups flour (I used bread flour, but Mom has always used all-purpose)
Poppy seeds or sesame seeds for sprinkling
1 egg yolk beaten with 1 TB water


  • Dissolve the sugar in the first ½ cup warm water in a large bowl (or the bowl of your stand mixer, if you are using one).  Sprinkle yeast on top and let it stand to burble and breathe for about 10 minutes.
  • When your yeast has woken, and smells like bread and beer, use your paddle attachment (if you are using a stand mixer) to incorporate the oil, second ½ cup of warm water, sugar, salt, and beaten eggs.
Food Blog March 2013-0928
  • Add 3 cups of the flour and beat well.  The dough will be very sticky, but as Mom says, that’s okay.  Cover the sticky mass with a cloth and let it rest for 10-20 minutes.
  • If you are using a stand mixer, exchange your paddle attachment for the dough hook and begin kneading at low to medium speed.  As needed, add the additional flour by ¼ cups at a time.  Knead for 8-10 minutes or until the dough passes the windowpane test.  When I asked Mom about this, she looked at me like I was speaking a different language, then said “I always use the baby’s bottom test,” which got the same look back from me.  She was talking about smoothness and texture, but considering she often gives the dough a little smack when she’s done kneading it, I wondered about the ethics of this measuring device…
  • If you are kneading by hand, turn the sticky mass out onto a well floured board.  With equally well-floured hands, knead for 10 minutes, incorporating more flour as needed, until the dough is smooth and has a shiny surface (and feels, apparently, like a baby’s bottom).
  • In either case, now is the time to place the ball of dough into a lightly oiled bowl and stow it in a warm place to rise for 1-2 hours.  I like to use my oven, letting it heat for 5 minutes and then turning it off for 5 minutes before putting the dough inside.
  • After the dough has risen to double in size, punch it down (Mom notes “this is fun!”), cover it with a clean cloth, and let it rise again until doubled again – about 45 minutes.
  • Divide the dough into three equal parts.  Shape each third into a long rope, place on a greased or parchment lined baking sheet and braid together loosely, pinching the ends firmly and tucking them under on each side.  Cover with a cloth or kitchen towel and, once again, let it rise for 45 minutes to an hour.  See why you need all day for this loaf?
Food Blog March 2013-0947
  • When the braid has swollen again, preheat the oven to 350F.  While you wait, beat an egg yolk with about a tablespoon of water to make an egg wash.  Brush the top and sides of the braid with your egg wash, then sprinkle with poppy or sesame seeds (we prefer poppy, in our house).
Food Blog March 2013-0951
  • Bake in your preheated oven for 30 minutes, or until the internal temperature of the bread is 180-190F.  The top will be golden brown and the bottom will feel delicately hollow when thumped.  Hot ovens tend to overbake this bread, so be sure to check at 30 minutes, or even just before.
  • When the bread tests done, take it out of the oven and let it cool on its baking sheet for 15-20 minutes, to allow the delicate internal crumb structure to firm up a bit.  This will make for easier slicing.
 Food Blog March 2013-0965
Thanks, Mom!

DSC_9042

* still not as bad as N.’s pun: he keeps saying “holla for challah!” and even though he admits this is neither in good taste nor particularly funny, finds he can’t stop doing it…