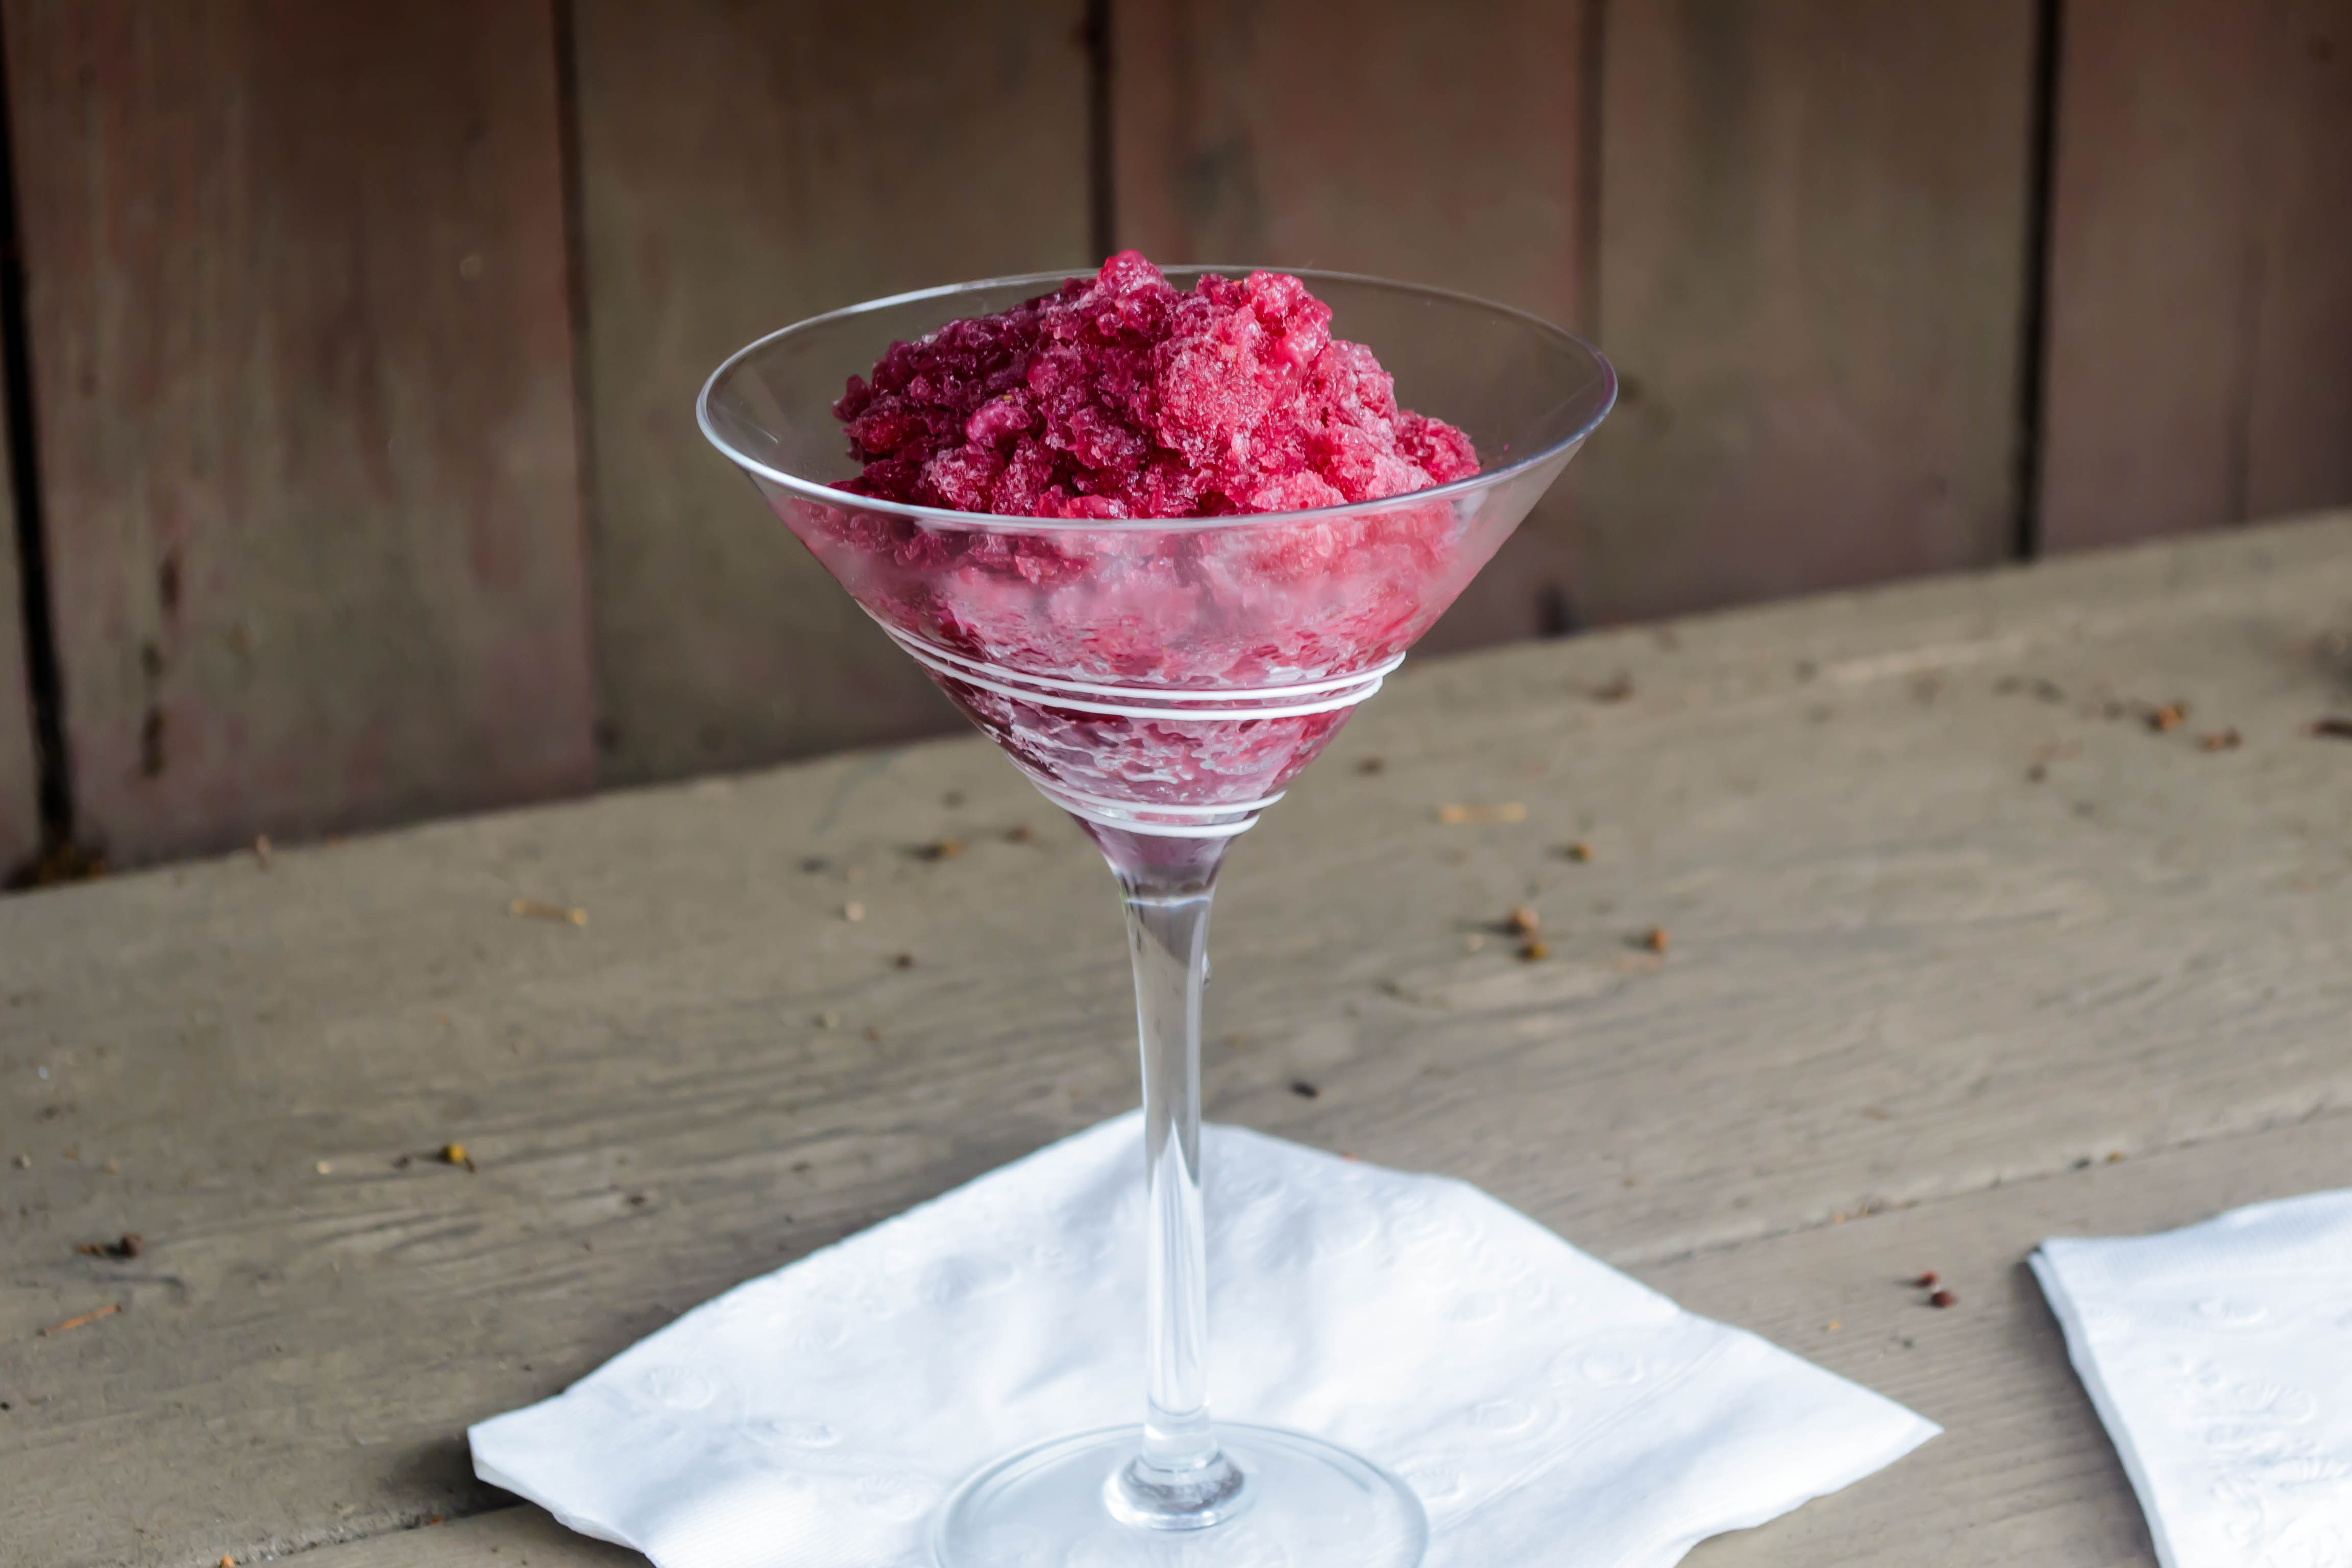
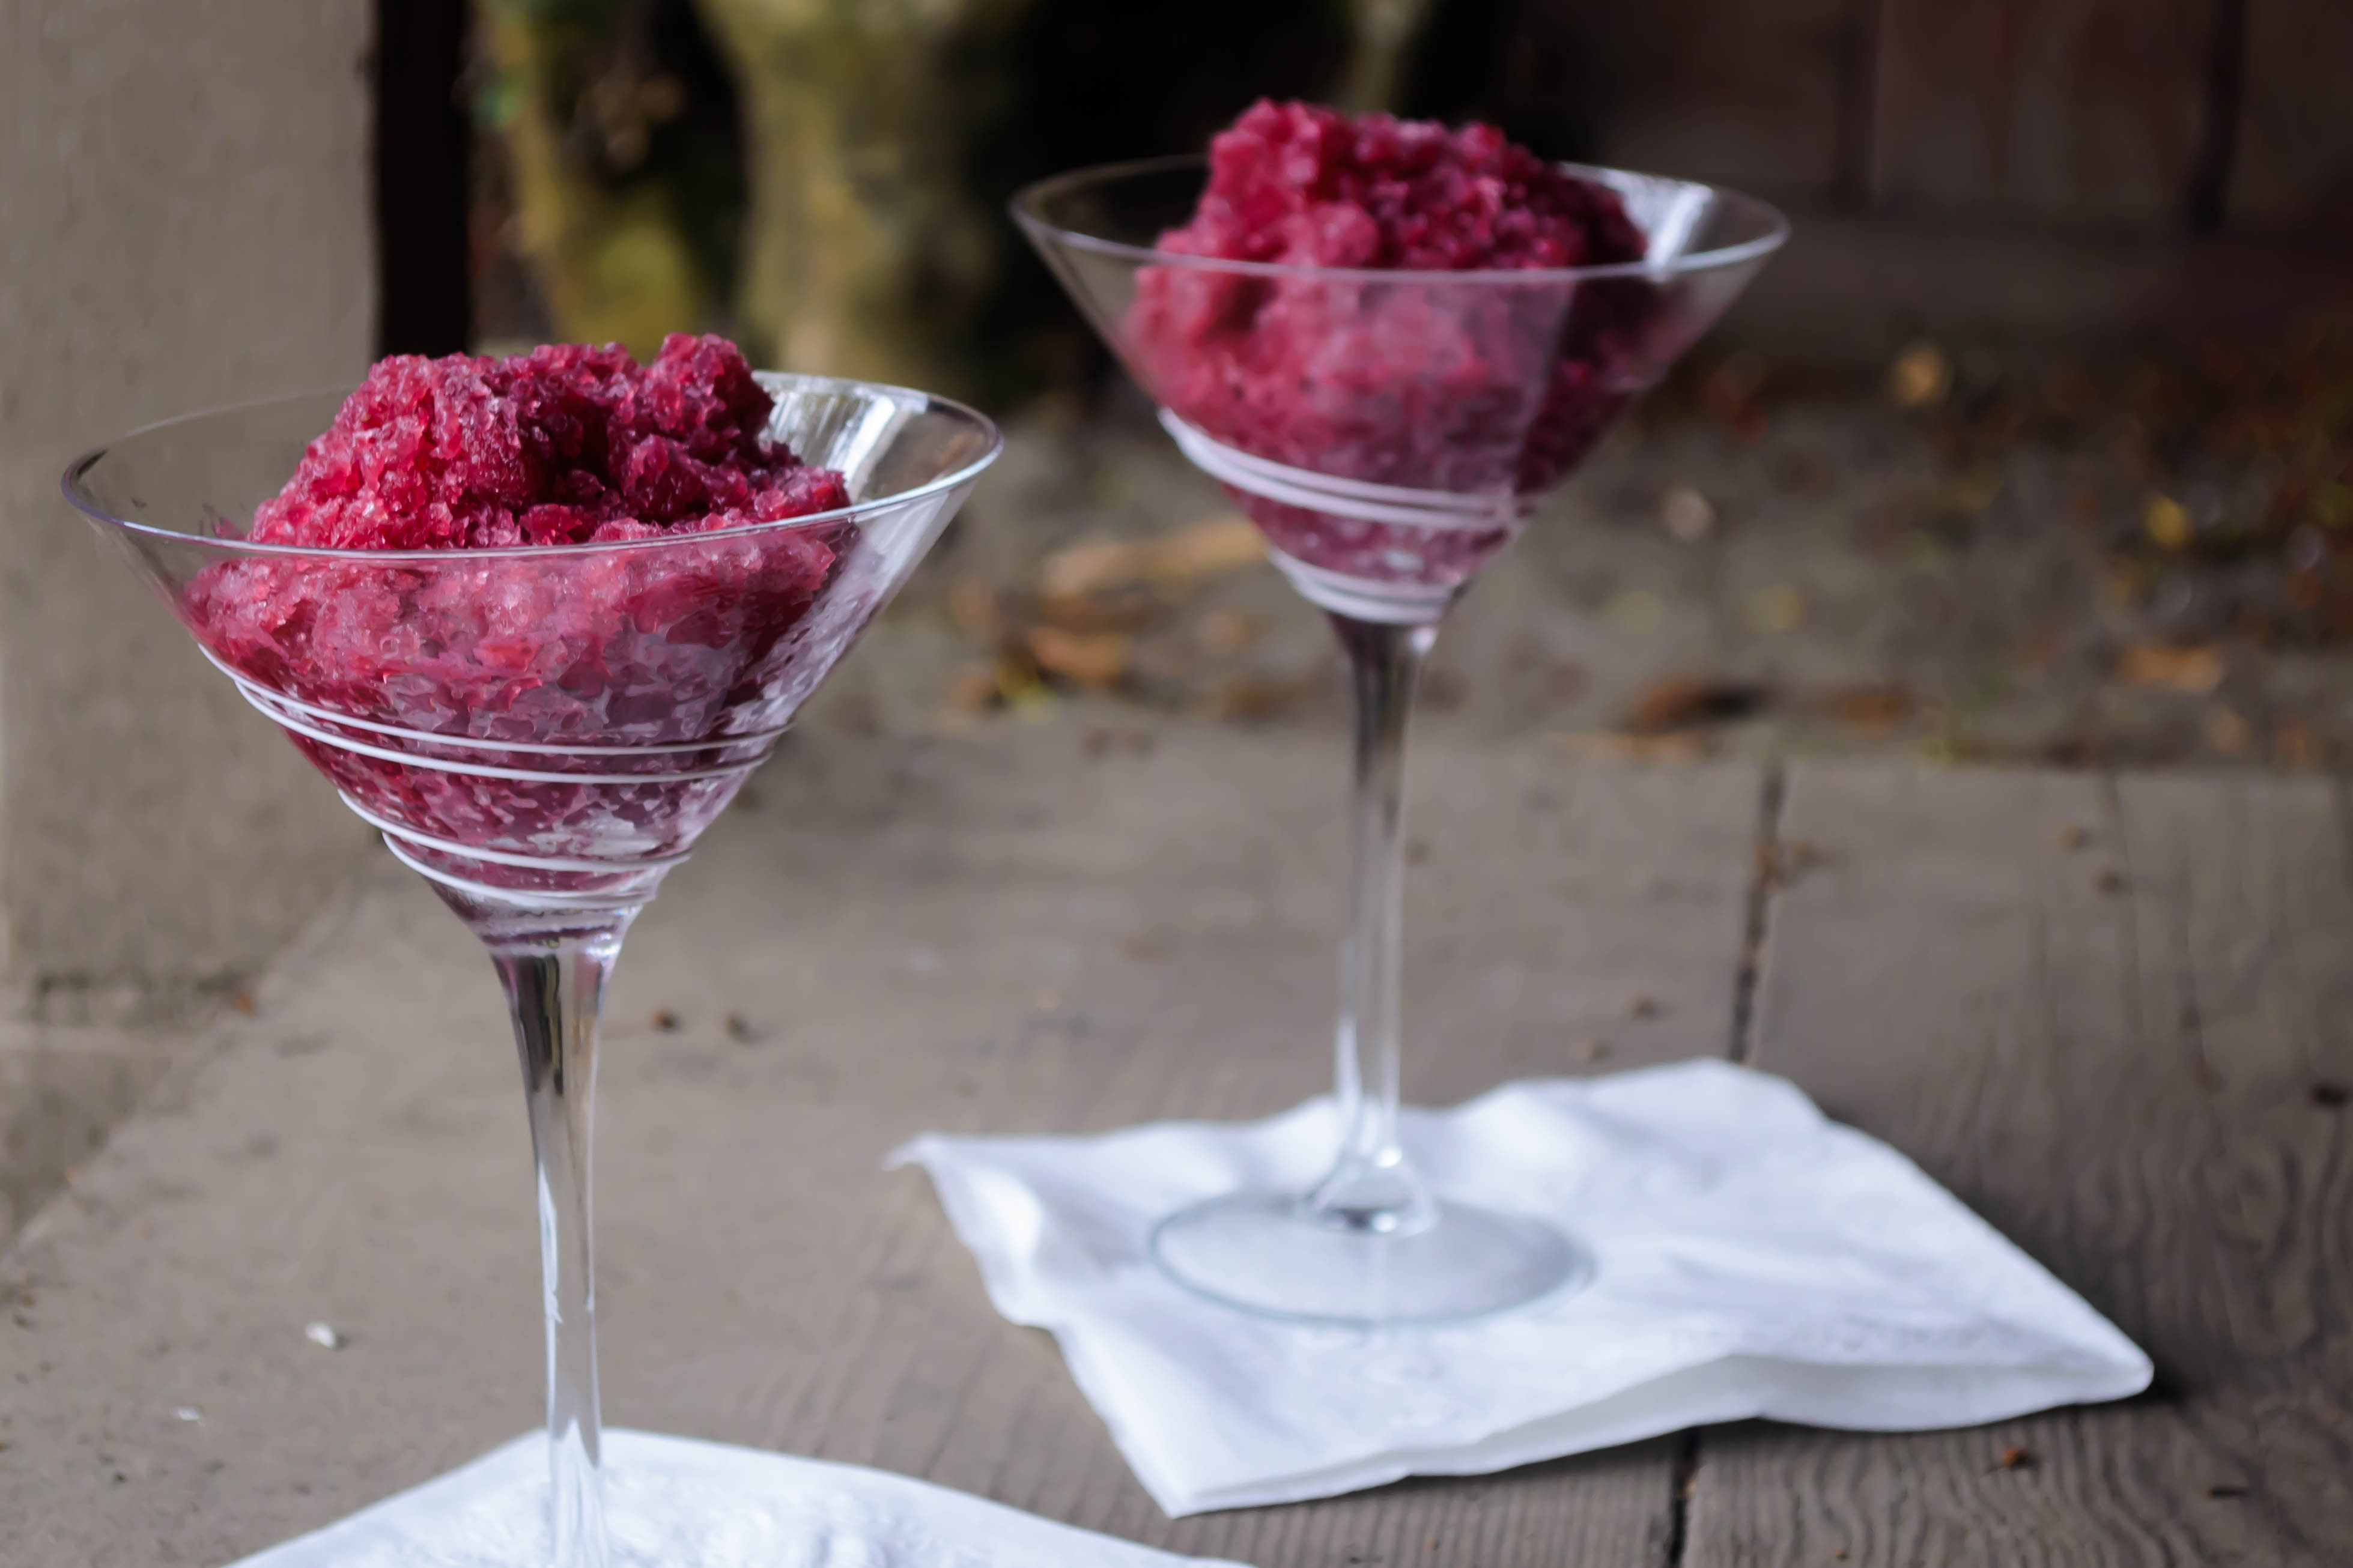
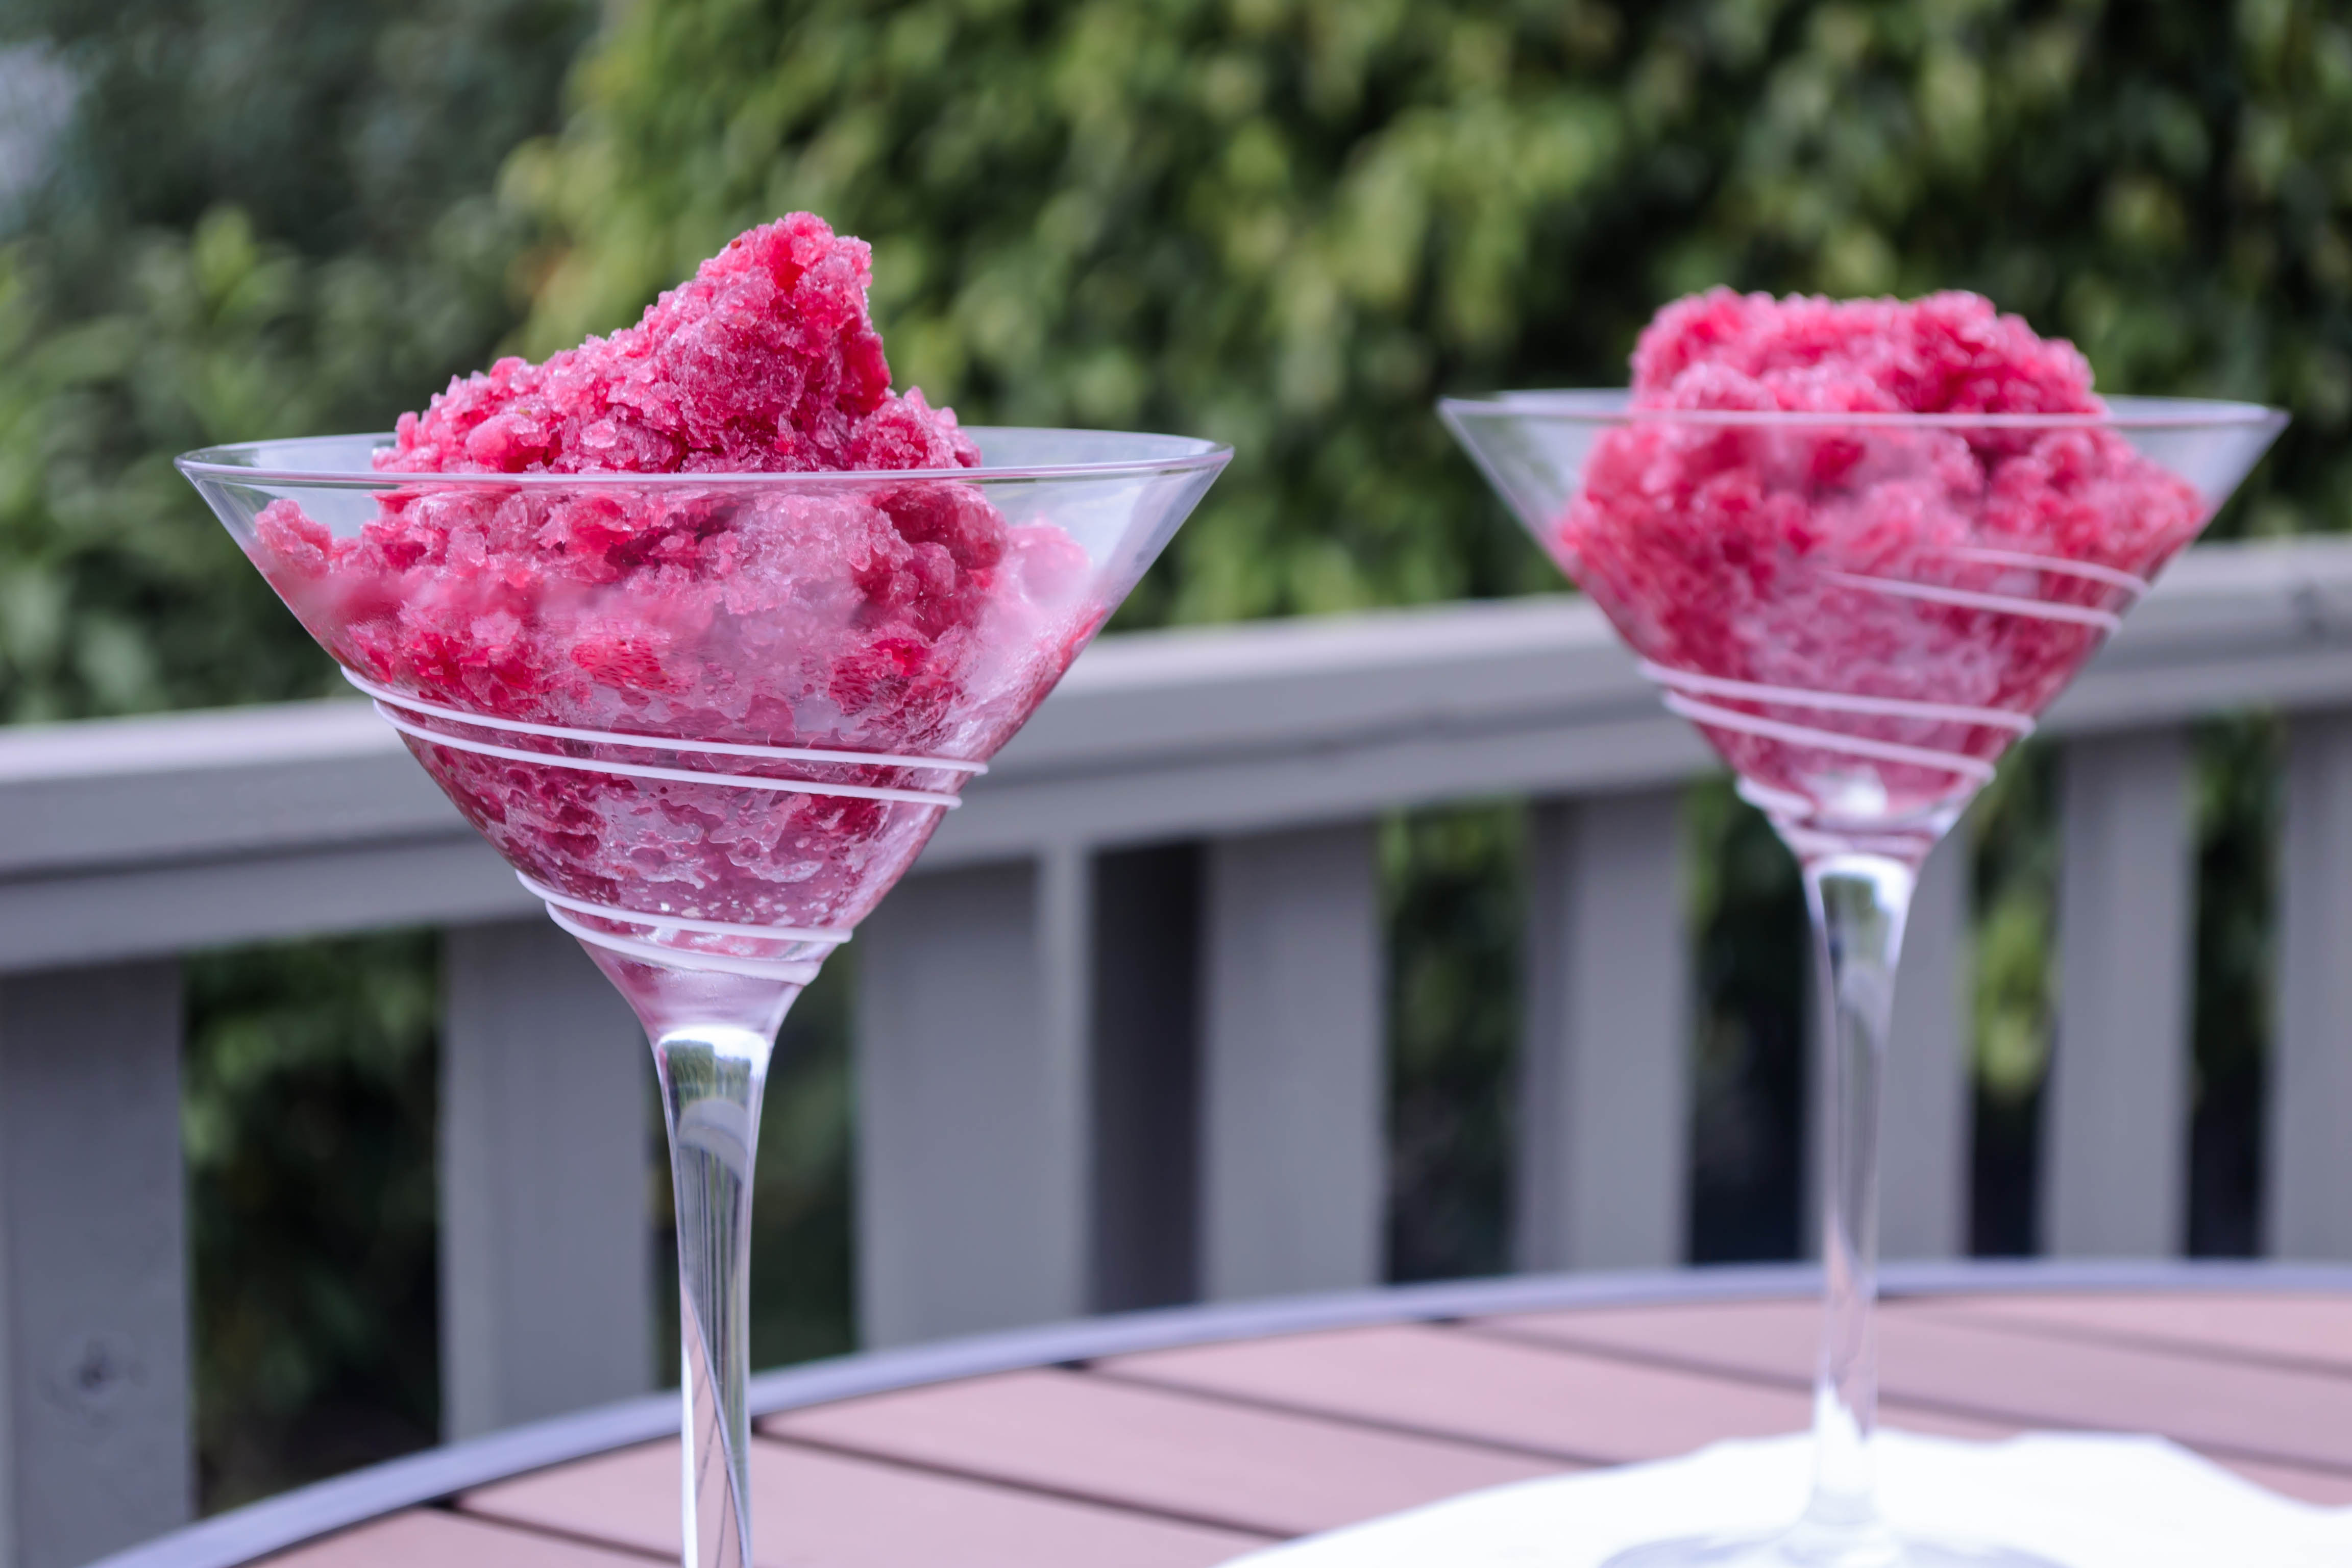
Just for fun, a few more shots of the sangria granita I posted about on Monday:


Just for fun, a few more shots of the sangria granita I posted about on Monday:
 Chances are, where you are, or were, or will be soon, it’s hot. Or it was. Or it’s going to be. But past, present, future, when it’s hot out, and you still want dessert, you are probably going to have certain demands: it must be easy. Mimimal measuring. Simple directions. No fine chopping or dicing or mincing. It must require short cooking time, if any. No long baking times (sorry, bread pudding), no stewing or roasting or brûléeing. It must be refreshing and delicious and maybe even a bit surprising, to pull you out of your mid-summer funk. Not that I’m having one of those…

Frozen sangria. Does that make your sweat-beaded forehead wrinkle with interest? It makes mine feel a little curious, a little intrigued, a little go-on-I’m-listening…

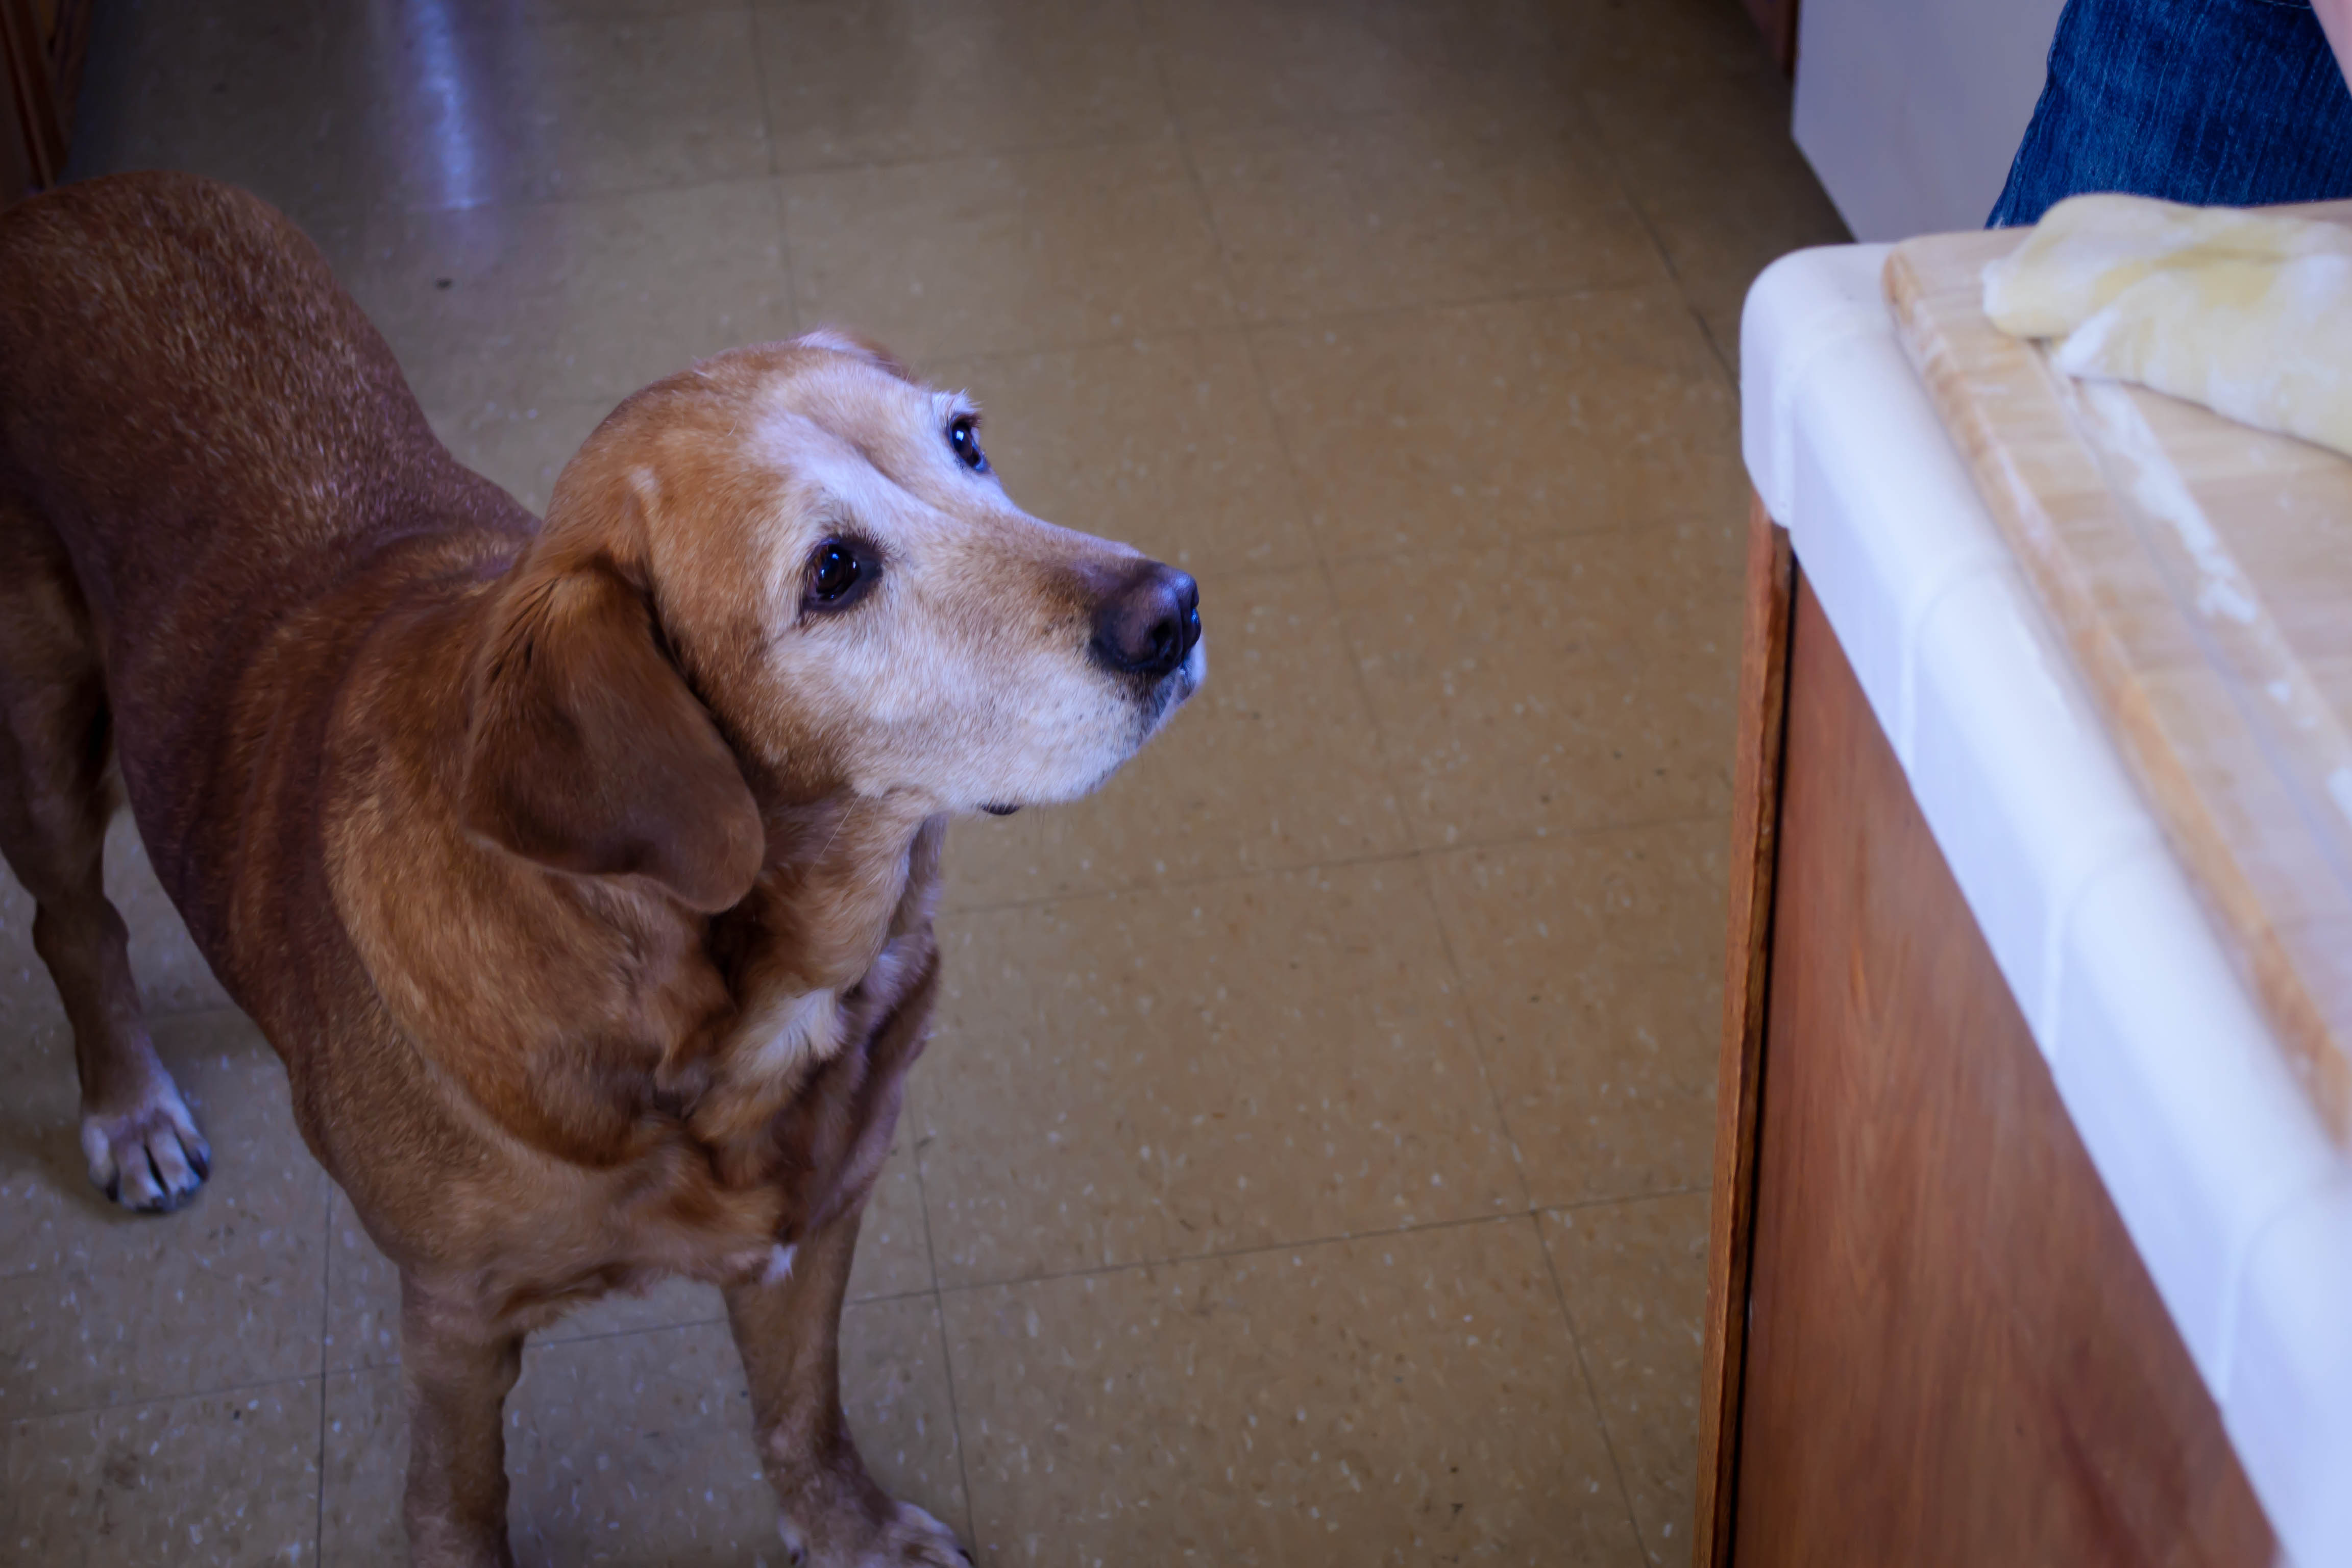
(Sometimes feet get in the way of photoshoots…)
Frozen sangria requires relatively little of you. It wants flavor – some sugar, some spice, some whatever’s-your-favorite red wine. It wants just a little simmering to infuse the liquid with cinnamon sticks, with cloves, with orange peel. We’re playing a little game with ourselves here: imparting winter flavors into an icy treat. Maybe the reminders of that holiday season half a year away will help us cool down just as much as the temperature of our dessert.
 Finally, frozen sangria wants time. Because we’re dealing with alcohol, freezing is going to take longer than if we were working with juice or water or even ice cream. It will freeze – most wines are between 9 and 13% alcohol, and this relatively low percentage will still solidify, but it will take a little longer. For satisfactory results, you’ll want to start this little project the day before. I know; planning ahead is not always on your mind when you are struck with the yen for a frozen treat. But this icy, deeply flavored bomb of spice, tipsy with wine, sparkling with citrus from freshly squeezed orange juice and freckled with mashed strawberries, is worth the extra wait.
 Here, because I care about you, and I want you to know your options before you have to brave the melting temperatures to find your way back to the kitchen, I’m giving you two preparations (well, three, if you count the plain ol’ sangria itself).
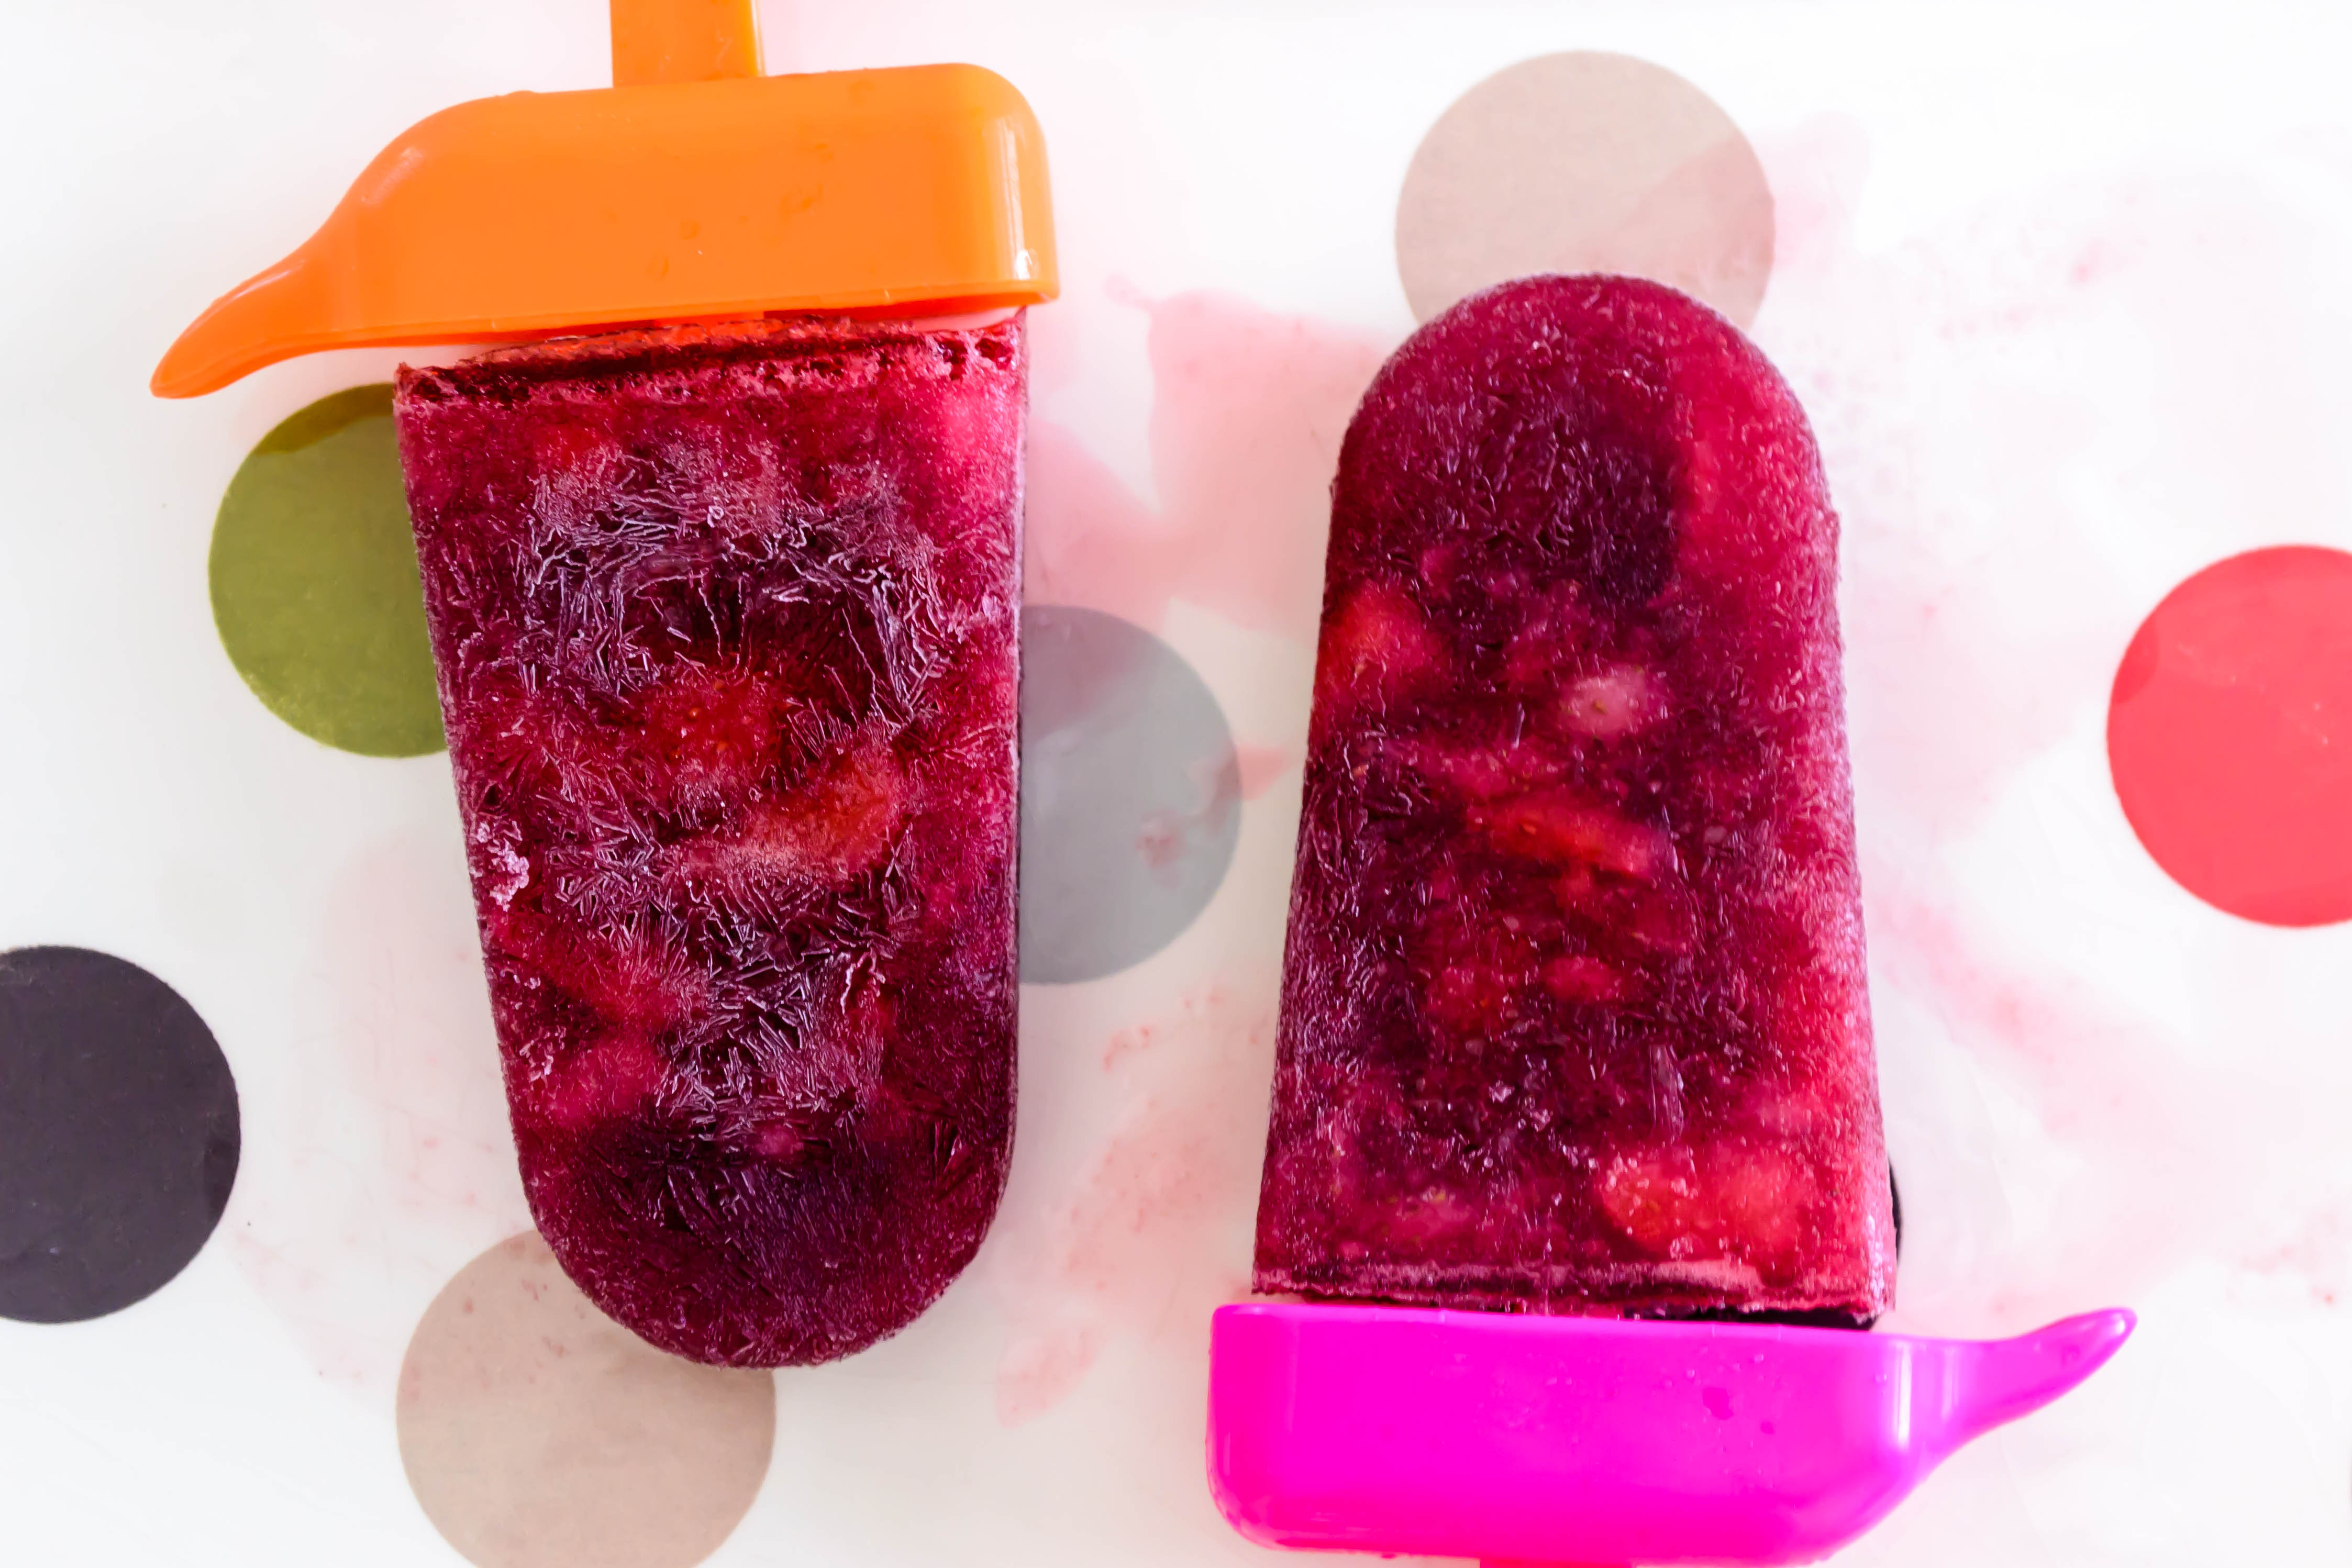
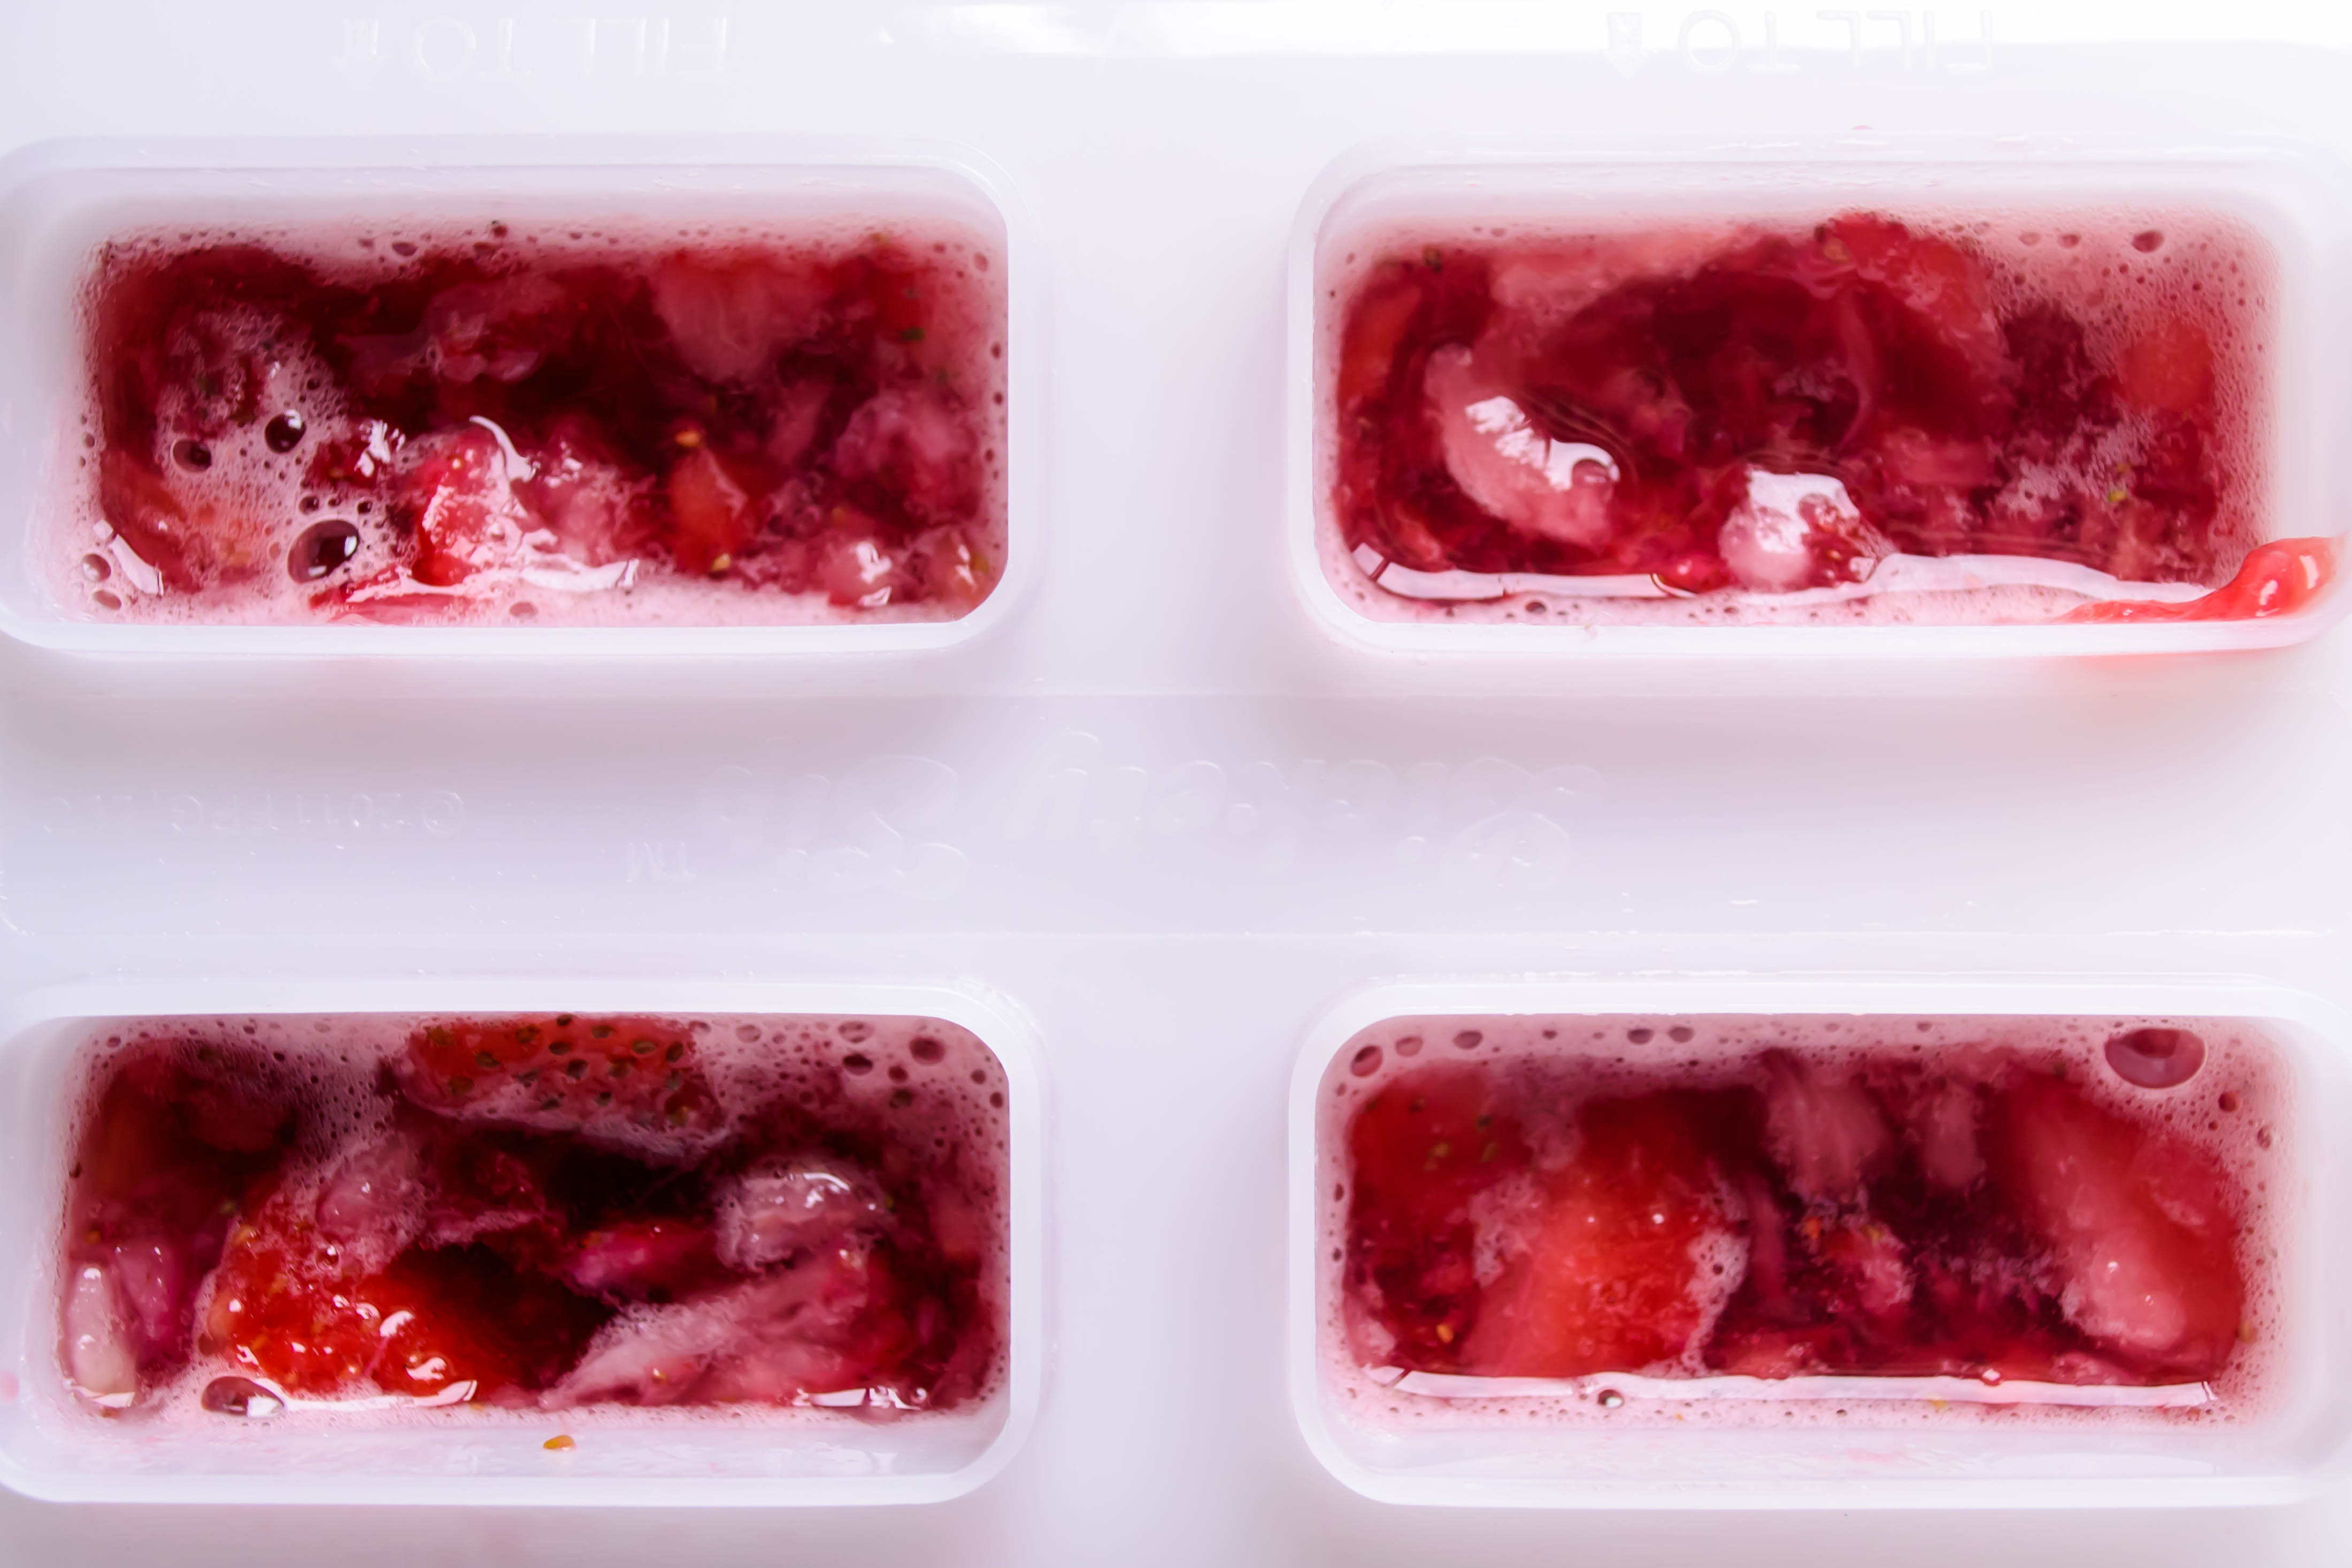 First, let’s talk casual, fun, surprising: the popsicle. Red wine, orange juice, tiny, tooth-freezing pockets of strawberry, frozen together in a shape that will pull you back to childhood even while the ingredients remain oh so adult. Once they are poured and put up, you have a secret cache of popsicles ready for your next girls’ night, or barbeque, or just a late afternoon so oppressing that standing barefoot on the kitchen’s tile floor just doesn’t cut it anymore.
 Our second preparation is a bit more elegant, a bit more dinner party, but still almost as easy: the granita. Granitas are Italian desserts related to sorbets, except that they have a crystalline texture more like snow or shave ice. Here, instead of spooning the sangria mixture into popsicle molds, it gets poured into a wide, shallow vessel, like a 9×13 baking dish, and again, moved to the freezer. After a few hours, though, you pull it out and scrape through it with a fork. This prevents the liquid from freezing into a solid mass. After this initial freezing period, return once every few hours and scrape again, agitating the mixture into separated crystals (and strawberry chunks). Several of these scraping sessions in, your liquid will be frozen and clustered in deep red flurries: a mound of feathery ice ready to be scooped and crunched after dinner or, if you prefer, perhaps even before. That’s what your favorite patio table is for, right?
Note: these are great options for a stay-home dessert, but if you are traveling or feeding them to guests who will be traveling, be cautious about the serving size: unlike warm desserts, where you simmer off most of the alcohol, this is basically a frozen bottle of wine with some flavorings added in – the majority of the alcohol content is still there.
Frozen Sangria
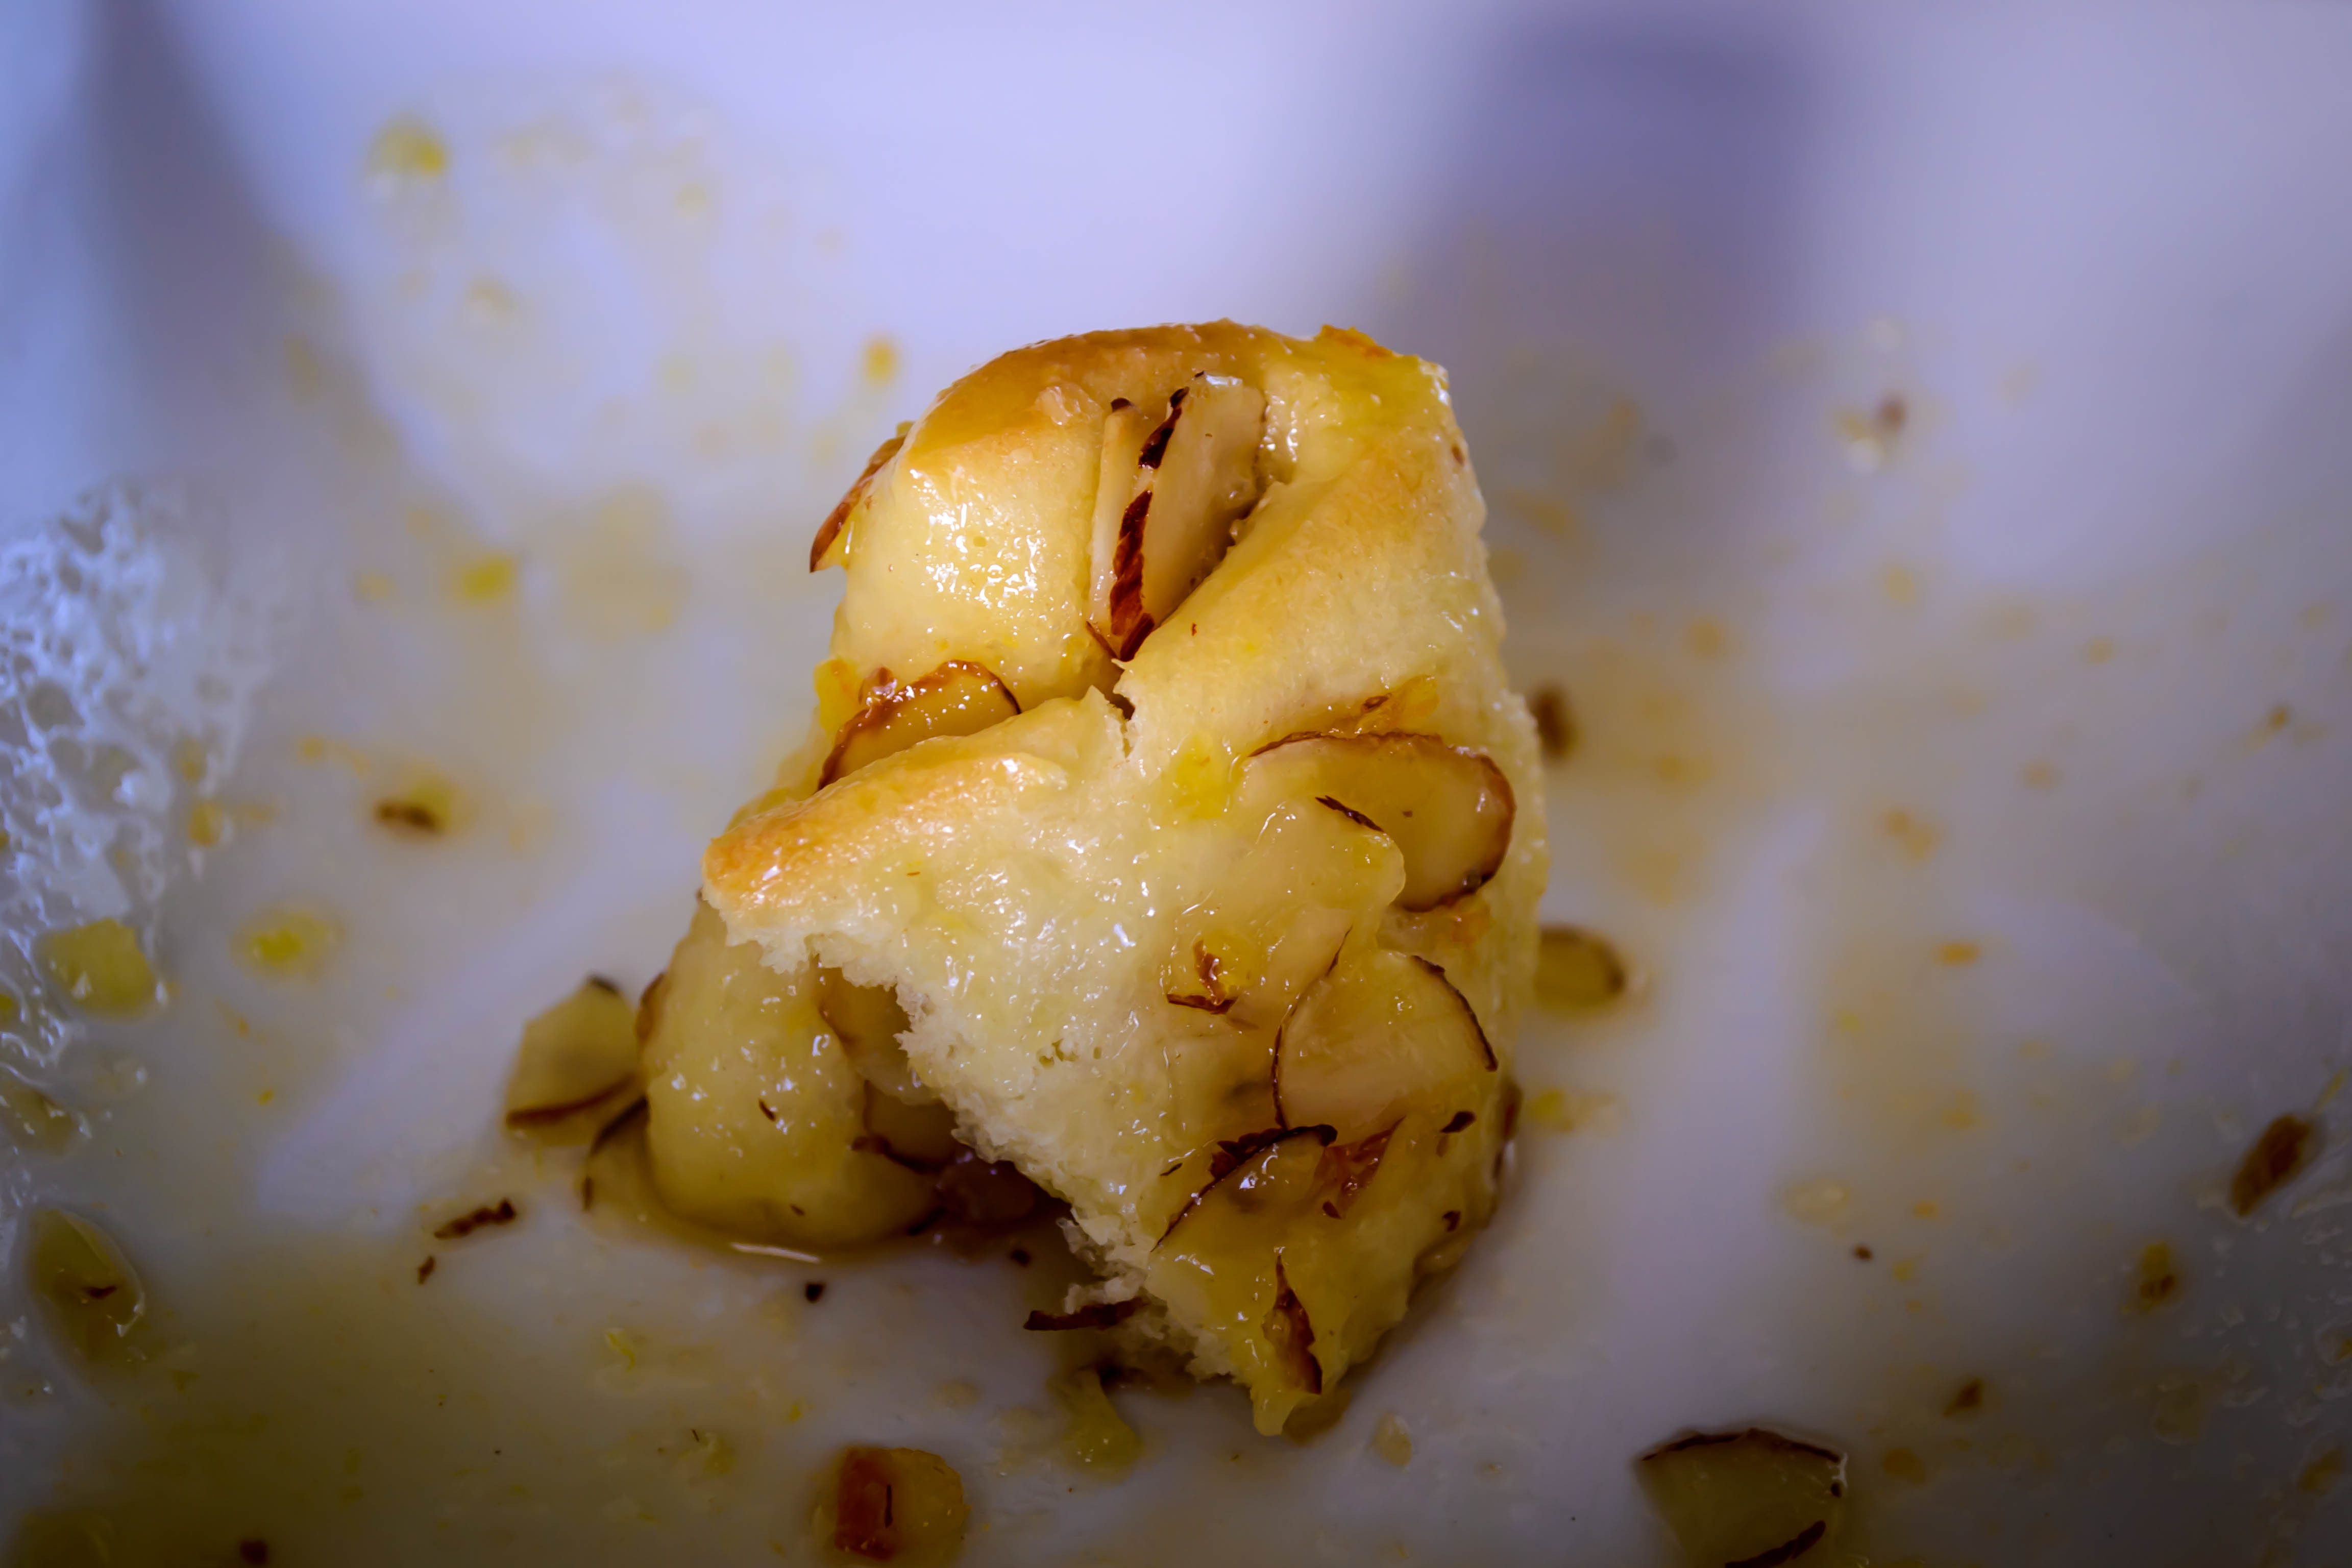
 When I’m not frying in the summer time, it seems like I’m baking. But in the on-and-off foggy uncertainty of June gloom, sometimes you need a little baking. Of course, now it’s July and the whole West Coast is panting and dreaming of snow drifts so, as usual, I’m behind. This dessert, though, plush with custard and drenched in rum caramel, is worth it.

 Bread pudding is an old dish and, like so many of the “comfort foods” we’ve embraced and raised to new levels of
 trendiness sophistication (I’m looking at you, French onion soup…), it began as a way to use up aging products in a way that made them still taste good. In this case, it’s combining cubes of stale bread with milk, eggs, sugar, and whatever else you think is particularly delicious, whether that be fruits, nuts, or chocolate. Savory as well as sweet iterations exist, and though the dish possibly has European origins, versions now exist in Cuba, the Philippines, Argentina, and in probably every gastropub in the U.S. playing the amped-up-comfort-food angle.
 For me, bread pudding is a godsend, because N. loves toast, which means we end up with a lot of crusts. It seems such a shame to throw them away that I forestall the problem by jamming them in the freezer. At the point that they fill up a shelf all on their own, it’s time to make bread pudding, a dish that I see as appropriate for a steaming dessert, warm breakfast, straight-from-the-fridge-3pm-snack, or even lunch on a day that I’m feeling particularly lazy.
This iteration, though, I wanted to be special. I wanted something comforting and homey and rich and delicious, but I wanted a twist. And that’s where summertime, and N., and my dad, all come in.
Husbands are great, aren’t they? But most of them (sorry, guys) aren’t perfect. N. is no exception. He’s close, oh he’s close, but here’s the thing: he doesn’t. like. coconut. I know. And it’s not one of those “no thanks on the coconut cream pie, not a fan” kinds of dislikes. It’s deep. It’s subconscious. The man can tell if a granola bar has coconut in it with one bite. He once declared that a cookie we were sharing tasted “odd,” and sure enough, down at the bottom of the ingredient list was ground coconut. Curries at Thai restaurants are dangerous business. And summer, this glorious season, is a hazardous time of year for N. thanks to sunscreen. Once, decked out for a gardening session, I gave him a kiss and he told me my face smelled funny. SPF coconut.
 But I adore coconut. It means vacation and swimming and luxury. It smacks of the tropics: rum-laced drinks. Shave ice. Coconut shrimp (N.’s ultimate nightmare). And, oddly enough, French toast. When my sister and I were little, every once in a while my dad would pull down the electric skillet from some cabinet too high for anyone else in the family to reach and make coconut French toast for breakfast. After dredging the bread in milk and eggs, he dipped each side in coconut before subjecting it to the buttery-slicked heat.
The result was a revelation. The coconut caramelized into a crunchy, lacy, almost-burned web of texture on the outside of the bread, and its flavor made the addition of syrup all but unnecessary. This, then, was the mission. I set out to create my own version of this childhood memory.

 Generally I soak my bread puddings before cooking them. I load my baking dish with stale crusty cubes, mix in whatever bits and bobs I want to add (craisins are a frequent suspect), then pour the custard mixture over the top and set a heavy dish on top to press the bread sponges down into the drink. And then I shove the whole thing into the fridge for a few hours to promote full incorporation.
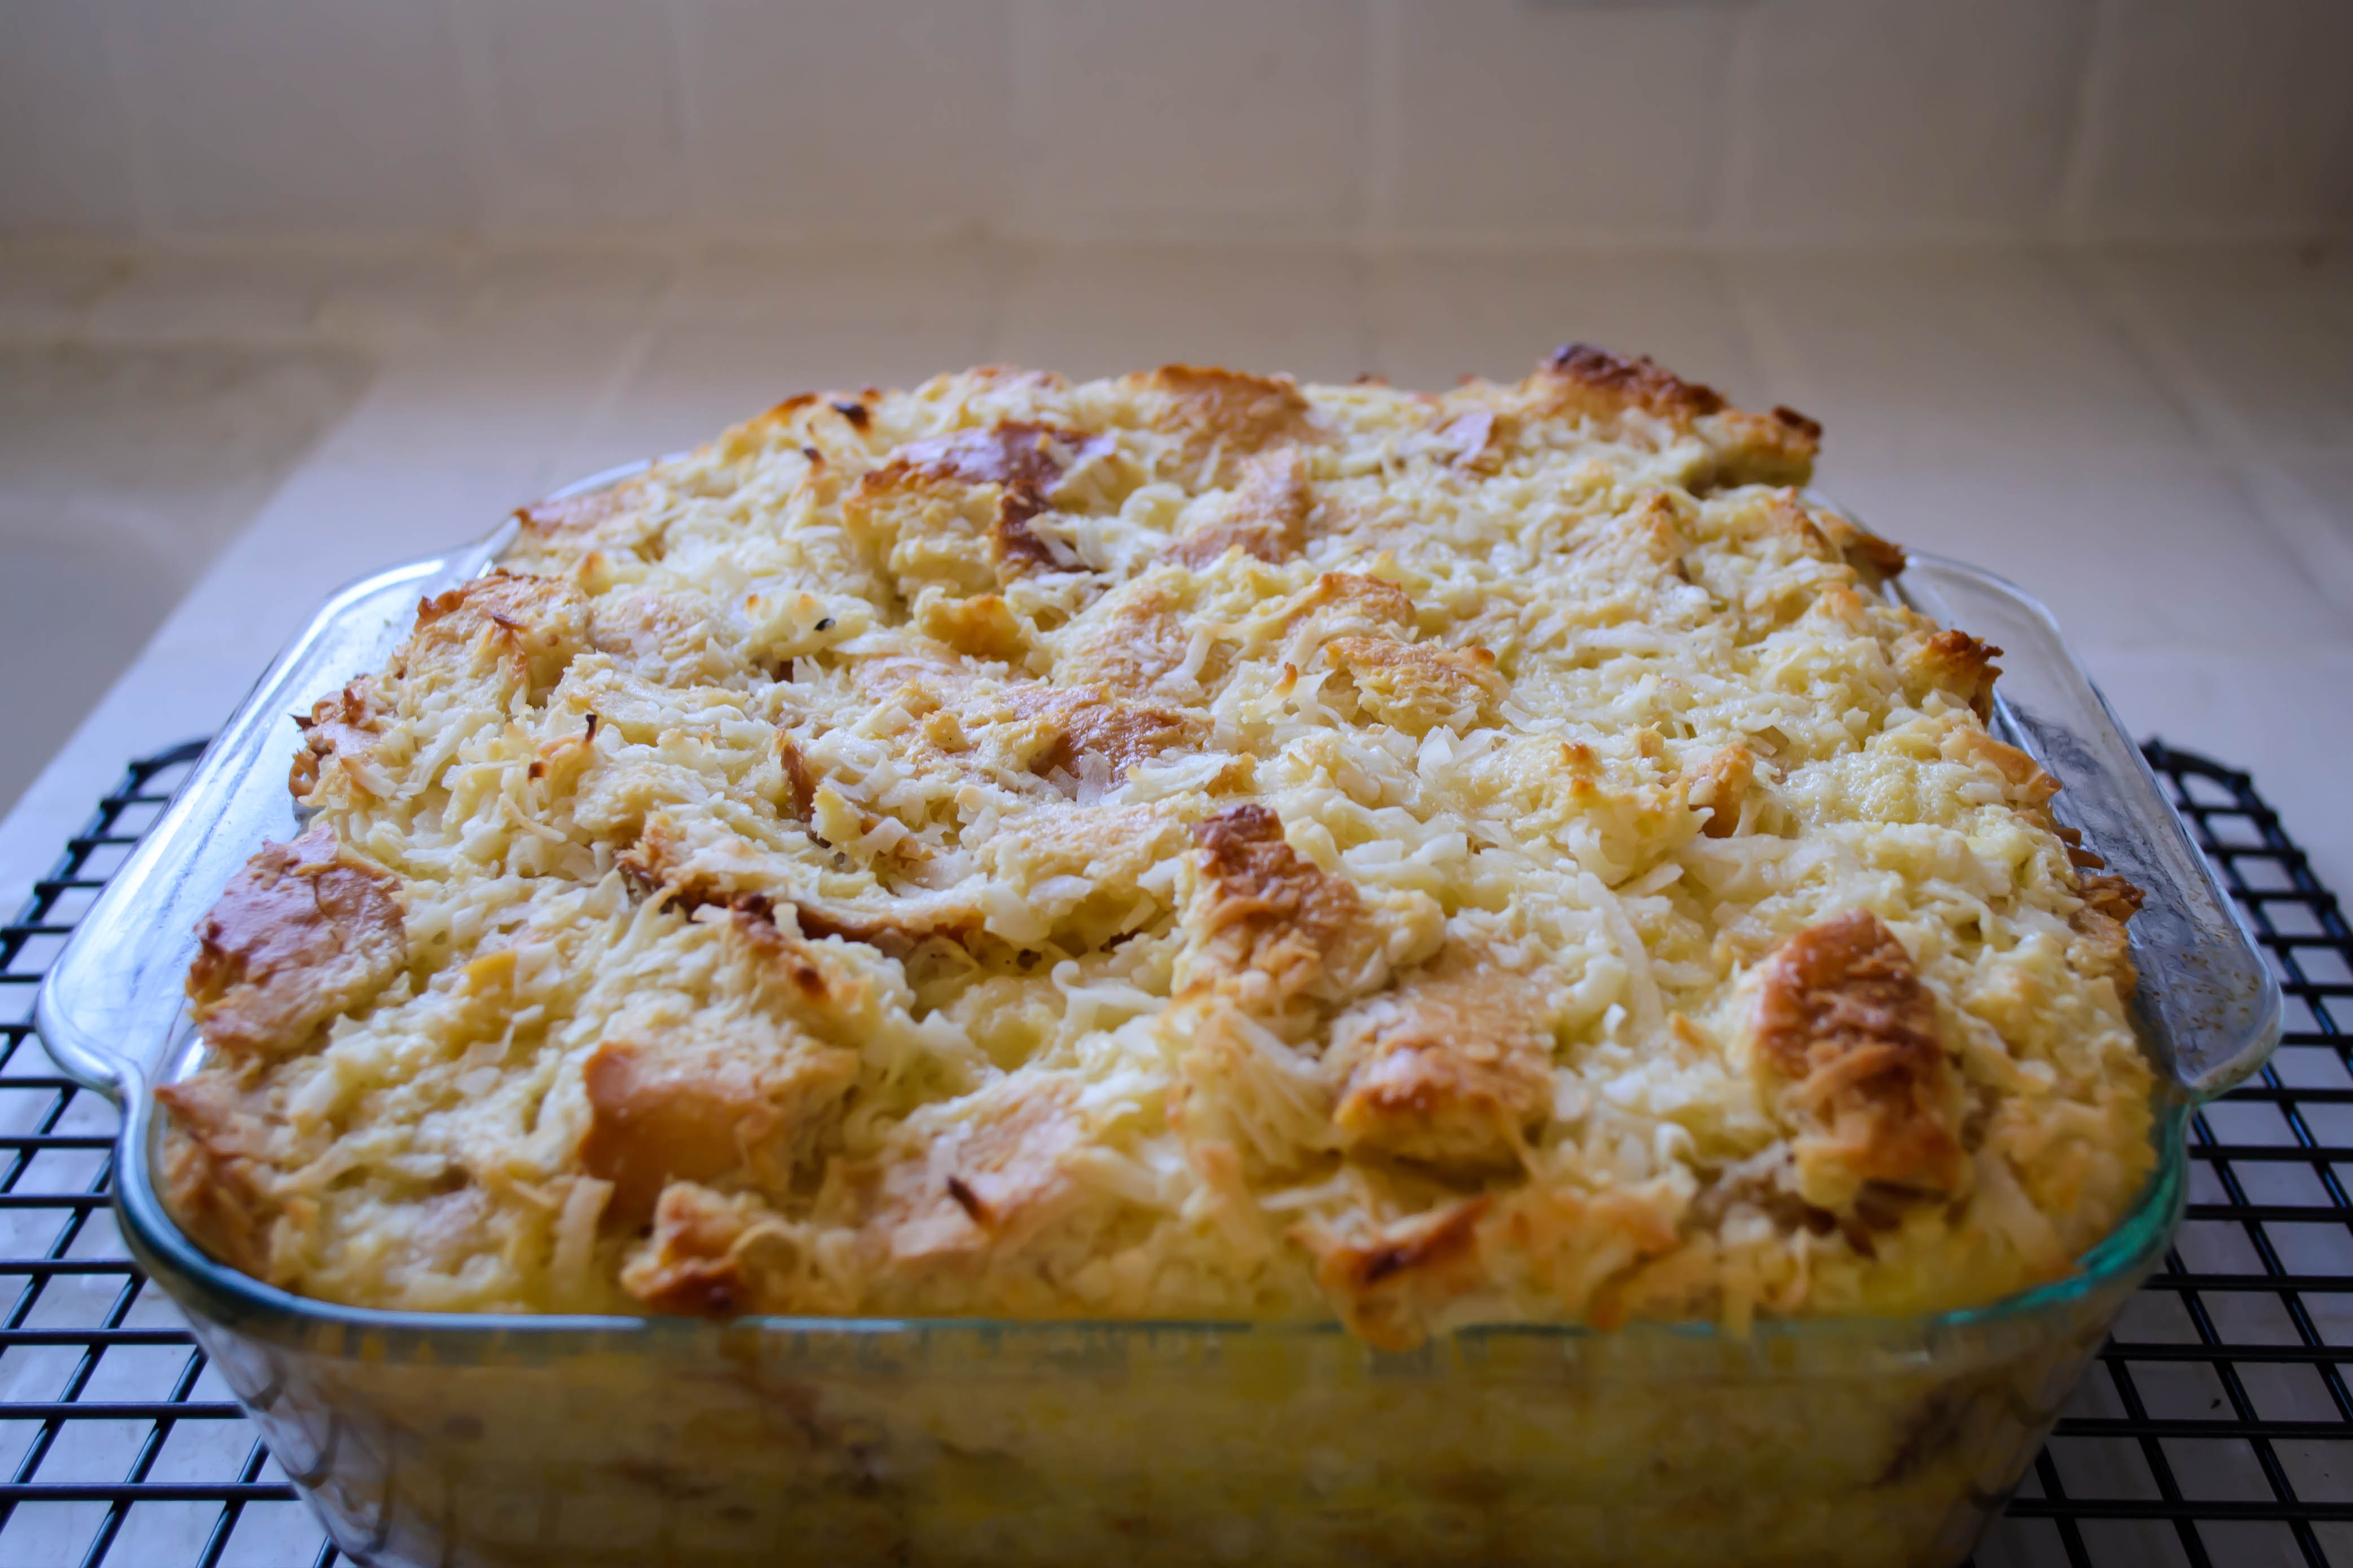
This time, though, I decided to employ a different method. I mixed up the custard with coconut milk and coconut cream instead of regular dairy, and dumped in the bread and, after a moment’s consideration, most of a bag of sweetened shredded coconut. Thorough mixing followed, and the result – a bowl of creamy soft crumbles of bread and the heady smell of the Hawaiian vacation I wish I were on – spoke summer. All I could think of, while I pushed the baking dish into the oven, was a piña colada.

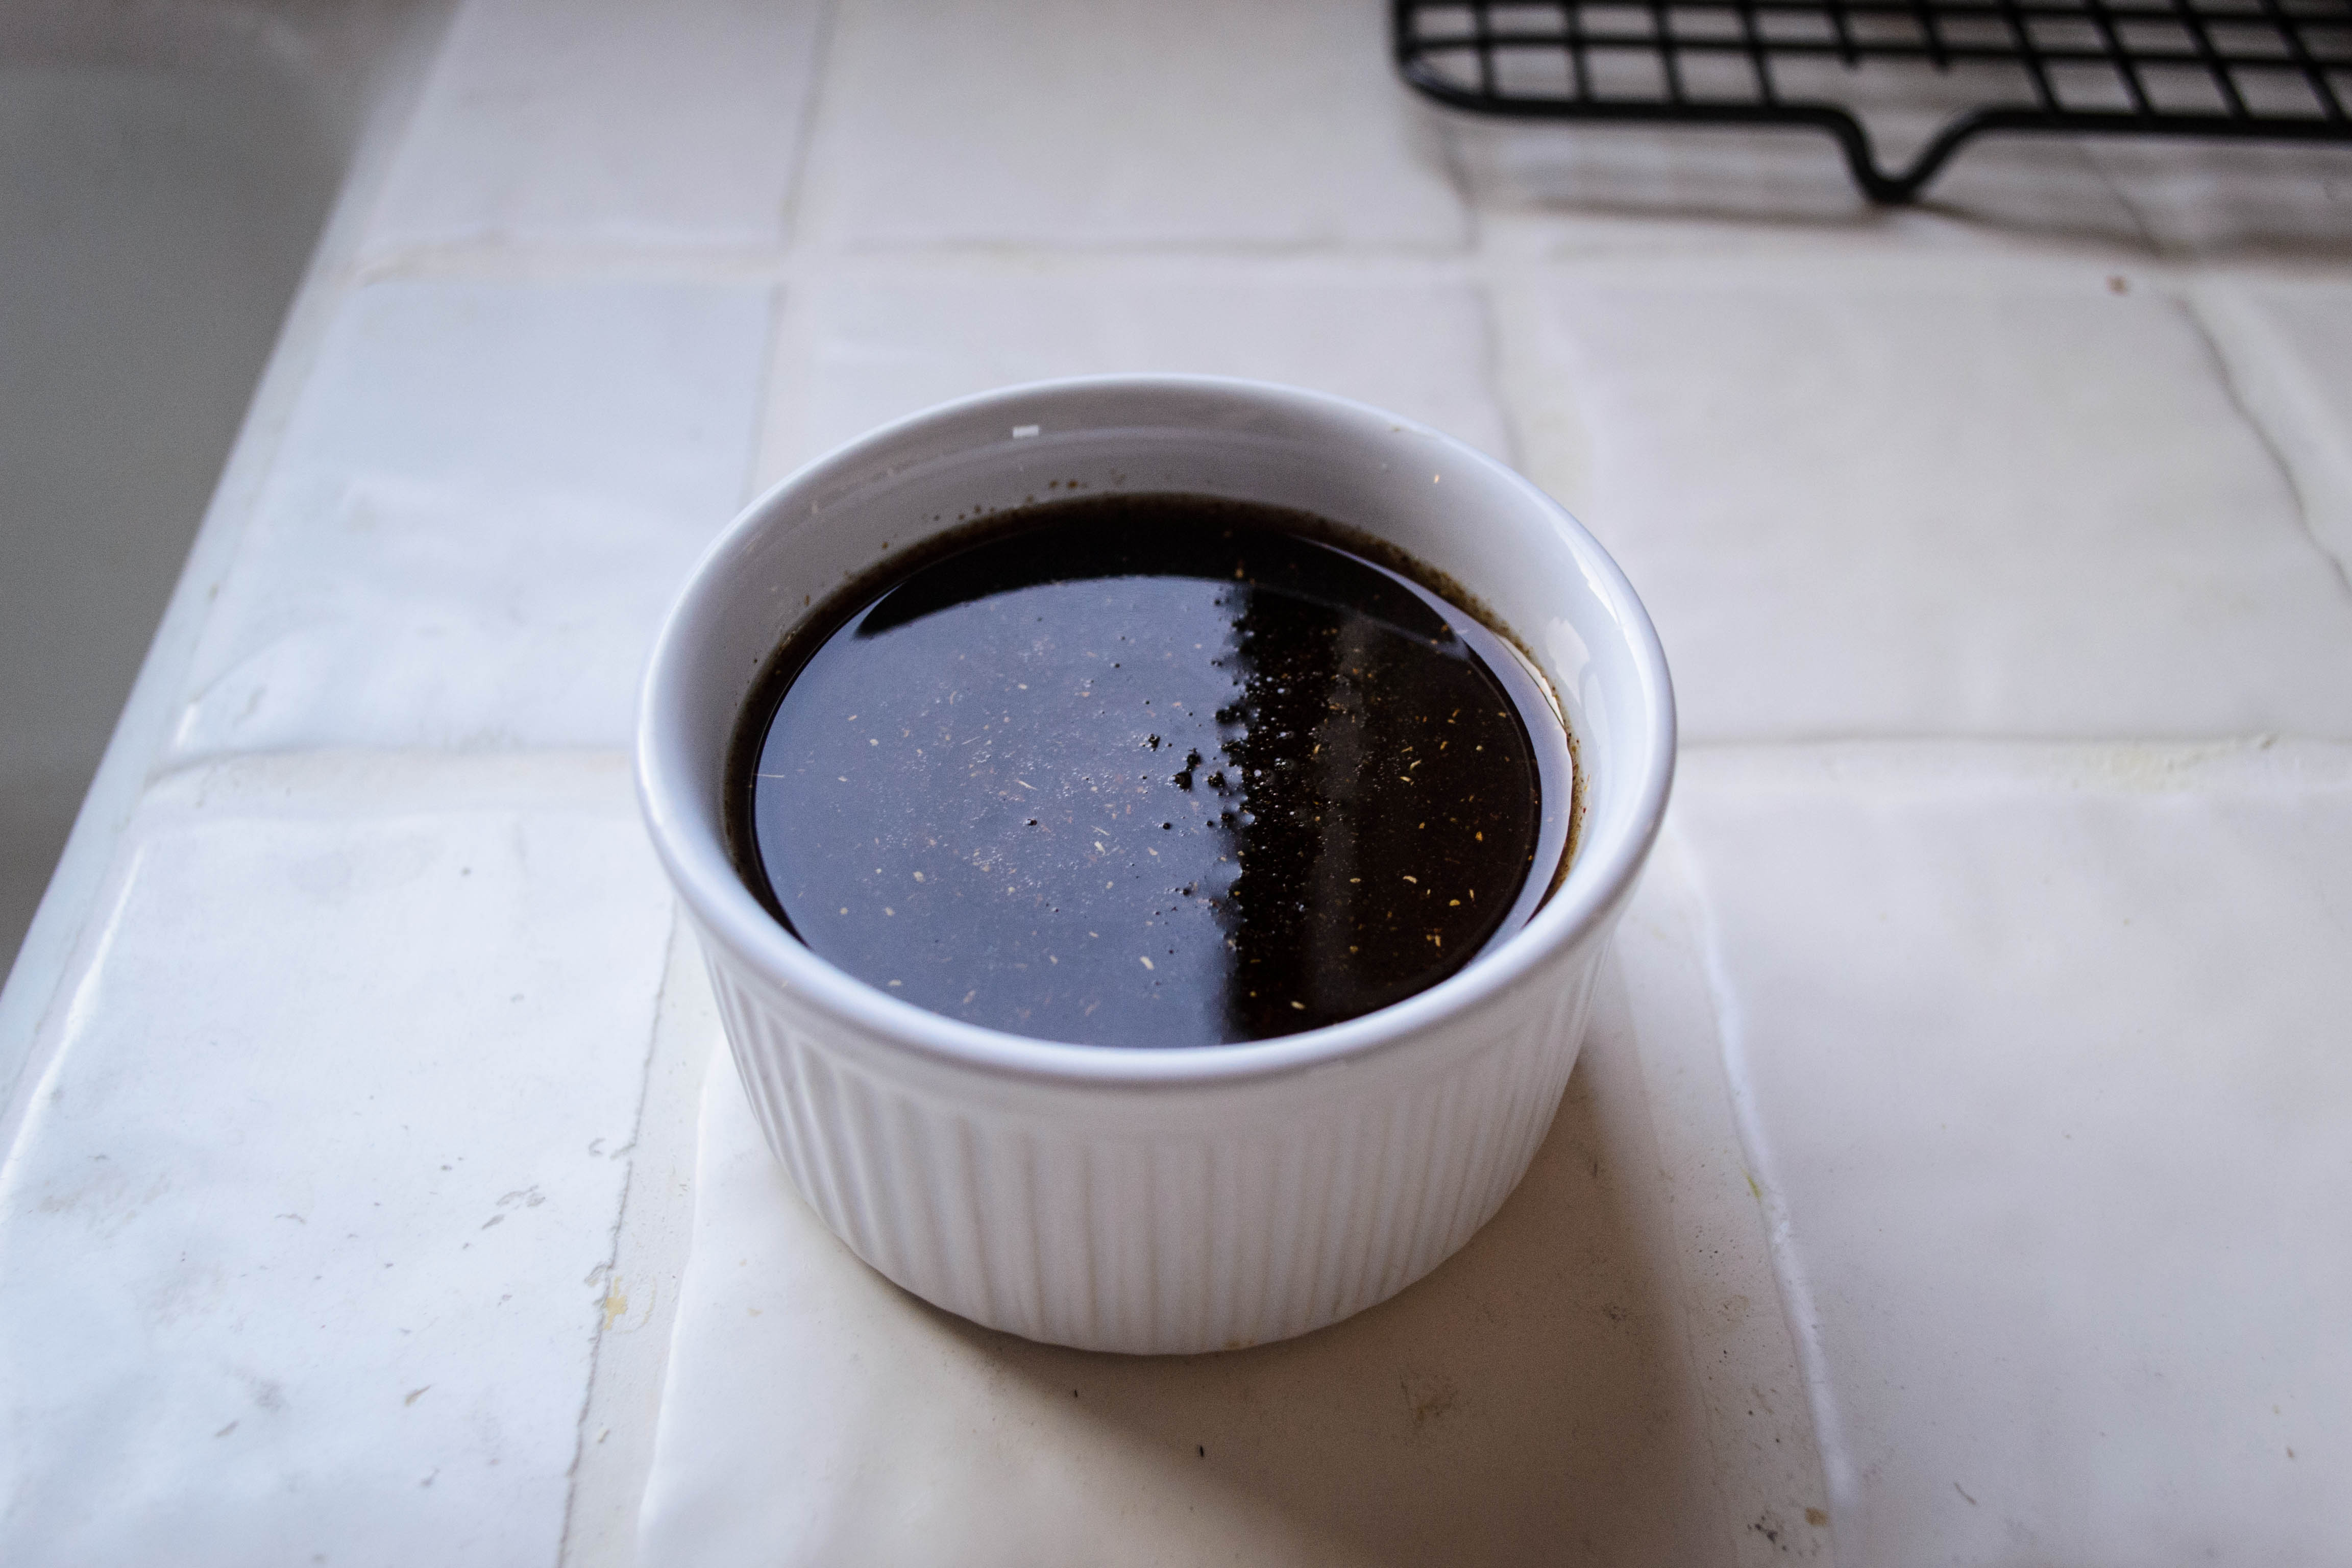
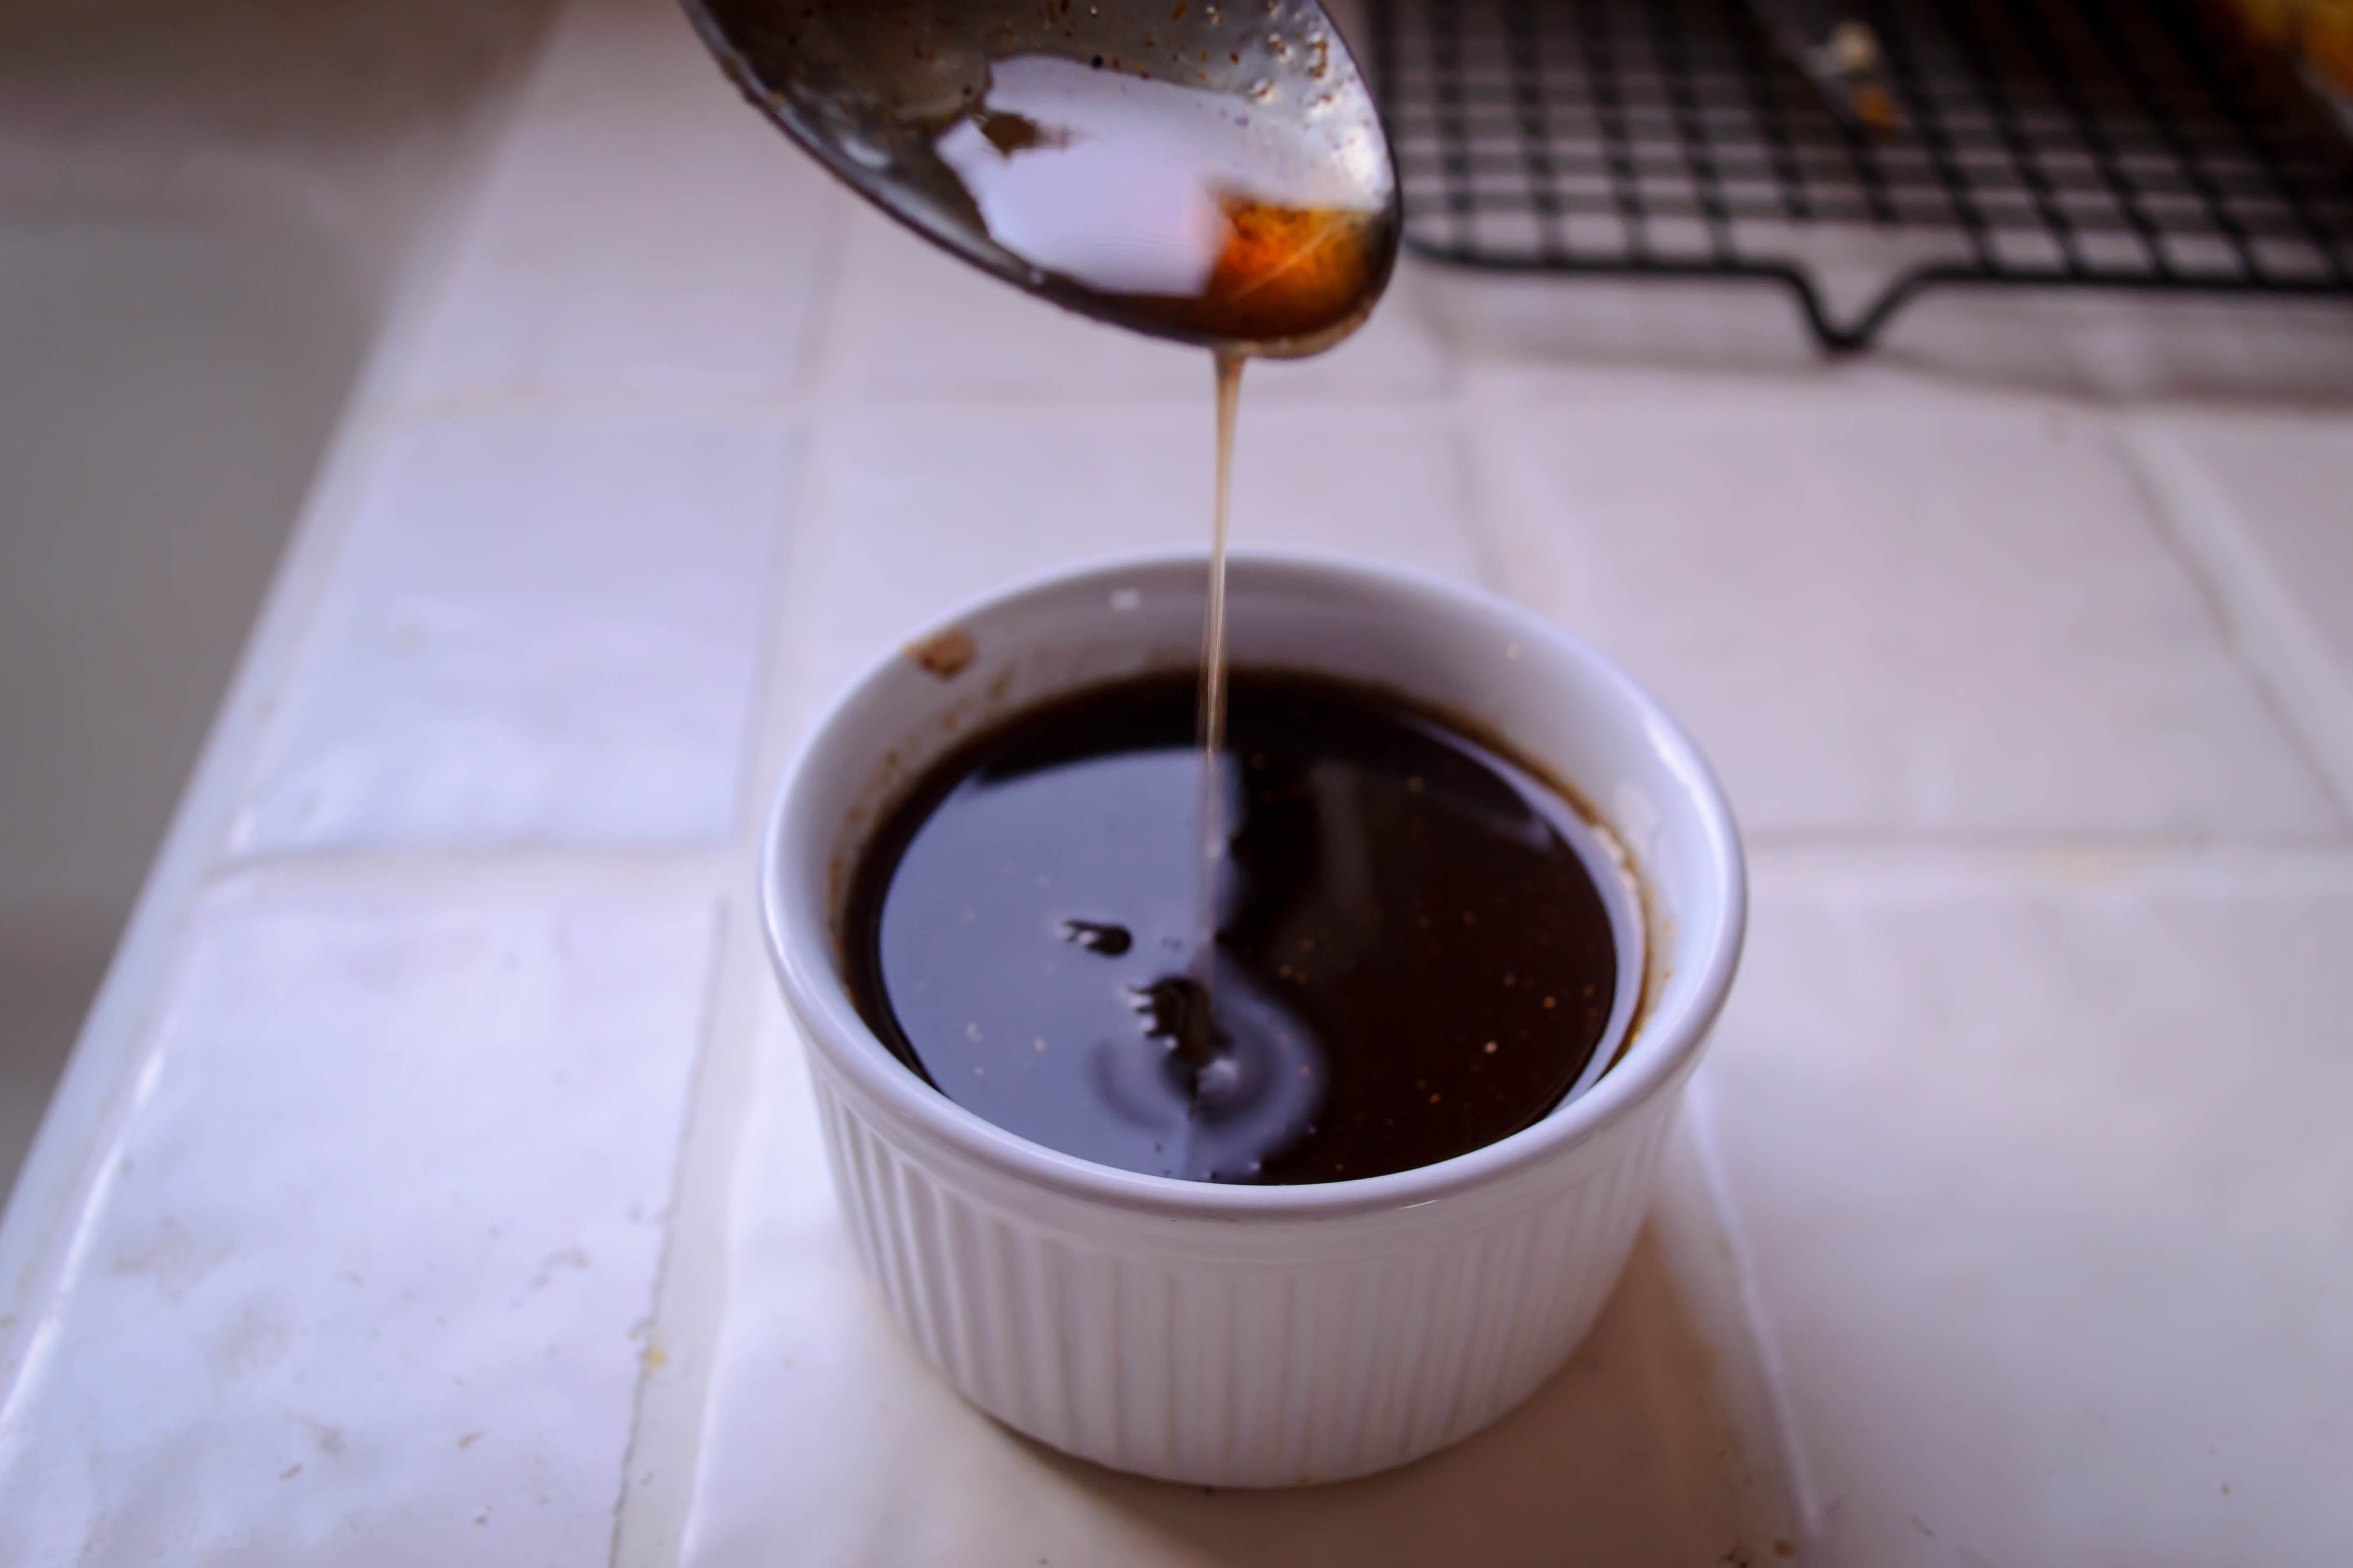
 The problem with piña coladas, though, is that pesky piña part. I’ve got no hatred for pineapples, don’t get me wrong, but their aggressive tartness sometimes overpowers the gentle, creamy sweetness of coconut and the spicy complexity of the rum. A bread pudding sodden with coconut and no pineapple to be found seemed like the perfect excuse for, let’s say, a rum caramel sauce. Why not? It’s summer… Dark rum. Sugar. A daring sprinkle of garam masala. Bubbled away in a tiny pot until barely thickened, and the dessert went from homey and comforting to decadent and warming and, oddly enough, somehow reminiscent of camping. I swear my parents didn’t give us rum when we sat around the fire toasting marshmallows, so all I can figure is that the sweet spiciness reminded me of gingersnaps or molasses cookies or some other well-spiced treat.
 Once this heat wave breaks, I think you should make this bread pudding, with or without the sauce. You won’t, unless you are like my coconut-hating husband, be disappointed. And if you are, well, someone in your family will be glad they don’t have to share.
This is dynamite with coconut bread pudding, but would be equally delicious dribbled over ice cream, or mixed into a milkshake, or maybe even as a puddled base for your 4th of July slice of apple pie.
Blogs have birthdays. Who would have imagined, a mere decade ago, that the little space we write in daily, or weekly, or monthly, or whenever we can, would become so important in our lives that we would want to celebrate its anniversary?
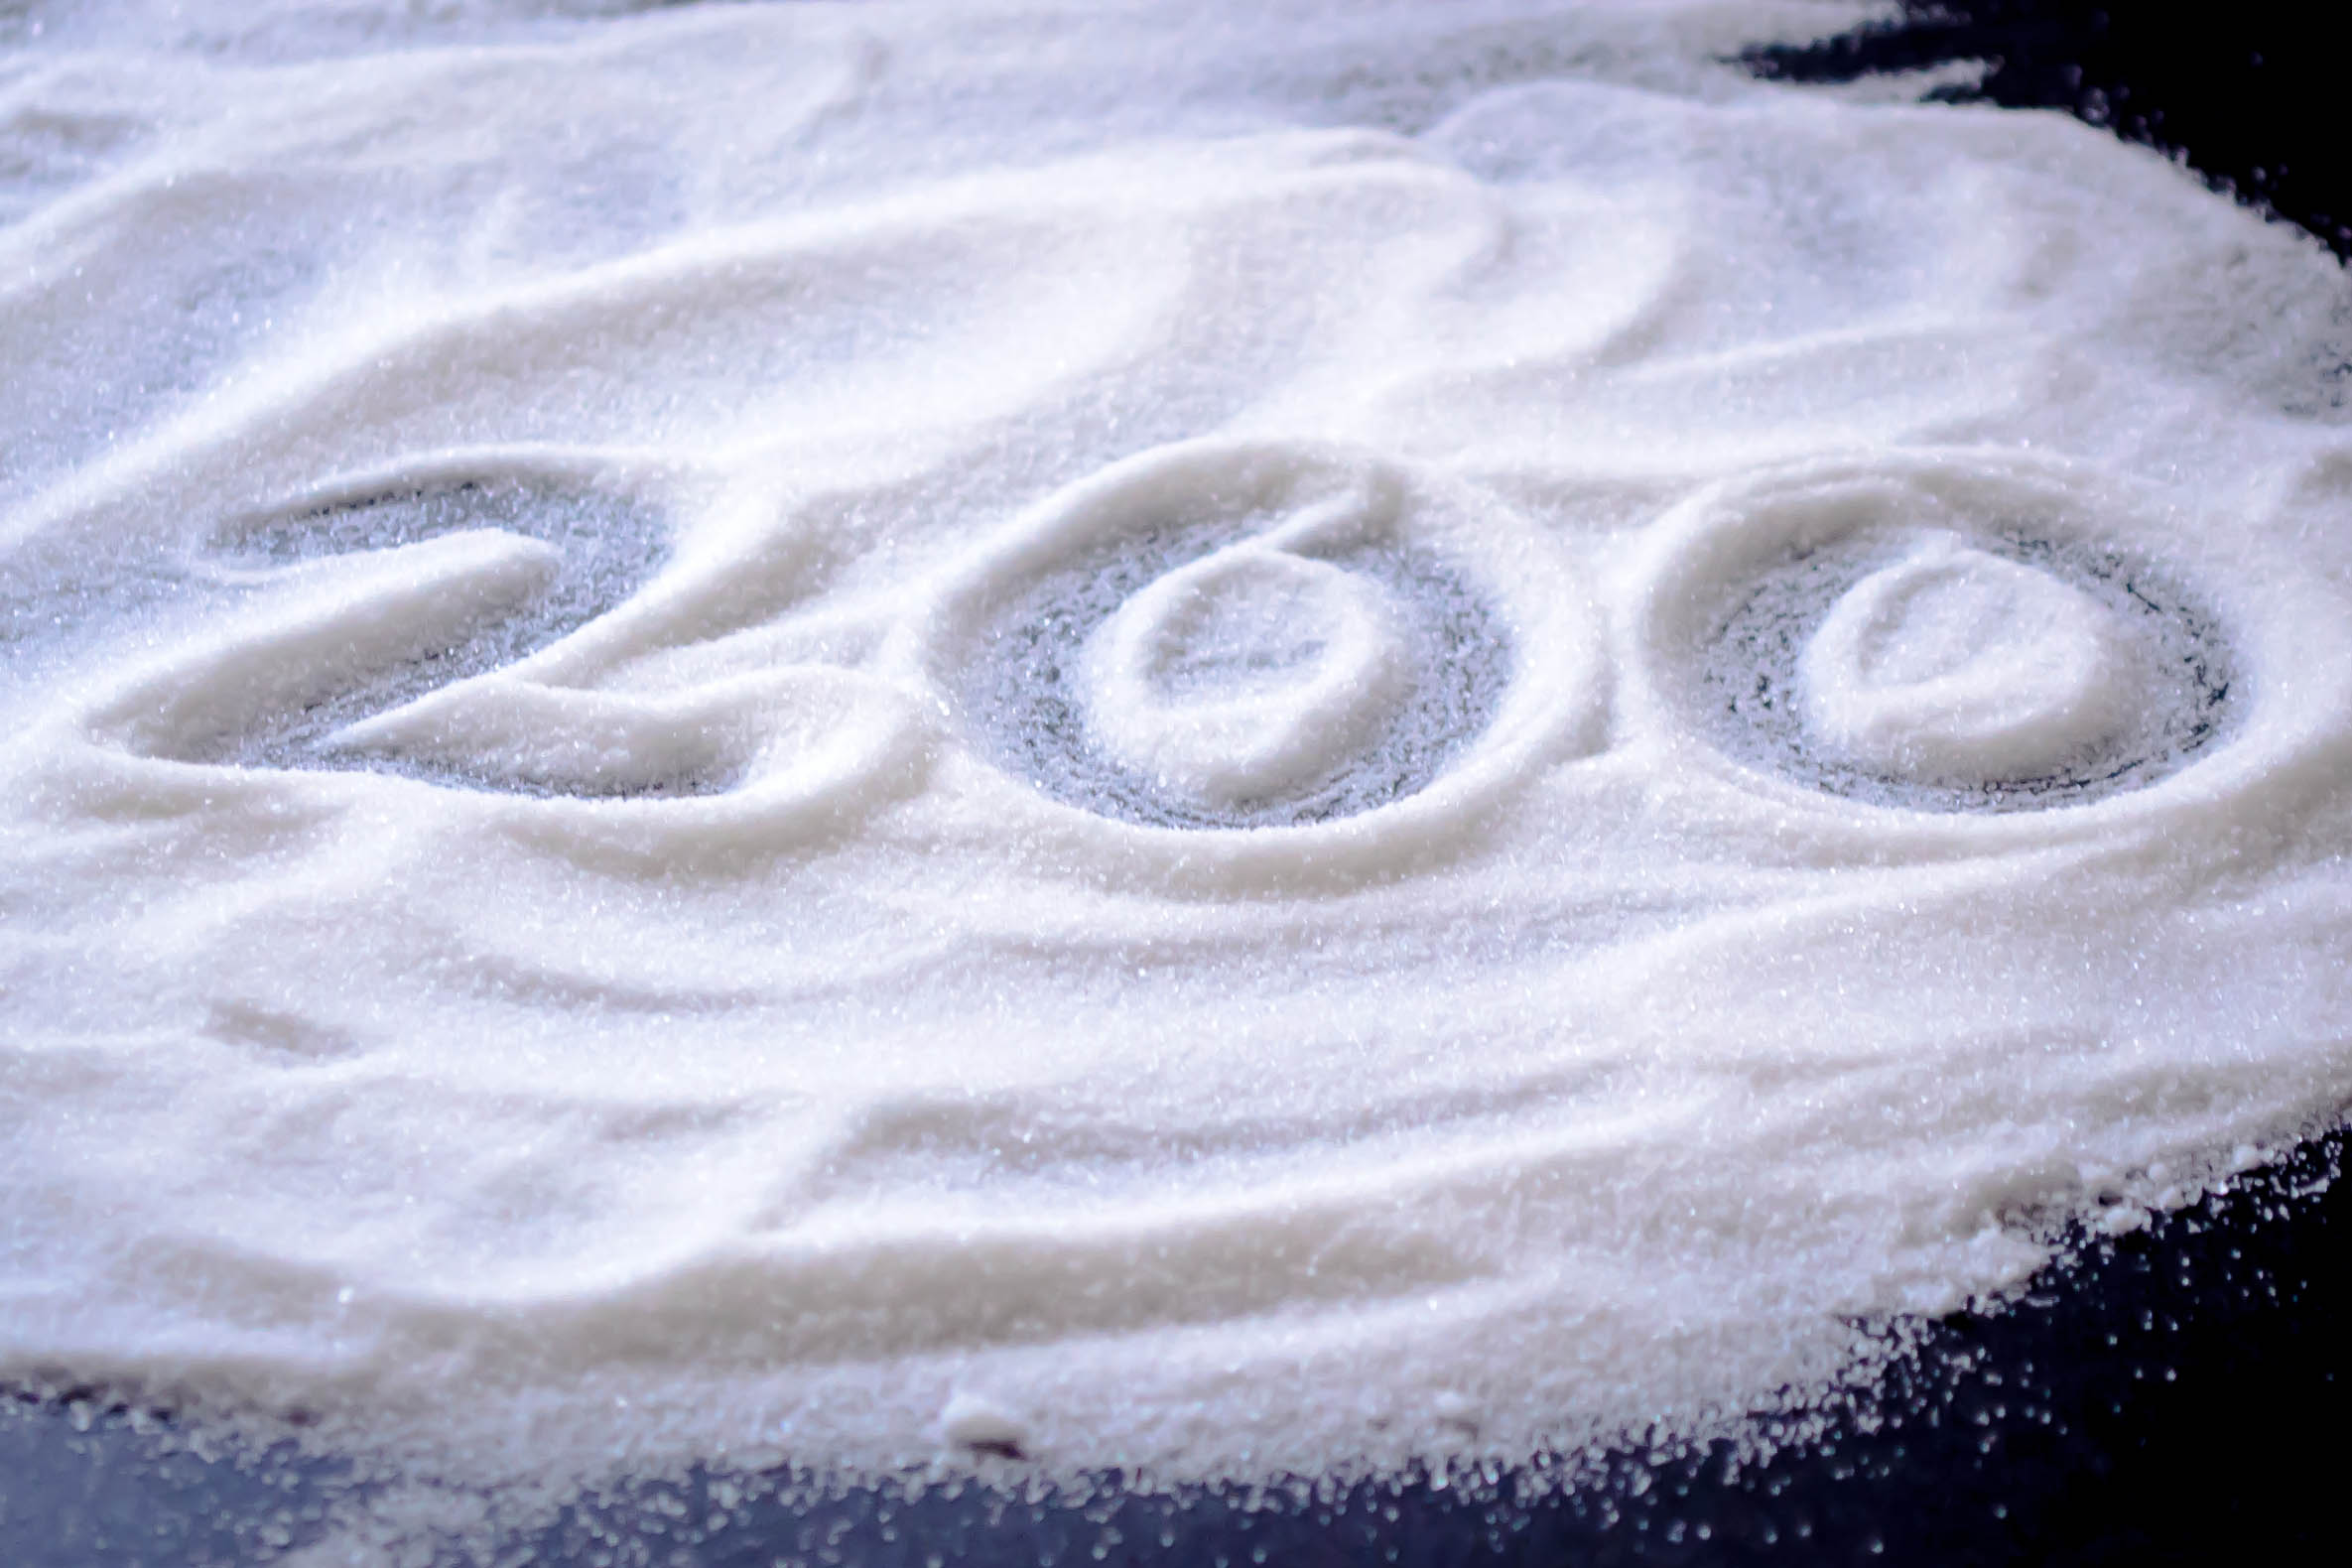 As I look back, it turns out that I started writing in my own little space almost five years ago. But I haven’t celebrated its bloggy birthday, nor will I when I do roll over the half-decade mark, because my schedule of blogging was, at least near the beginning, so sporadic. It doesn’t seem like I’ve really been writing here for five years when for three of those five, you were lucky to get a post a month. The nice thing about WordPress, though (which I’ve been using quite happily for all of those almost-five-years), is that it tells you how many posts you’ve actually made. And this, friends, against all belief, is number 200. Two hundred! That, to me, calls for a bit of celebration. Let’s have cake!
 This cake needs to be about the edging warmth of late spring, and freshness. It needs to be something I could never have imagined making 200, or 150, or even 100 posts ago. It needs to be original and tart-sweet and humble but delicious. It’s not a show-off cake, but it stands up for itself. It’s simple and tasty and equally good as afternoon snack, as dessert, and as a bit of a naughty breakfast. It also, as it turns out, needs to be dairy-free. Let me explain.
A few months ago, my aunt asked me to make something sweet. But her granddaughter, Miss Elsie, can’t have dairy products. No milk, no cheese, no butter. No whipped cream. No gelato! I’ve met Elsie once. We went on a glorious, sunshiney, beachy, too-much-food-and-certainly-too-much-wine family reunion trip. The twelve of us – sisters, cousins, uncles, husbands, nieces – shouted and guffawed and flip-flopped our way up and down the three stories of a pool-bearing beach house in North Carolina for the better part of a week, and in the middle of this trip, Elsie tasted her first ice cream. It was dark chocolate, made entirely with coconut milk, and her first taste, once the chill evaporated, was the purest expression of joy I’ve ever seen. The kid was hooked. The shirt she was wearing – white and pink with docile little flowers – was never the same.
Would I come up with something sweet, my aunt asked, that she could make for Elsie? You got it. This is an easy little cake, with just a bit of cornmeal for texture. Butter and milk are replaced by applesauce for moisture and olive oil for deep, rich flavor.
But it couldn’t be just a cake. If it was already going to be about family, I decided, I needed to go whole hog. Our reunion trip was, in part, a joyous memorial for my grandparents, who used to vacation in North Carolina many, many years ago. Transported by this connection, I was pulled back into their old backyard, and I could see Nana’s rhubarb bush at the back corner of the house.
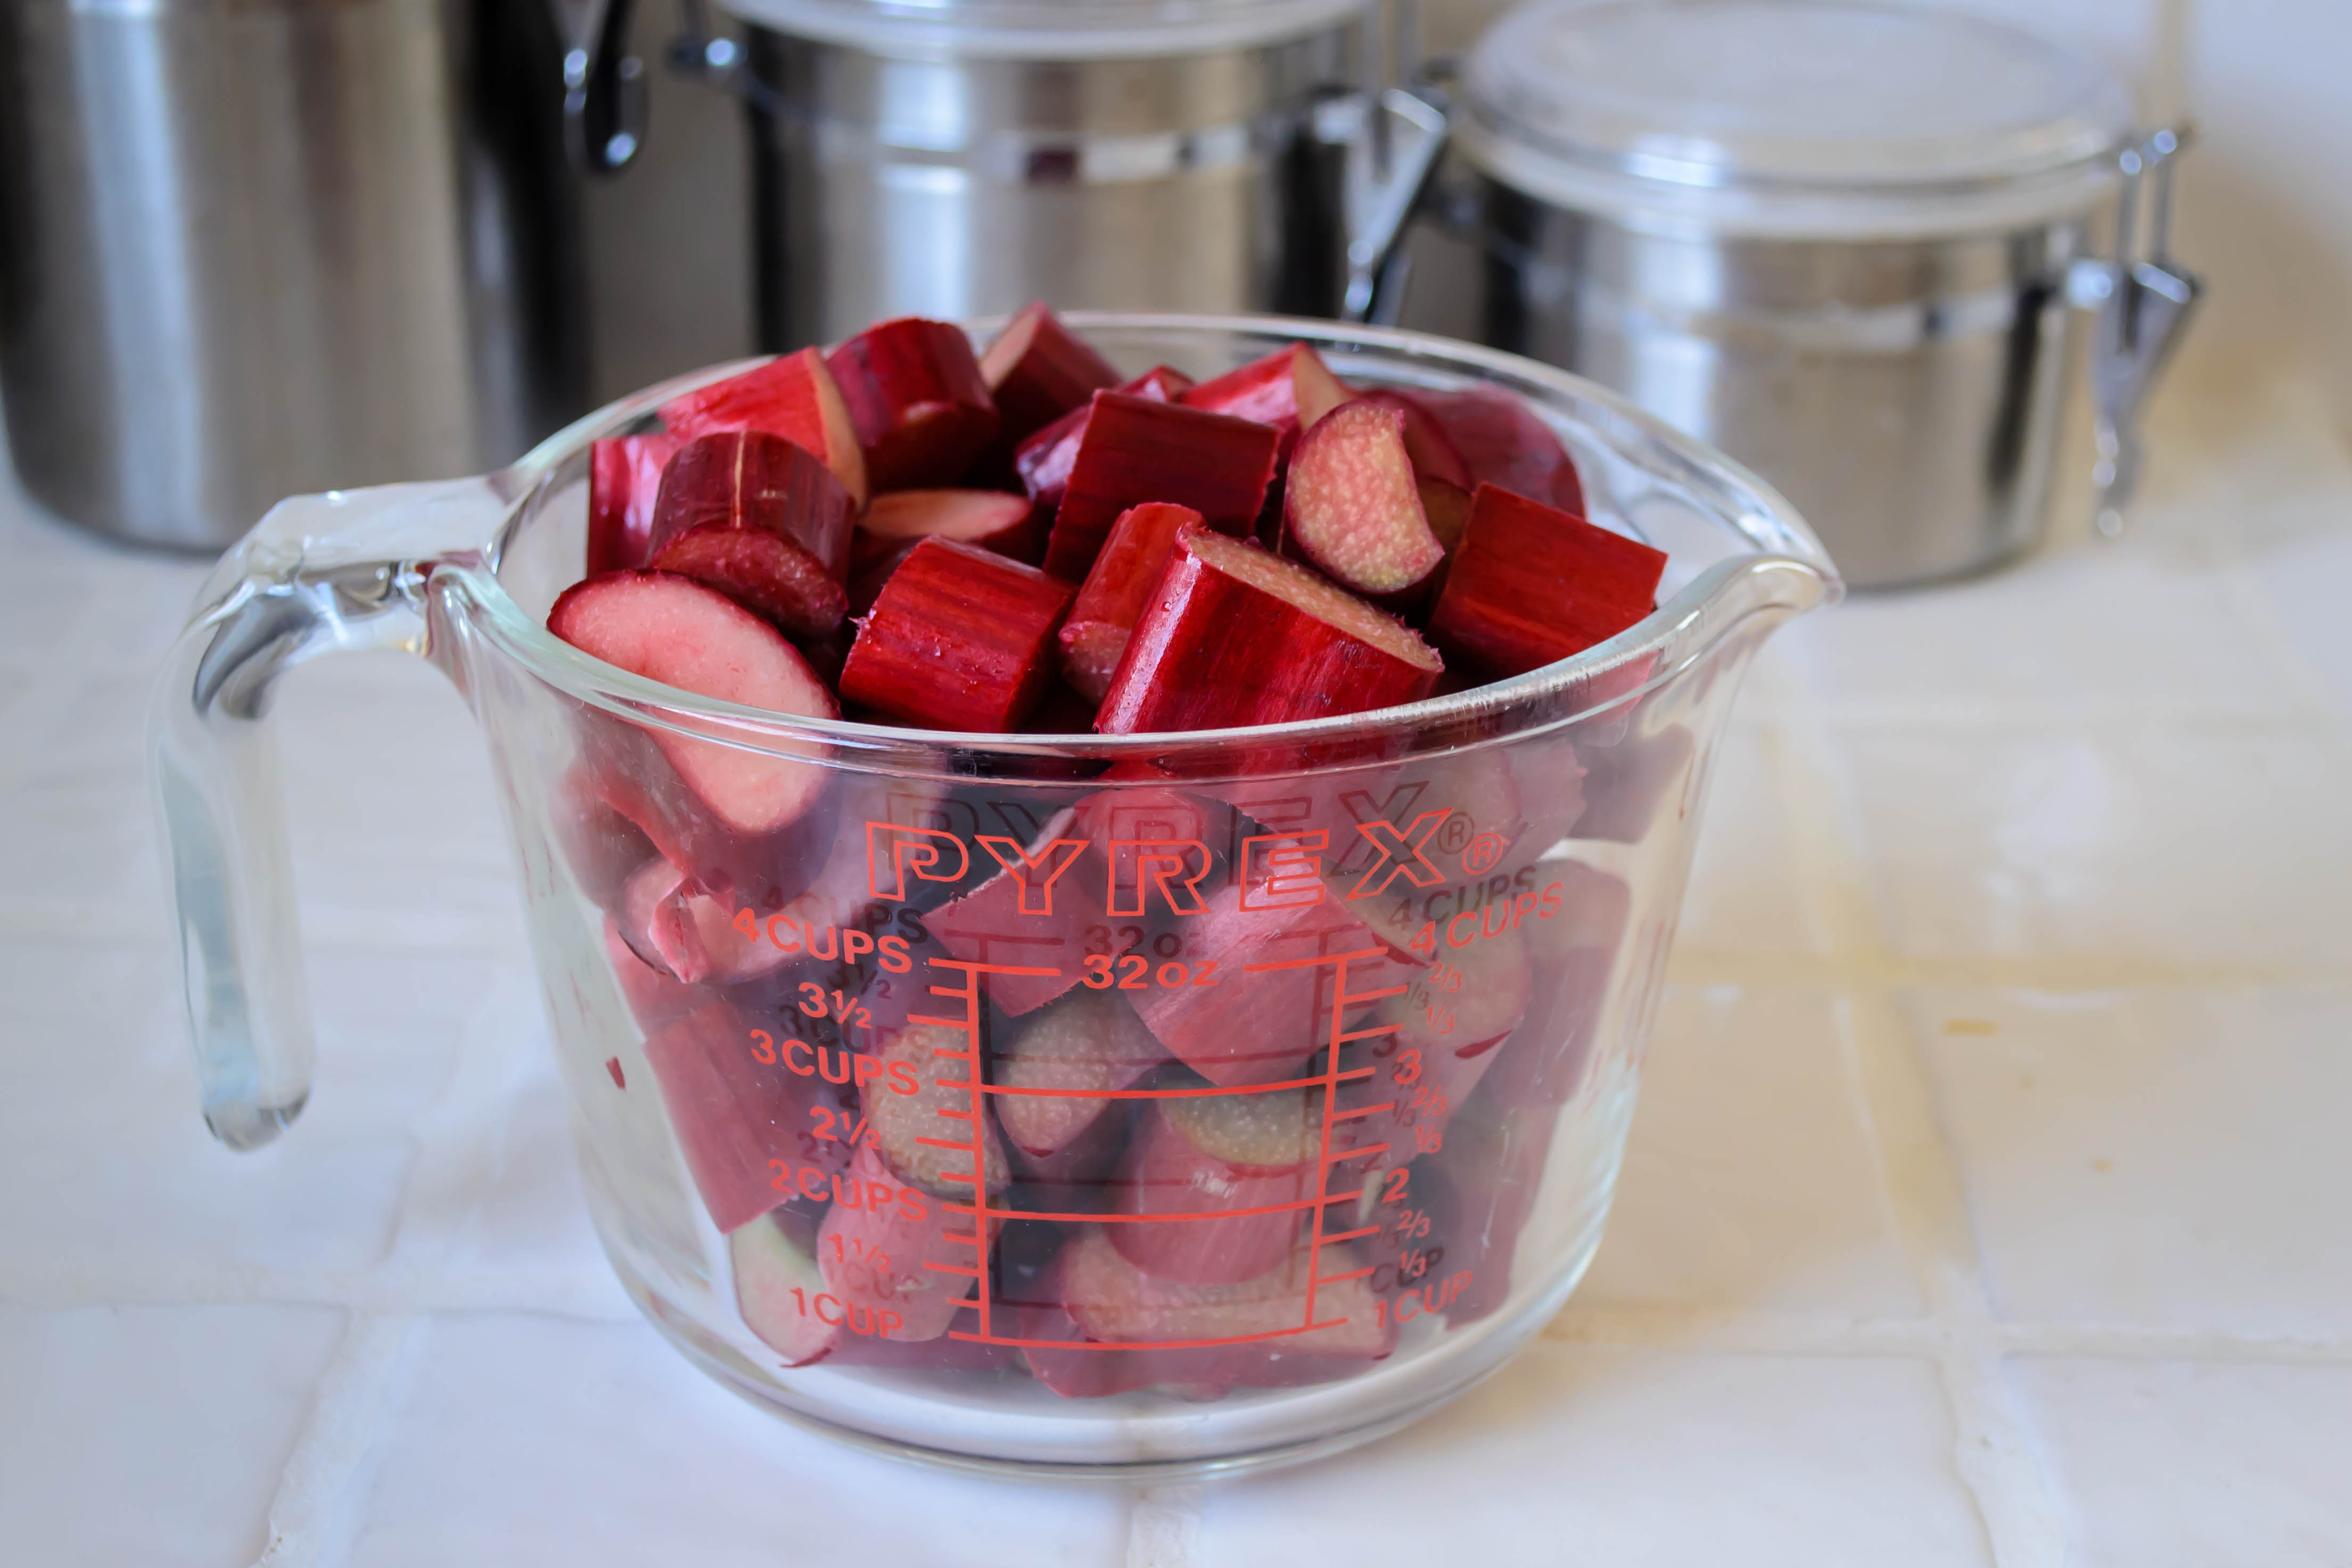
 I don’t know whether Elsie likes rhubarb, but from that moment on, rhubarb was it. I chopped and simmered down a heap of the strange, red stalks, with some quartered strawberries for a different kind of sweetness, and a shower of sugar until it collapsed into a thick, stringy jam. Think rhubarb floss, but in the most delicious possible way.

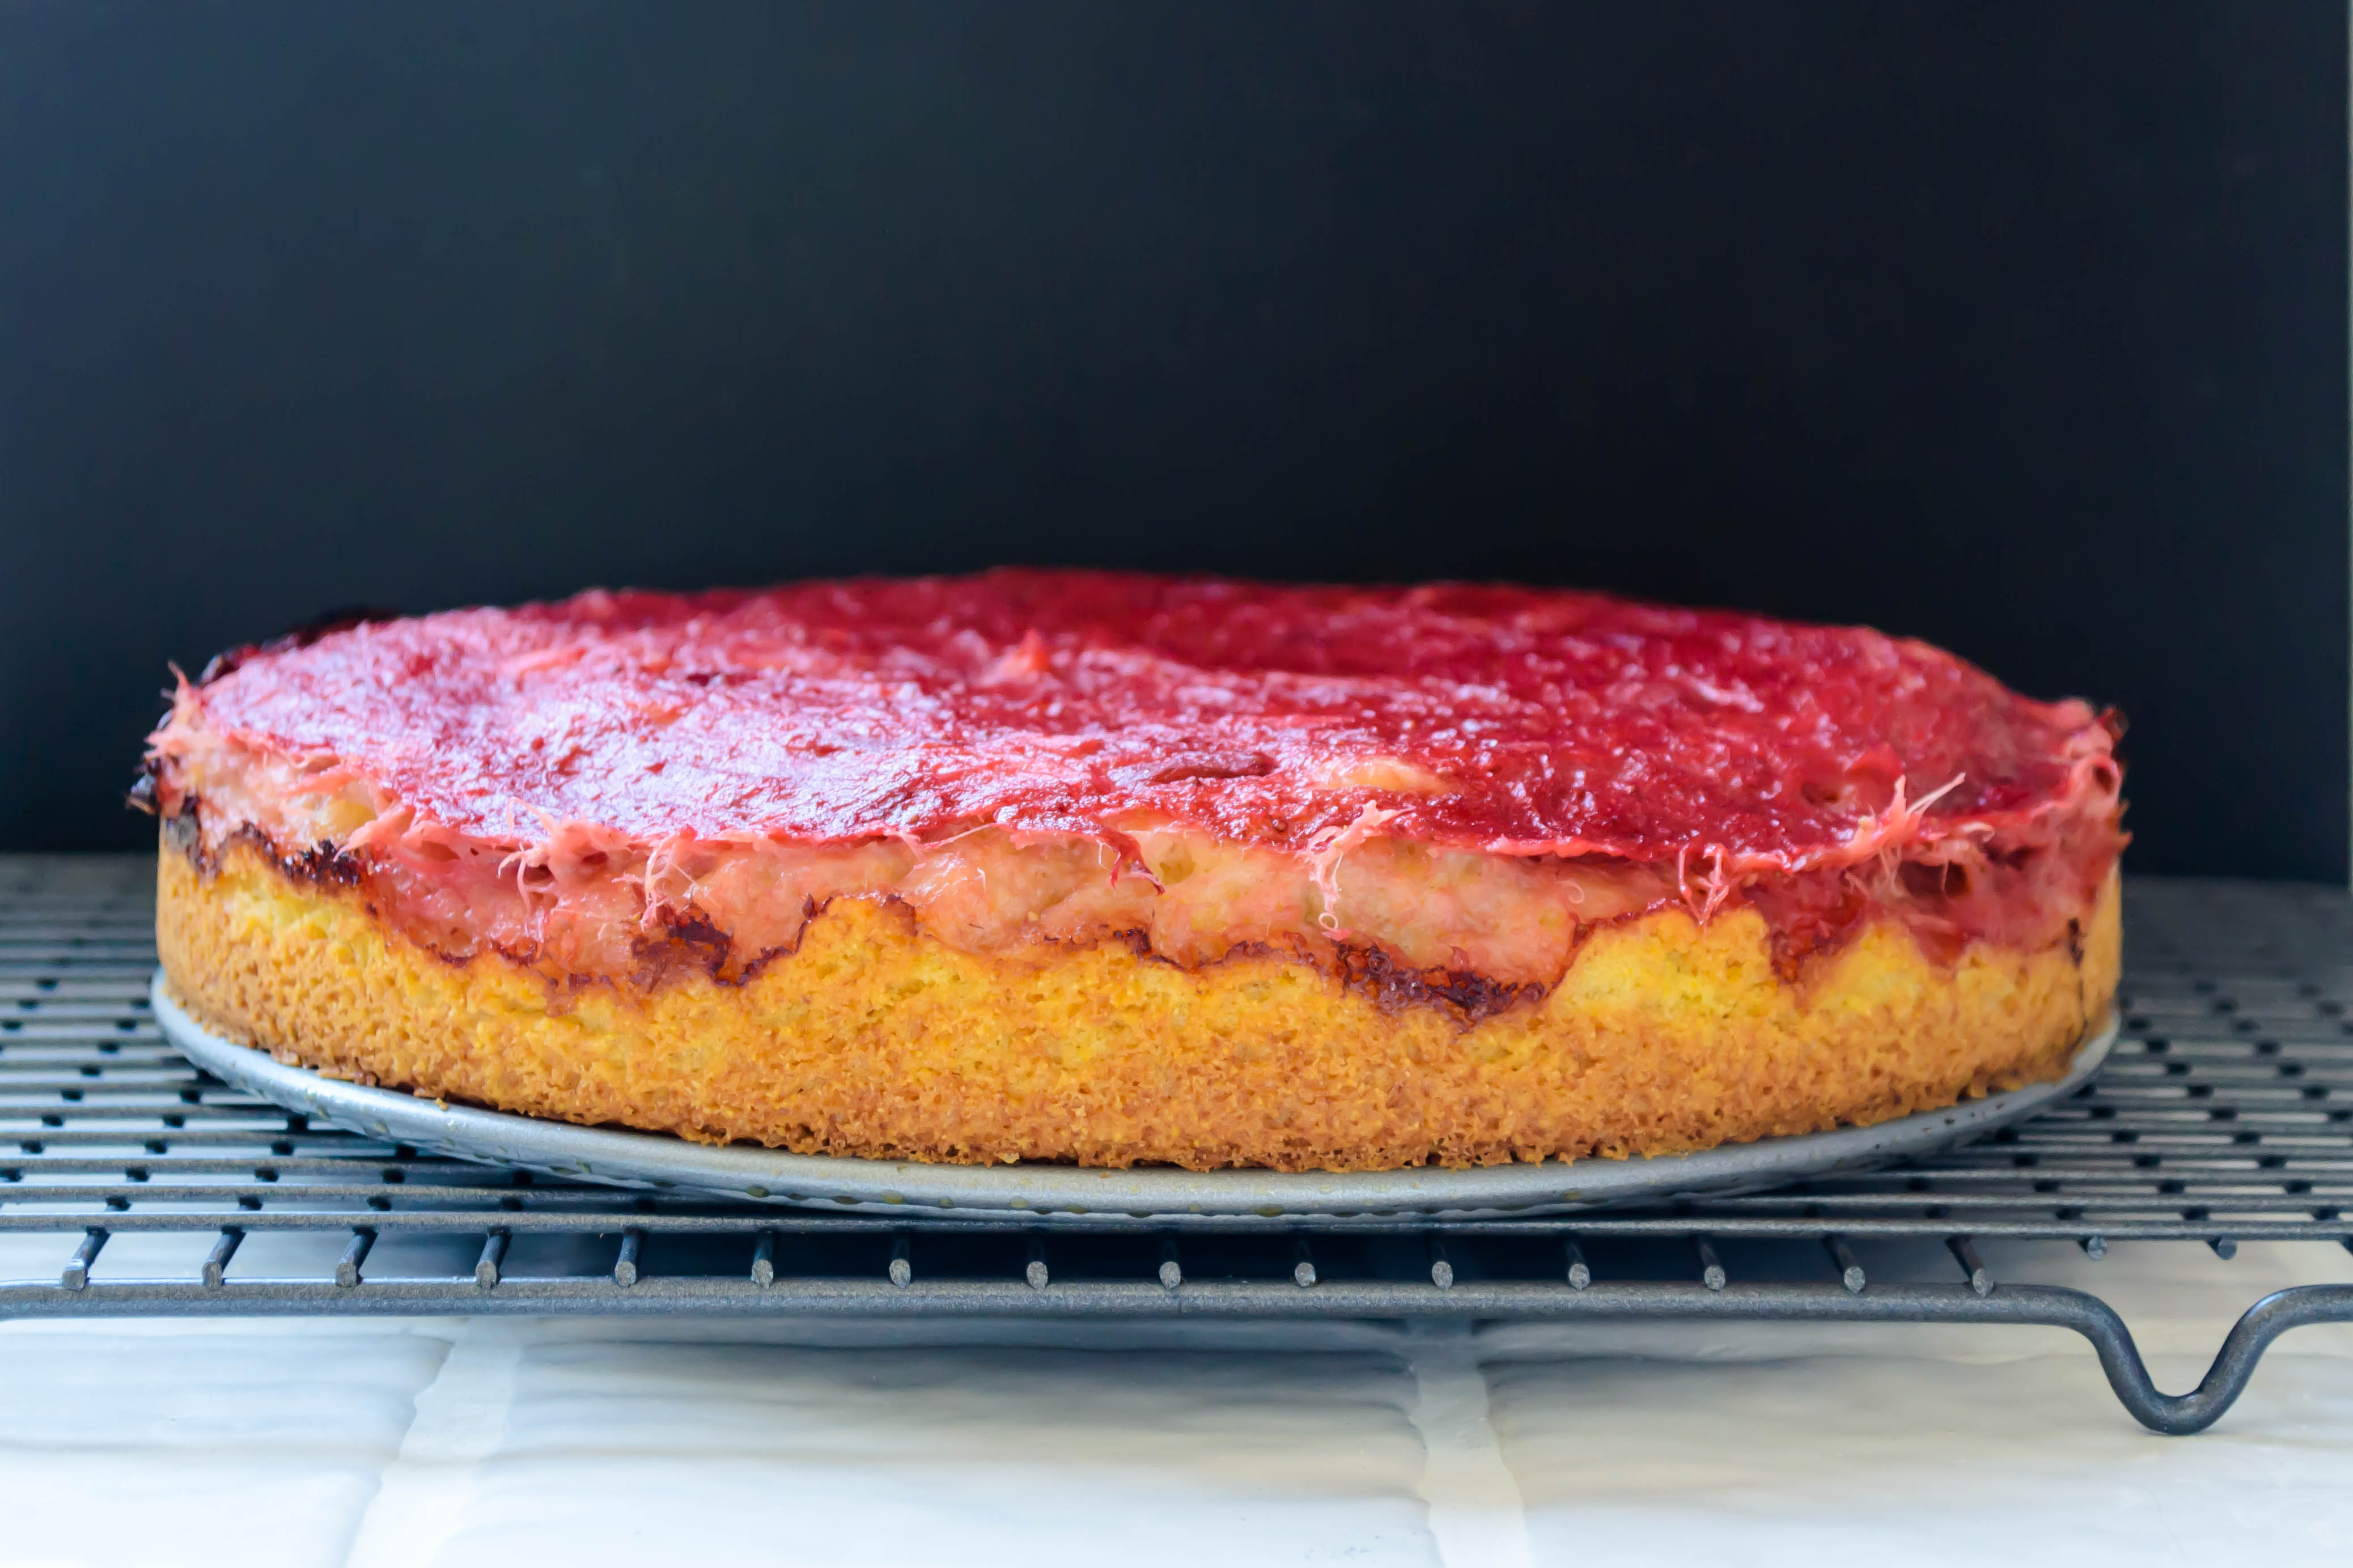
 Once cooled slightly, a respectable layer of the strawberry rhubarb compote gets smoothed over the top of the bright golden cake, and then baked.

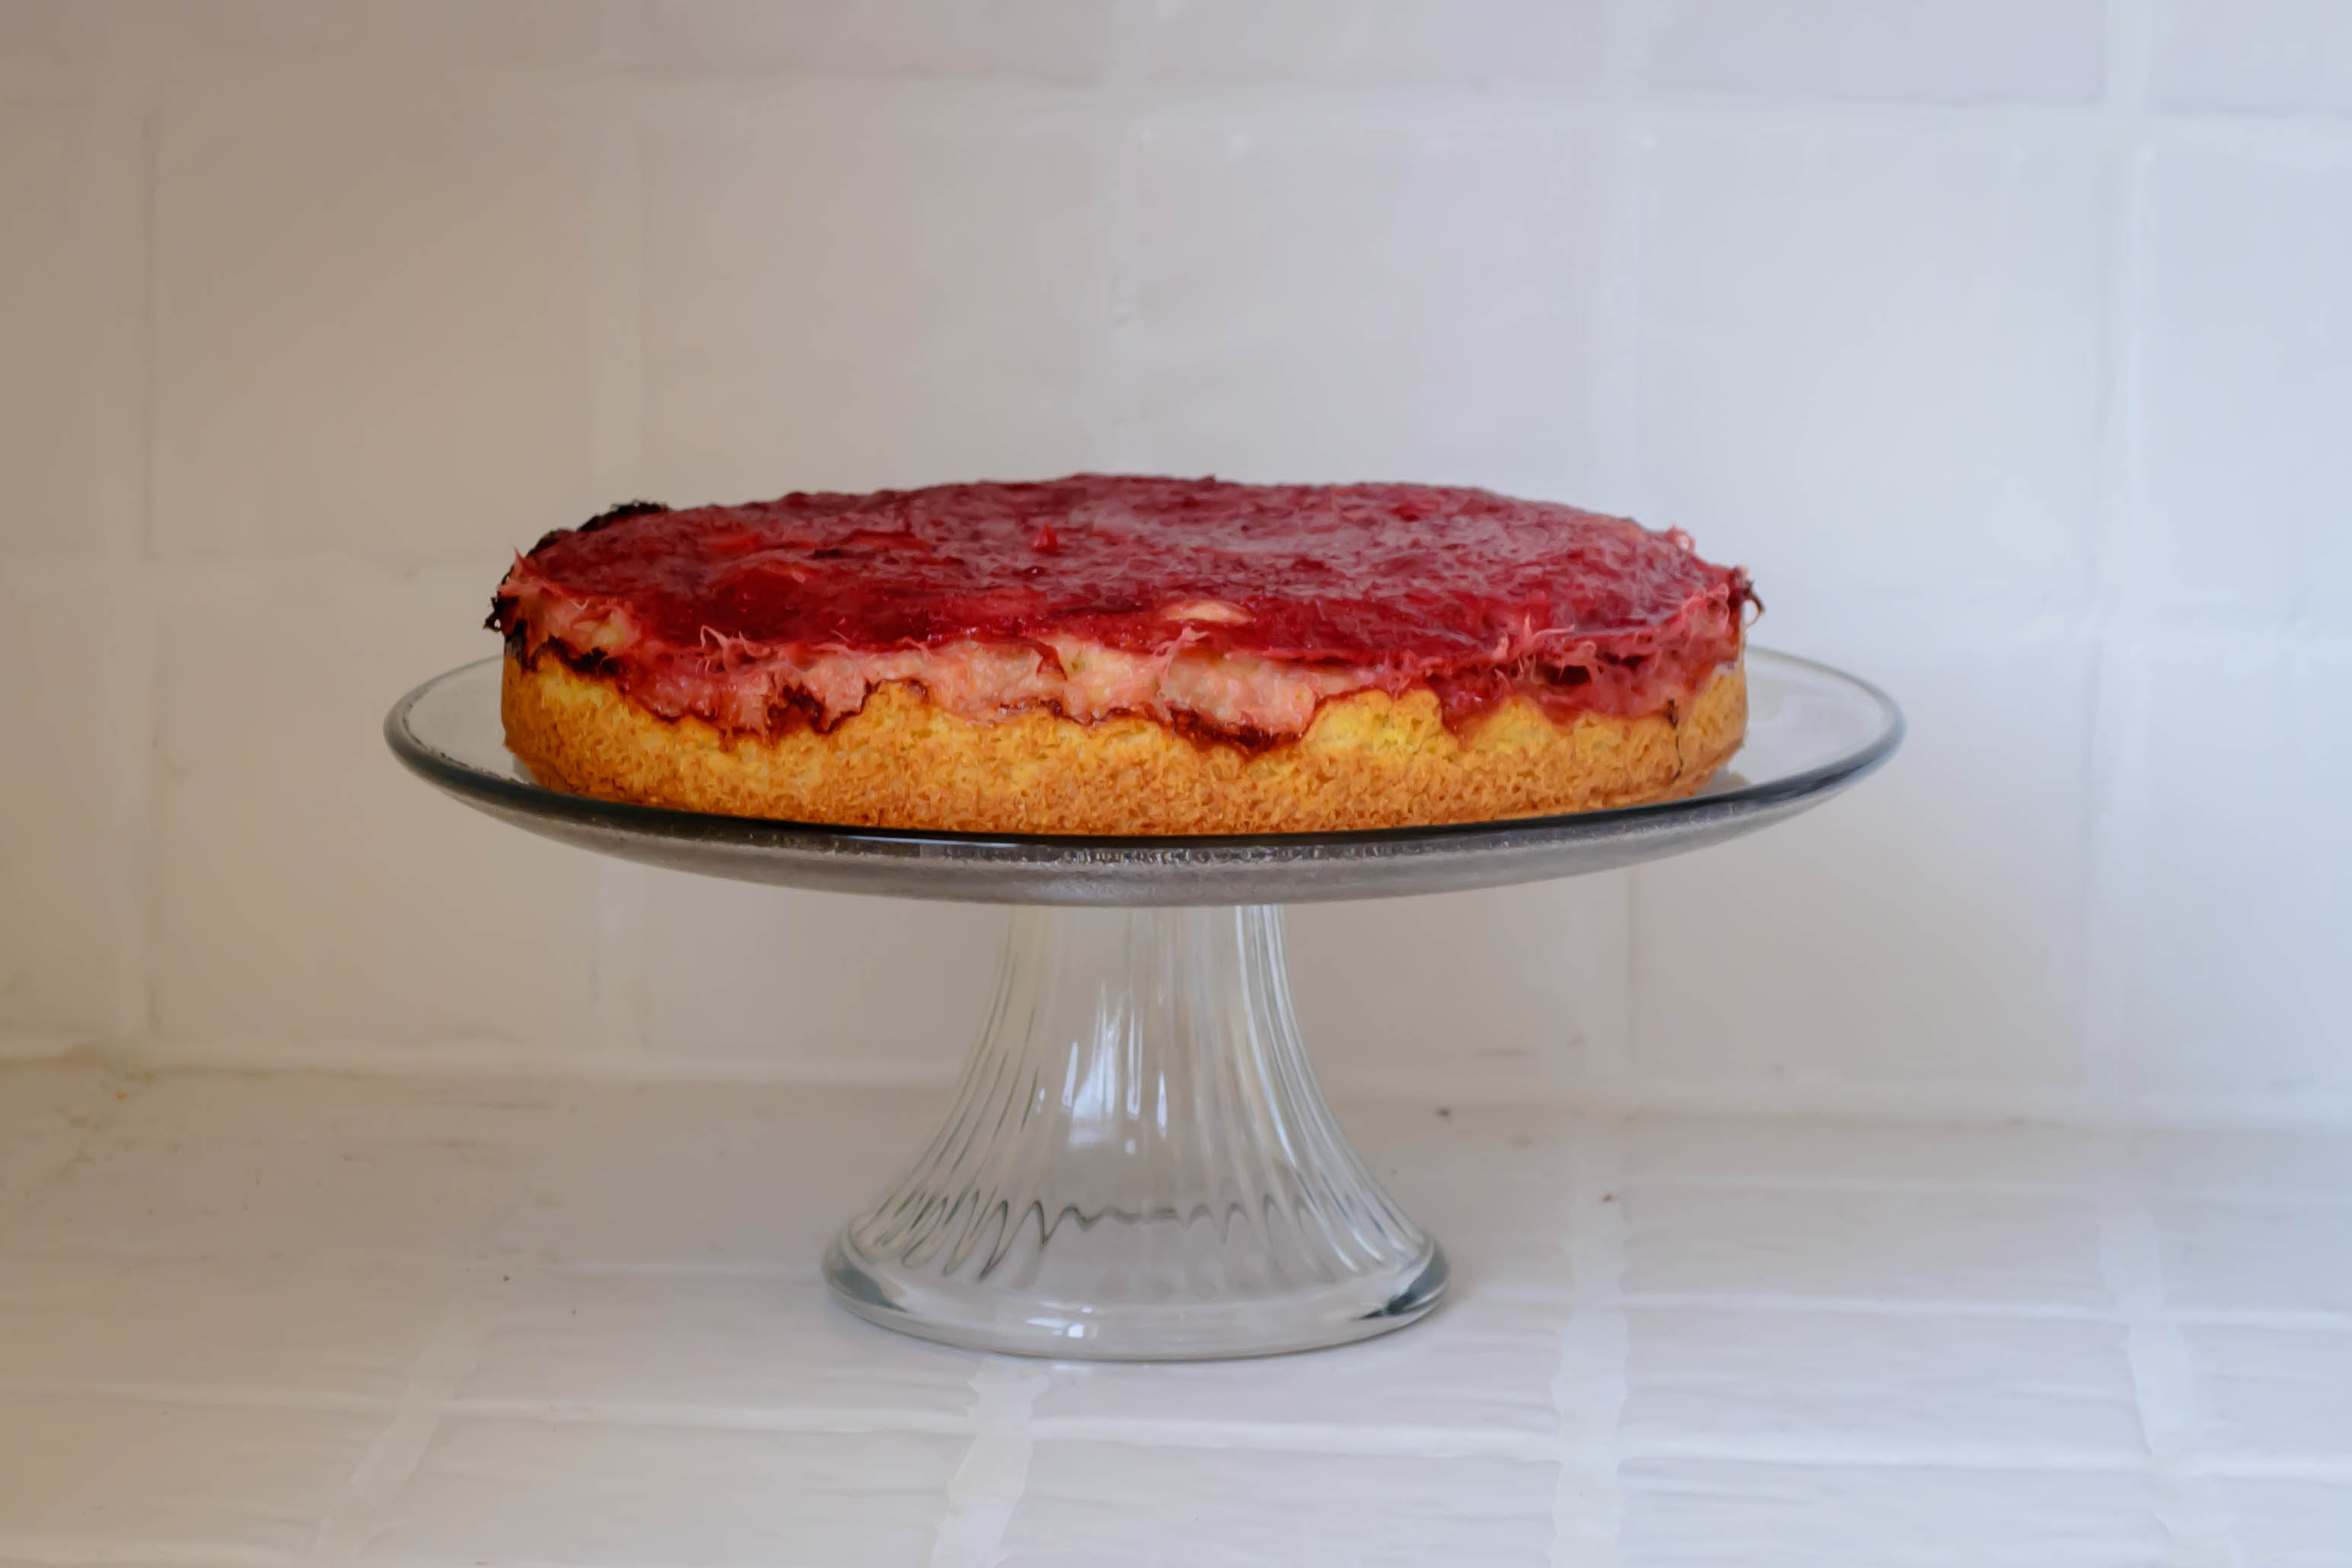
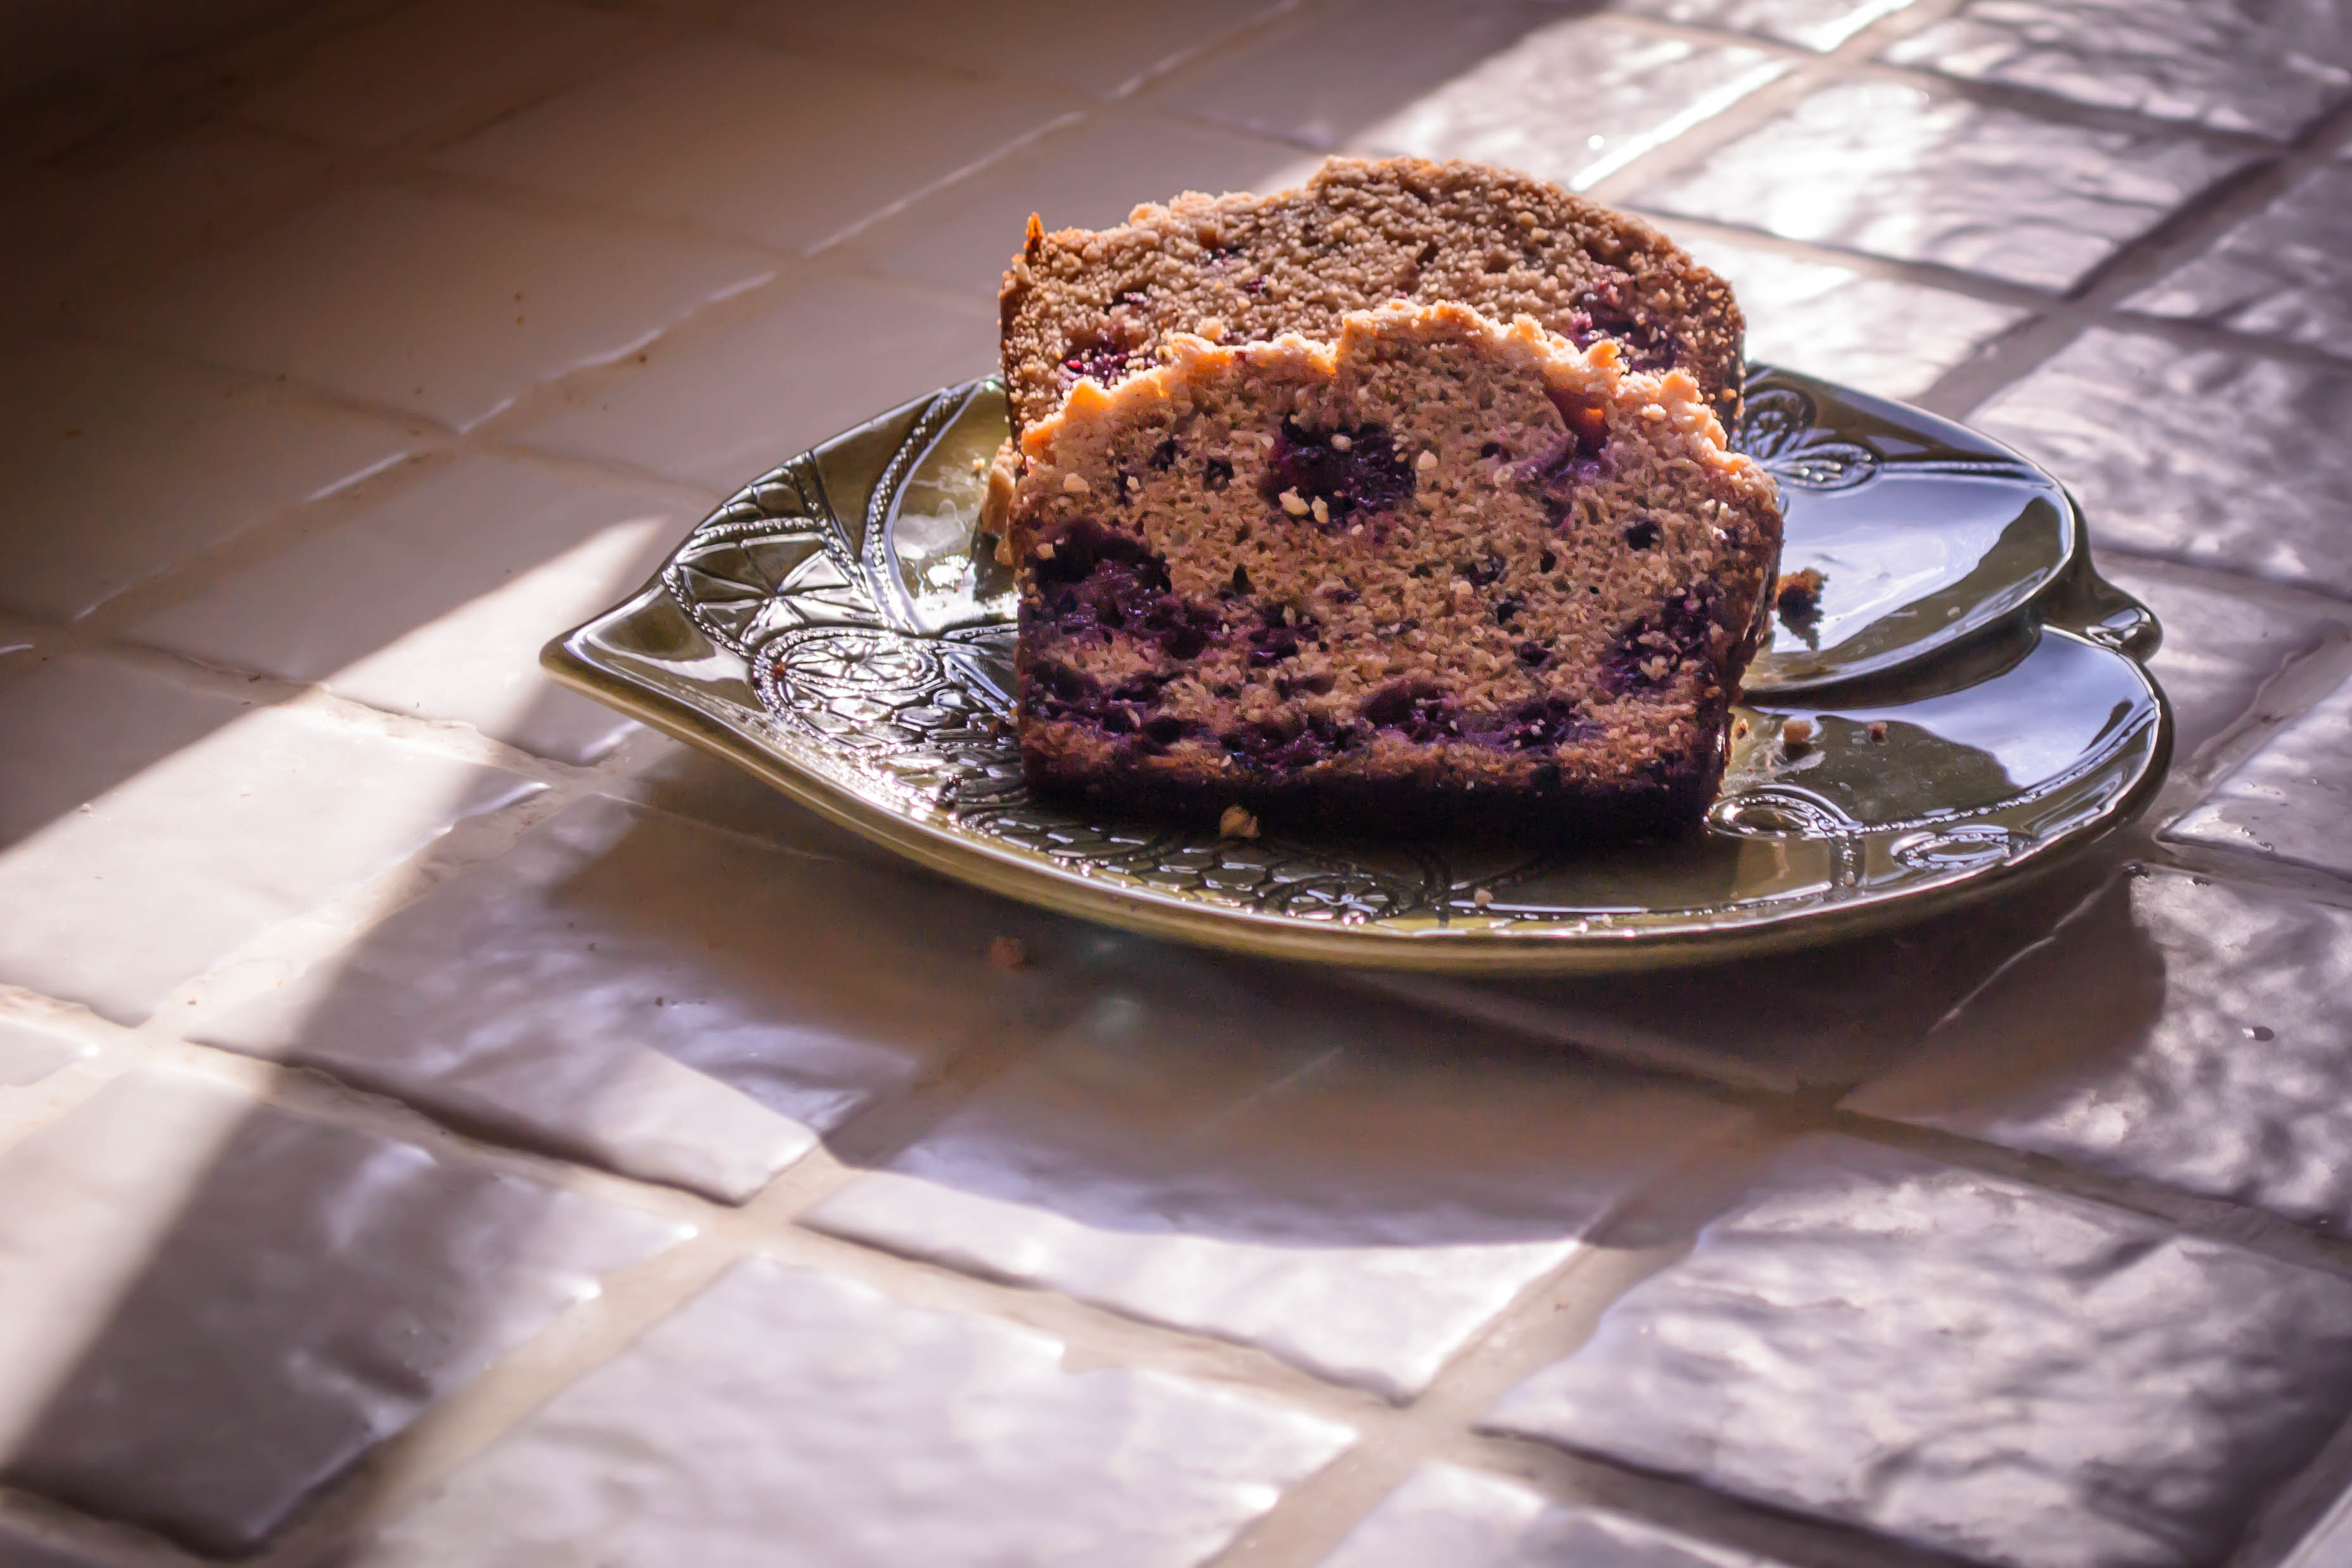
 In the oven, the cake puffs and firms, but the rhubarb layer keeps it moist. The fruit itself, exposed fully to the heat, gets sticky and slightly caramelized, and the edges turn almost molasses-dark. This is a great, easy cake for a simple dinner party, in part because it is gorgeous – the dark pink top layer looks glossy and impressive – but just as importantly because this cake actually tastes better on the second day. The compote cools and mellows, and the hit of vanilla in the cake is so right against the rhubarb.
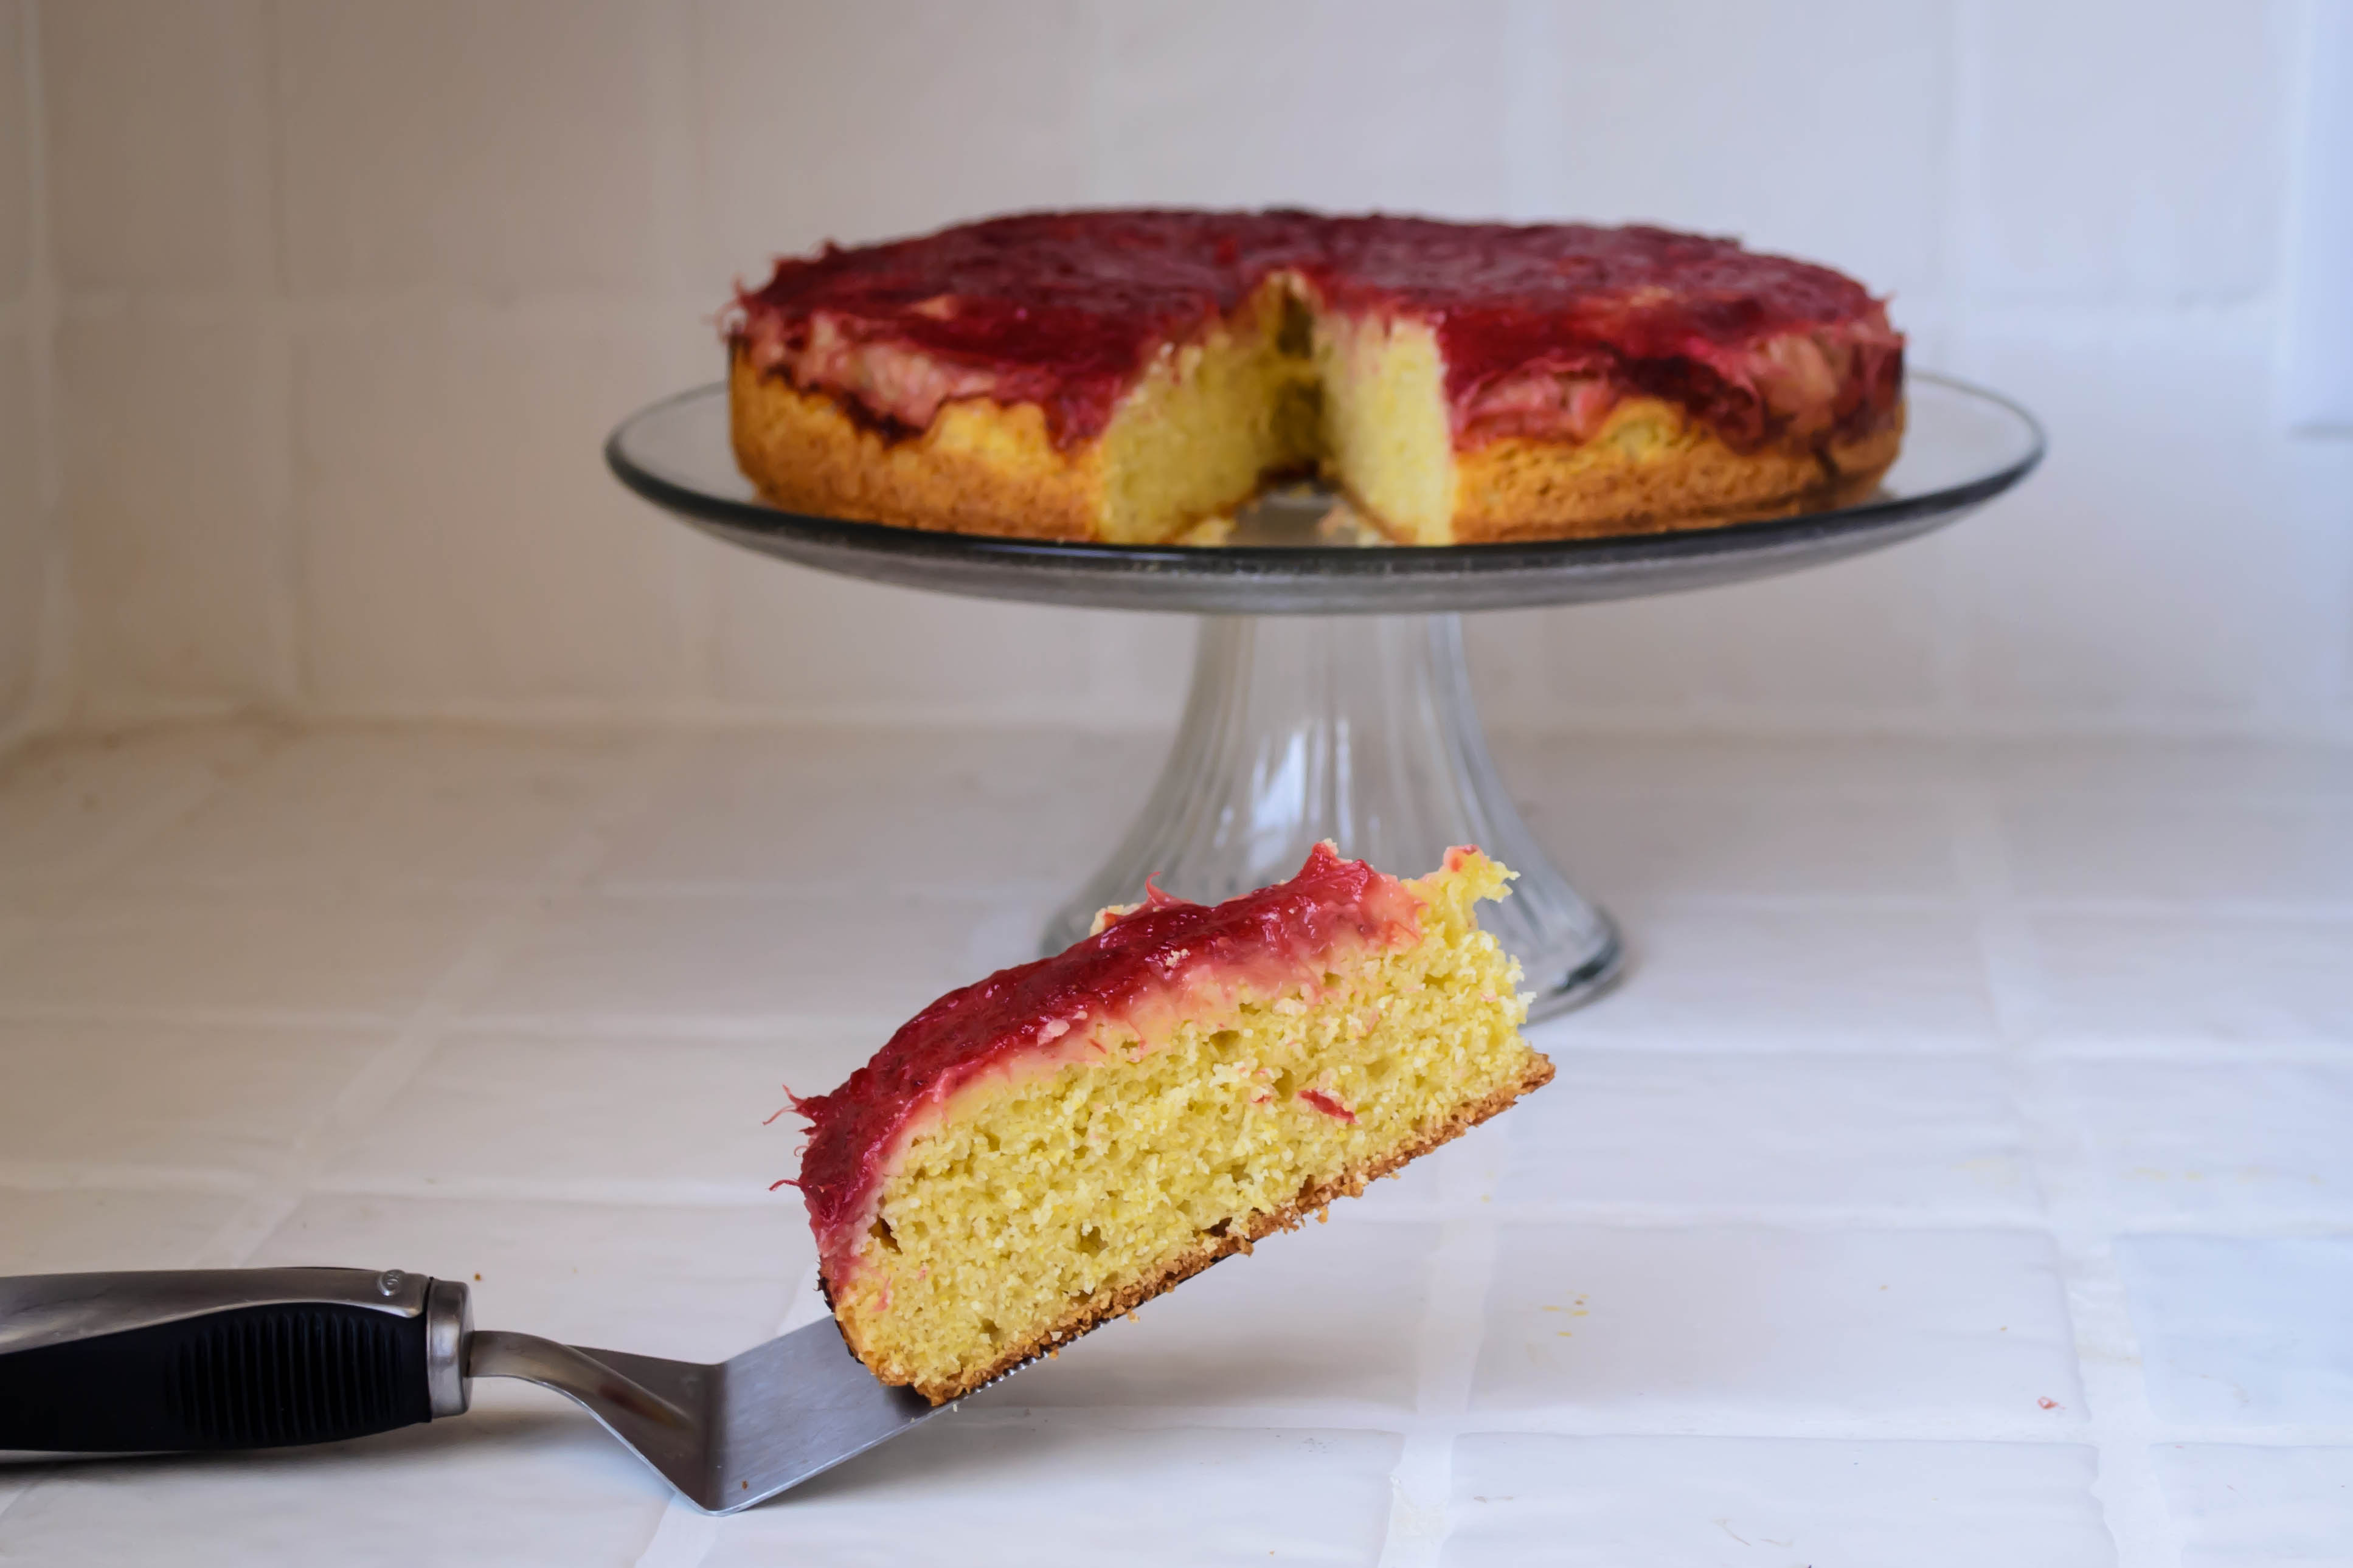
 I know rhubarb season is ending, but if you find some in your grocery store and can’t decide what to do with it, make this cake. It’s easy and pretty and delicious, and it looks as at home, I think, on a simple plate as it does on a cake platter. And if you miss the rhubarb, try straight simmered strawberries, or slices of plum, or maybe even peach jam, and take this cake directly from spring to summer.
Here’s to 200 more. I hope you come along for the ride.
 Elsie’s Rhubarb Cornmeal Cake
Makes one 9” cake
*Word of warning: it is easy to overbake this cake, because the semi-liquid layer of rhubarb means the top of the cake will not brown. Thus, it will seem like it’s still underdone. Remember, though, this cake is better after it has spent the night in the fridge. As it sits on your counter, cooling off for its sleepover, it will continue cooking for a while. So even if your toothpick seems to be telling you that all is awry, chances are things are going to be okay. Try a cautious prod closer to the edges if you need some reassurance.
I’m a sucker for alliteration. Call it having been an English major for so many years. So when I read on April’s Twelve Loaves challenge that the objective was berry bread, I may have freaked out a little. And when the idea of blackberries and bourbon zinged into my brain – dark, sultry, tartly perfumed – I may have freaked out a little more. 
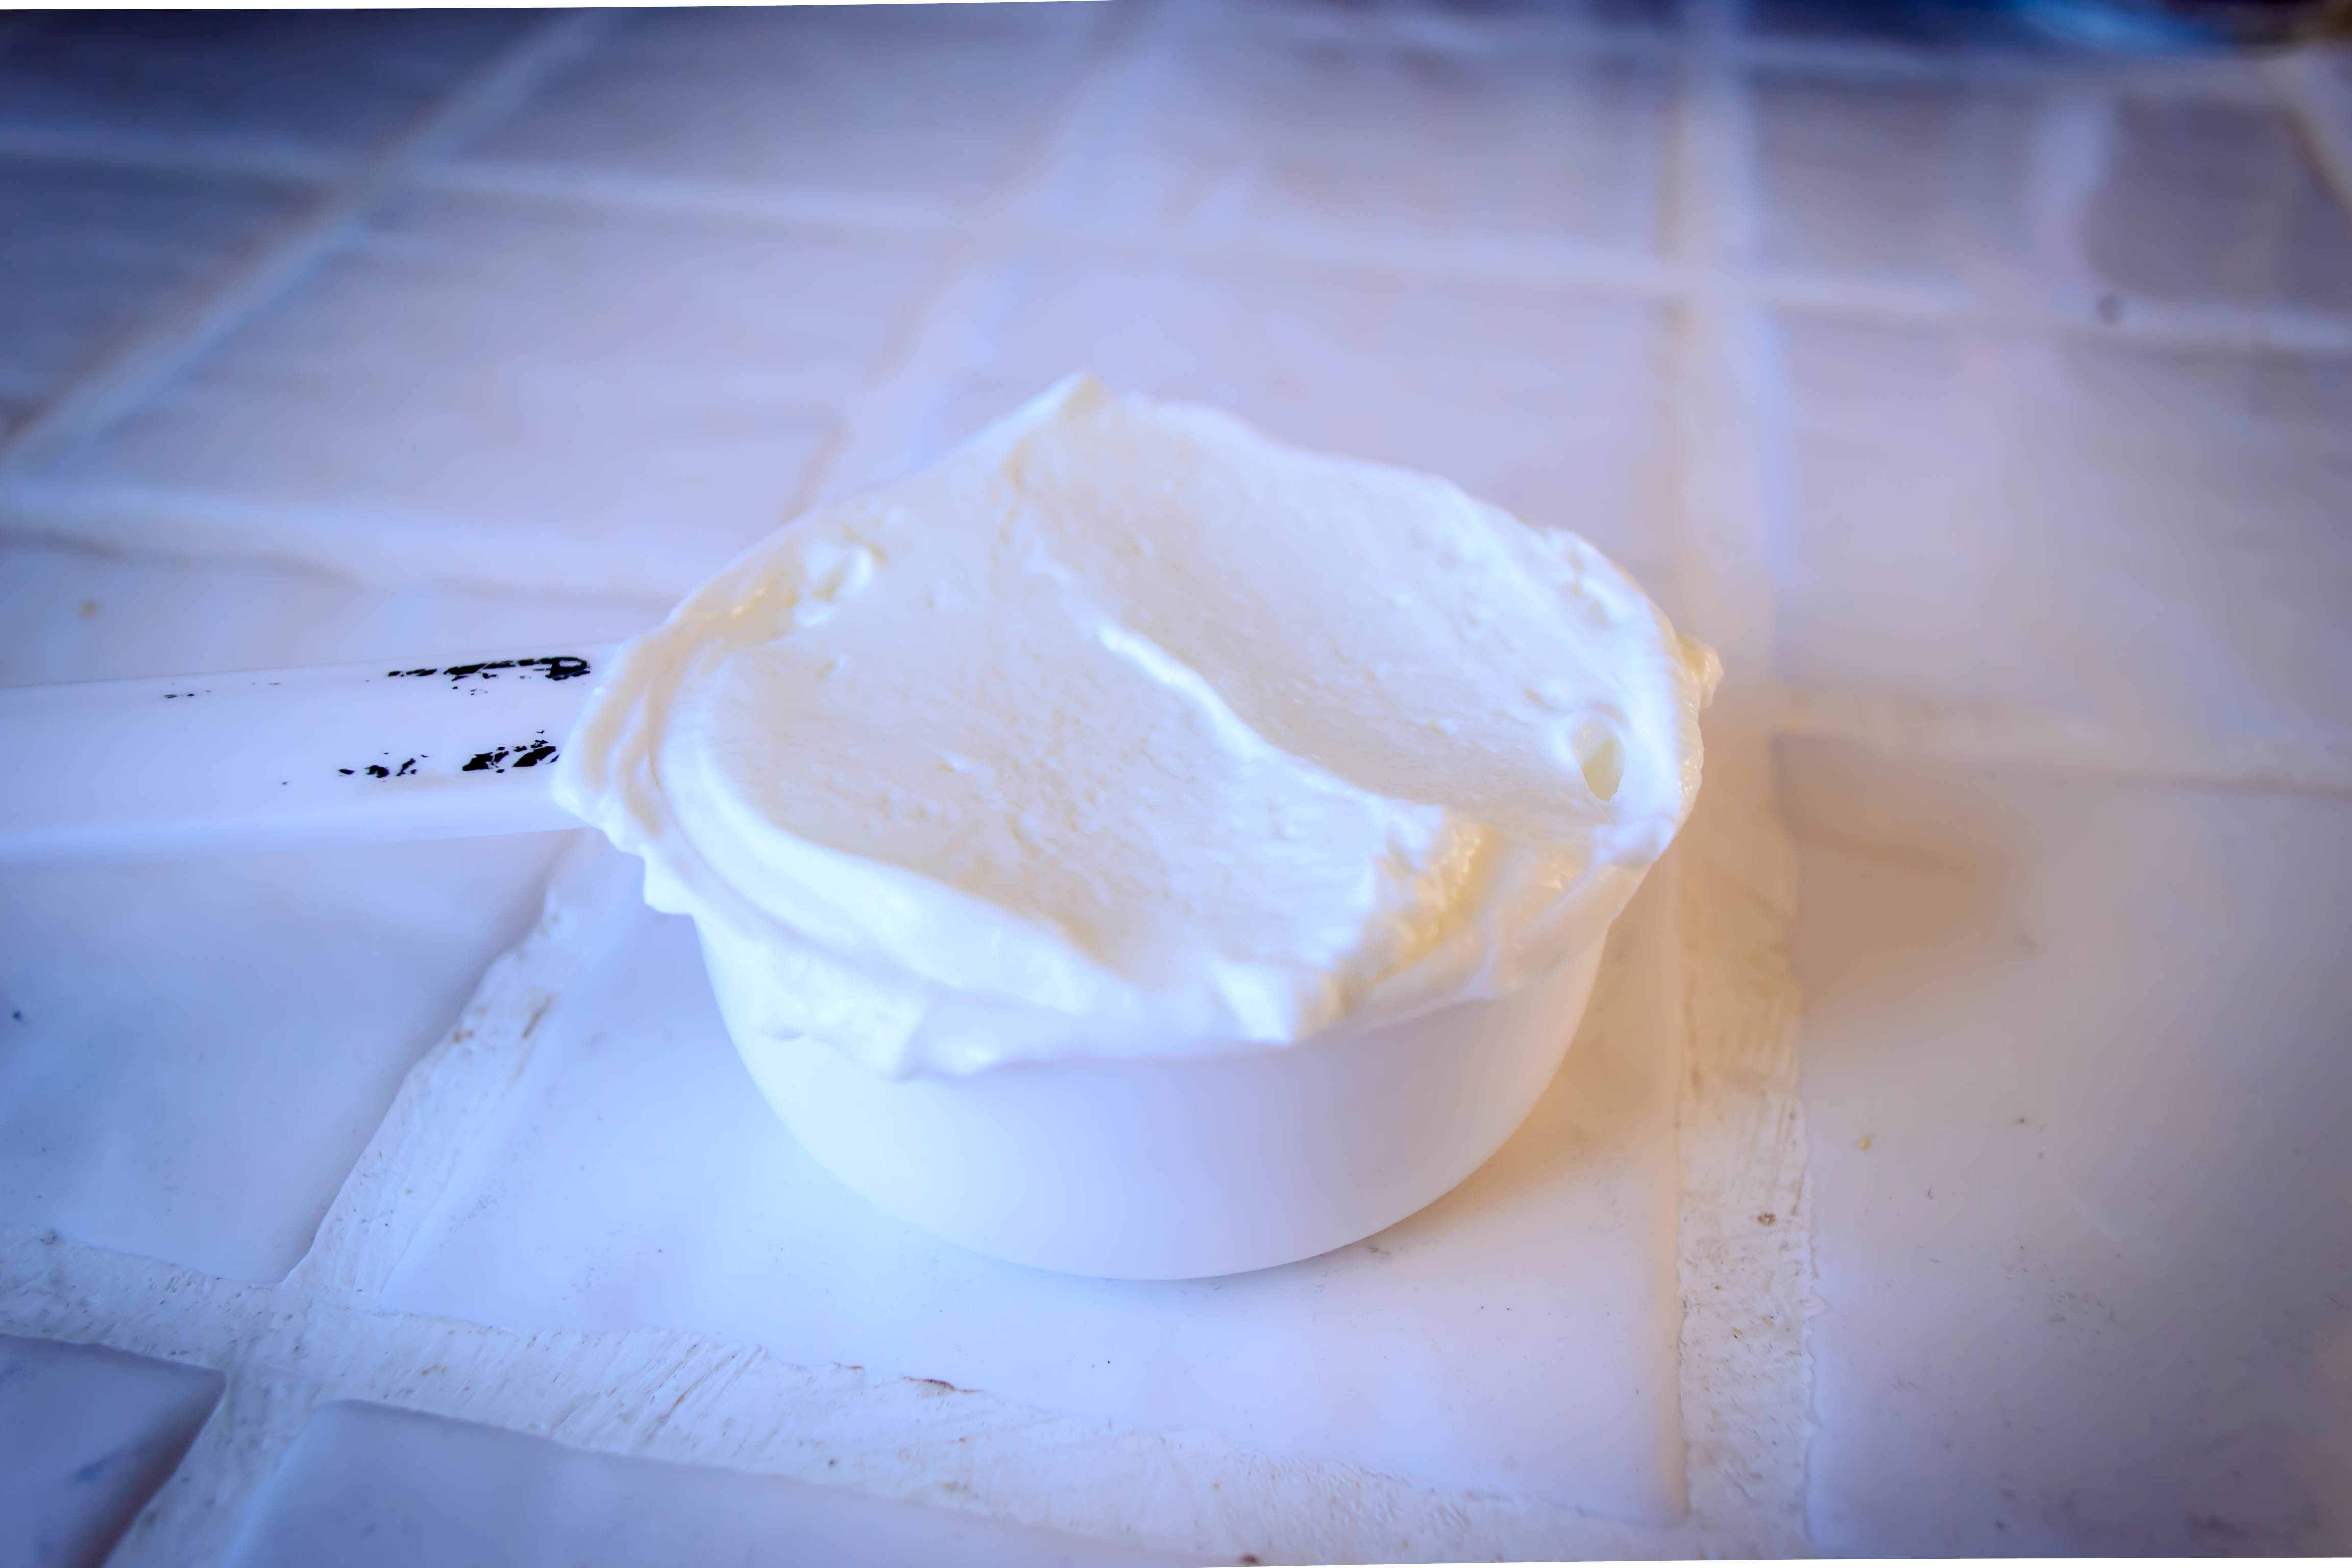
Blackberries, bourbon, yogurt, and crumbly pebbly streusel all done up in a quickbread that we’ll pretend isn’t really an excuse for cake. How could you want anything more? Well, maybe a warming breath of cinnamon. Granted. And maybe some browned butter. 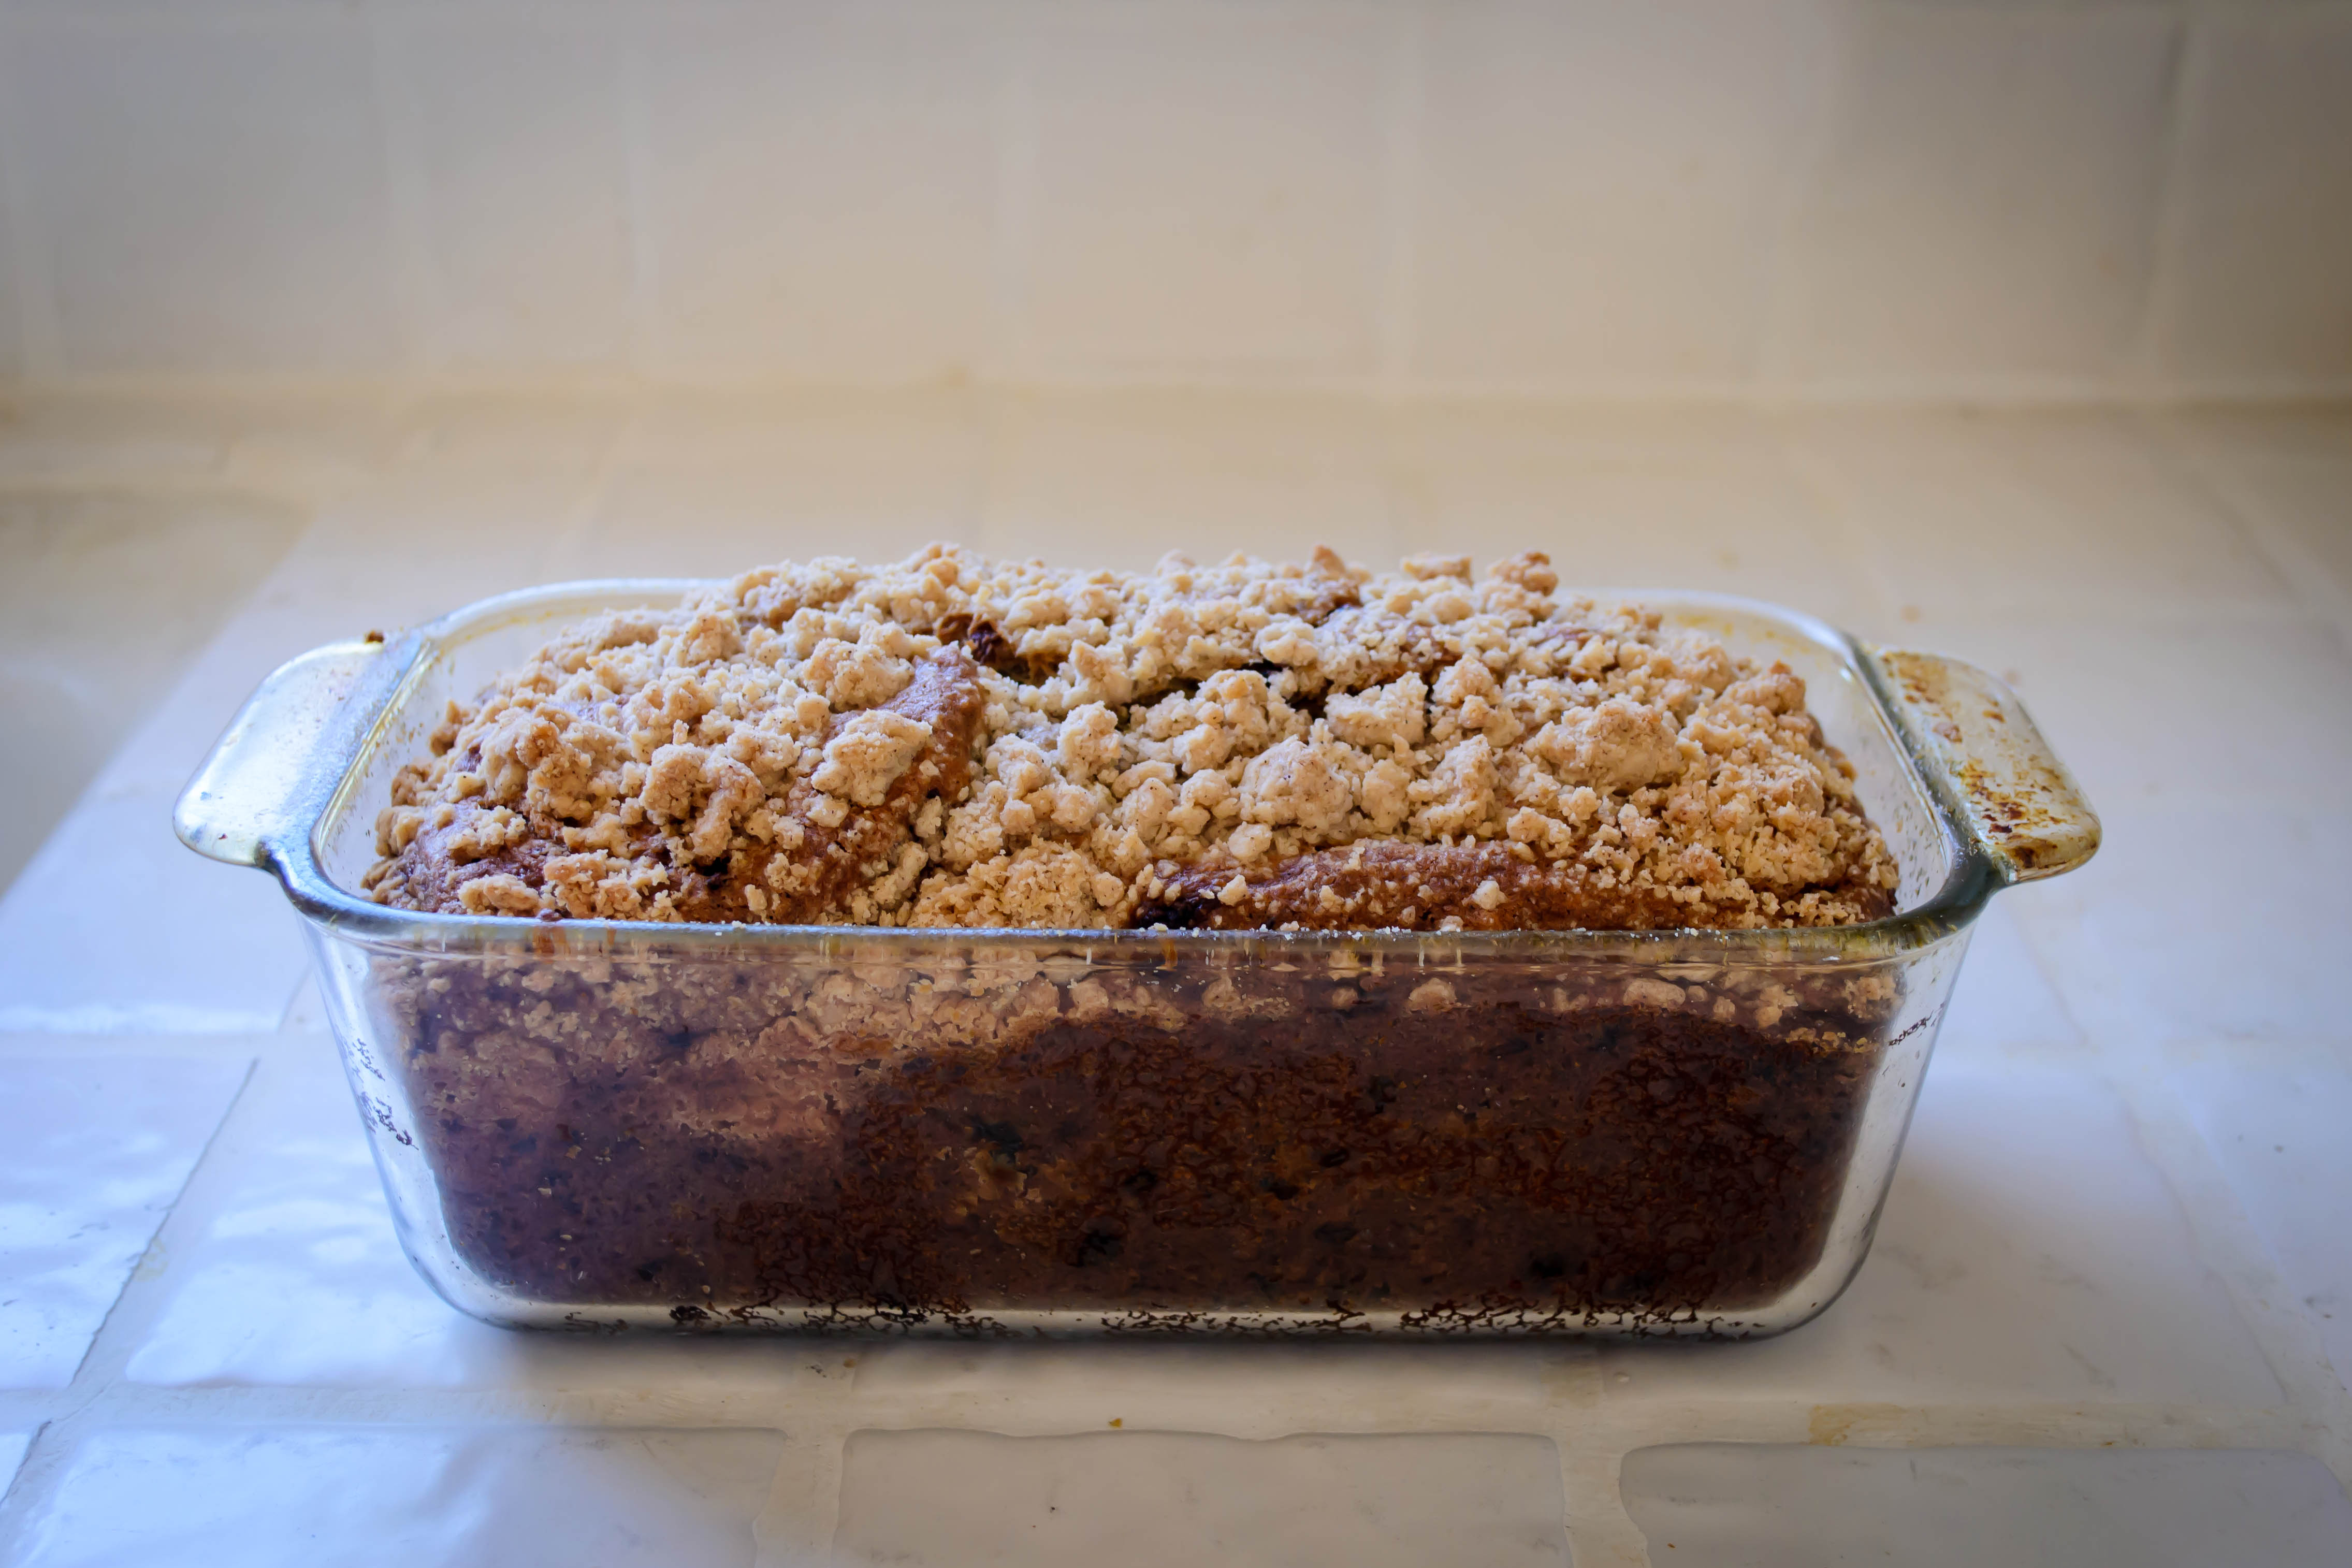
Just as this is barely a bread, it’s also barely a dough. It only fits into my dough challenge by virtue of its attachment to the idea of bread, which, as I’ve noted, isn’t a very strong attachment at all. Aren’t “quickbreads” really just desserts that we like to eat at non-dessert hours of the day? But it is delicious, and warm, and comforting, and I think we could all do with a bit of that after this week.
 Yogurt, browned butter, blackberries, bourbon, streusel, and cinnamon all in the same bread sounds a bit overwhelming, but really, all of the components played very well together. Blackberries and yogurt scream breakfast, and mixed in a thick batter with plenty of melted butter they produce a moist, slightly dense loaf splotched with purple pockets of jammy tartness. But the addition of bourbon makes this a naughty thing to consider having a slice of too early in the morning (unless you are still up from the night before, I suppose). When I tasted the batter, I was concerned about how assertively the alcohol came through, but after baking what lingers is a lovely floral aroma – all the peaty, throat-searing headiness fades (and honestly, it left me wondering whether another tablespoon or two of bourbon might be welcome in the recipe). Really, this is a loaf perfect for that most wonderful of British institutions we are sadly lacking in the U.S: afternoon tea. And if you slathered a thick slice with clotted cream, I don’t think anyone would complain.
Blackberry Bourbon Bread
Makes 1 large 9×5 loaf
 For the streusel:


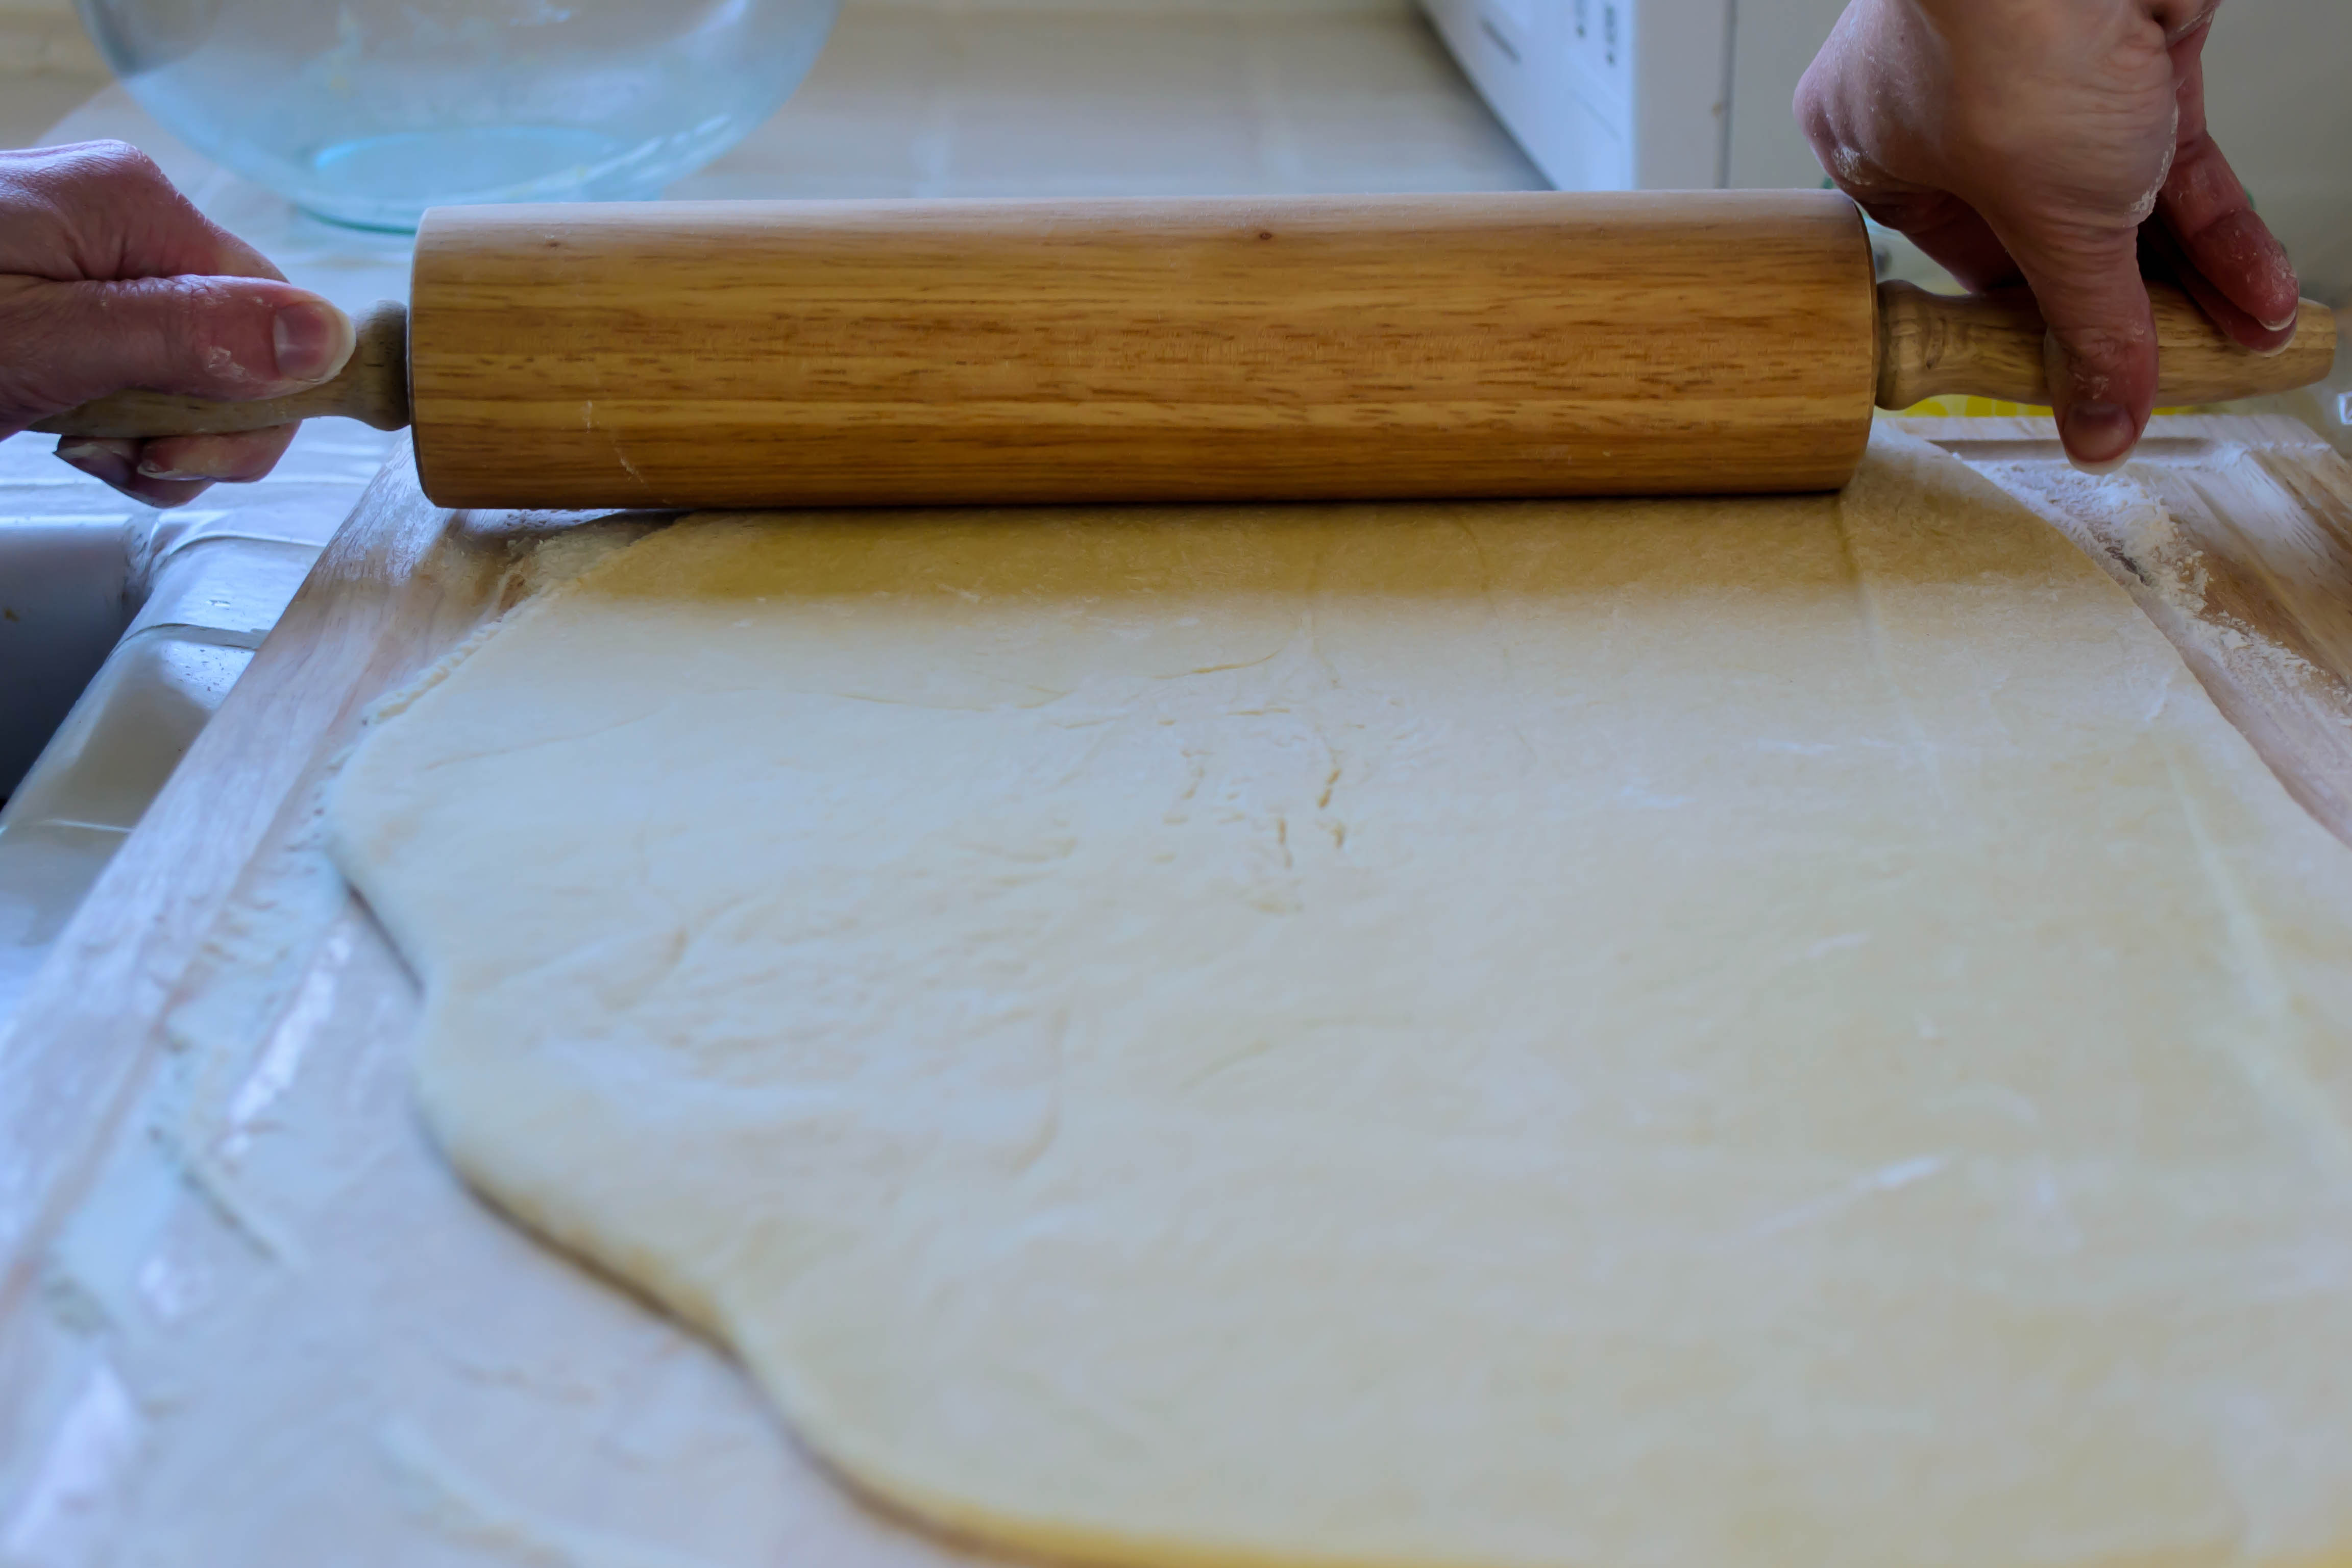


 You have to do the rolling in small stages, I found. Begin at the middle of the longer edge of your dough rectangle and make a few tight rolls, but then move to the edges and help them catch up. They don’t roll on their own, since the piece of dough you are working with is so big, so your fingers will be busy (and no doubt sticky) flying from side to middle to side again. Continue this process until you have created a long, tight roll of dough. Some filling will unavoidably ooze out the ends, but if you’ve left a margin around all sides this should be minimal. Turn the tube gently so the outer edge faces up, then pinch it gently into the next layer to create a seam so your rolls don’t become unrolls.


A fabled land of farmers, farm shares, fancy (and not so fancy) restaurants, family meals, food projects and more.
cooking my way through my dissertation, one egg at a time
Fearless cooking from a tiny NYC kitchen.
food, in so many words.
Recreating the famous dishes of famous writers. Part recipe blog, part historical discussion, entirely unabashed love of books.
Epicurean Adventures from Eugene, Oregon
Celebrating the Harvest
Modern Iranian aka Persian Food & Culture Blog - Cuisine, Recipes, Stories , Photos, Pictures, DIY tutorials
Exploring Culinary Traditions of Africa, African America and the African Diaspora
food, in so many words.
food, in so many words.
food, in so many words.
Food-Stories-Recipes-Love
WordPress.com is the best place for your personal blog or business site.
