Today’s post serves double duty. Last month, Joy the Baker issued a baking challenge. Pairing with King Arthur Flour, she invited readers to join her in baking four different items, each featuring a different flour from the King Arthur line-up.
 For the first – All-Purpose Flour – she made a beautiful wreath of sweet bread, braided and swirled with cinnamon sugar and a trio of summer berries. I determined that I would, indeed, bake this bread. I had yet to try a wreath or crown shape, and was curious about how it would come out.
 Of course, I have trouble leaving well enough alone. By the time I was done looking at Joy’s photos of her magnificent loaf, I was already scheming about what tweaks I would apply to my variation. The answer, of course, came from the June Twelve Loaves assignment: cherries.
 Here, I’ve replaced Joy’s berries with blood-red bing cherry halves, gushing with juice, their tartness mellowed by baking. Since I’m not crazy about cinnamon with cherries, I have substituted in cardamom, which has an intriguing deep, citrusy scent but offers a spiciness reminiscent of the zingiest flavor in your favorite chai tea blend. To bring together the flavors, I also splashed in a little vanilla.
 The trickiest thing about this bread is shaping the crown. This requires flattening, spreading, stuffing, rolling, and then slicing open that roll to reveal the rebellious little rubies inside, which then all immediately threaten to spill out all over your board. You have to “braid” the bread by lifting one strand over the other down its length, all the while trying to keep the fruity guts inside from escaping. Then, once you’ve tamed it into a beautiful interlaced wreath, you somehow have to pick the whole thing up and nestle it into your baking vessel. I know. Mine collapsed a little bit, but honestly, after it rose during its baking time, it was hard to notice. And once we dug in, crunching through the lightly sugared, spicy-tart sweet layers, we didn’t care. The tartness of the cherries is pleasantly rounded by the oven’s heat, but the real star, to me, was the cardamom. Its flavor is so delightful here – brighter than cinnamon but no less flavorful – that I now want it in everything. I suppose they wouldn’t really be “cinnamon rolls” without the cinnamon, but false advertising (or blasphemy) or not, those may be my next cardamom target.
 I didn’t take very many photos of the twisting and shaping process, mostly because I got so involved in the process I just forgot. It happens. But do take a look at Joy’s photo-by-photo instructions if you need help – they are really clear and easy to follow.
 Two tips for success when it comes to this bread, then, before we get all this out of the way and charge into the recipe.
 1.) Distribute the fruit evenly. I mean it. Don’t just dump the cherries in the middle and decide that’s good enough. Spread them out across your dough rectangle before rolling it up. Though it’s important to leave a slight border, if you have a lot more cherries in the middle of the dough log, it will be much more difficult to keep them contained while you braid it, and you will end up with a really uneven wreath – one section will be much fatter than the rest and therefore bake unevenly. Take the extra few seconds to spread them out well.
2.) While you are manipulating it, be assertive with this dough. Joy, delightfully, notes that the dough can sense fear. I suspect she’s right. If you hesitate as you braid or lift, the dough sags disastrously. Just move smoothly and confidently and with a clear plan. And remember that a trip through the oven and a dusting of powdered sugar repairs many mistakes.

Cherry and Cardamom Swirl Bread
Adapted from Joy the Baker
Makes 10-inch wreath
For the dough:
2 teaspoons active dry yeast
1 tablespoon sugar
¾ cups whole milk, at or just above room temperature
1 large egg yolk
2 tablespoons butter, melted
1 teaspoon vanilla
2 ¼ cups all purpose flour (you could use bread flour too, but this is the AP flour challenge, so I complied)
½ teaspoon salt
Olive oil or vegetable oil to grease the bowl
For the filling:
¼ cup butter, at room temperature
¼ cup sugar
1 tablespoon ground cardamom
2 cups halved, pitted cherries
To finish:
1 large egg, beaten, for egg wash
1-2 tablespoons powdered sugar, for dusting
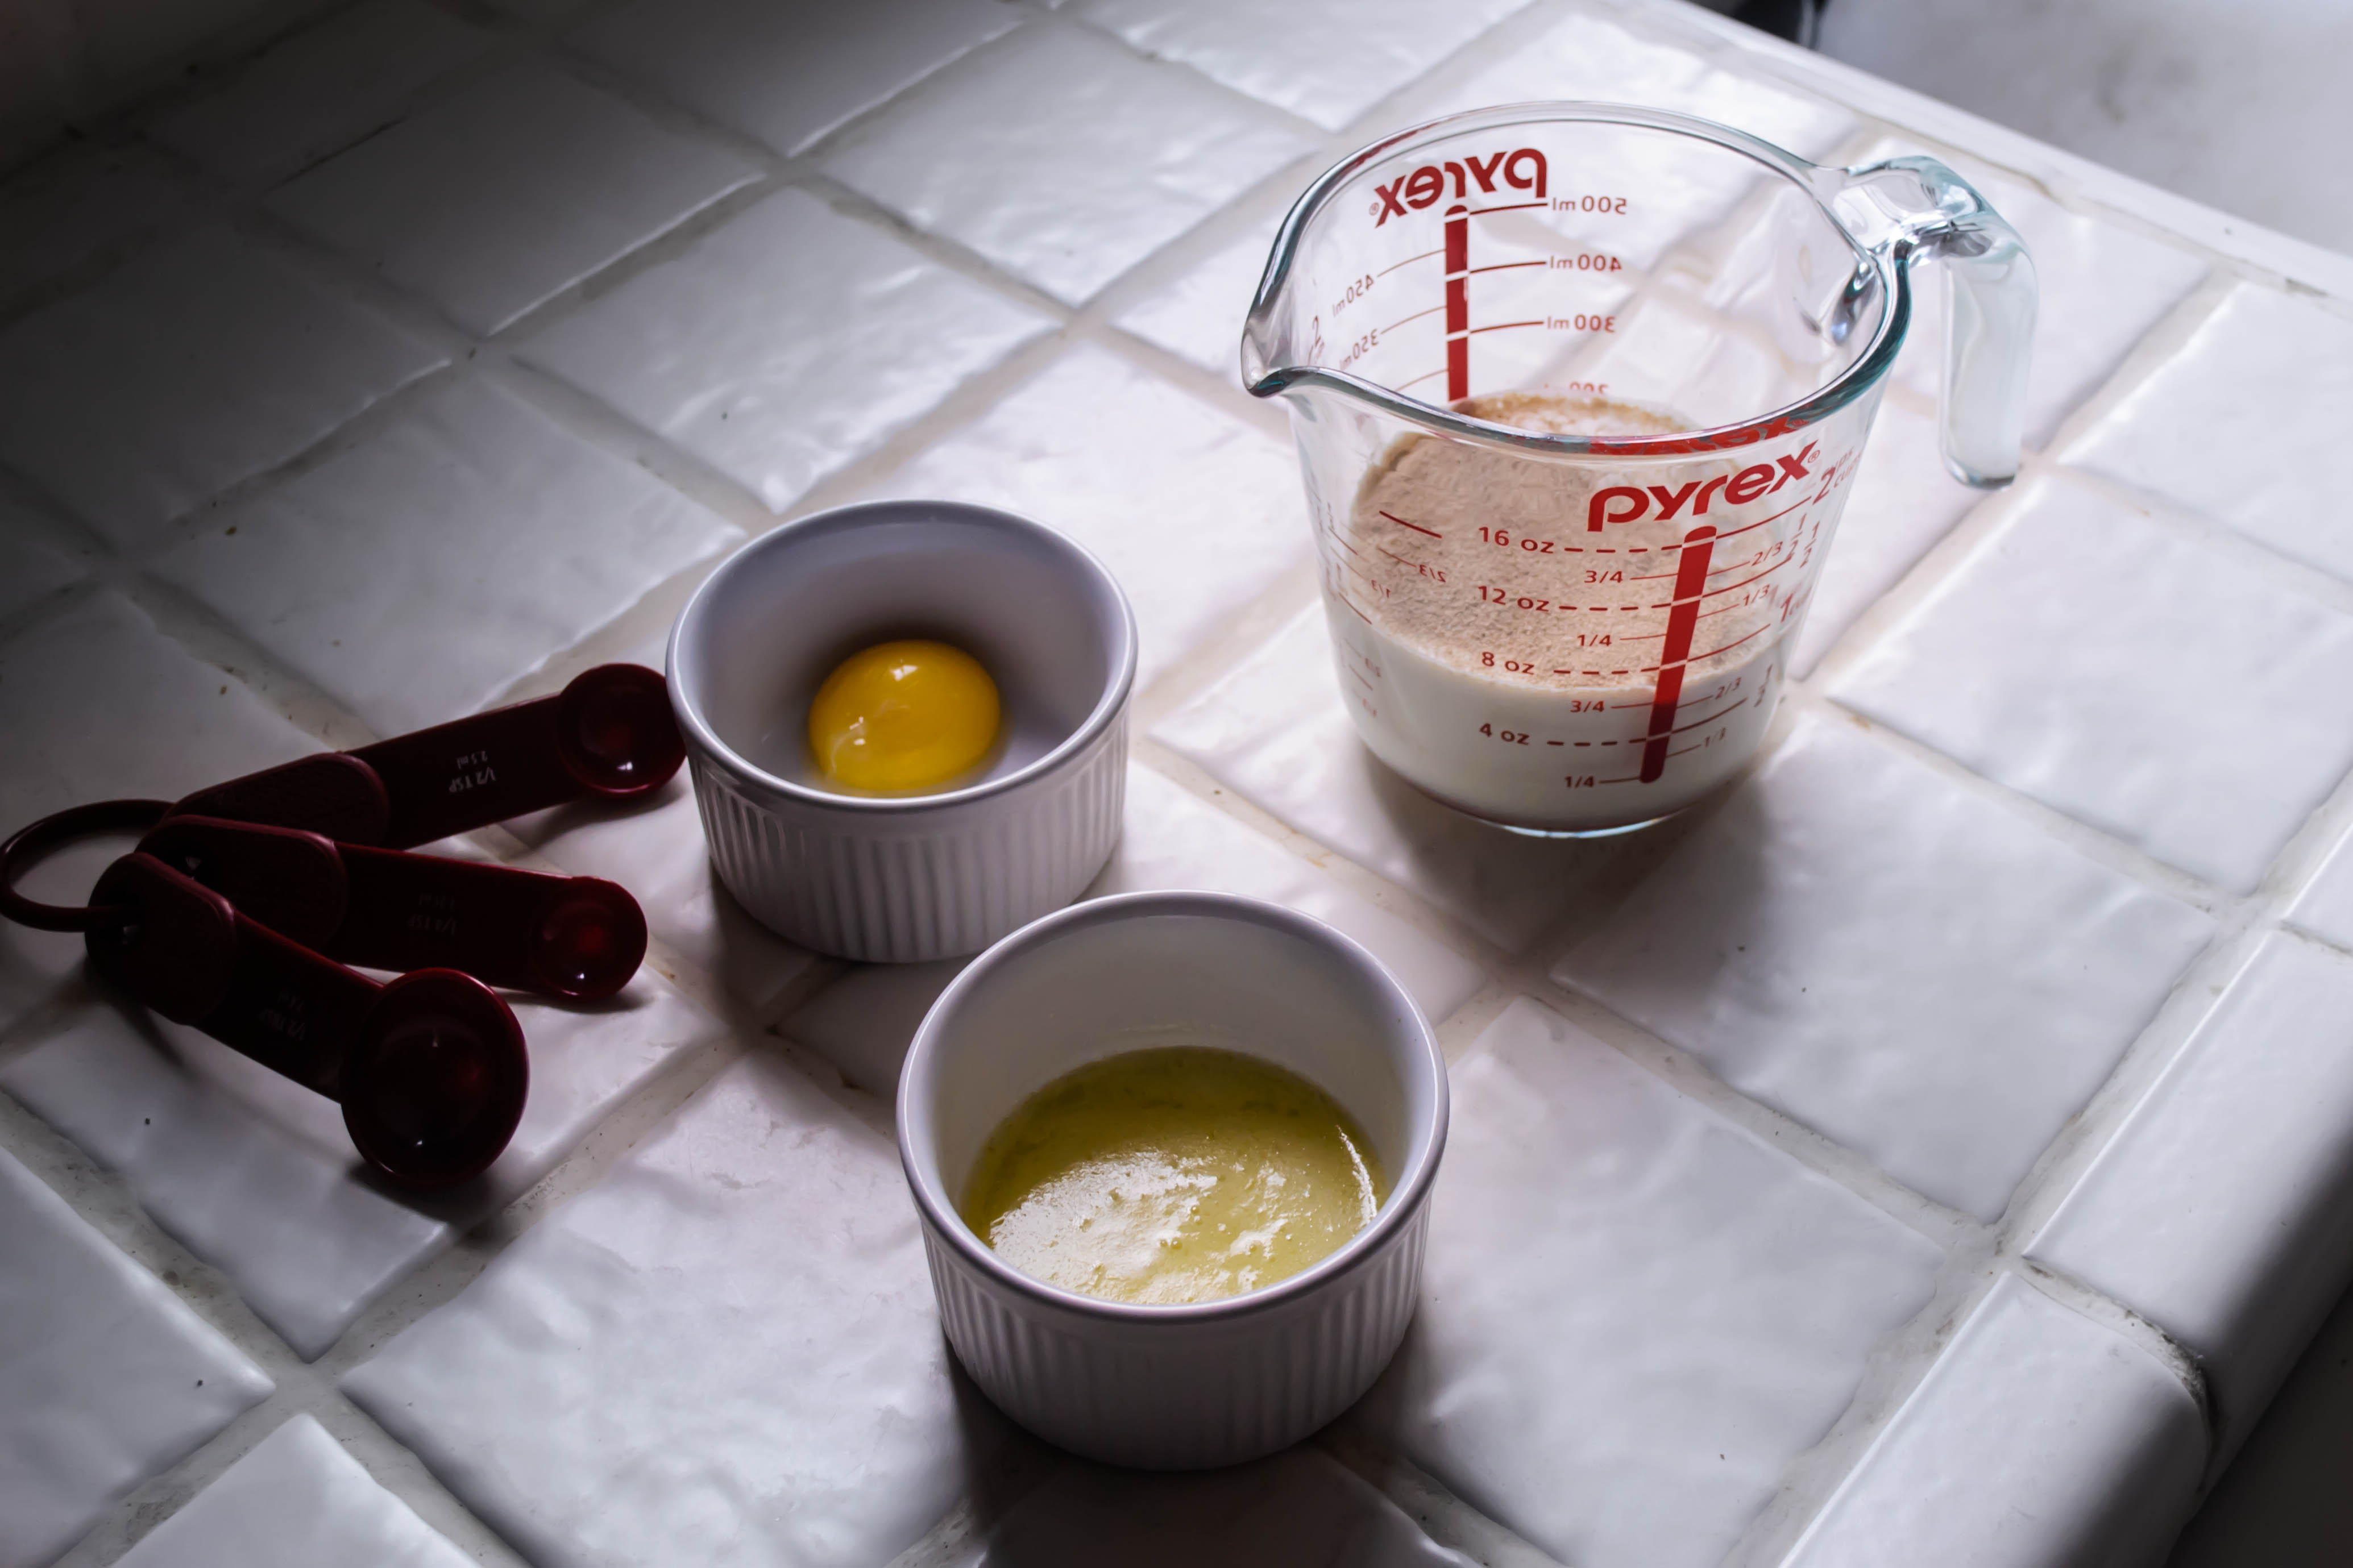
- In a 2 cup glass measuring cup, mix the yeast and 1 tablespoon sugar, then add the milk. Whisk with a fork to combine. Add the egg yolk, the melted butter, and the vanilla, and whisk with a fork again. Set aside to work for 5 minutes. The mixture will become foamy and smell (I think) a bit like fresh donuts.
- While the yeast does its work, whisk the flour and salt together in a large bowl (I used the bowl of my stand mixer with the paddle attachment). Add the milk mixture and combine into a rough, shaggy dough. If you are using a stand mixer, at this point you should switch from the paddle attachment to the dough hook and knead on medium speed for about 5 minutes. If you are working by hand, scoop the dough onto a floured board and knead by gathering the dough together into a ball, then pushing it away from you with the palm of your hand. Gather it back again and repeat. Knead by hand for about 10 minutes. For both methods, the dough should feel moist and elastic, but not terribly sticky. It will be a bit like a stiff play-dough in texture.
- Spray a bowl lightly with olive or vegetable oil (you can use a clean bowl or the bowl of your stand mixer – just lift up the ball of dough for a minute) and roll the dough around a bit until it is lightly coated with the oil. Cover the bowl with a tight layer of plastic wrap and let it rise in a warm spot for an hour, or until the dough has doubled in size.
- While the dough is rising, prep the filling. Combine the butter, sugar, and cardamom in a small bowl, mixing well. I used my fingers, but you could use an electric mixer or a fork if you prefer. Just be sure the sugar and cardamom are well integrated. We don’t want chunks of unflavored butter. Halve and pit the cherries as well, and set aside.
- Preheat the oven to 375F and butter a 10-inch springform pan or 10-inch cast iron skillet. If you are using a springform, I recommend wrapping the bottom with aluminum foil, in case of seeping cherry juice or melted butter.
- Now, attend to the dough again. Relocate it to a lightly floured surface and knead twice by hand, just to release some of the gathered air. Roll it out to as close to a 12×18 inch rectangle as you can manage, with the long edge facing you.
- Spread the butter mixture onto the dough rectangle, leaving a ½ inch margin on all edges. Then, scatter the cherries atop the butter mixture, again respecting this margin, and being sure to create an even fruit layer. Uneven distribution makes shaping the loaf more challenging.
- Begin rolling the dough rectangle into a log, starting with the middle of the long edge and working your way out to the sides to create an even, tight roll. You can mush down the lumps a little, but don’t be too aggressive about it because you don’t want to tear the dough. When you get to the end, pinch the edge firmly into the existing log to seal it.
- This is where things get interesting. Slice through the log to expose the center, creating two long halves, but leave an inch or two attached at the top to hold the thing together (see sliced log photo above). Adjust halves to face upward, exposing the veins of cherry and buttery filling.
- Now we twist. Take hold of the left strand and carefully (and assertively!) lift it over the right strand. Adjust to bring the braid back to the center of the board. Now lift the new left strand (previously the right strand) over the new right strand, and repeat this process until you get to the end of the two strands. It should look like an old-fashioned twist donut, but with cherries threatening to spill out of it.
- When you have completed your twist, pinch the two strands together, and create a wreath shape by pulling the two ends of the twist to meet each other. Pinch these together as well.
- Deep breath, now. Carefully but quickly, lift up the whole wreath of dough and settle it into your prepared pan, trying to keep the shape as round and as many cherries contained as possible. This is where you have to be confident and assertive. The longer the lift-and-nestle takes, the more the dough will droop, and the more chance you have of tearing or spilling.
- Brush the exposed top of the wreath with the beaten egg, then bake for 25-35 minutes, until the top is golden and the interior is cooked through but still moist.
- Let cool at least 30 minutes in the pan, then dust with powdered sugar (through some sort of sifter, please), slice, and serve.

 One of my great pleasures in the summer is the hot cooked lunch. I’m a big believer in leftovers, and during the school year it’s easy and delicious (and cheap, let’s be honest) to just pack some of last night’s dinner into a Tupperware and take it to school with me. But in summer, when I’m home and puttering, being able to sashay into the kitchen around lunchtime and cook something quick and tasty is a pleasure I always forget about until suddenly I get to do it again.


 But “not often” isn’t the same as never. A few weeks ago, as a heat wave rendered Los Angeles practically immobile (or maybe that was just my un-air-conditioned living room), I dragged myself to the kitchen to (I hoped) find something reasonably delicious to throw together for dinner that didn’t involve the oven or the stove. Great expectations, no?
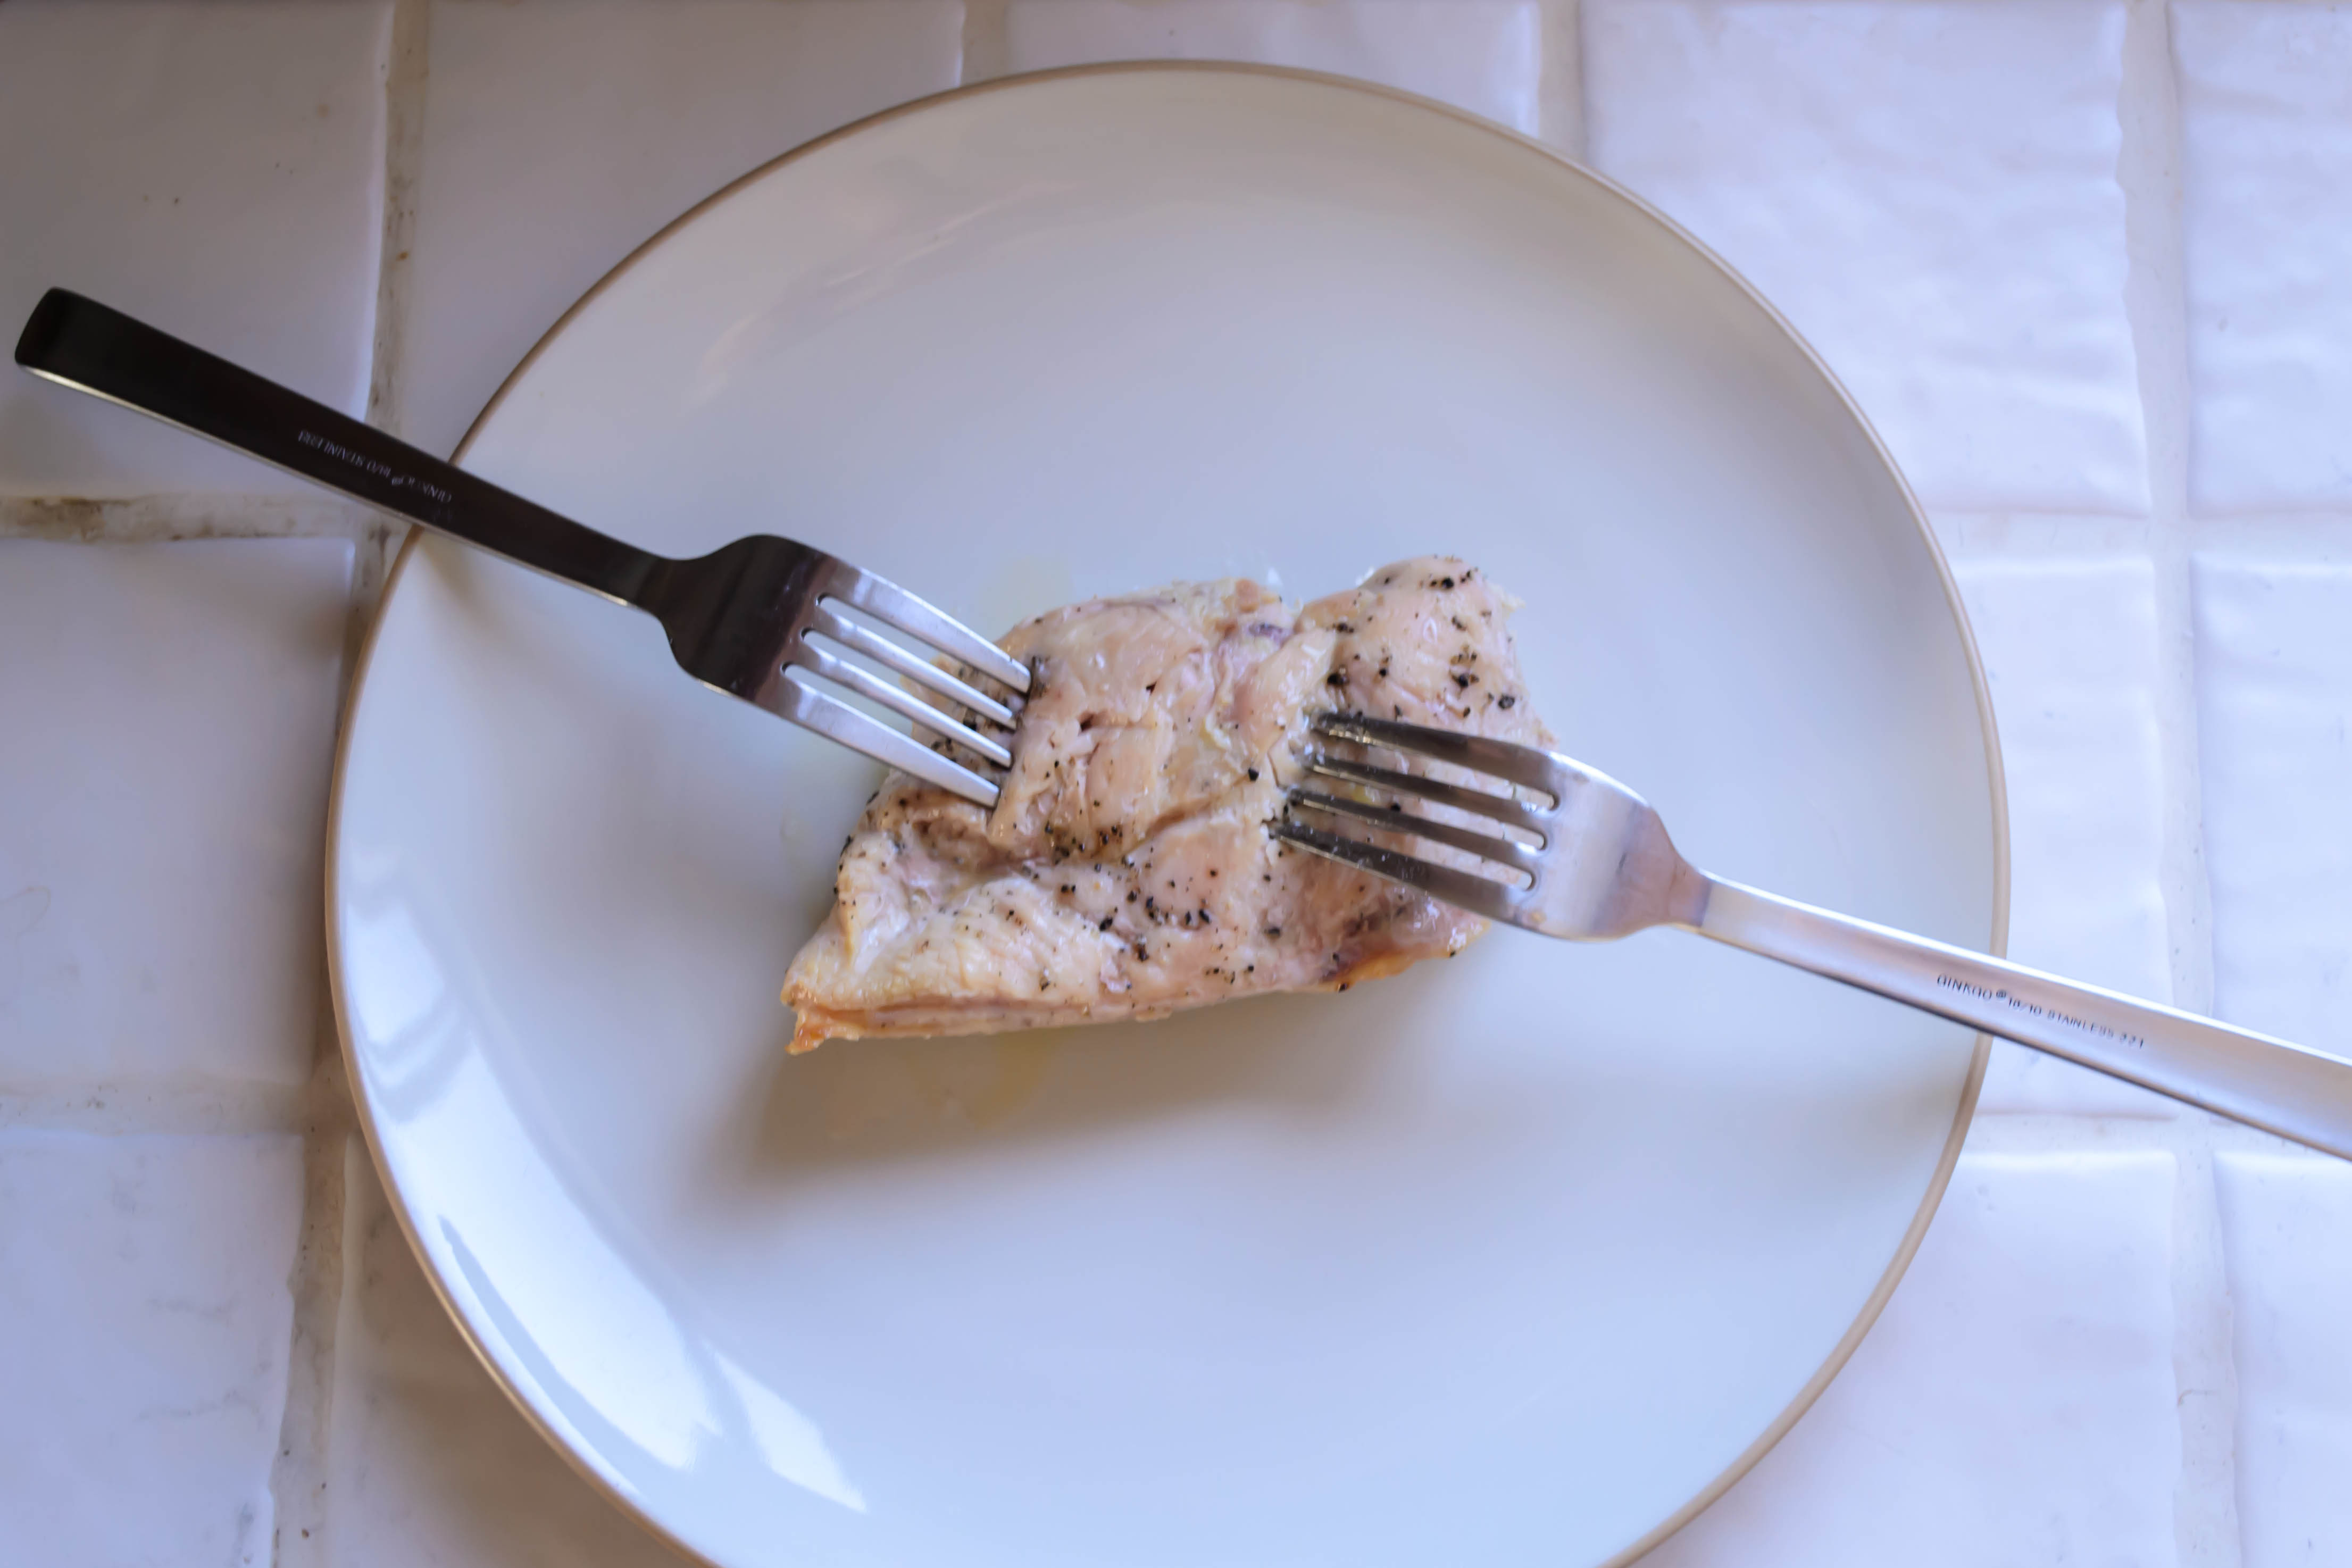
 What we ended up with was a dinner that made our eyebrows climb, and almost immediately we were thinking about when we would have it again. And as sometimes happens, it was just what I had, layered together into something great. Chicken salad. Toast. Avocado smashed with extravagant quantities of lemon juice and raw garlic. Layered and mounded into an open-faced sandwich as at home on a picnic blanket as on your dining room table. So bright and fresh! Satisfying but so light and summery! And, if you have had the presence of mind to make your chicken salad the day before (or, if you’ve got a deli you love, bought some), assembly requires all of five minutes with minimal application of heat. Oh, and if you find yourself in need of a way to use up some
  This is a summer dinner you need to make. And then make again. Because really, complexity is fun, but sometimes simple is just right.
 A few extra thoughts: the lemon and garlic smashed avocado is currently my food crush. It’s great with the chicken salad, but it would also be spectacular (and really quite aesthetically lovely too) underneath thin slices of hard boiled egg or smoked salmon. Or, you know, just plain on toast. Or to dip chips into. Or a spoon.
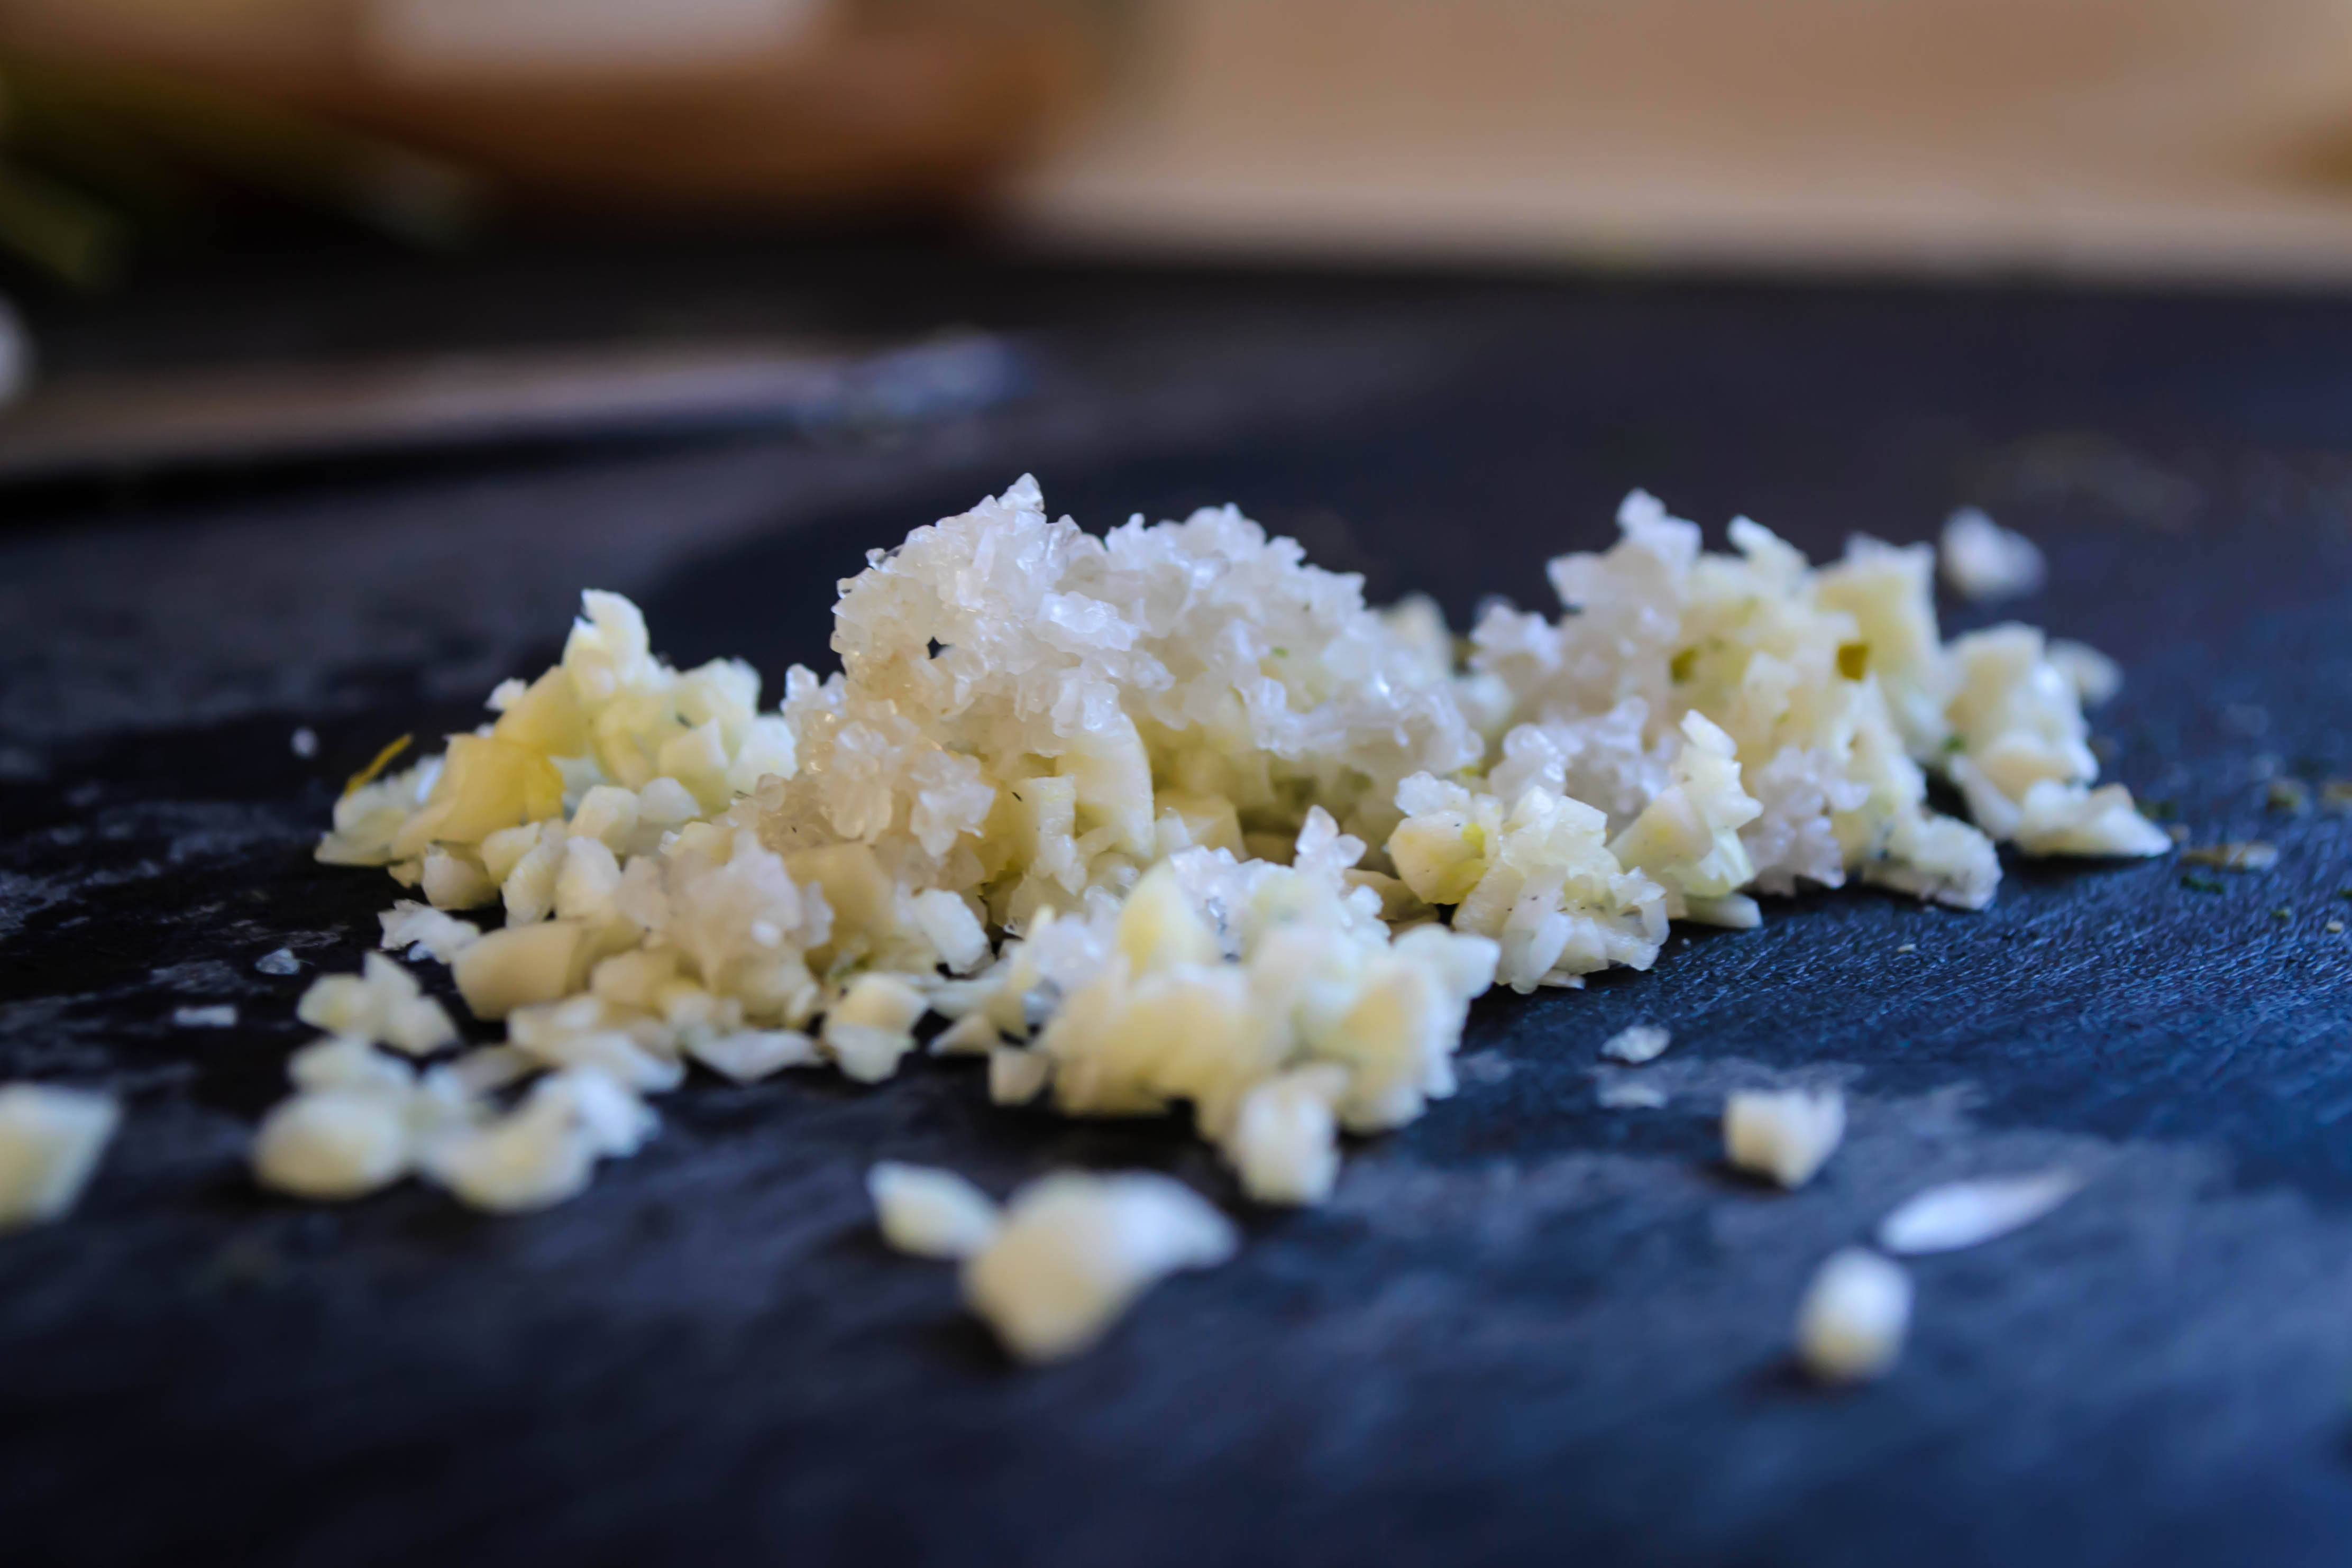
 Finally, and this is not about chicken salad or avocado, if you have an iPhone, you should ask Siri “What does the Fox say?” Then you should ask her again. It could well be that I’m the last person on the planet to know about this, but still. You’re welcome.