Jalapeño Cheese Rolls #TwelveLoaves June

Food Blog May 2013-1439Last week I presented you with something both vegan and gluten-free.  Dietary allergen-buster, that’s me!  This week, to prove that I’m a fickle  equal opportunist  flexible sort of cook, I’m giving you something that is neither.  But really, this is the kind of food person I am, and I’ve been thinking about this lately, especially given this post from Shauna at Gluten-Free Girl.  I’ve thought, over this past year as I finished my Bittman Project and moved on to my exploration of dough, what kind of food blog this is, anyway.  I don’t follow a specific dietary regimen.  I don’t cook – or eat – specifically one type of food.  So what am I?  As I wrote to Shauna, what drove me to her blog, and what drove me to one of my own, was the expression of joy through food.  I want food that tastes good and brings joy.  And then, because it has given joy to the tongues and teeth and bellies of the people I made it for, I want to pass that on to people who weren’t in our little house with us.  That’s you, people.  So I guess what it comes down to is: this is a blog about food that brings you joy.  At least, that’s what I hope you feel when you read, and when you eat, if you end up using the recipes here (and if you do, will you tell me?  I’d love to know what you guys think).

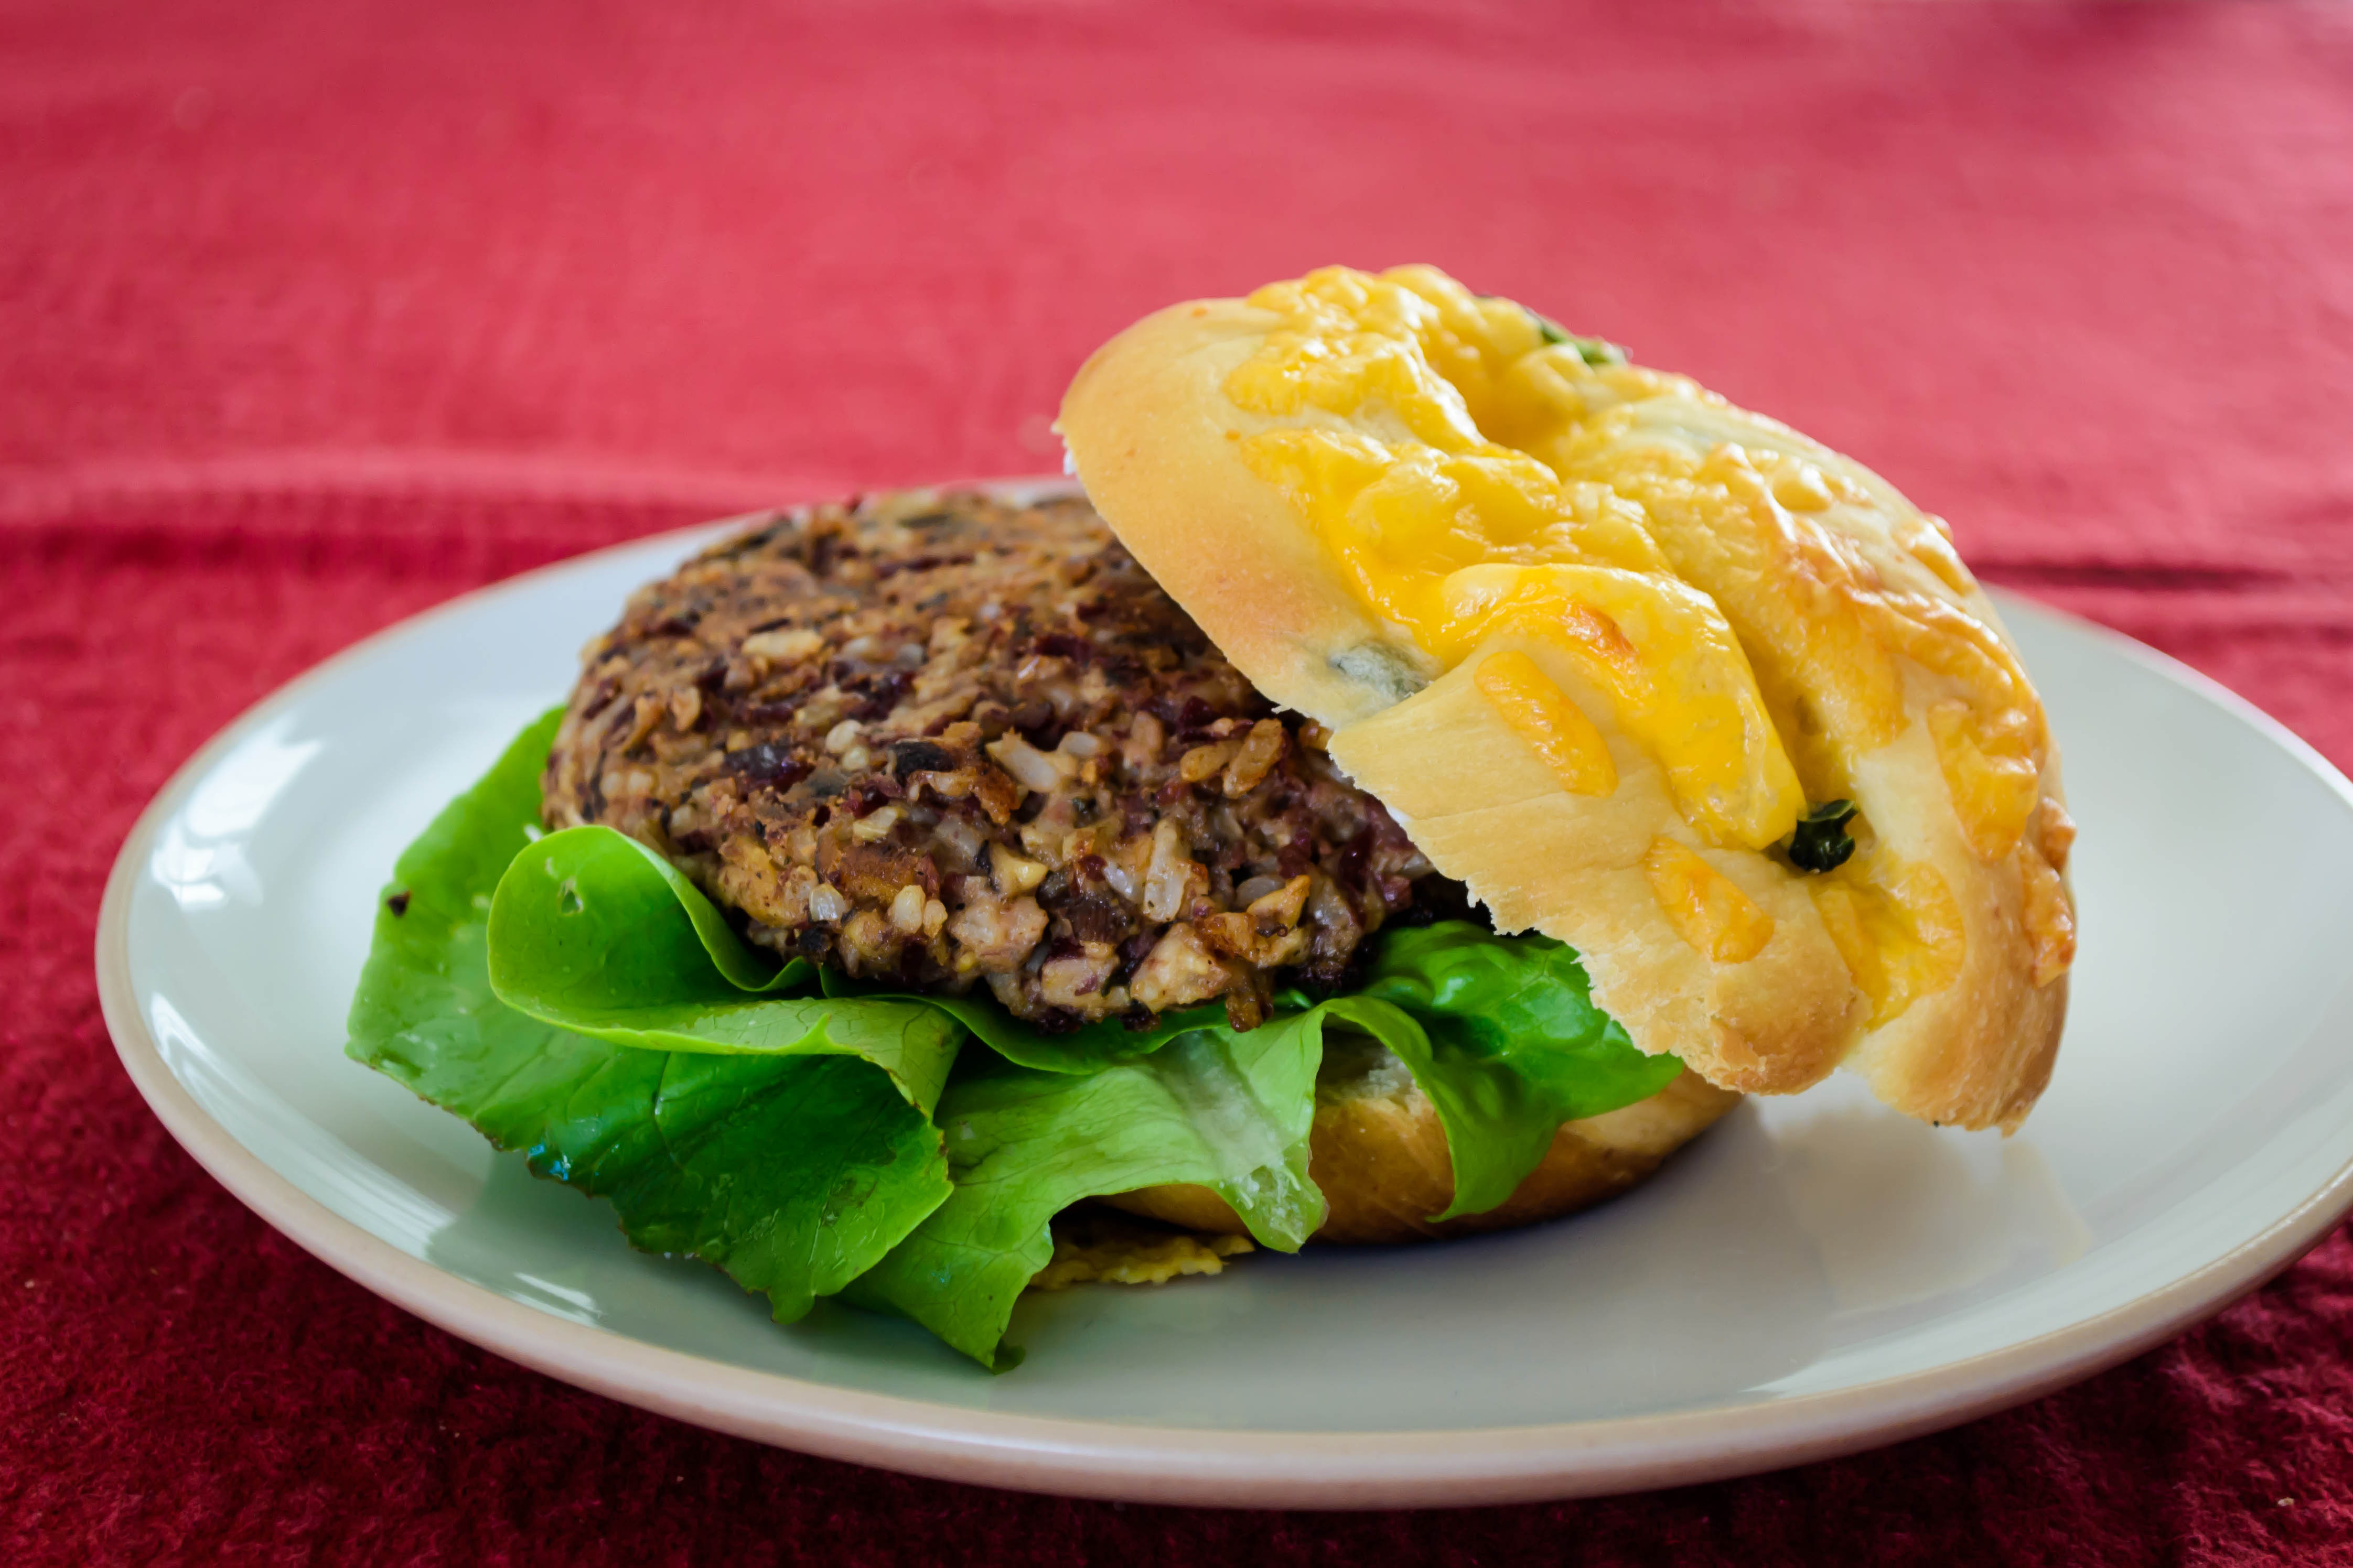
These little rolls brought us considerable joy.  They are cheddar infused, jalapeño studded puffs somewhere in between a rich, buttery brioche and a stern, crusty, segmented Kaiser roll.  They are also, given this month’s Twelve Loaves assignment of buns, the perfect choice to slice equatorially, layer with mayonnaise or hot sauce or pickles or onion rings or dripping fresh tomato slices and then cram with a burger of your favorite juicy variety.

Food Blog May 2013-1410I started with my Nana’s sweet roll dough, replacing the sugar with a smaller amount of honey, opting for the tang of buttermilk rather than the roundness of whole milk, and injecting wafer-thin slices of jalapeno and cheddar cheese so sharp it made me – let’s not lie – basically drool when I sampled some.

Food Blog May 2013-1414Food Blog May 2013-1415Though you could just divide your dough into equal sections and let these rise into sweet, uncomplicated burger buns, I decided to take on the familiar lobed shape of a Kaiser roll.  This is, as you might expect, not the most straightforward approach, mostly because there are numerous methods for achieving that instantly recognizable shape.  You can score the dough as it rises, you can use a special press that creates the petal shape, can follow a complex procedure of folds, or, as I learned and executed to my delight, you can roll the dough into ropes, tie them in a simple overhand knot, and then tuck up the ends.  I’ve attempted instructions and accompanying pictures below, but if you are lost, try this recipe, which explains the knotting and tucking process pretty clearly.

Food Blog May 2013-1425Food Blog May 2013-1429Sprinkled with more sharp cheddar and topped with a few more, probably gratuitous slices of pepper (you have to know what you’re in for, I think), these bake into all but perfect imitations of the jalapeño cheese rolls N. and I used to buy from Market of Choice as the occasional treat after a perfect sunny afternoon trip to the dog park in Eugene.  We never put burgers on those, because they never made it through the whole ride home.  But these little Kaiser-roll-buns of mine, burnished with cheddar and lip-tingling with heat, will carry anything you load them with.

Food Blog May 2013-1435Food Blog May 2013-1433Summer’s coming.  That should bring you joy.  If you can stand more, make these for your next barbeque.  This recipe can easily be doubled, and once baked, these will keep in the fridge for a few days or, securely wrapped in airtight packaging, in the freezer for much longer.

Food Blog May 2013-1441Jalapeño Cheese Rolls
makes 8 petite rolls, or 6 larger ones
 2 tsp active dry yeast
1 TB warm water
½ cup warm buttermilk
2 TB honey
¼ cup room temperature butter
1 egg
1 tsp salt
2 cups flour (I like bread flour best for these, because it has a high protein content that stimulates gluten production.  But I think all-purpose would create similarly fantastic rolls)
1 cup shredded extra sharp cheddar cheese, divided
1 medium jalapeño pepper, thinly sliced


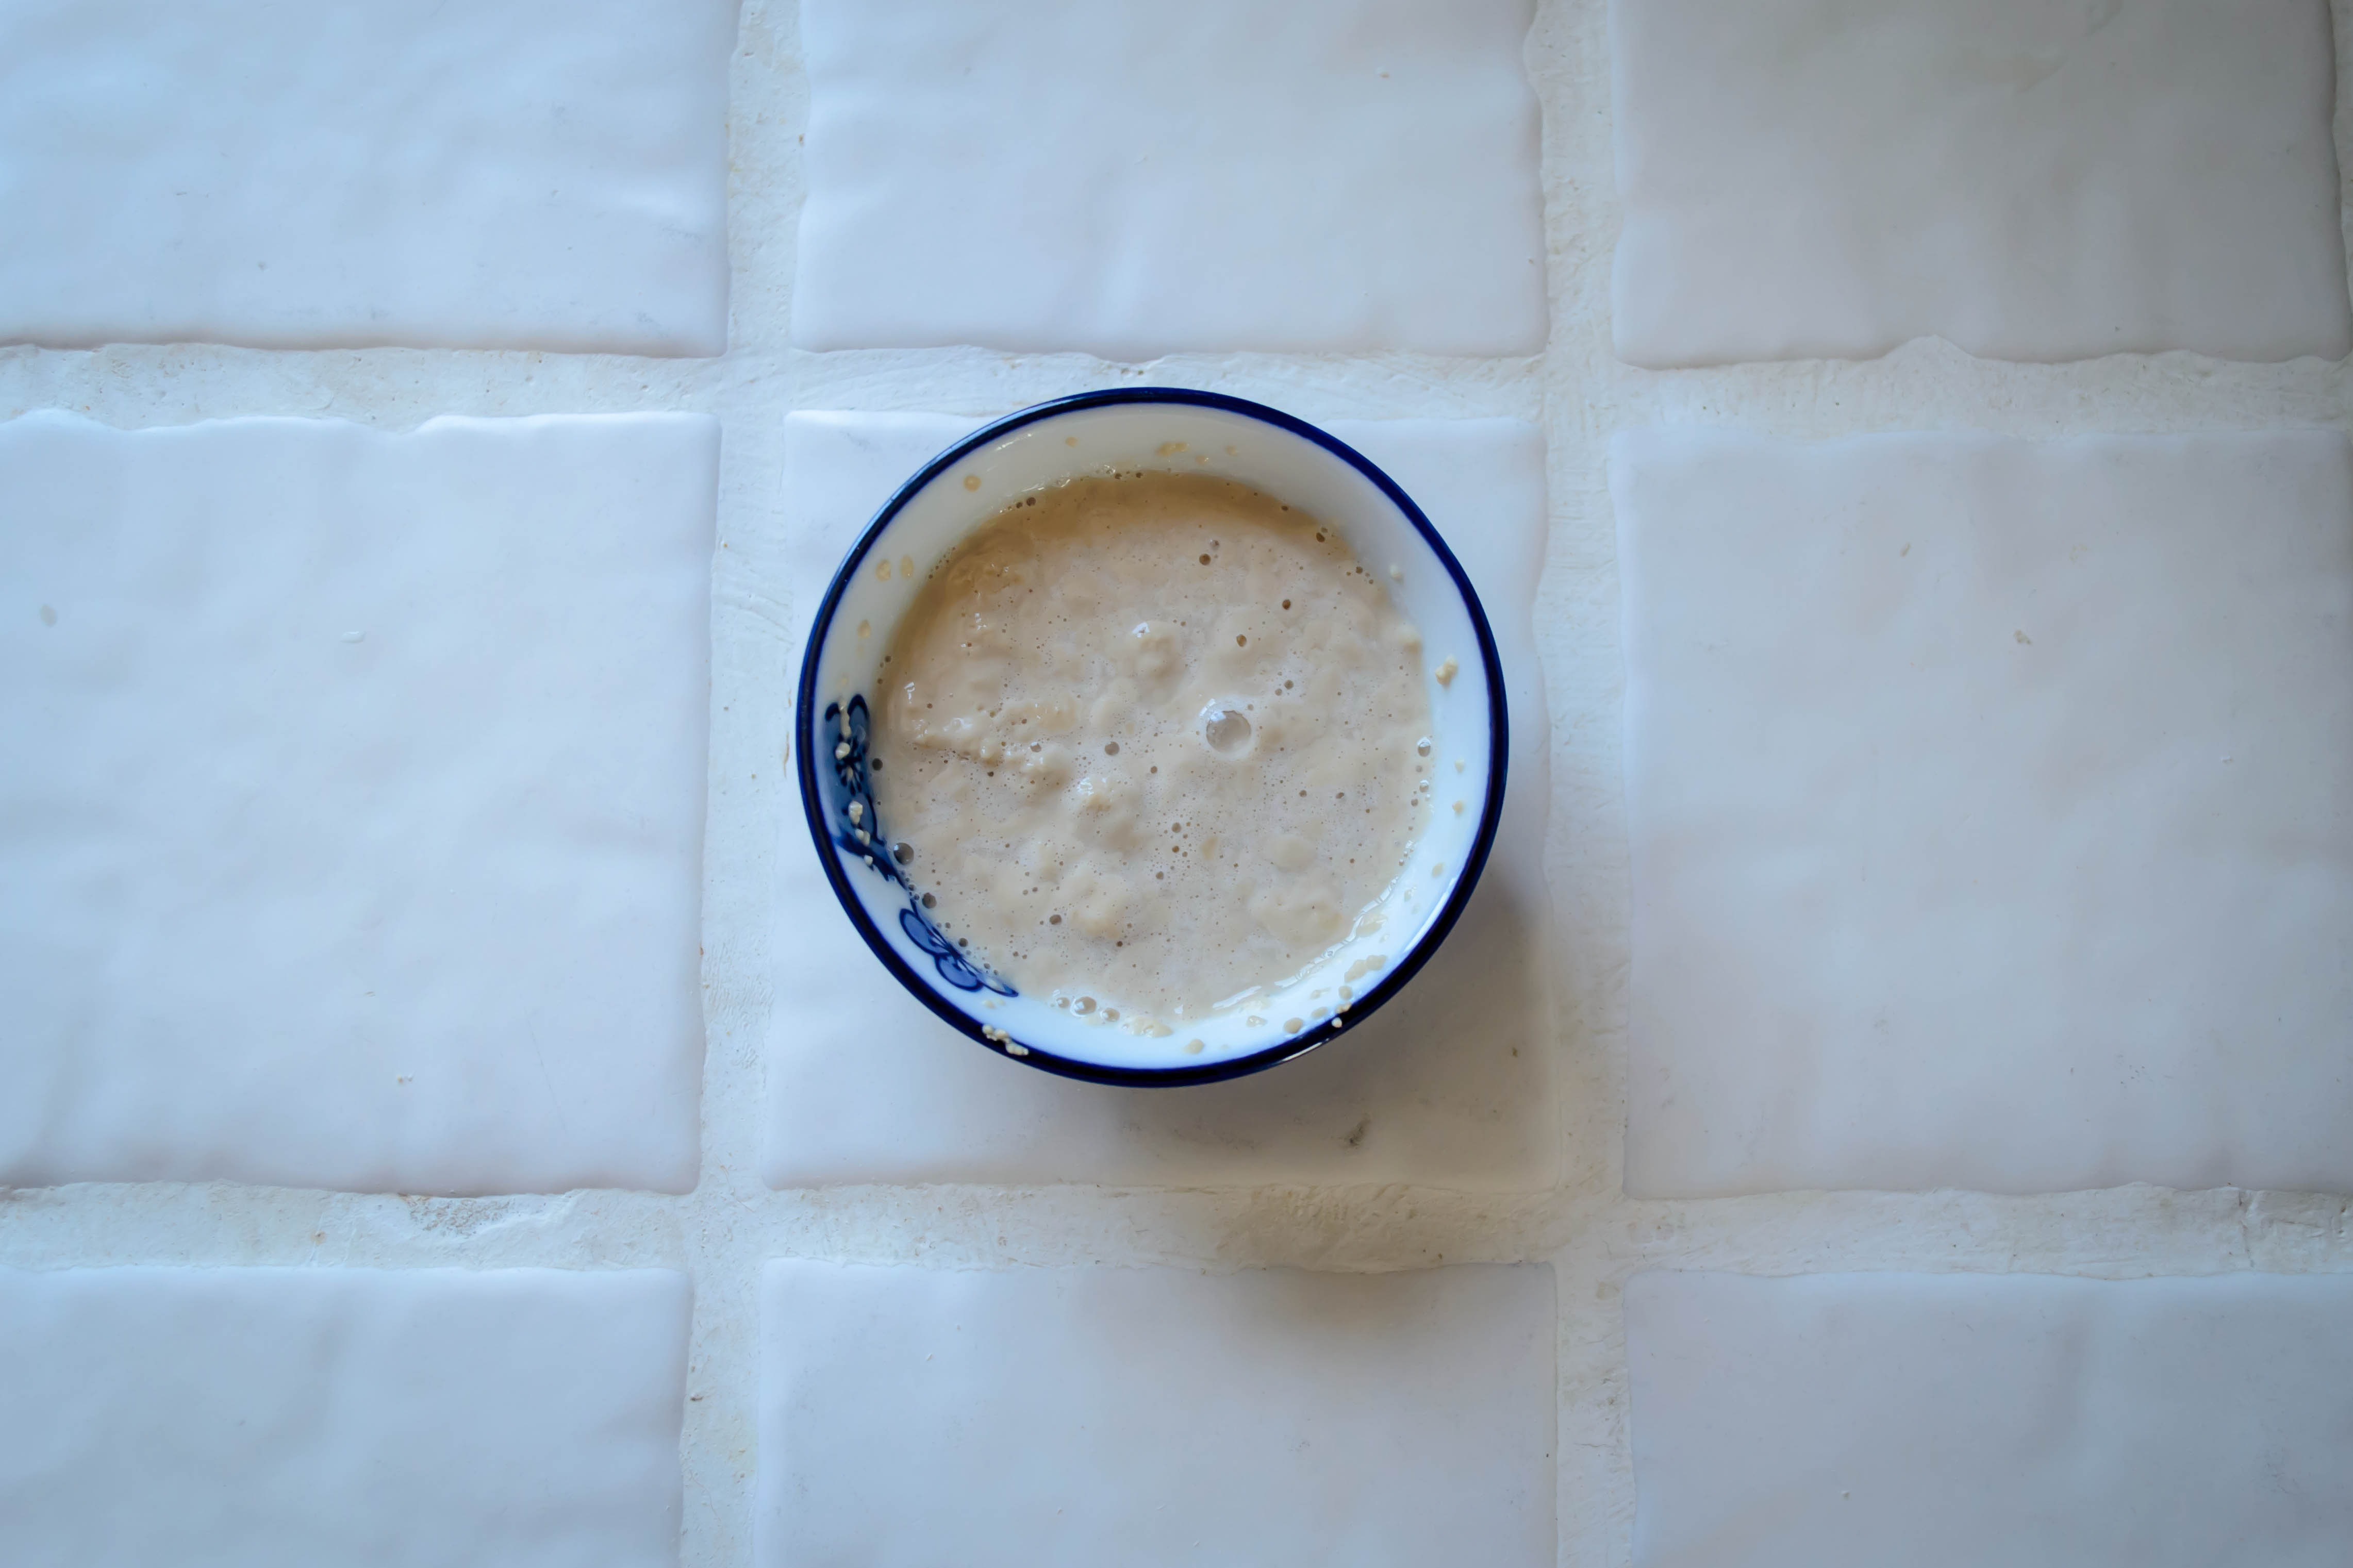
  • Stir the yeast gently into the warm water, set aside for five minutes to let the yeast wake up.
  • Add butter and honey to the warm buttermilk, stirring them together until incorporated.  This will make the honey and butter easier to integrate into the dough, and cool the buttermilk so it won’t kill the yeast or scramble the egg.
  • Pour the puffy, bready yeast, the buttermilk mixture, and the egg  into a large bowl (I use the bowl of my electric stand mixer), and whisk or stir together with a wooden spoon or the paddle attachment of your stand mixer.
  • Add the flour and salt to the mixture, and stir just until roughly combined.
  • Add ¾ cup of the cheddar cheese and half of the jalapeño slices to the rough dough and stir again, just until the cheese and peppers are well distributed.
  • If you are using a stand mixer, replace the paddle attachment with the dough hook and knead on medium speed for 8-10 minutes. If you are not using a stand mixer, turn the dough out onto a floured board and knead by hand for about 10 minutes.  Though I think kneading by hand will work fine here (I haven’t tried it, so I’m not positive), there are two things to take into consideration.  First, this dough has cheese it in, so that may make it messier to work with than your average burger bun dough.  Second, it contains jalapeño peppers, which can leach capsaicin onto your hands and sting delicate skin (read: don’t forget and wipe your nose!), so be absolutely certain you wash your hands really well after handling this dough.
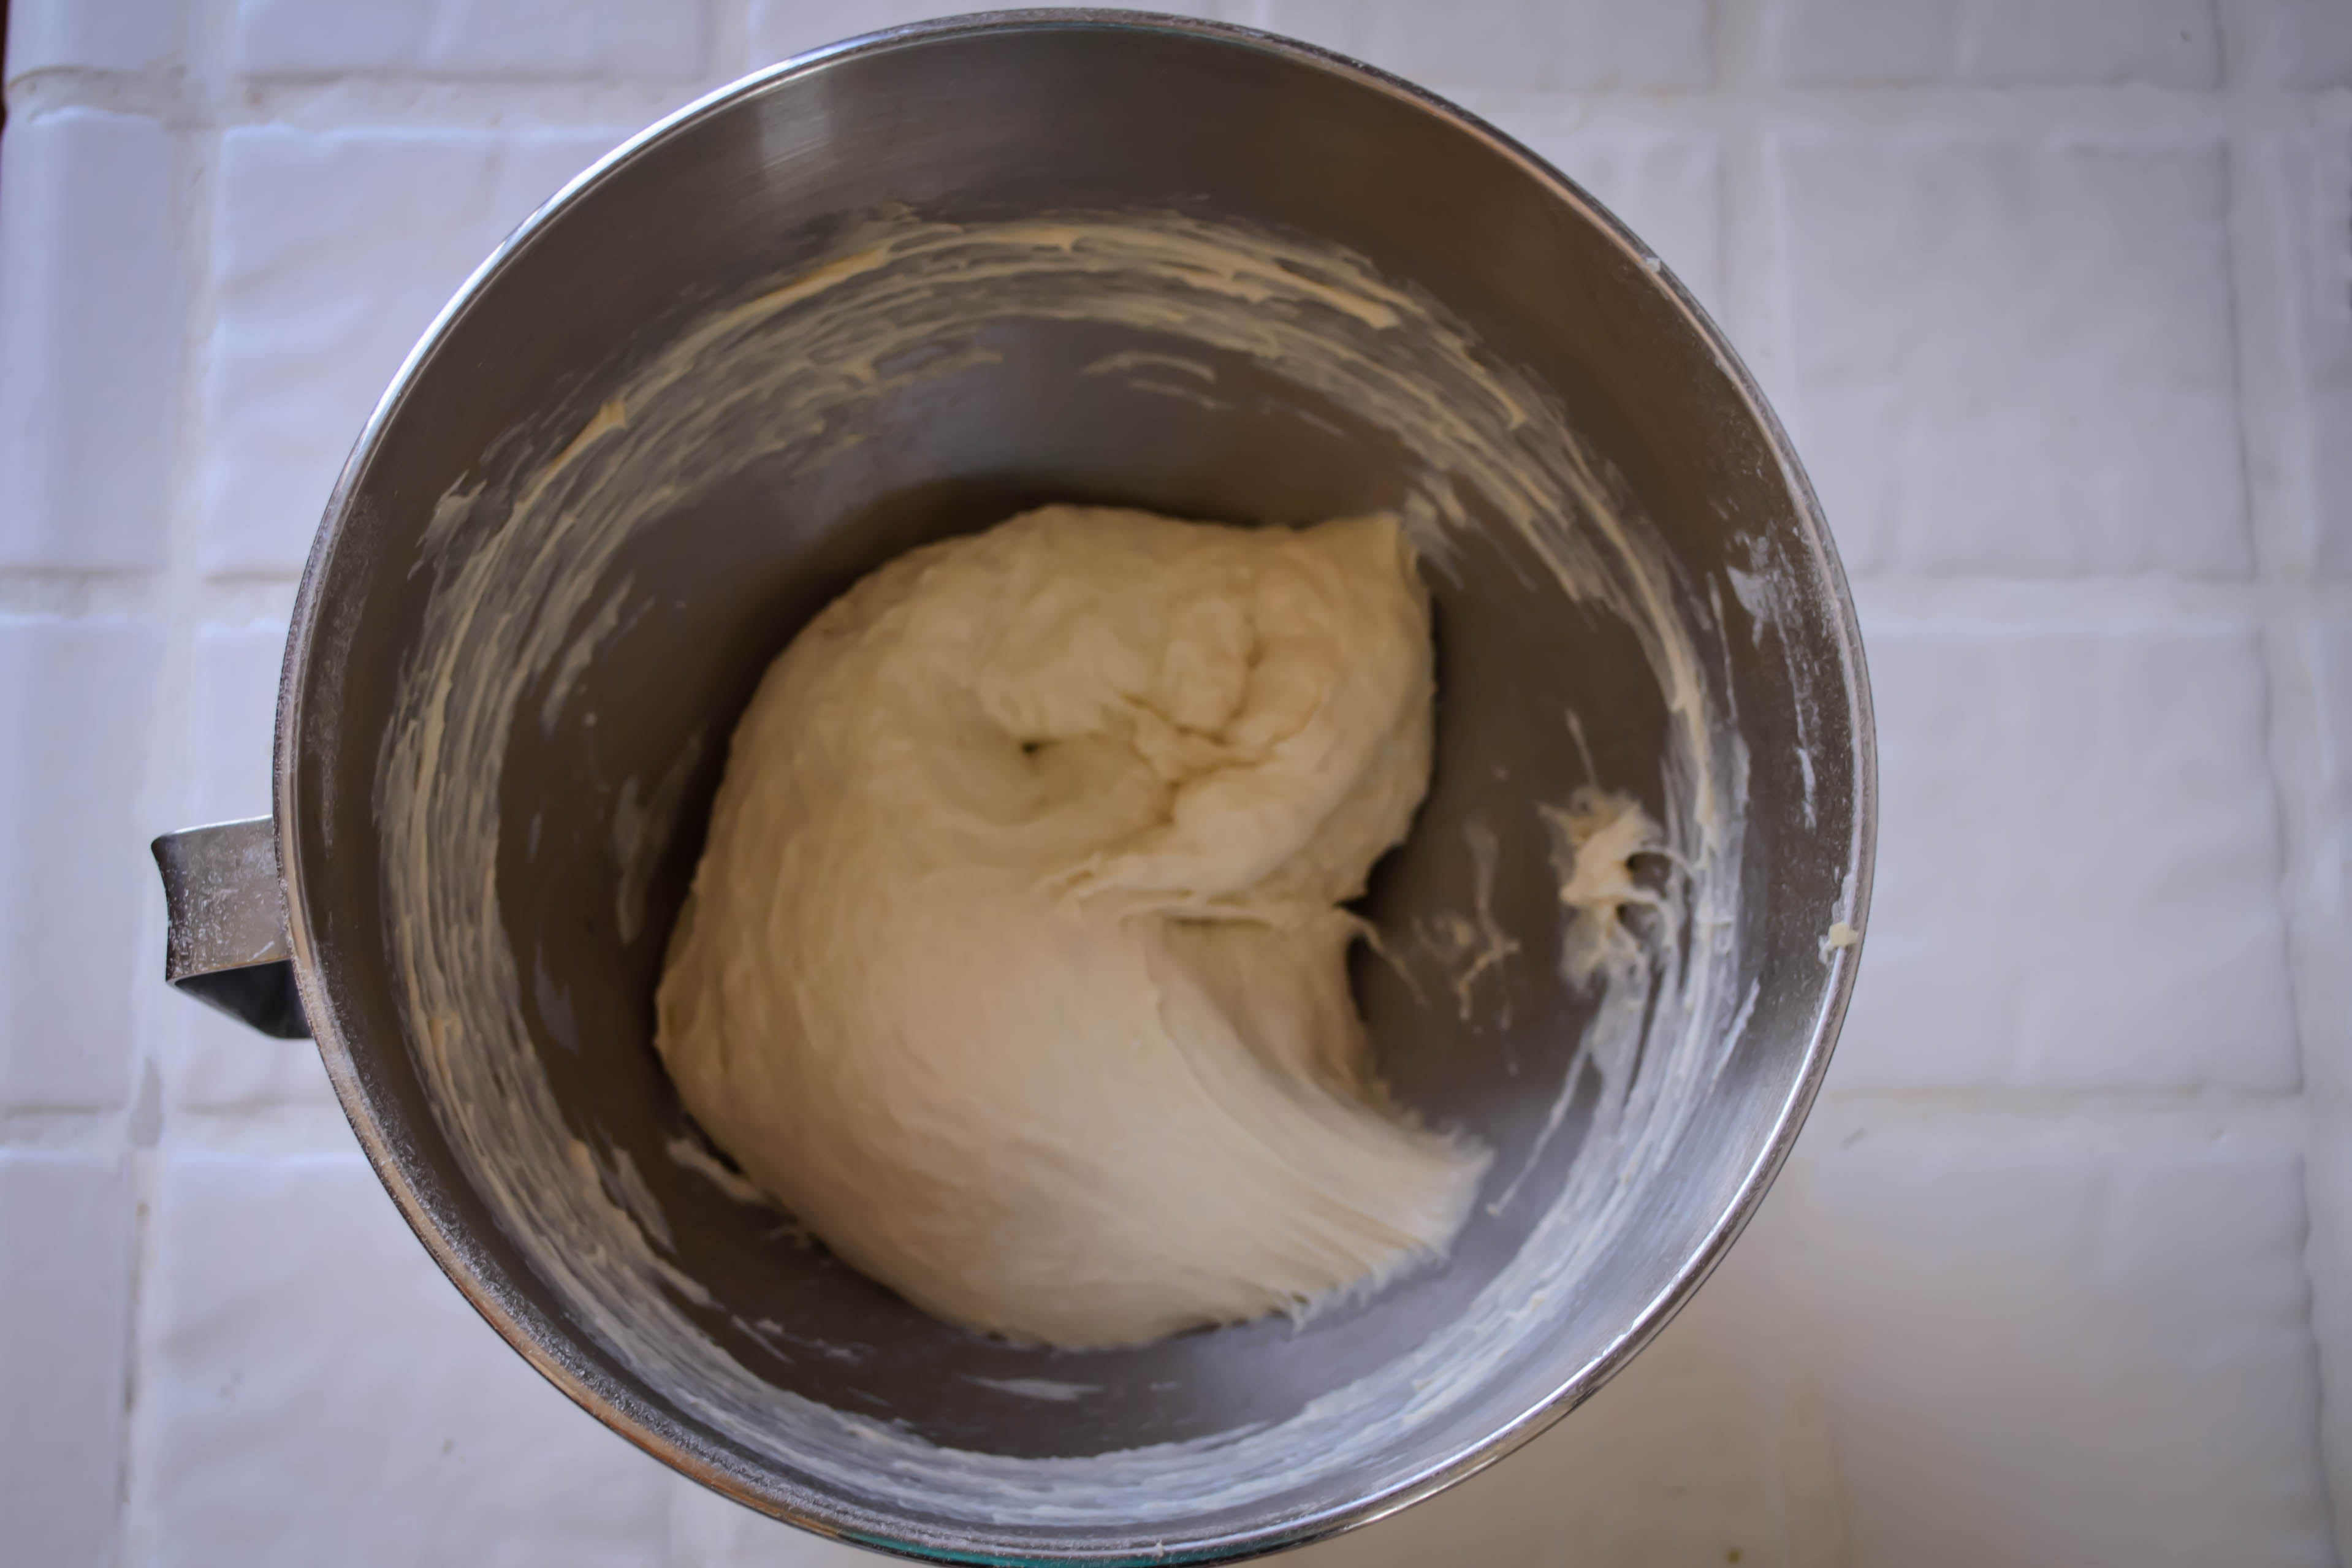
  • In either case, the dough starts out sticky, but becomes smooth and stretchy as you continue to work it. Once it is elastic and supple and lovely, place it in a lightly oiled bowl, cover with plastic wrap, and set aside in a warm room (if you have one handy) for an hour and a half, or until it has doubled in volume.
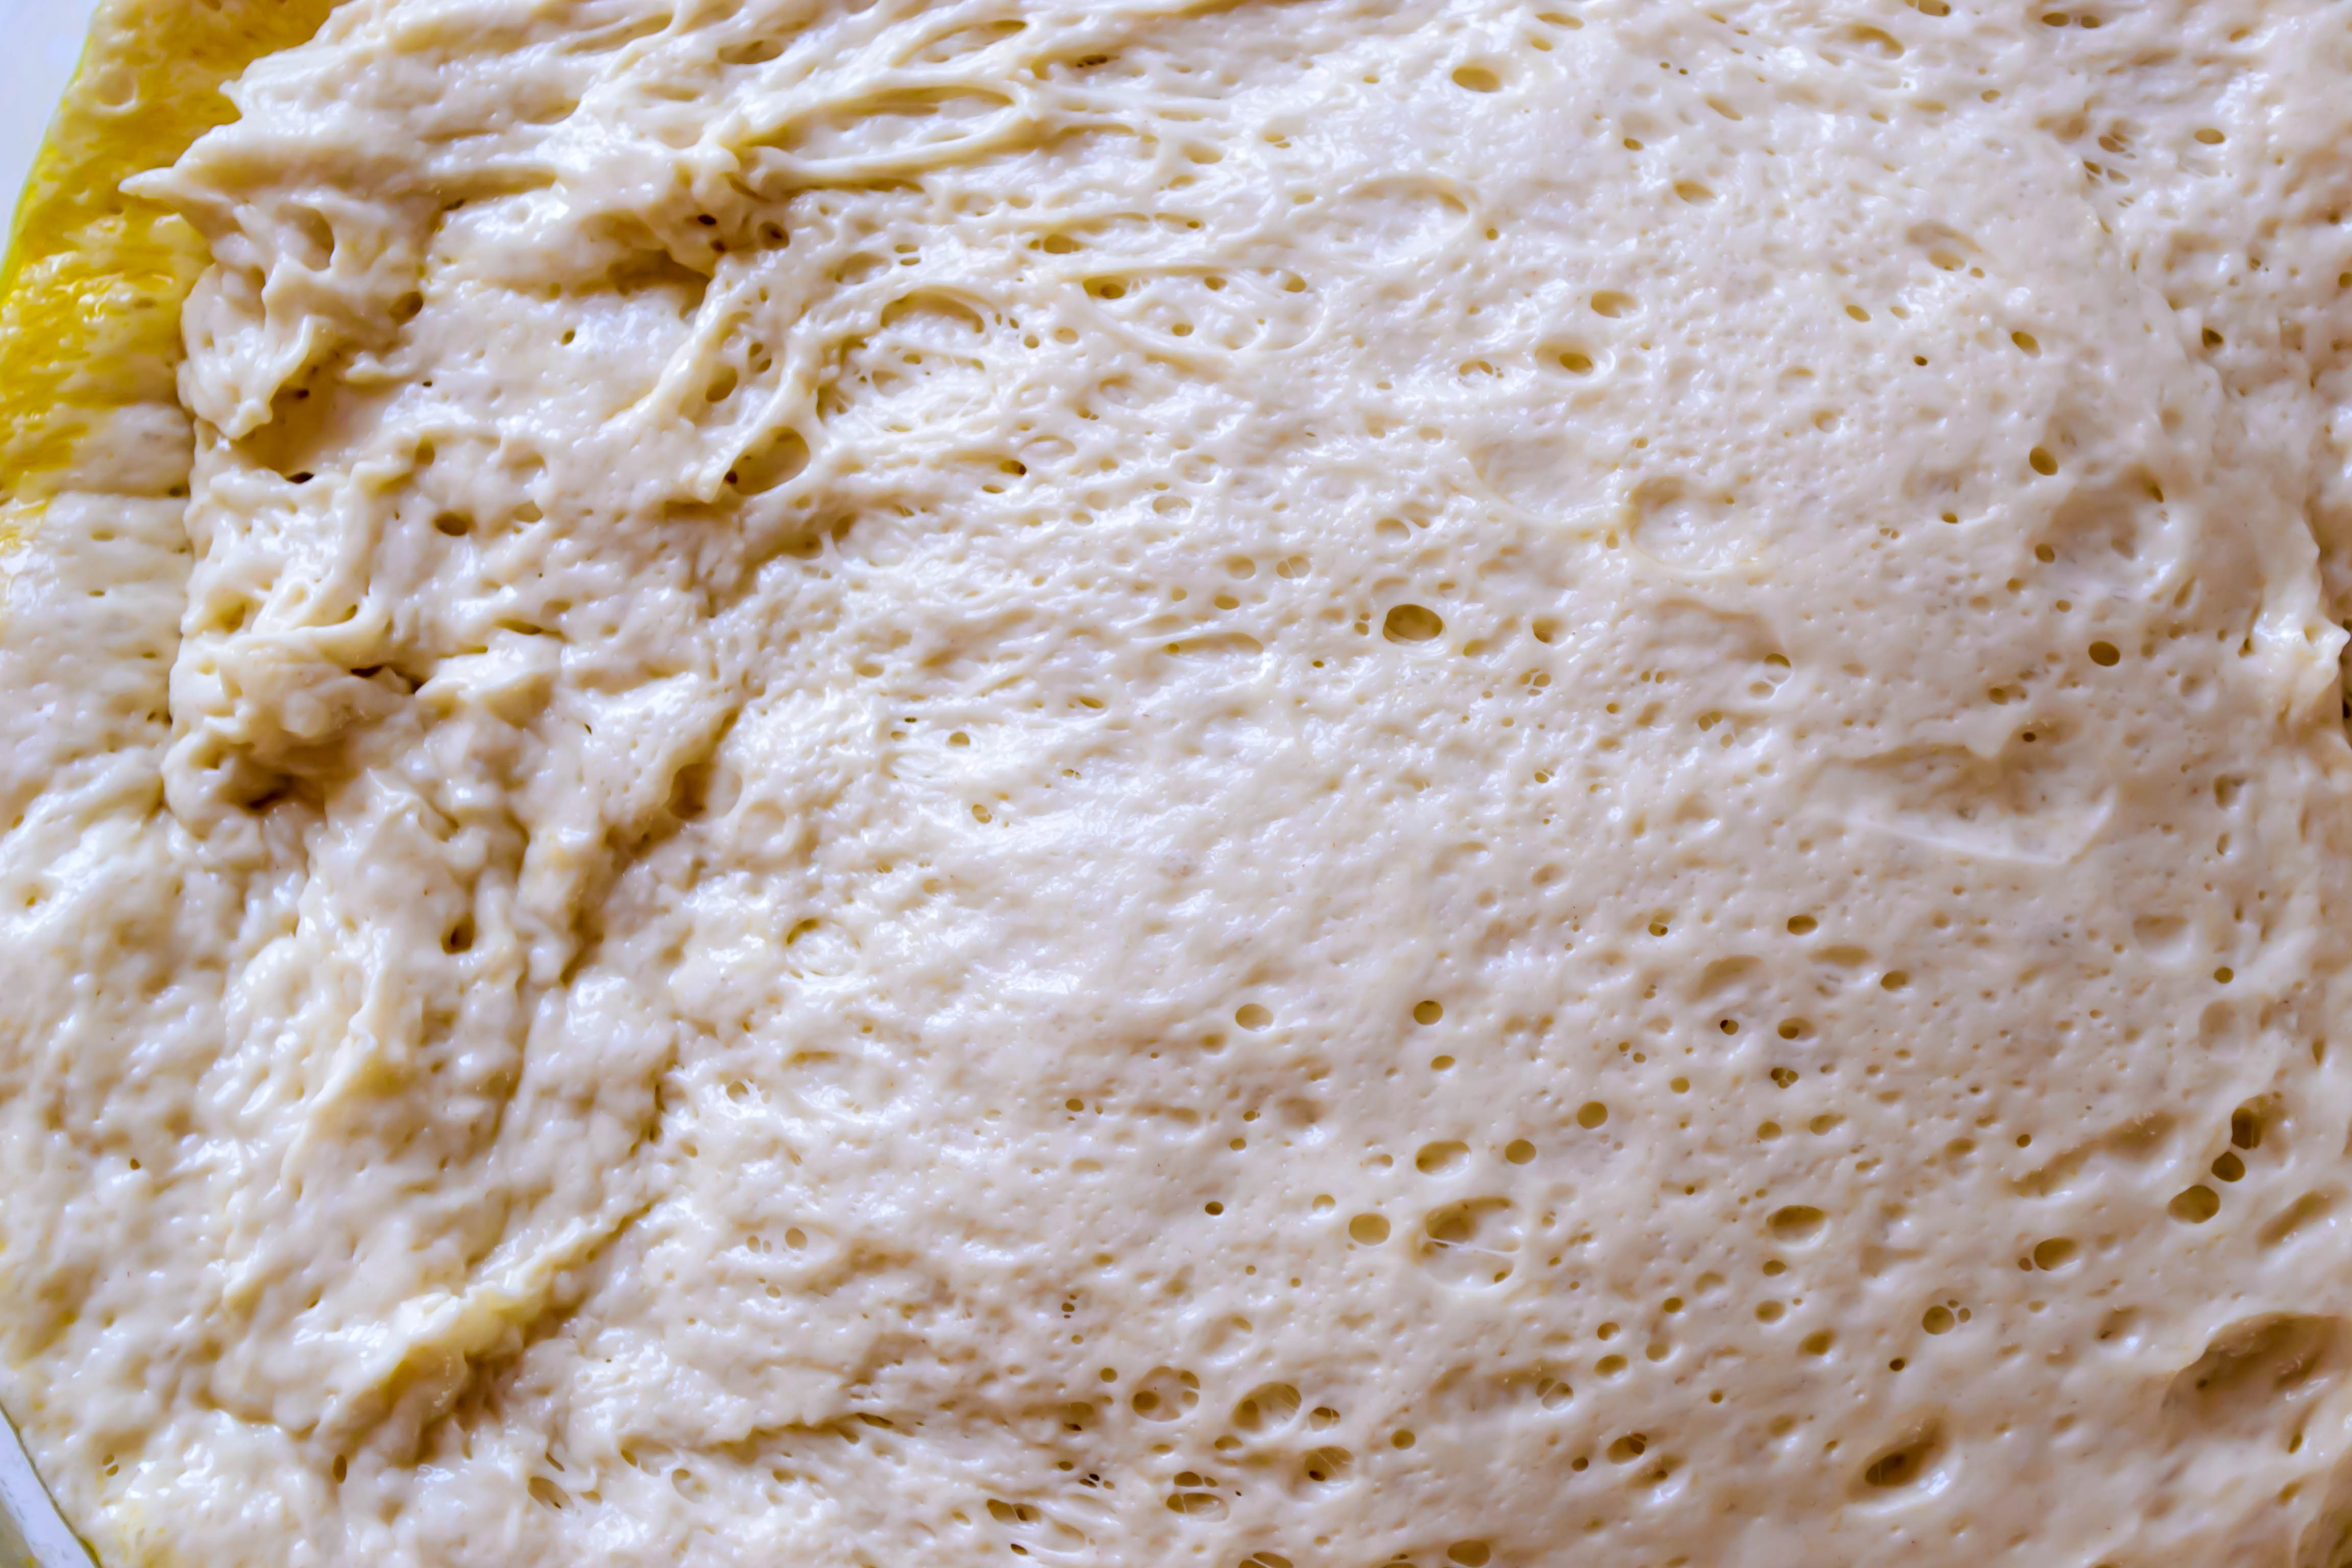
  • Remove the plastic wrap and punch down your doubled dough by gently but firmly pressing your fist into the center.  It will almost gasp as the built-up gasses are released.
  • Divide the dough in 8 equal pieces (for petite buns), or 6 equal pieces (for big, beefy buns).
  • Now would be a good time to do some prep, while the dough-balls get some breath back.  Preheat your oven to 350F.  Line two baking sheets with parchment paper.  If you haven’t already, dust a bread board with flour.
  • Working one at a time, roll each dough ball into a 6-8 inch rope (Picture 1).
Food Blog May 2013-1419

Picture 1: dough rope

Food Blog May 2013-1420

Picture 2: overhand knot

Picture 3: tuck right side into top middle of knot

Picture 3: tuck right side into top middle of knot

Food Blog May 2013-1426

Picture 4: tuck left side under and into bottom middle of knot

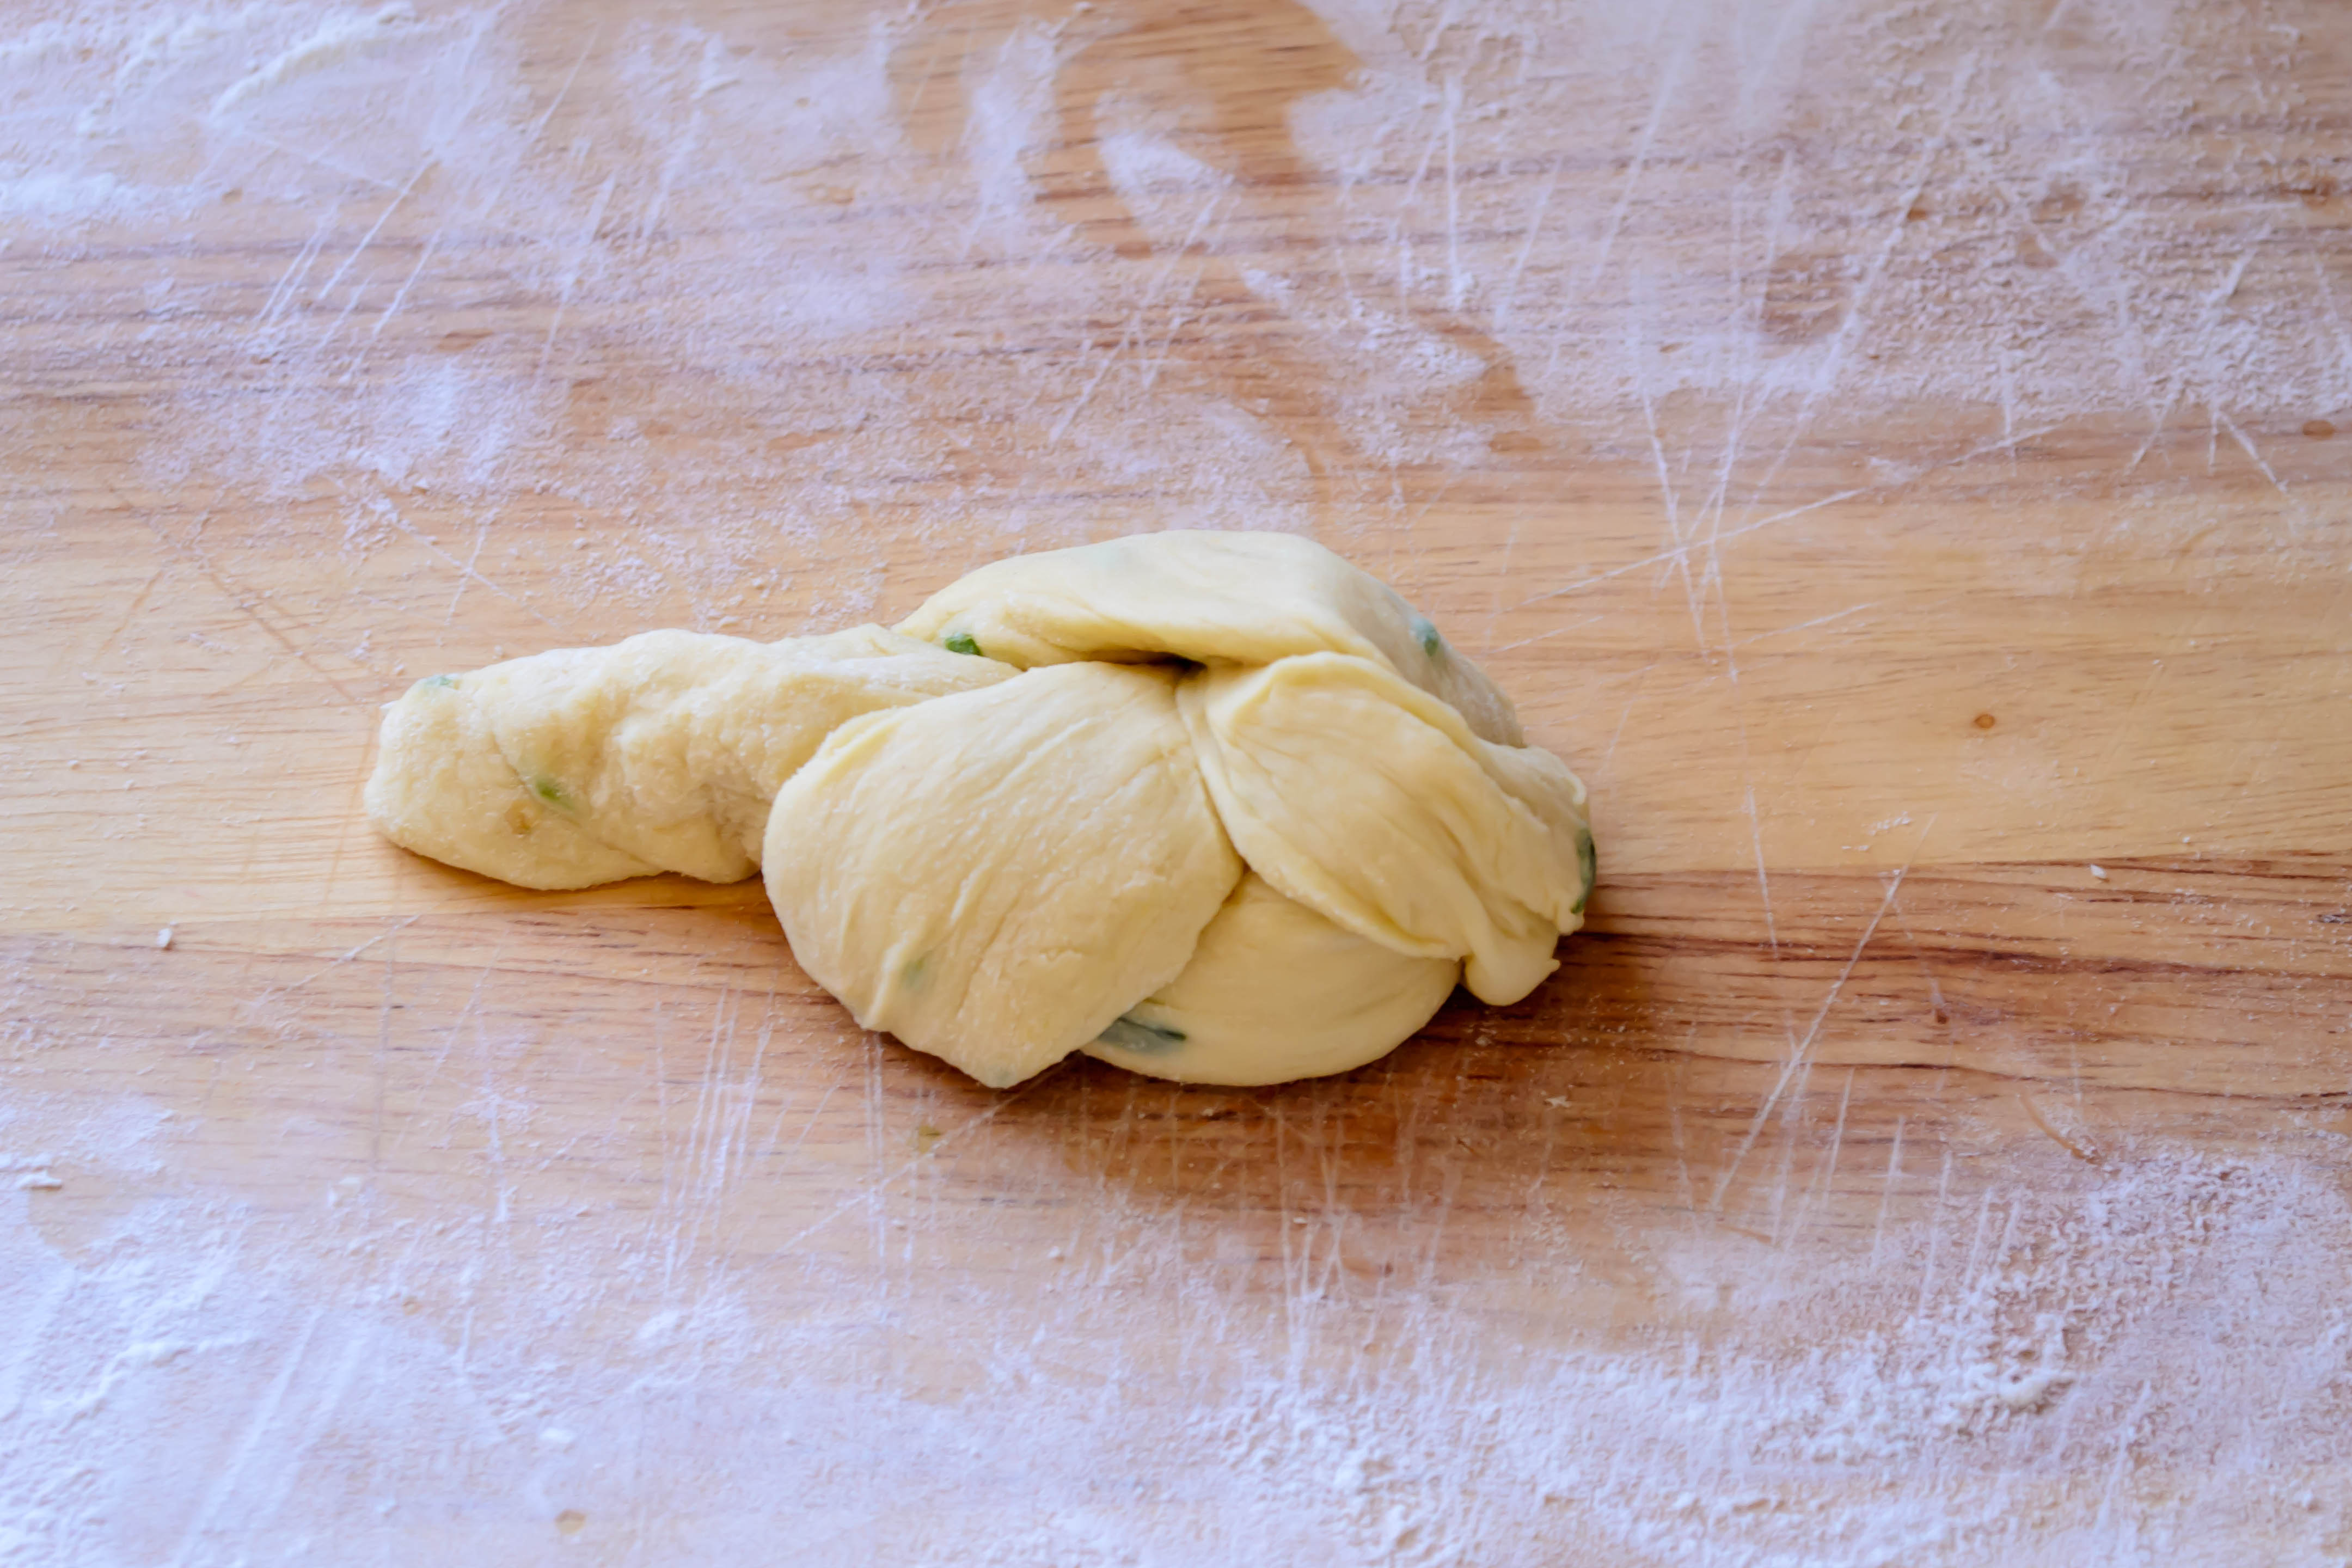
  • Tie the rope into a simple overhand knot (the same way you would begin tying a shoelace).  I tie mine left side through right side, probably because I am left-handed.  If you are right-handed and you tie your knot the opposite way, reverse the L and R in the directions below.  You will have a knot in the middle and some lanky excess on either side (picture 2).
  • Now, to form the segmented shape of a Kaiser roll, lift the length on the right side of your knot (which started out as the left end of your original rope) and pull it up over the knot, shoving the end of it down into the middle of the knot itself and pressing lightly to secure (picture 3).
  • Next, lift the left side and tuck it under the knot, pushing it up through the middle from the bottom.  Sometimes it will poke through and make a little button in the top of the roll; sometimes it won’t.  Either is okay (picture 4).
  • With all of your rolls knotted and tucked, set them on your prepared baking trays, spaced evenly.  I did four per sheet tray.
  • Sprinkle each roll with cheddar cheese from the remaining ¼ cup.  Top each with 1-2 slices of reserved jalapeño.  Cover trays with a clean kitchen towel and let rise for 30 minutes.
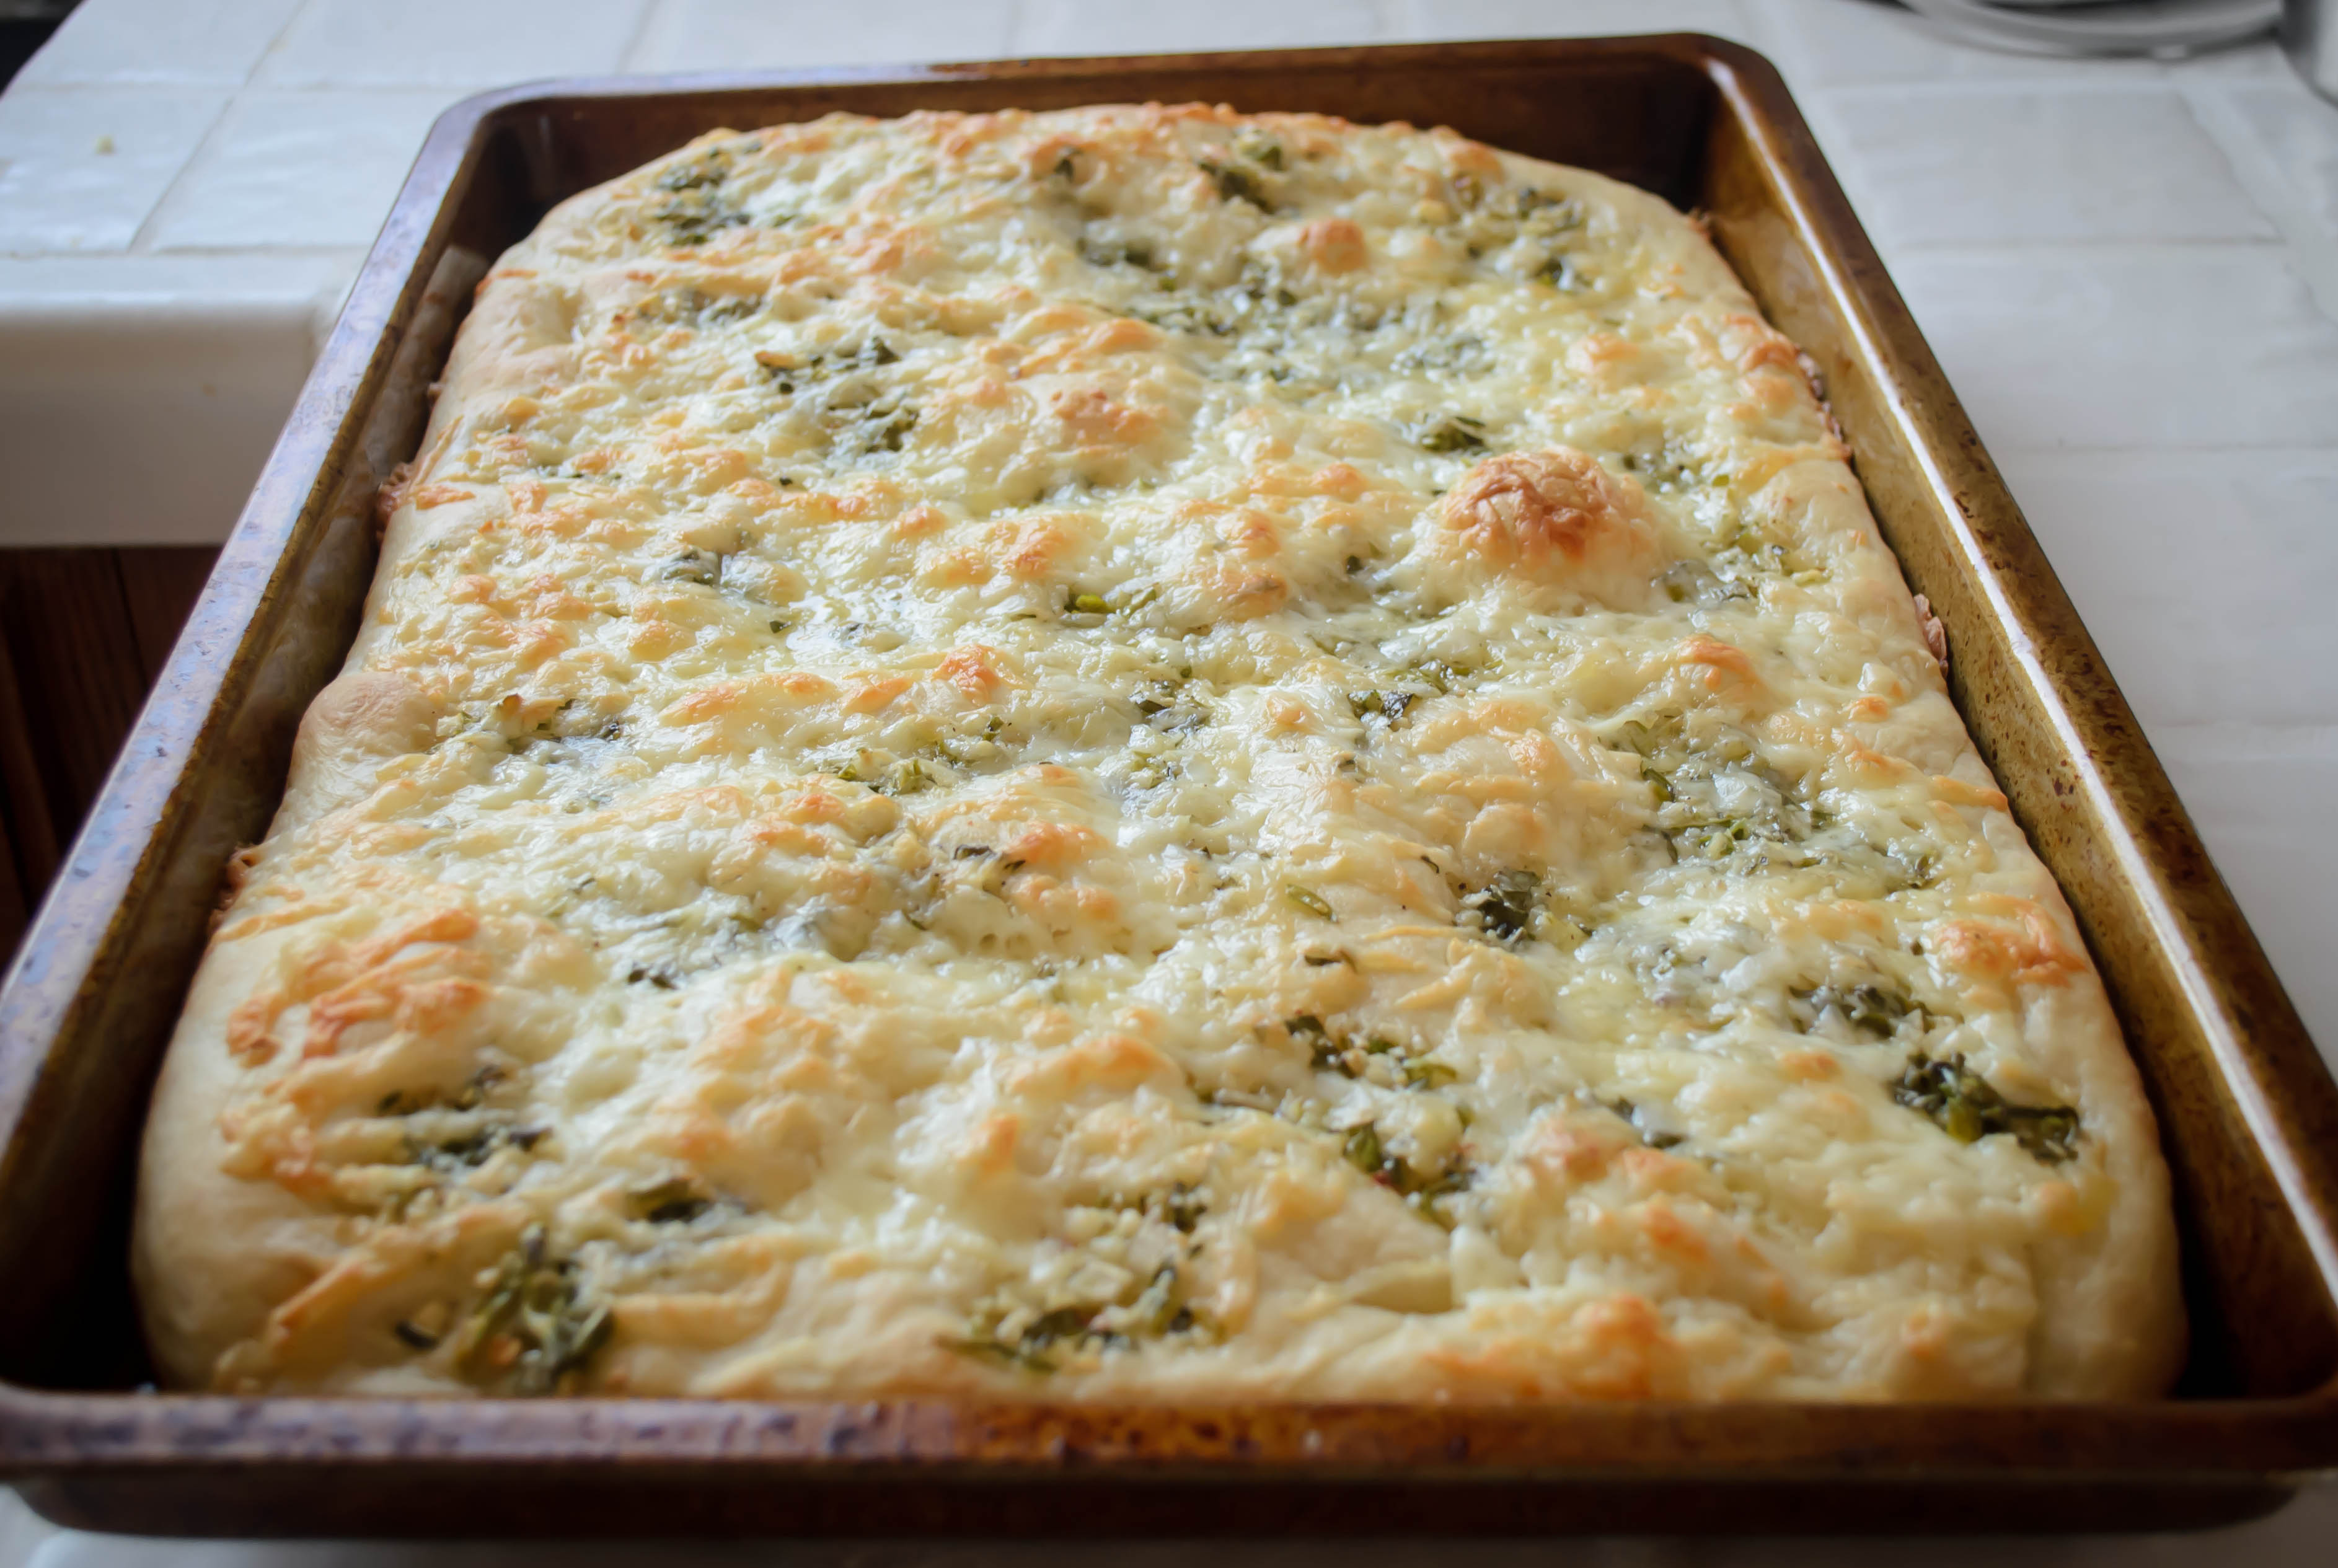
  • Remove kitchen towel, admire the puffy little buns you’ve created, and bake in your preheated, 350F oven for 20 minutes.  The cheese will melt, the dough will rise, the color will deepen to a lovely golden brown, and the thinnest of your jalapeño slices will barely begin to caramelize.
  • If you eat these immediately, you will burn your mouth.  And it won’t just be the good burn from the jalapeño.  So do what you can to let them cool a little, and then load them up, or just eat them plain.  I think you’ll be happy either way.

Kidney bean, brown rice, and shiitake “vurgers”

I talk a lot on this blog about myself.  Today, I want to talk a little bit about my husband.  Before I met him, N. did a study abroad program in London.  He was there for six months, and by “there” I mean taking classes in London, but also zipping around England and then parts of Europe with a speed that his British hosts looked upon with alarm (“what do you mean you’re going to York just for the weekend? That’s a 3-4 hour trip!  It’s a whole holiday!”  To which N., who grew up in a road-tripping family, would shrug and go anyway.  Example: his family, when they lived in a suburb of Sacramento, California, thought nothing of jumping in the car to drive to Reno for the day.  Once when his parents visited us in Oregon, we drove to Tillamook from Eugene via the coast to get ice cream and cow cookies at the Tillamook Cheese Factory, and then headed home in time for dinner).

Skyscraper gazing

N. is a little camera-shy.

Interestingly, and perhaps unfortunately, N.’s study abroad program took place shortly after some of the worst scares of mad cow disease in England.  He was there in late 2002, and eating beef was a no-no.  This meant, when I met him, that N. had some food issues.  He wasn’t a picky eater – that’s not quite the right word.  He was, let’s say, a particular eater.  Beef, especially beef that wasn’t well-done, was out.  The frightening potential consequences had been too drilled into his head.  Lamb was too gamey.  Pork was not his favorite.  When I was trying to impress him with my rudimentary cooking skills when we first met (rudimentary is kind – the first time I tried to make him French toast for breakfast, the bread collapsed into over-soaked crumbles in my custard mixture.  But we fried it up and ate it anyway – sweet scrambled eggs with bread bits – and he was either kind enough or smitten enough to pretend he liked it), we ate a lot of chicken breast.

N.’s willingness and preference when it comes to food has expanded and matured significantly since we’ve been together.  Still, though, he is wary.  When we lived in Oregon, we were lucky enough to find ourselves in Eugene, which is a bit of a hippie mecca.  This meant we had a wide variety of vegetarian choices.  Neither of us is vegetarian, but N. developed the habit of ordering veggie burgers when we went out to eat, since it was a safe bet.  You didn’t have to worry about doneness, and many of the restaurants we frequented made their own patties instead of relying on something frozen from a box.

Even though we’ve been living in Los Angeles for almost a year now (can that be true?!), and we’ve done our share of restaurant investigating, we don’t have the favorites yet that we had in Eugene.  Though we’ve found some delicious options, N. doesn’t have a go-to veggie burger yet.  This week, therefore, I decided to make him one.

It always interests me, when a veggie burger is advertised as a homemade patty, to find out what its base is.  A lot of meatless patties – especially the premade kind you find in the freezer section – are wheat based, which seems like a strange thing to put on a sandwich: a patty of pressed wheat between two pieces of bread made from wheat.  Gluten-fest!  But sometimes they are made from tempeh, and sometimes from beans, and we had a really tasty one once that I’m sure had shiitake mushrooms mixed into it, which contributed a fantastic texture I haven’t found again.   Food Blog May 2013-1444

Food Blog May 2013-1446Taking this textural component as my must-have, I considered my pantry and spice cabinet, and cobbled together what turned out to be a delicious, filling patty made of brown rice, kidney beans, and reconstituted dried shiitake mushrooms.  I used a mixture of red wine and hot water to reconstitute my mushrooms, which contributed to their deep, earthy flavor.  You could use chicken or vegetable broth if you prefer, or just hot water.

Food Blog May 2013-1447To bump up the flavor and add a little moisture, I added onions and garlic I’d sweated down with some warm, southwestern spices, and pulsed the whole thing in a food processor with a generous pinch of salt until it was willing to be molded, but not completely homogenized.  The beans should be smashed but not totally pureed, and you should be able to discern the occasional grain of rice in your shaped patty.  This adds texture and interest when you are chewing, and makes the finished product less like you’re chowing down on a fried patty of bean dip.  Not that fried bean dip patties necessarily sound like a bad thing…

Food Blog May 2013-1448N.’s one complaint about veggie burgers is that they are often smothered in cheese.  It’s as though restaurants are trying to hide the flavor-that-isn’t-meat.  That might be exactly what some people want, but for us, these non-cow flavors are just as interesting and tasty.  To make this a burger (or vurger, as one of our Eugene favorites called it) worthy of N.’s preferences, I decided to skip the cheese on the actual patty, and incorporate it into the bun instead.  Thus we settled our patties on homemade jalapeño cheese “kaiser” rolls, which I’m going to have to boast about… maybe next week…

For now, though, the patty itself: these are a bit dense and fairly filling, but the mushrooms really do add a delightful chewiness that I wouldn’t want to skip.  Adding in some tempeh crumbles to replace or enhance these components would likely be delicious, though I haven’t tried this yet myself.  The final addition of the barest squeeze of lime juice makes a surprising difference: it takes them from slightly heavy to a flavor I can only describe as somehow more awake.

Food Blog May 2013-1452A few days ago Deb at Smitten Kitchen asked what her readers’ go-to dinners were.  I thought about this for a while and decided ours were pizza, roasted vegetable tacos, and a lovely little one-bowl meal I learned from a friend called “Scatter Sushi.”  I can tell you, though, based on the reaction these “vurgers” got at our house, they just joined that list.

Food Blog May 2013-1456

Note: these patties are vegan (until you put them on a cheese roll), which means they lack the dependable binding power an egg typically brings to such a party.  Therefore, I recommend shaping them and then letting them sit for half an hour or more before cooking, which will let the rice and beans soak up some of the moisture from the vegetables, and thereby hold together better.  If they threaten to crumble on you or you’re frustrated or frightened by their potential fragility and not determined to keep them vegan, go ahead and add an egg to the mix.

Brown rice, kidney bean, and shiitake “vurgers”
Makes 4 patties
1 cup cooked, cooled brown rice
1 15 oz. can kidney beans, drained and rinsed
1 oz. dried shiitake mushrooms (about 12)
3 cups wine, water, or broth for reconstituting mushrooms
¼ cup diced onion
3 cloves garlic, minced
3 TB olive oil, divided
1 tsp cumin
1 tsp paprika
½ tsp oregano
½ tsp black pepper
½ tsp salt (if you are using dried beans rather than canned, you might want to increase this quantity)
1 tsp lime juice or red wine vinegar
  • First, reconstitute the mushrooms.  Heat water or broth to near boiling, then pour into a heatproof bowl with dried mushroom caps and wine (if using).  I typically like to use 1 cup of wine and 2 cups of hot water – it’s enough heat to revive the mushrooms, and enough flavor to intensify them.  Cover, making sure the mushrooms are fully immersed, and let sit for about 20 minutes.  I like to place a small plate atop my soaking bowl to keep the mushrooms underwater.
Food Blog May 2013-1445

Mushroom soaking contraption

  • When the mushrooms are soft and pliable, drain them and set aside until cool enough to handle.  Heat 1 TB of the olive oil in a skillet and gently sweat the onions and garlic until the onions are translucent and the garlic is aromatic and sweet.  This should take 5-8 minutes over medium-low heat.
  • As the onions soften, add the cumin, paprika, oregano, and pepper, turn the heat down to low, and stir to combine.  Let the spices cook with the vegetables for another 2 minutes, to let their flavors meld and warm.  Turn off the heat and set aside.
  • Once your mushrooms are cool enough to handle, squeeze them gently to release some of the water they have collected in their bath.  You don’t want them to be drippy, but you don’t want to squeeze them completely dry either.  Some of the liquid they’ve soaked up, especially if you’ve used wine or broth, will add lovely flavor to your veggie patties.  It will also help hold the patties together.  Remove the stems (they are tough and unpleasant to eat) and then chop the shiitake caps roughly.
  • Place rice, beans, chopped mushrooms, onion, garlic and spice mixture, and ½ tsp salt in the bowl of a food processor.  Pulse 4-5 times at 3 second intervals, just until the beans are broken up and the rice is in smaller pieces.  You want some of the mixture to be smooth, but some to retain texture and shape.  Taste for seasoning, and add more salt if needed.  Squeeze in the lime juice and pulse one more time just to integrate it.
  • Remove your mixture from the processor, being careful of the blade, and dump it into a large bowl.  Press it together with your hands a bit to ensure workability.  If it is really crumbly or you are nervous about the patties holding together, you might add a lightly beaten egg or some olive oil here.  However, don’t be too worried – they are going to firm up a little when you let them sit after shaping.
  • Divide the mixture in four even quantities.  One at a time, press and shape each quarter into a round, flat patty no more than 1 inch thick.  Everything is cooked already, so you don’t have to worry about rawness, but you do want everything to heat evenly.  Any thicker than this and your burgers might still be a bit cool in the middle.  Mine were just under 1 inch thick, and had a diameter of about 3 inches.
  • Once all 4 patties are formed, set them aside on a plate or a board for at least half an hour.  If you are going to wait much longer than that or if you are making them ahead, stick them in the refrigerator, but be sure to let them come back up to room temperature before cooking, so they heat evenly.
  • When you are ready to cook, heat the remaining 2 TB olive oil in a skillet (I just used the same one I’d cooked my onions and garlic in) over medium to medium-high heat until it glistens and ripples.  Add the burgers carefully to the skillet and let them sizzle for 4-5 minutes on each side, until they develop a deep, bronzed crust.
  • Serve with your favorite condiments on the bun of your choice.  We kept it simple: mayonnaise, red leaf lettuce from the garden, on the jalapeño cheese rolls I’ll share with you here next week.

Note: if the burgers look like they are falling apart, or if they threaten to break when you try to flip them, turn the heat up a little.  This, bizarrely, helps keep them together because it sets the outside faster, so the surface of the patty is firmer.

Peanut Butter and Jelly Bread #TwelveLoaves May

When it comes to cooking, I don’t mind a little complexity.  You can call it fuss if you want.  I’m not put off by a picky technique or an extra step.  Separate the eggs?  Okay.  Toast the nuts first?  Sure thing.  If it adds to the flavor of the finished dish, I’m on board.  But when it comes to eating, I like things simple.  I love appetizers because your gratification arrives in a single bite.  I dig pizza because the toppings all come at you together.  A drumette of roasted chicken sitting precariously atop a mound of braised greens in a puddle of puree?  I’m sure it’s delicious, but it’s a little fancy for me.  At the point that it comes off the heat, I’m ready to put it in my mouth, plating-be-damned (obligatory self-deprecating note: it’s clear, given this, why I haven’t yet managed to squirm my way onto Tastespotting or Foodgawker).

Food Blog May 2013-1298So this week, faced with this month’s Twelve Loaves challenge of baking a loaf of my choosing, I started thinking about the humble sandwich.  Now, I know, a sandwich isn’t exactly challenging to put together.  But I’m a little anal-retentive about some things, and one of them is the old classic pb&j.  Here’s the issue: I like my peanut butter on both sides.  That means you have to put it on first.  But then, you can’t just dunk that peanut-buttery knife into your jam jar!  Cross-contamination!  So you have to decide: do I get a different knife?  Or do I take an extra few seconds and rinse off the peanut butter knife (and peanut butter doesn’t just rinse off like that, you know)?  I know, this is a silly non-problem to have.  But it led to a delicious idea: what if the bread itself were already infused with peanut butter and jelly, making spreading, smearing, and layering all unnecessary?

Food Blog May 2013-1293

Food Blog May 2013-1297What arose from this self-indulgent, first-world-problems sort of pondering was a moist, deeply tawny loaf, dense in the best kind of way, with a mild but definite peanut flavor.  I flattened it into a rectangle and spread it thickly with jam before rolling it up and twisting it to create a swirl: a thick artery of gloppy, sticky strawberry so pervasive it cracked the crust and oozed forth into barest caramelization.  The borders of the jam swirl maintained just a little doughiness from the extra moisture, echoing the effect the jam would have on the bread after sitting in your lunchbox all morning, and at these doughy, almost under-baked pockets, the peanut butter taste was most pronounced.  With butter, peanut butter, an egg, and milk in the dough, this is a rich bread, though not as indulgent as brioche.  It’s a perfect mid-morning or mid-afternoon snack, and the best news of all is: it’s instant gratification – a sandwich in one step!  No spreading required; all you have to do is cut a slice.

Note: I do not like, nor have I ever liked, crunchy peanut butter.  I don’t even really care for peanuts in their original form (I know, the fact that I like peanut butter despite this makes me a bit odd.  On the flip side, I could go the rest of my life without tomato sauce but I can’t wait for the first big brandywine or sweet Cherokee purple heirloom of the summer.  Go figure).  However, if you wanted to ramp up the peanut flavor in this bread, I’d advise you to do one of two things: 1.) instead of smearing the top of the loaf with butter just before baking, smear it with chunky peanut butter you’ve heated in the microwave for a few seconds (heating it will help it spread better).  2.) if the idea of smearing melty, sticky peanut butter doesn’t appeal to you, use regular butter, but drizzle on a few tablespoons of finely chopped peanuts.  This will give you a crunchy peanut-y hit every time you take a bite of crust.  Food Blog May 2013-1262

Food Blog May 2013-1266Peanut Butter and Jelly bread

¼ cup warm water

2 tsp yeast

2 tsp sugar

¼ cup scalded milk, cooled (microwave or heat on the stovetop until the barest simmer, then cool.)

½ cup very soft butter, divided

¼ cup smooth peanut butter

¼ cup sugar

1 egg

2 tsp vanilla, divided

1 tsp salt

2-2¼ cups bread flour

1 cup strawberry preserves, or your favorite flavor

Food Blog May 2013-1270

  • In the bowl of your stand mixer (or a large bowl), combine the yeast, 2 tsp sugar, and warm water.  Let stand 5 minutes or so until the yeast becomes bubbly.
  • Meanwhile, scald the milk, then let it cool.  I like to add the peanut butter and a ¼ cup of the butter to it and stir – this helps incorporate them into the dough more easily AND it cools the milk down faster.  Double duty is always good!
  • When the milk has cooled to just above room temperature and the yeast is bubbly and smells like baking bread, add the milk, peanut butter, ¼ cup of the butter, egg, remaining sugar, and 1 tsp vanilla to the yeast and mix with the paddle attachment or a sturdy whisk until incorporated but still lumpy.
  • Add the salt and about 1½ cups of the flour and mix again, still using the paddle attachment, until the flour is evenly damp.  If you are using a stand mixer, switch to a dough hook and begin kneading on medium-low speed.  If you are not using a stand mixer, dump the dough out onto a well-floured board, sprinkle it with a bit more flour, and begin kneading by hand.  If the dough is too sticky to knead productively, add flour ¼ cup at a time until it is workable.  I ended up using a total of 2 cups of flour.

Food Blog May 2013-1271

  • Knead for 8-10 minutes, or until the dough becomes smooth, shiny, and elastic.  At this point, relocate it to a lightly oiled bowl and cover it with a taut layer of plastic wrap.  Let rise in a warm place for 2 hours.  It will double or almost double in size in this time.
  • When the dough has risen and is close to double the size of the original ball, deflate it gently with your fist and then let it sit for 10 minutes.  While it gets its breath back, place the jam or preserves you’ll be using in a small bowl and heat it just until it loosens up a bit – this will make it easier to spread.  Add the remaining 1 tsp vanilla to the warm jam and combine with a fork.

Food Blog May 2013-1274

Food Blog May 2013-1276Food Blog May 2013-1277

  • Once the dough has rested, turn it out onto a floured board and roll it into a rectangle of about 12×18 inches.  Spread this rectangle with the jam mixture, leaving a border of at least ½ an inch on all sides.  This will prevent the filling from leaking out as you roll it up.
  • Starting on the shorter edge in the middle (so you’ll end up with a log about 12 inches long), begin rolling up the dough into a tube, moving back and forth between middle and ends to create an even log.  When you get to the end, seal the long edge by pinching the dough together with your fingertips.  This will keep the loaf together as it bakes.

Food Blog May 2013-1279

  • Twist the whole log six or seven times.  This distributes the jam through the center of the dough, so that your baked loaf will have a beautiful sweet swirl throughout.

Food Blog May 2013-1280Food Blog May 2013-1282Food Blog May 2013-1283

  • Smear a 9×5 inch loaf pan with about 1 TB of the remaining butter, then snuggle the log of dough into it.  Scrunch it up a bit – that’s okay, it will fill out the pan when it bakes – and set it aside to rise again for 30 minutes.

Food Blog May 2013-1284

  • While the dough rises, preheat your oven to 350F.

Food Blog May 2013-1288

  • When the dough has risen, rub the top with the remaining 3 TB butter (or chunky peanut butter, if you wish), and bake for 30-45 minutes.

Food Blog May 2013-1294

Note: this bread’s doneness is difficult to test.  Because the jam is interspersed throughout, the finished loaf can seem a bit doughy.  If you have an instant read thermometer, try to insert it in an area that is just bread, not jam.  (I had some difficulty doing this, as you can see from the small holes on the top of the loaf in some of the photos above.)  You are aiming for a temperature of between 190-200F.  I must admit, though, I don’t mind this loaf a bit underdone – I think it captures the softness and almost-soggy glory of a simple pb&j from childhood.  And really, that’s what this bread should be about.

Food Blog May 2013-1300

Garlic Fontina Flatbread

Food Blog May 2013-1256I have a thing about garlic bread.  Achingly soft butter, a scattering of herbs, pungent, sharp garlic paste, spread thickly on sourdough baguette and broiled until the butter bubbles and browns and the garlic takes on a toasty depth; what’s not to love?  I make it in the oven, I make it on the grill, I’ve even tried turning it into a sandwich.  But all too often, the process of toasting leaves the edges of the bread blackened and the crust just too crunchy for my taste.  I want crisp toastiness, but I don’t want mouth-scraping shards of bread shrapnel.

Food Blog May 2013-1233Enter flatbread.  I don’t mean the dry, cracker-like stuff carelessly sprinkled with toppings and served up as an appetizer.  I mean something a little puffier, a little richer, a little cheesier.  A few months ago, I dabbled with a Food Network recipe for Spinach and Cheese Flatbread, and was delighted by the elastic dough that bubbled up into a soft-but-crisp rectangle.  It is chewy and golden, but not quite as sturdy as a pizza dough.  The bottom, slapped against a well-oiled sheet pan, gets just crisp enough to support all but the most ridiculously sized slices (don’t ask me how I know this.  Thank you), so you aren’t left with a square that wilts as you hold it.

Food Blog May 2013-1236As soon as I ate the FN version, I realized this was the answer to my garlic bread dreams.  The dough would be smeared with a loving, excessive layer of garlic-butter-herb-are-you-drooling-yet?-paste, sprinkled with fontina, which melts beautifully and has a mild funk I really enjoy, and baked until crispy toasty nirvana resulted.

Food Blog May 2013-1238My results approached sublimity, and the shortcomings were entirely human error, which seems fitting.  The paste didn’t spread very evenly because this is a soft dough: it threatened to tear when I applied a spatula, so I ended up smearing and dolloping my mixture with my fingers.  You could easily solve this by melting your butter instead of just softening it, and then pouring the mixture evenly over the dough.  Then, because I was afraid the butter and garlic would burn at pizza-cooking temperatures, I was pretty liberal with my cheese application, which meant that the toasty roasty golden color I was expecting didn’t quite happen.  Another minute or two in the oven might have helped, but we were hungry.  A little less cheese might have helped too, but seriously, less cheese?  Totally unreasonable.

Food Blog May 2013-1229Food Blog May 2013-1231Food Blog May 2013-1232In any case, the bread itself was puffy and buttery and decadent.  The garlic loses some of its pungency during baking, but retains that addictive sharpness and bright tingly aroma that makes it so good.  The dollops of butter became dimples of puddly richness that, upon reflection, reminded me a little bit of the center of a really good bialy.  The bottom of the crust is like an old-style pan pizza: golden with burst air bubbles and just oiled enough to leave your fingertips in need of a napkin.

Food Blog May 2013-1251This is a great happy hour snack.  Since it heats up the house, it gives you a great excuse to sit out on your patio, or deck, or picnic blanket, or camp chair.  It pairs well with a crisp, summery wine, and equally well with a frosty pint of beer (or maybe, since, you know, Cinco de Mayo, a classic Corona with lime, or a salt-and-cayenne-rimmed margarita).  You can use any combination of herbs you like.  I chose what was happening right outside my back door:

Oregano – I love the fuzzy leaves on this little guy. Food Blog May 2013-1241

Basil – back in late fall, I relocated a few stalks of basil from the supermarket clamshell container to a vase of water, and instead of wilting, they grew roots!  I shook my head, still in Oregon mindset, while planting them – they would never make it through the winter – but this is Southern California, so of course they did, and are now flourishing.  I’ve read that plucking the blossoms off encourages them to keep producing leaves, so every day or so I faithfully scatter the delicate white blooms. Food Blog May 2013-1244

Parsley – my parsley plant is looking a bit wild these days; it has bolted thanks to the heat. Food Blog May 2013-1246

But if you peer down inside, amidst the sunburned jungle, you can see there are still some stems worth serving! Food Blog May 2013-1249

As for additional toppings, you could add sundried tomatoes or thin rings of bell pepper or even jalapeno to the butter paste if you want to get fancy about it, and it would certainly fare well dipped into a bubbly saucer of marinara, if that’s your thing.  Either way, I think you should make this.

Maybe today!

Are you making it yet?

Food Blog May 2013-1255 Garlic Fontina Flatbread

adapted from Food Network’s Spinach and Cheese Flatbread

For the dough:
2 tsp sugar
2 tsp active dry yeast
1 cup warm water (it should feel just slightly warmer than body temperature when you dip your finger in to test it)
2 ¼ – 2 ½ cups bread flour
1 tsp salt (I like coarse sea salt)
1-2 TB olive oil


For the toppings:
8-10 cloves garlic, minced (about ¼ cup in all)
1 stick very soft butter (1/2 cup)
2 TB each chopped fresh parsley and basil
1 tsp chopped fresh oregano
¼ tsp crushed red pepper flakes
1-2 cups grated fontina cheese


  • Sprinkle the sugar and yeast over the warm water, stir gently to combine, and set aside to proof for 5 minutes or so.  The yeast will begin to bubble and smell like warm bread.
  • In a large bowl (I use the bowl of my electric stand mixer), combine 2 ¼ cups of flour, the salt, and the olive oil, and whisk together briefly.  The olive oil will create little streaks of moistness, like barely dampened sand.
  • Once the yeast mixture is bubbly, pour it into the flour and mix with the paddle attachment or a wooden spoon just until a sticky dough comes together.  Then, if you are using a stand mixer, switch to the dough hook and knead on medium speed for about ten minutes.  If the dough is still relentlessly sticky by minute six, smearing tackily across the sides of the bowl and schlopping stubbornly on the bottom, add an additional ¼ cup flour to make it more manageable.  If you don’t have a stand mixer, plop your dough out onto a floured board and knead by hand.
  • After about ten minutes, the dough should be smooth and elastic, though still fairly sticky.  That’s okay.  That stickiness will keep it moist and supple and lovely.
  • Place the dough – more or less sticky as it is – into a lightly oiled bowl and cover with plastic wrap.  Set it aside in a warm place until doubled.  This may take about an hour and a half, but my kitchen was about 80 degrees on the day I made this, so it only took mine an hour to puff triumphantly.
  • Gently deflate the dough and let it rest for ten minutes.  Then, stretch and spread it carefully on a well-oiled baking sheet.  If it stubbornly snaps back against itself and refuses to form a nice rectangle, let it rest another ten minutes and try again.  The gluten needs to relax a bit after all that rising work it has done.
  • When you have the shape you want, cover the dough with a clean kitchen towel and leave it to rise again for half an hour, until it has doubled yet again.
  • While the dough rises, preheat your oven to 450F and prep your toppings.
  • In a medium bowl, combine the butter, garlic, herbs, and red pepper flakes into a chunky paste.  I haven’t added any salt here, because the cheese is salty, but if you are a sodium fiend sprinkle in some salt to taste.
  • Approach your risen dough with caution: you may be able to smear on the garlic butter paste with a spatula, but you may have to carefully coat the surface with just your hands.  It will depend on the texture and elasticity of your dough.  If it won’t spread the way you want and you get frustrated with it, microwave the paste for a few seconds until the butter is melty, then pour the mixture on instead of smearing.
  • Top your buttered dough with an even sprinkle of cheese, keeping in mind that where the cheese completely covers the buttery garlic paste, not much toasting will occur.  I’ll leave determining quantities and coverage up to you and your preferences.
  • Place your topped flatbread into the oven and bake for 15-18 minutes, until the edges of the dough are puffed and nicely browned, and the cheese has turned golden and sizzles.  Let it cool on a countertop for 5-10 minutes, just to let the cheese cool from molten temperatures a bit, then slice and serve.

Food Blog May 2013-1252


Dried Fruit and Ginger Scones

Food Blog April 2013-1194

This month’s archive makes it look like I’m harboring a bit of a sweet tooth.  Nothing wrong with that, necessarily, but I should tell you this week’s entry is actually at N.’s (indirect) request.  A month or two ago, my beloved aunt sent me some specialty King Arthur flour, and along with the packages of semolina and European style AP blend came a catalog.  Naturally, this has become my bedtime reading (what, you don’t read cookbooks and kitchen magazines in bed?), and on Monday night as I dawdled longingly over a blurb about Double Devon Cream, N. surfaced from internet-land and glanced at the facing page.  “That,” he said, and pointed at a photograph of some cranberry orange scones.  “You want scones?”  A silly question, apparently.  “That.”  So here they are.

Food Blog April 2013-1189

I did some research (i.e. food blogs and recipe comparisons from the other cookbooks stacked on my nightstand) and found, as usual, that Deb has all the answers.  Seriously, is there anything the woman hasn’t made?  I adore you, Deb, but really – a person can only repress the green-eyed monster for so long…   This adapts her recipe for “Creamy, Dreamy Scones,” which she got from the America’s Test Kitchen Cookbook.  I’ve used a combination of cake flour and all purpose flour for a lighter texture, allowed turbinado sugar to stand in for the regular sugar, and replaced some (okay, most) of the cream with whole milk, because I lost my mind this week and, forgetting the intended use of that little container, dumped most of it into an unholy-but-oh-so-heavenly conglomeration of chard, bacon, and bourbon.

These scones take advantage of the bags and bags of dried fruit that inevitably collect in my pantry.  You could probably add other flavors as well, but I thought apples and cranberries, and the candied ginger I’ve been obsessed with for at least a year now, would play well together.  Apricots would probably be beautiful too (unless you are, like one of my family members who shall remain nameless to protect familial harmony, freaked out by dried apricots because they apparently bear an uncomfortable resemblance to mouse ears).

Food Blog April 2013-1170

Scones come together much like biscuits: whisk the dry ingredients, cut in the butter, stir the milk/cream/buttermilk and flavor additions in with a fork.  But then, and this is where things can go awry, you have to pat it into a circle and either punch out rounds with a biscuit cutter, or slice the whole thing into triangles.  I chose the latter.

Food Blog April 2013-1177Food Blog April 2013-1182

This dough is, if we’re honest with each other, an almost unmanageably sticky mess.  Resist the temptation to mix more flour into the dough, because the more flour you add, the less tender the finished scones will be.  But do be prepared to sprinkle flour over everything it will come in contact with.  I used a floured pizza cutter to slice it into eight pieces, which tore up edges and corners even while the dough clung fiercely to the board below.

Food Blog April 2013-1178

Food Blog April 2013-1180

Food Blog April 2013-1185

A bench scraper tool is really helpful for transferring your scones to their cooking vessel – a parchment lined baking sheet would be fine, but I used my brand new enameled pizza stone because I’m so jazzed about it.  This, because I preheated it along with the oven, made the scones sizzle as I levered each one onto its surface, and rather than sticking (which I was dreading, since I realized only after they’d been in the oven for five minutes that I hadn’t greased or floured the cooking surface AT ALL), produced a crisp bottom crust.

Food Blog April 2013-1190

I left my offering on the pizza stone to cool while I took the dog for a walk, and returned to find it had been accepted.

Food Blog April 2013-1191

An hour or so later, it had been accepted again.

Food Blog April 2013-1192

These are best on the first day, but will keep acceptably for two or three days if they are well wrapped in aluminum foil and stored at room temperature.  Chances are – if your family is anything like mine – this short storage period won’t be an issue.  Still warm, these make perfect hand-held afternoon pick-me-ups (the ginger really zings you out of the 3 o’clock slump), but if you want to go the extra mile, I recommend slicing them in half so you have two triangles, stuffing them with Greek yogurt and a decadent ooze of local honey, and attacking with a fork for breakfast.

Food Blog April 2013-1197

Apple Cranberry Ginger Scones

Adapted from Smitten Kitchen, who used America’s Test Kitchen Cookbook. 

1 cup all-purpose flour

1 cup cake flour

1 TB baking powder

4 TB coarse sugar, divided (I used turbinado because that’s what was in my baking cupboard)

½ tsp salt

5 TB butter, cut into cubes

¼ each chopped dried apples, chopped dried cranberries, and chopped candied ginger

¼ cup heavy cream

¾ cup whole milk

  • Position a rack in the middle of your oven and preheat to 425F.  If you will be baking on a pizza stone, put it in the oven to preheat as well.  If you will be using a cookie sheet, line it with parchment paper and set it aside.
  • Whisk together the flours, baking powder, 3 TB of the sugar, and salt in a medium bowl.
  • Cut in the butter using a pastry blender, two knives, or your fingers, until the largest chunks of butter are the size of small peas (sidenote: “peas” seems the universal size for butter chunks – why is that?  Is there no other pea-sized object so regular and recognizable in size that we could call upon?  Ball-bearings?  Corn kernels?  Canine teeth?).
  • Pour in the cream and milk (or just use all cream, if you have it) and mix it around with a fork until an evenly hydrated, extremely sticky dough forms.
  • Add the fruits and mix again until evenly distributed (you may have to work a bit to break up the ginger pieces).
  • Dump the sticky mass out onto a well-floured board.  Sprinkle a little flour on top as well, then pat the dough out into a circle about 1-inch thick.  Try not to add too much flour, lest they become dense and tough.
  • Dip a pizza cutter or other thin, sharp knife into flour, then cut the circle into 8 equal sized pieces.  You may need to scrape off and re-flour your slicing instrument between slices.
  • Using a bench scraper, a thin spatula, or (if you are brave) your hands, relocate your 8 scones to your prepared baking vessel, spacing them a half inch or so apart (they will puff and rise a little bit, but not tremendously).  Sprinkle the tops with the remaining 1 TB of sugar.
  • Bake for 13-15 minutes, or until lightly golden on top and cooked through.
  • Cool at least 10 minutes before removing to a wire rack.  Eat warm or cool.

Honey Mustard Roasted Carrots

If you’re frequenting your Farmers’ Market this spring, you have probably seen the amazing bundles of carrots cropping up everywhere.  Some are knobbly and stubby and round, like little turnips, some are almost wispy-thin and well-whiskered.  The ones that drew me, and made last week’s side dish for our biscuits, were the rainbow bunches: orange and yellow, but also the vibrant, veiny purple that was probably the original color of these funny, beloved roots (orange carrots were reputedly a Dutch development: in the 17th century the color was cultivated to celebrate William of… wait for it… Orange. Harold McGee agrees on the date and location, but he doesn’t mention political motivations).
Food Blog April 2013-0986
The treatment I subjected these little bolts of spring to was so good that rather than dawdling through a lengthy bread recipe, I wanted to share these instead.  I can’t stop thinking about them (we’re probably having them with dinner again tonight), and since it is the perfect season for it, I can’t really fault us for that.
Carrots sometimes seem too straightforward: sweet and crisp, made only marginally complex by a mild grassiness.
Food Blog April 2013-0987
Liberally slicked with a mixture of honey, mustard, and olive oil, then roasted until their skins almost blackened under the heat, ours became intensely savory and yet also caramelized, homely to the eye but stunners on our tongues.  Their taut skins, lacquered with crackly coating, retained a barest crunch while the interiors just slid down our teeth like cold butter.
Food Blog April 2013-0997
(Admission: I did make bread this week: my first attempt at baguettes.  They were okay, but nothing amazing – the interior had a nice spongy crumb but the crust was a bit thicker than I like, with none of the shattering crispness that makes a really good French loaf.  They were bumpy in shape and the deep scores I made across their surface didn’t puff the way they do in bakery cases.  They were far from shameful, and tasty sliced, toasted and spread with salted butter, but still. So pedestrian. You deserved something more exciting.)
 Food Blog April 2013-1015
Honey Mustard Roasted Carrots
Serves 1-2 as a side dish


This is almost too simple to be a real recipe, but a few of those are nice to have in your repertoire.  Note: cooking time and ingredient quantities may differ depending on the number and thickness of the carrots you are using.  Start with these amounts, then adjust as suits your palate and pantry.


2 bunches (12-15 individual) rainbow carrots (though I suspect any carrots would be great). If you are using a Farmers’ Market variety, you won’t even need to peel them.  The skin will caramelize beautifully, and any wispy roots clinging on will gain an addictive roasty crunch.
2 TB dijon mustard
2 TB honey
2 TB olive oil
pinch freshly ground black pepper
scant sprinkle of sea salt
  • Preheat the oven to 400F and line a baking sheet with aluminum foil.
  • To prepare your carrots, remove the greens, scrub them well (if they are dirty), and roll them around on a clean kitchen towel to dry.
  • In a shallow dish, use the tines of a fork to combine the honey, mustard, and olive oil.  If the honey refuses to play nicely, send the mixture through 10-15 seconds in the microwave.  Add salt and pepper to taste, though I recommend under-salting just a tad.  The flavors intensify so much after roasting that you’ll only need a tiny hit of salt.
  • Toss the cleaned, dry carrots in the honey mustard mixture, then tumble them onto your baking sheet and spread them out so none are touching.  If you have too many carrots for that, at least be sure they are in a single layer.  We want as much surface area to be heat blasted as possible.
  • Place the loaded baking sheet in the oven and roast for 30-45 minutes, or until carrots are well-caramelized and tender.  This is a wide range of time, I know, but everything depends upon the size and thickness of your carrots.  Plunge the tines of a fork into your thickest specimen.  If you meet with considerable resistance, leave it in the oven for another 10-15 minutes before checking again.  If the tines slide in easily, or you get only a bit of push back from the flesh of the carrot, it’s probably ready.  Your own preferences also play a role here: roast them until they have the texture you like best.
They will be amazingly hot when they first emerge from the oven, so if they sit for a minute or two before serving, all the better.  But once you start tasting, don’t expect them to last long.