Orange Marmalade and Almond Sweet Rolls
17


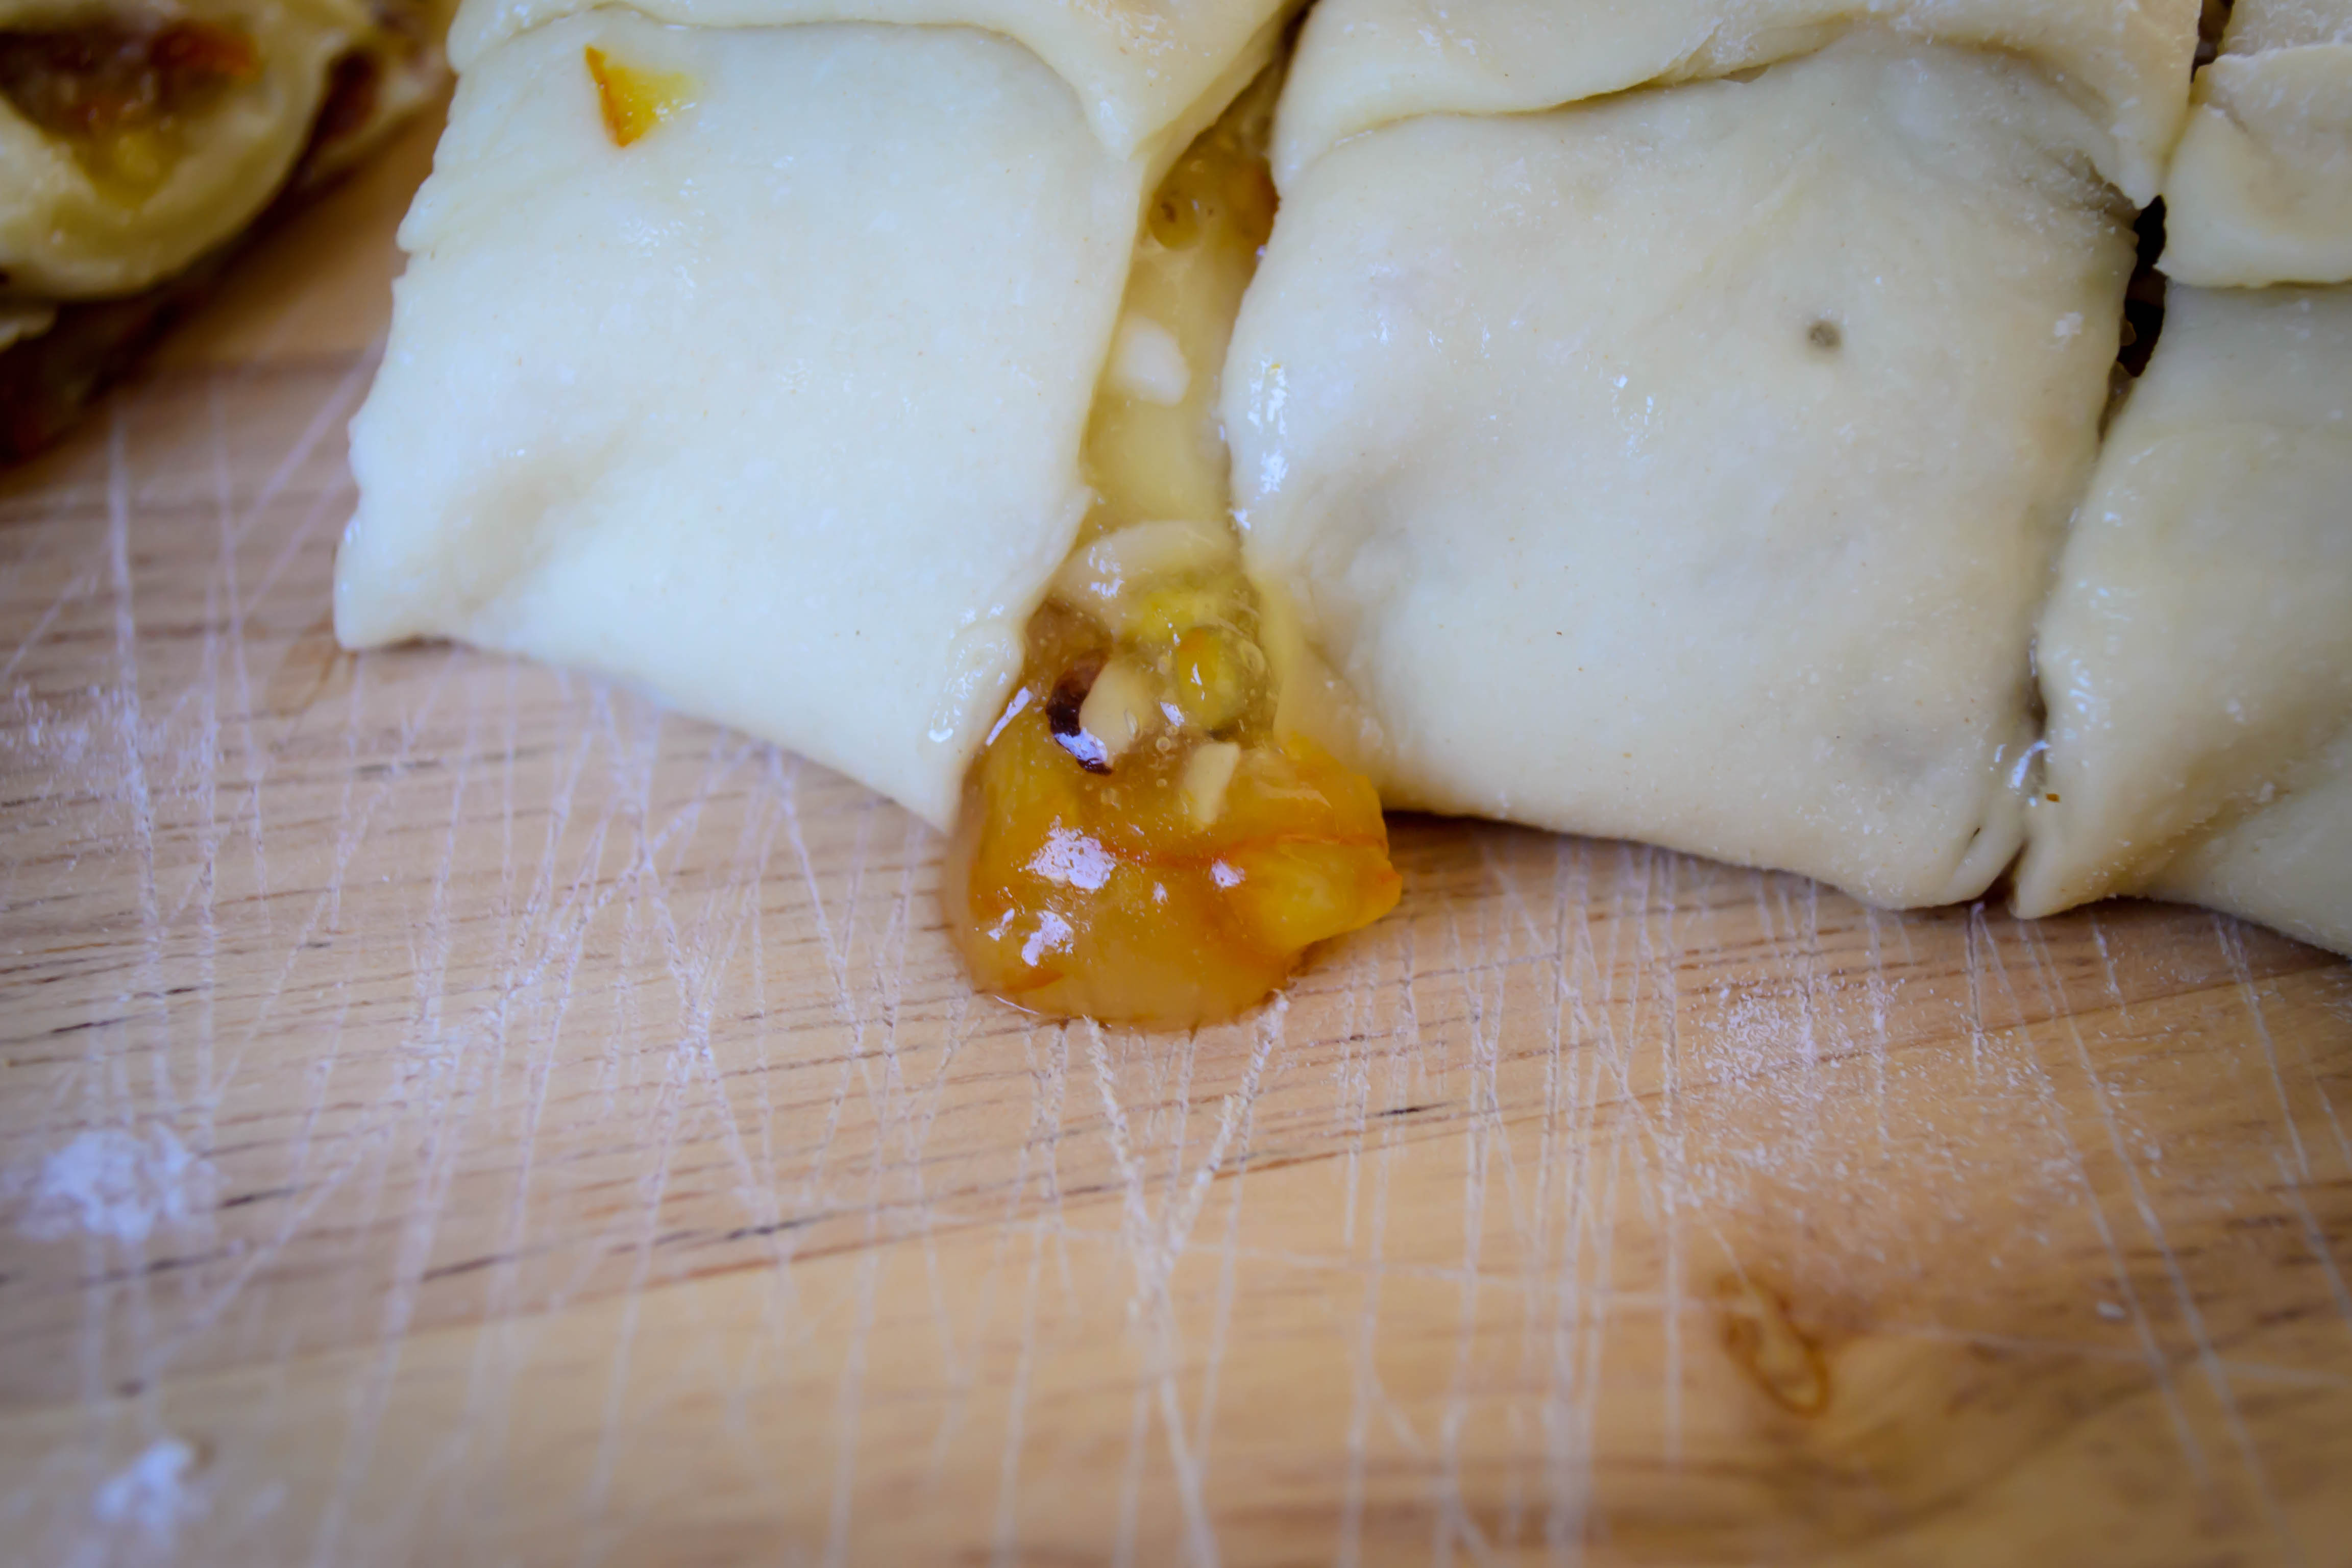
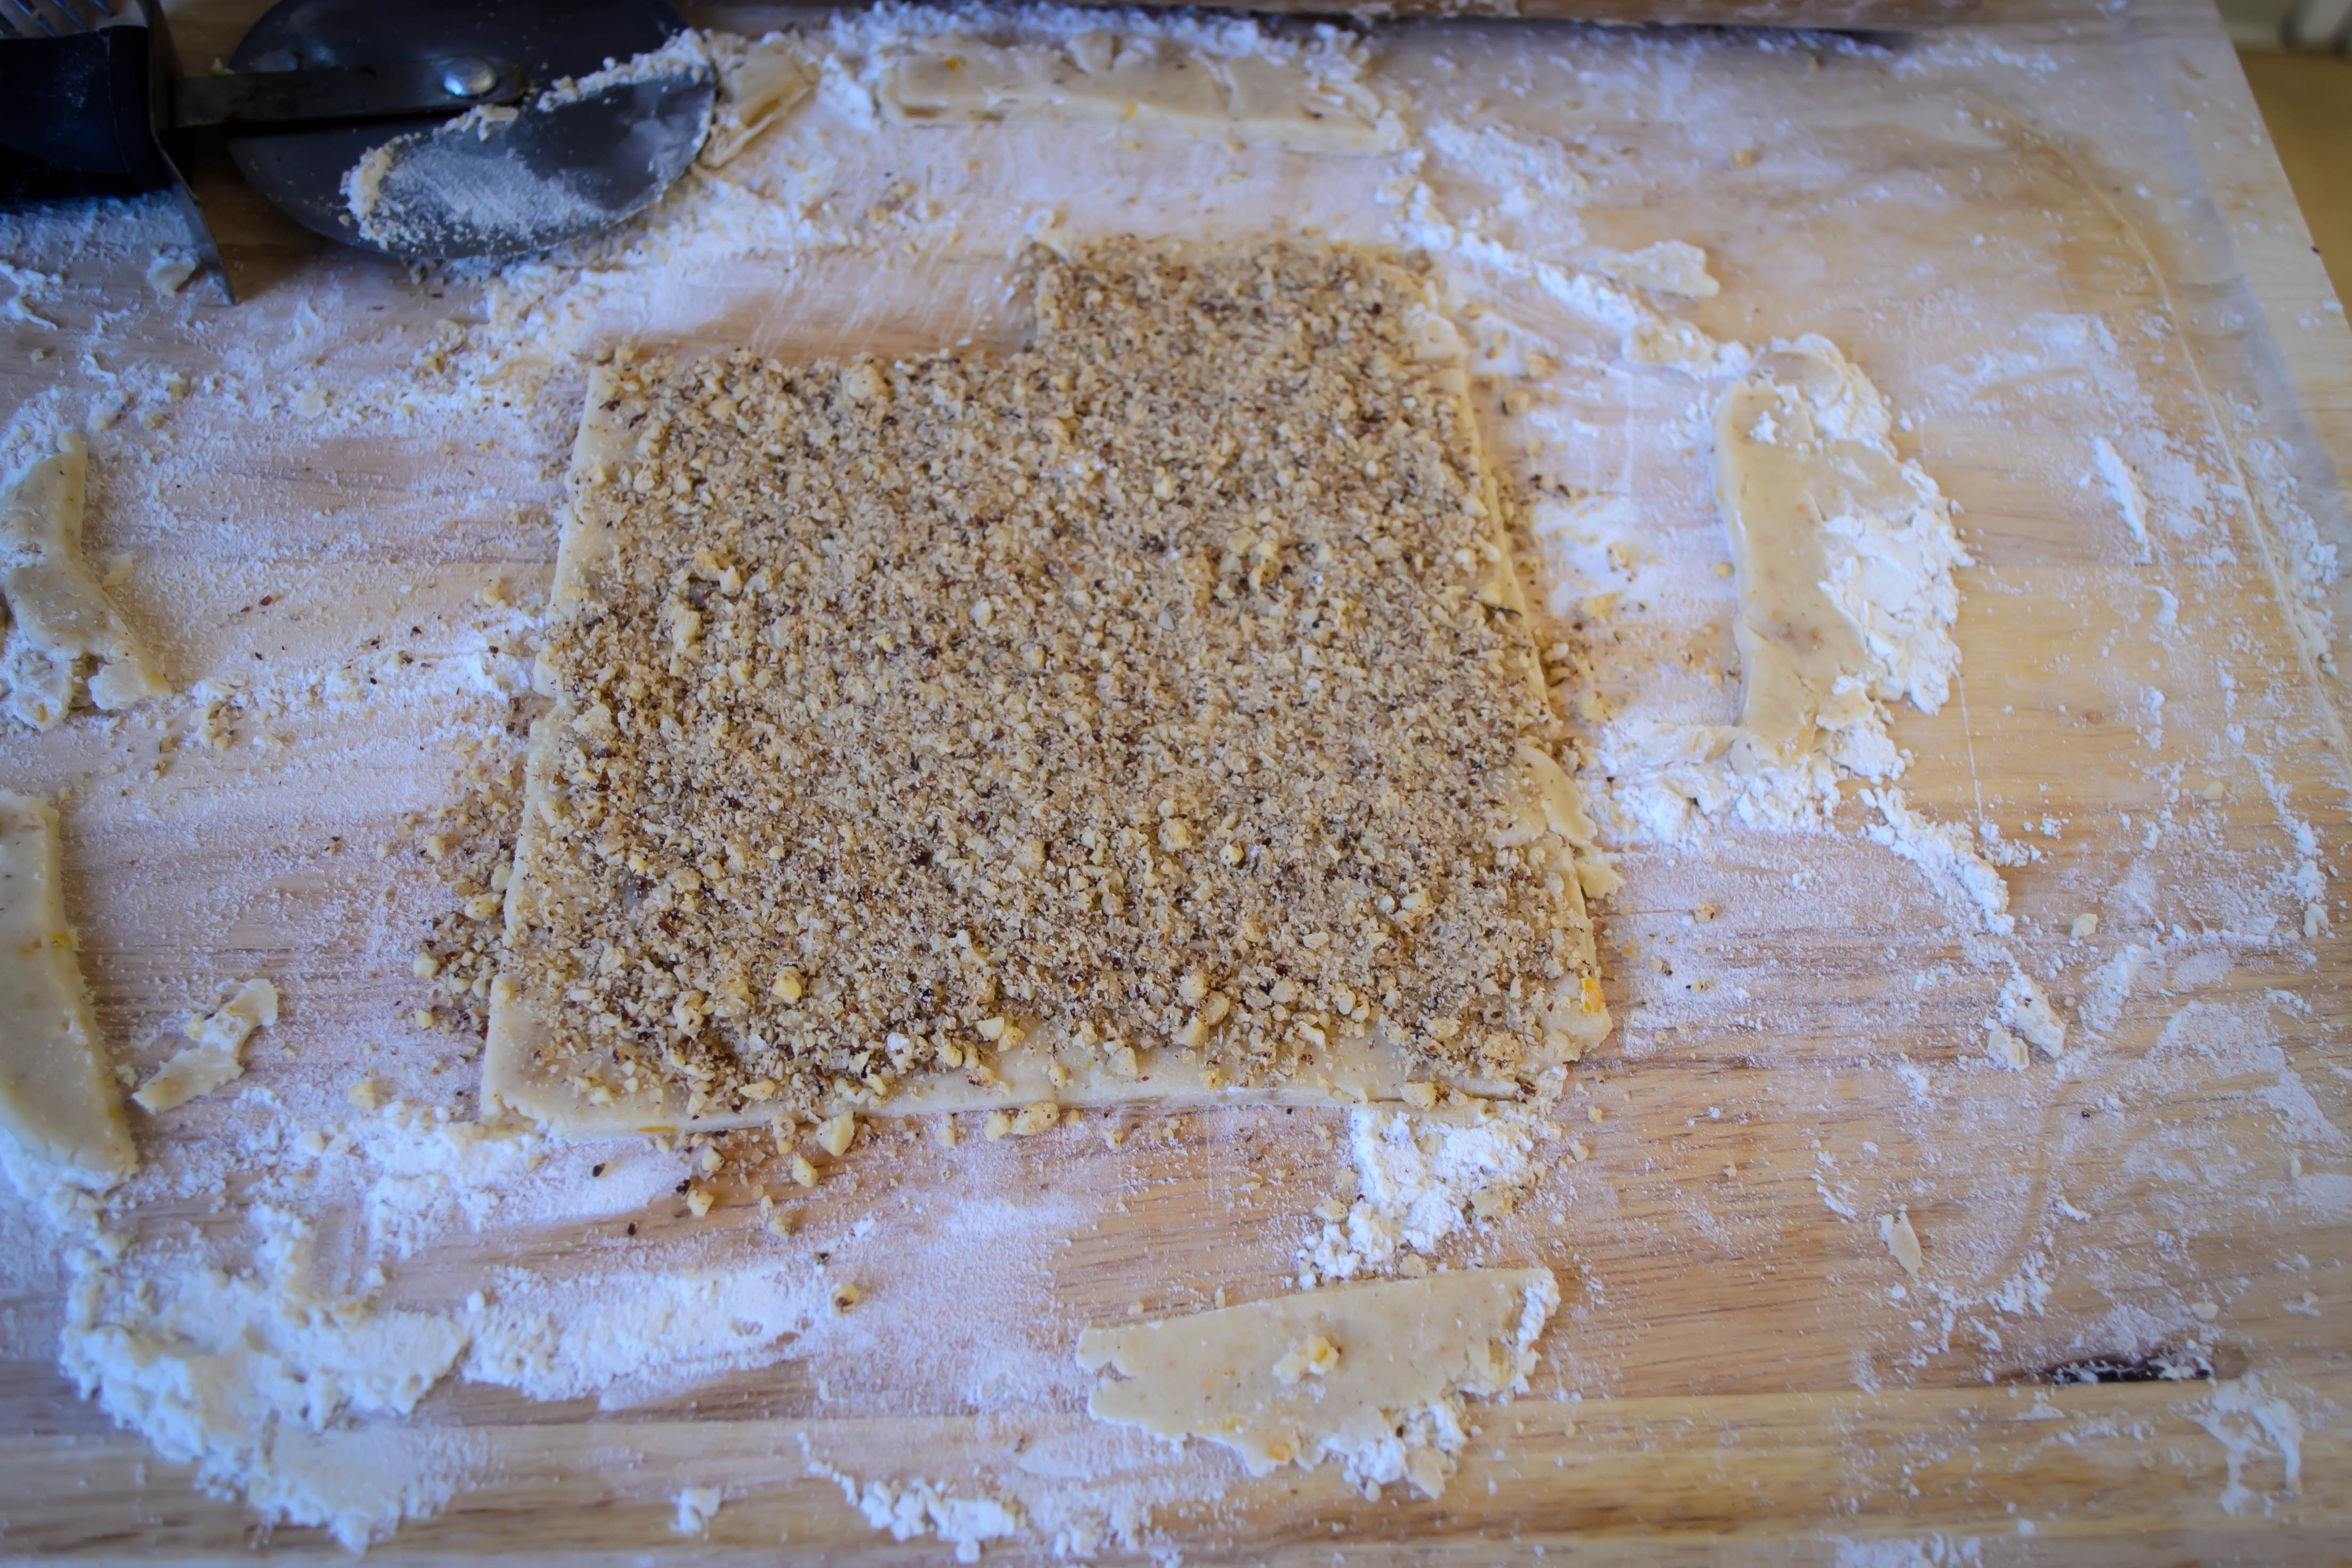
 You have to do the rolling in small stages, I found. Begin at the middle of the longer edge of your dough rectangle and make a few tight rolls, but then move to the edges and help them catch up. They don’t roll on their own, since the piece of dough you are working with is so big, so your fingers will be busy (and no doubt sticky) flying from side to middle to side again. Continue this process until you have created a long, tight roll of dough. Some filling will unavoidably ooze out the ends, but if you’ve left a margin around all sides this should be minimal. Turn the tube gently so the outer edge faces up, then pinch it gently into the next layer to create a seam so your rolls don’t become unrolls.


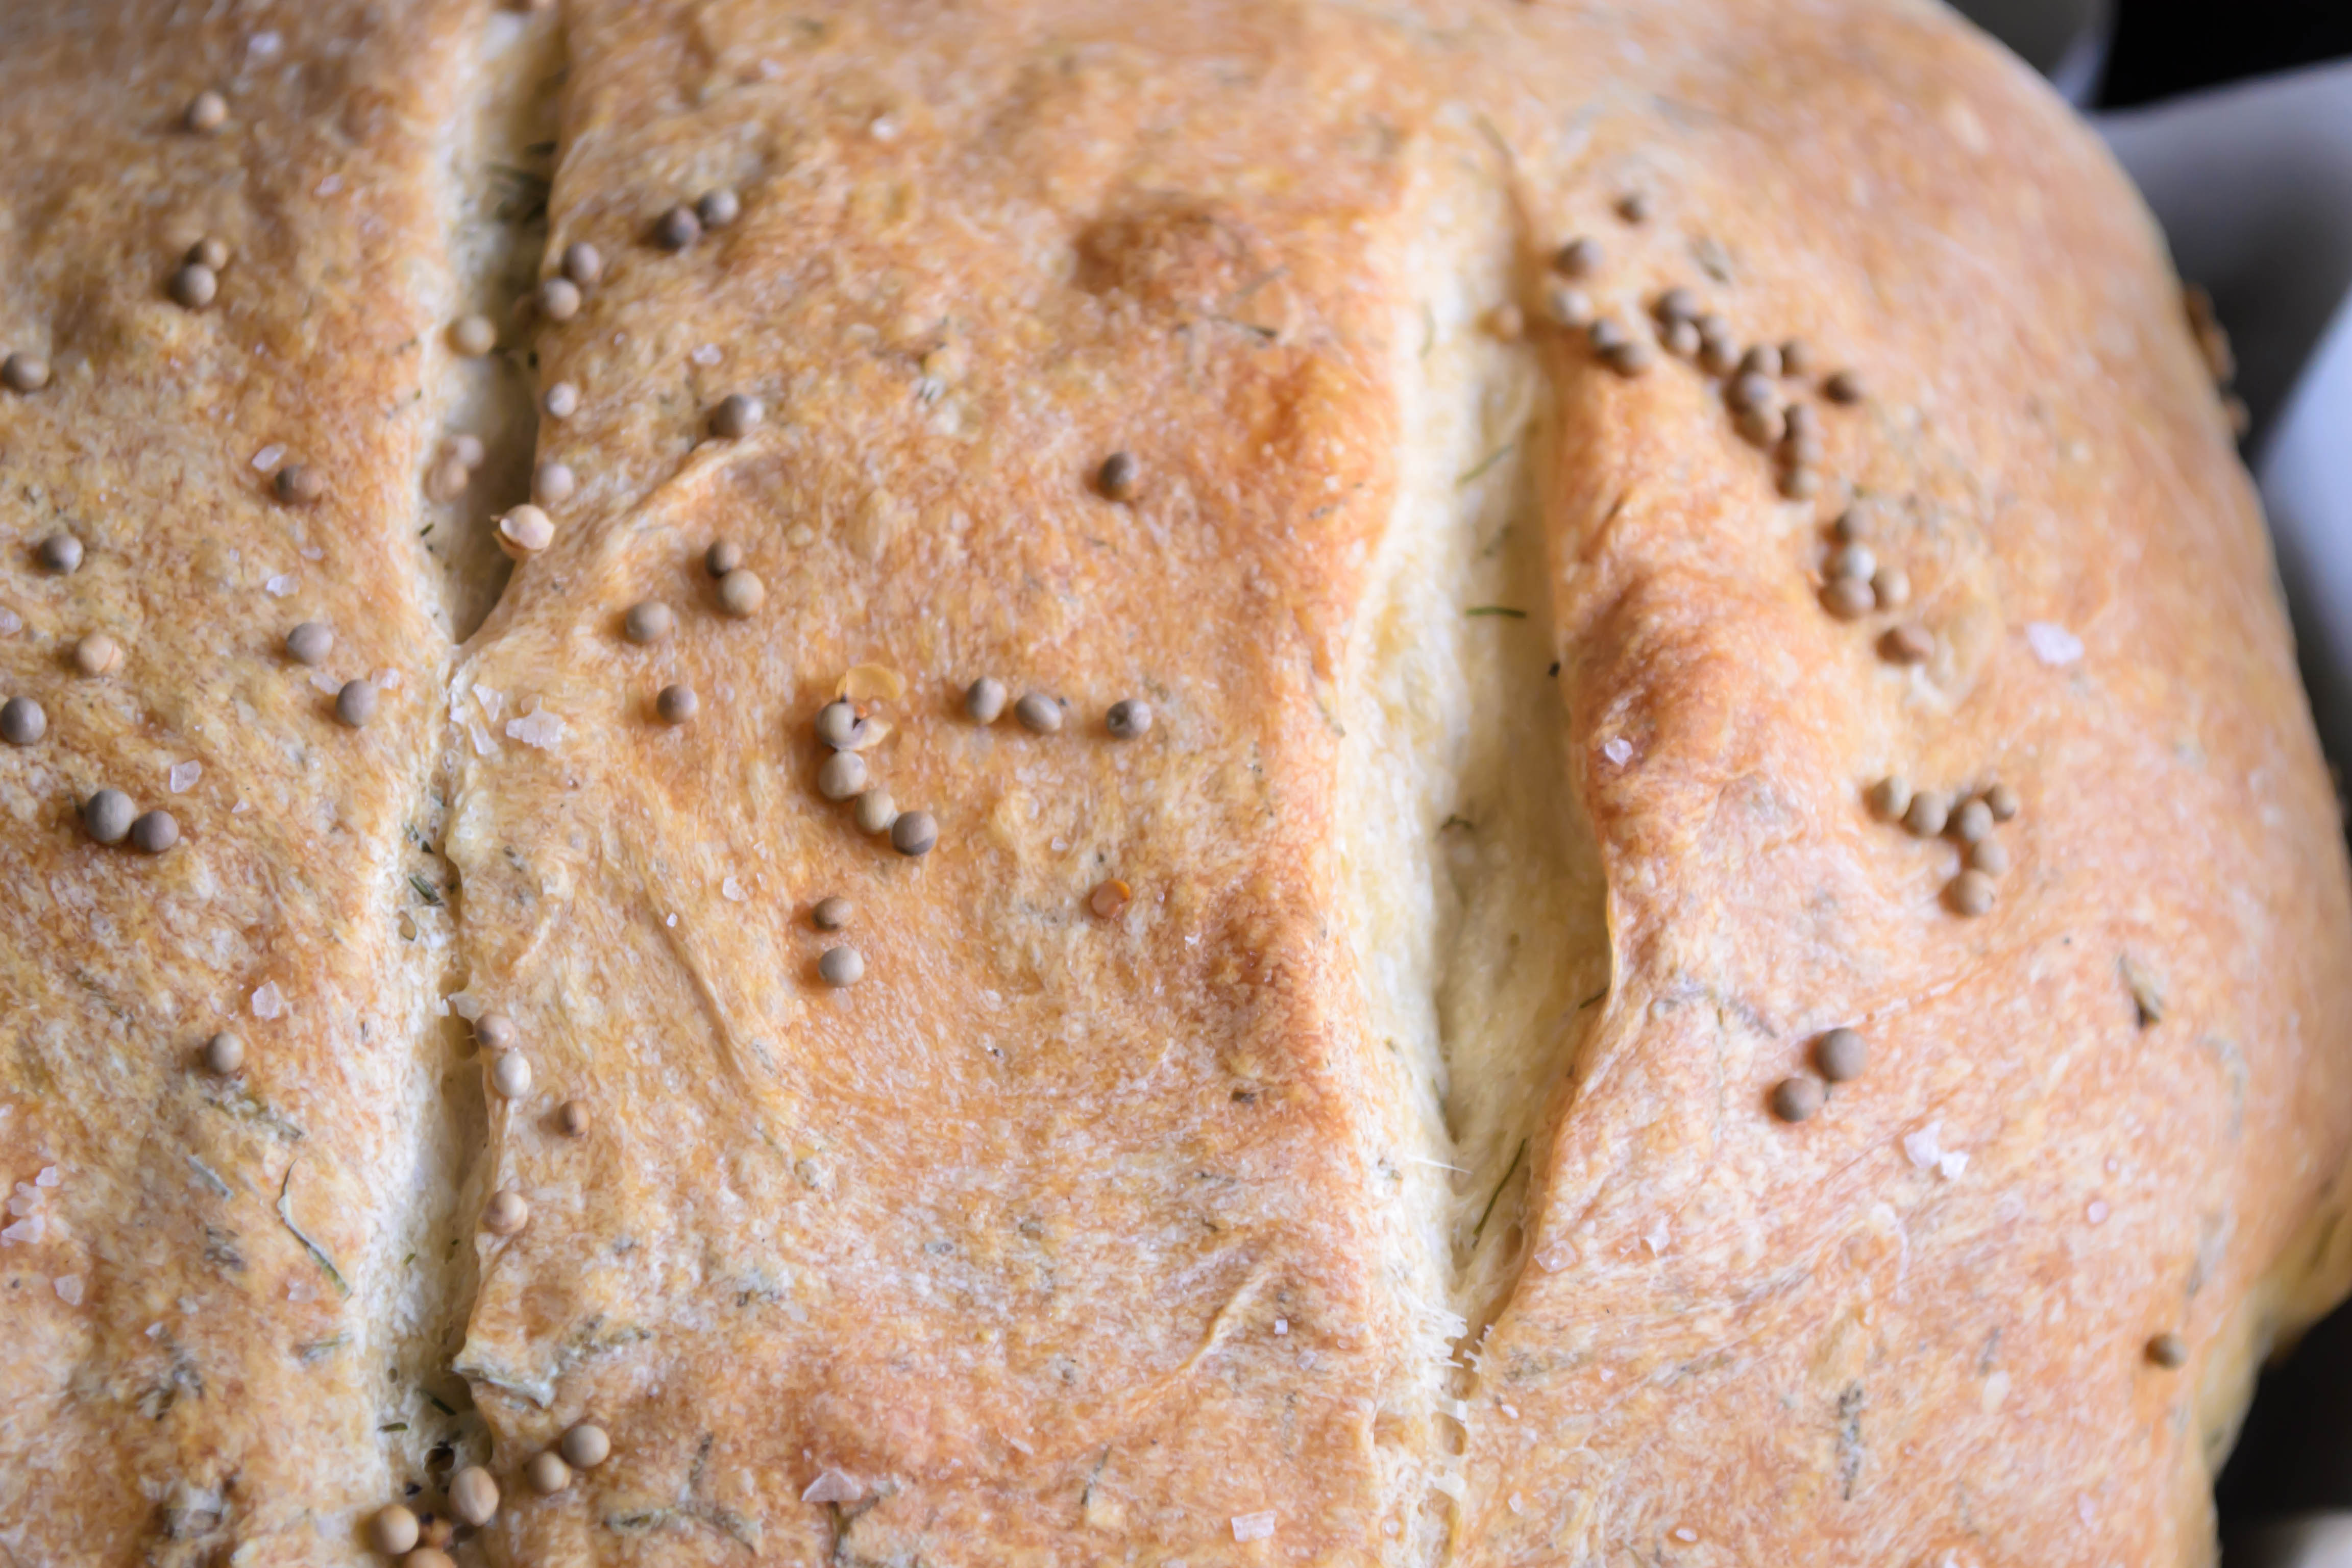
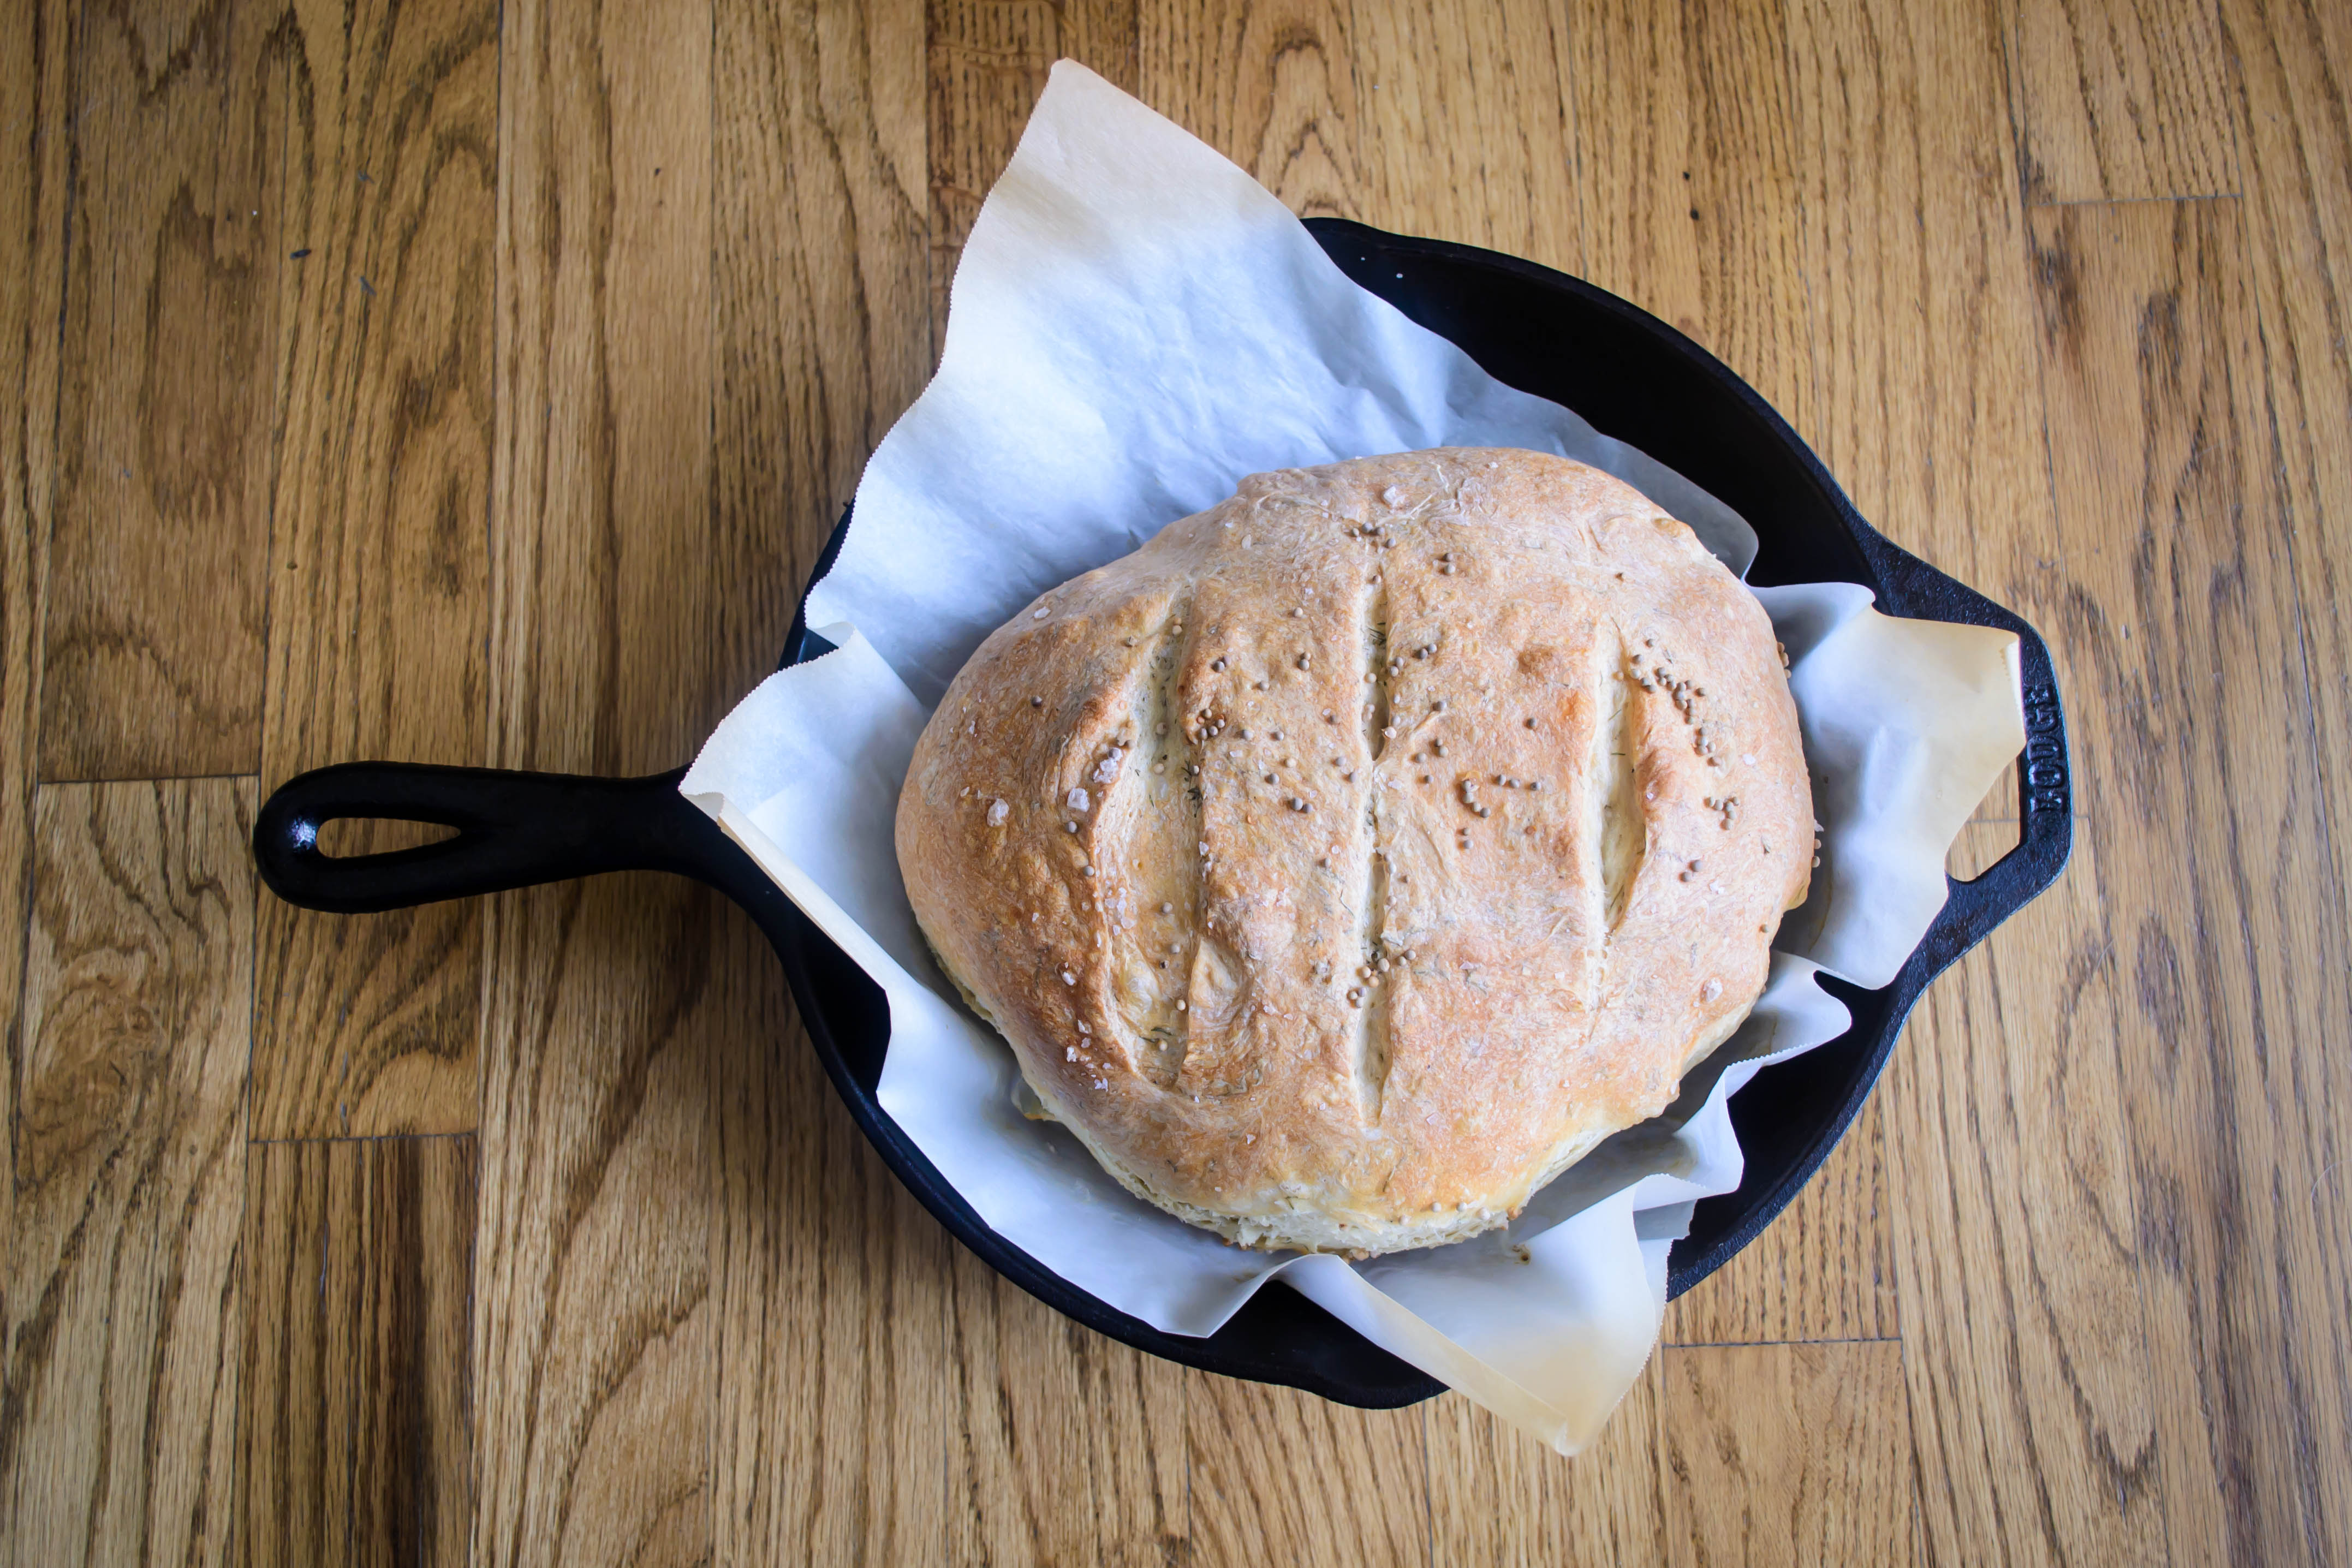
 There are so many different methods for making bread that it’s a wonder anyone becomes a master at it. This week I decided to try a process slightly more complex than Ruhlman’s basic boule, working with a recipe for French Boule from the Feburary 2009 issue of Cuisine at Home. The process for this round loaf starts the night before, with a sticky, soggy, tasteless combination of flour, yeast and water called a poolish. C@H tells us this came from the French pronunciation of “Polish,” from whom they learned this technique (19). The long, slow fermentation time allows for plenty of yeast development and supposedly contributes a nuttier flavor to the end product. It is supposed to look like pancake batter, and when you pull it out the following morning and add more water, it is supposed to be very thin. Mine was, when I put it in the fridge for its overnight chill session, more like the texture of silly putty. When I added water the following morning, it refused to combine evenly, its sticky strands getting soggier and stickier at the same time. I was skeptical about this, but followed procedure anyway, and once it had been kneaded aggressively into my dough it didn’t seem to matter.


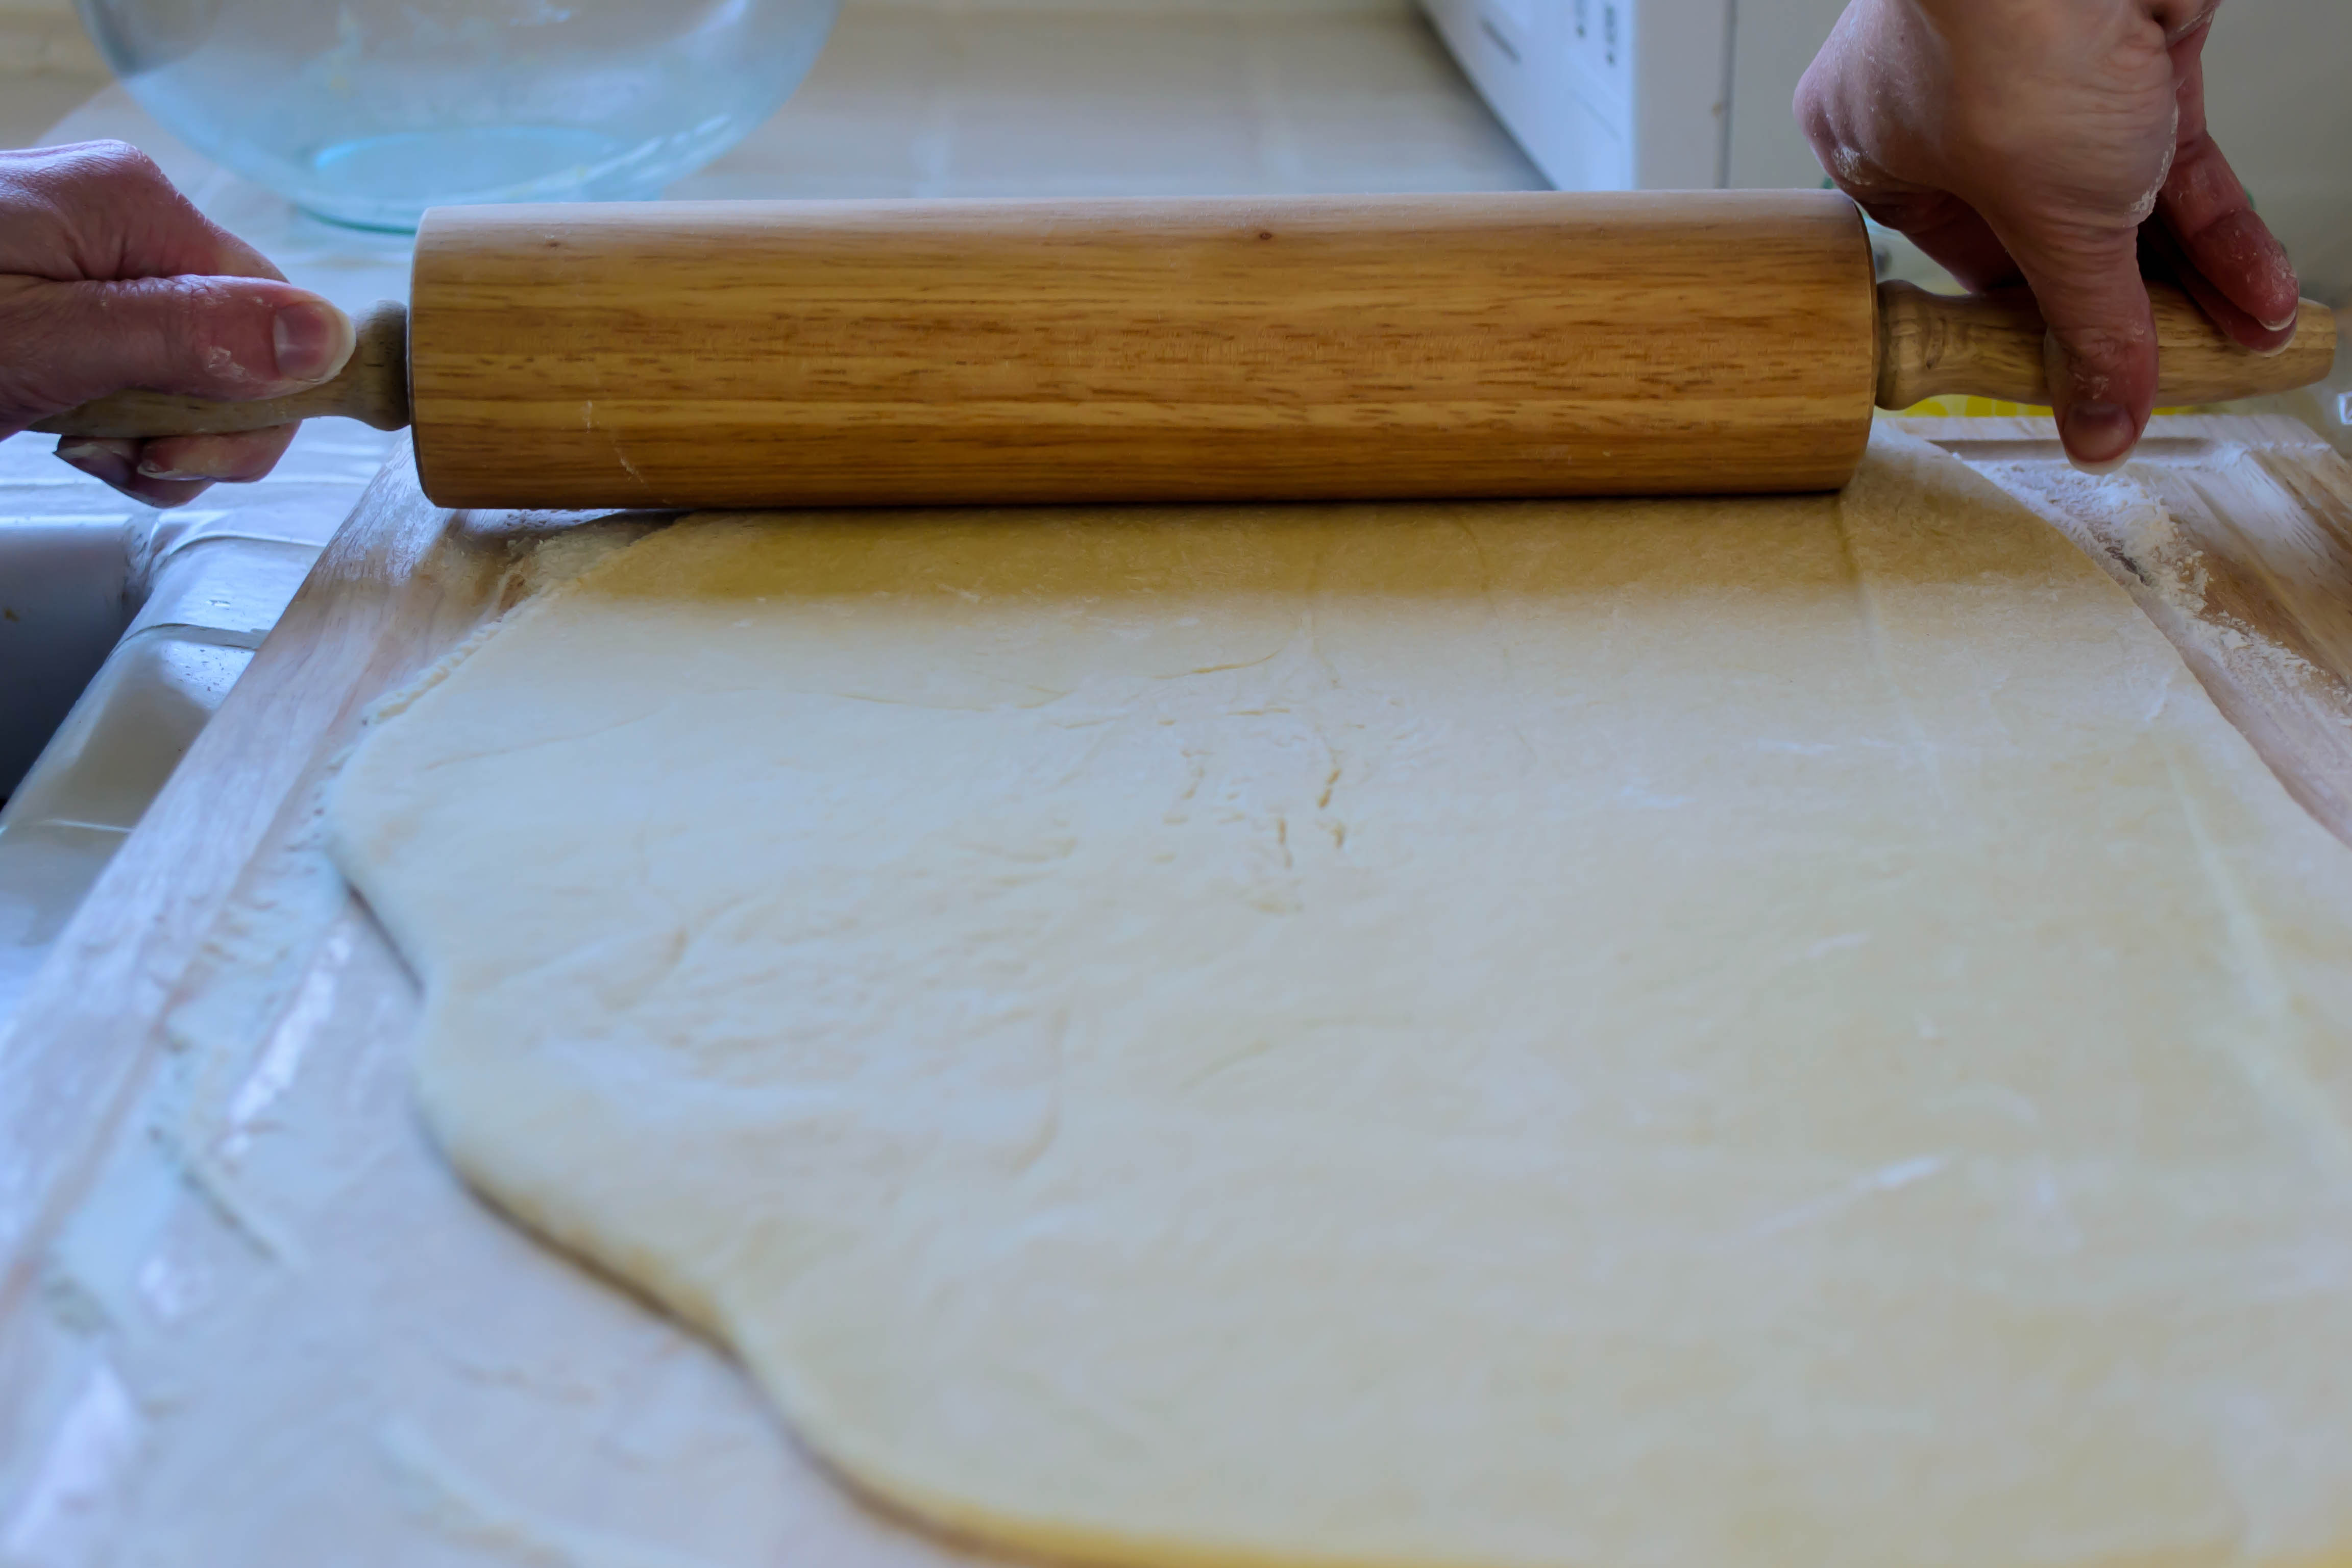
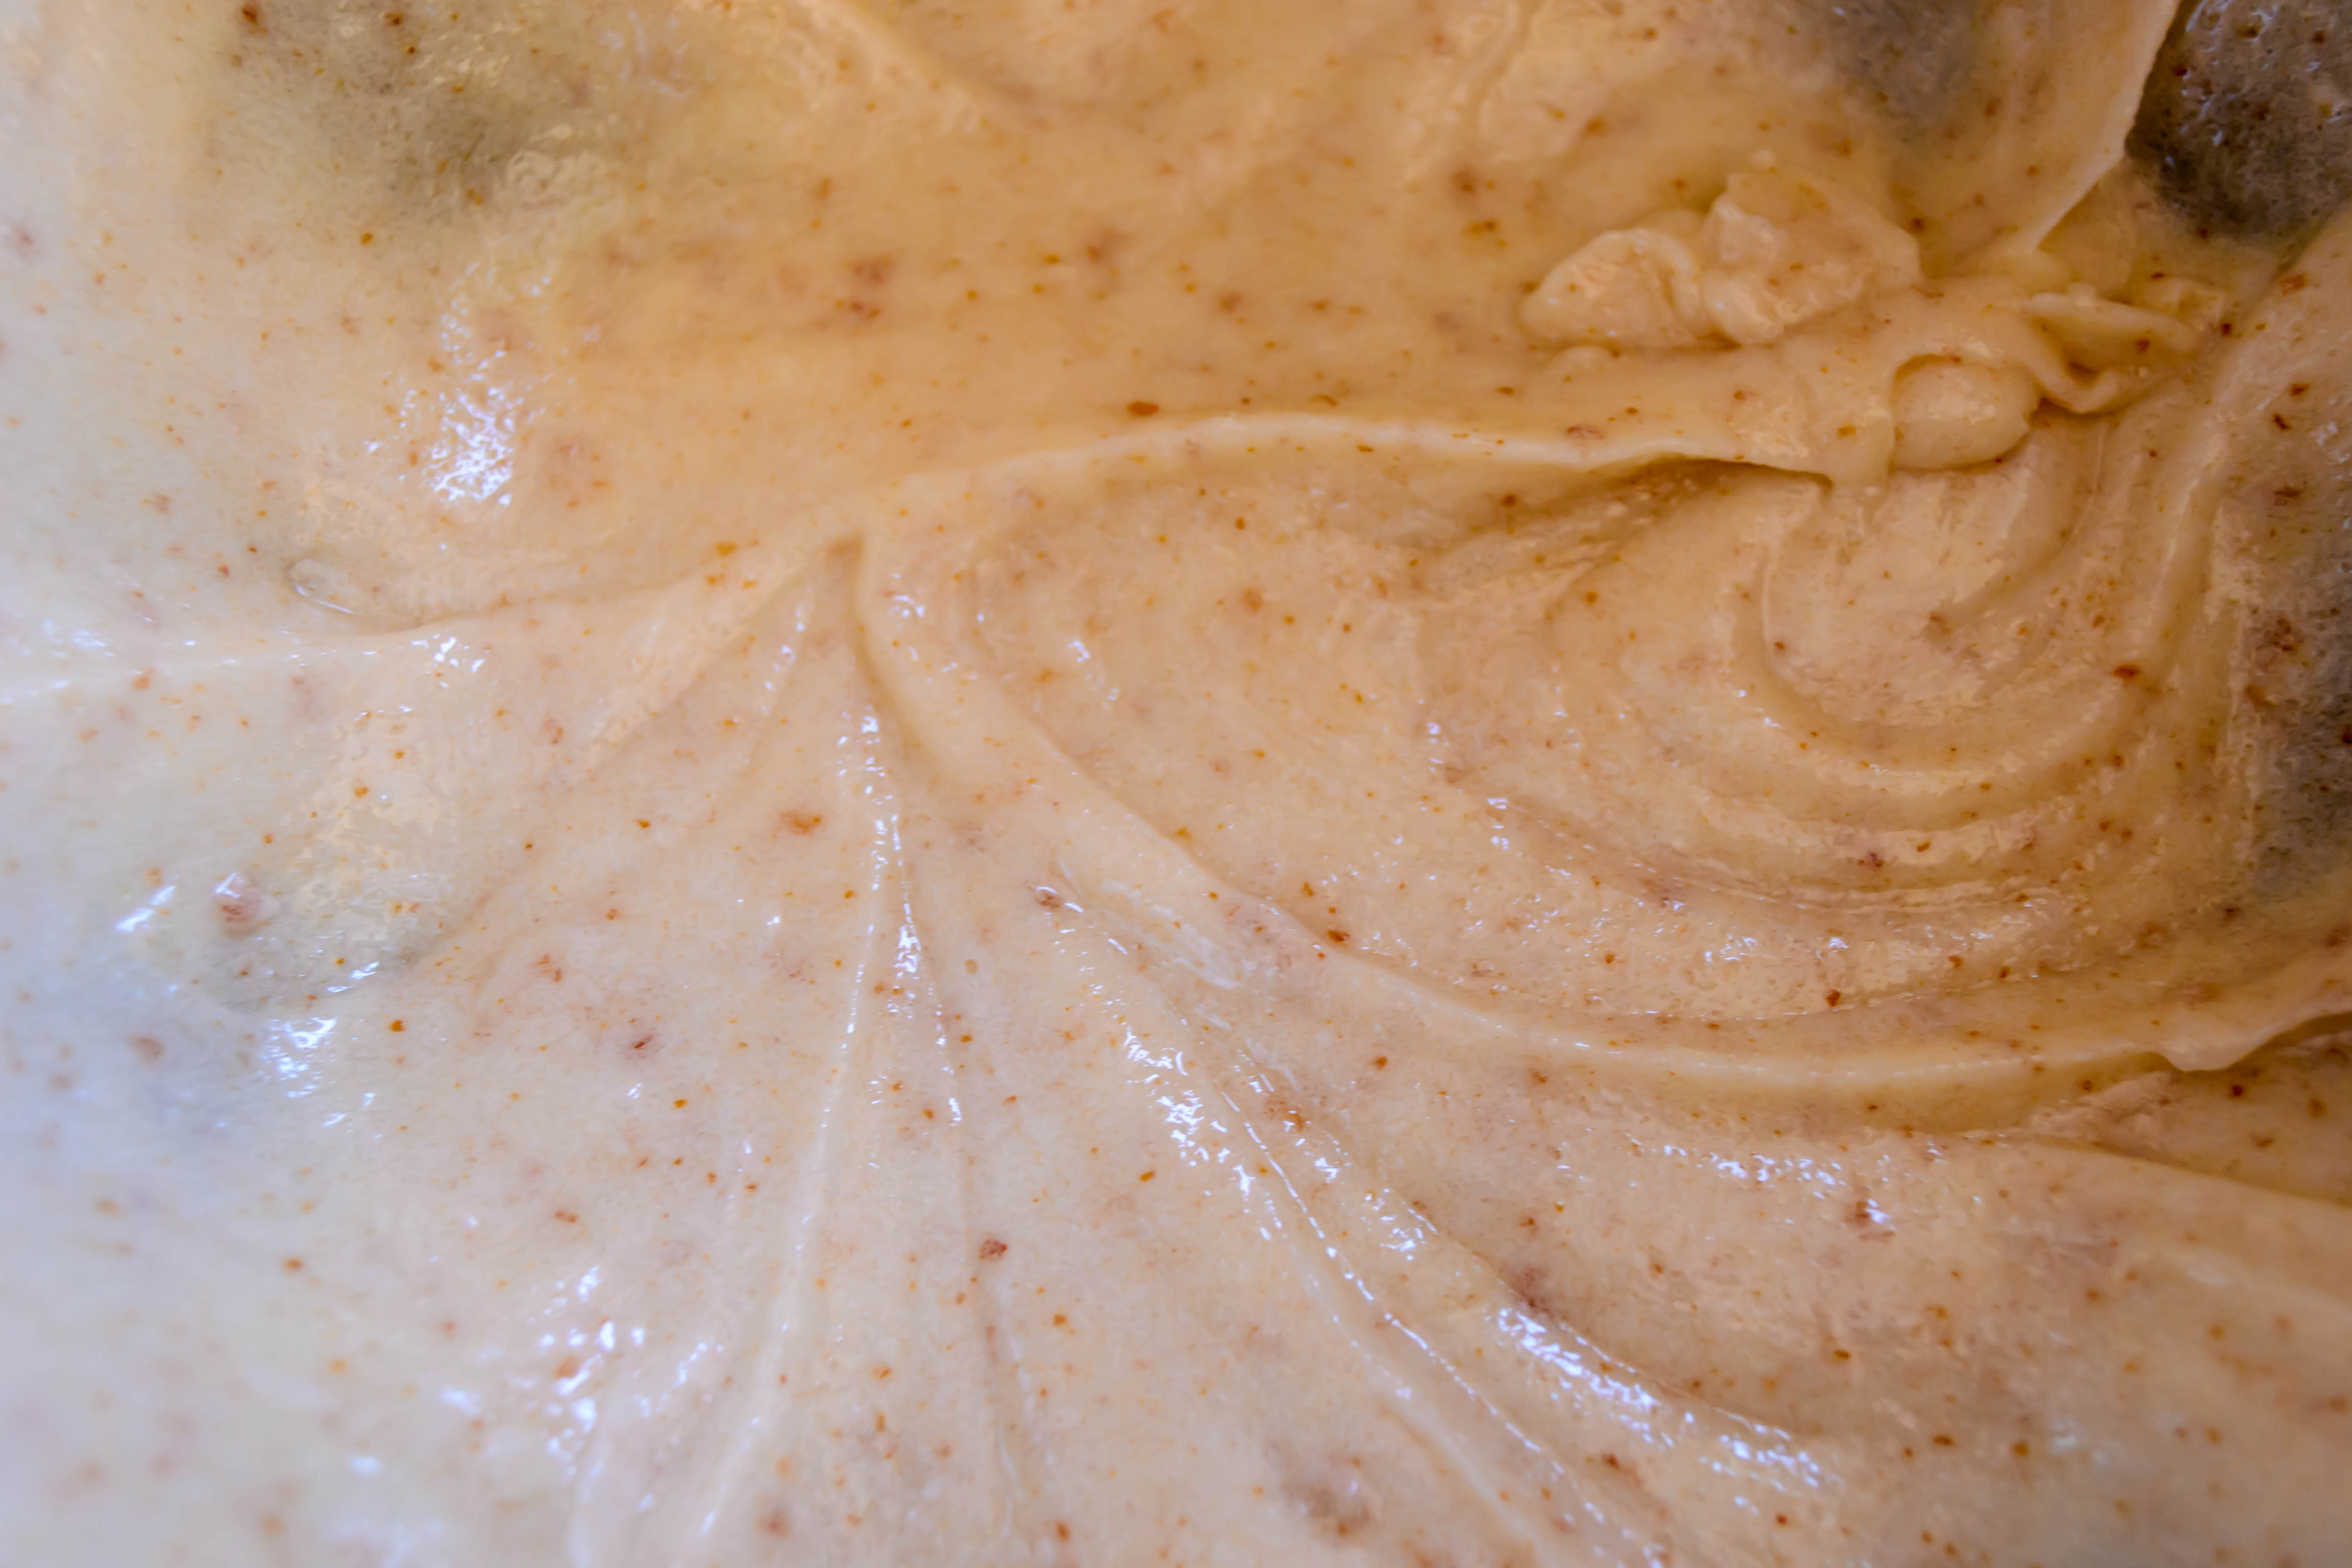
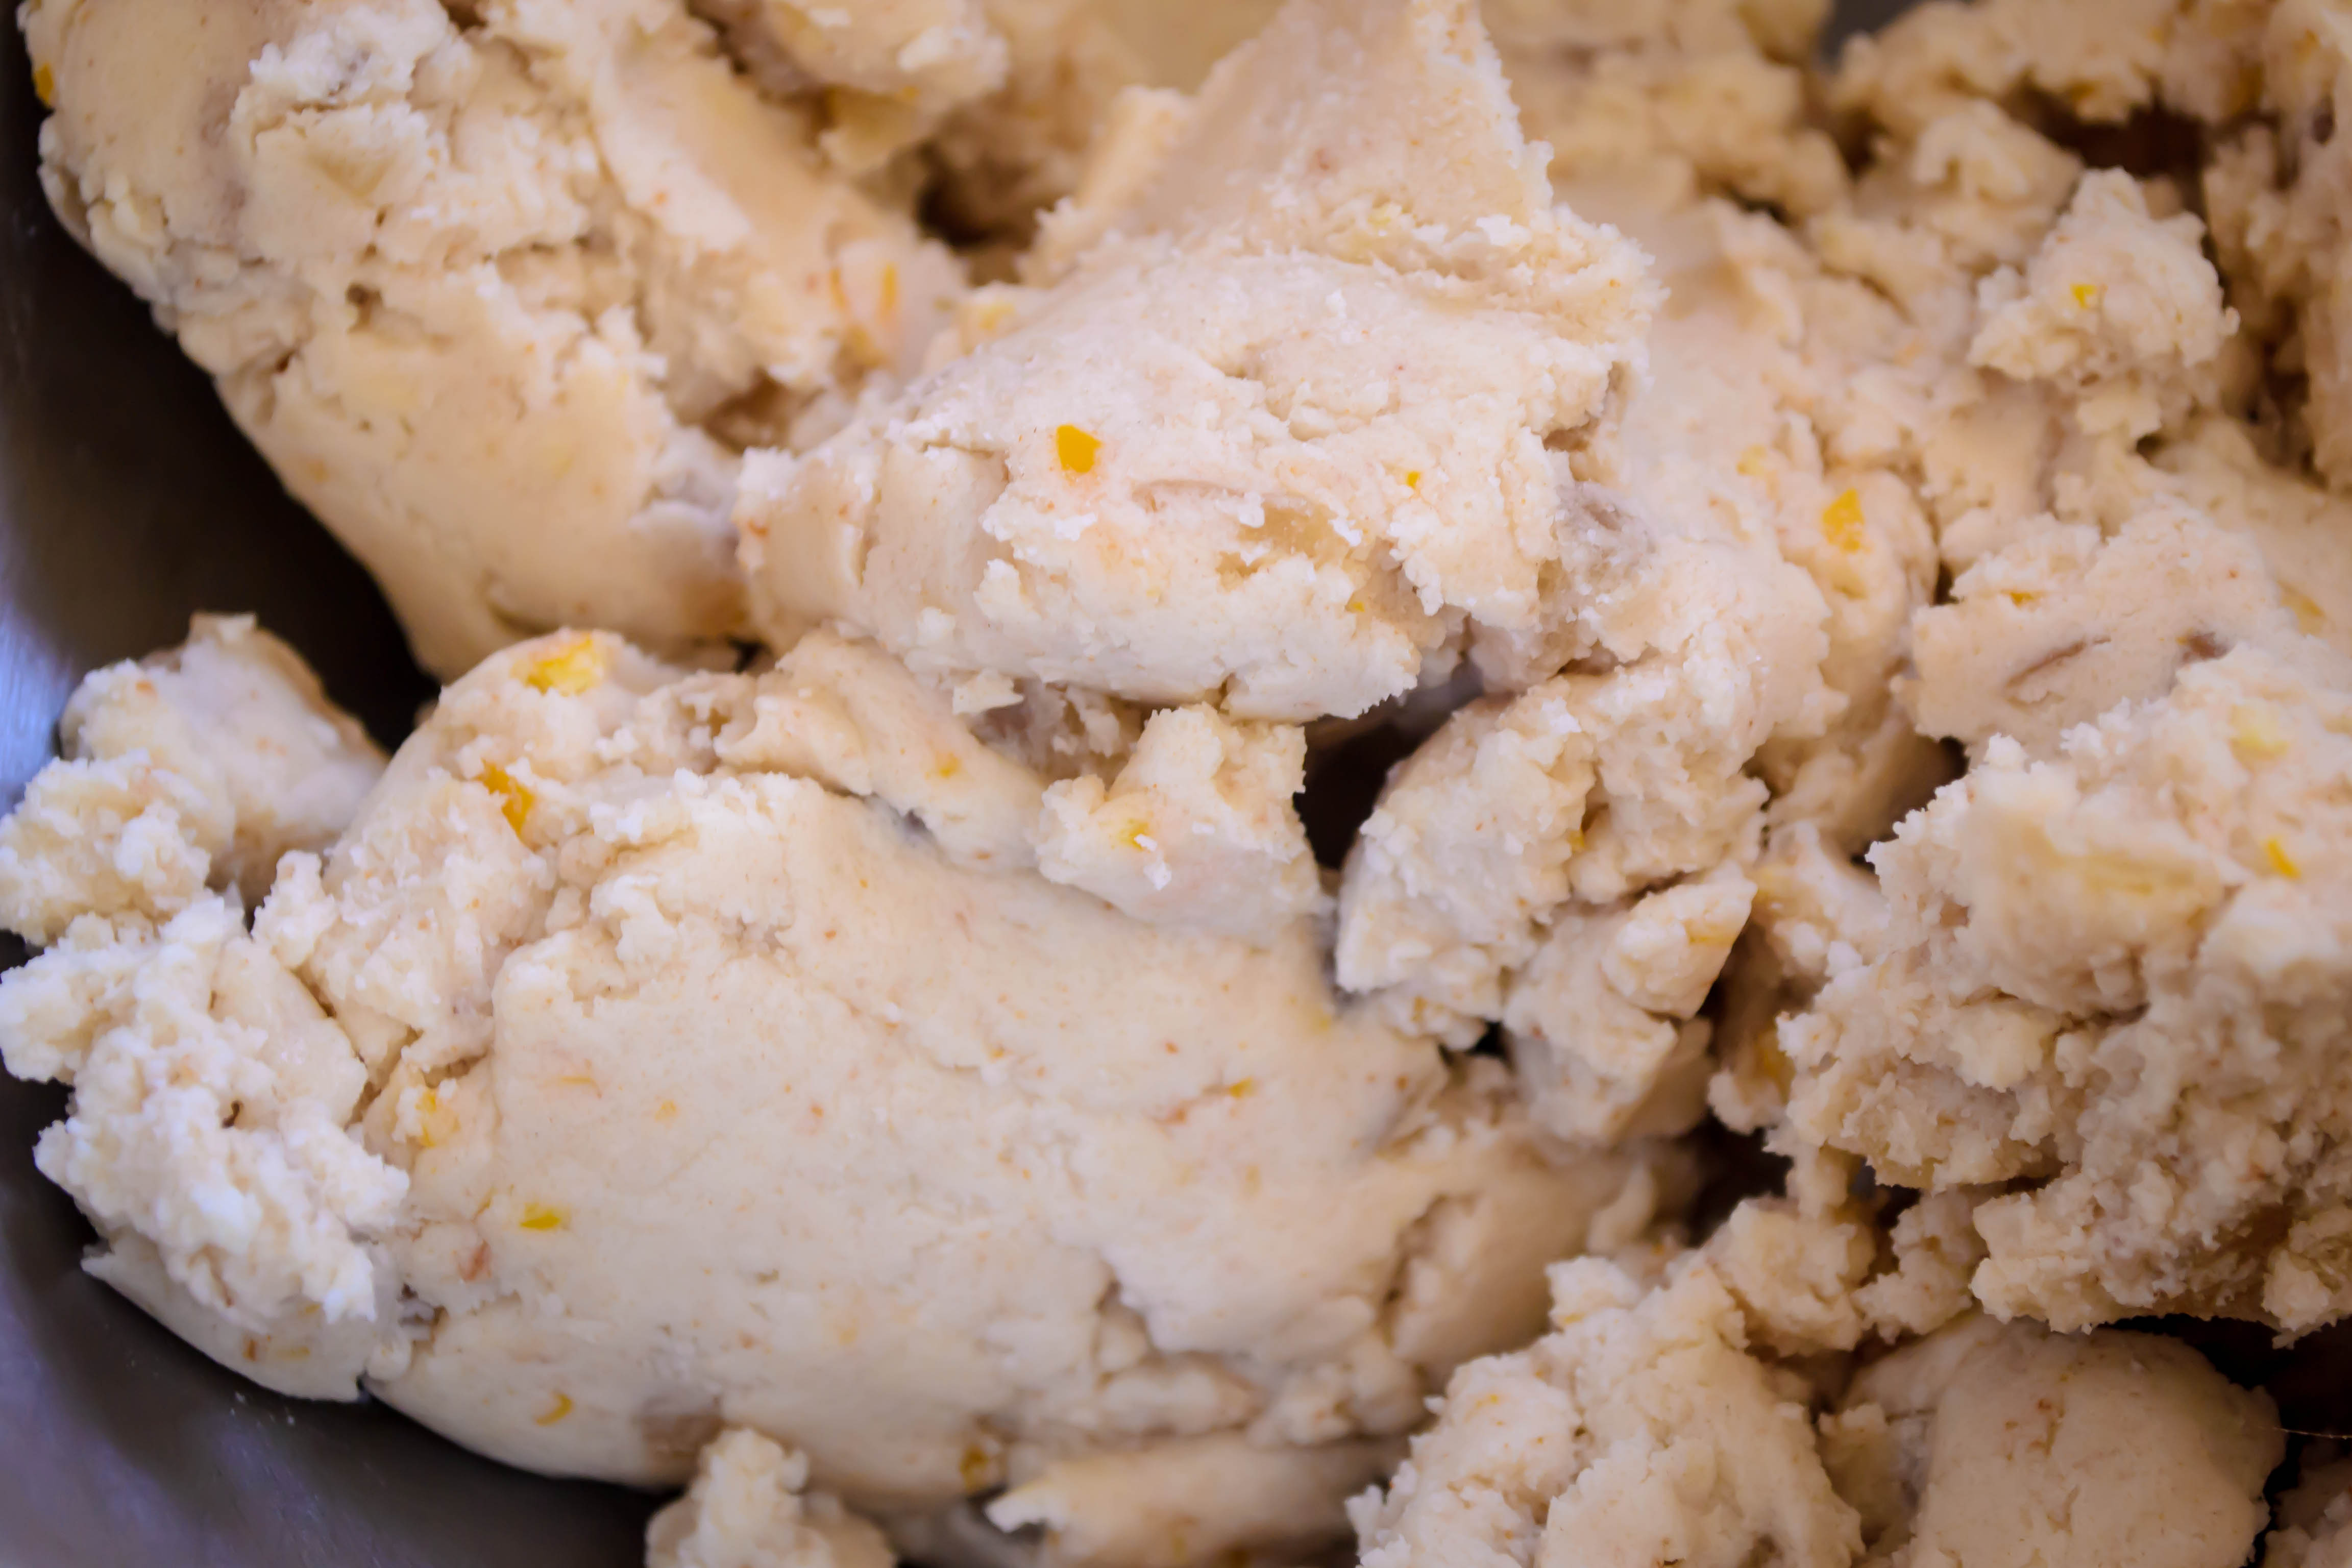
 I scoured multiple recipes to put this dough together, checking the likes of Martha Stewart, Ina Garten, Paula Deen (who I was surprised doesn’t have more sweet versions), and of course Deb Perelman. But with the exception of a few technique ideas, I came back to Ruhlman’s basic 1-2-3 cookie dough as my backbone (1 part sugar, 2 parts fat, 3 parts flour).
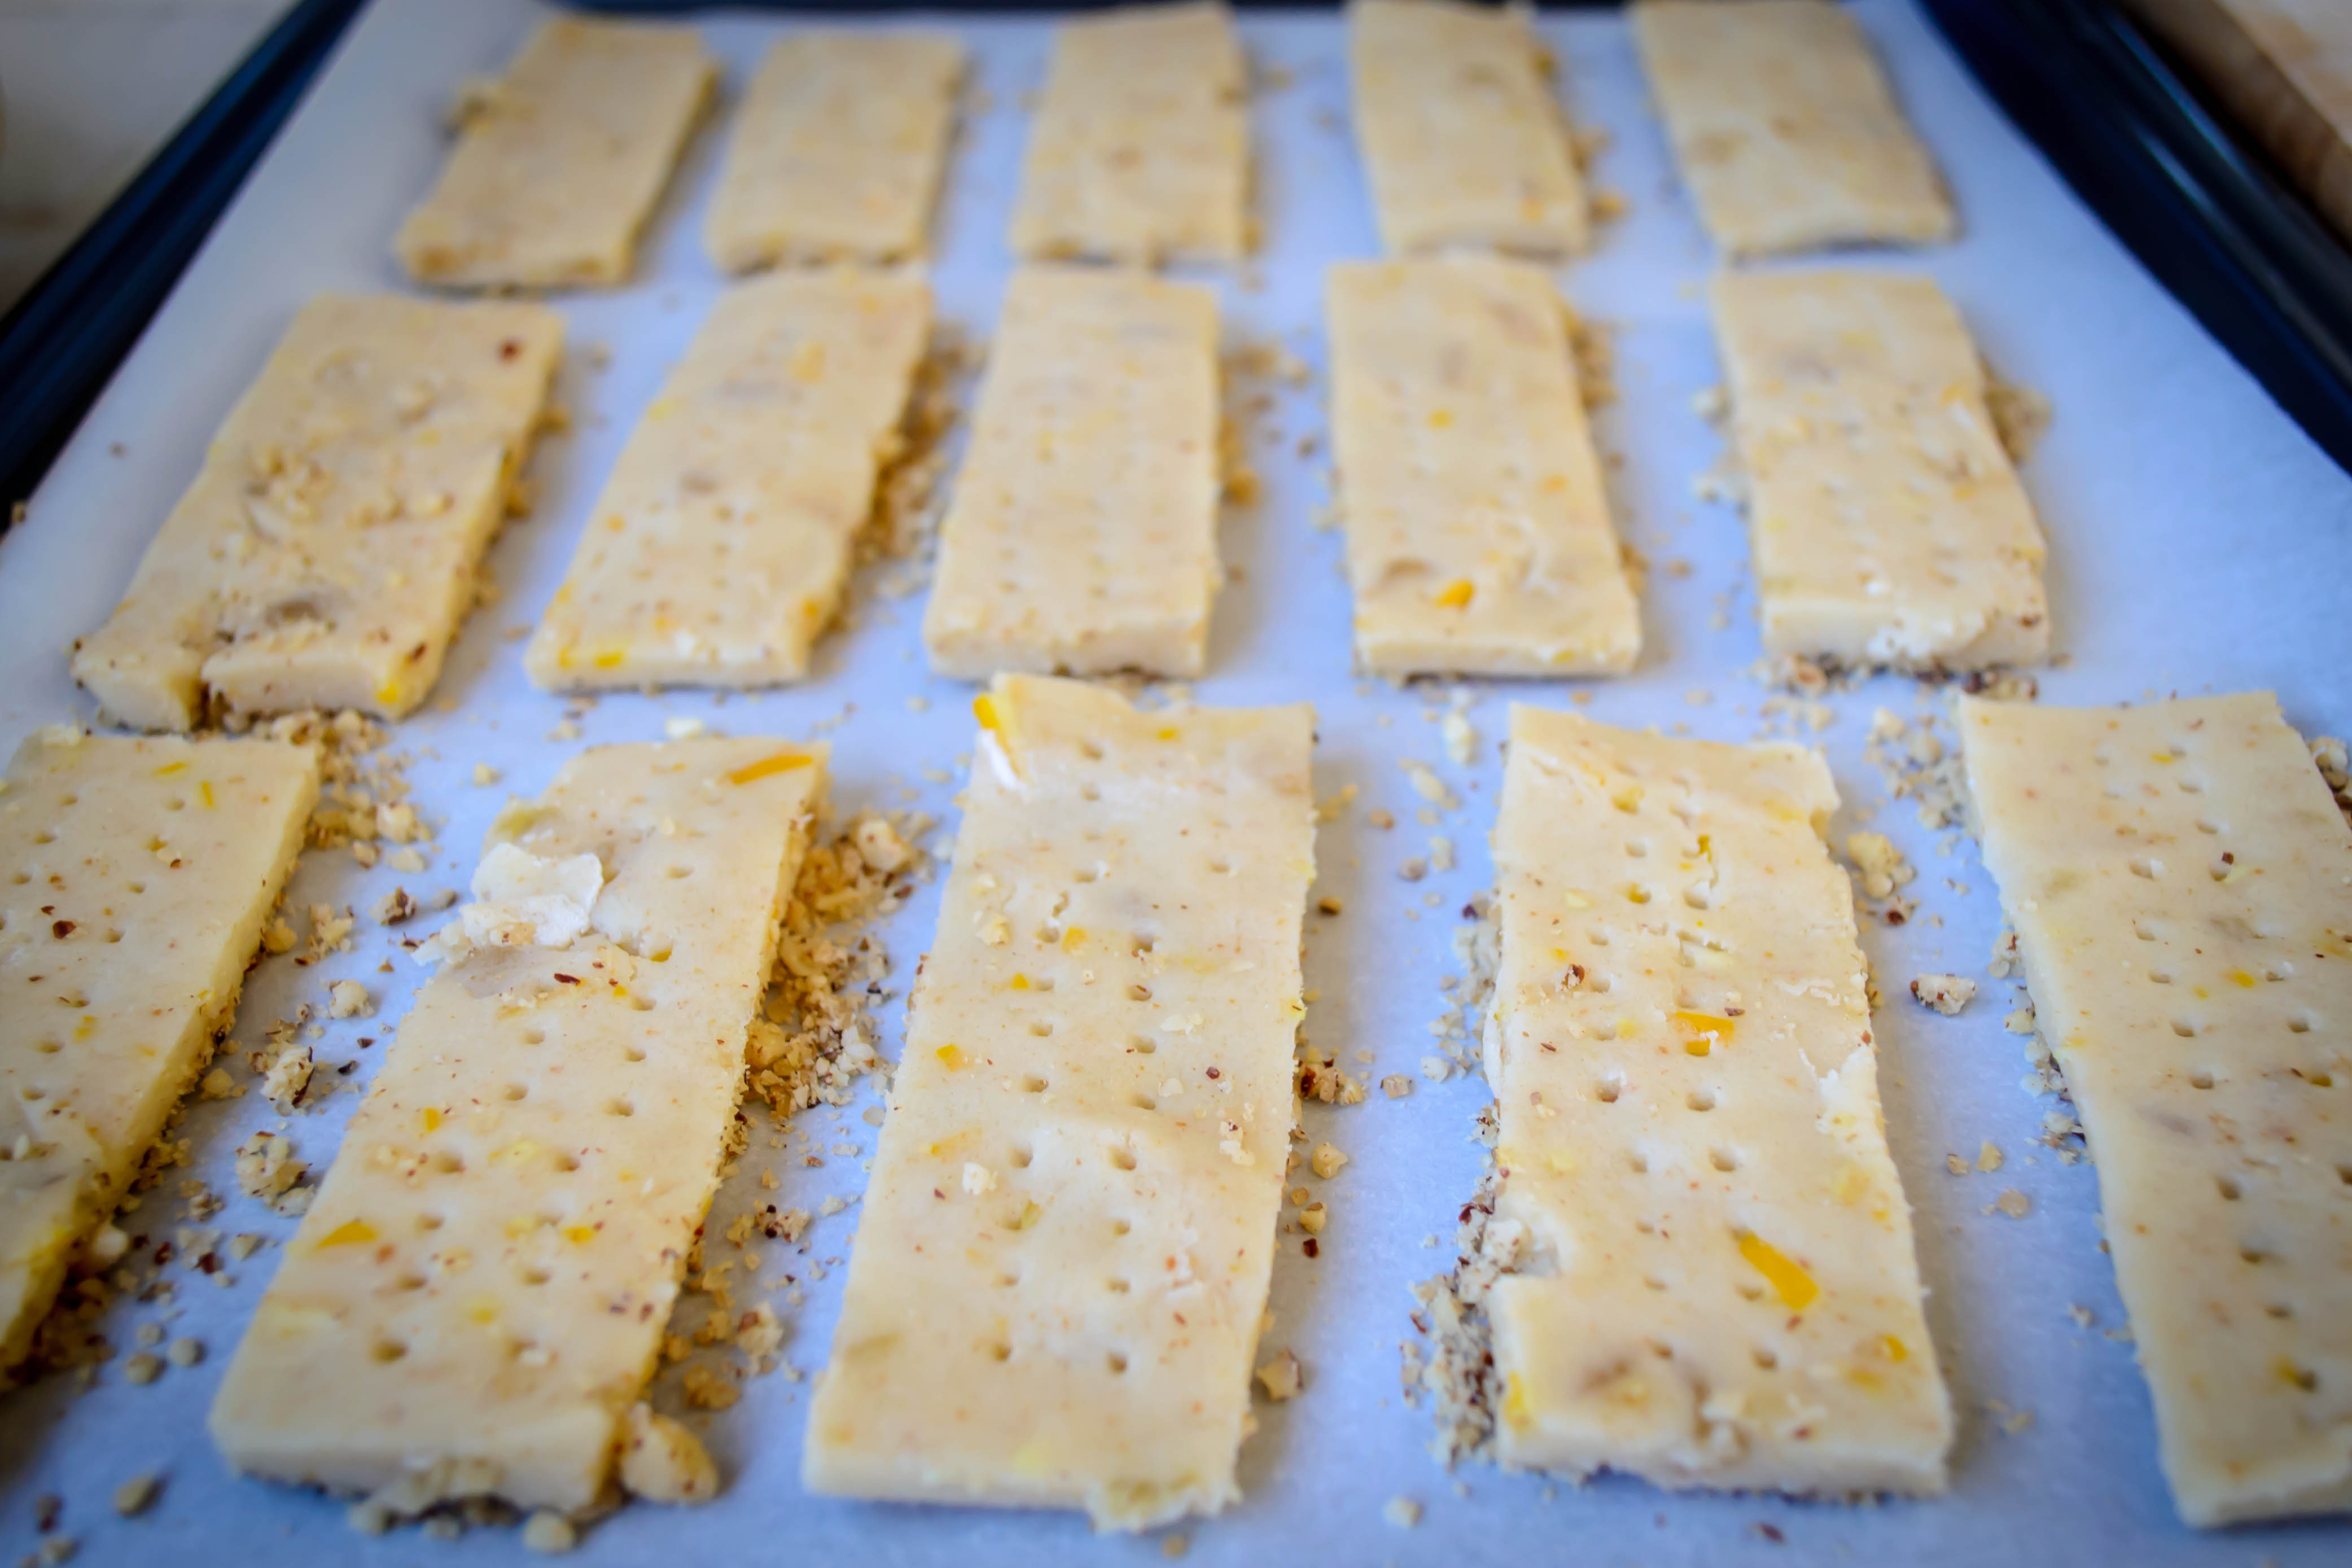


There were always only two marginally clever possible titles for this post. I chose this one for several reasons.
One.

Two.

Three.

This week Deb Perelman’s “The Smitten Kitchen Cookbook” arrived to me, unceremoniously dumped in its delivery box over my porch railing (our mail carrier is not the most careful, as the wads of advertisements half-shoved into our mail slot prove). That was the last blasphemous treatment it received, however. I went through it page by page, almost shouting at nearly every recipe, because all sound delicious, and many are simply brilliant. Her combinations are unexpected but make complete sense, and her writing is so human and real and honest – on the site as well as in the book – that I can’t stop picking it up and flipping through it again. It doesn’t matter which page I open to. I’m drawn in by the food but also by the language, and together they make me want to run to the kitchen every time.
That was Tuesday. By Friday, I already had a plan to make every last thing in that cookbook (my first choice involves eggplant, and chickpeas, and tahini, and cumin…), and after a quick round of grading and laundry, I was in the car on my way to Beverly Hills, where Deb was doing a cooking demo and cookbook signing at Williams-Sonoma.
Without having this sound weird and stalker-ish (I’ve apparently become a fan-girl, what can I say?), Deb is lovely and I’m so glad I had a chance to meet her. (I also spotted Joy the Baker in the larger-than-Williams-Sonoma-anticipated crowd, and eventually awkwardly introduced myself. She was lovely as well). I got to ask a question that came out somewhat awkwardly and – I think, though N. keeps telling me this is silly – sounded like I was asking how much I would have to adapt a recipe in order to avoid plagiarizing someone else, which by extension (only in my over-analytical brain, I suspect) sounded like a passive-aggressive suggestion that no one is capable of original recipes, no matter how they might try. Sigh. Not what I meant, of course. What I was trying to ask was motivated by the teacher and scholar in me: we are taught simultaneously that there is nothing new under the sun, AND that we must be original in our thoughts and products. But chocolate cake isn’t new. There’s a formula for it that, yes, can be tweaked and fiddled and caressed into something a bit new, but at what point does that start being yours, instead of the recipe you learned from? I suppose it comes down to a question of copyright, and I don’t know how that works in the world of food.

Talking AND stirring

Concerned or confused by our questions?
Despite my clumsy question, which came out sounding – at least to me – somewhat combative, Deb said she thought it was more about technique and writing style than about complete recreation. If you introduce a helpful method within the confines of the recipe, or if you write the directions or description in your own fresh way, the dish becomes yours through your additions to the conversation. You become, I suppose, an author rather than a reader. It’s very medieval, in a way: authors were “auctors,” or authorities, but to gain that authority they pulled from other sources. Only God was the true, original creator. Men could only imitate and produce imperfect copies. That’s why I think the combination of cooking and literary studies meshes well for me: it’s all about reading, or chewing, mulling things over in your mind (and mouth) to see what you think of them. Once you have had some thoughts of your own, once you have digested your meal, you have an opportunity to create: writing becomes cooking becomes writing. You string carefully chosen words together and cultivate them into the form you want before sending them off to be read – consumed by your audience.

Deb made cranberry crumble bars, one of the recipes in her new book, before stationing herself at a little table to sign book after book after book. One of the WS employees made rounds sharing samples of three different recipes from Deb’s book. These sustained us during the 90 minute line snaking (or snailing?) through the store, passing walls of such debatably ingenious gadgets as a banana slicer, a juice squeezer for single slices of lemon, and a coil potato masher (this one was pretty cool, though. I must admit to wanting one).

And then we were around the corner and Deb was signing my little placard from WS (they ran out of books long before the event started, and this was their work-around: order a copy, get a placard, stick it into the book yourself when copies arrive. I already had a copy, but I wanted a signature, so it looks like someone’s getting a tasty Christmas gift…) and chatting, and asking me the name of my blog(!), and then N. and I were tasting apple cider caramels and glowing back into the sunlight of Beverly Drive.
I have Bittman reports to share with you – figs and orange juice and sweet potatoes and bourbon – but I think this deserves to exist on its own. More tomorrow.

Lucy is unimpressed by my new acquisition, unwilling to look at the camera, but still insistent to get my attention in any way possible. Sometimes I wonder whether she’s actually part feline. Don’t tell her I said that.
Sometimes you are faced with not enough: not enough time, not enough money, not enough to do…
And sometimes you are faced with too much: too much bounty, too much responsibility, too much joy. These are both their own kind of problem. And if I have to choose, faced with these Januses, I will always go for too much. Even if I fall short.

Last week I only managed one Bittman. This week, in a startling display of ambition and motivation, I did three.
One of the biggest challenges of this project (aside from cooking, photographing, and writing about the food… you know… actually doing it…) has been deciding what to serve these dishes with. I’m not up for roasting a chicken or a turkey every week to emulate the Thanksgiving spirit of the project, so I try to piece them together with other entrees. As you’ve seen, if you’ve been following the project for any length of time, sometimes I choose well, and sometimes I decidedly don’t.
This week, riffling through the slowly diminishing options, it occurred to me for the first time that I could serve them as complements to each other. They were all, after all, conceived for the same imagined table. They should work together quite nicely.
“7. Cranberry-Orange Sauce: Cook a bag of fresh cranberries with orange and lemon zest, cut up (peeled) orange segments, ¼ cup sugar (or to taste) and a bit of minced jalapeño or chipotle.”
This sounded good and, with the slightly cooler temperatures we’ve been privileged to receive lately, a nice symbol of our entry into Fall. Cranberries and oranges are a frequent couple – almost too expected – but there’s a reason they appear together so frequently. And with the addition of lemon juice and some spice, this seemed far enough from traditional to avoid being boring.
1 bag cranberries (probably 1 pound?)
Zest of 1 lemon
Zest of 1 large or two small oranges (mine were little Valencias from our Farmers’ Market)
Segments of 1 large or two small oranges
¼ – ½ cup sugar, depending on your taste and the tartness of your berries
Dash of spice, depending on your taste
I bounced the cranberries into a pot, zested the lemon and oranges over them, and then cut the peel from the orange and sliced out supremes. For good measure, I squeezed as much juice from the wasted scraps of orange as I could, then topped the mix with sugar and a dusting of cayenne (I had neither jalapeno or chipotle available) and pushed it onto the back burner.
I let the pot come to a boil over medium heat, stirring occasionally to melt the sugar evenly and prevent it from burning until the cranberries released some juice to protect the mixture. Once it boiled, I lowered the heat and let the whole thing simmer for about 20 minutes. At one point I tasted, decided there wasn’t enough sugar or cayenne, and added more of both. The addition of sugar was a good thing. The addition of more cayenne was less so. I’d caution you to start with less than you think you will want. The mixture does not taste at all spicy while it’s hot. When it cools, though, it becomes fiery. It was still tasty, though. We ate it sticky and thick and room temperature, dabbing up popped clusters of ruby and letting it linger on our tongues – but not too long – enough to wake our taste buds from the spice. As an autumnal side, this works very well and is a pleasant update to the traditional cranberry sauce. It would also make a glorious topping for a baked brie, perhaps with some rosemary or red wine glugged in for good measure.
While the cranberry sauce was heating, I turned my attention to its companion.
“59. Blanch thinly sliced potato and leeks until tender but not mushy; drain well. Layer the vegetables in an oiled or buttered baking dish, then top with a mixture of bread crumbs and lightly sautéed chopped bacon (some cheese mixed in is pretty good, too). Broil until golden brown.”
Potatoes and leeks are a combination that, a mere year or so ago, I didn’t realize existed. Now it’s such a natural pairing I can’t believe I never knew about it before. Sliced blanched potatoes and sautéed leeks now fill every frittata I make. I collected:
2 russet potatoes, peeled
1 massive leek, tough tops and root ends removed, halved vertically (rinse it out well at this point) and sliced into slim, slim, oh-so-slim half moons
1 lb. bacon
½ – 1 cup bread crumbs (I used Italian seasoned)
Knowing how good leeks can be when they are sweated and barely brown, and conscious that the beauty of bacon grease shouldn’t go to waste, I made a few changes to Bittman’s directions.
First I cooked the bacon. You likely don’t need a whole pound of it, but this guaranteed an appetizer: one still sizzling slice each for N. and for me. If you aren’t cooking for or with someone else, go wild and have two all by your lonesome.
While the bacon cooked and the cranberries simmered and popped, I put a pot of water on to boil. When its aggressive bubbling demanded attention, I carefully lowered in the potato slices and gave them free reign for five or ten minutes.
 When it was edging toward crisp, I set the bacon aside to cool and drain a bit on a paper towel lined plate. I dumped the potatoes into a colander when they were barely cooked through.
Time for the leeks. I scraped my board free of the slender, just green shards, capturing a satisfying fizz as the vegetation hit the pan. You want to stir with some frequency here, and not raise the heat above medium; we’re looking for a light sauté, not a heavy brown.
The shards collapsed into resistant-less ribbons, and I pushed them to one side to add the drained, cooling potatoes. With adept wooden spoon manipulation, I managed to achieve something like layering: half the potatoes flat on the bottom of the pan, the leeks draped across them, and the rest of the potato slices on top.
I turned on my broiler, and while it heated I crumbled the bacon, tossed it with bread crumbs, and dusted the potatoes with the mixture. But dust wasn’t enough. They required a landslide. I drizzled the top with olive oil, knowing the bread crumbs would need it to brown, and slid the whole pan into the broiler (note: if you use a skillet or pan for this, rather than a casserole dish, be sure you wrap any plastic or rubber with aluminum foil before you put it into the broiler. We don’t want your nice pan handles to melt…).
Five minutes later, the parts of the crumble I had oiled were beautiful brown (the other parts remained sandy and unaltered, much to my chagrin) and the dog was close by, nose moist with curiosity and the urge to assist.
We loaded our plates, completing the meal with a completely unnecessary slice of toasted jalapeno cheese bread, and ate.

As has proved often the case with Bittman’s layered vegetable dishes, I expected this one to be a gratin, and it just wasn’t. Some cream, some cheddar cheese, some binding between the vegetables, would have been ideal. But not crucial. They weren’t supposed to be scalloped potatoes, after all. The bacon and bread crumbs made them exciting, and the leeks were almost creamy nestled between the thick slices. Honestly, forgetting to salt the water I boiled the potatoes in was the only real unfortunate mistake. Two down, with only one mistake (two, I suppose, if you count the overly spicy cranberries, which I suppose I do), is pretty promising.
To make this a trifecta, on another night I chose another autumnal option.
“64. Mushroom Bread Pudding: Put 6 cups of good bread (day-old is best) cut into 1-inch chunks into a buttered baking dish. Beat 4 eggs with 2 cups of milk and ½ cup grated Parmesan and pour over the bread. Sauté 4 cups of sliced mushrooms until tender with a teaspoon or two fresh thyme leaves and mix into the bread. Bake until just set, about 40 minutes.”
Mushrooms and thyme are so nice together. They are earthy and deep and musty, like the back of a dark pantry into which no anxious hands have reached for some time. Since they were more precise than usual, I followed Bittman’s ingredient quantities almost to the letter.

I sautéed the mushrooms and thyme in butter, taking time to let the slices soak up the butter, then expel their own liquid. Only after that, as the moisture from the mushrooms evaporates from the pan, can the mushrooms take on the same kind of crisp brown sear as a steak pressed into a screamingly hot pan.
 While the mushrooms cooled, I tore up the crusts of a month’s worth of sourdough bread (I keep them in the freezer for just these sorts of occasions) and pressed them gently into a buttered square glass baking dish. I grated cheese – swiss and parmesan – and cracked eggs from the Farmers’ Market into a bowl, marveling at the rich orange yolks you just can’t get in the grocery store. I stabbed them, flooded them with milk, and whisked in the cheese.
I turned to assembly. First, mushrooms must be tossed with bread. Attempt even distribution. Then, a careful, rich pour of the dairy component, taking care to attend to the corners, until the bread almost floated in a puddle of would-be custard.

One of the things I’ve learned in my years of bread pudding production is that pressure and soaking time yield the best results. I carefully pressed a layer of plastic wrap over the top of my pudding and set it in the fridge for an hour, while N. and I answered the velvet brown eyes begging for “walkies.”

Upon our return, it was as simple as preheating the oven to 375F (pull the pudding out of the fridge and let it approach room temperature as your oven heats), sliding the baking dish onto a rack, and reluctantly grading a paper or two as 45 minutes ticked by (I like my bread pudding a little more than “just” set).
A puff in the center signifies doneness. Mine levitated just barely in the middle, but the custard was set and the edges of bread not submerged were crisp and darkly golden.

The serving spoon broke sharply through the crisp top but then exhaled through the custard underneath. Piled on our plates next to an amazing skillet casserole of deeply browned sautéed Brussels sprouts and chopped walnuts drizzled with a balsamic glaze, we accepted its golden softness. With a higher ratio of eggs to milk than most bread puddings I’ve made, this had almost a soufflé quality, though vastly more substantial. It was rich and earthy and savory, and I suspect it will be just as good for breakfast as it was for dinner. 
Three more down. This can be done. 2012 has already been a year of many accomplishments. Why not go for too many, rather than hesitating at not enough?
As I mentioned a few weeks ago, it hasn’t fully sunk in yet that I live in Los Angeles now. Funny little happenstances keep reminding me, and I’m stunned into bemused awareness. This didn’t happen when I lived in Orange County as a teenager. We were far enough from the big city with its food, music and fame scene, and I was distant enough in age to care, or even be aware of, what living near LA could mean.
Now that I’m a bit closer physically and chronologically, what it mostly means to me is food. Yesterday as I sat cloistered in my home office, commenting on what seemed like an endless stream of papers, my phone gave that delightfully insistent buzz that means someone from the outside world has contacted me. It was our friend J., asking if we wanted to go and grab burgers with him and one of his local friends. Dinner out? On a Friday? Meaning I wouldn’t have to tackle the embarrassing state of my kitchen just yet? Not to mention another culinary and – what would be the right word, perhaps libationary? – joyride around our new city? Yes, please.
J. showed up at our house around six and whisked us off to Plan Check Kitchen and Bar, a new-ish little burger and brew style gastropub in the Little Osaka area of West LA, where we would have dinner with him and his friend T. They have a short menu, mostly meat, but with interesting Asian flavor accents – wasabi, yuzu, and dashi creeping up in unexpected places.
I ordered the Bleuprint Burger, a patty of wagyu beef piled with smoked bleu cheese, brown sugar baked bacon they call, perfectly, “pig candy,” fried onions, roasted garlic steak sauce, and peppercress. My dining mates all got the standard: the Plan Check Burger, featuring a curious substance Plan Check calls “ketchup leather,” and a dashi-infused “Americanized” cheese, which I think meant cheddar mixed with garlic and some fish stock to smooth it out and add extra umami flavor. On the side, the table shared sweet potato fries cooked in beef tallow, served with a sweet peach ketchup, and veggie chips – perfectly crispy wafer thin slices of yam and yucca and who knows what else, paired with a slightly spicy, velvet smooth avocado cream.
Dinner was fantastic. I haven’t had a really good, moist burger cooked at an actual medium (the temperature I requested) in a long time. I drank a tangerine wheat beer with it (the name of the brewery escapes me, but somewhere in California), and it was a nice accompaniment.
While I was away from the table for a moment, somehow the conversation changed from food to, well, food. But virtual food. In fact, televised food. T., through a previous job, knows one of the guys from the company and food truck project Seoul Sausage, currently being featured on The Great Food Truck Race.
“I think they are opening a storefront,” he said, while my eyes bugged out of my head. “It’s just on Mississippi. We should go see if they’re open.”
Bye-bye, burger. It’s sausage time.
We ambled the blocks along Sawtelle separating us from Mississippi. T. pointed out which restaurants along the way were worth checking out which, as it turns out, is most of them. I tried to make mental notes but I was feeling overwhelmed by the amount of delicious knowledge I was receiving. N. and I will just have to go back. Many times.
We turned the corner onto Mississippi and there, at the end of a short collection of shops, was Seoul Sausage Co. And it was open. Without knowing it, we had stumbled across a secret mini launch they had announced only on their website and on Twitter, and there were all three of the boys behind the counter, and suddenly I was being introduced and ordering one of the flaming fried balls they developed on the show.
I know I should be talking about the food here, but I was so starstruck I couldn’t stop grinning my way around the little space. The guys were, as I had imagined but never even hoped to find out, super friendly and happy to see us – and everyone else who stopped in – and being very properly and apologetically closed-mouthed about the results of the show (the finale is tomorrow – Sunday, at 9pm). N. chatted them up about beer, encouraging them to carry Ninkasi if it ever appeared on their radars. I couldn’t help but mumble something about how I hoped they would/had/did/whatever-it-is-taped-tv-is-so-confusing win before I gave into the beautiful, sizzling-hot fried riceball they handed me.

It was delightful. Delicate rice in the middle mixed with cheese, spices, and who knows what else. Crisp breaded crust around the outside, and a slightly spicy sauce squeezed over the top. It reminded me of the kind of sauce you get on certain spicy sushi rolls, and it paired so nicely with the rice. This is an excellent late night snack, and N. and I assured them we would be back again after their official opening next week. I was halfway through my little after-dinner snack before I remember that, despite my unwise choice to venture out on a Los Angeles food adventure without my camera, I do have a smart phone fully capable of capturing an image.

Flaming fried balls conquered, and me still in some disbelief that we had just been to Seoul Sausage and met the guys in charge (I wanted to know everything but asked nothing: what was Tyler Florence like? Were you getting all those truck stop phone calls at once, or did he call each truck one at a time? What did you think of Nonna’s Kitchenette? Did you win? Did you win? Did you win?) we stepped back out into the night (which we were surprised to learn was still so young – only 8pm yet) and resurfaced at the Formosa Café in West Hollywood to share a round of drinks. I asked for a lemon drop, but the bartender mixed me a vodka daisy instead because he likes the flavor better, and so did I. Vodka daisy with a sugared rim is apparently my new cocktail of choice.
 As we belted ourselves into J.’s car again, he asked if we minded swinging by Canter’s delicatessen on Fairfax. He wanted a pastrami sandwich for the road back to Orange County, and of course we obliged. Once inside, I was attracted not to the sandwiches, but to the bakery counter, where my taste buds immediately performed their own version of the honey bee’s waggle dance to communicate a single word: éclair. N. wandered up behind me and asked if I was going to get anything, and as I gazed at the shelves packed with donuts, cookies, babka, danishes, chocolate studded croissants, cheesecakes, a big layer cake with the word “rum” frosted in chocolate across the top, all I could think about was an éclair.

And there they were. On the bottom shelf. Thick, ganache-glossed masterpieces. My eyes were bugging out again, I could feel it. With my new little treasure safely enclosed in a pink bakery box and tucked under my arm, all was right with the world. When I dug in, gentle fork pressure forcing the thick, sweet pastry cream out across my plate, the world was more than right. The dough was tender-crisp, and if I’m honest it may have been moving a bit toward staleness after a day on the shelf, but the flavor of the custard and the ganache more than made up for it. It was a stellar dessert for a starstruck evening.

A fabled land of farmers, farm shares, fancy (and not so fancy) restaurants, family meals, food projects and more.
cooking my way through my dissertation, one egg at a time
Fearless cooking from a tiny NYC kitchen.
food, in so many words.
Recreating the famous dishes of famous writers. Part recipe blog, part historical discussion, entirely unabashed love of books.
Epicurean Adventures from Eugene, Oregon
Celebrating the Harvest
Modern Iranian aka Persian Food & Culture Blog - Cuisine, Recipes, Stories , Photos, Pictures, DIY tutorials
Exploring Culinary Traditions of Africa, African America and the African Diaspora
food, in so many words.
food, in so many words.
food, in so many words.
Food-Stories-Recipes-Love
WordPress.com is the best place for your personal blog or business site.
